
If you’re looking to elevate your PowerPoint presentations with smooth, eye-catching animations, learning how to create an animated morph timeline is an essential skill. In this detailed guide, inspired by One Skill PPT’s popular tutorial, you’ll discover step-by-step how to build a professional animated timeline using PowerPoint’s powerful Morph transition effect.
Whether you’re a business professional, educator, or creative designer, this tutorial will help you craft a visually engaging timeline that can effectively showcase events, milestones, or any progression over time. Plus, we’ll share tips on using shapes, images, and hyperlinks to make your timeline interactive and dynamic.
Let’s dive into the process of creating a stunning animated timeline with PowerPoint animation effects!
Table of Contents
- Getting Started: Setting Up Your Slides
- Creating the Timeline Line and Circles
- Adding Years and Formatting Text in Circles
- Naming Shapes and Setting Morph Transitions
- Duplicating Slides and Animating the Timeline
- Highlighting the Current Year with Enlarged Circles
- Enhancing the Timeline with Phone Illustrations
- Adding Hyperlinks for Interactive Navigation
- Frequently Asked Questions (FAQs)
- Conclusion
Getting Started: Setting Up Your Slides
Before creating any animation, it’s important to start with a clean canvas. This tutorial begins by setting up a fresh PowerPoint slide and preparing the background and guides for the timeline.
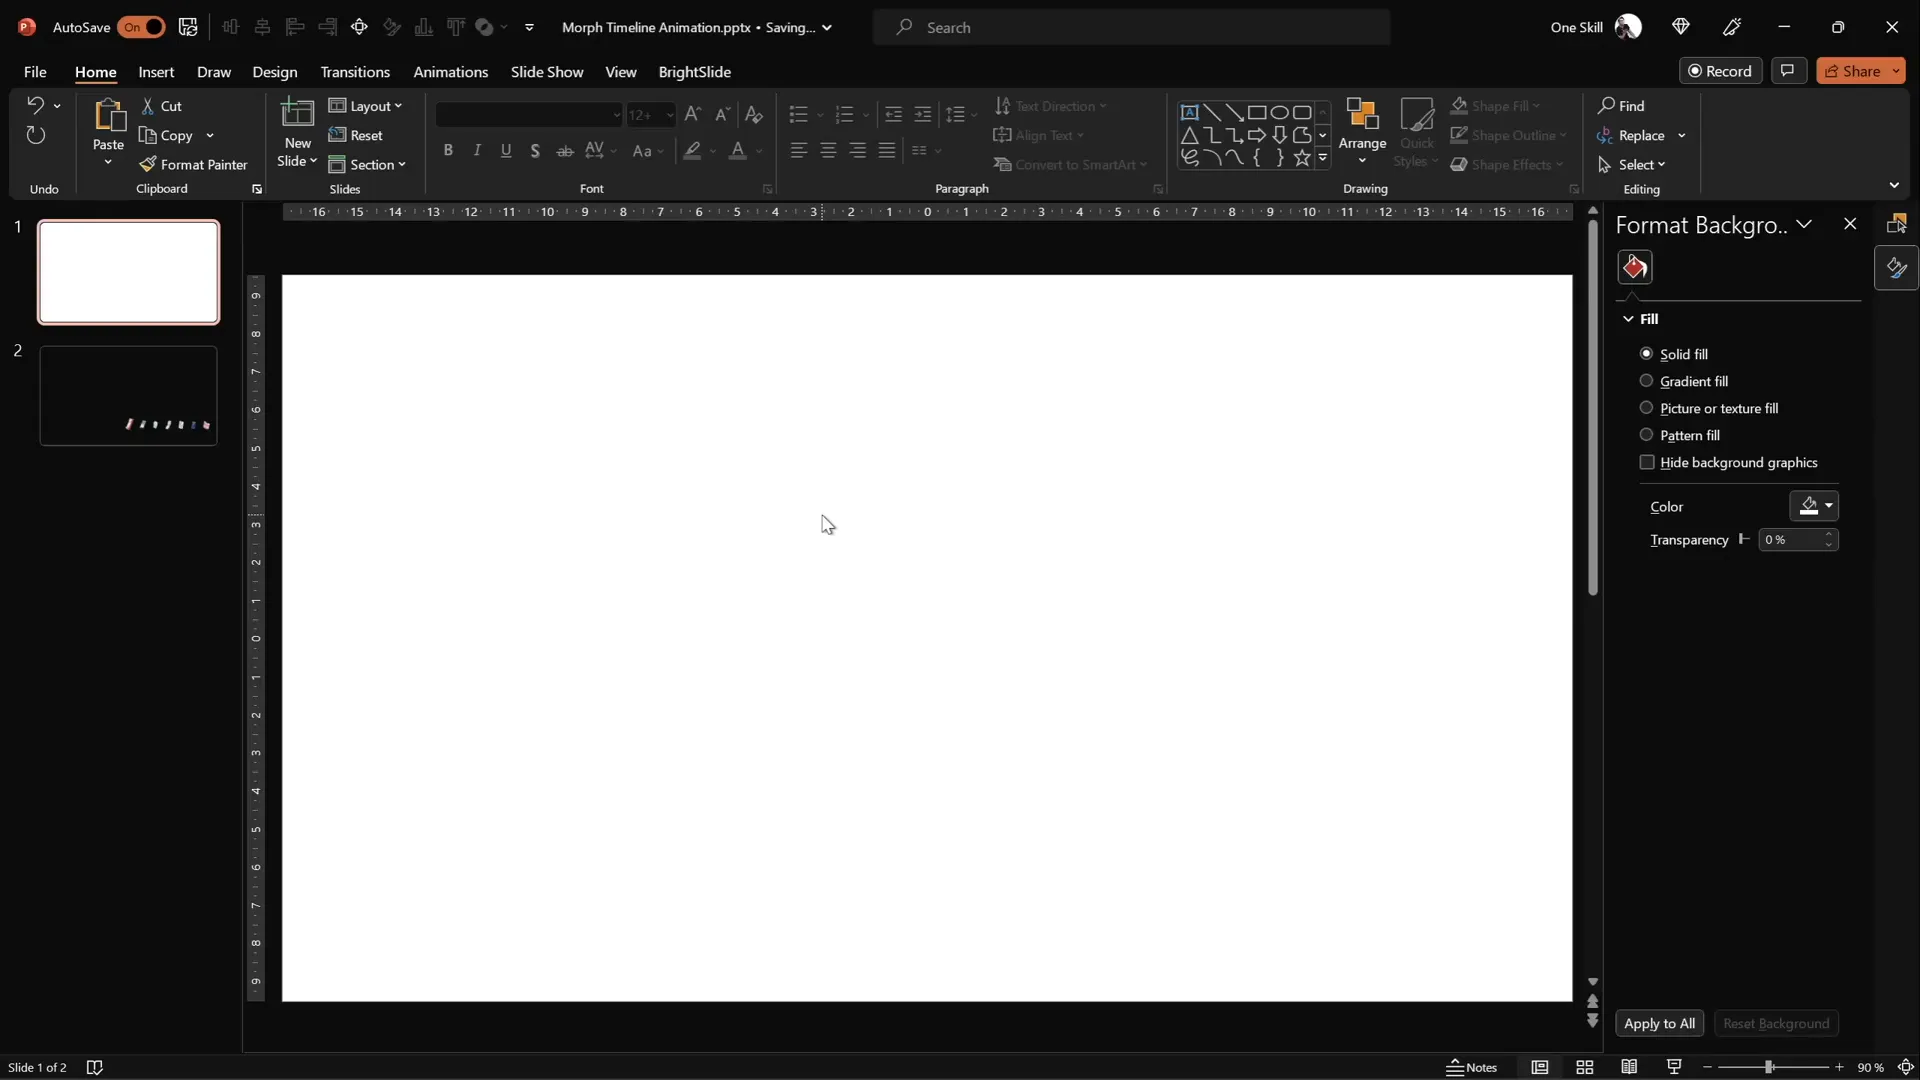
Step 1: Create a Blank Slide
Start with a new PowerPoint presentation and set the first slide’s layout to Blank. This removes any default text boxes or placeholders, giving you a clean space to work with.
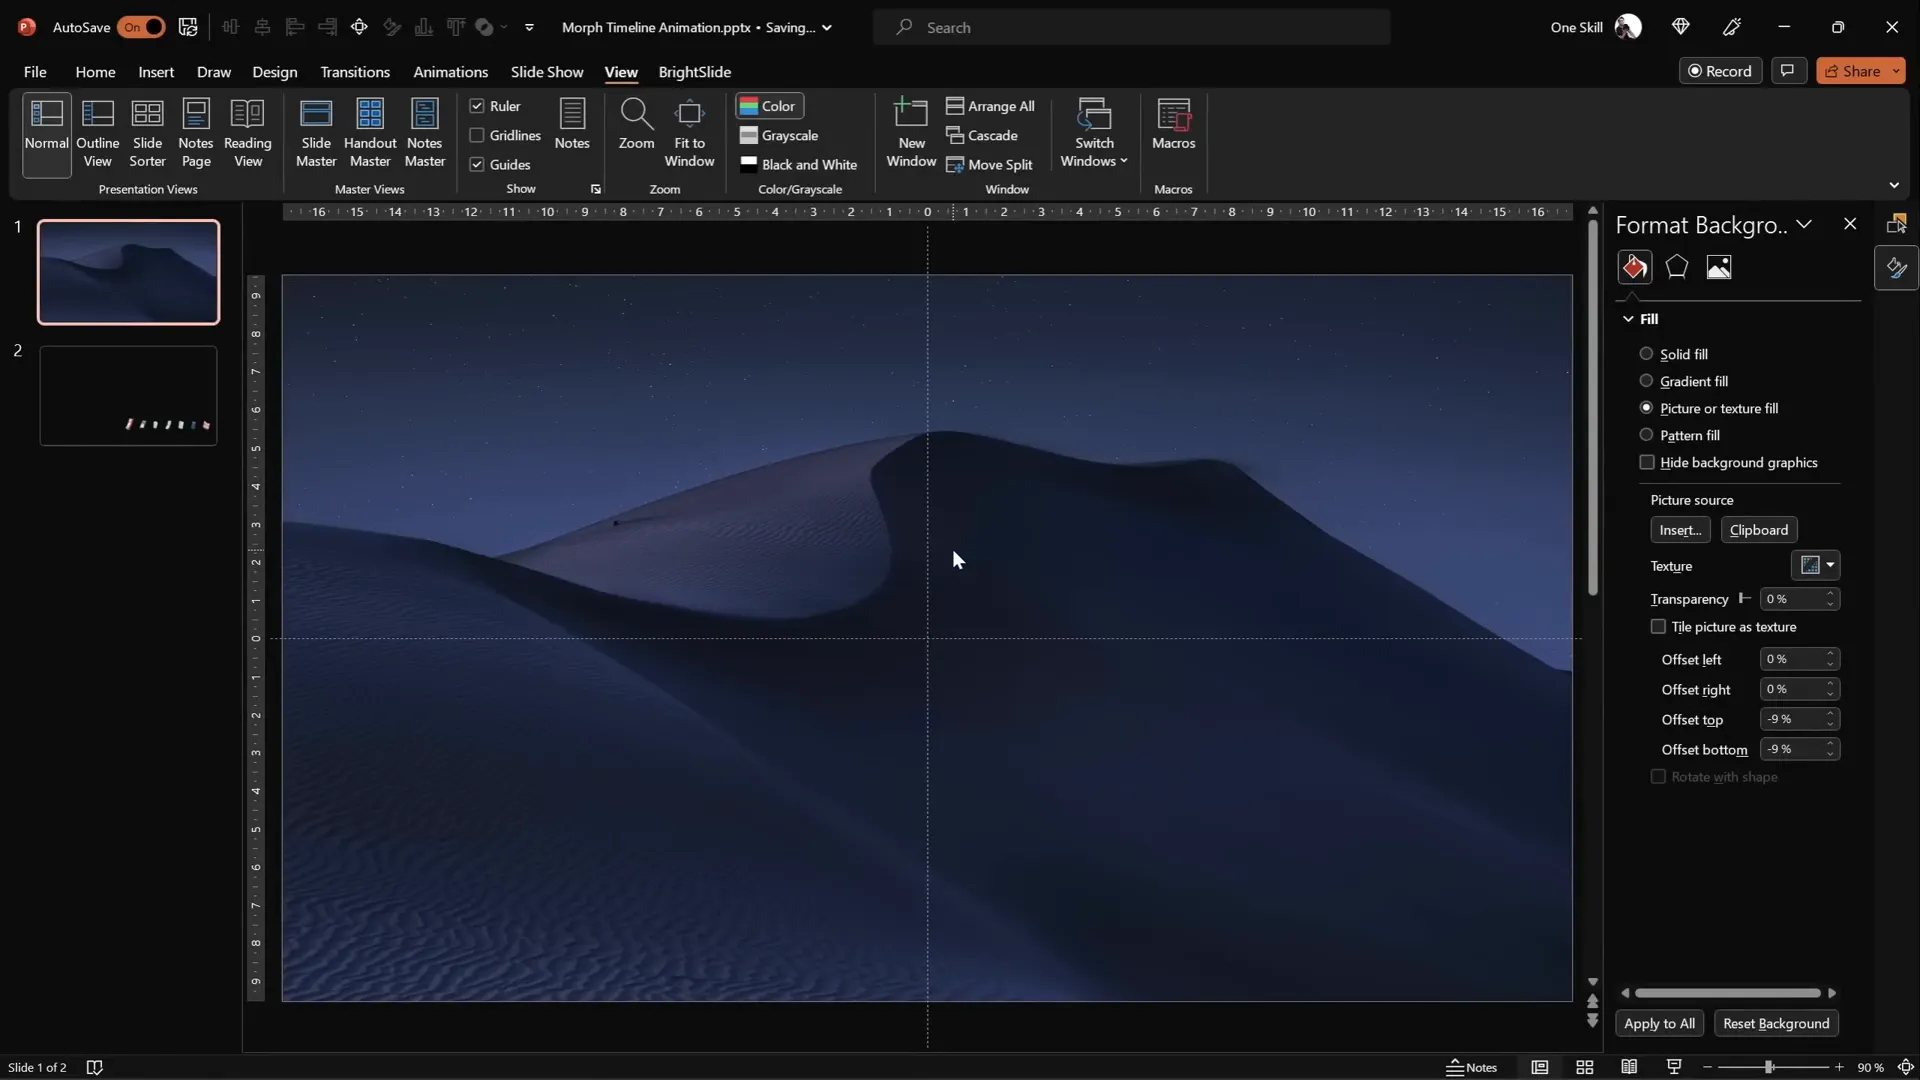
Step 2: Enable Slide Guides
Activating slide guides helps you align objects precisely. Turn on the guides so you can easily identify the slide’s center and edges. This will be critical when positioning elements like lines and circles.
Step 3: Add a Background Image
Instead of inserting a full-screen image directly, paste a background photo using the slide’s fill options. This method allows you to later apply effects like slide background fill to shapes, which only works with a pasted background.
For the background image, visit Unsplash to find beautiful, free photos. Copy the image and paste it into the slide background fill.
Creating the Timeline Line and Circles
Once the slide is set up, the next step is to build the timeline structure using PowerPoint shapes.
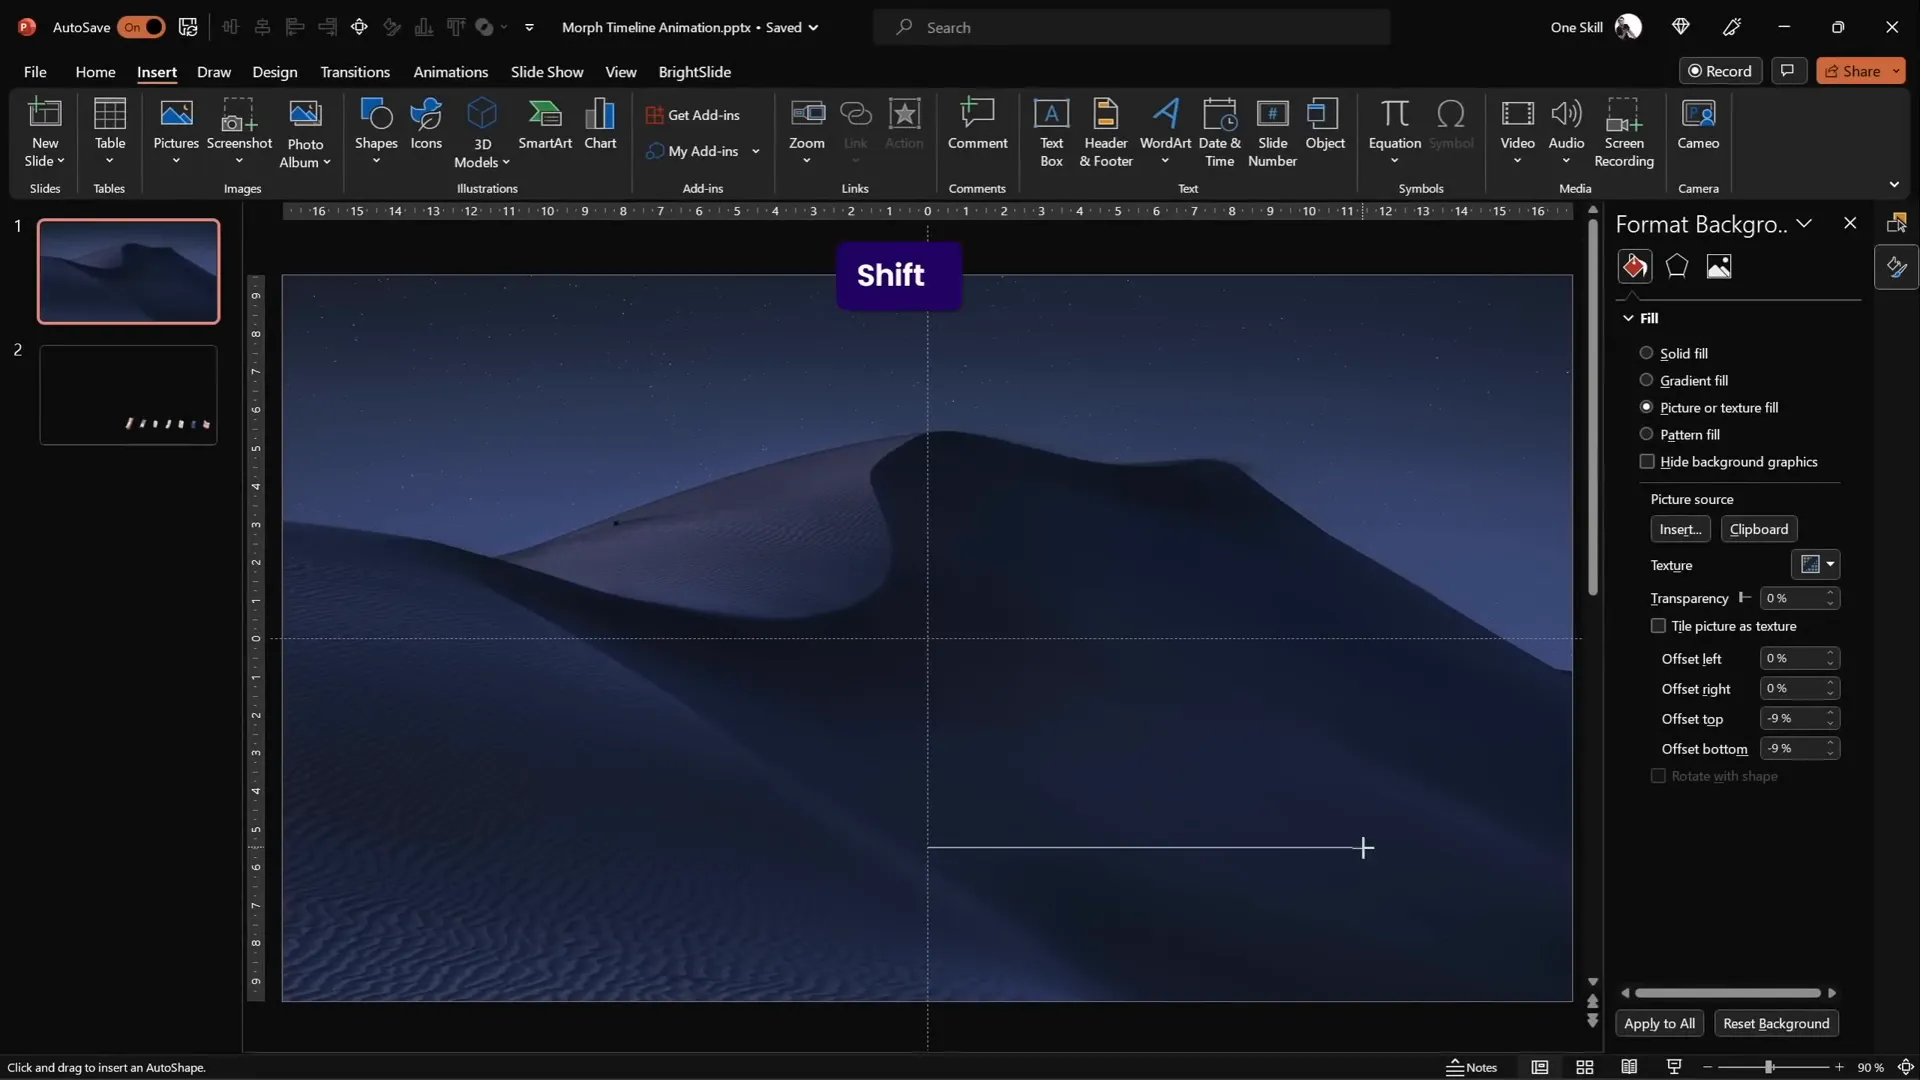
Step 1: Draw the Timeline Line
- Insert a simple horizontal line near the bottom right corner of the slide.
- Hold down the Shift key while drawing to keep the line perfectly straight.
- Start drawing from the slide’s center to maintain alignment.
- Set the line length to approximately 15 centimeters and the line weight to 1 point for a clean, elegant look.
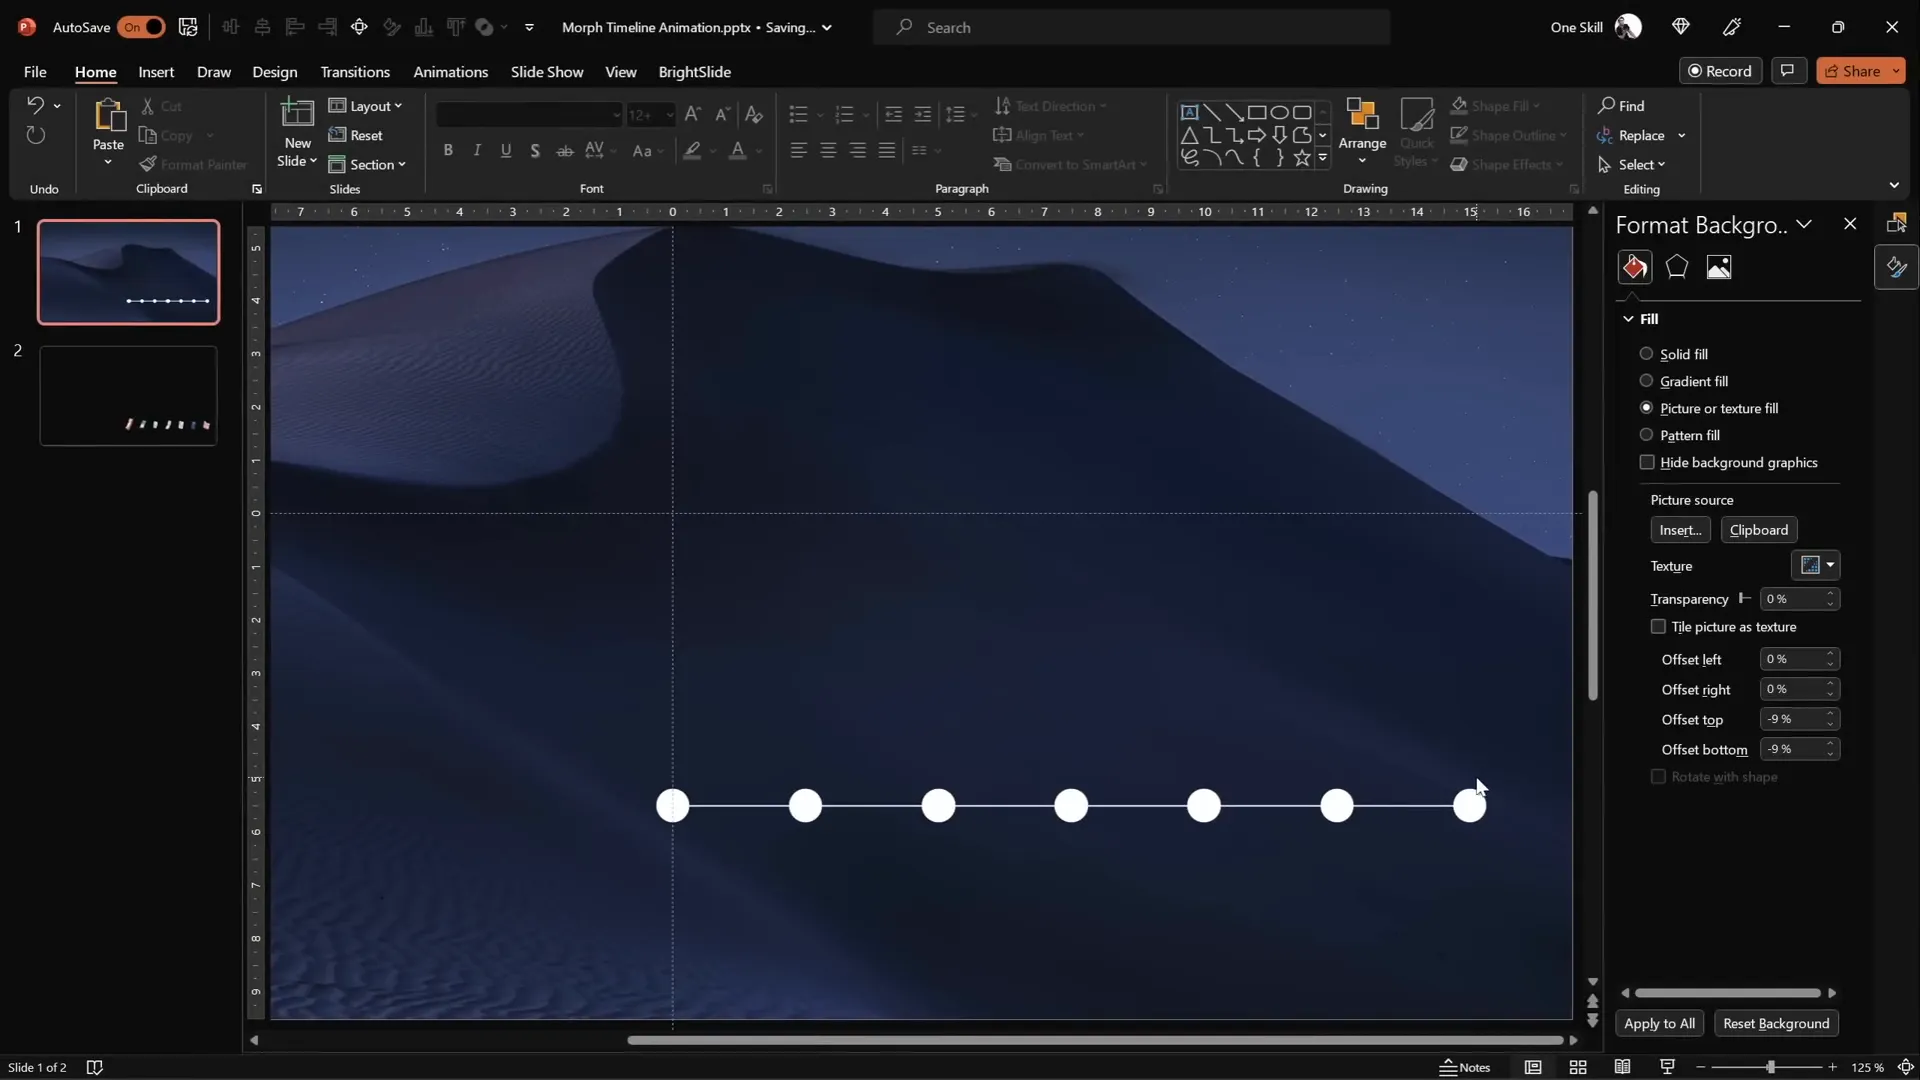
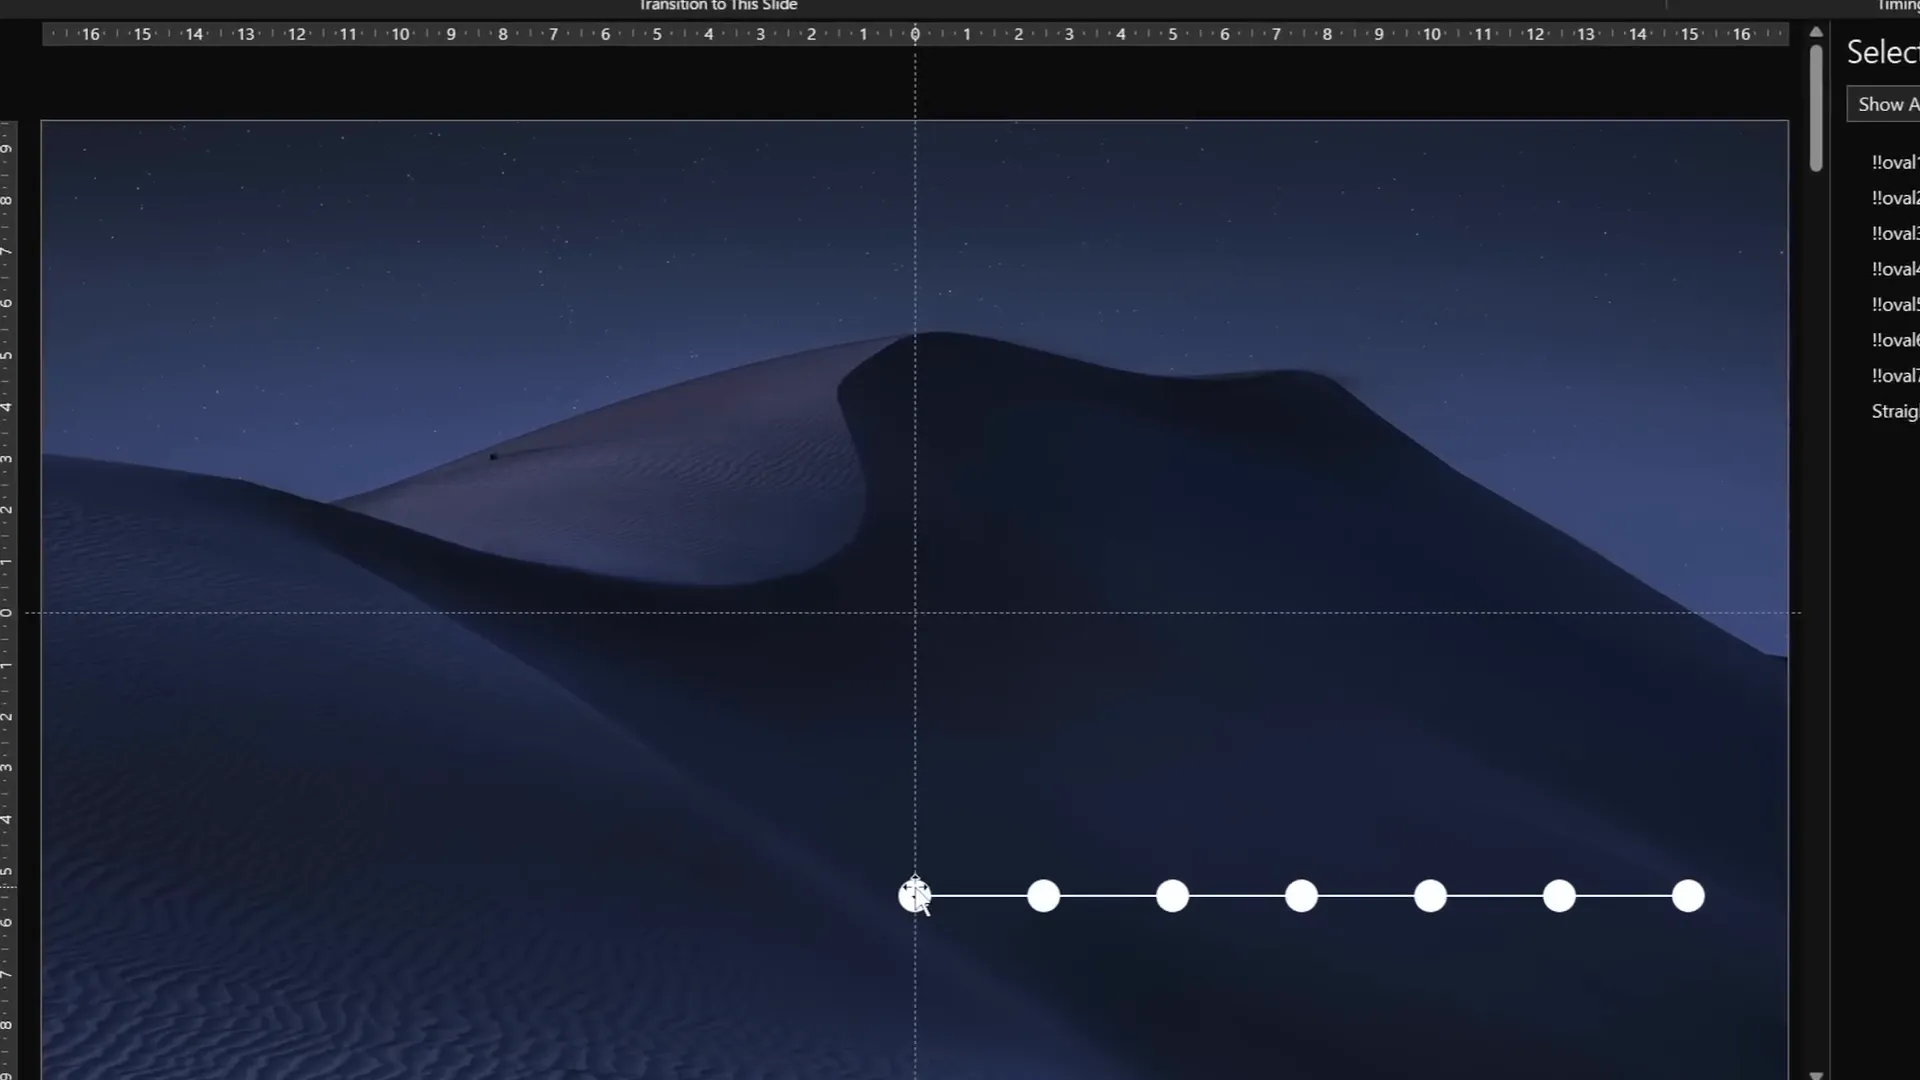
Step 2: Create Circles to Represent Timeline Points
- Draw a circle shape using the Oval tool. Hold down Shift to create a perfect circle.
- Set the circle dimensions to 0.6 cm for both height and width (you can adjust this based on your design preference).
- Place the first circle on the left end of the timeline line.
- Duplicate the circle by holding Ctrl + Shift and dragging it to the right side of the line.
- Repeat to create a total of seven circles, spaced evenly along the timeline.
- Select all circles, then use the Align tool to Distribute Horizontally for equal spacing.
Adding Years and Formatting Text in Circles
With the timeline and circles in place, it’s time to add meaningful content — the years representing milestones or events.
Step 1: Insert Year Labels
- Zoom into the circles for precise placement.
- Insert text boxes inside each circle and type the years sequentially, for example, from 1980 to 2020.
- Use a clean and legible font like Hanson with a small size (size 5) initially to fit the text inside the circles.
Step 2: Format Text Visibility
Initially, keep the text color black so it’s visible while typing. Afterward, select all text boxes and change the font color to white, making the text invisible for now. Don’t worry — the animation will reveal the text later through PowerPoint’s Morph transition.
Naming Shapes and Setting Morph Transitions
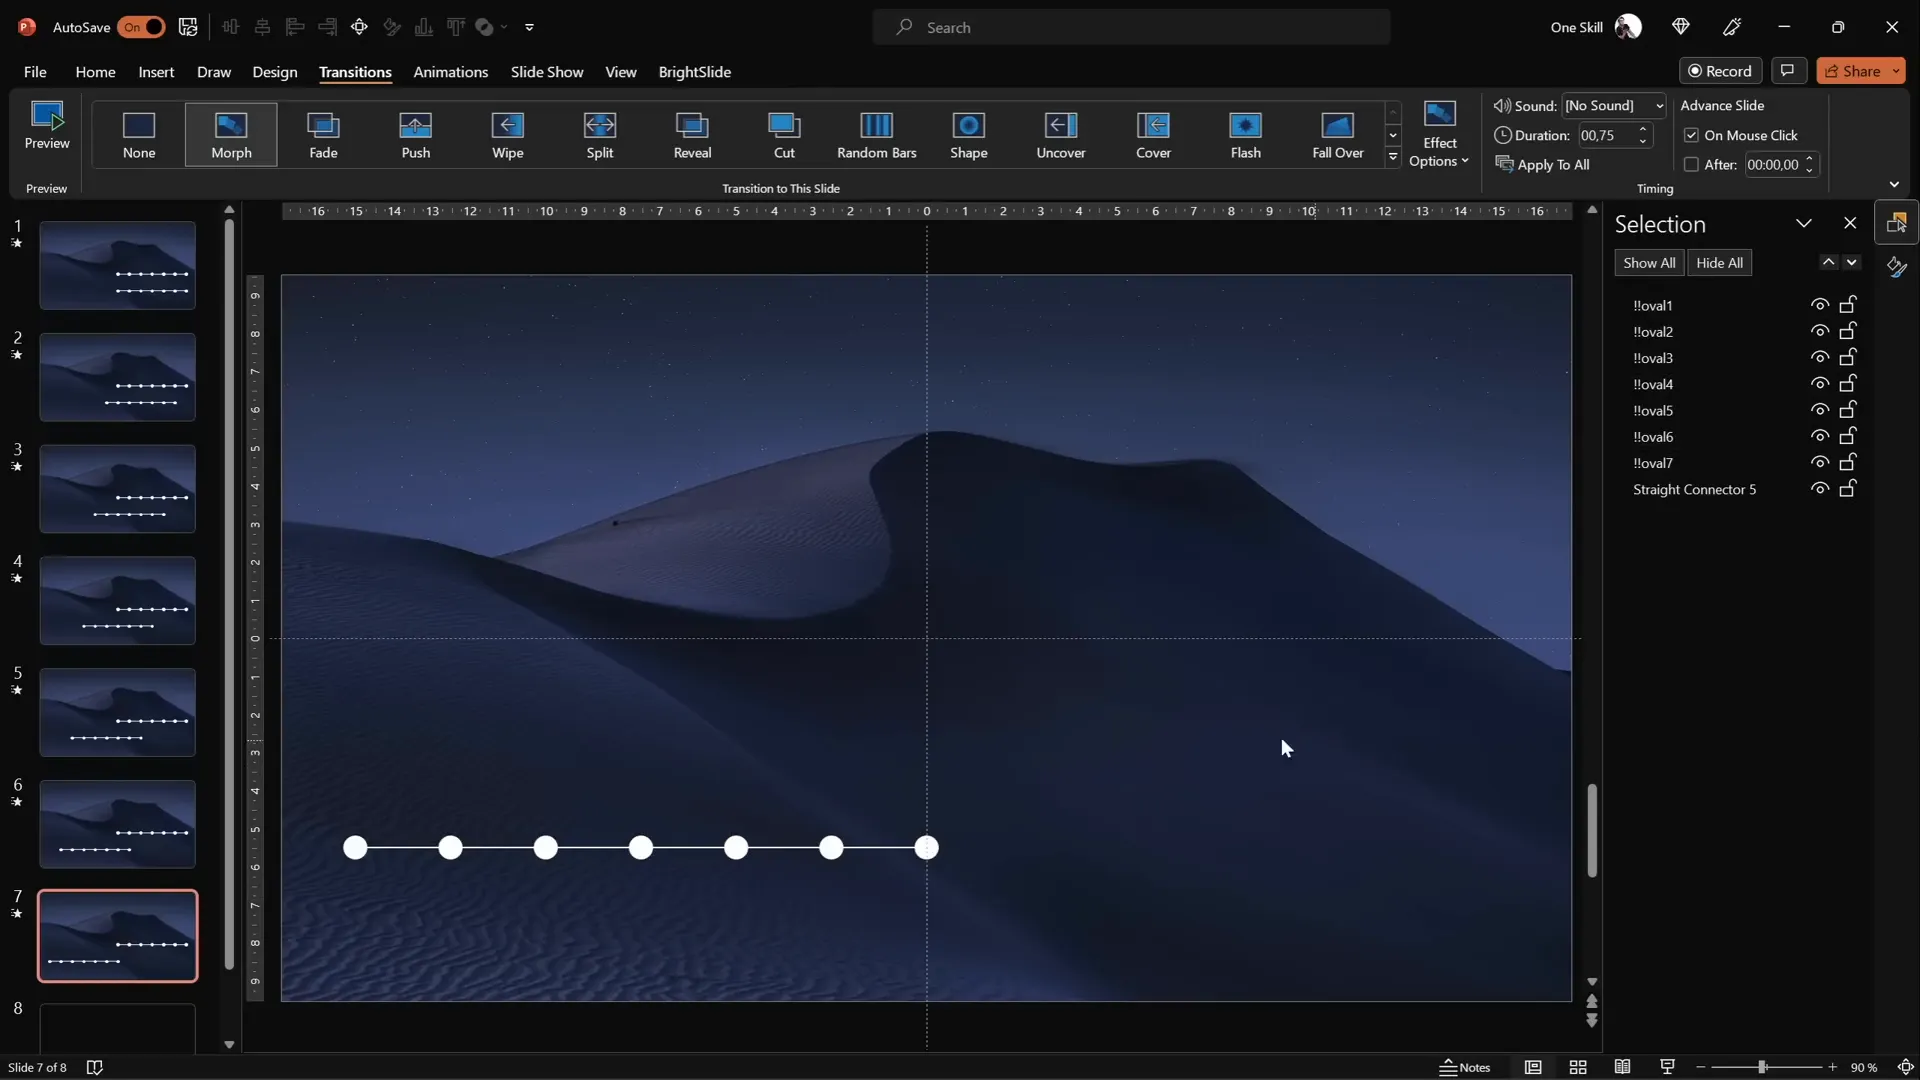
Step 1: Name Your Circles in the Selection Pane
To work effectively with the Morph transition, it’s important to precisely name your shapes. Open the Selection Pane and rename each circle with a consistent naming convention starting with double exclamation marks, e.g., !! Oval 1, !! Oval 2, etc.
This naming helps PowerPoint identify matching objects across slides during the Morph animation, ensuring smooth transitions.
Step 2: Set Slide Transition to Morph
- Apply the Move slide transition effect.
- Set the transition duration to 0.75 seconds for a quick and smooth animation.
Duplicating Slides and Animating the Timeline
Now that the timeline and its elements are ready, it’s time to animate the movement of the circles along the timeline using slide duplication and Morph transitions.
Step 1: Duplicate the Slide and Shift Circles
- Duplicate the first slide to create the second slide.
- Select all circles and the timeline line at the bottom and move them one step to the left.
- Repeat this process, duplicating the latest slide and shifting the circles left each time, until you have seven slides in total.
- Use the original circles at the top as guides to align the shifted circles precisely.
Step 2: Remove Guide Circles
After all shifts are done, delete the original top circles used as guides. They are no longer needed.
Step 3: Preview the Animation
Run the slide show and watch as the circles smoothly move left across the timeline, thanks to the Morph transition.
This effect creates the illusion of a moving timeline, highlighting different years as the animation progresses.
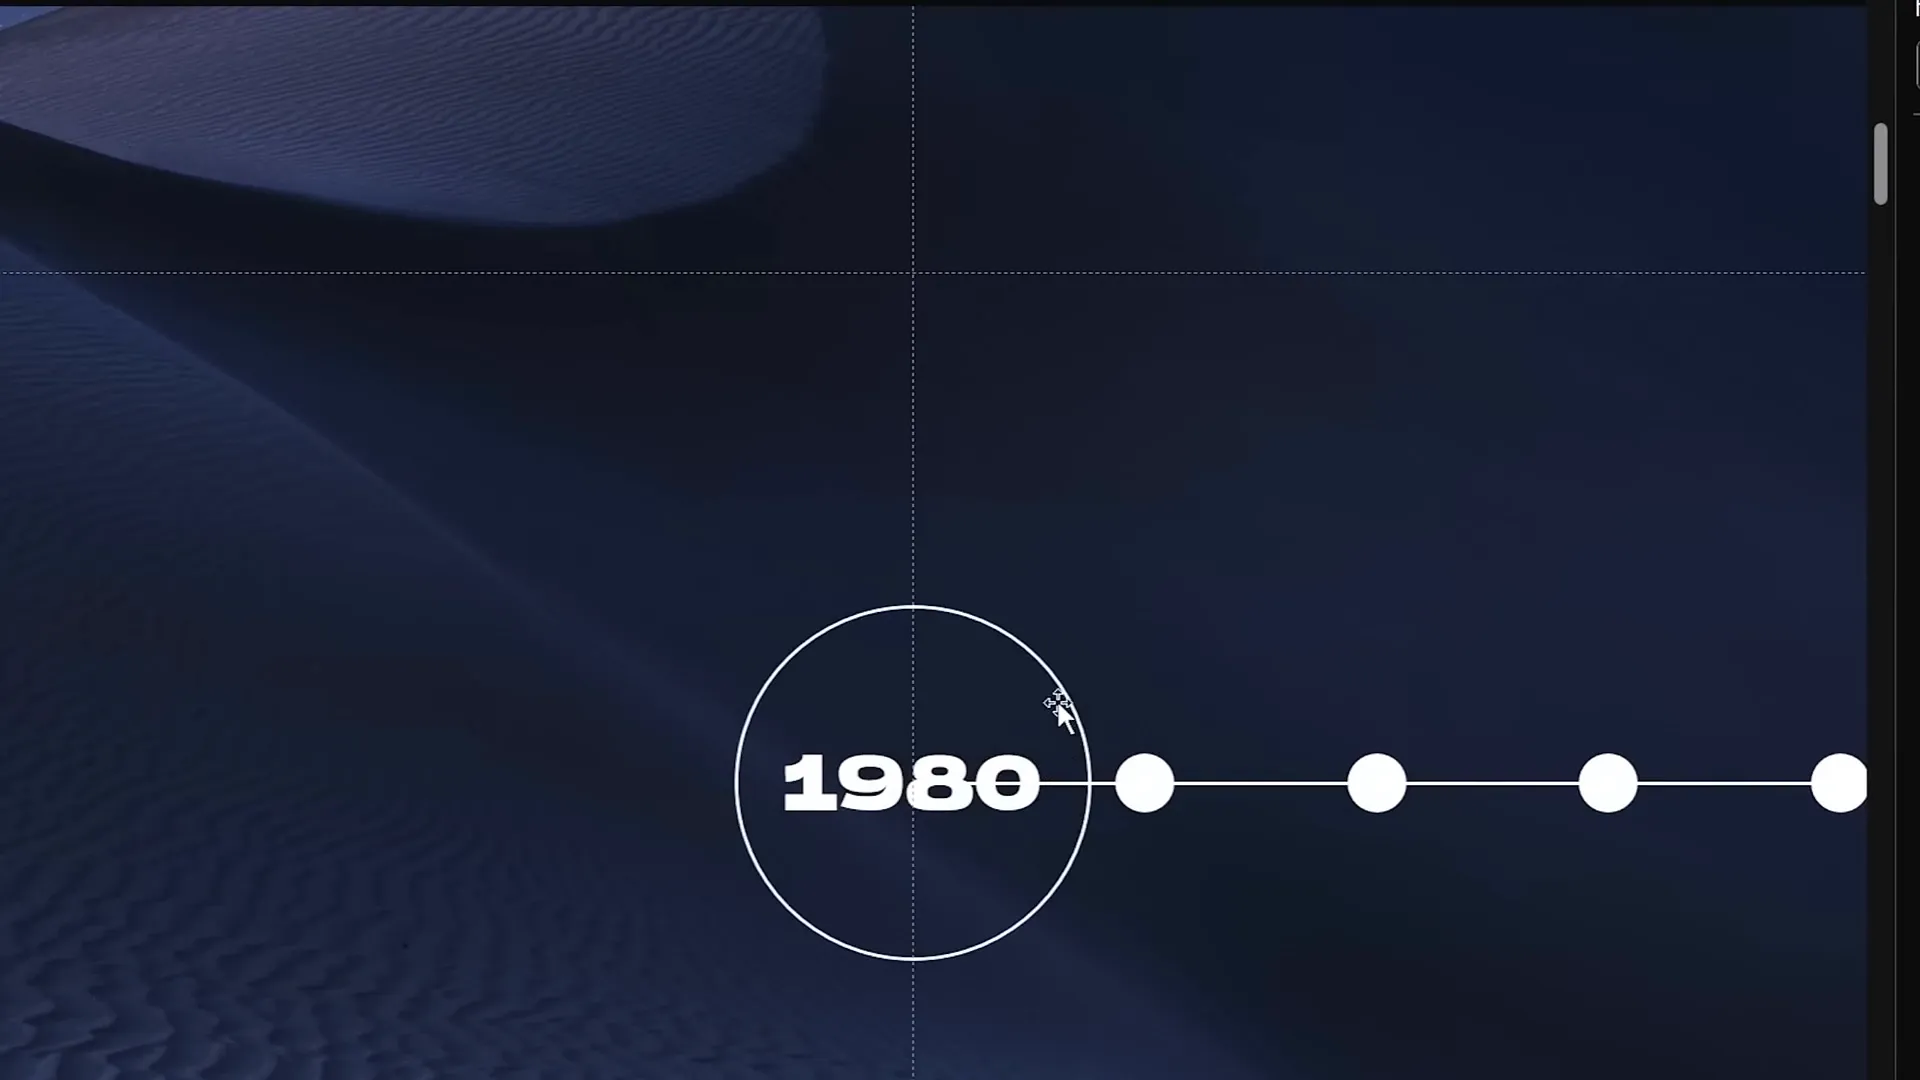
Highlighting the Current Year with Enlarged Circles
To emphasize the active or current year on each slide, enlarge the corresponding circle and make the year text visible.
Step 1: Resize the Highlighted Circle
- On each slide, select the circle representing the current year.
- Hold Ctrl + Shift and drag a corner handle to resize the circle proportionally from the center.
- Set the fill of the circle to a light background color to hide any underlying elements such as the timeline line.
Step 2: Adjust Text Formatting
- Increase the year text font size to 24 points for visibility.
- Remove any fill from the text box to avoid overlap with other elements.
Step 3: Copy Formatting for Consistency
- Select the resized circle with the visible year text.
- Press Ctrl + Shift + C to copy the style.
- On the next slide, resize the current year circle similarly and press Ctrl + Shift + V to paste the style.
- Repeat for all slides to maintain a consistent look.
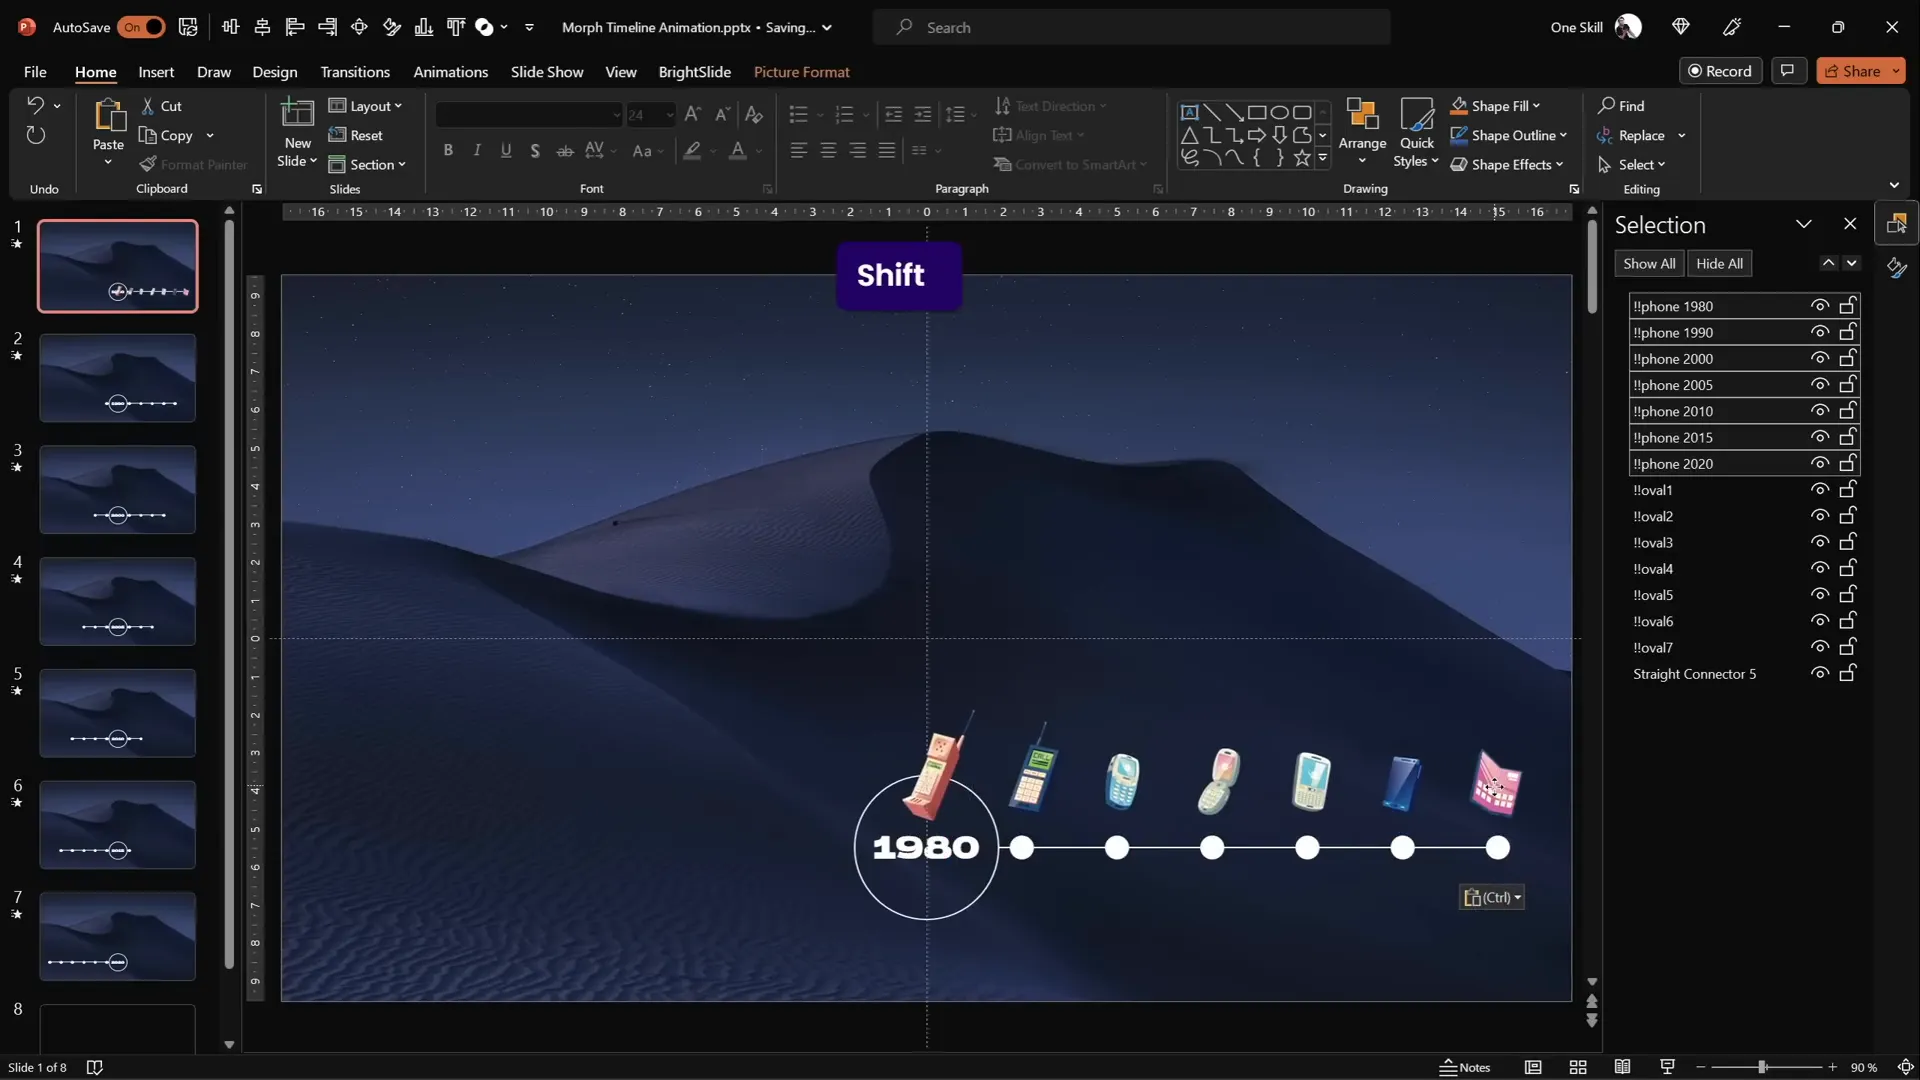
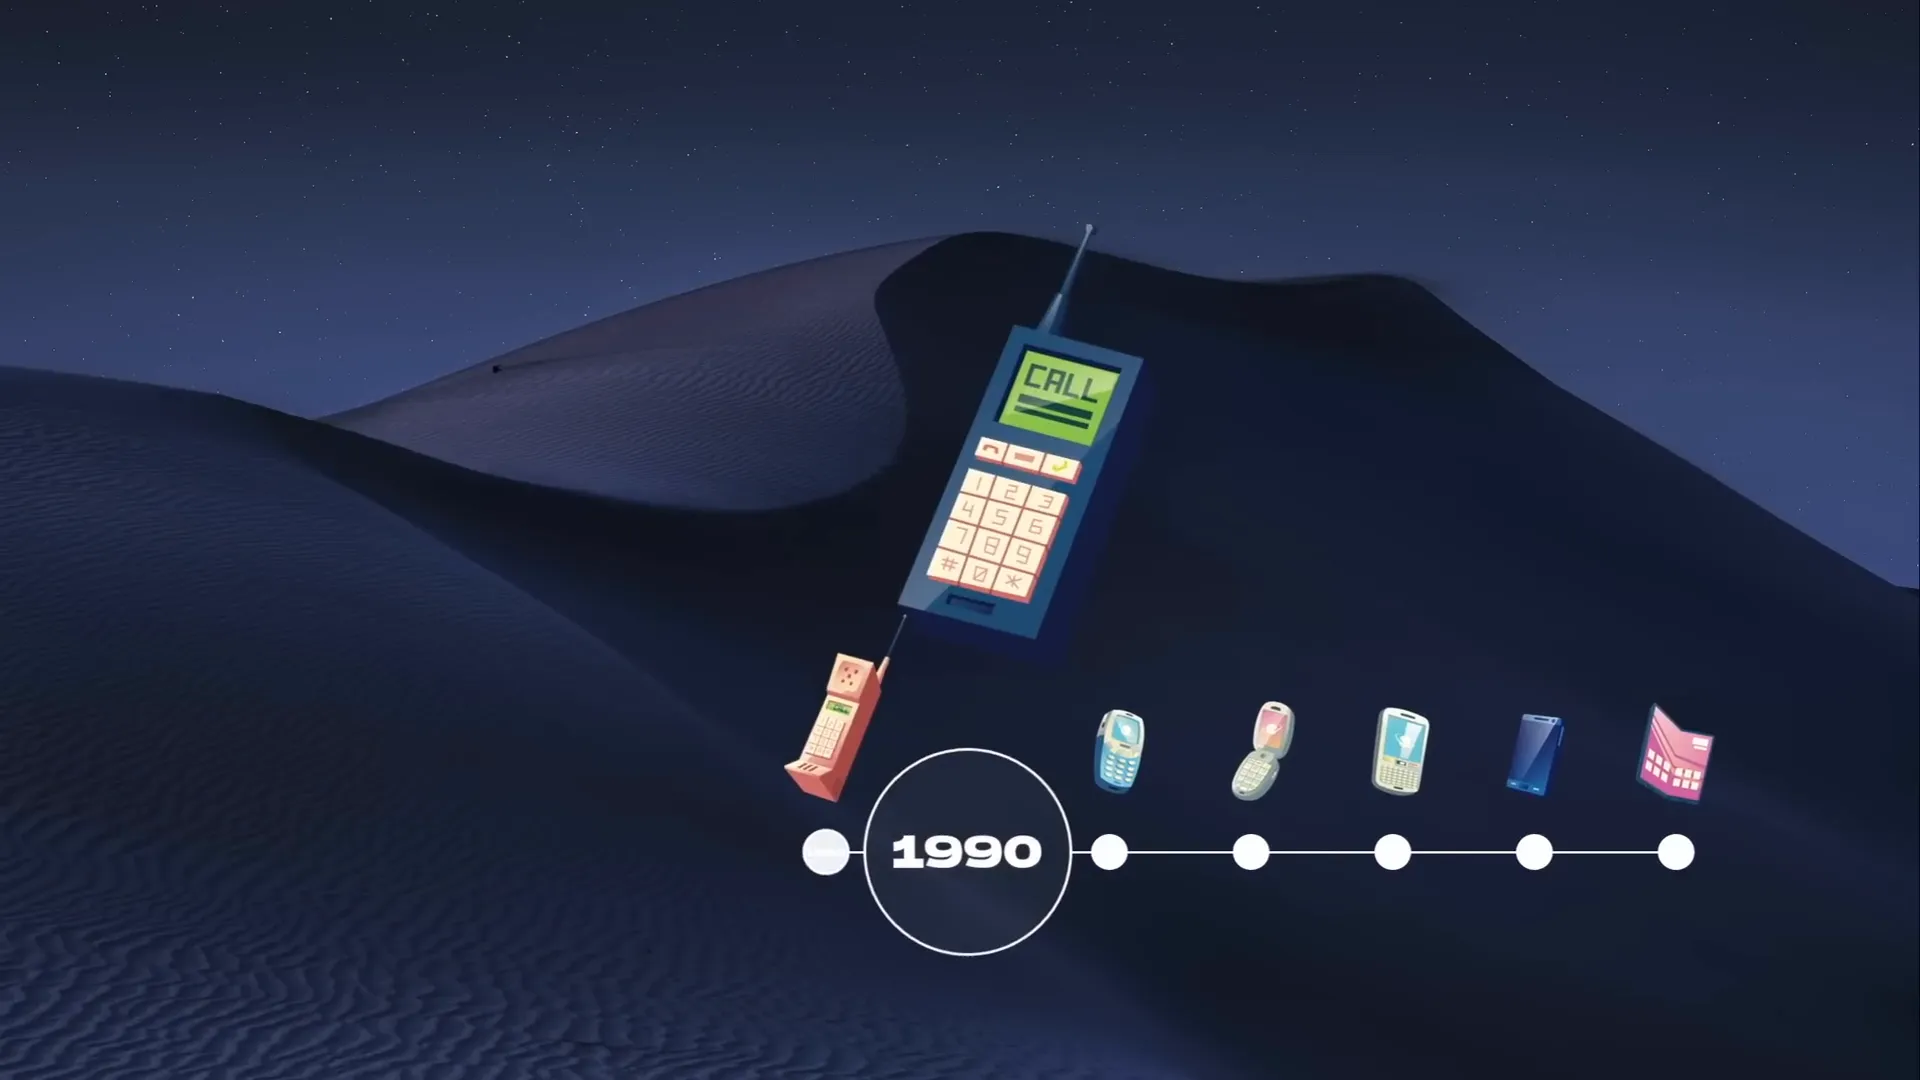
Enhancing the Timeline with Phone Illustrations
To make the timeline more engaging and visually rich, you can add relevant illustrations — in this case, phone images representing different eras.
Step 1: Download Phone Illustrations
Find phone illustrations that depict the evolution of phones over time. You can download free illustrations from sources like Freepik.
Step 2: Name Illustrations for Morph
Rename each phone illustration in the Selection Pane using the same double exclamation mark naming convention, including the corresponding year, e.g., !! Phone 1980.
Step 3: Insert and Position Phones
- Paste all phone illustrations onto slide one.
- Arrange them just above the timeline line for visual clarity.
- Resize and rotate each phone illustration as desired for a dynamic look.
Step 4: Animate Phones with Morph
- As you duplicate and shift circles on subsequent slides, move the phone illustrations one step left as well.
- This synchronizes the animation of phones with the timeline movement.
When previewed, not only do the circles and years animate smoothly, but the phone illustrations also transition seamlessly, thanks to the Morph effect.
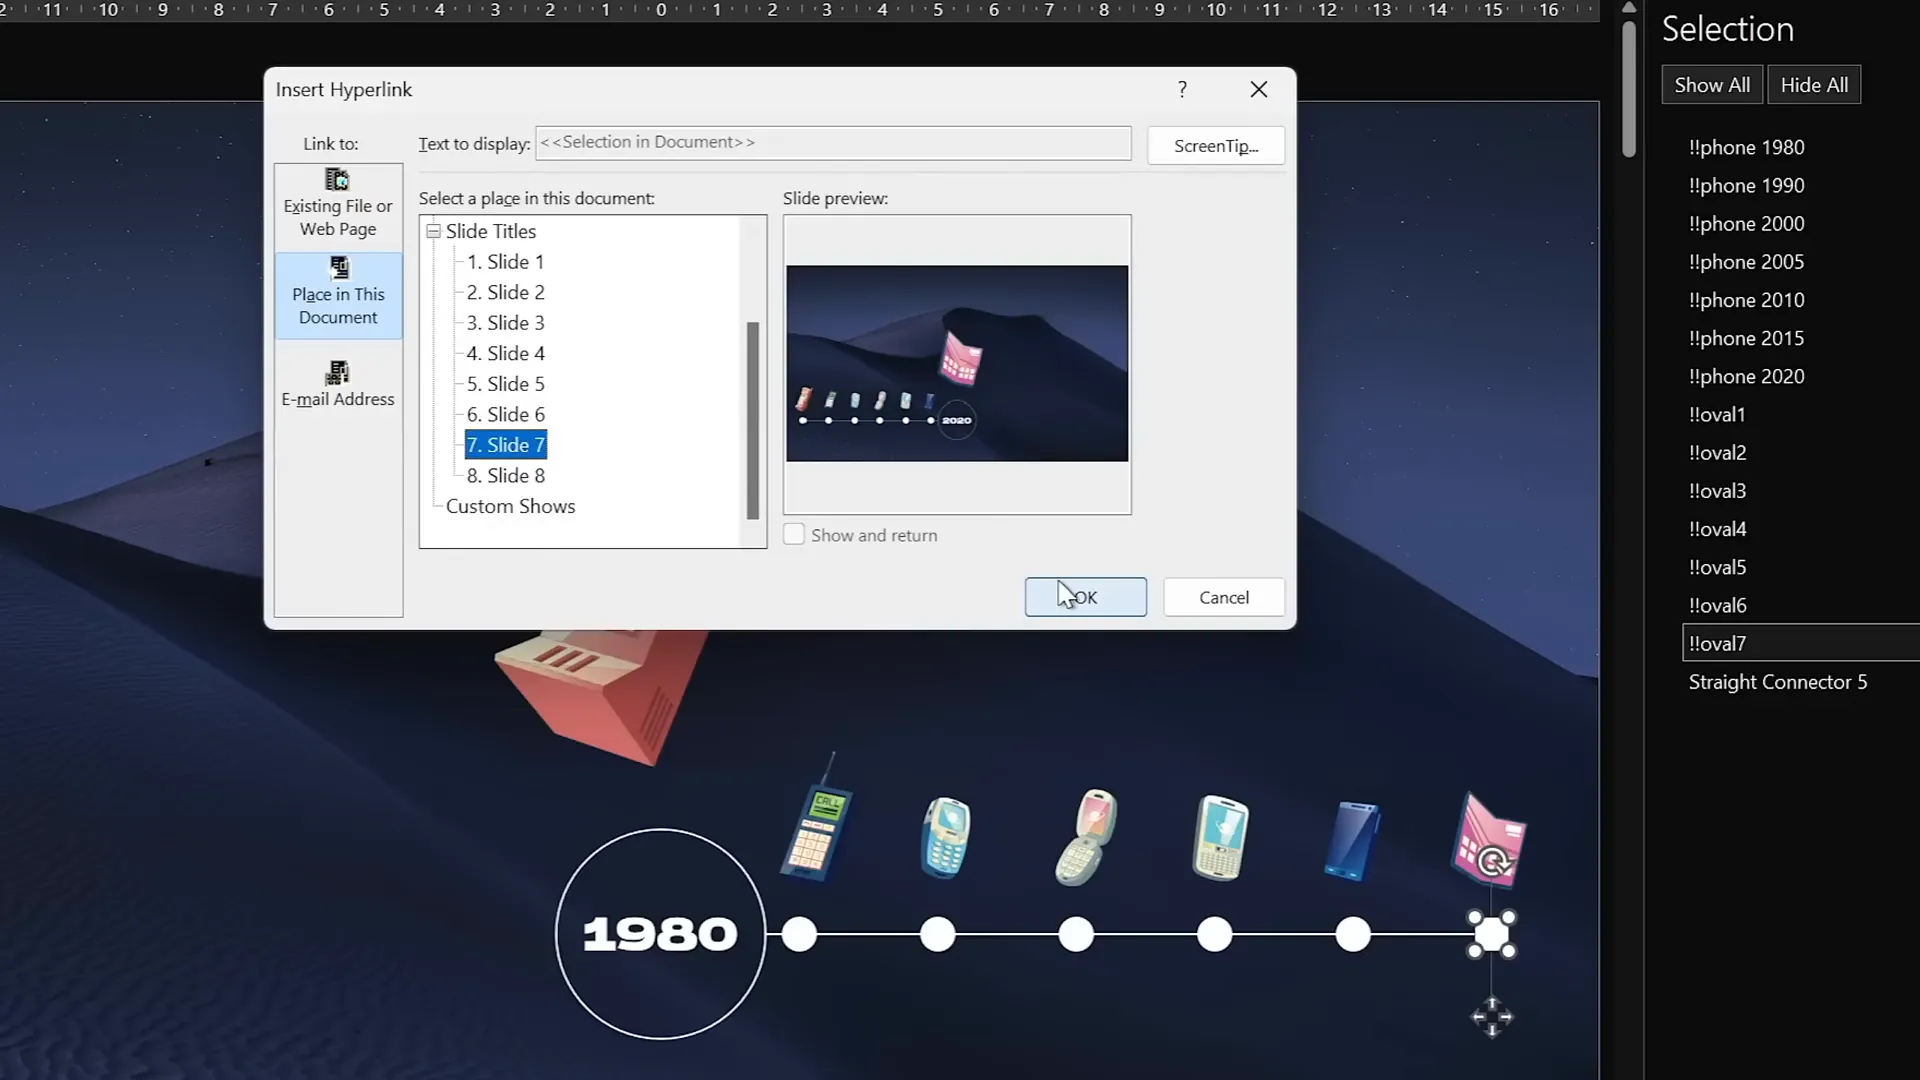
Adding Hyperlinks for Interactive Navigation
To make your timeline even more interactive, you can add hyperlinks to the timeline circles, allowing viewers to jump between specific slides.
Step 1: Insert Hyperlinks on Circles
- On slide one, select the circle on the right side and insert a hyperlink to slide seven.
- On slide seven, select the circle on the left side and insert a hyperlink back to slide one.
- You can add hyperlinks to other circles as needed to create smooth navigation.
Step 2: Use the Hyperlinks During Presentation
Clicking on these hyperlinked circles during the presentation will jump you directly to the linked slide, making your timeline a powerful interactive tool.
Frequently Asked Questions (FAQs)
What is the Morph transition in PowerPoint?
The Morph transition is a feature in PowerPoint that allows smooth animation between slides by automatically moving, resizing, and transforming objects with matching names across slides. It is ideal for creating dynamic animations like moving timelines.
Can I use this animated timeline for other types of projects?
Absolutely! While this tutorial uses a timeline with years and phone illustrations, the technique can be adapted for project roadmaps, historical timelines, product launches, and more.
Do I need advanced PowerPoint skills to create this animation?
No, this tutorial is designed to be accessible. The key is to follow the step-by-step instructions, use consistent naming for shapes, and leverage the Morph transition to handle the animation smoothly.
How do I ensure the animation looks smooth across all slides?
Make sure that all objects you want to animate have the exact same names across corresponding slides. Also, use the same dimensions and positioning as guides to ensure a seamless transition.
Can I add other types of animations or effects?
Yes, you can enhance your timeline with other PowerPoint animation effects, sound, or video. However, be mindful not to overdo it — keep your presentation clean and professional.
Conclusion
Creating an animated morph timeline in PowerPoint is a fantastic way to bring your presentations to life with professional, smooth animations. By following this comprehensive guide, you’ve learned how to:
- Set up a clean slide with a background image suitable for animation effects.
- Create a structured timeline using lines and circles.
- Add and format year labels inside circles.
- Use the Morph transition to animate the timeline smoothly across slides.
- Highlight the current timeline point by enlarging circles and making text visible.
- Enhance the timeline with themed illustrations synced with the animation.
- Add interactive hyperlinks for easy navigation within your presentation.
These PowerPoint animation effects not only improve the visual appeal of your slides but also make your storytelling more engaging and easier to follow. Whether you’re presenting historical data, project milestones, or product evolution, this animated timeline technique will impress your audience and make your message memorable.
For more PowerPoint tutorials and free animation lessons, be sure to check out One Skill PPT’s channels and resources linked in the video description. Happy presenting!


