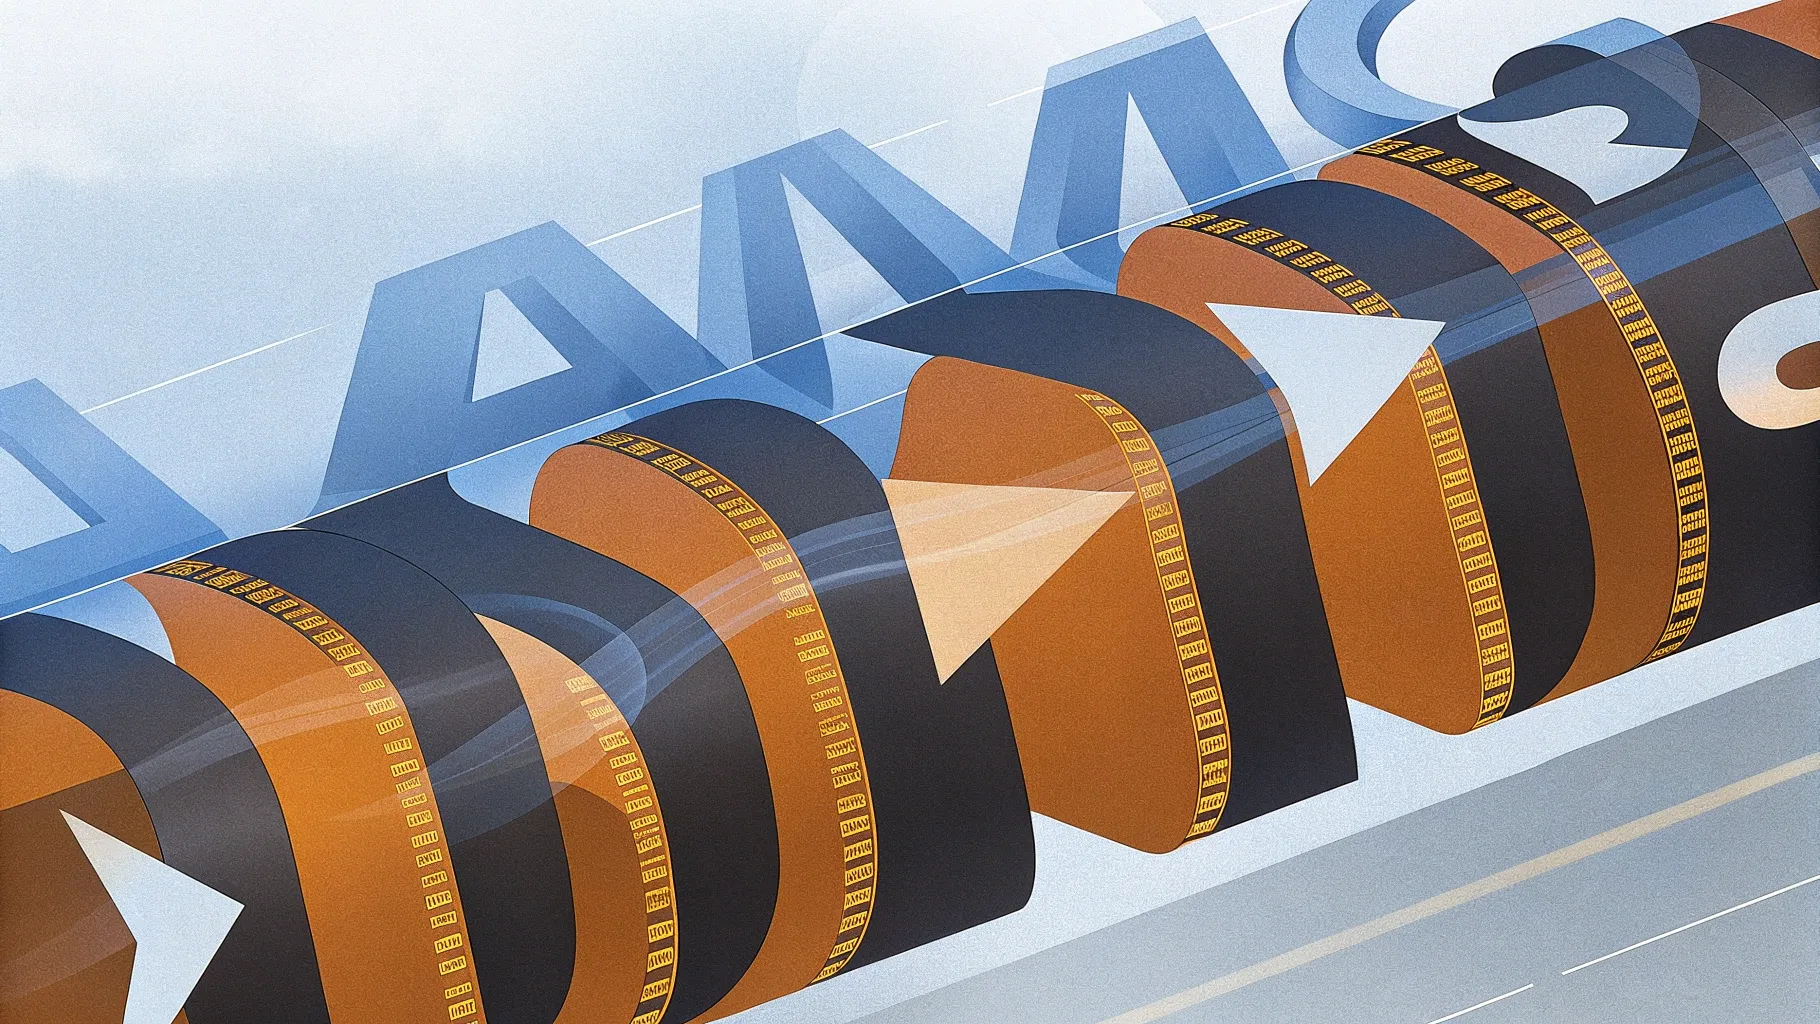
PowerPoint animation effects can transform an ordinary presentation into a captivating visual story. If you want to elevate your PowerPoint skills and impress your audience with sleek, professional animations, mastering creative effects like the text slice effect is a game-changer. In this comprehensive guide, we’ll walk you through how to create an incredible animated text slice effect in PowerPoint, step-by-step. This effect slices your text into angled segments with smooth motion paths, adding a modern, dynamic flair to your slides.
Whether you’re a beginner or an intermediate PowerPoint user, the techniques shared here will help you add polish and sophistication to your presentations. Plus, we’ll share tips on how to customize the animation for multiple text boxes, ensuring your slides look cohesive and engaging.
Table of Contents
- Preparing Your Slide Background
- Setting Up Your Text Box
- Creating the Text Slice Effect
- Adding the Animated Shape for Depth
- Animating the Text Parts
- Expanding the Effect to Multiple Text Boxes
- Final Tips for Perfecting Your Animation
- Frequently Asked Questions (FAQ)
Preparing Your Slide Background
Before diving into the text slice animation, it’s essential to set up a visually appealing slide background that complements your text and animation. This not only enhances the overall look but also ensures the animation stands out.
Using the Slide Master for Background Images
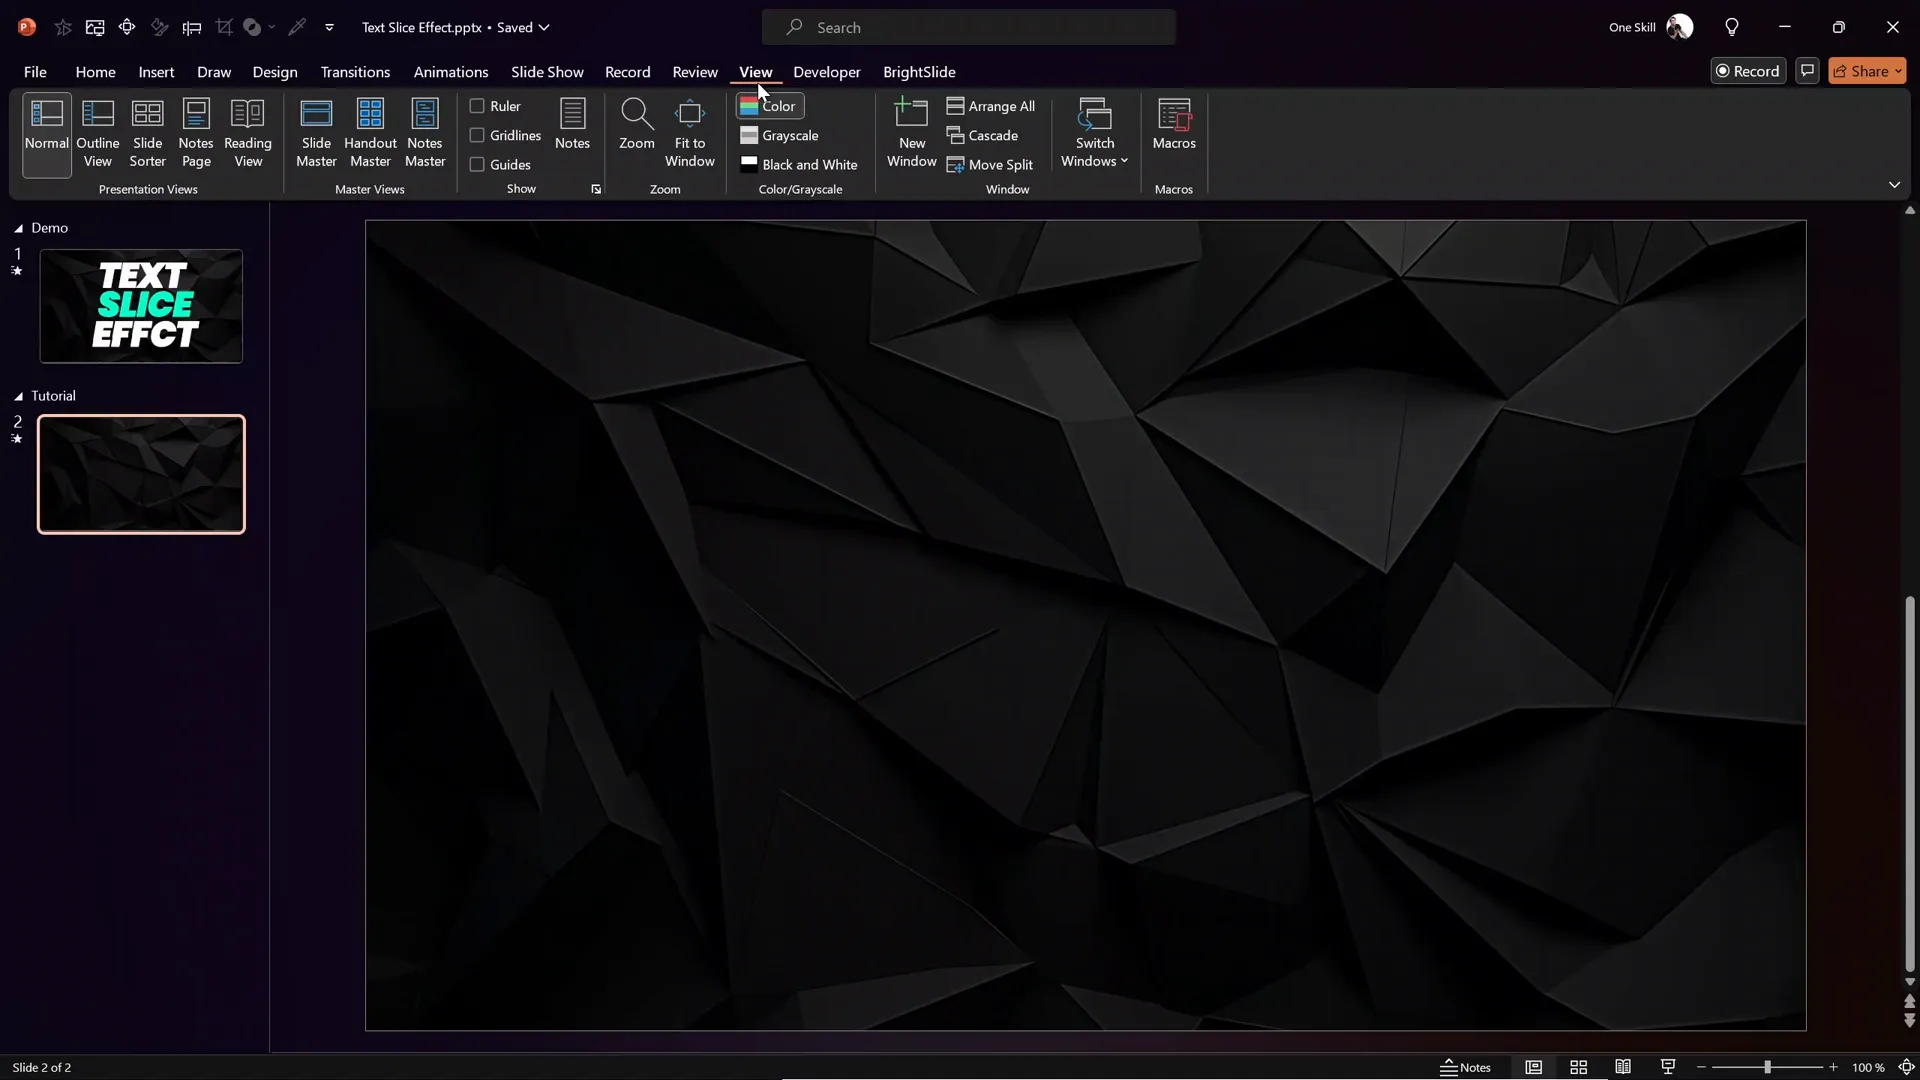
One of the best practices for consistent slide backgrounds is placing your background image in the Slide Master. This method locks the image in the background, preventing accidental selection or modification during slide editing.
- Go to the View tab and select Slide Master.
- Choose the slide layout you want to modify.
- Insert your background image (in this tutorial, a dark photo texture from Freepik is used).
- Position and size the image as needed.
- Exit the Slide Master view to return to normal slide editing.
Now, your background image will be visible but not selectable on your slides, making it easier to work on foreground elements like text and animations.
Setting Up Your Text Box
With your background ready, the next step is to add the text you want to animate with the slice effect.
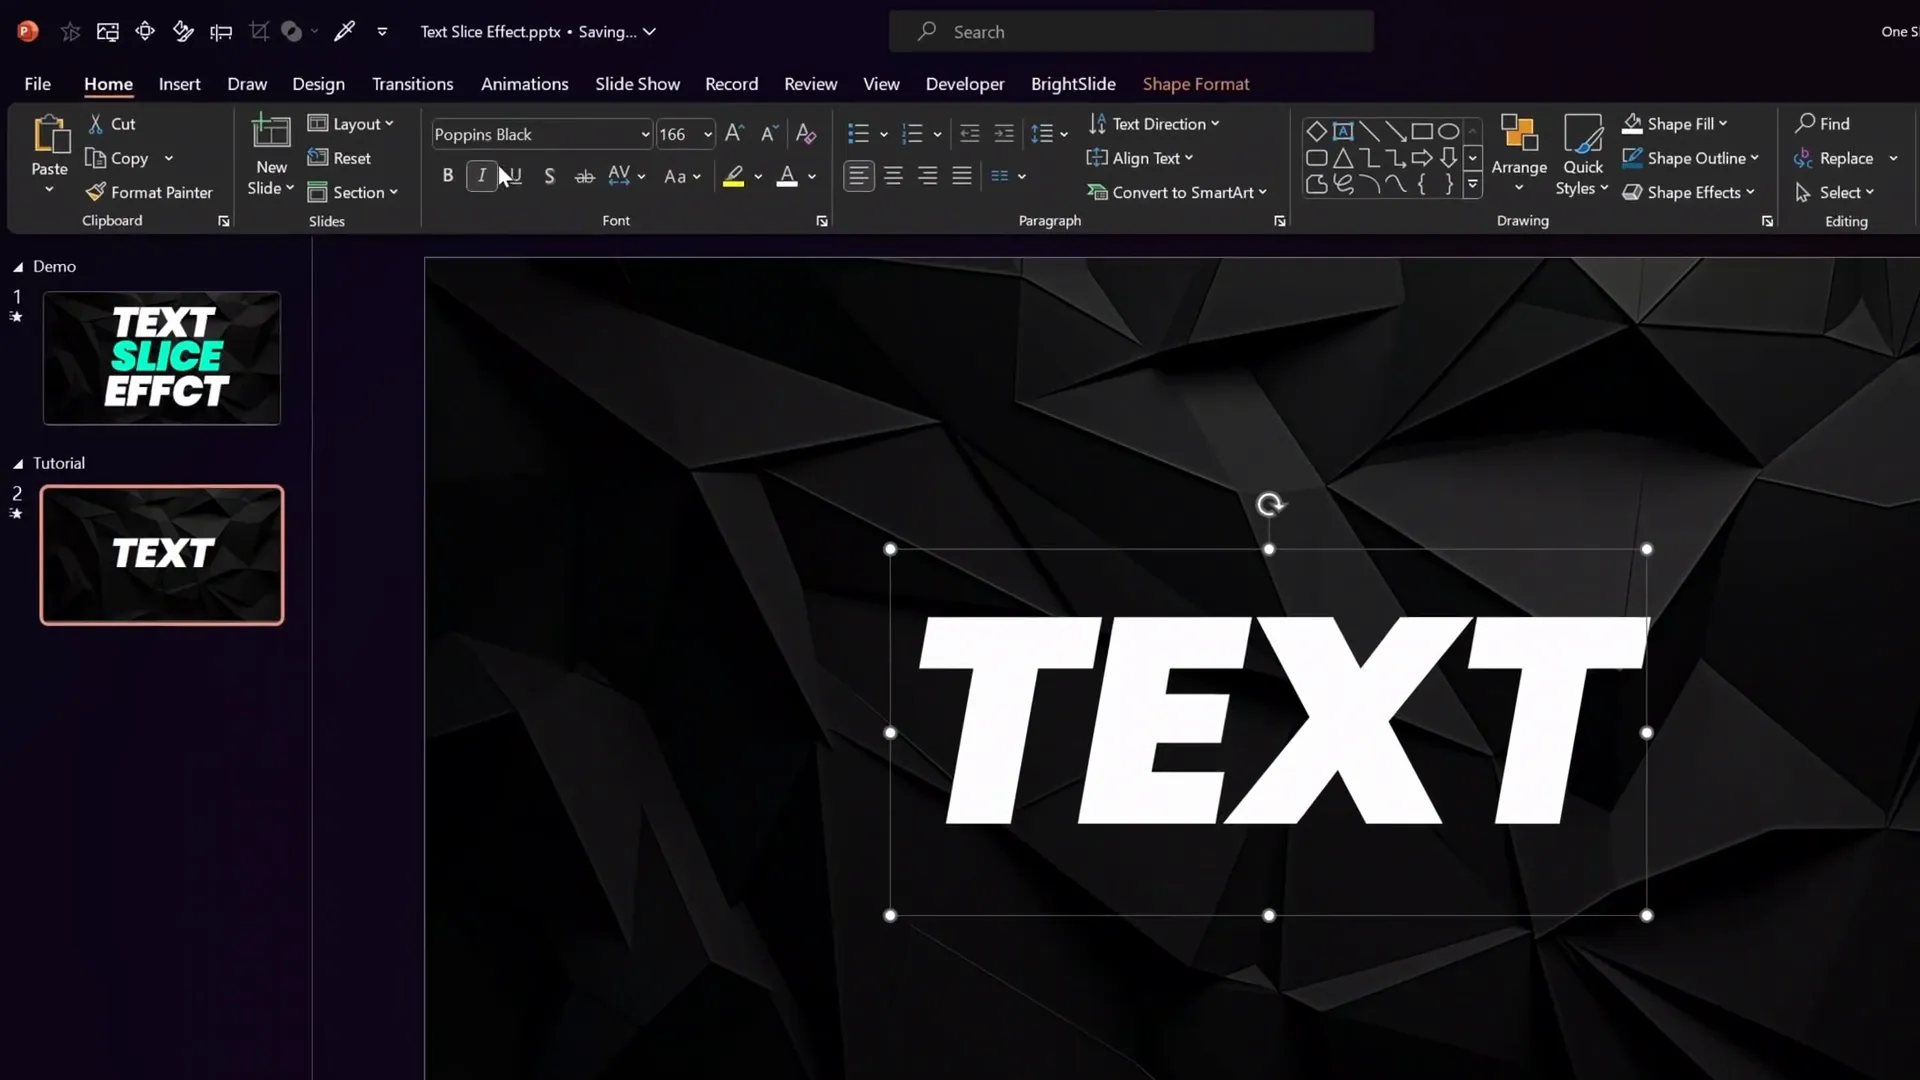
Inserting and Formatting Your Text Box
- Insert a new text box by selecting Insert > Text Box.
- Type your desired text, for example, Text.
- Position the text box centrally on your slide for balance.
- Choose your preferred font and size. In this tutorial, the font Poppins is used at a large size to ensure visibility of the slice effect.
Keep in mind that the font choice and size directly impact how the slice effect appears, so choose a bold, clear font for maximum impact.
Creating the Text Slice Effect
This is the heart of the tutorial. The text slice effect is achieved by splitting your text box into angled parts using a semi-transparent rectangle as a slicing guide.
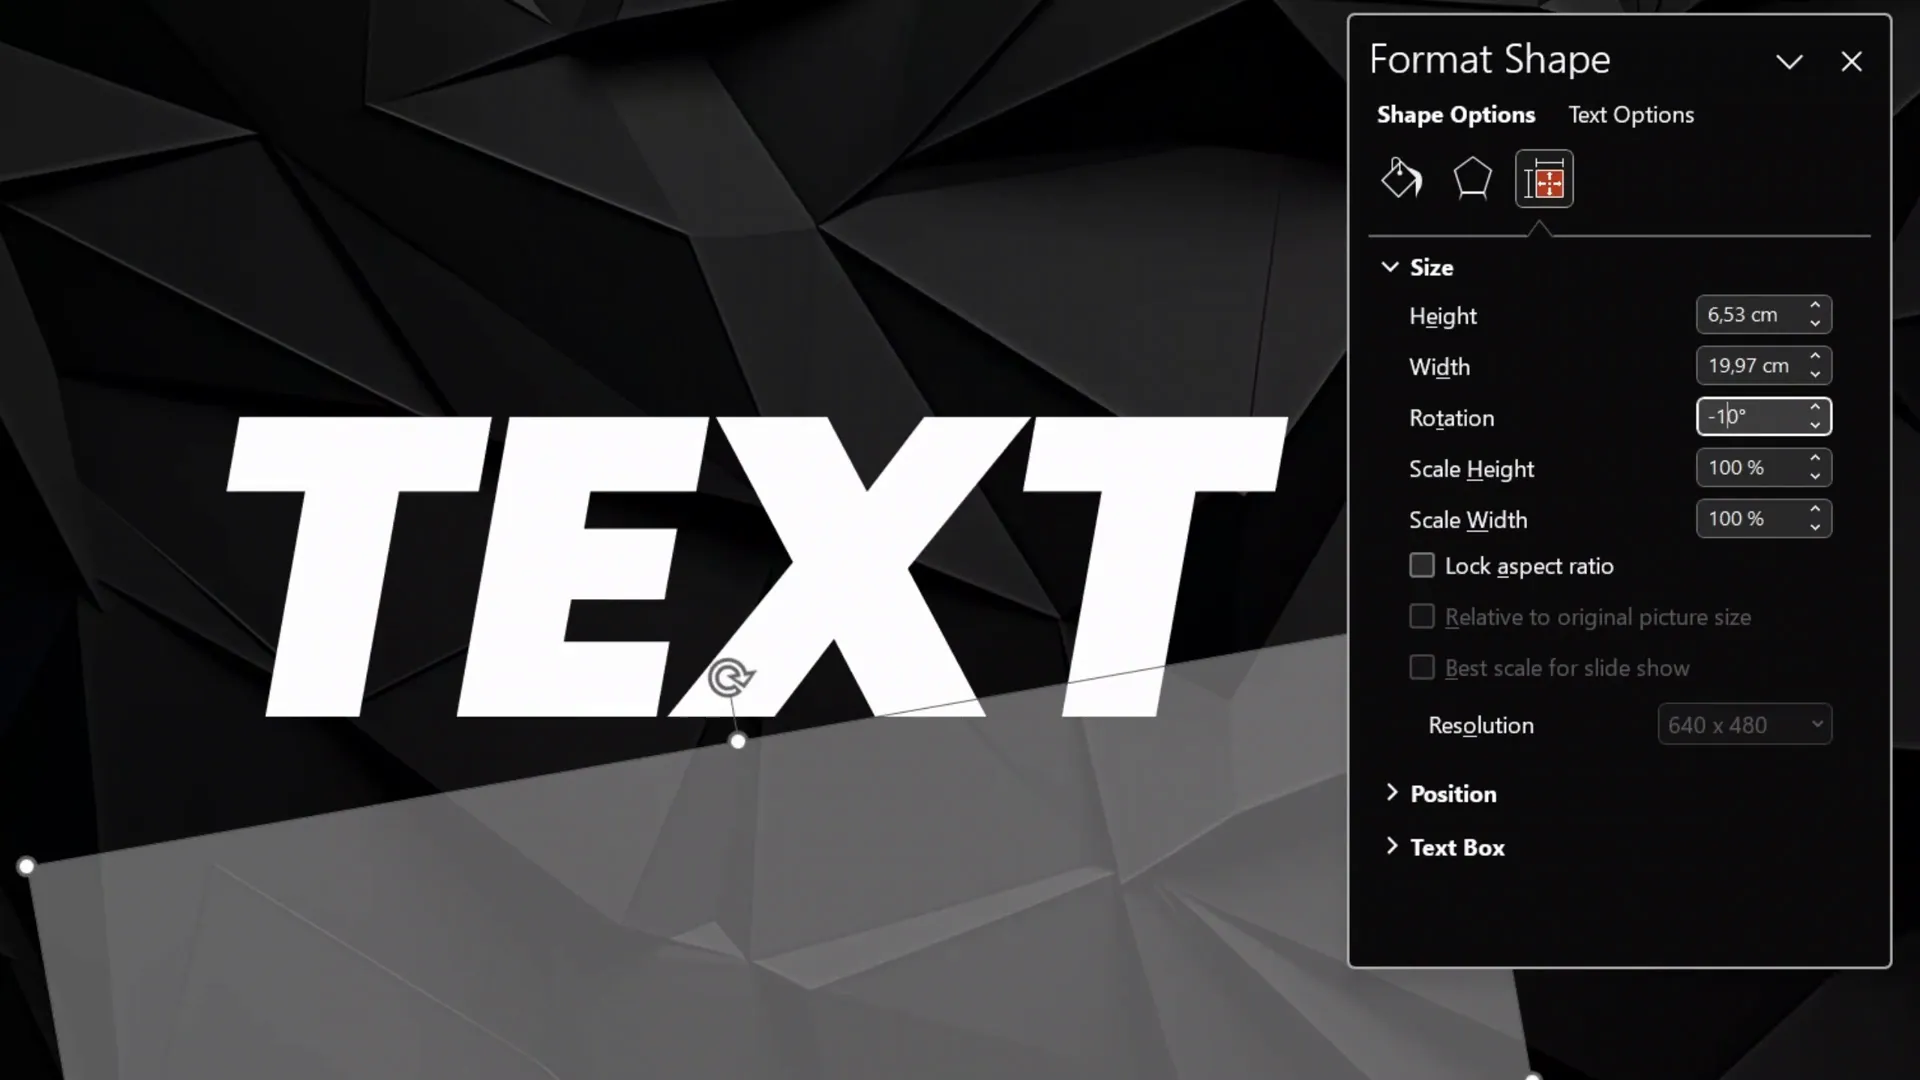
Step 1: Insert and Format the Rectangle
- Go to Insert > Shapes and choose the rectangle tool.
- Draw a rectangle over your text box where you want the slice to occur.
- Open the Format Shape pane, and under Fill, adjust the transparency to make the rectangle semi-transparent (this helps you align it properly).
- Rotate the rectangle by -10 degrees (or your preferred angle) to create the diagonal slice edge.
- Position the rectangle so that it slices through the text at the desired location and angle.
This rectangle will act as the slicing tool for your text.
Step 2: Duplicate the Slide and Slice the Text
To create the sliced text effect, you will extract two parts of the text by using PowerPoint’s Merge Shapes feature.
- Duplicate the slide to work on extracting the top part.
- Hold down the Shift key and select both the text box and the rectangle.
- Go to the Shape Format tab, find Merge Shapes, and select Subtract. This will cut out the bottom portion and leave the top angled slice.
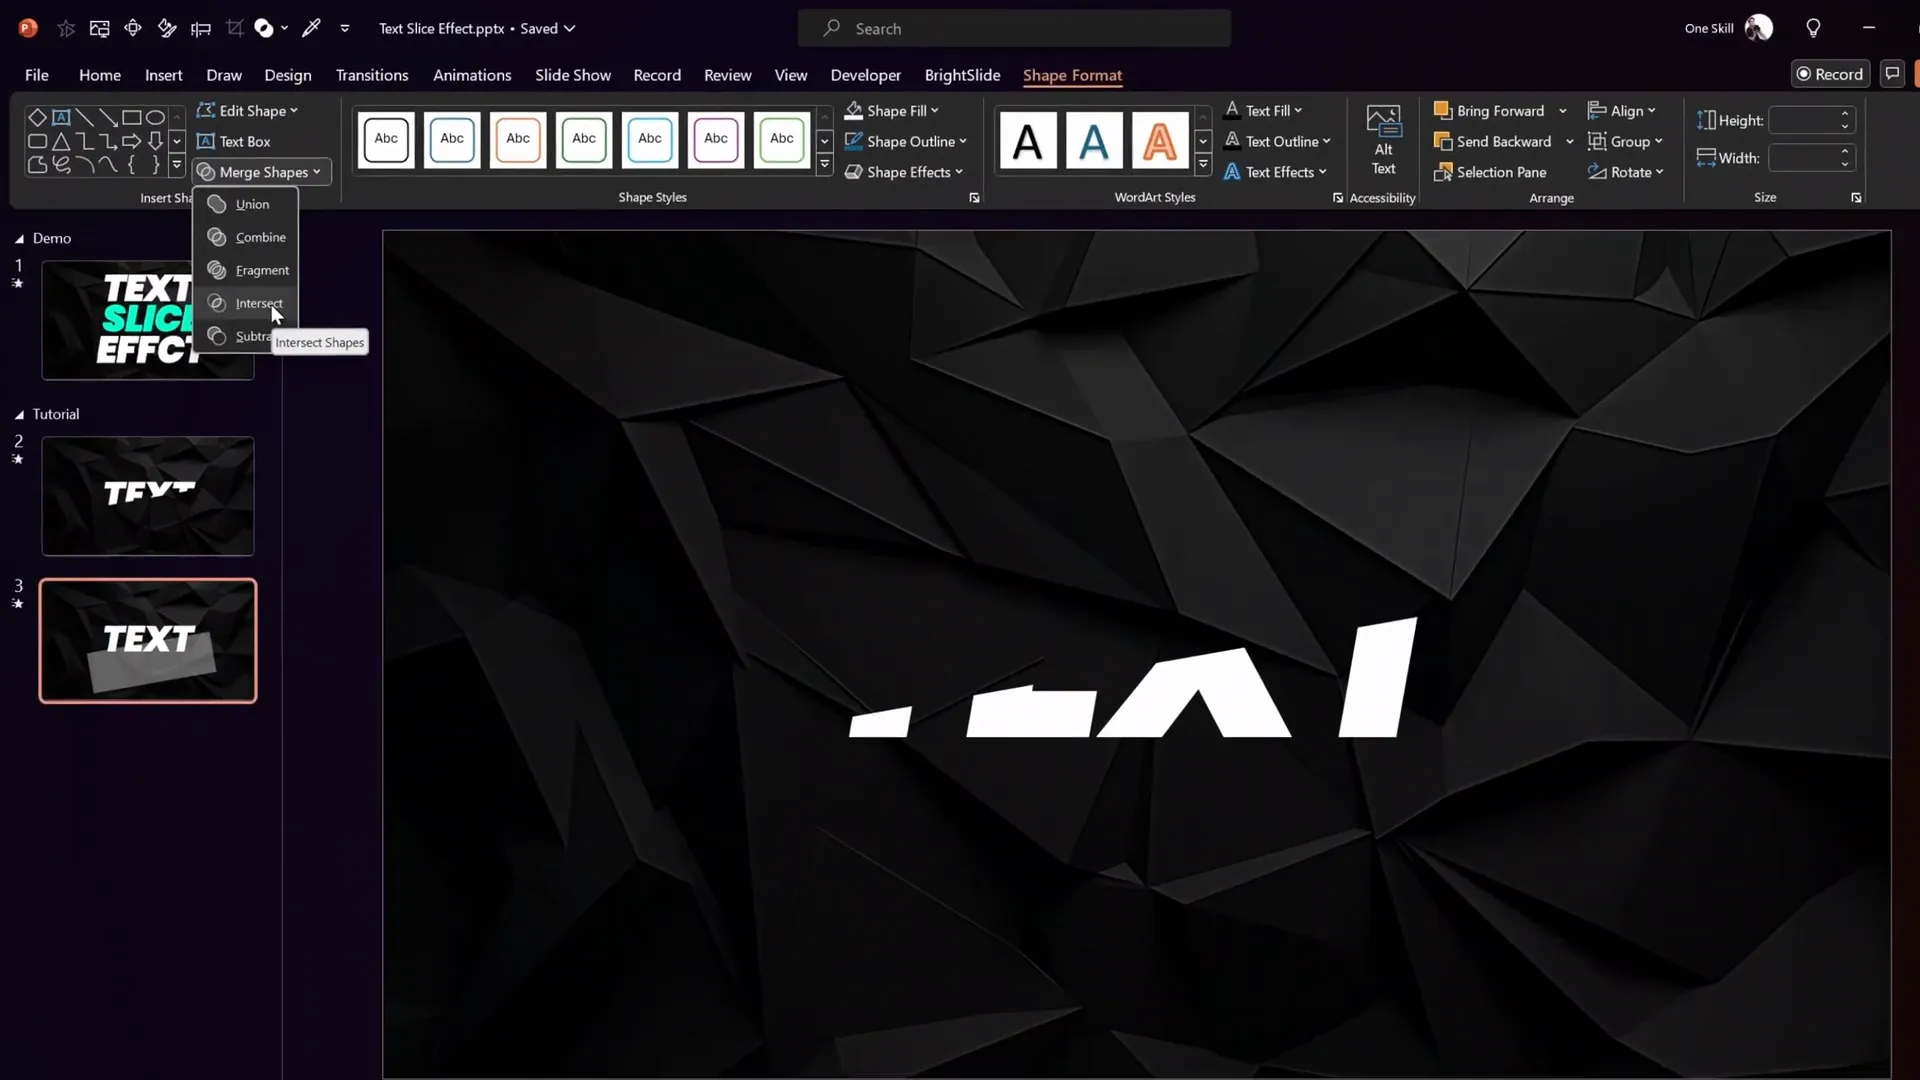
- On the duplicated slide, repeat the selection of text and rectangle, but this time choose Intersect under Merge Shapes. This extracts the bottom part of the text.
- Cut the bottom part from this slide and paste it back into the slide with the top part so both sliced text parts are on the same slide.
- Delete any empty or extra slides.
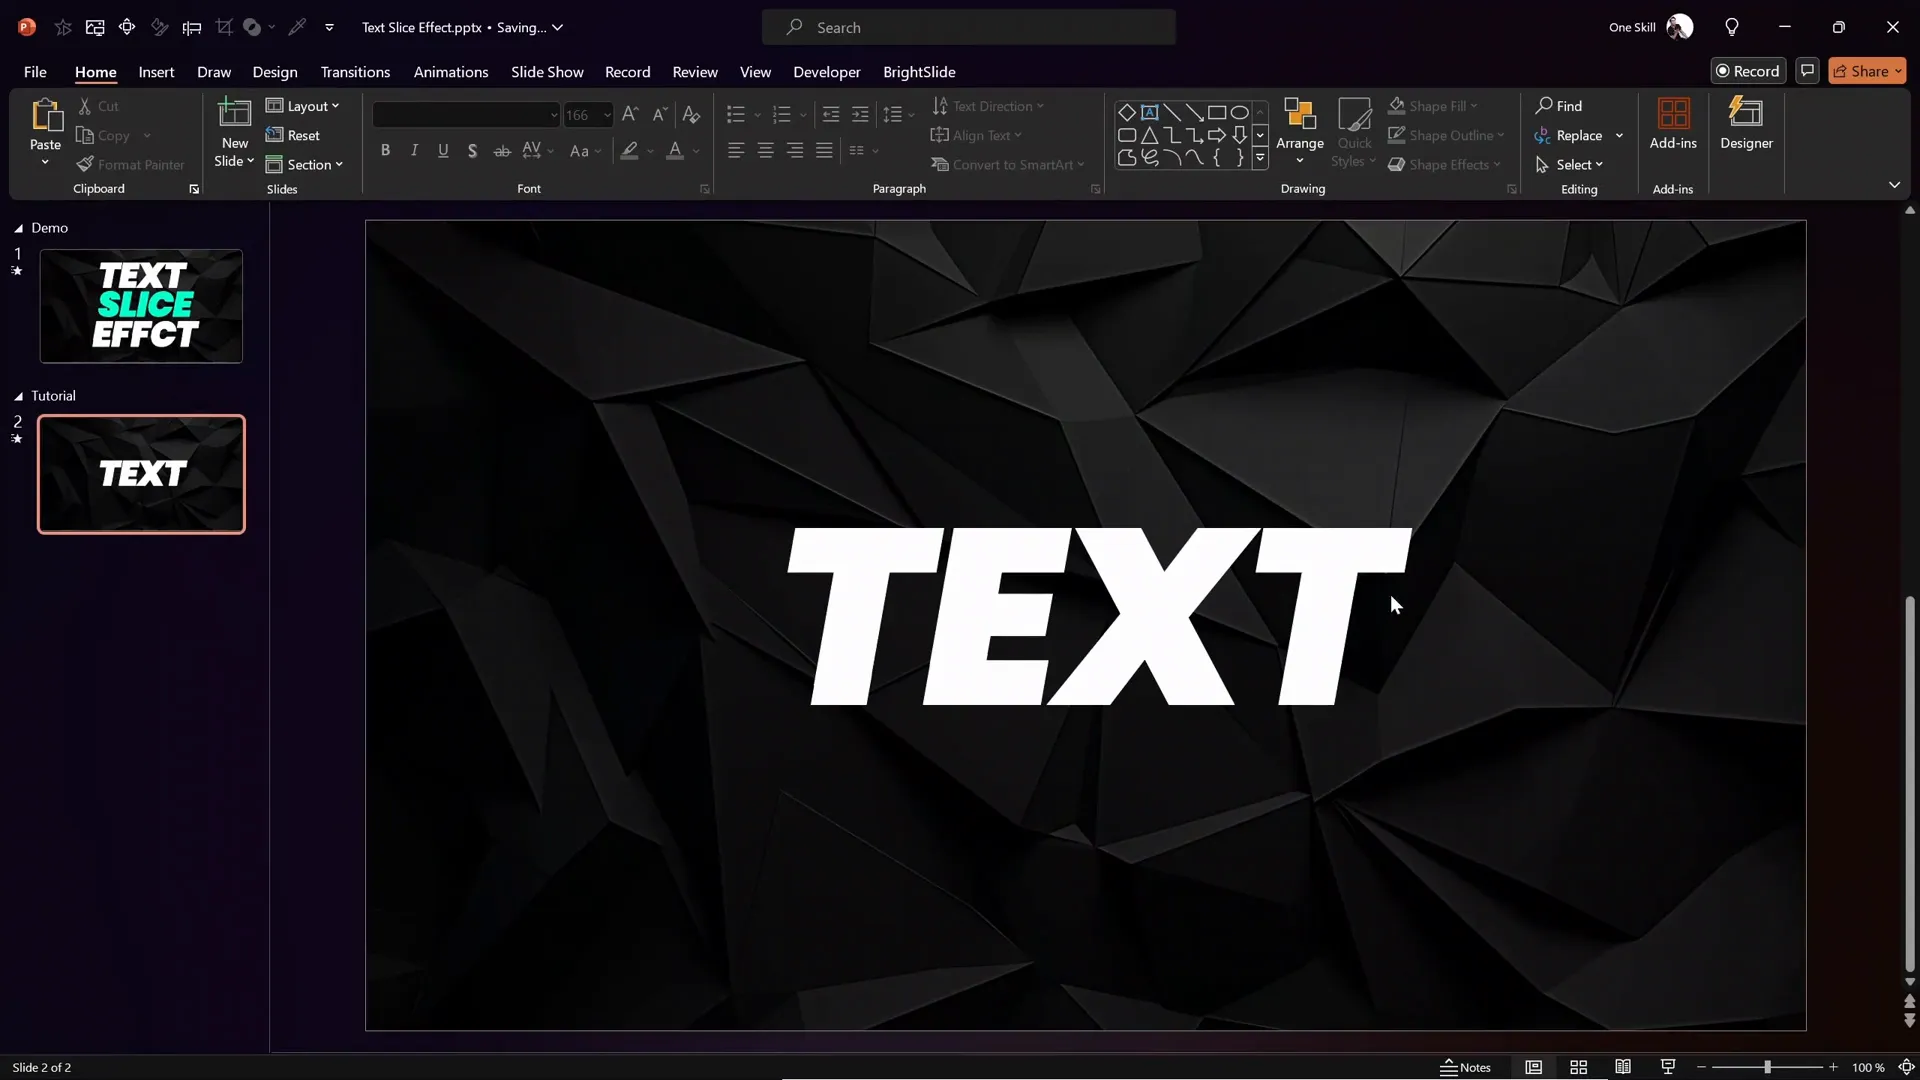
Now you have your text sliced into two angled parts that can be animated independently.
Step 3: Add a White Outline to Mask Edges
Sometimes, slicing text can leave a faint edge or line between the parts. To smooth this out:
- Select both sliced text parts.
- Apply a thin white outline to each part using the Shape Outline options.
This gives the illusion of a single seamless text box despite being split.
Adding the Animated Shape for Depth
To enhance the slice effect and add dynamic movement, a small diamond shape is created and animated to follow the slice angle.
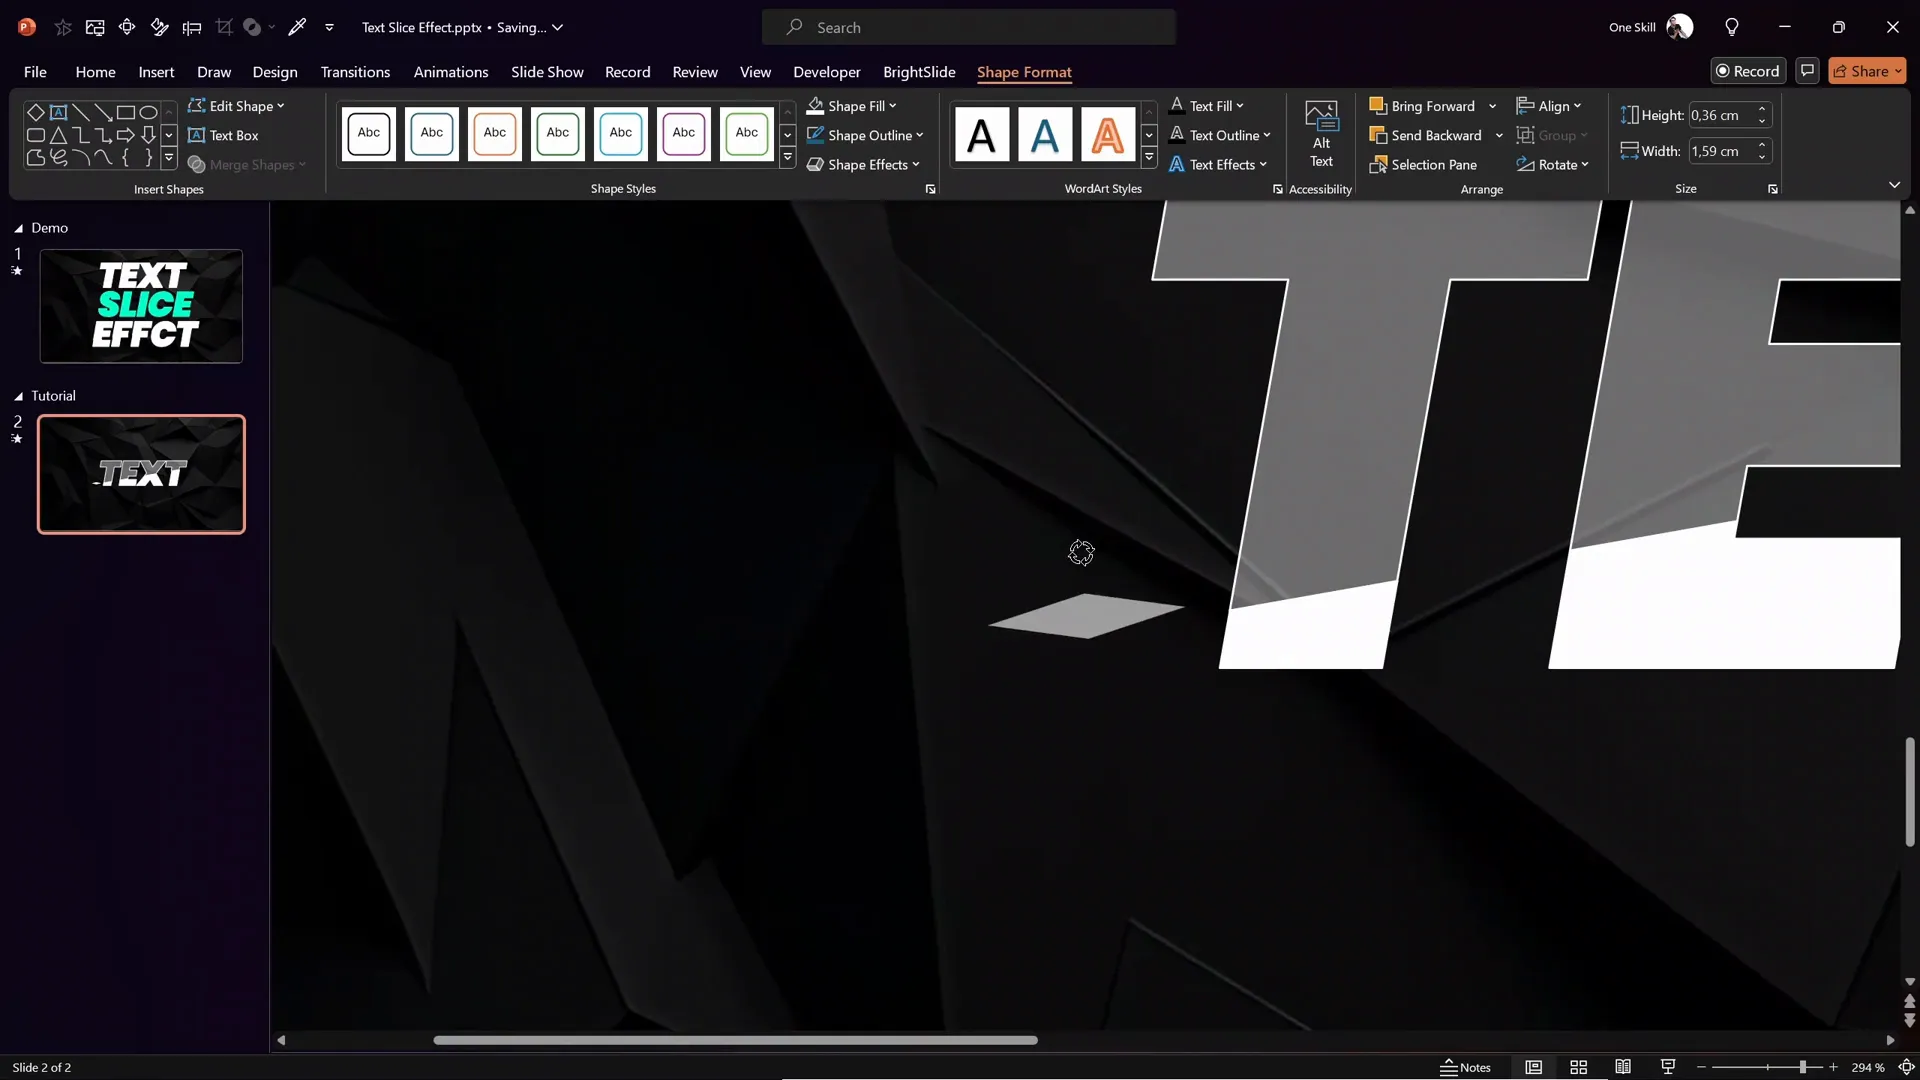
Step 1: Insert and Format the Diamond Shape
- Insert a small diamond shape (Insert > Shapes > Diamond).
- Resize and squish the diamond shape to make it narrow and wide enough to complement the slice angle.
- Position the diamond shape close to a letter in your sliced text (like the letter “t”).
- Rotate the diamond shape to perfectly match the slice angle (e.g., -10 degrees).
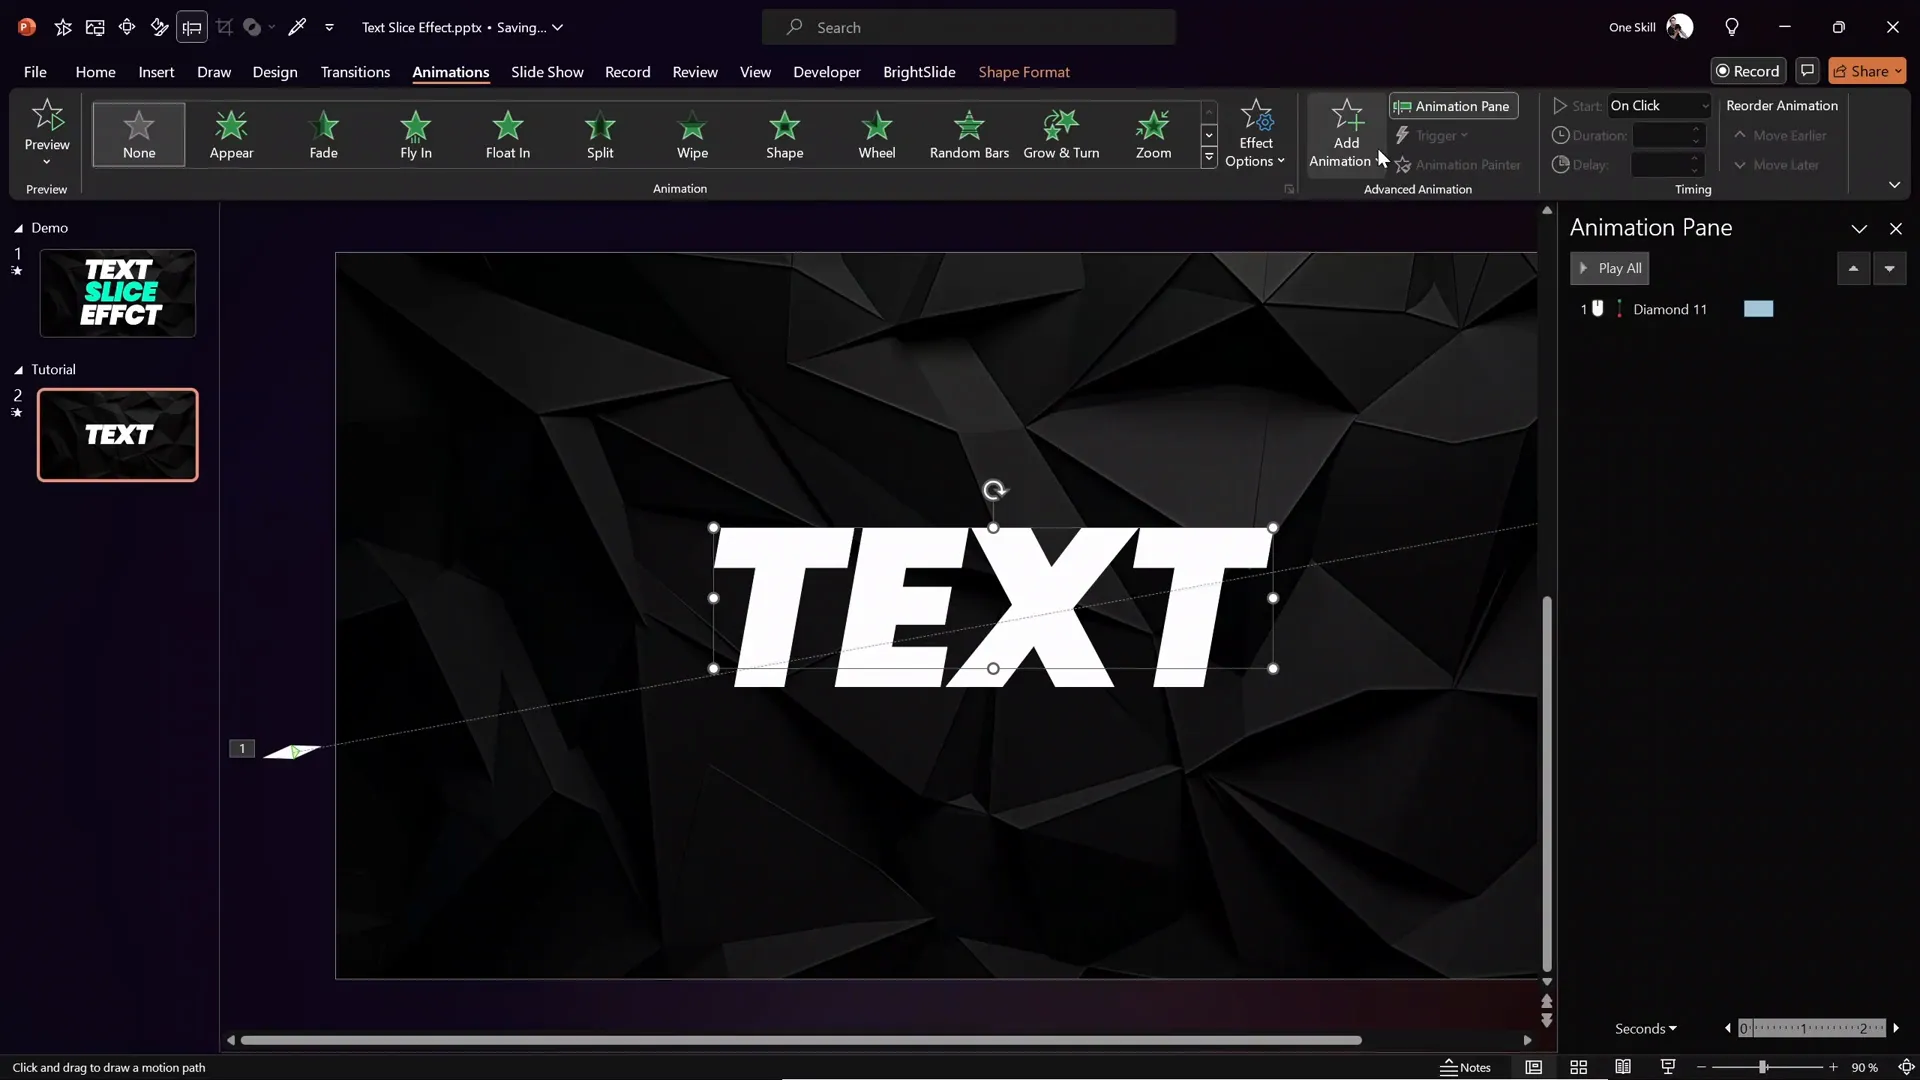
Step 2: Animate the Diamond Shape
- Move the diamond shape off the slide to the right, outside the visible area.
- Go to the Animations tab and add a Motion Path > Line animation.
- Adjust the red endpoint bubble of the motion path to match the slice angle and position it just outside the slide boundary.
- Use the arrow keys to fine-tune the diamond’s position for perfect alignment.
- Set the animation duration to 0.5 seconds.
- Enable Smooth Start and Smooth End for fluid movement.
This moving diamond adds a subtle but effective highlight to the slice, making the animation more engaging.
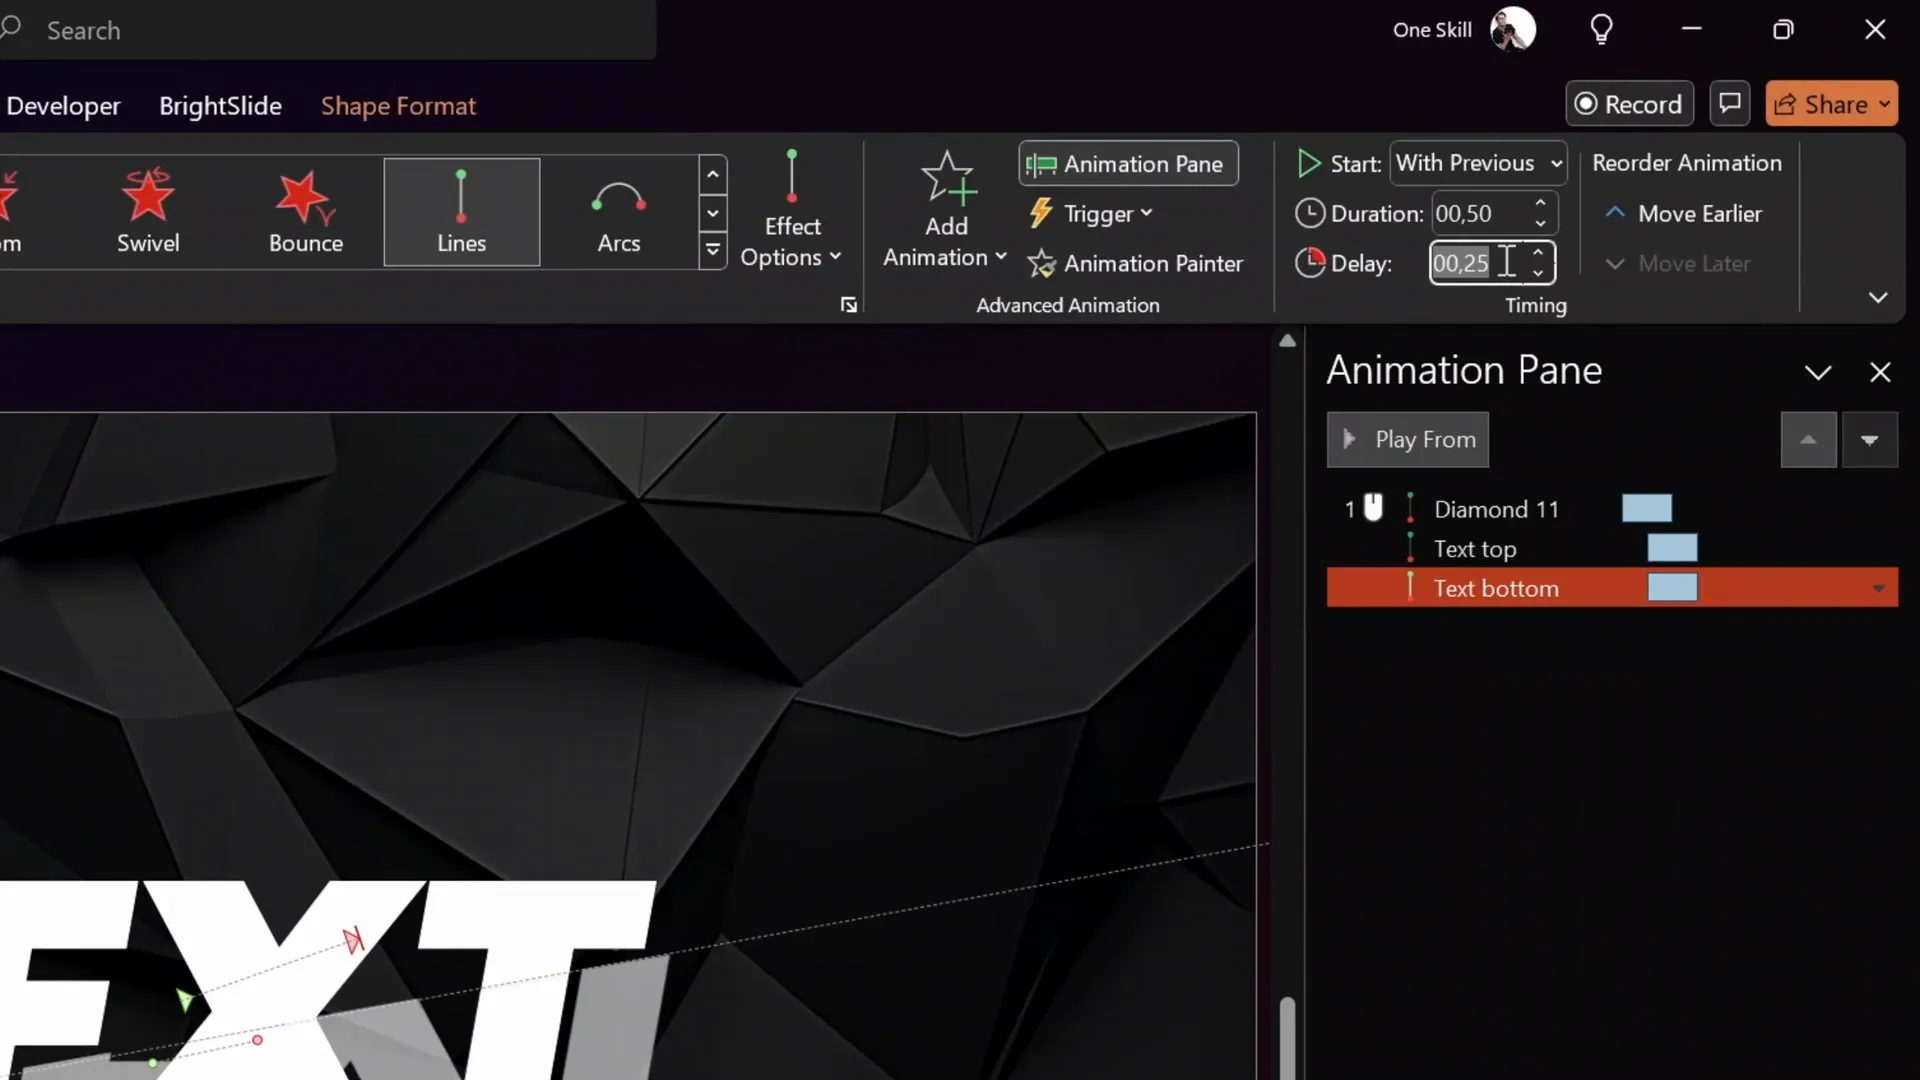
Animating the Text Parts
With the diamond shape animated, it’s time to add motion to the sliced text parts themselves to complete the slice effect.
Step 1: Animate the Top Text Part
- Restore the white fill color of the top text part if you had lowered its transparency earlier.
- Select the top sliced text part.
- Add a Motion Path > Line animation.
- Drag the red endpoint of the motion path slightly to the right and upwards, following the slice angle.
- Set the animation to start With Previous so it synchronizes with the diamond animation.
- Set the duration to 0.5 seconds.
- Add a delay of 0.25 seconds to create a staggered effect.
Step 2: Animate the Bottom Text Part
- Select the bottom sliced text part.
- Use the Animation Painter to copy the top part’s motion path animation to the bottom part.
- Adjust the bottom part’s motion path to be slightly shorter than the top part’s path for visual variance.
- Set the animation to start With Previous.
- Set the duration also to 0.5 seconds.
- Add a delay of 0.4 seconds so this animation happens last in the sequence.
The staggered motion paths for the top and bottom text parts create a smooth, cascading slice animation that looks professional and eye-catching.
Expanding the Effect to Multiple Text Boxes
Once you’ve mastered the slice effect for a single text box, you can easily apply it to multiple text boxes on the same slide for a more complex and impactful animation.
- Repeat the slicing and animation steps for each text box you want to animate.
- Create individual diamond shapes for each sliced text box, matching their slice angles.
- Adjust animation delays on each text box and diamond shape to create a waterfall effect, where animations cascade sequentially.
On the example slide, three text boxes and three diamond shapes are animated using this method, producing a coordinated and visually stunning text slice animation.

Final Tips for Perfecting Your Animation
- Use the Selection Pane: Name your objects clearly (e.g., “Top Text Part,” “Bottom Text Part,” “Diamond Shape 1”) to keep track of elements easily.
- Fine-tune Motion Paths: Zoom in on motion path endpoints to adjust positions precisely for smooth, aligned movement.
- Experiment with Angles: The slice angle (-10 degrees used here) can be customized to suit your slide design and text style.
- Keep Animations Short: Duration of 0.5 seconds keeps the animation fast and engaging without dragging.
- Use Smooth Start and End: Enable these to avoid abrupt movements and create a polished effect.
- Synchronize Animations: Use delays and start options like “With Previous” to choreograph a natural, flowing animation sequence.
Frequently Asked Questions (FAQ)
What is the text slice effect in PowerPoint animation?
The text slice effect splits a text box into angled segments that animate separately, creating a dynamic slicing motion. It adds depth and visual interest to your text, making your presentation more engaging.
Can I use any font for the text slice effect?
While you can use most fonts, bold and clear sans-serif fonts like Poppins work best to highlight the sliced edges and ensure readability during animation.
Do I need advanced PowerPoint skills to create this effect?
No, this effect uses native PowerPoint features like shapes, merge shapes, and motion path animations. With some practice, even intermediate users can master it.
Can I apply this effect to multiple text boxes on the same slide?
Absolutely! You can create multiple sliced text boxes and animate each with corresponding diamond shapes and staggered delays for a coordinated waterfall effect.
Is this animation compatible with all PowerPoint versions?
This tutorial uses features available in PowerPoint 2013 and later. Make sure your PowerPoint version supports Merge Shapes and Motion Path animations.
How can I avoid the visible edge line between sliced text parts?
Add a thin white outline to both sliced text parts. This masks slight gaps and creates the illusion of a single seamless text box.
Where can I find the background photo used in this tutorial?
The background photo is from Freepik, a great resource for free and professional images.
Conclusion
Mastering PowerPoint animation effects like the text slice effect can significantly enhance your presentation’s visual appeal and professionalism. This step-by-step tutorial from One Skill PPT shows you how to slice your text into angled parts and animate them with precision, creating a modern, polished animation that captivates audiences.
By using slide master backgrounds, merge shapes, and motion path animations, you can customize this effect to fit any presentation style. Plus, with the ability to replicate and stagger animations across multiple text boxes, your slides can tell a dynamic, engaging story.
Whether you’re presenting in business, education, or creative fields, this text slice effect is a versatile tool in your PowerPoint arsenal. Give it a try, experiment with angles and timing, and watch your presentations come to life!
For more PowerPoint animation mastery and templates, be sure to visit One Skill PPT.