
PowerPoint animation effects can transform your presentations from static and boring to engaging and interactive experiences. One Skill PPT, a renowned expert in PowerPoint design, recently celebrated an incredible milestone of 700,000 subscribers by sharing an innovative tutorial: the PowerPoint Hover Zoom. This technique builds on the popular slide zoom feature, adding a fresh, interactive hover animation that brings your slides to life.
In this comprehensive guide, you’ll learn how to create stunning hover zoom animations, apply the trendy glassmorphic effect, organize your presentation with sections, and use slide and section zooms to create seamless navigation. Whether you’re a beginner or a seasoned presenter, these step-by-step instructions and tips will elevate your PowerPoint skills and help you craft presentations that captivate your audience.

Table of Contents
- Getting Started: Setting Up Your Slide Background
- Creating the Glassmorphic Effect in PowerPoint
- Designing the Hover Animation
- Organizing Slides with Sections and Zooms
- Creating a Mask to Highlight Hover Elements
- Adding Highlight Effects to Hover Cards
- Using Section Zooms for Multi-Slide Presentations
- Conclusion
- Frequently Asked Questions
Getting Started: Setting Up Your Slide Background
Begin your presentation with a clean canvas. Start by opening a new blank slide and setting the layout to Blank to remove any default placeholders. This gives you full creative control over your slide design.
Next, it’s time to add a captivating background image that sets the tone for your slide. One Skill PPT recommends sourcing high-quality, free photos from Unsplash. Choose an image that complements your presentation’s theme and mood.
After inserting your selected photo, you might notice it doesn’t fully cover the slide area. To fix this:
- Click on the photo and drag its corner while holding down Ctrl + Shift keys to resize it proportionally.
- With the photo still selected, access the Crop options, select Aspect Ratio, and choose 16:9 to match the slide size.
- Click once to apply the crop, and your photo will now perfectly cover the slide.
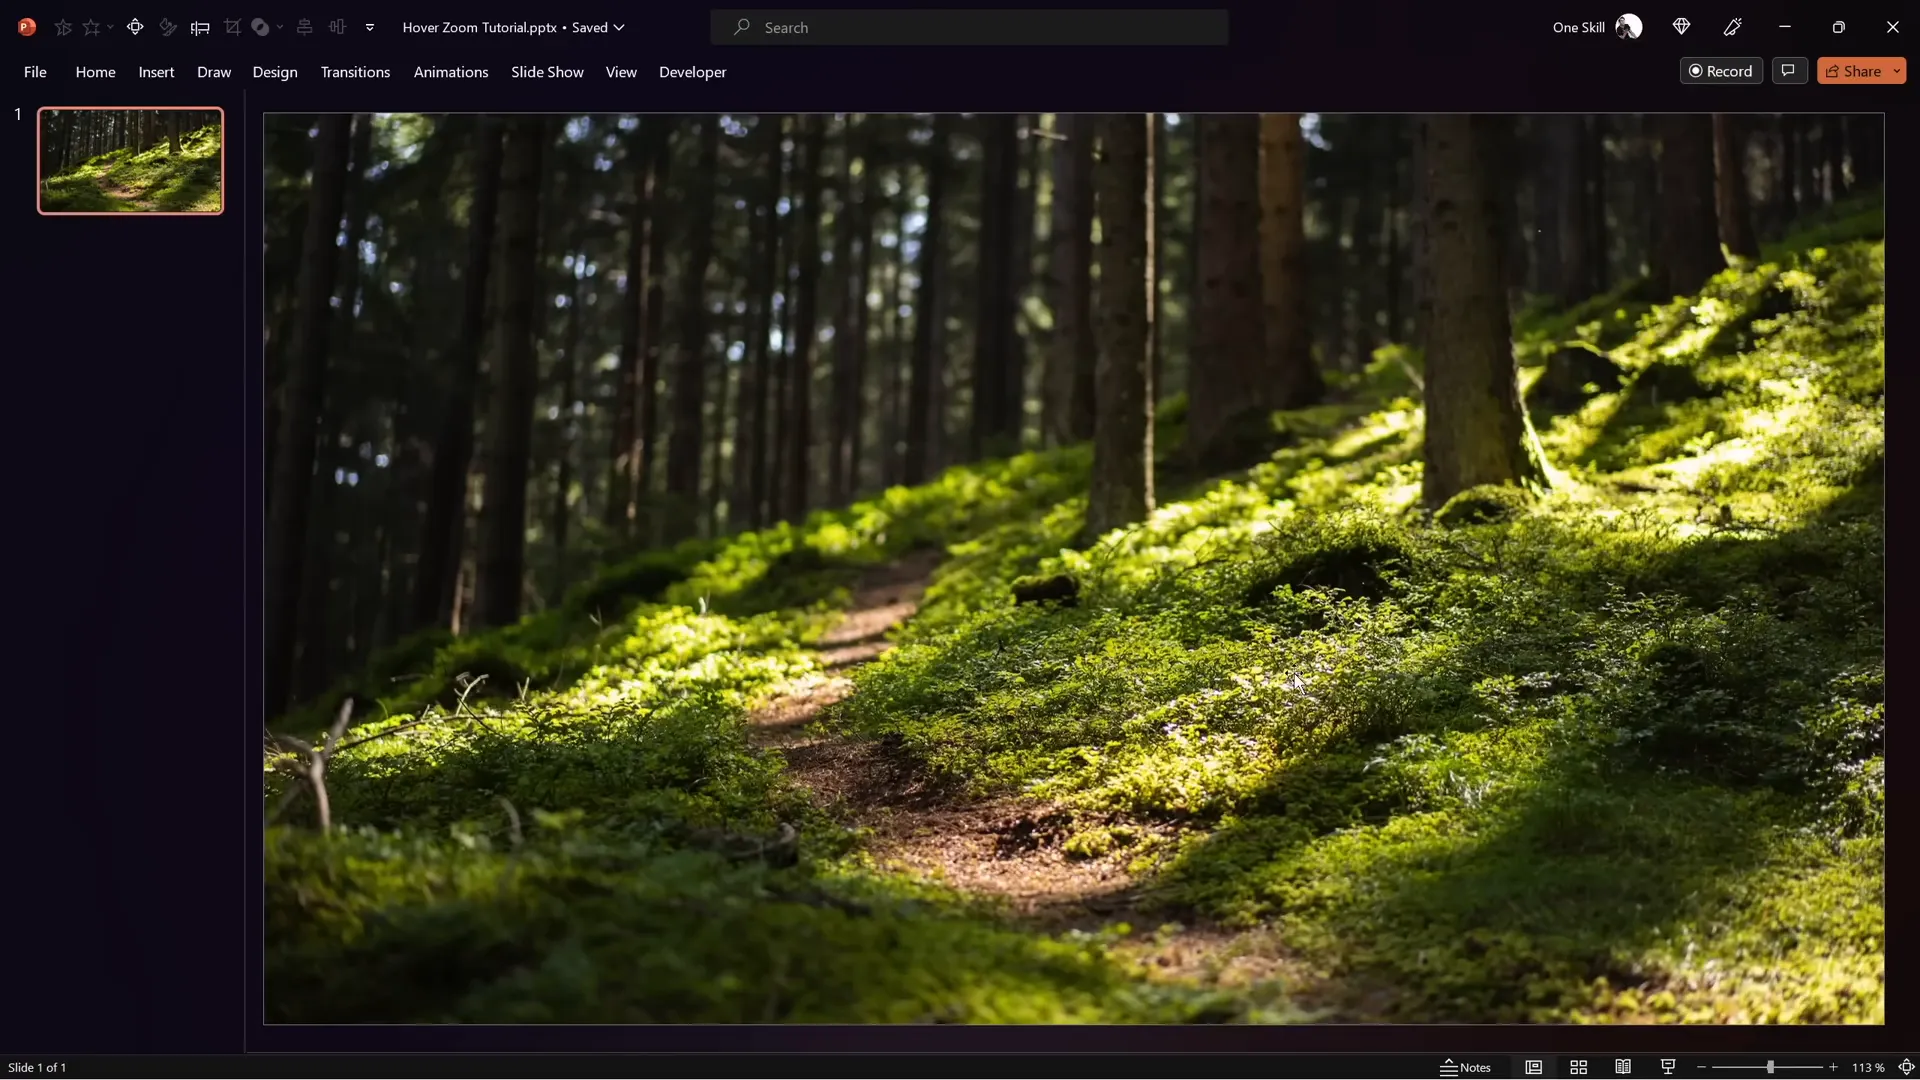
This step ensures that your background image looks professional and fills the entire slide space without distortion.
Creating the Glassmorphic Effect in PowerPoint
The glassmorphic effect is a modern design trend that simulates a frosted glass look with blurred backgrounds and subtle highlights. This effect adds depth and elegance to your presentation elements, making them stand out while maintaining harmony with the background.
Here’s how to create this effect:
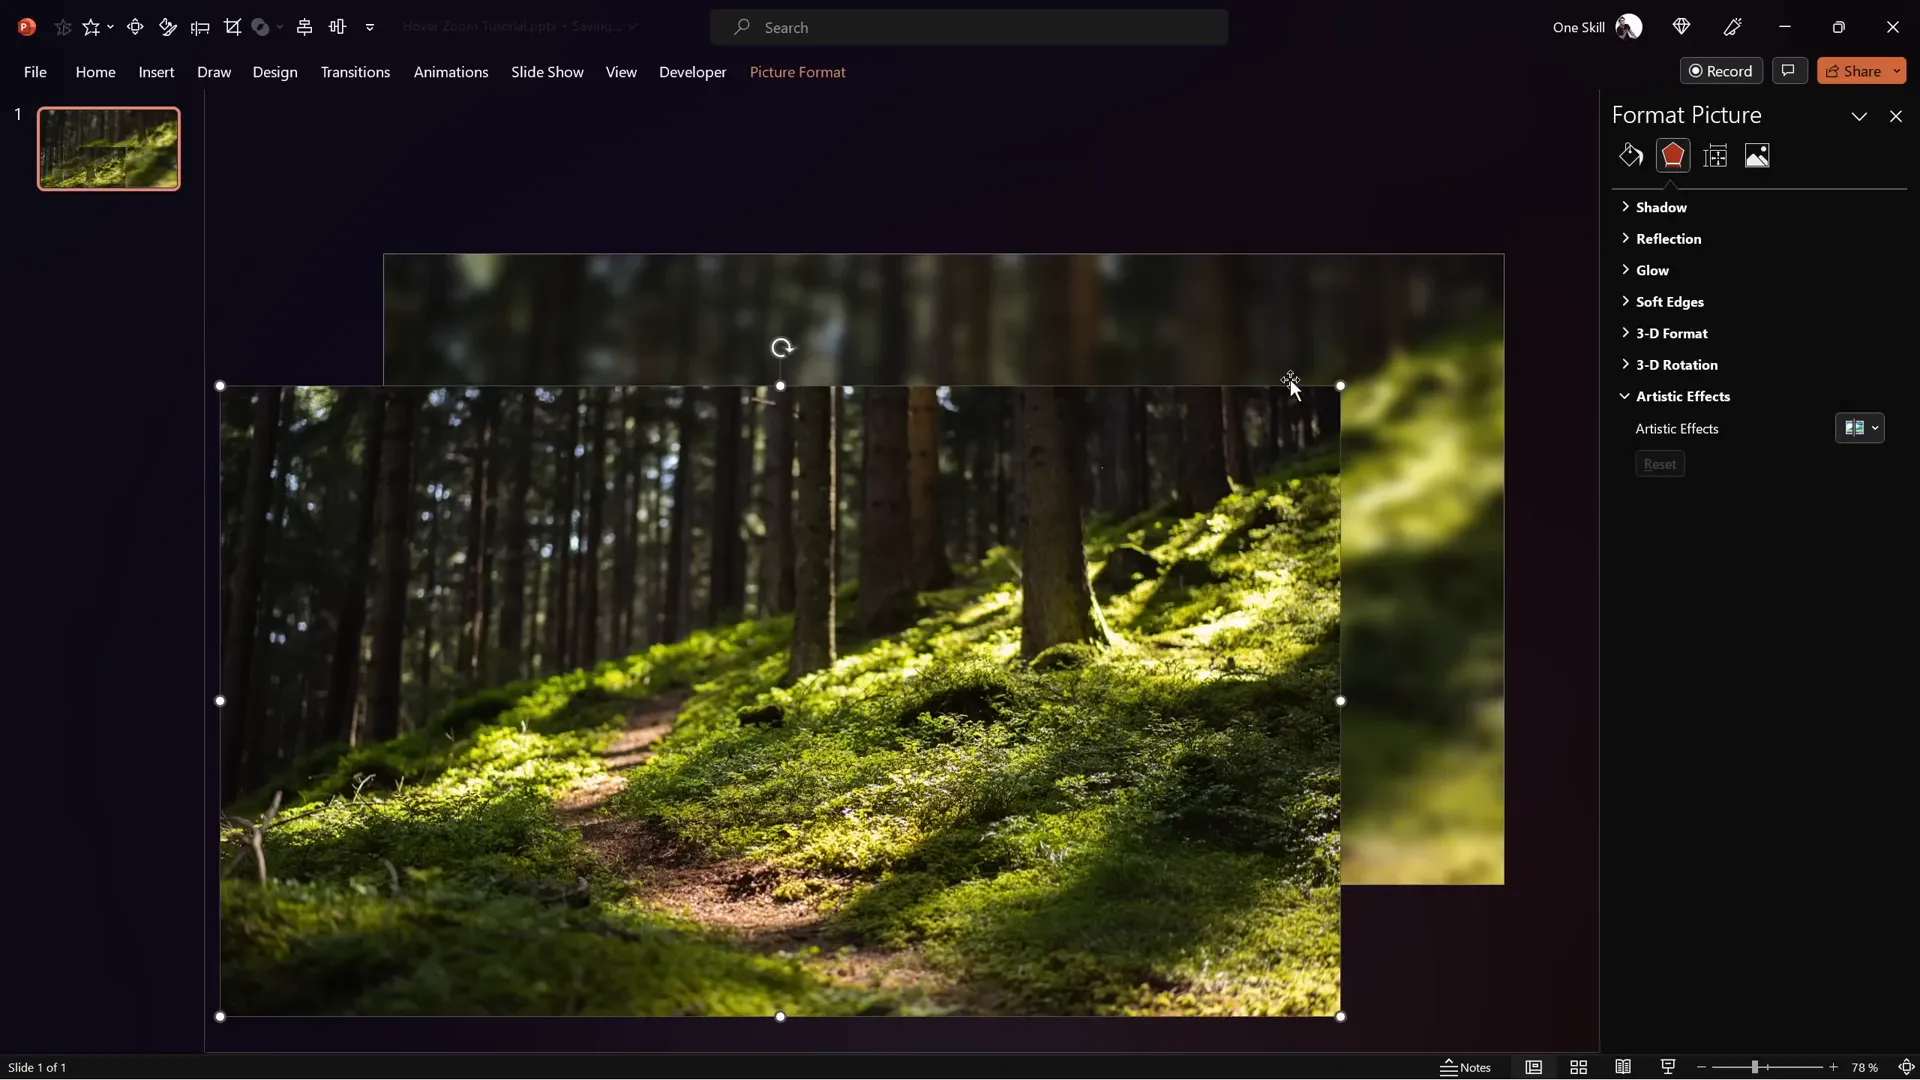
- Duplicate the Background Photo: Select your background photo and move it slightly aside. Hold Ctrl and drag to create a copy.
- Apply Blur Effect: Right-click the copied photo, go to Artistic Effects, and select Blur. Adjust the blur amount to your liking; 30% is a good starting point.
- Copy and Use as Background Fill: Copy the blurred photo, then delete it from the slide. Open the slide background fill options, select Picture or texture fill, and choose Clipboard to paste the blurred image as the slide background.
- Reposition Original Photo: Center the original photo back onto the slide to cover everything.
Next, add a shape to showcase the glassmorphic effect:
- Insert a Rounded Rectangle shape.
- Right-click the shape, select Format Shape, and under Fill, choose Slide Background Fill. This will make the shape’s fill reflect the blurred background behind it.
- To add frosty edges, apply a white inside shadow with a blur of around 20 points.
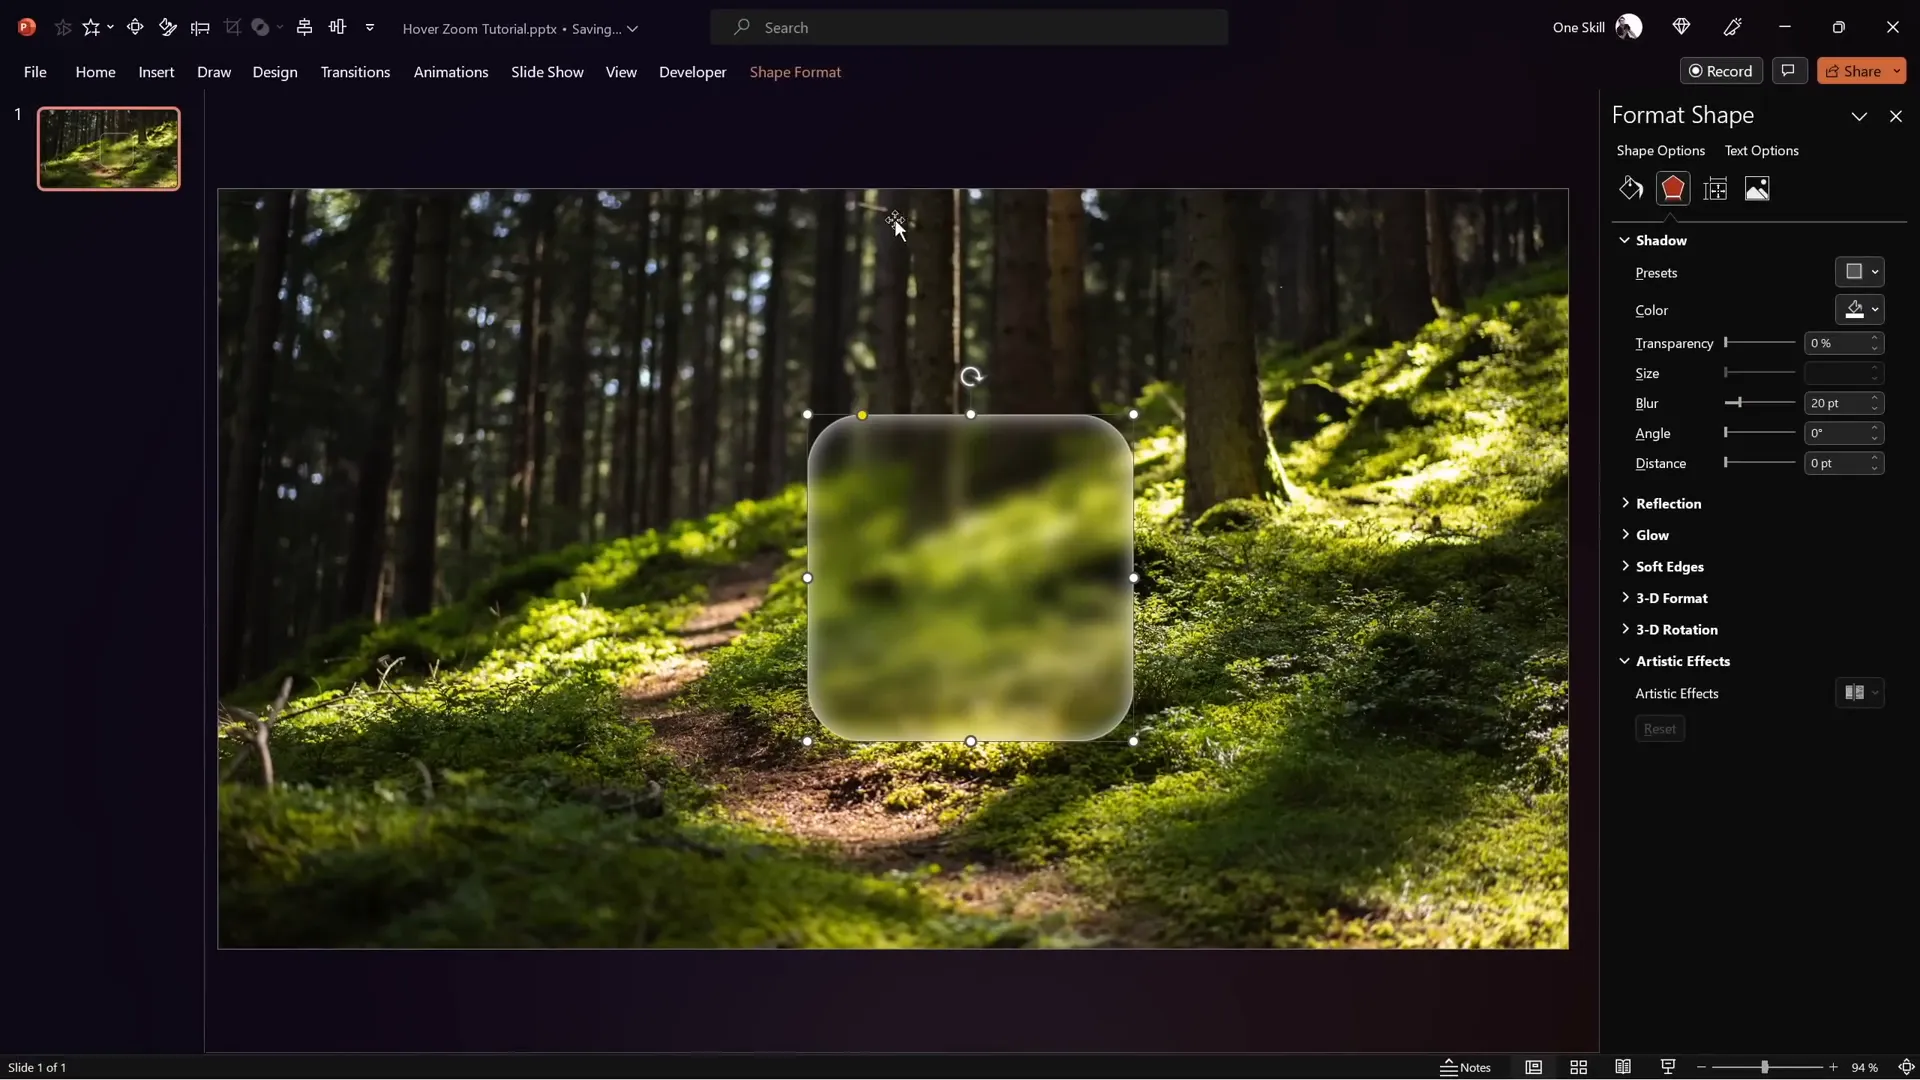
The beauty of this method is its adaptability—the shape automatically updates its blur and background fill as you move it around the slide, maintaining the glassmorphic illusion dynamically.
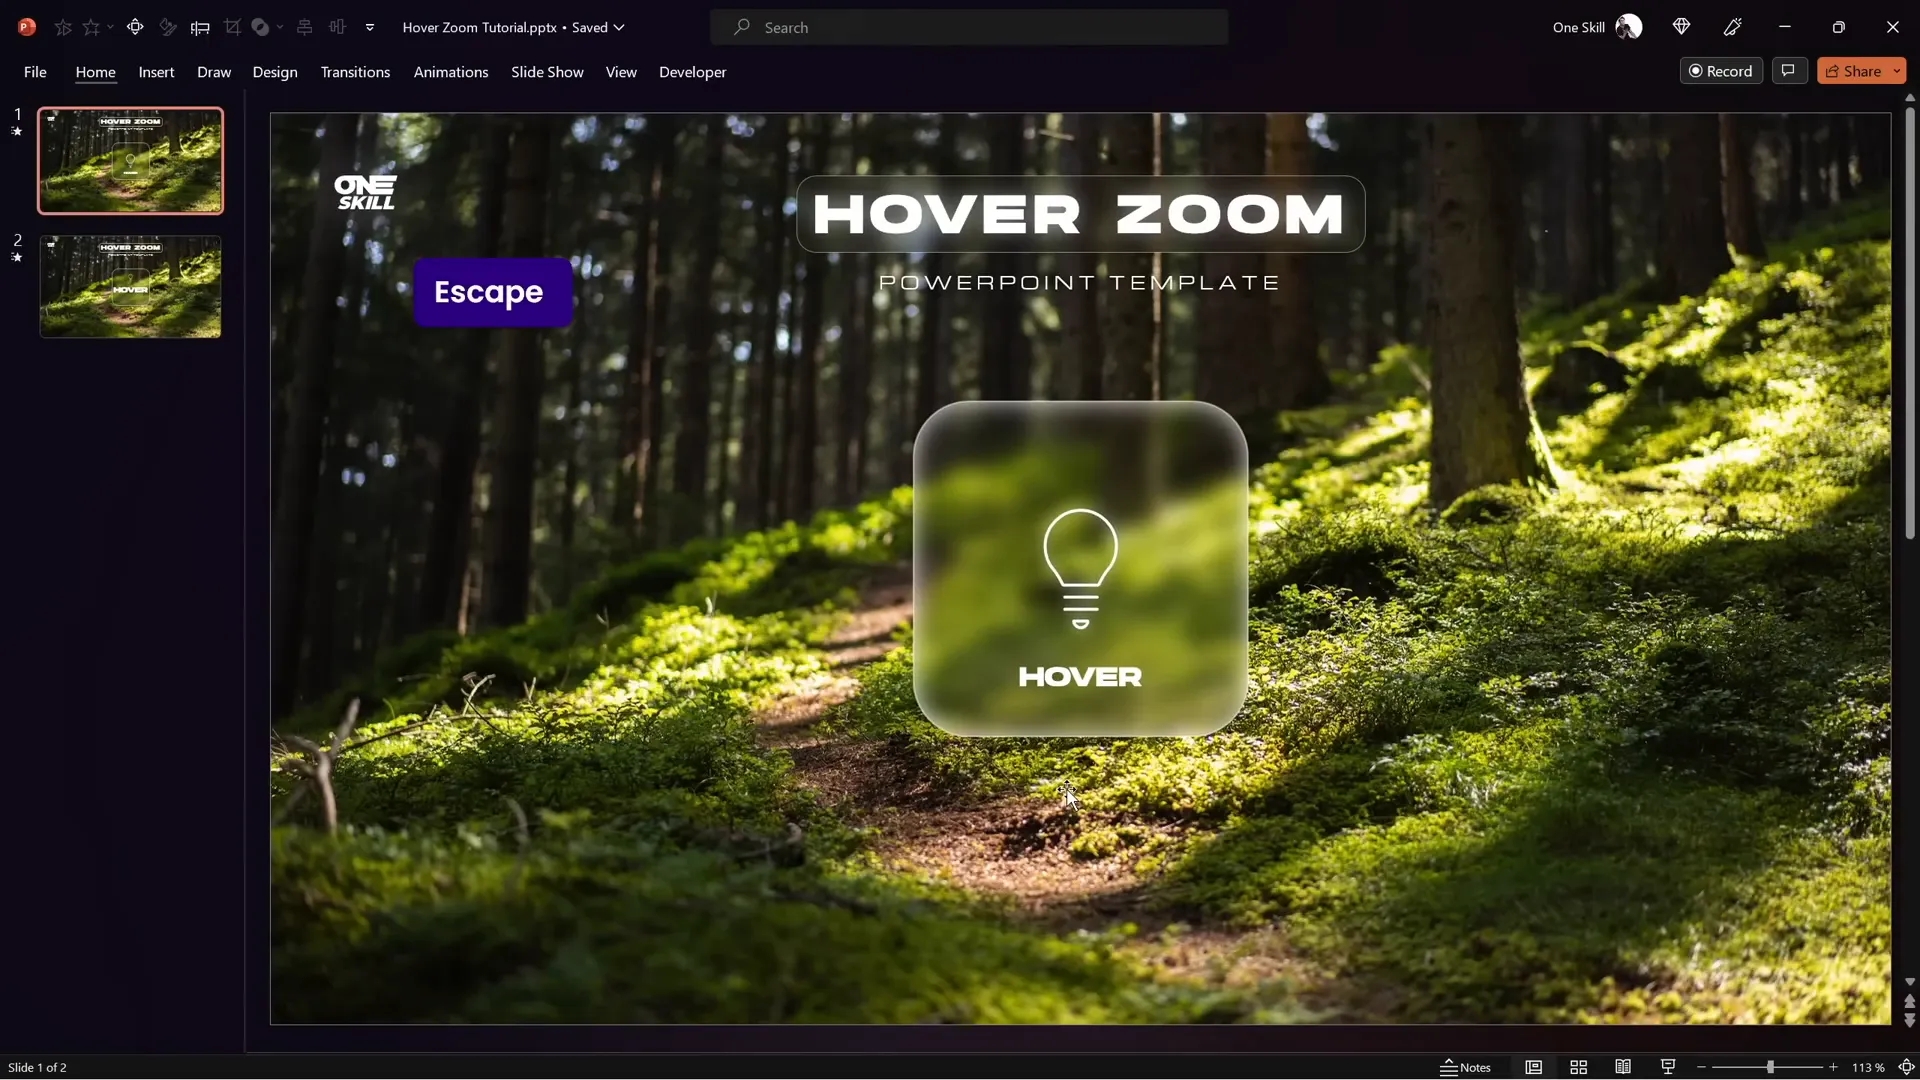
Designing the Hover Animation
Hover animations are a powerful way to make your presentations interactive and engaging. The Hover Zoom technique lets users preview slide details by simply hovering over cards, creating a seamless and dynamic navigation experience.
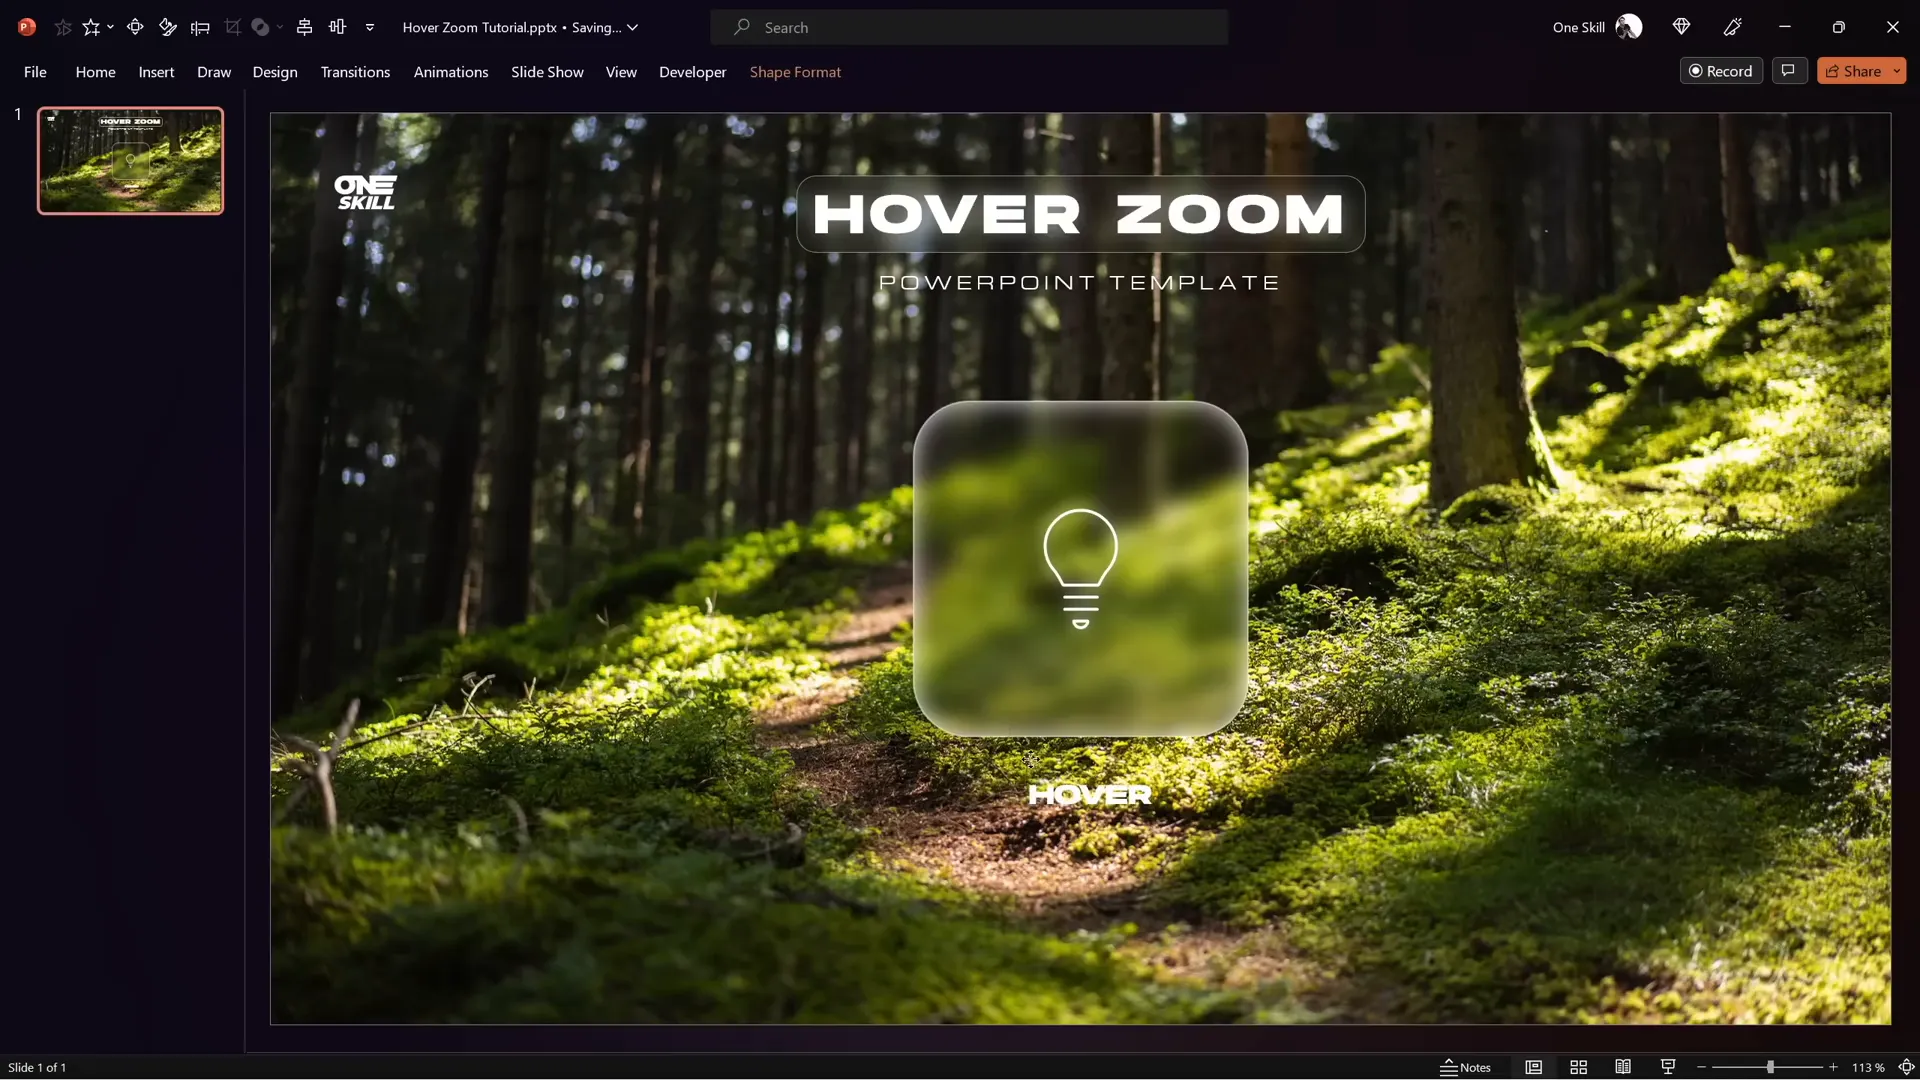
Step 1: Prepare Your Hover Card
Start by duplicating essential elements like the icon, logo, slide title, and subtitle from a previous design to save time. Use the Hansoon font for titles and My Chroma for subtitles for a clean, modern look.
Align your icon perfectly centered within the rounded rectangle and add a text box below the icon to serve as a label (e.g., “Hover” or “Opportunity”).
Step 2: Create the Hover Effect Slides
Duplicate the slide and modify the duplicate to create the hover state:
- Make the icon smaller and move it upward.
- Increase the font size of the label text box.
Select both slides and apply the Morph transition with a short duration (around 0.135 seconds) for a smooth, fast animation.
Step 3: Add Mouse Over Actions
To trigger the hover effect without clicking:
- Select the rounded rectangle on the first slide.
- Go to Insert > Action.
- Under the Mouse Over tab, choose Hyperlink to Next Slide.
For returning back, select the background photo on the second slide, add an action with Mouse Over hyperlinking to the previous slide.
Test your slides in full-screen mode to ensure the hover effect triggers when the mouse moves over the card and returns when moving away.
Organizing Slides with Sections and Zooms
Using sections in your PowerPoint presentation helps you organize content logically and makes managing complex presentations easier.
For the Hover Zoom technique, the presentation is structured into three sections:
| Section | Description |
|---|---|
| Start | The home slide where the initial interaction begins. |
| Hover | Contains multiple slides with different cards active for hover animations. |
| Zoom | Slides that are zoomed into when interacting with the slide zoom elements. |
Insert sections by right-clicking between slides in the slide sorter view and selecting Add Section. Name the sections accordingly.

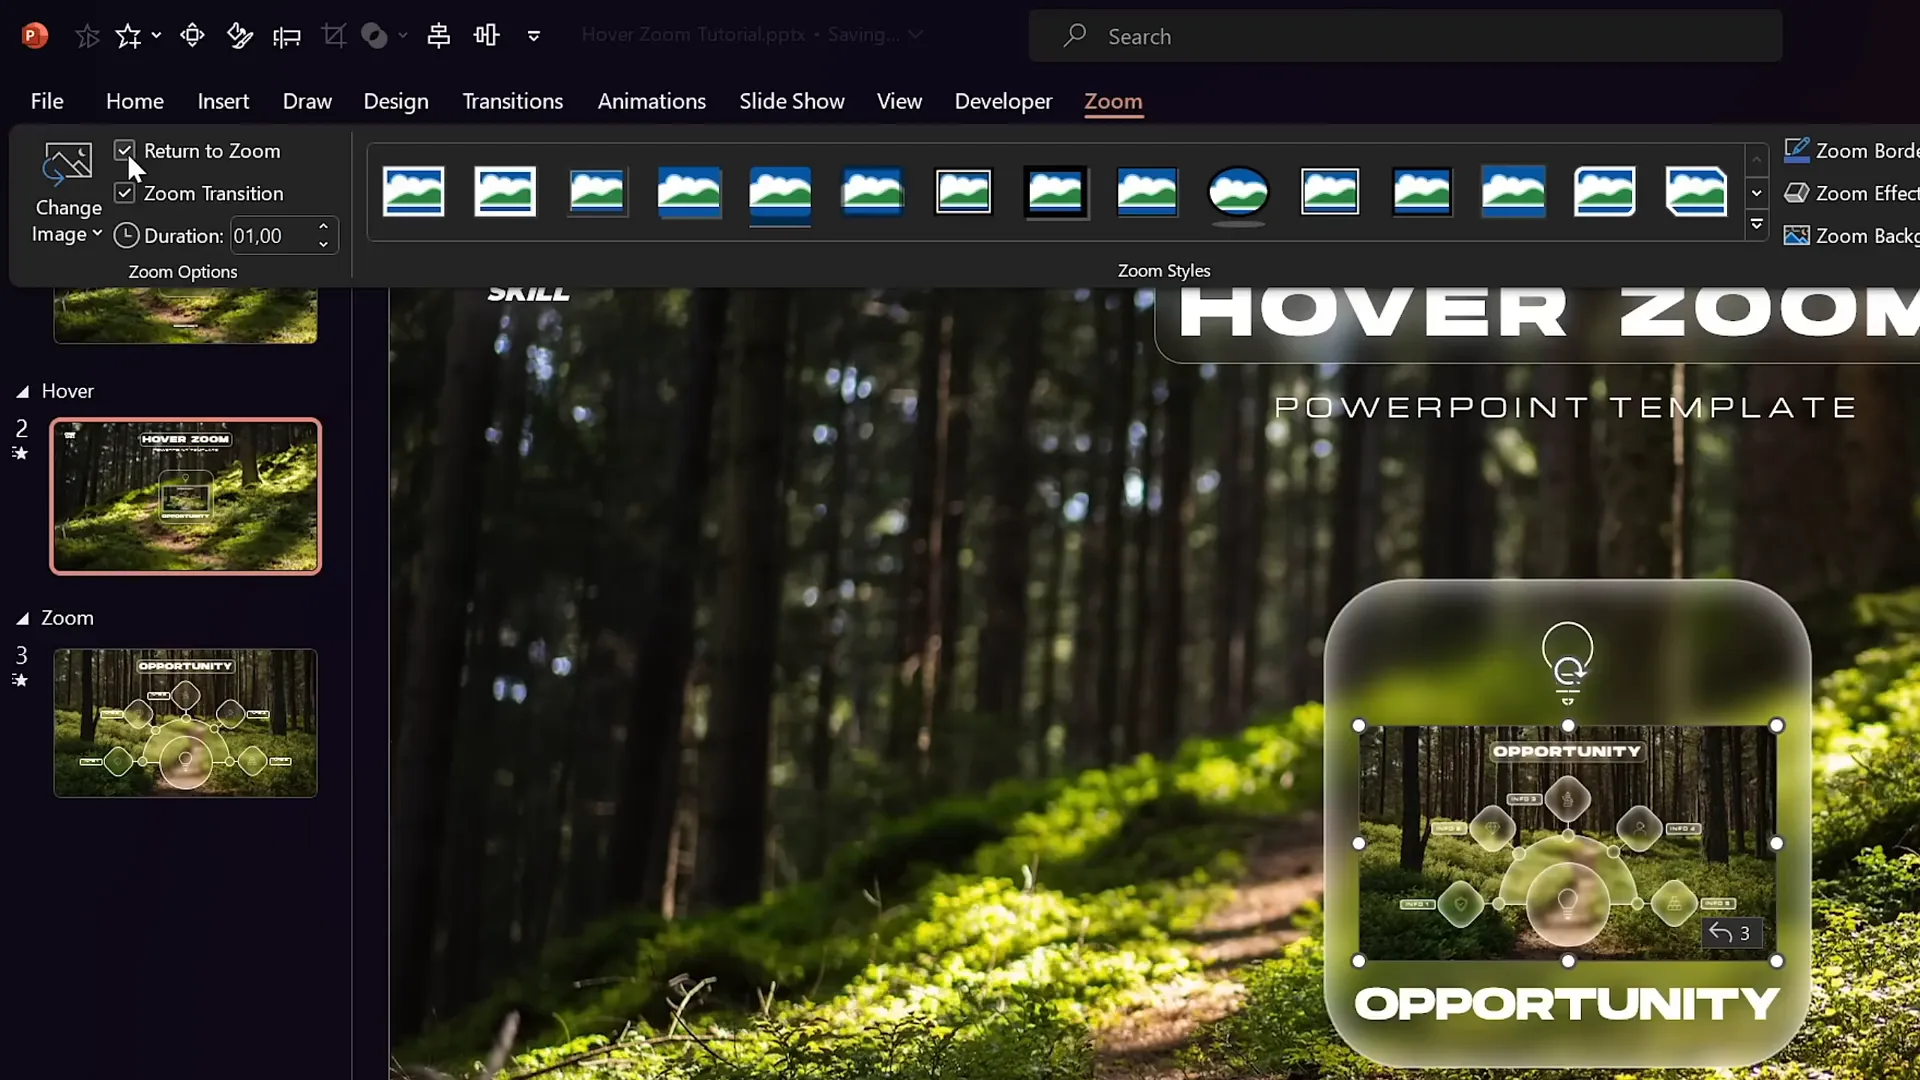
Inserting Slide Zooms
Slide zooms allow you to embed a preview of another slide on the current slide, which is perfect for creating interactive cards:
- Drag a slide thumbnail onto another slide to automatically create a slide zoom.
- Alternatively, go to Insert > Zoom > Slide Zoom and select the target slide.
- Resize and position the slide zoom to fit neatly within your card.
- Enable Return to Zoom in the zoom options to allow easy navigation back.
- Apply a style like Reflected Rounded Rectangle for polished rounded corners and optional reflections.
Copy the slide zoom to both the start and hover slides to maintain consistency and enable smooth transitions.
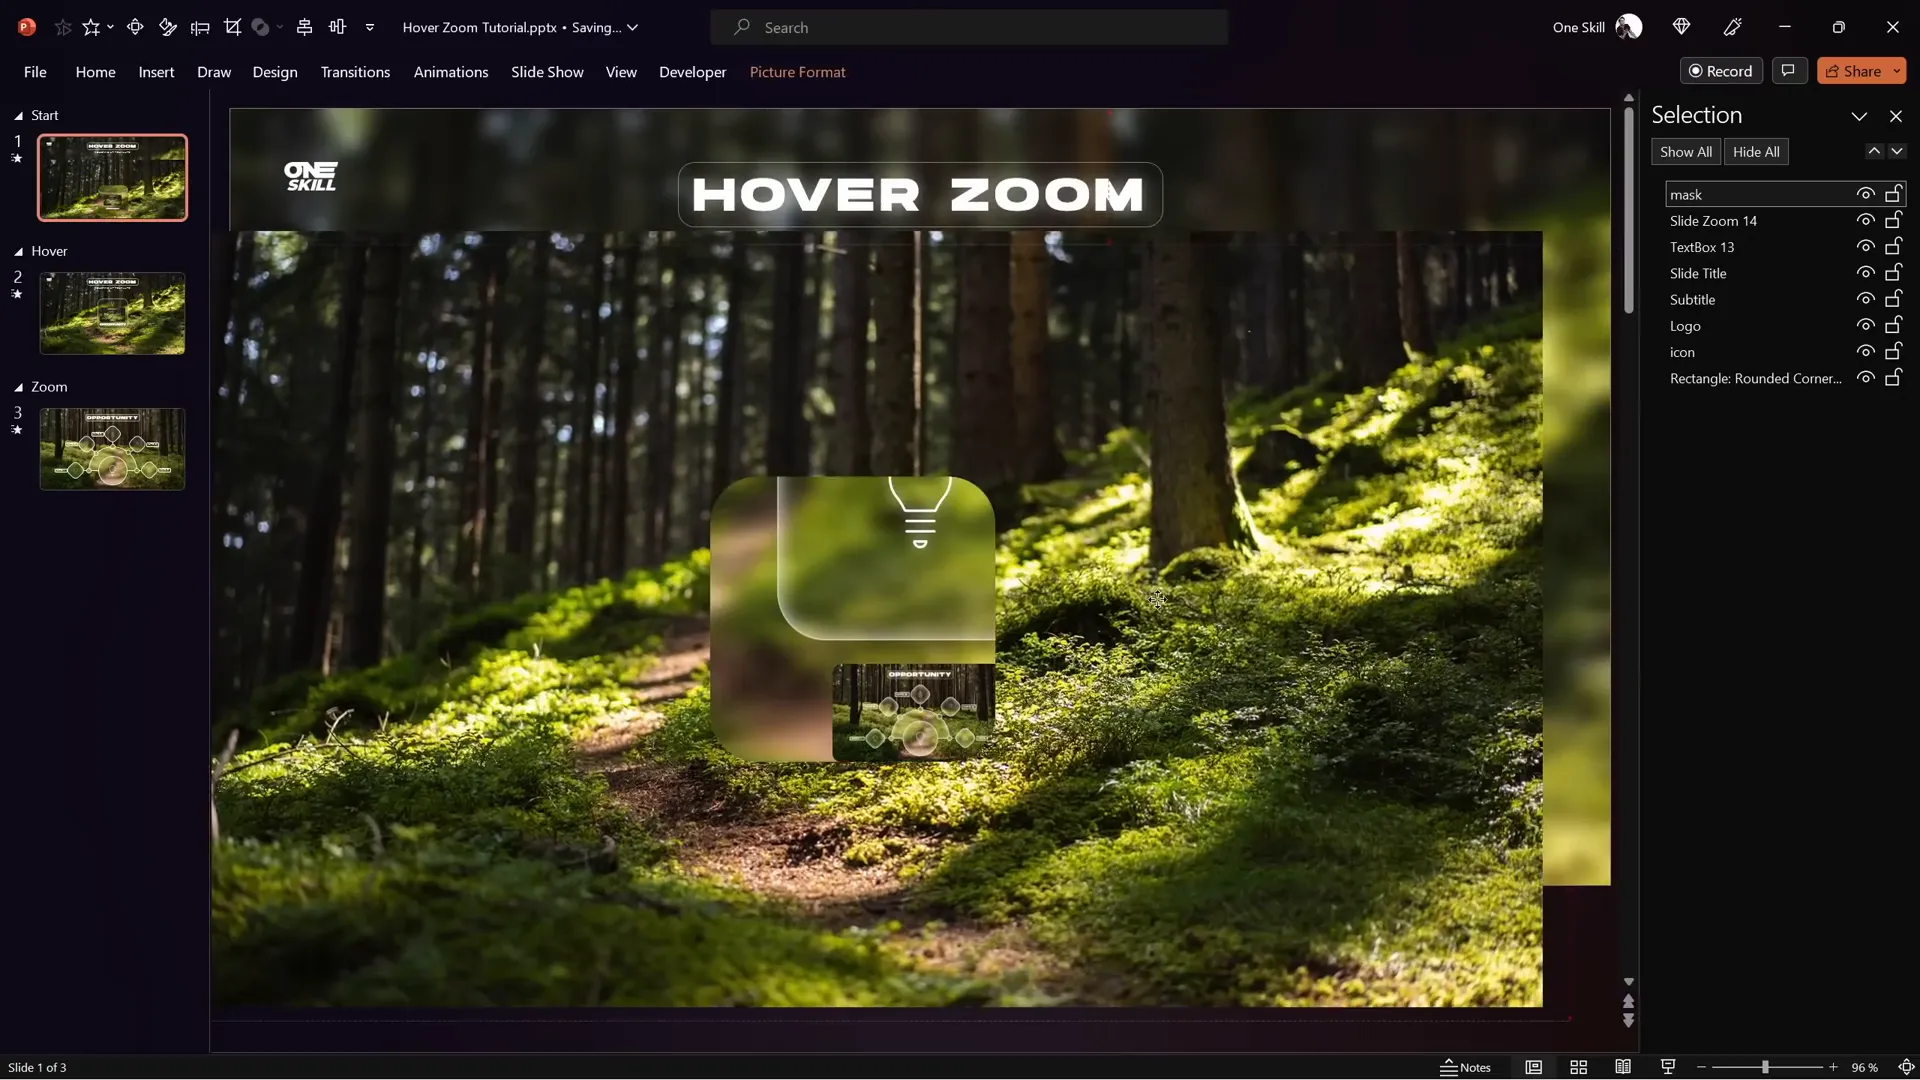
Creating a Mask to Highlight Hover Elements
To elegantly hide slide zooms and text boxes on the starting slide and reveal them only on hover, use a masking technique:
- Duplicate the rounded rectangle used for your card and fill it with a distinct color (e.g., blue) to serve as the mask shape.
- Select the background photo and the mask shape, then use Merge Shapes > Subtract to punch a hole in the background photo where the card is.
- This creates a “mask” with a transparent hole that reveals the elements behind it.
- Rename this masked photo to “Mask” and bring it to the top layer in the selection pane.
- Bring slide title, subtitle, and logo to the front, ensuring the slide zoom and label text box stay behind the mask.
- Copy and paste the mask onto the hover slide, replacing the old background photo.
- Add a mouse over action to the mask on the hover slide to hyperlink back to the previous slide.
This method ensures that the slide zoom and labels appear only when hovering over the card, creating a polished and professional interactive effect.
Adding Highlight Effects to Hover Cards
To emphasize the active hover card, modify the inside shadow to simulate a selection effect:
- Apply an Inside Top Shadow with white color and zero transparency.
- Adjust the blur and distance sliders to create the desired frosty glow.
Enhance the opportunity label with additional styling:
- Set the fill of the text box to Slide Background Fill.
- Add an Outside Shadow with white color, zero transparency, 100% size, and a blur of 35 points.
- Convert the text box shape to a Rounded Rectangle and adjust the corner roundness.
- Remove text margins and set vertical alignment to middle for balanced spacing.
To maintain smooth morph transitions, copy the updated opportunity text box from the hover slide to the start slide, replacing the old one. Set the start slide’s text box to no fill and no shadow so the highlight appears only on hover.

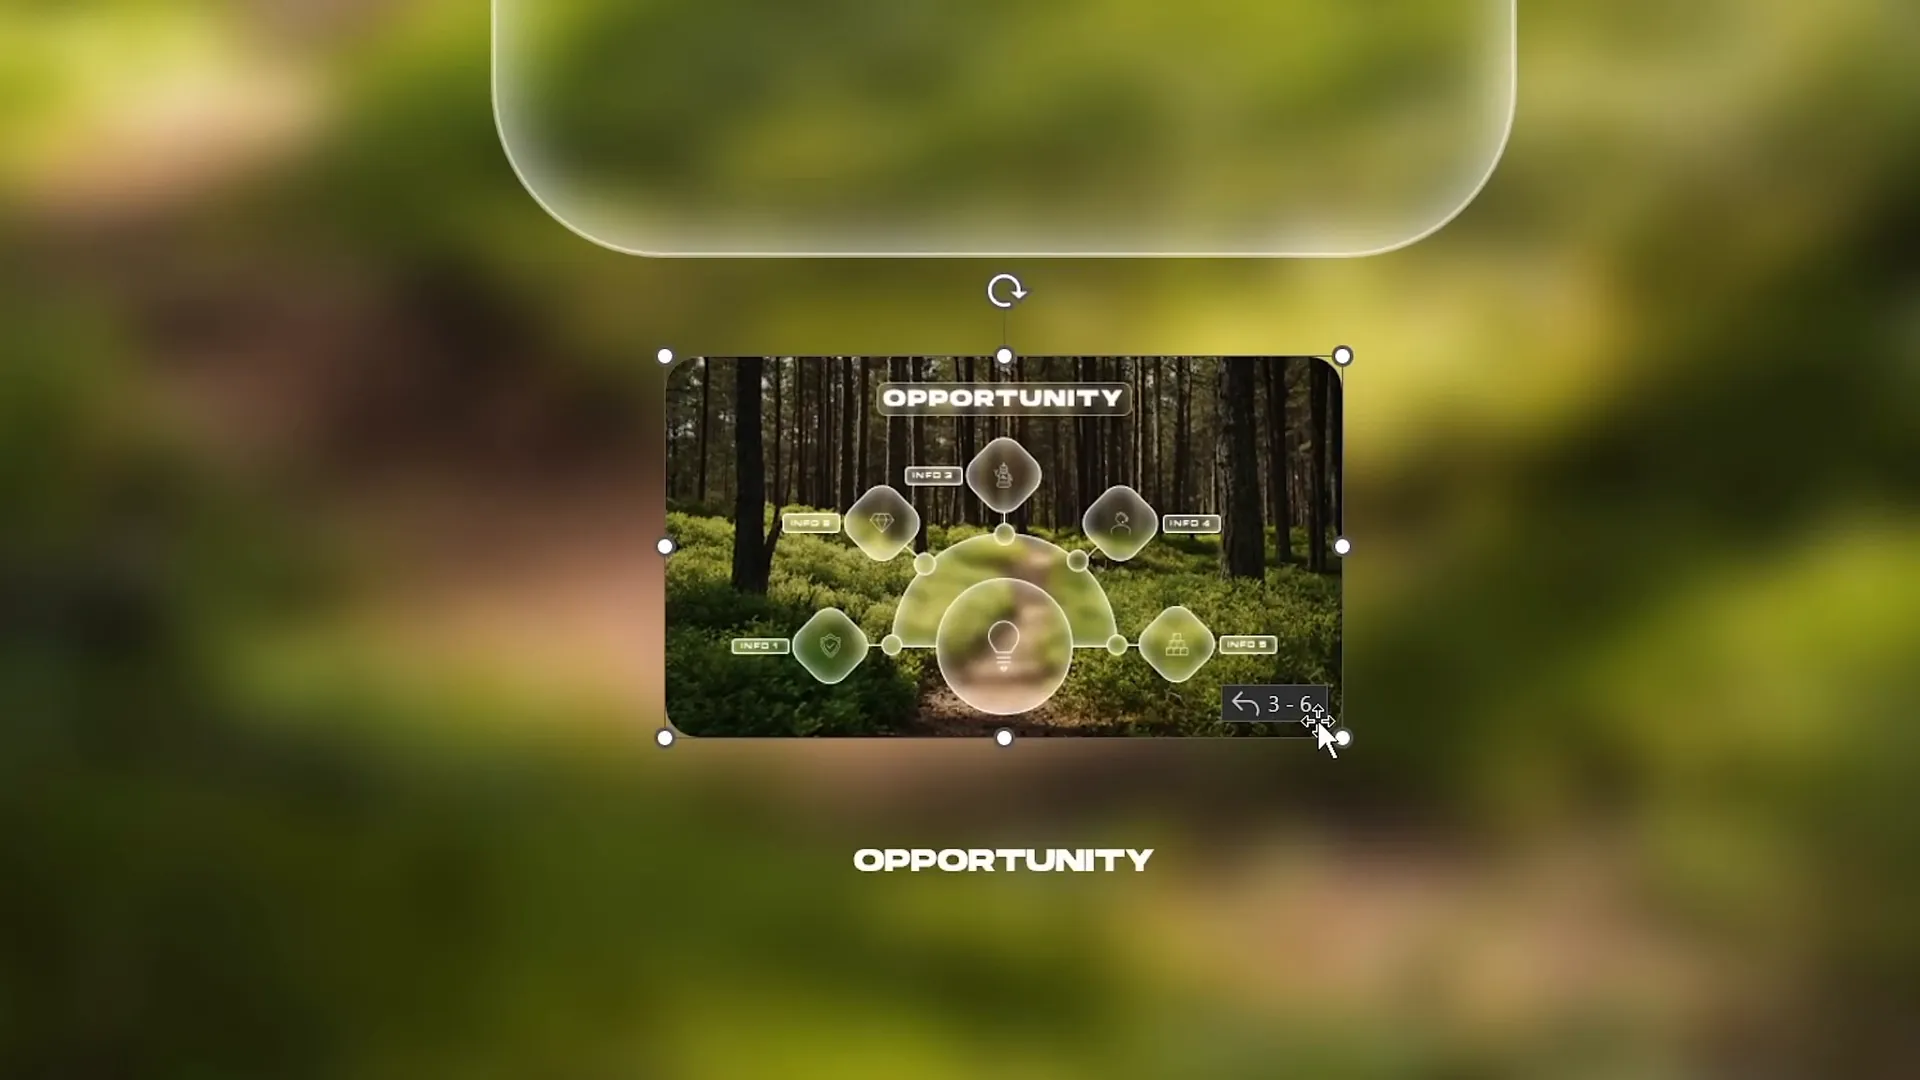
Using Section Zooms for Multi-Slide Presentations
Sometimes, you want to zoom into a section containing multiple slides rather than a single slide. Section Zooms are perfect for this:
- Add more slides to your zoom section by copying them from your previous presentations and pasting them with Keep Source Formatting enabled.
- On the start slide, delete the old slide zoom and insert a Section Zoom via Insert > Zoom > Section Zoom.
- Select your zoom section (e.g., “Zoom Section”) and insert it.
- Enable Return to Zoom and set the zoom duration to around 0.5 seconds.
- Apply rounded corners and disable reflection for a clean look.
- Resize and position the section zoom below the card.
- Copy the section zoom to the hover slide, deleting the old slide zoom there.
- Set slide transitions for all slides in the zoom section (e.g., Uncover from right) to create smooth slide flows within the section.
- Ensure the section zoom is behind the mask on the hover slide to maintain visual consistency.
When you click the section zoom during the presentation, PowerPoint will zoom into the first slide of the section and allow you to navigate through all included slides before returning to the main slide.
Conclusion
Mastering PowerPoint animation effects like the Hover Zoom technique can significantly enhance your presentations by making them more interactive, engaging, and visually appealing. By combining modern design trends such as the glassmorphic effect with smart use of slide and section zooms, you create a user-friendly experience that keeps your audience hooked.
Remember to structure your presentation using sections for clarity, apply masks to control element visibility, and fine-tune animations with transitions like Morph for smoothness. These techniques not only improve aesthetics but also navigation and storytelling within your slides.
With practice, these skills will empower you to build professional presentations that stand out in any setting—whether business, education, or creative projects.
Frequently Asked Questions
What is the Hover Zoom technique in PowerPoint?
The Hover Zoom technique is an interactive animation where hovering the mouse over a card triggers a slide zoom preview and label, allowing users to navigate dynamically without clicking. It enhances engagement by providing instant visual feedback.
How do I create the glassmorphic effect in PowerPoint?
Duplicate your background photo, apply a blur effect to the copy, and set it as the slide background fill. Then insert a shape (like a rounded rectangle) and set its fill to slide background fill. Add a white inside shadow for frosty edges to complete the glassmorphic look.
What is the difference between slide zoom and section zoom?
A slide zoom links to a single slide preview, while a section zoom links to a group of slides organized in a section. Section zooms are ideal when you want to present multiple slides in sequence before returning.
How can I make hover animations work without clicking?
Use the Action feature in PowerPoint to add Mouse Over hyperlinks on shapes or images, linking to the next or previous slide. This triggers transitions when the mouse hovers over the object.
Can I use these techniques in older versions of PowerPoint?
The slide zoom and section zoom features require PowerPoint 2019 or Microsoft 365. Some animation and transition effects like Morph also need recent versions. For older versions, you might need to use alternative methods or upgrade.
Where can I find free resources like photos, icons, and fonts used in this tutorial?
- Photos: Unsplash
- Fonts: Hansoon and My Chroma
- Icons: Built-in PowerPoint icons (available in Microsoft 365)
How do I ensure smooth transitions between hover states?
Use the Morph transition between duplicated slides with slight differences in element size and position. Set a short duration to make the animation quick and fluid.

Check out the full video: PowerPoint HOVER ZOOM Tutorial ✨700K Special✨ ✅ Free Slides


