
PowerPoint animation effects can elevate your presentations from ordinary to extraordinary, captivating your audience and making your content more interactive and engaging. In this comprehensive tutorial, created by One Skill PPT, we dive into an innovative way of using PowerPoint’s slide zoom feature combined with hover animations to create what’s called the Hover Zoom effect. This technique not only adds a modern flair to your slides but also allows for dynamic navigation within your presentation.
Whether you’re a PowerPoint enthusiast looking to sharpen your skills or someone who wants to make presentations more interactive, this guide will walk you step-by-step through the process of designing a stunning hover zoom effect using PowerPoint animation effects. Plus, you’ll learn about the glassmorphic design trend, slide and section zooms, masking techniques, and how to create smooth hover animations that respond to mouse movements.
Table of Contents
- Introduction to Hover Zoom
- Setting Up the Slide Background
- Creating the Glassmorphic Effect
- Building the Hover Animation
- Organizing with Slide Sections
- Integrating Slide Zoom and Section Zoom
- Masking Technique for Hover Effects
- Adding Highlight Effects
- Advanced Section Zoom Hover Animation
- Final Tips and Resources
- Frequently Asked Questions (FAQ)
Introduction to Hover Zoom
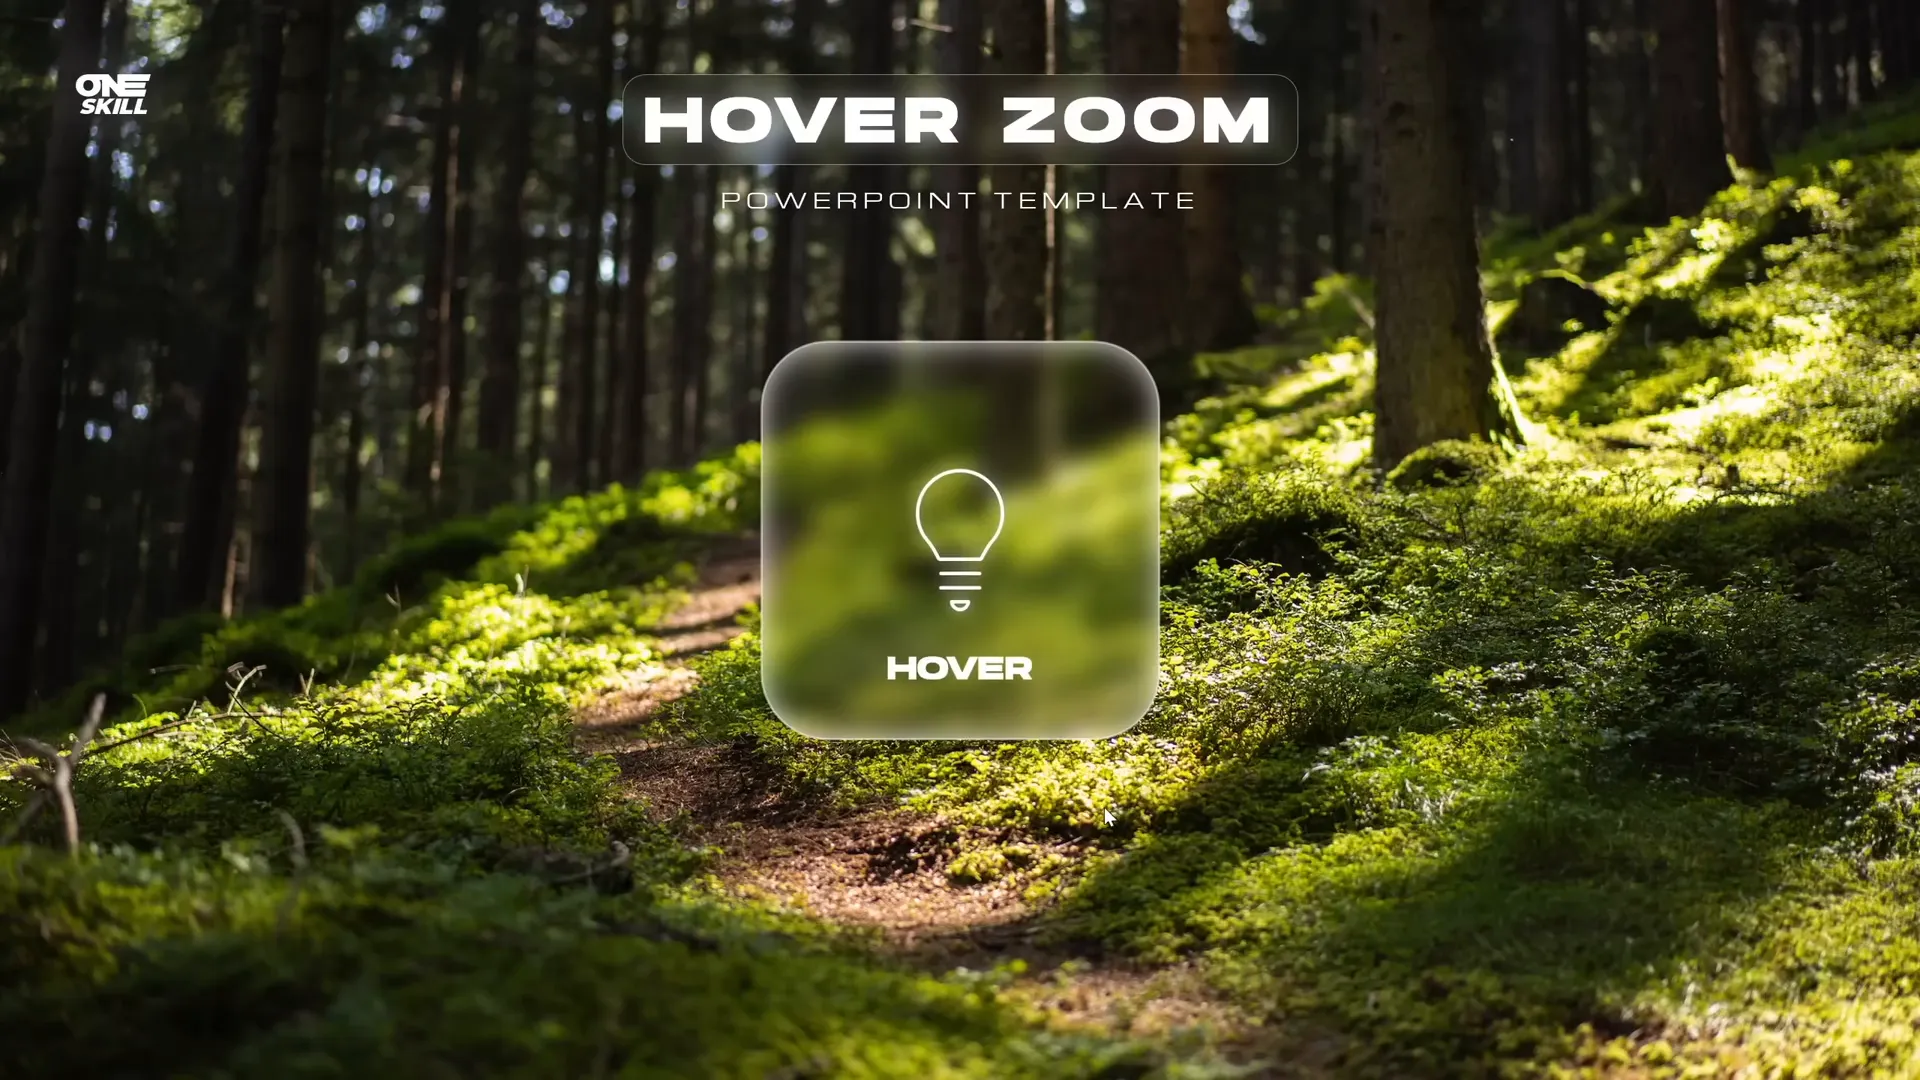
Recently, the One Skill PPT YouTube channel celebrated an incredible milestone of reaching 700,000 subscribers. To mark this occasion, the creator revisited one of their most popular videos on PowerPoint slide zoom tutorials and gave it a fresh, innovative redesign called the Hover Zoom.
The Hover Zoom concept allows users to hover their mouse over any card on a slide, triggering a dynamic zoom effect that pops up a slide zoom. This interactive design not only engages viewers but also provides an intuitive way to navigate through different slides in your presentation.
In this tutorial, we’ll explore how to recreate this interactive hover zoom effect using PowerPoint’s built-in features, focusing on ease of use and visual appeal.
What You Will Learn
- How to set up a beautiful slide background that covers the entire slide.
- How to create the trendy glassmorphic effect in PowerPoint.
- How to build smooth and responsive hover animations using mouse-over actions.
- Organizing your presentation with sections for better structure.
- Using slide zooms and section zooms to create multi-slide interactive experiences.
- Applying masking techniques to hide and reveal elements dynamically.
- Adding highlight effects and styling for a polished look.
Setting Up the Slide Background
Before diving into animations and zooms, it’s essential to create a visually appealing and consistent background for your slides. This tutorial uses a beautiful photo from Unsplash, a great resource for free high-quality images.
Step-by-Step Guide
- Create a Blank Slide: Start with a fresh slide and set its layout to Blank to avoid distractions from placeholders.
- Insert a Background Image: Go to Insert > Pictures and select an image from your computer or online sources.
- Resize the Image: The image may not cover the entire slide initially. Grab a corner and hold Ctrl + Shift to scale it proportionally until it covers the slide.
- Crop to Aspect Ratio: With the image selected, go to Picture Format > Crop > Aspect Ratio and select 16:9 to perfectly fit the slide dimensions.
This method ensures your background image fills the slide without distortion or empty spaces, providing a professional canvas for your design.

Creating the Glassmorphic Effect
The glassmorphic design trend gives your slides a modern, sleek appearance with frosted glass-like shapes that blur the background behind them. This effect adds depth and highlights key elements elegantly.
How to Create Glassmorphic Shapes in PowerPoint
- Duplicate the Background Image: Select your background picture and press Ctrl + C then Ctrl + V to copy it.
- Apply Blur Effect: Right-click the copied image, go to Artistic Effects, and choose Blur. Adjust the blur amount to around 30 for a nice frosted look.
- Copy the Blurred Image: Right-click the blurred image again and select Copy.
- Set Slide Background to Blurred Image: Delete the blurred image from the slide, then go to Design > Format Background, choose Picture or texture fill, and paste the blurred image from the clipboard.
- Insert a Shape: Go to Insert > Shapes and pick a rounded rectangle or any shape you prefer.
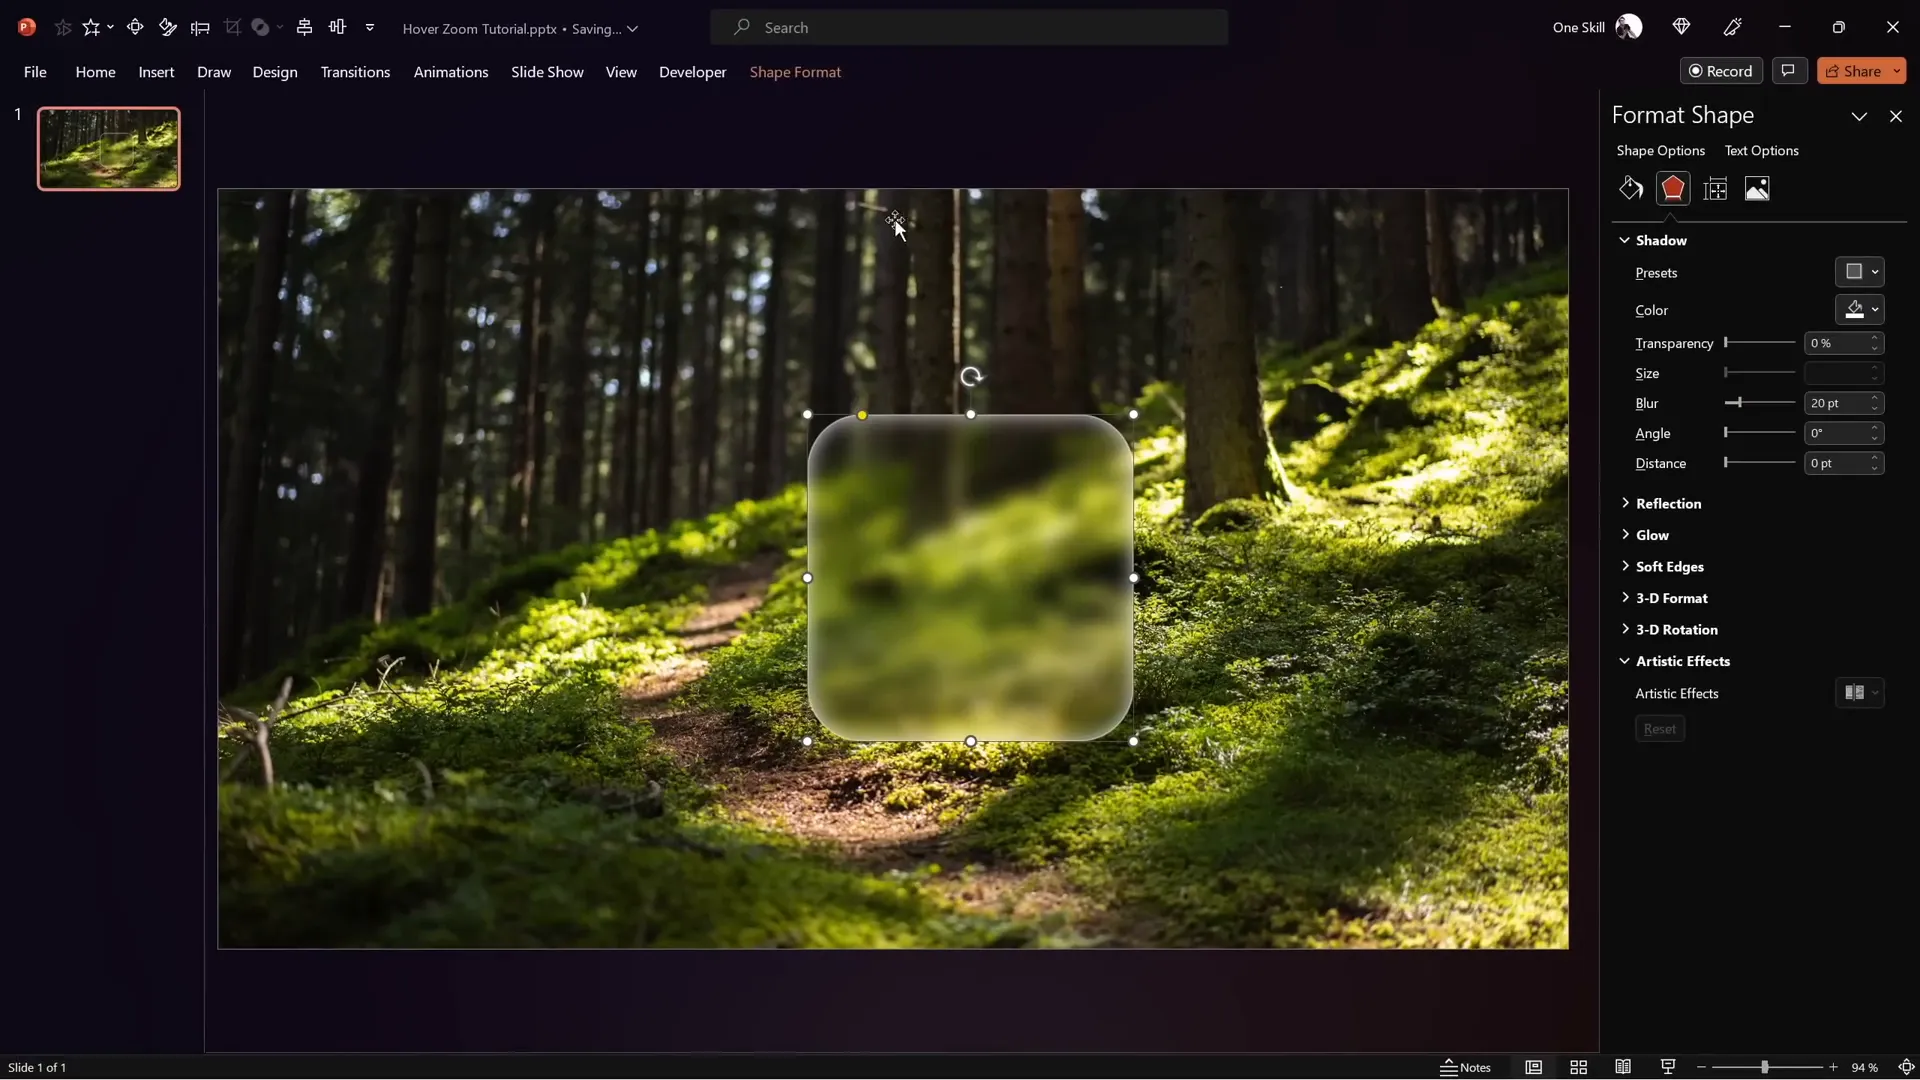
- Fill Shape with Slide Background: Right-click the shape, select Format Shape > Fill, and choose Slide background fill. This fills the shape with the blurred background.
- Add Frosty Edges: Add a white inside shadow to the shape. Set the shadow color to white and blur amount to around 20 points for frosty edges.
- Size & Position: Set the shape’s size (e.g., 7cm x 7cm) and center it on the slide.
This approach creates a movable glassmorphic shape that dynamically adapts to the background, perfect for cards or interactive elements.
Building the Hover Animation
The heart of this tutorial is the hover animation that triggers when the mouse pointer moves over a card. This effect includes:
- Icon shrinking
- Slide zoom popping up
- Label appearing below the slide zoom
Step 1: Prepare the Elements
First, copy the icon, logo, slide title, and subtitle from your previous design or create new ones. Use clear, readable fonts such as Hansoon for titles and My Chroma for subtitles to maintain consistency.
Align the icon in the center of the glassmorphic rounded rectangle. Then insert a text box below the icon and type a placeholder label like “hover” (later to be changed to “Opportunity”).
Step 2: Duplicate and Adjust Slides for Animation
- Duplicate the slide with your card.
- On the duplicate, shrink the icon and move it up slightly.
- Enlarge the label text box for emphasis.
Step 3: Apply Morph Transition
Select both slides, go to the Transitions tab, and apply the Morph transition. Set the duration to a fast speed, such as 0.135 seconds, for smooth animation.
Step 4: Create Mouse-Over Actions
- On the first slide, select the rounded rectangle and go to Insert > Action.
- In the Mouse Over tab, select Hyperlink to Next Slide.
- On the second slide, select the background photo, insert an action, and hyperlink it to the previous slide on mouse over.
Now, when you hover over the card, it transitions to the zoomed-in slide with animation, and moving away triggers the return. This creates the illusion of a hover zoom without complex coding.
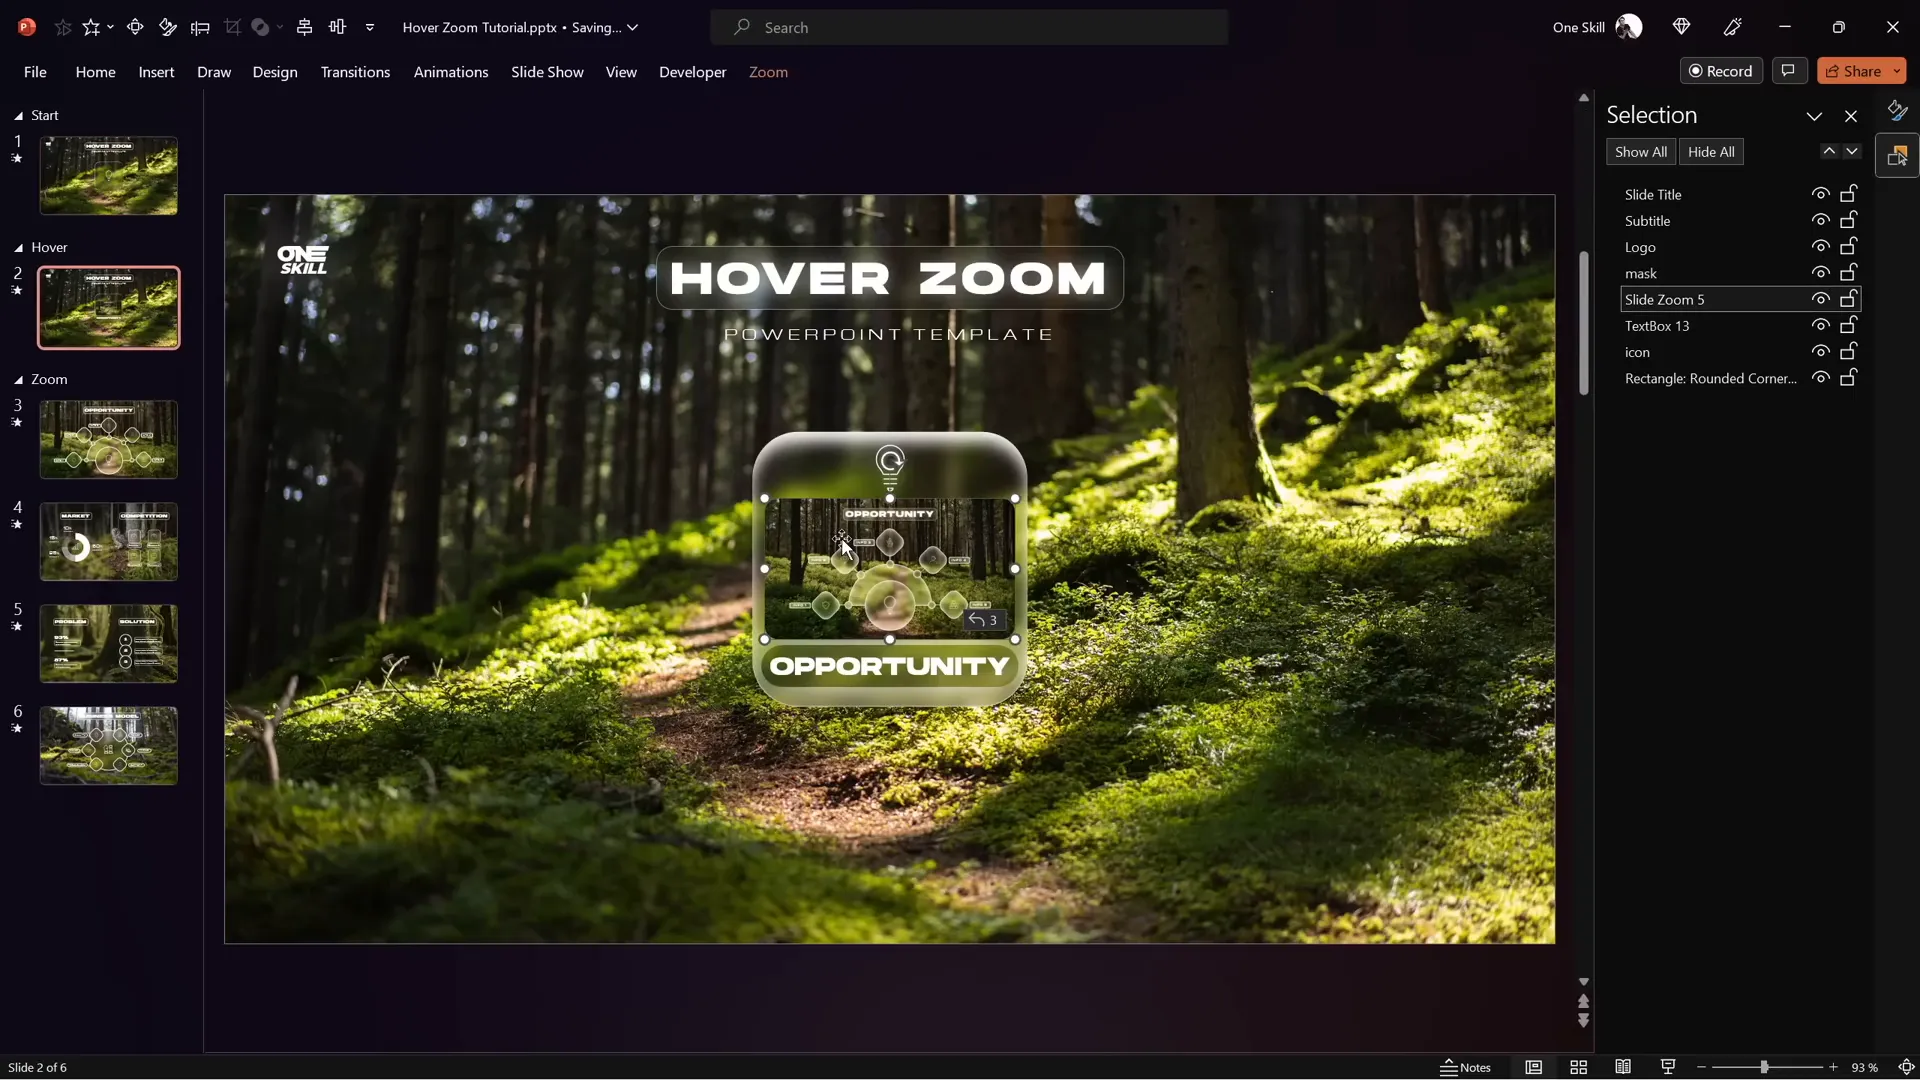
Organizing with Slide Sections
To keep your presentation organized and easier to manage, especially when working with multiple hover cards and zoom slides, use PowerPoint’s Sections feature.
Recommended Structure
- Start Section: Contains the home or starting slide.
- Hover Section: Contains multiple hover slides, each with a different active card.
- Zoom Section: Contains slides you want to zoom into.
Using sections not only helps with visual clarity during editing but also improves navigation and slide management.
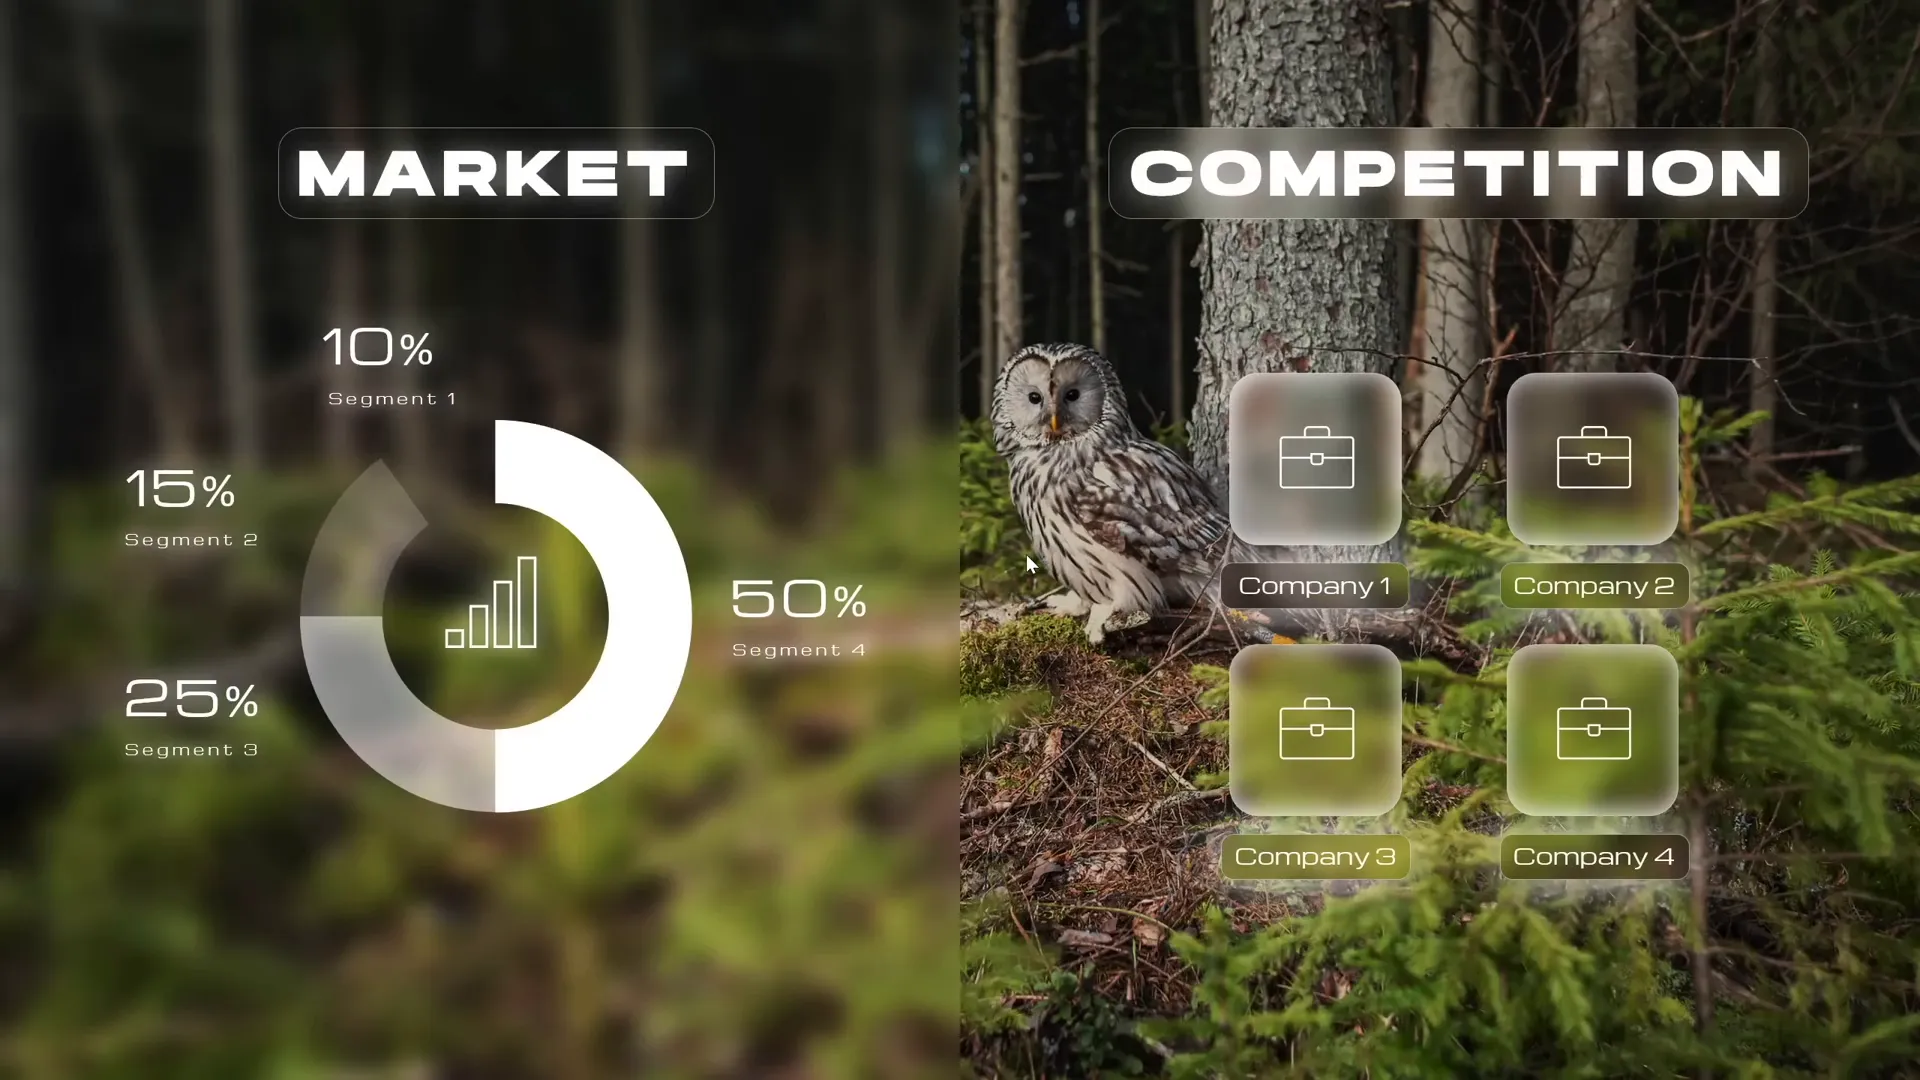
Integrating Slide Zoom and Section Zoom
PowerPoint’s Slide Zoom and Section Zoom features are powerful tools for creating interactive presentations.
Slide Zoom vs. Section Zoom
| Feature | Description | Use Case |
|---|---|---|
| Slide Zoom | Zooms into a single slide. | Best for focusing on specific content or details on one slide. |
| Section Zoom | Zooms into a group of slides grouped in a section. | Ideal for presenting a series of related slides, like a mini slideshow within the main presentation. |
How to Insert Slide Zoom
- Drag any slide thumbnail onto another slide to insert a slide zoom automatically.
- Or go to Insert > Zoom > Slide Zoom, select the slide, and click Insert.
- Adjust the zoom size to fit your card.
- Enable Return to Zoom to allow zooming back.
- Apply a style such as Reflected Rounded Rectangle and disable reflection if desired.
How to Insert Section Zoom
- Go to Insert > Zoom > Section Zoom.
- Select the section you want to zoom into and click Insert.
- Resize and position the section zoom on your slide.
- Enable Return to Zoom and set a fast zoom duration (e.g., 0.5 seconds).
Section zooms allow you to zoom into multiple slides sequentially and then return smoothly, perfect for detailed presentations.
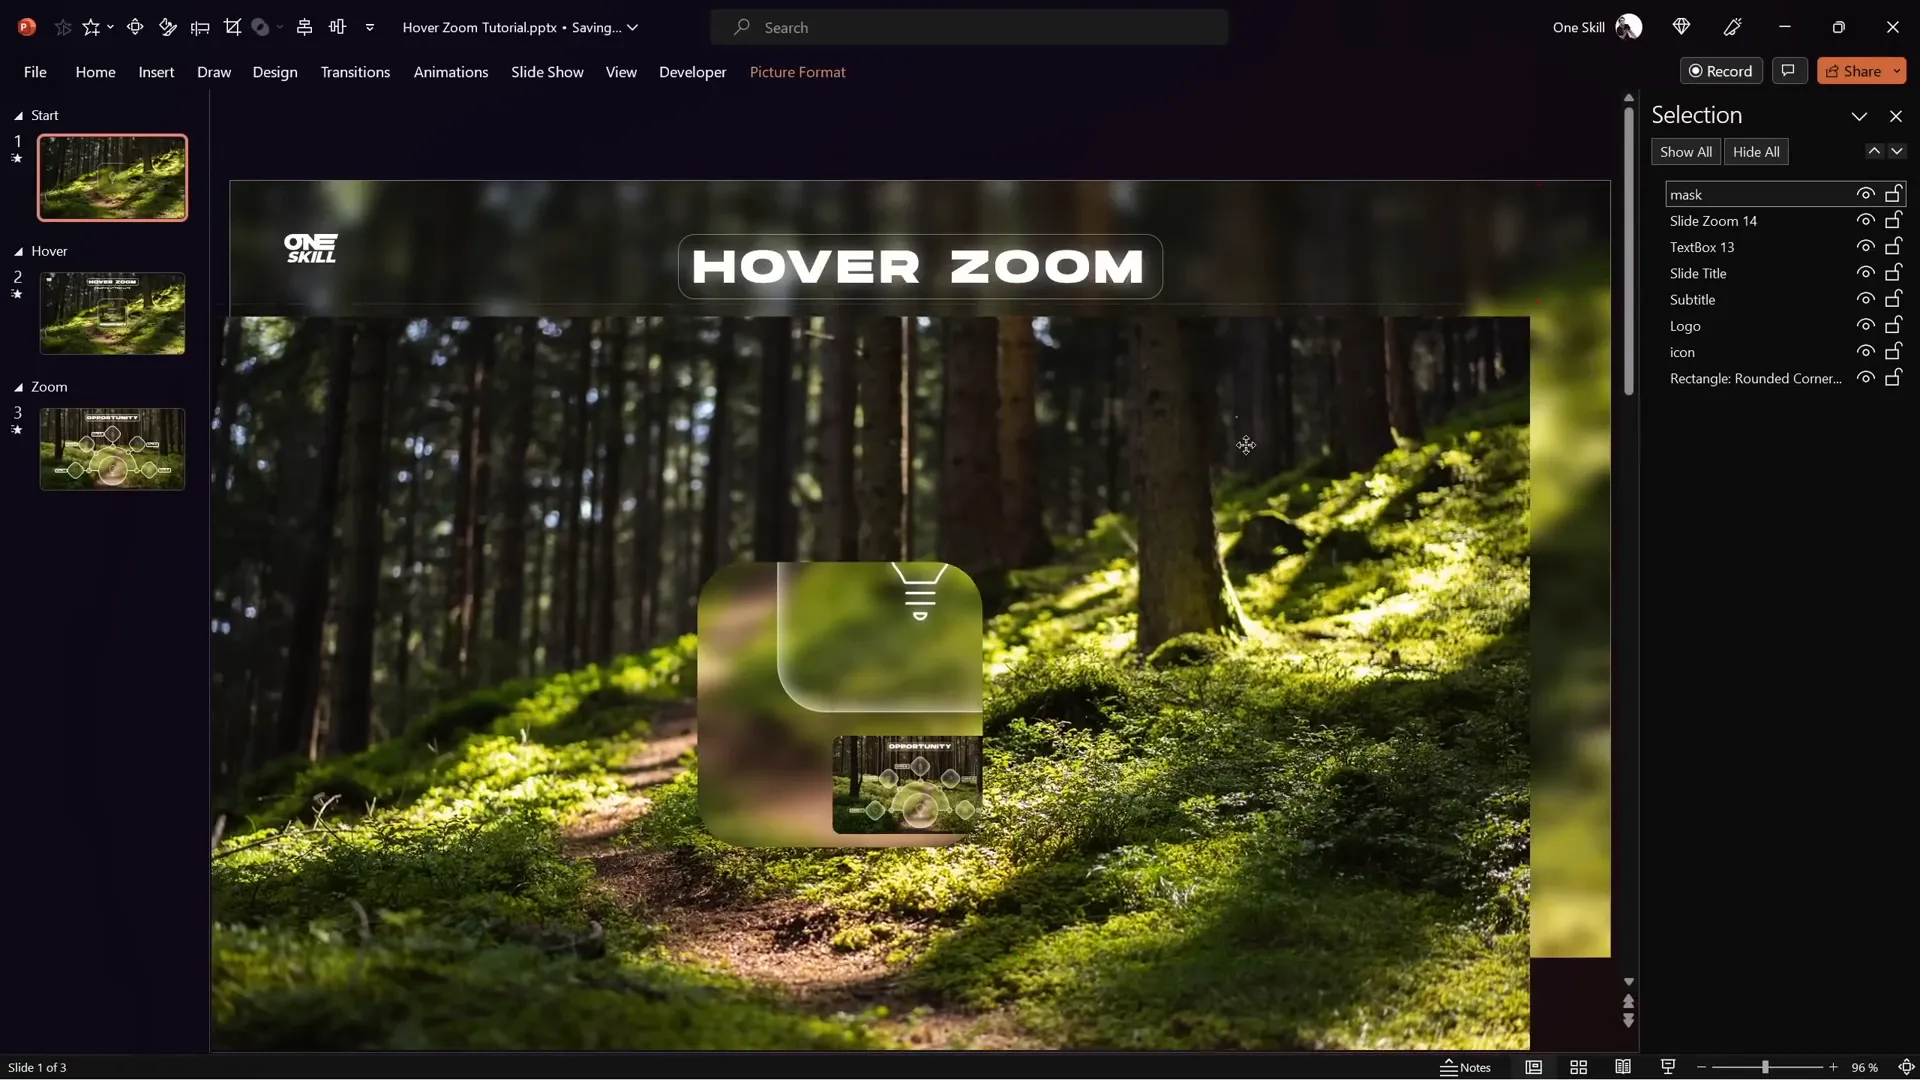
Masking Technique for Hover Effects
To polish your hover zoom effect, you’ll want to mask the slide zoom and labels on your start slide so they only appear when activated on hover.
How to Create a Mask
- Duplicate the glassmorphic rounded rectangle and change its fill color to a distinct color (e.g., blue).
- Select the background photo and the colored rectangle together.
- Go to Shape Format > Merge Shapes > Subtract to punch a hole in the background.
- Rename this new shape as Mask and bring it to the top of the selection pane.
- Bring the slide title, subtitle, and logo to the front, ensuring the slide zoom and label stay behind the mask.
- Copy the mask to the hover slide and delete the old background photo.
- Add mouse-over action to the mask on the hover slide to hyperlink back to the previous slide.
This technique keeps your slide clean and professional, hiding interactive elements until they are needed.
Adding Highlight Effects
To further enhance the hover effect, you can add a highlight or selection effect to the card to visually indicate it’s active.
Steps to Add Highlight Effect
- Change the inside shadow of the card to an inside top shadow with white color and no transparency.
- Adjust blur and distance sliders to create a subtle glowing effect.
- Style the label text box by setting its fill to slide background fill and adding an outside white shadow.
- Convert the label text box to a rounded rectangle with adjusted corner roundness and no margins for neat text alignment.
- Copy the updated label text box to the start slide for consistency and smooth morph transitions.
- On the start slide, remove fill and shadow from the label to only show the highlight on hover.
These small touches make the interactive cards feel responsive and polished.

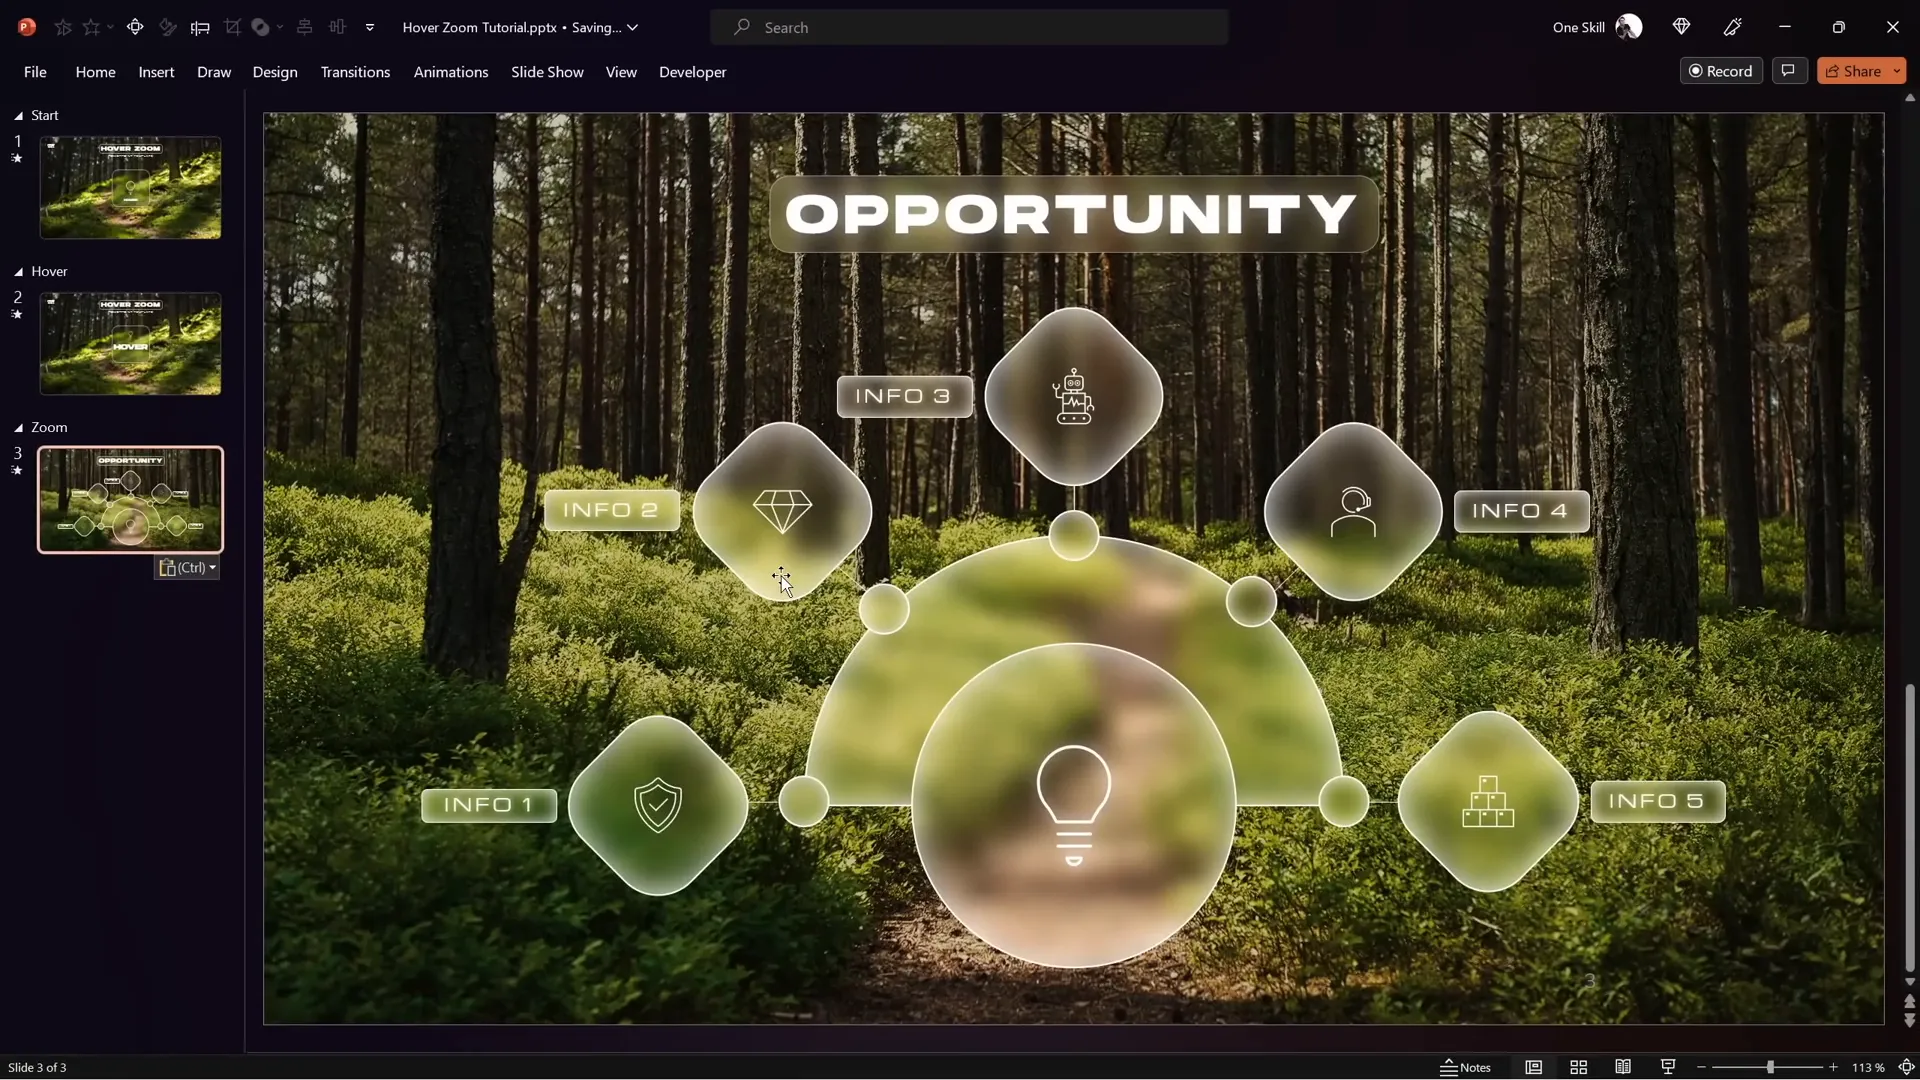
Advanced Section Zoom Hover Animation
For presentations requiring navigation through multiple slides within a zoom, section zooms provide a powerful solution.
How to Use Section Zooms for Multiple Slide Navigation
- Copy multiple slides that you want to include in the zoom section.
- Paste them into the zoom section, keeping source formatting.
- On the start slide, hide the mask and delete the old slide zoom.
- Insert a section zoom linked to the zoom section.
- Enable return to zoom and set a fast zoom duration.
- Style the section zoom with rounded corners and disable reflections.
- Copy and paste the section zoom to the hover slide and resize it to fit the card.
- Apply slide transitions (e.g., uncover from right) to all slides in the zoom section for smooth slide reveals.
- Ensure the section zoom is behind the mask on the hover slide for a seamless effect.
When you click the section zoom, you can navigate through multiple slides before automatically zooming back, creating a rich interactive experience.
Final Tips and Resources
By mastering PowerPoint animation effects like slide zooms, section zooms, and hover animations, you can create stunning presentations that engage your audience and communicate your message effectively.
Additional Resources:
- Download free tutorial slides from One Skill PPT’s video description to practice.
- Explore fonts like Hansoon and My Chroma for stylish typography.
- Use high-quality photos from Unsplash to enhance your slide backgrounds.
- Watch related videos on the One Skill PPT YouTube channel and their second channel Interstellar PowerPoint for more advanced tutorials.
With practice, you can customize these techniques to fit your brand and presentation style, making your PowerPoint slides truly stand out.
Frequently Asked Questions (FAQ)
What is the Hover Zoom effect in PowerPoint?
The Hover Zoom effect is an interactive animation where hovering the mouse over a card triggers a zoomed-in slide preview along with label and icon animations. It enhances user engagement by making navigation intuitive and visually appealing.
How do I create a glassmorphic effect in PowerPoint?
To create a glassmorphic effect, duplicate your background image, apply a blur effect, then use it as a slide background fill. Insert a shape (like a rounded rectangle) and fill it with the slide background fill. Add a white inside shadow for frosty edges to complete the look.
What’s the difference between slide zoom and section zoom?
Slide Zoom zooms into a single slide, while Section Zoom zooms into a group of slides organized in a section. Section Zoom is useful for navigating through multiple related slides sequentially.
How can I make hover animations work in PowerPoint?
Use the Action feature under Insert and apply mouse-over hyperlinks to slides. Combine this with Morph transitions between duplicate slides to create smooth hover animations.
Can I use these techniques in older versions of PowerPoint?
The Hover Zoom effect relies on features like Morph transition and Zooms, which are available in PowerPoint 365 and newer versions. Older versions may not support these features fully.
Where can I find free resources to practice these techniques?
One Skill PPT offers free tutorial slides and templates linked in their video descriptions. Unsplash provides free high-quality images, and fonts like Hansoon and My Chroma are available online for free.


