
If you’re passionate about elevating your PowerPoint presentations with dynamic and interactive features, you’ve come to the right place. This comprehensive guide will walk you through creating a stunning hover zoom effect using PowerPoint animation effects, inspired by one of the most popular templates ever created. Whether you’re a beginner or an experienced presenter, this tutorial will empower you to design engaging, professional slides that captivate your audience.
In this article, we’ll explore the step-by-step process of building a hover zoom animation in PowerPoint, including how to achieve the trendy glassmorphic effect, create smooth hover animations, insert slide and section zooms, and apply masks for a polished finish. With plenty of practical tips and visual aids, you’ll learn how to transform static slides into interactive storytelling tools.
Let’s dive into the world of PowerPoint animation effects and unlock your presentation’s full potential!
Table of Contents
- Getting Started: Setting Up Your Slide Background
- Creating the Glassmorphic Effect in PowerPoint
- Building the Hover (Mouse Over) Animation
- Organizing Your Presentation with Slide Sections
- Inserting Slide Zooms for Interactive Navigation
- Applying Masks for Clean and Professional Overlays
- Enhancing Hover Cards with Highlight Effects
- Using Section Zooms to Navigate Multiple Slides
- Frequently Asked Questions (FAQ)
- Conclusion
Getting Started: Setting Up Your Slide Background
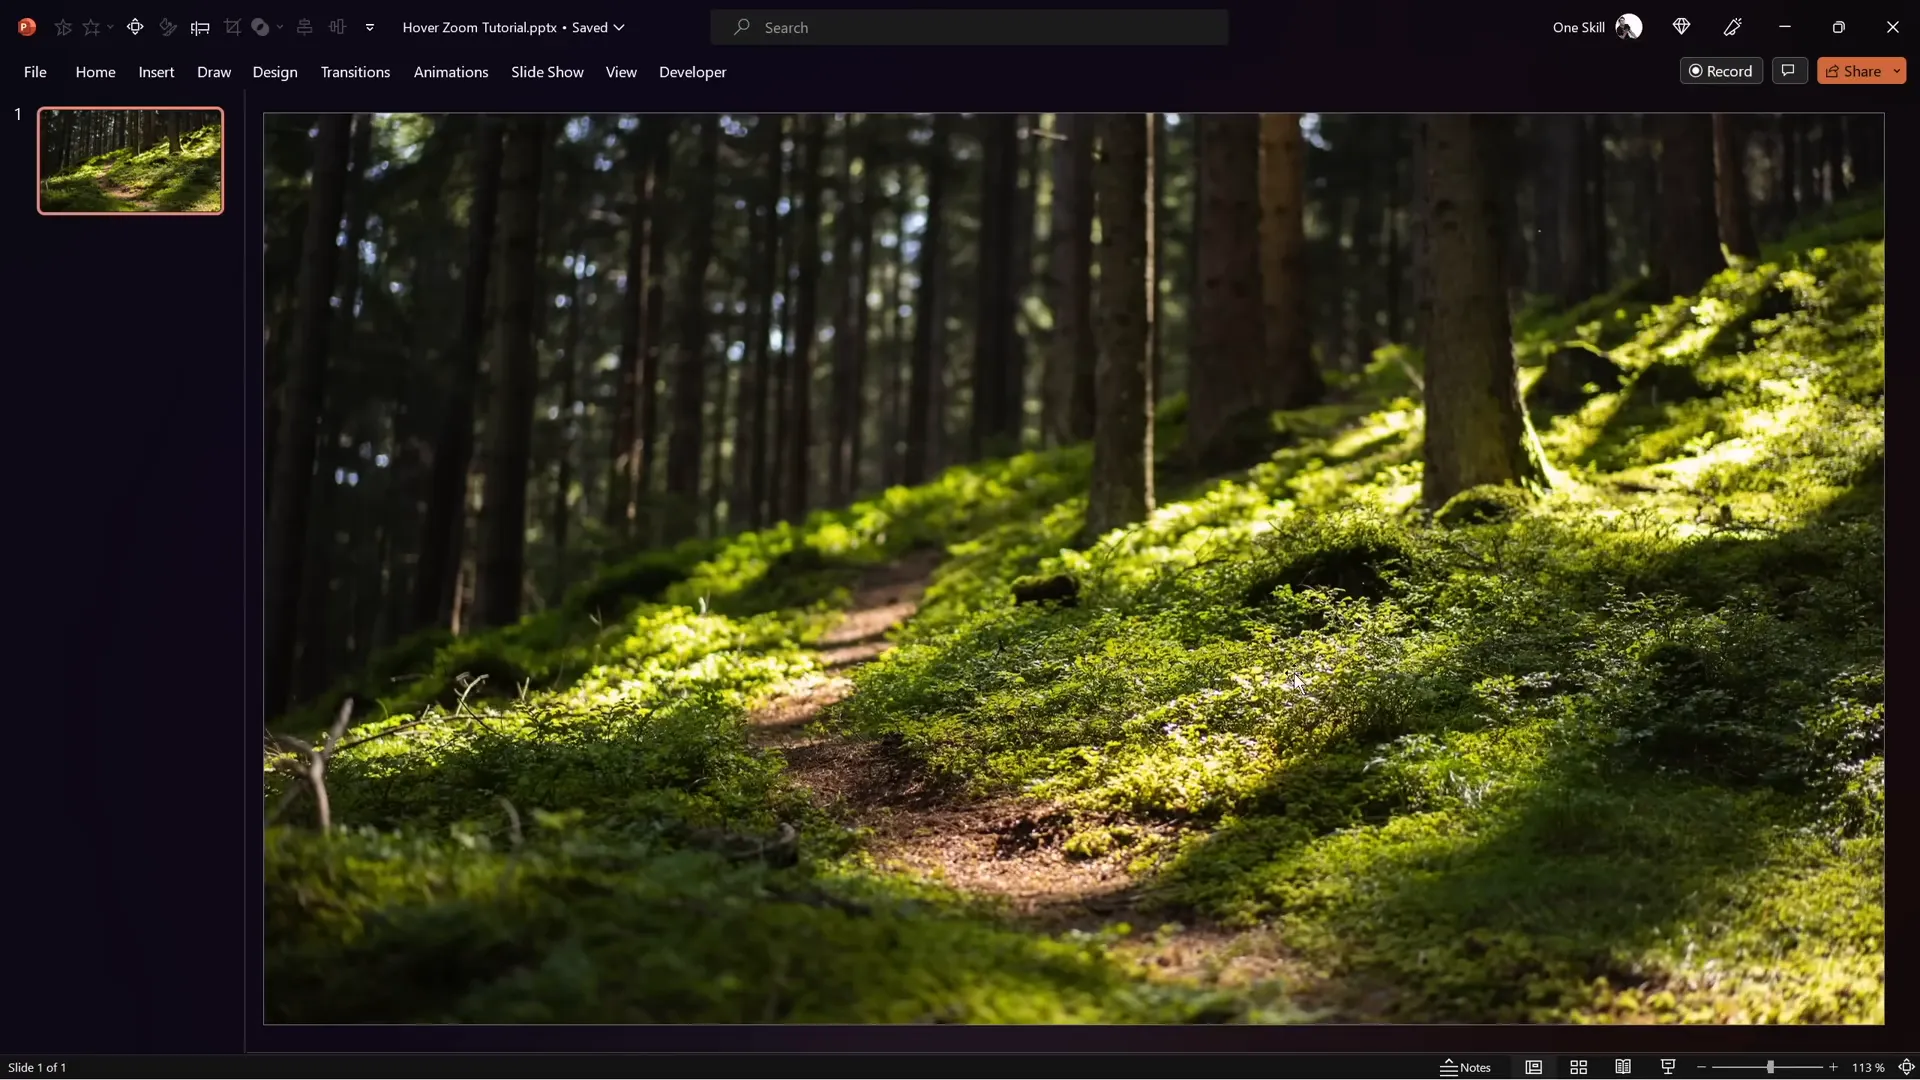
The first step to creating a captivating PowerPoint animation effect is establishing a visually appealing slide background that sets the tone for your presentation. To do this, start with a blank slide and add a high-quality photo that covers the entire slide area.
- Open a new slide and select the Blank layout to remove any default placeholders.
- Go to the Insert tab, select Pictures, and choose an image that fits your slide’s theme. For stunning, free photos, visit Unsplash.
- If your photo doesn’t fully cover the slide, hold down Ctrl + Shift and drag a corner to resize it proportionally until it fills the slide.
- With the image selected, go to the Crop menu, choose Aspect Ratio, and select 16:9 to perfectly fit the slide dimensions.
This method ensures your background image looks professional and seamless, laying a solid foundation for the animations and effects to follow.
Creating the Glassmorphic Effect in PowerPoint
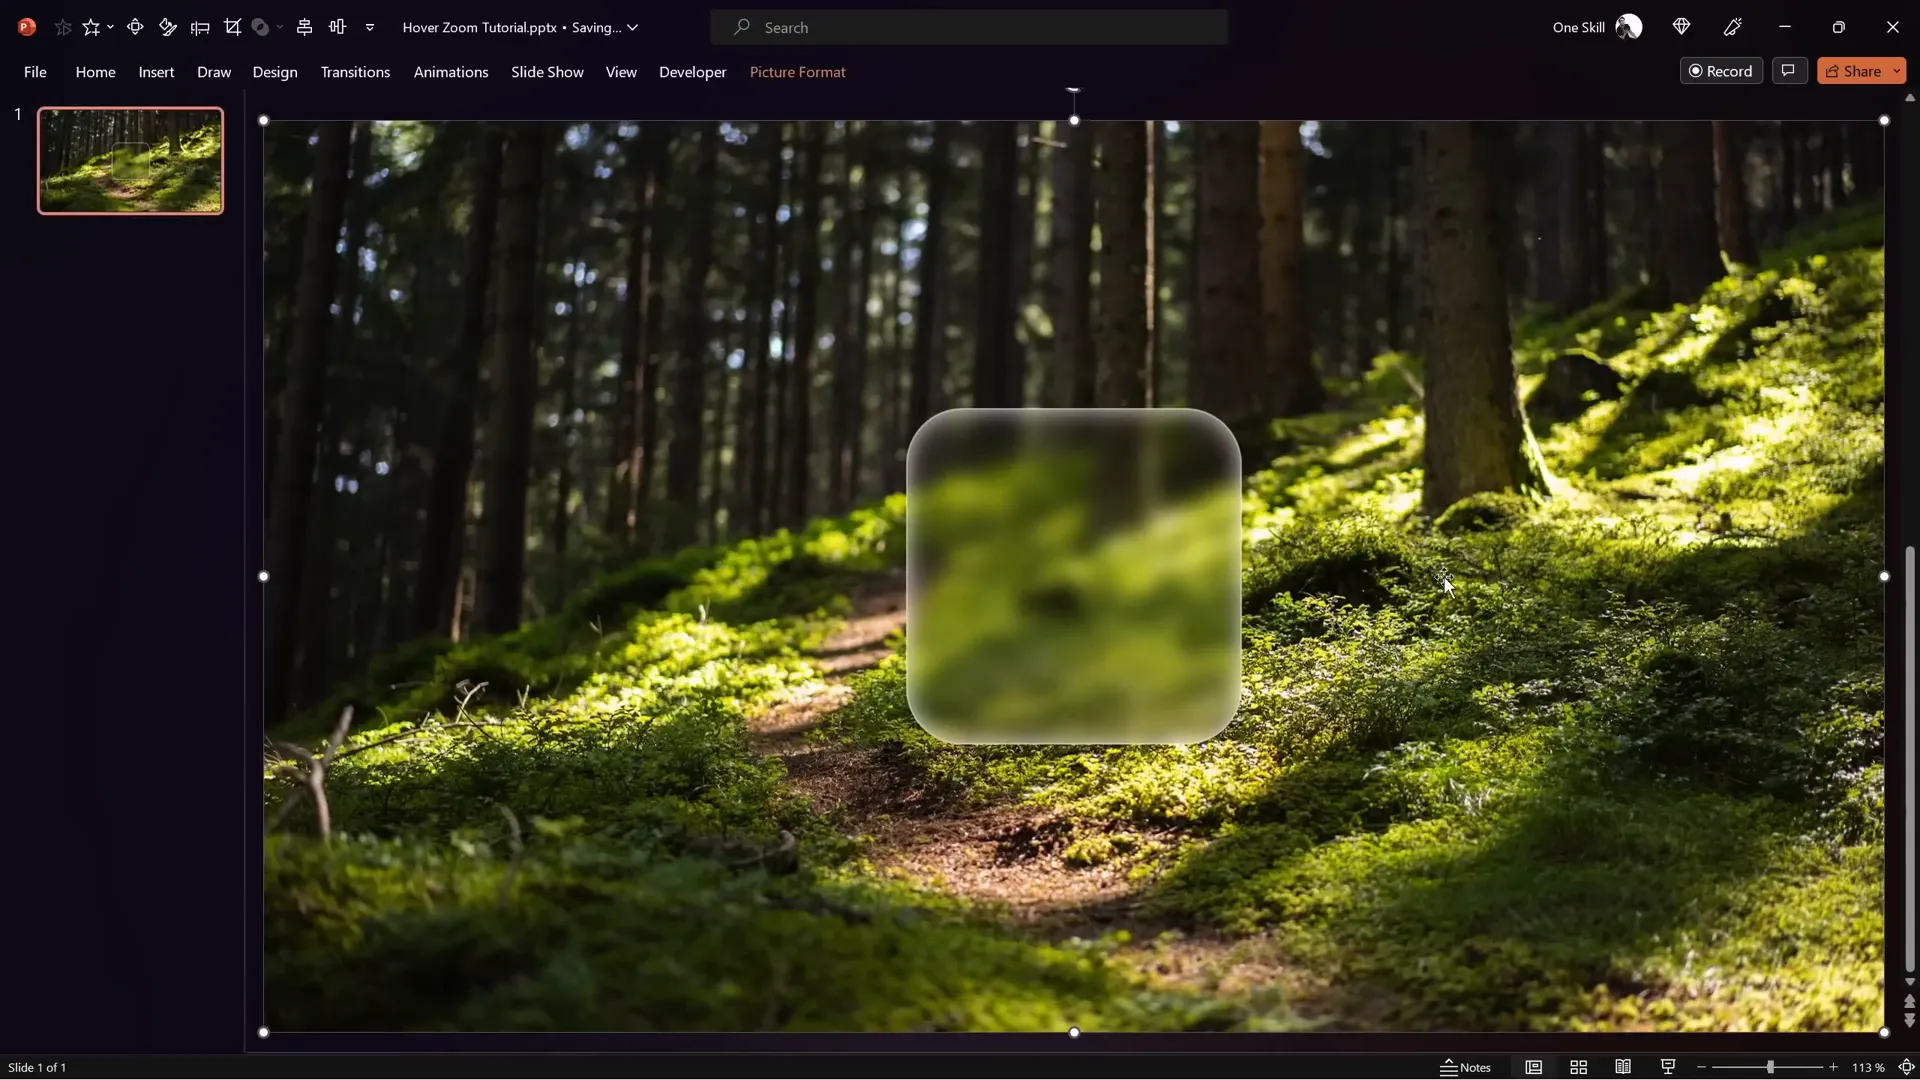
One of the most eye-catching design trends today is the glassmorphic effect—a translucent, frosted glass look that adds depth and sophistication to your slides. Here’s how to replicate this effect in PowerPoint:
- Duplicate your slide background image by selecting it and pressing Ctrl + C to copy, then Ctrl + V to paste.
- Select the copied image, right-click, and choose Artistic Effects → Blur. Adjust the blur amount to around 30 for a subtle frosted look.
- Copy the blurred image, then delete the original blurred image from the slide.
- Go to Format Background, select Picture or Texture Fill, and click Clipboard to paste the blurred image as your slide background fill.
- Reposition the original sharp photo to the center of the slide to maintain clarity behind your blurred effect.
Next, create a shape that will serve as your glass panel:
- Insert a Rounded Rectangle shape.
- Right-click the shape and select Format Shape. Under Fill options, choose Slide Background Fill—this makes the shape inherit the blurred background.
- Add frosty edges by applying a white Inside Shadow with a blur of 20 points.
- Set the shape’s width and height to 7 cm (or your preferred size) and center it on the slide.
This approach allows the shape to adapt dynamically to the background, giving you that authentic glassmorphic look.
Building the Hover (Mouse Over) Animation
Interactive animations significantly boost audience engagement. The hover animation effect triggers visual changes when the mouse pointer hovers over a card, enhancing the user experience.
Here’s how to create a smooth hover animation in PowerPoint:
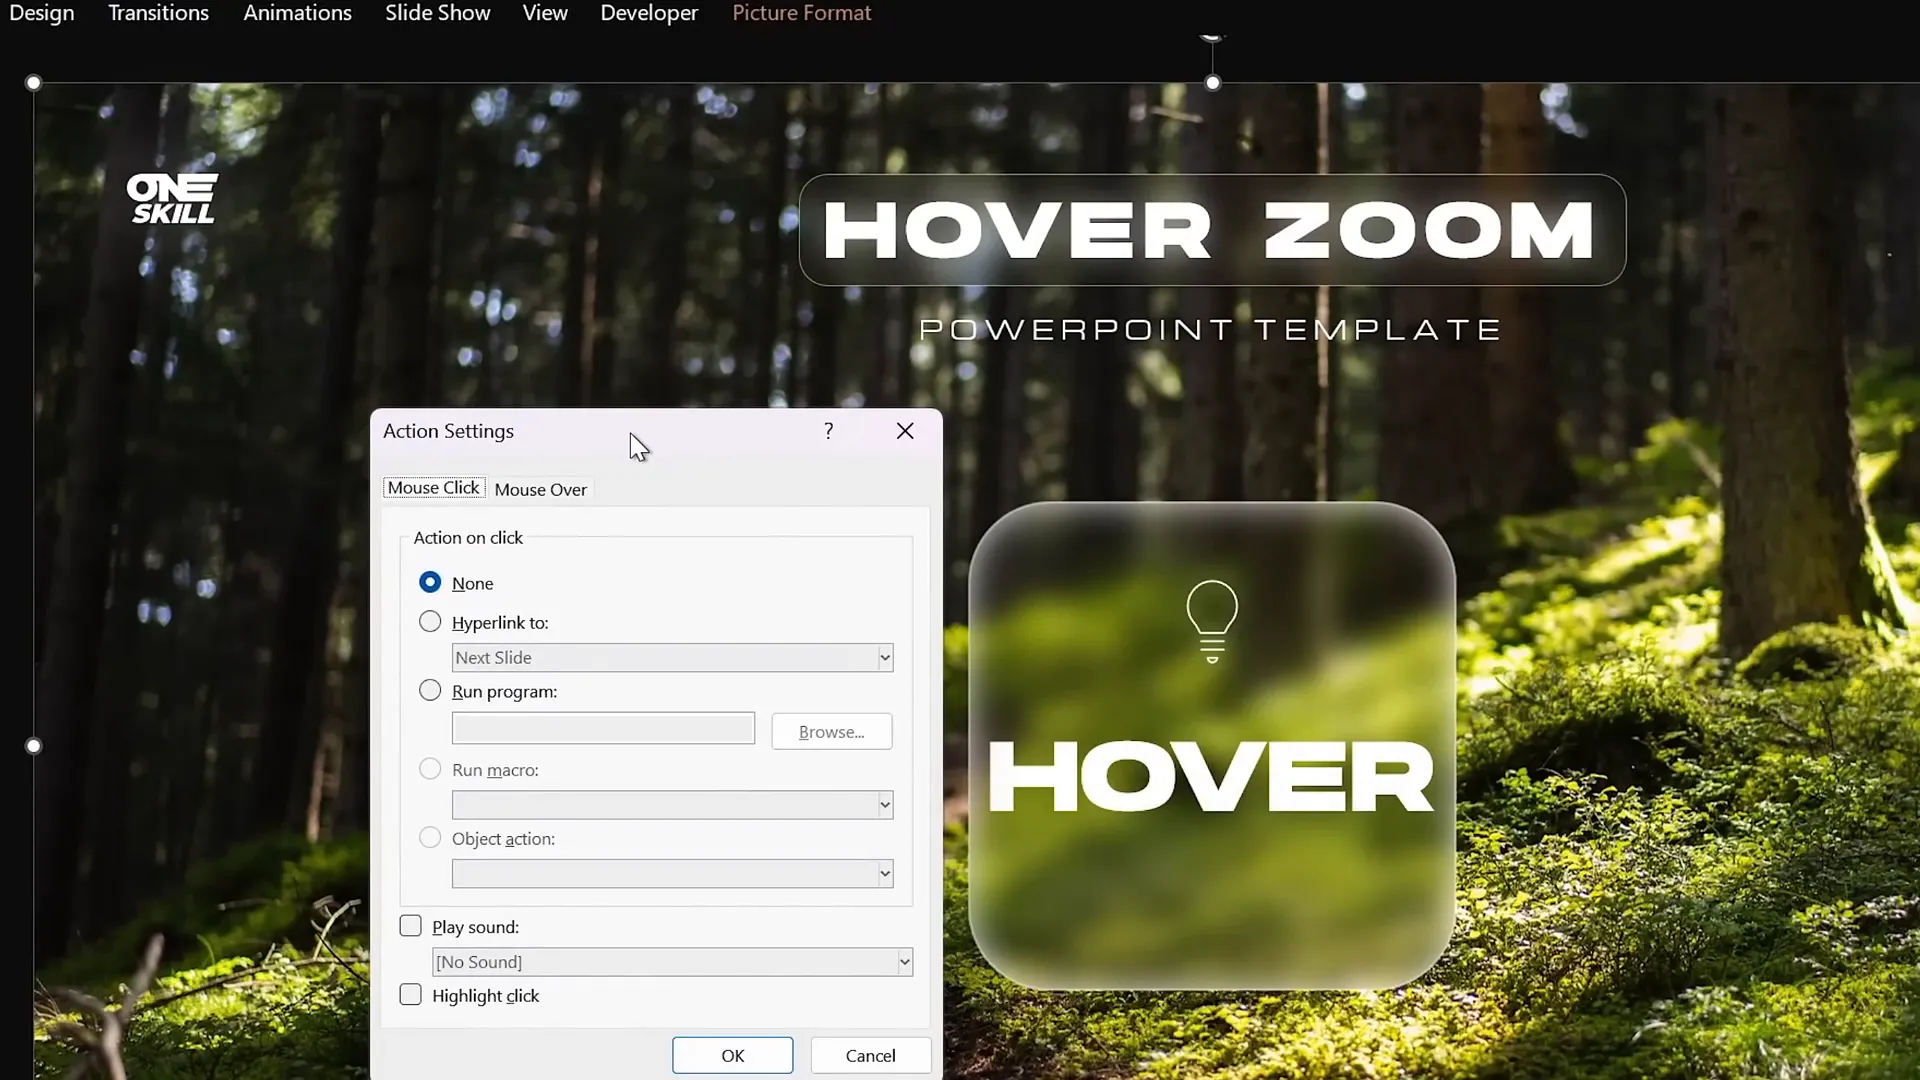
- Prepare your card by inserting an icon and text inside the glassmorphic rounded rectangle. Use fonts like Hanson Bold for titles and Michroma for subtitles to maintain a modern look.
- Align the icon and text perfectly centered within the card.
- Duplicate the slide to create a second state for the hover effect.
- On the duplicate slide, resize the icon smaller and move it upwards. Increase the font size of the text label.
- Select both slides, go to the Transitions tab, and apply the Morph transition with a fast duration (around 0.135 seconds).
- To enable the hover effect, add an Action to the card shape on the first slide: go to Insert → Action, select the Mouse Over tab, and hyperlink to the next slide.
- On the second slide, add a mouse-over action to the background photo to hyperlink back to the previous slide.
Now, when hovering over the card, the slide will transition smoothly to the zoomed-in version, creating a captivating hover zoom effect.
Organizing Your Presentation with Slide Sections
Maintaining a clear presentation structure is essential for managing complex slide decks and improving navigation, especially when working with zoom effects.
Divide your presentation into three main sections:
- Start Section: The home or landing slide.
- Hover Section: Contains slides with hover animations for each interactive card.
- Zoom Section: Includes all slides you want to zoom into, serving as detailed content areas.
Using sections helps you visually organize your slides and makes it easier to insert slide zooms or section zooms later.

Inserting Slide Zooms for Interactive Navigation
Slide zooms allow you to jump to specific slides within your presentation seamlessly. Here’s how to integrate slide zooms into your hover cards:
- Drag any slide from the thumbnail pane and drop it onto the slide where you want the zoom to appear. Alternatively, go to Insert → Zoom → Slide Zoom and select the target slide.
- Resize and position the slide zoom element within the card shape.
- Enable Return to Zoom in the zoom options to allow smooth navigation back to the original slide.
- Apply a style like Reflected Rounded Rectangle for a polished look, or turn off reflection for simplicity.
- Copy the slide zoom to the starting slide to maintain visual consistency.
With slide zooms set up, users can click on the zoom element to dive deeper into content and return effortlessly.

Applying Masks for Clean and Professional Overlays
To keep your presentation clean and ensure that zoom elements only appear at the right time, you can use masks to hide or reveal parts of the slide.
Follow these steps to create a mask with a punched hole effect:

- Duplicate the rounded rectangle shape you used for the card and change its color to a distinctive one (e.g., blue) for visibility.
- Select the background photo and the colored rectangle, then go to Shape Format → Merge Shapes → Subtract. This punches a hole in the background photo where the rectangle overlaps.
- Rename this new shape to “mask” and move it to the top of the selection pane to cover all other elements except the hole.
- Bring the slide title, subtitle, and logo to the front to ensure they remain visible.
- Copy the mask shape to all relevant slides, and assign mouse-over actions to enable navigation back to the previous slide.
This technique elegantly hides the slide zoom and related text until the user interacts with the card, enhancing the user experience.
Enhancing Hover Cards with Highlight Effects
To visually indicate when a card is active or selected, add a highlight effect using shadows and fills:
- Change the inside shadow of the card to an Inside Top Shadow with white color and zero transparency.
- Adjust the blur and distance to achieve a subtle glowing effect around the card edges.
- Style the text box inside the card by setting its fill to Slide Background Fill, adding a white outside shadow with zero transparency, and increasing the blur to around 35 points.
- Convert the text box shape to a rounded rectangle and adjust the corner roundness for a modern look.
- Remove any margins inside the text box to ensure the text fits well, and set vertical alignment to middle.
These enhancements make the hover cards stand out, guiding the viewer’s attention and improving interaction clarity.

Using Section Zooms to Navigate Multiple Slides
If you want to zoom into a series of slides instead of just one, section zooms are your best friend. They enable you to zoom into a defined section and navigate through multiple slides before returning.
Here’s how to set up section zooms:
- Organize the slides you want to zoom into into a dedicated section (e.g., Zoom Section).
- Insert a Section Zoom by going to Insert → Zoom → Section Zoom and selecting the desired section.
- Enable Return to Zoom and set a fast zoom duration (about 0.5 seconds).
- Style the section zoom with rounded corners and remove reflections for a clean appearance.
- Resize and position the section zoom inside the hover card.
- Apply slide transitions like Uncover with direction from right on all slides within the zoom section for smooth navigation.
- Ensure the section zoom is behind the mask on the hover slide for seamless animation.
With this setup, you can create rich, multi-slide zoom experiences that keep your audience engaged and your presentation dynamic.

Frequently Asked Questions (FAQ)
What is a hover zoom animation in PowerPoint?
A hover zoom animation is an interactive effect where hovering the mouse over a specific slide element (like a card) triggers a zoom-in animation to a related slide or section, enhancing engagement and navigation.
How do I create a glassmorphic effect in PowerPoint?
To create a glassmorphic effect, duplicate and blur your slide background, then use shapes filled with the blurred background fill and add white inside shadows to simulate frosted glass with soft edges.
Can I use slide zoom and section zoom together?
Yes! Slide zooms let you zoom into individual slides, while section zooms allow you to zoom into entire sections of slides for a more comprehensive navigation experience.
How can I make hover animations work smoothly?
Use the Morph transition between duplicate slides with slightly different layouts, and set mouse-over actions to hyperlink between these slides. This creates seamless hover animations that respond to cursor movement.
Is the hover zoom effect compatible with all versions of PowerPoint?
The hover zoom effect requires PowerPoint 365 or later versions that support Morph transitions and Zoom features.
Where can I find free images and fonts for my presentations?
Free, high-quality photos are available on sites like Unsplash. Recommended fonts include Hanson Bold and Michroma, which can be downloaded from font websites.
Conclusion
Mastering PowerPoint animation effects like the hover zoom can dramatically elevate your presentations, making them more interactive, professional, and visually stunning. By combining background images, glassmorphic shapes, smooth hover animations, slide and section zooms, and masking techniques, you can create a seamless user experience that captivates your audience.
Whether you’re crafting business pitches, educational content, or creative storytelling, these techniques provide powerful tools to communicate your message effectively. Remember, the key to success lies in careful slide organization, thoughtful design choices, and mastering PowerPoint’s advanced features.
Now it’s your turn to apply these tips and create remarkable presentations that stand out. Happy designing!
Check out the full video: PowerPoint HOVER ZOOM Tutorial ✨700K Special✨ ✅ Free Slides


