
If you’re looking to elevate your PowerPoint presentations with stunning PowerPoint animation effects, you’ve come to the right place. In this detailed tutorial, we dive into an innovative way to use slide zooms combined with hover animations to create interactive, engaging, and visually impressive presentations. Designed by One Skill PPT, this tutorial celebrates their milestone of 700,000 subscribers by upgrading their popular slide zoom template into a fresh, dynamic hover zoom effect that will captivate your audience.
This guide will walk you through the entire process—from setting up a beautiful background and creating the trendy glassmorphic effect to implementing smooth hover animations and advanced section zooms. Whether you’re a PowerPoint beginner or looking to add more polish and interactivity to your slides, this tutorial offers step-by-step instructions and insider tips to help you master these effects.
Table of Contents
- Getting Started: Setting Up Your Slide
- Creating the Glassmorphic Effect in PowerPoint
- Building the Hover Animation
- Organizing Your Presentation with Sections
- Integrating Slide Zooms with Hover Animations
- Using Masks to Hide and Reveal Content
- Adding Highlight Effects to Hover Cards
- Advanced Section Zoom Hover Animation
- Frequently Asked Questions
- Conclusion
Getting Started: Setting Up Your Slide
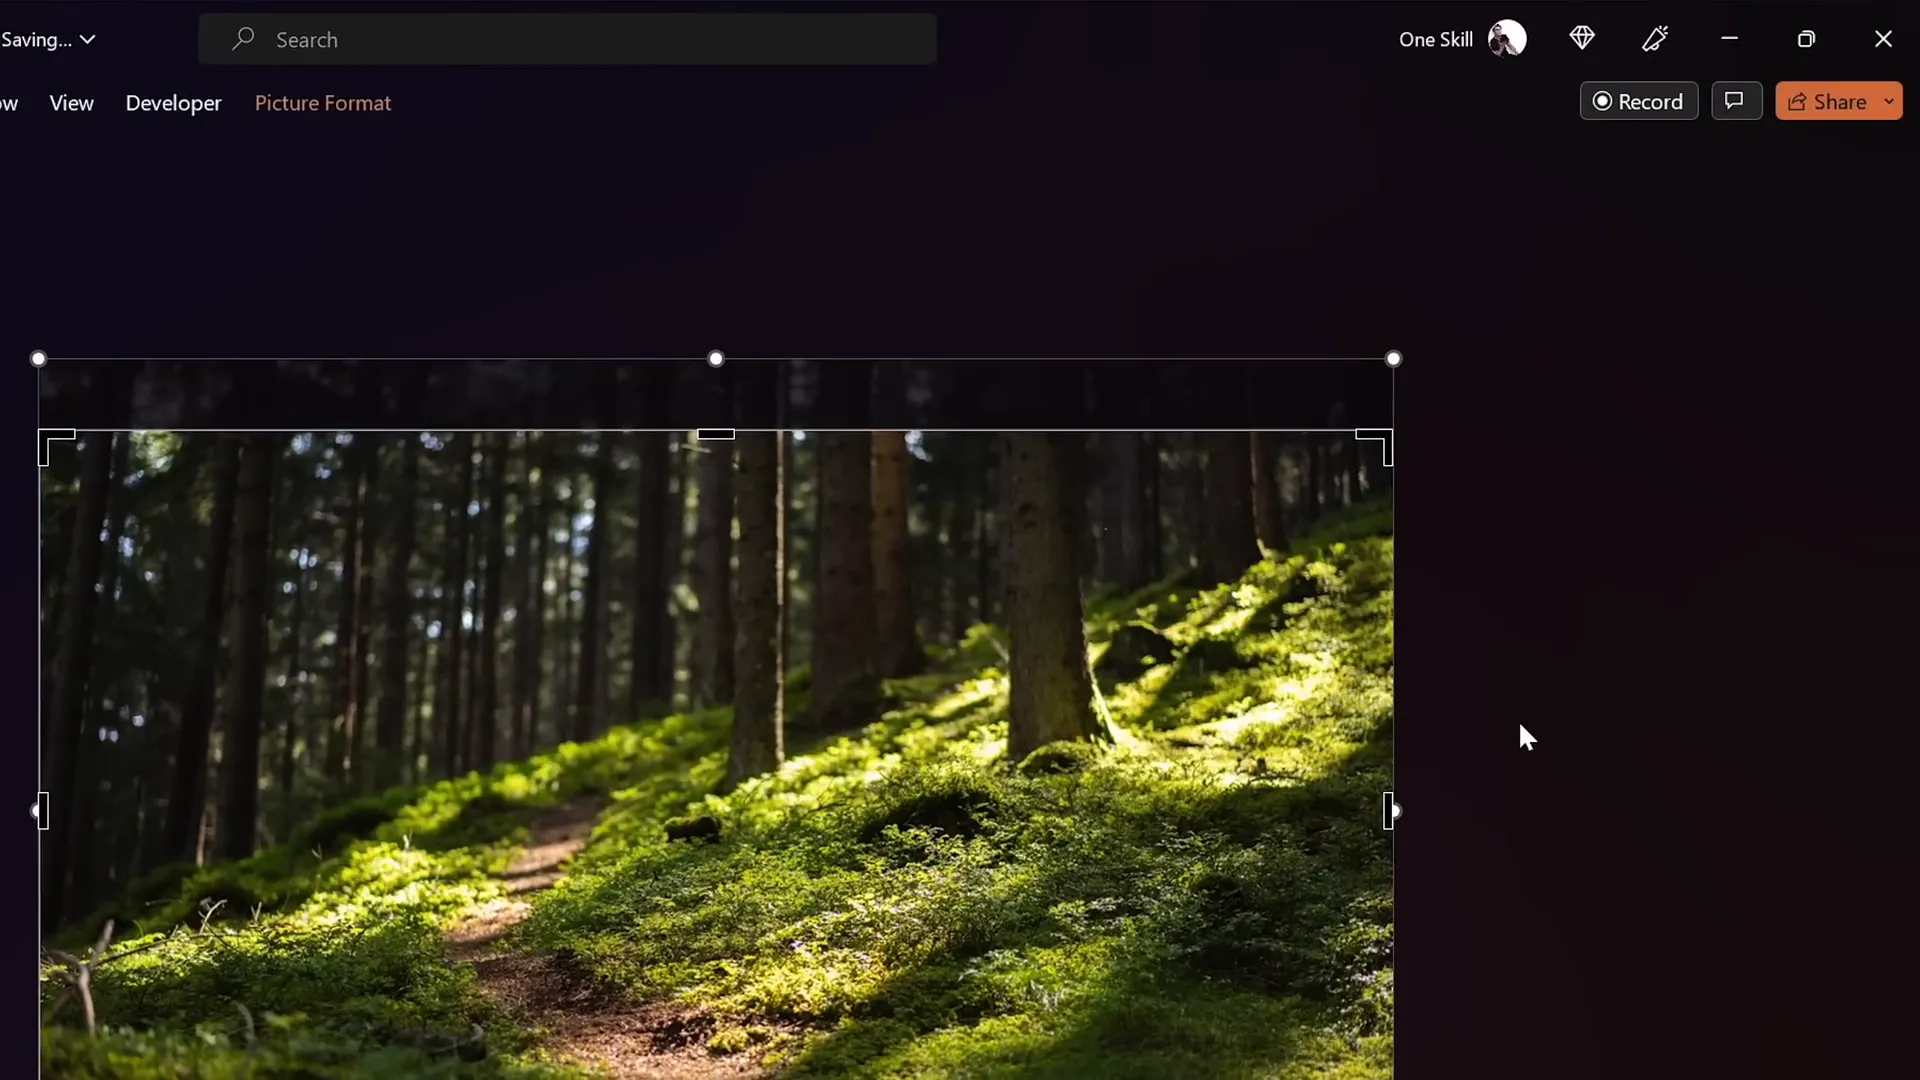
Begin your presentation with a clean slate. Start with a fresh, blank slide using a blank layout to avoid unnecessary placeholders that might clutter your design.
Next, insert a high-quality background image that will set the tone for your slide. One Skill PPT recommends using beautiful, free photos from Unsplash.com. For example, a scenic photo or subtle texture can work perfectly as a backdrop.
Once inserted, you may notice that your image doesn’t fully cover the slide area. To fix this:
- Select the image and drag one of its corners while holding Ctrl + Shift (on Windows) to resize proportionally.
- Use the crop tool to adjust the aspect ratio to 16:9, ensuring the image fits perfectly within the slide dimensions.
This simple trick ensures your background image looks seamless and professional.
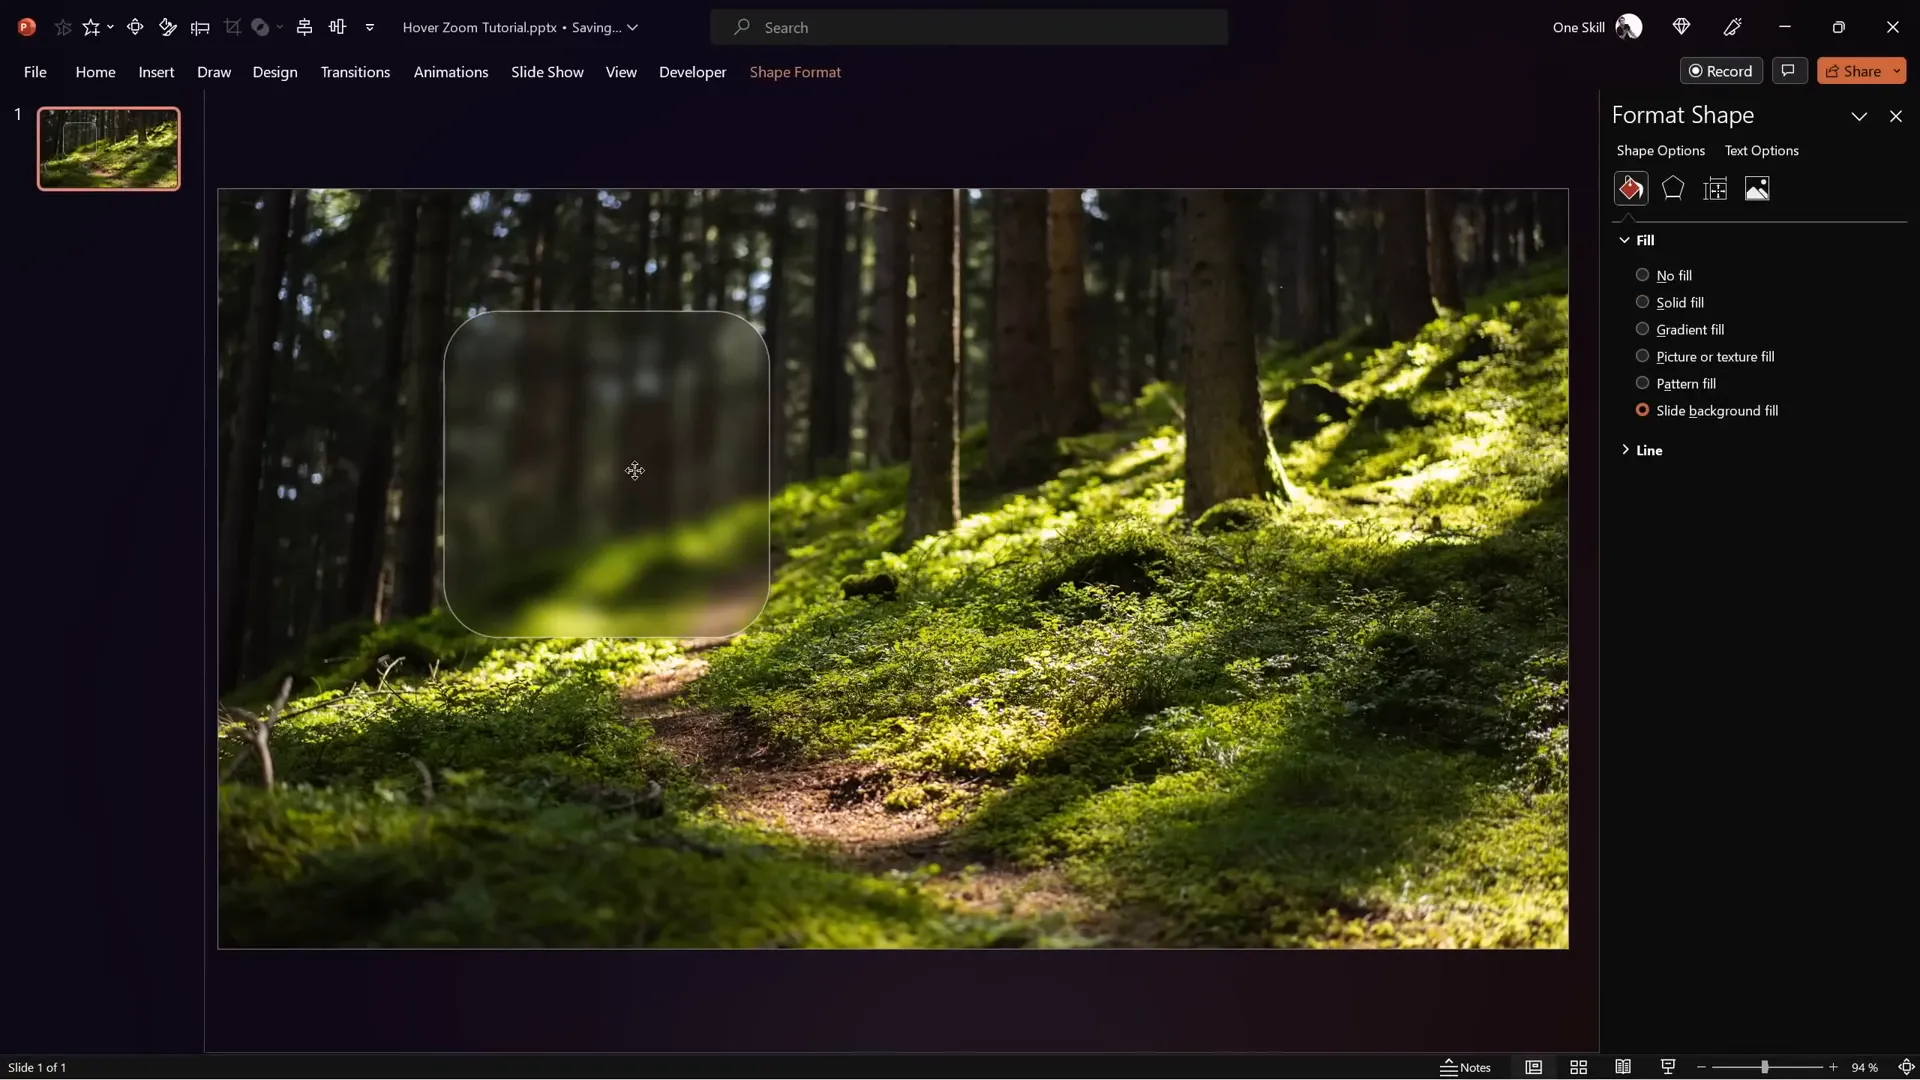
Creating the Glassmorphic Effect in PowerPoint
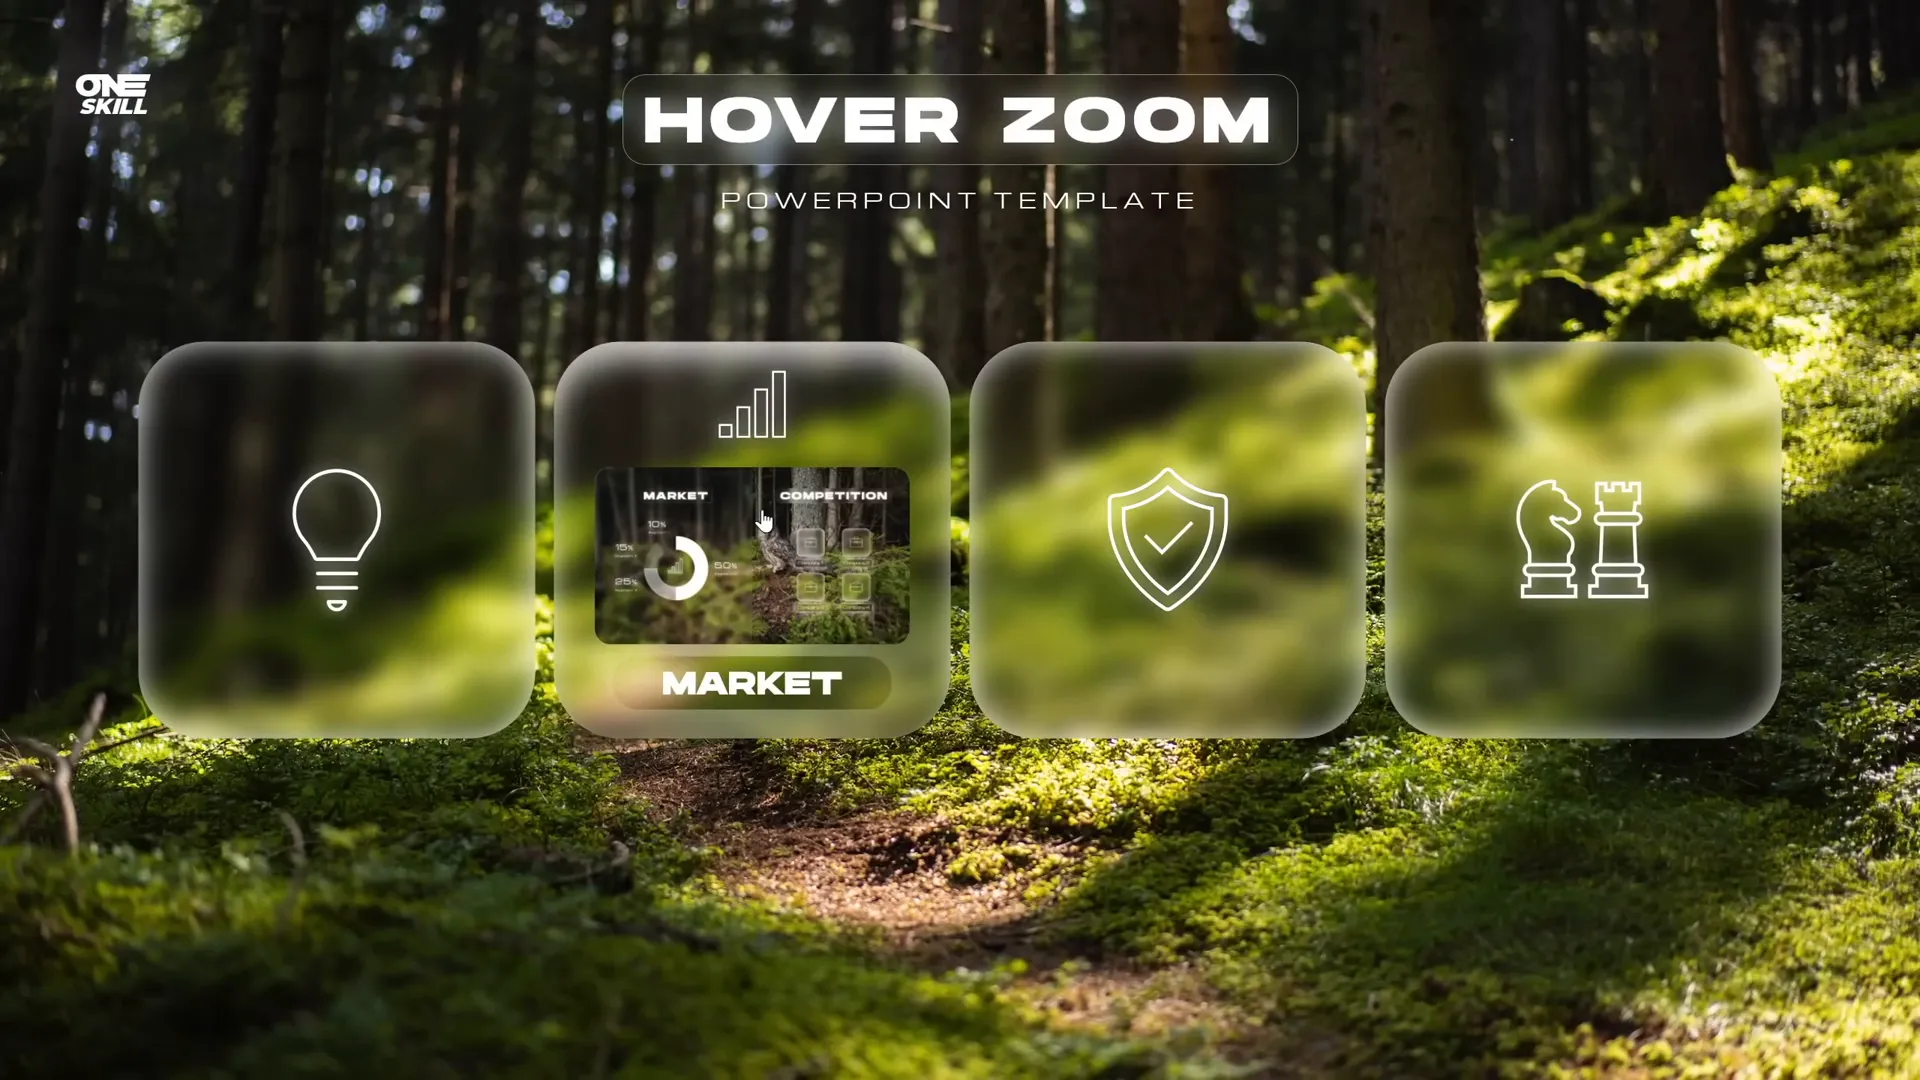
The glassmorphic design trend is all about translucent shapes with frosted, blurred backgrounds and subtle highlights. This effect adds depth and sophistication to your slides and is perfect for highlighting interactive cards.
Here’s how to create a glassmorphic effect step-by-step:
- Duplicate your background image: Select your background photo, hold Ctrl, and drag to create a copy.
- Apply a blur effect: Right-click the copied image, navigate to Artistic Effects, and select Blur. Adjust the blur amount to your liking (30 is a great starting point).
- Copy the blurred image: Right-click and choose Copy.
- Set slide background fill: Go to slide background fill options, select Picture or texture fill, and paste the copied blurred image from the clipboard.
- Insert a shape: Use a rounded rectangle or any preferred shape.
- Format the shape fill: Right-click the shape, choose Format Shape, and set the fill to Slide Background Fill. This will make the shape appear as a blurred, translucent panel.
- Add frosty edges: Apply a white inside shadow with a blur radius of about 20 points to simulate frosted glass edges.
One of the best features of this approach is that the glassmorphic shape dynamically adapts if you move it around on the slide, maintaining the blurred background effect perfectly.
Building the Hover Animation
Now that you have your glassmorphic card, it’s time to make it interactive with a hover animation. This effect triggers when the mouse pointer moves over a card, revealing additional information or zooming into another slide.
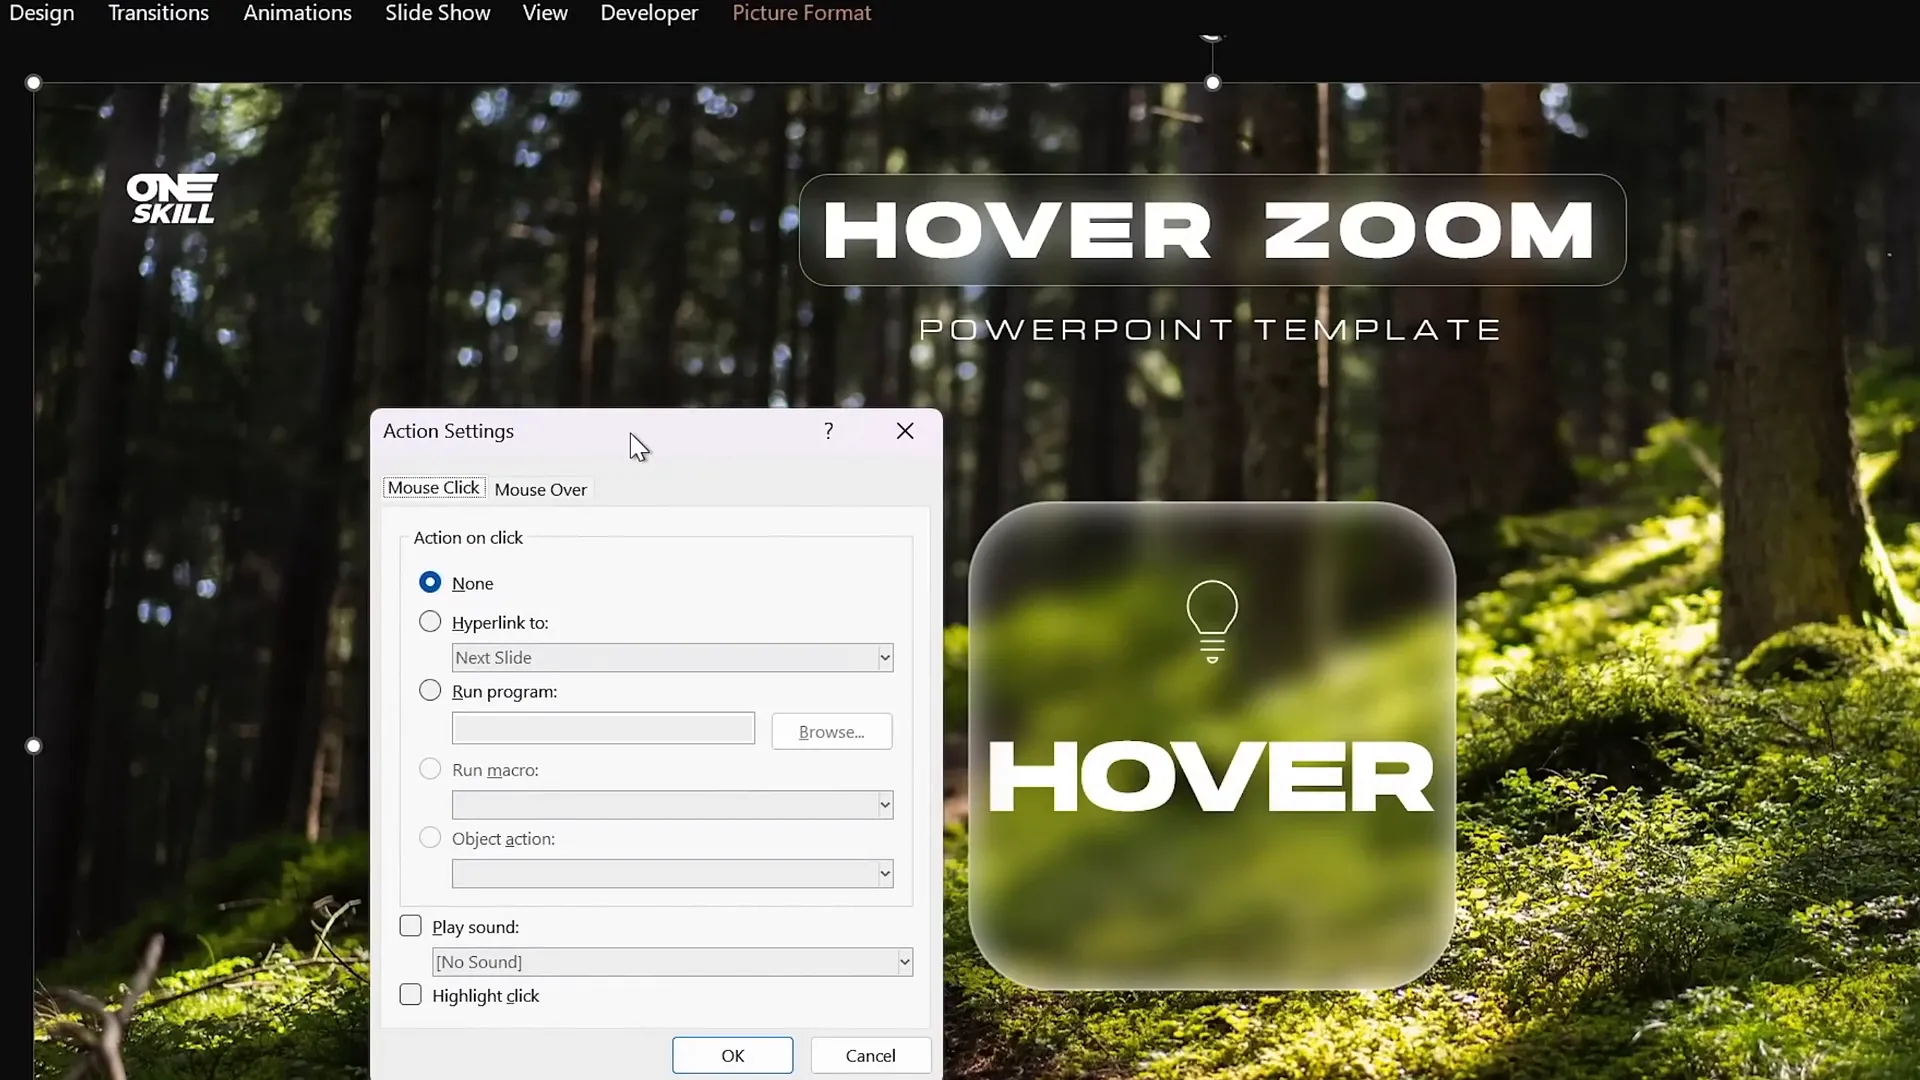
Here’s the process to create a hover animation using PowerPoint’s Morph transition and action settings:
- Duplicate your slide: You’ll create two slides: the default state and the hover state.
- Adjust the hover slide: On the duplicated slide, make the icon smaller and move it upwards.
- Enhance the hover text: Increase the font size of the label (e.g., from “hover” to “Opportunity”) and position it below the icon.
- Apply Morph transition: Select both slides, go to the Transitions tab, and apply the Morph transition with a fast duration (e.g., 0.135 seconds) for a smooth animation.
- Set mouse-over hyperlink: On the original slide, select the card shape, go to Insert > Action, choose the Mouse Over tab, and set a hyperlink to the next slide.
- Set return mouse-over action: On the hover slide, select the background image, add a mouse-over action hyperlinking back to the previous slide.
This method creates the illusion of hovering, where the slide automatically transitions to the zoomed-in card when the mouse is over it, and returns when the mouse moves away.
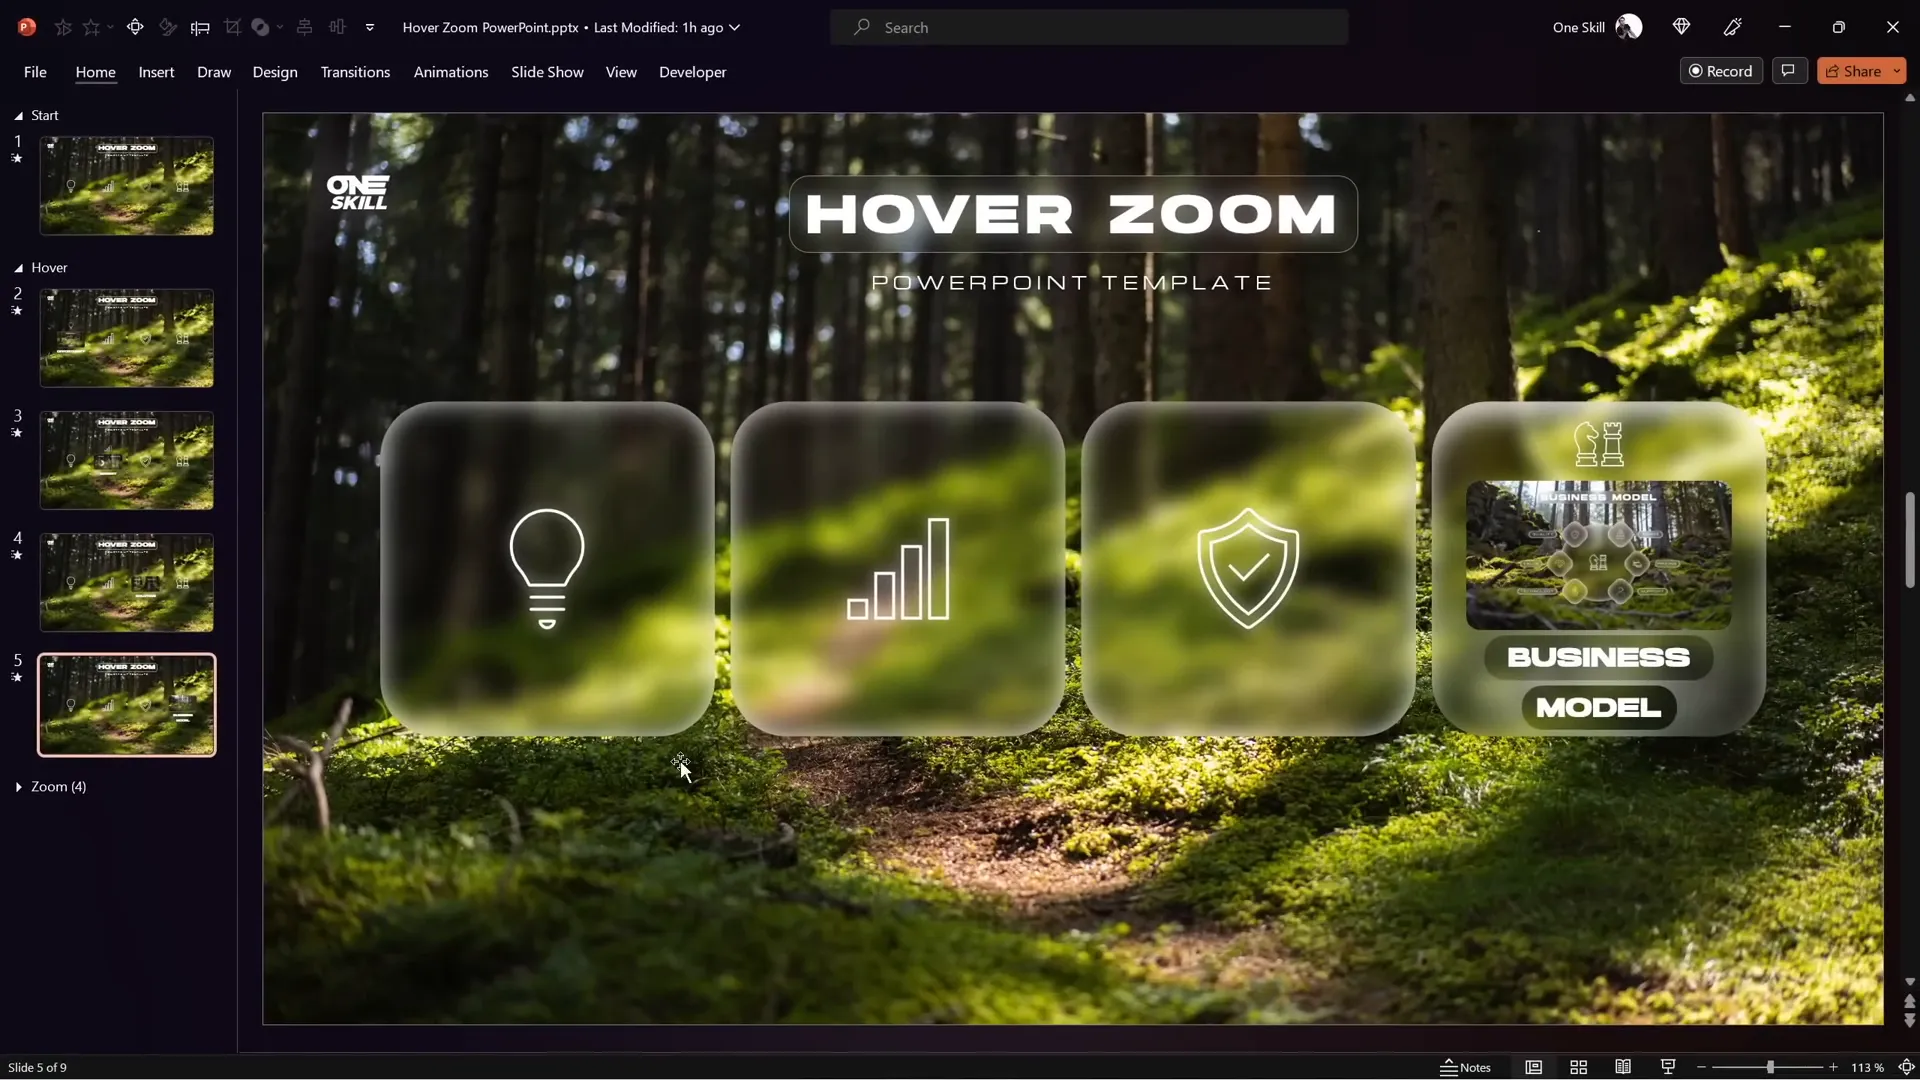
Organizing Your Presentation with Sections
For complex presentations with multiple interactive cards and zooms, organizing your slides into sections is essential. Sections help you manage your content logically and visually within PowerPoint.
One Skill PPT suggests structuring the presentation like this:
| Section Name | Description |
|---|---|
| Start | The home or starting slide with overview cards. |
| Hover | Slides dedicated to hover effects for different cards (one slide per card). |
| Zoom | Slides that you zoom into, containing detailed content. |
Use the Insert > Section feature in PowerPoint to add these sections. This helps keep your workflow organized and your presentation easy to navigate.
Integrating Slide Zooms with Hover Animations
Slide Zooms are a powerful feature in PowerPoint 365 that allow you to zoom into specific slides or sections interactively. Combining slide zooms with hover animations creates a dynamic and engaging user experience.
To integrate slide zooms into your hover cards:
- Insert a slide zoom: Drag a slide thumbnail from the left pane onto your card or use Insert > Zoom > Slide Zoom and select the desired slide.
- Resize and position: Make sure the slide zoom fits nicely inside the card shape.
- Enable return to zoom: In the zoom options, enable Return to Zoom so you can zoom back to your starting slide after viewing.
- Style the zoom: Apply styles like reflected rounded rectangle and disable reflection for a clean look.
- Duplicate the slide zoom: Place copies on both the starting and hover slides to maintain consistency and smooth morph transitions.
- Test the hover animation: Hover over the card to see the slide zoom and label appear, then click the zoom to view the detailed slide.
This setup allows you to create interactive cards that respond to mouse hover by showing detailed previews and zooming into content seamlessly.

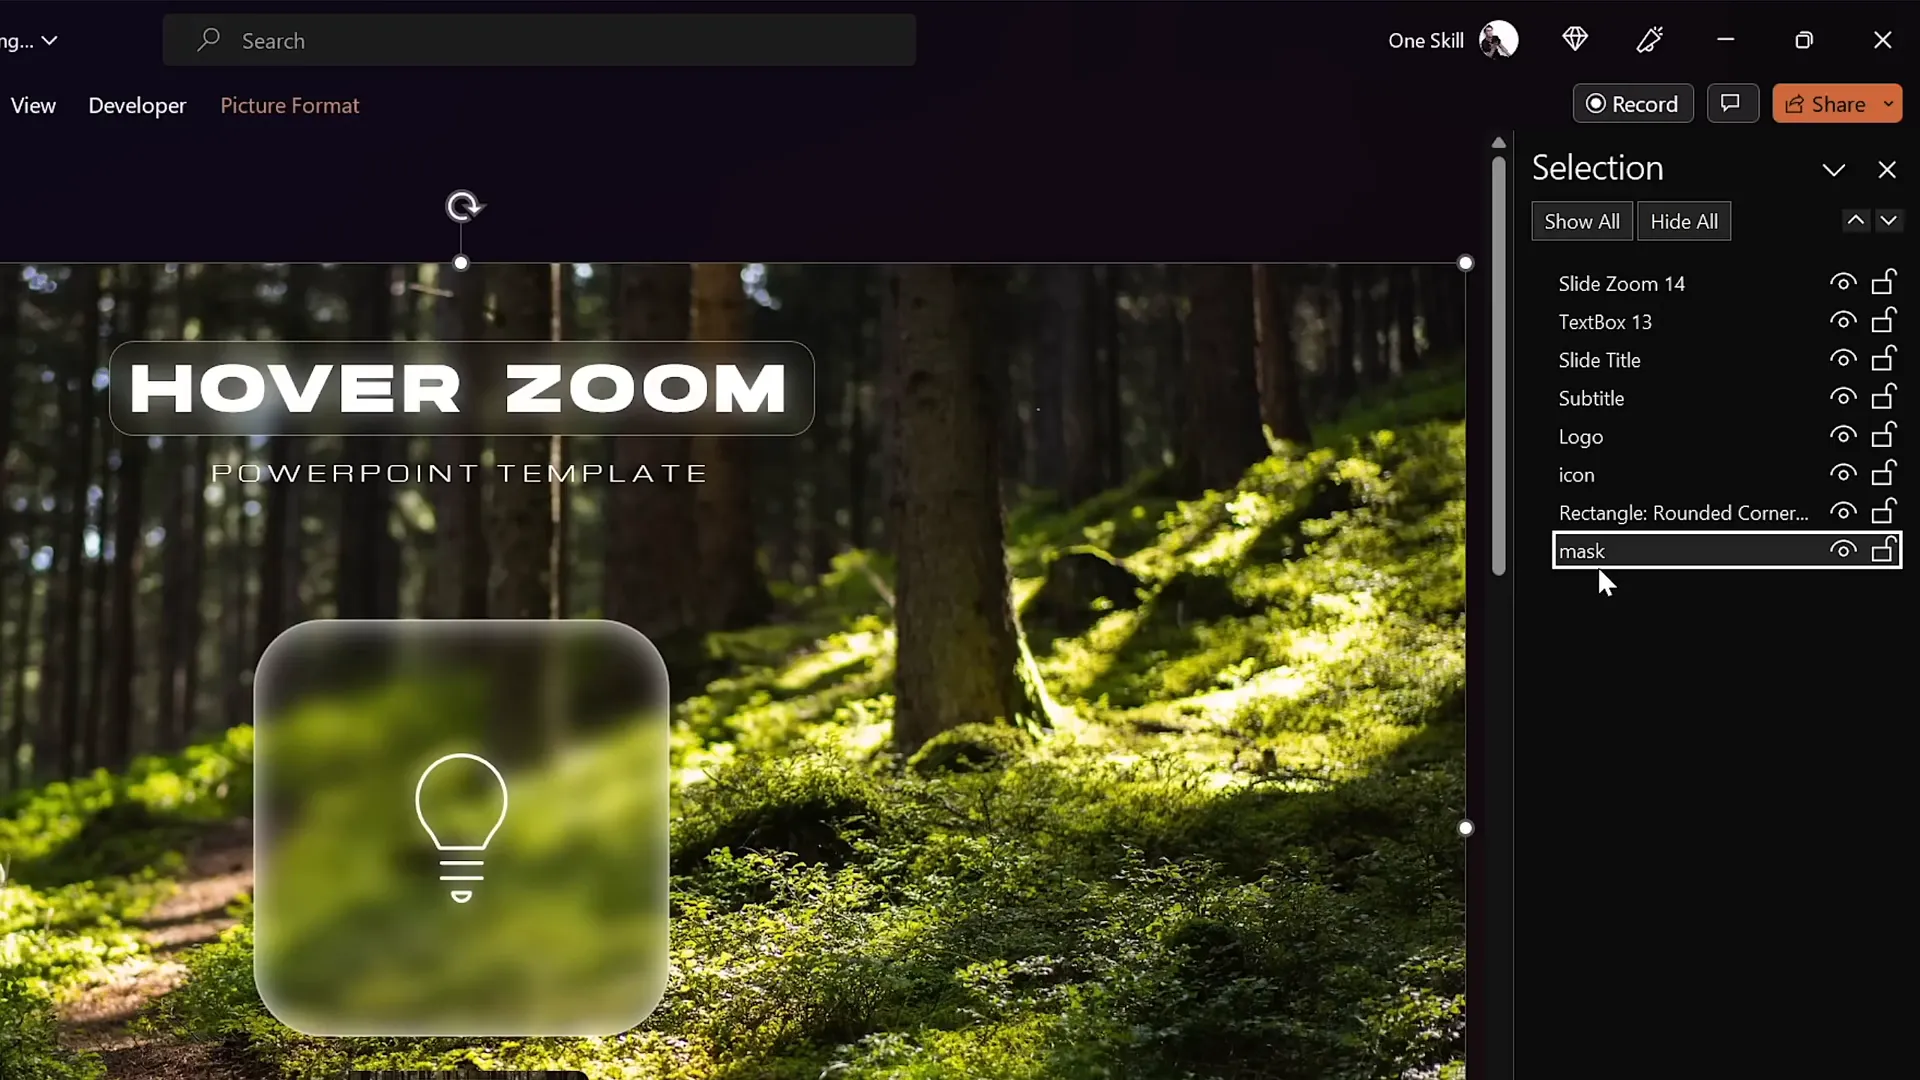
Using Masks to Hide and Reveal Content
To enhance the visual polish and control what is visible on your slides, you can create a mask that hides the slide zoom and label on the starting slide, revealing them only on hover.
Here’s how to create a mask in PowerPoint:
- Duplicate the glassmorphic rectangle: Make a copy and change its fill color to a contrasting color (e.g., blue) to use as a mask shape.
- Position the mask: Place this shape exactly over the card area where you want the content revealed.
- Select background and mask: Select both the background photo and the mask shape.
- Merge shapes: Go to Shape Format > Merge Shapes > Subtract to punch a hole in the background photo where the mask shape was.
- Rename and reorder: Rename this new shape as “mask” and bring it to the top of the selection pane so it covers all slide elements except the punched hole.
- Bring other elements forward: Bring the slide title, subtitle, and logo to the front, and make sure the slide zoom and label stay behind the mask.
- Copy the mask to hover slides: Replace the background photo with this masked photo on hover slides and set mouse-over actions to hyperlink to previous slides.
This technique lets you control the visibility of your interactive elements, creating a sleek, professional look with controlled reveal effects.
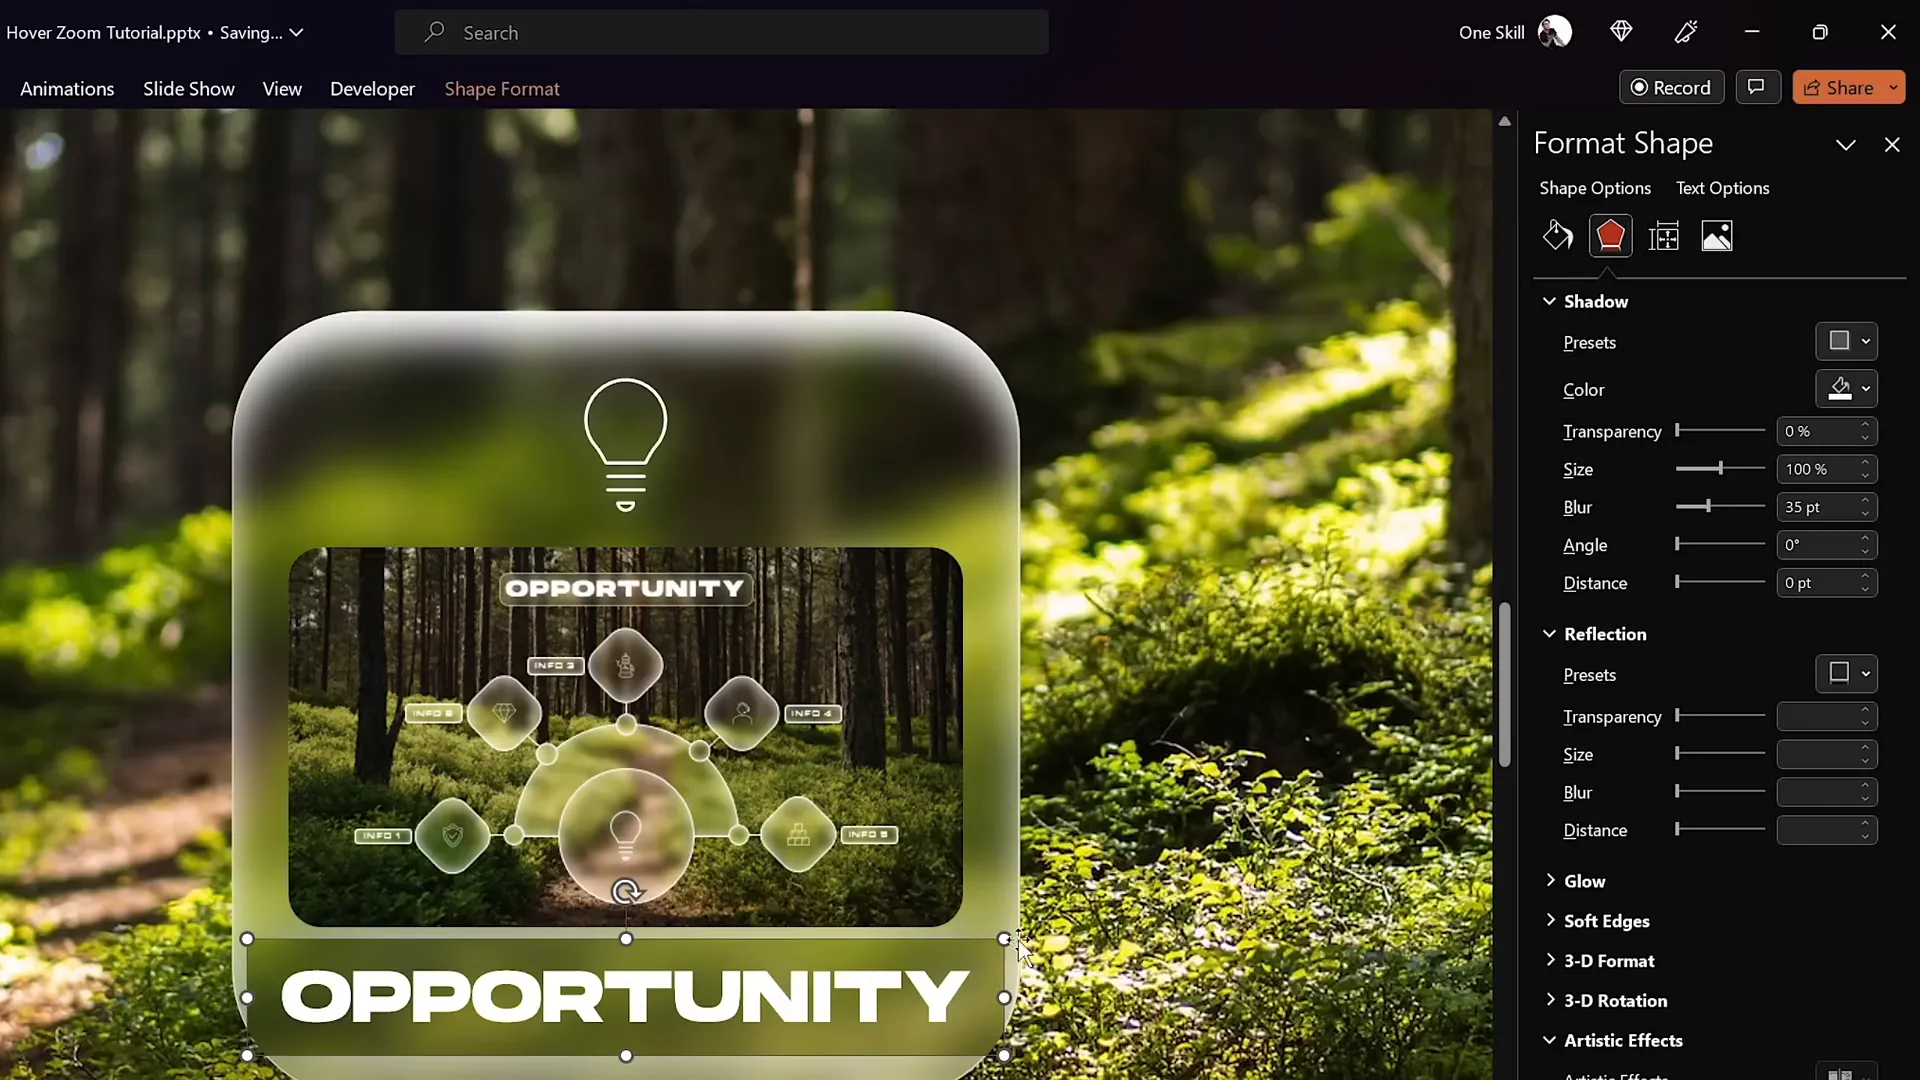
Adding Highlight Effects to Hover Cards
To visually indicate when a card is active or selected during hover, you can tweak the inside shadow and add a glowing highlight effect around the card and label.
Steps to create the highlight effect:
- Apply an inside top shadow to the card shape with white color, zero transparency, and adjust blur and distance for a glowing edge.
- Set the label text box fill to Slide Background Fill to maintain the glassmorphic look.
- Add an outside shadow to the label with white color and zero transparency for a soft glow.
- Convert the label shape to a rounded rectangle for smoother edges and adjust corner roundness.
- Remove margins and set vertical alignment to middle to center the text nicely.
These subtle effects provide visual feedback to users, enhancing usability and making the interaction feel polished.
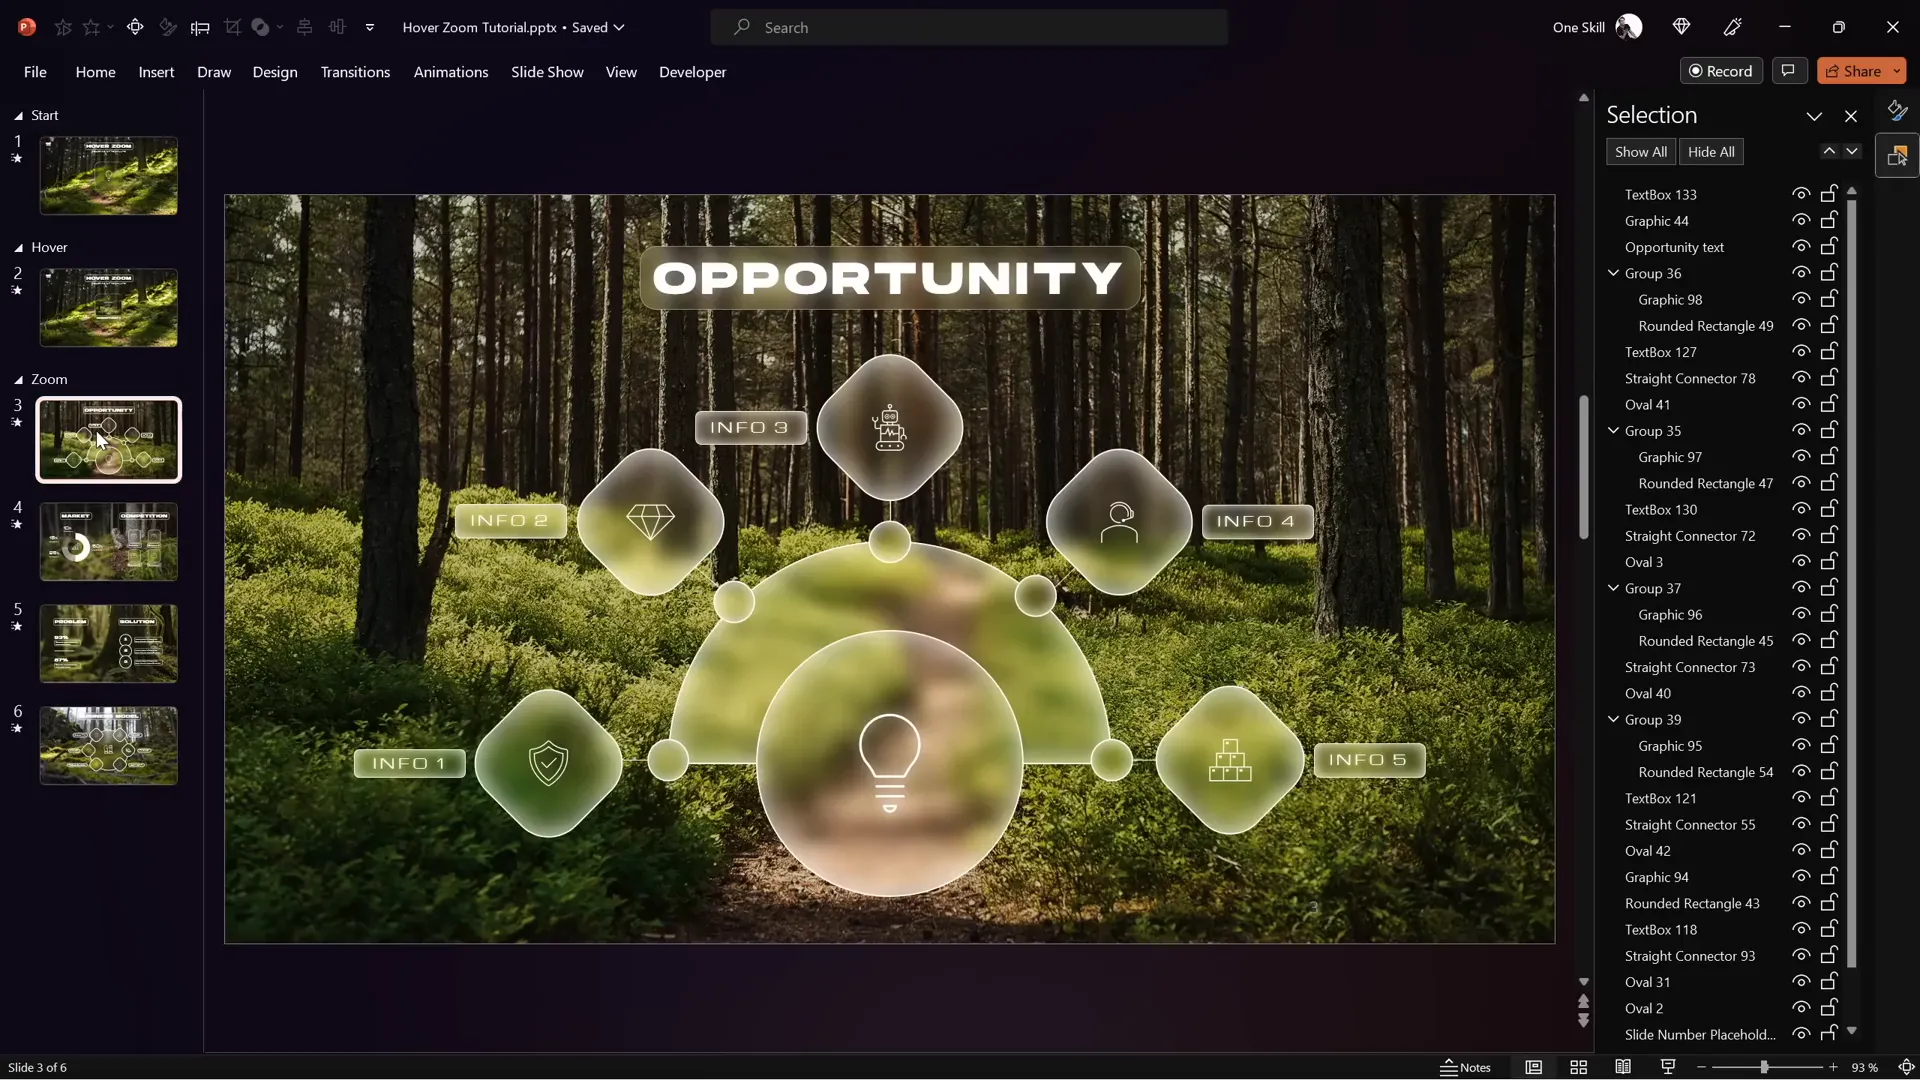
Advanced Section Zoom Hover Animation
If you want to zoom into multiple slides sequentially and then return to your starting slide, use Section Zooms instead of single slide zooms.
Here’s how to set up section zooms for multi-slide navigation:
- Organize slides into a Zoom Section: Collect all slides you want to zoom into inside a dedicated section.
- Insert a Section Zoom: Go to Insert > Zoom > Section Zoom and select the Zoom section.
- Enable return to zoom: Activate the Return to Zoom option for smooth navigation back.
- Style the Section Zoom: Apply rounded corners and disable reflections for consistency.
- Remove old slide zooms: Delete any single slide zooms on the starting and hover slides.
- Paste the Section Zoom: Insert the new Section Zoom into your cards, positioning it neatly.
- Apply slide transitions to zoom slides: Choose slide transitions like Uncover from Right to animate slide changes smoothly.
- Place the Section Zoom behind the mask: This ensures the hover animation looks seamless and professional.
This approach enhances your presentation’s interactivity by letting you walk through a series of slides within a zoomed section before returning.
Frequently Asked Questions
What is the difference between Slide Zoom and Section Zoom?
Slide Zoom allows you to zoom into a single slide, while Section Zoom zooms into a group of slides organized in a section. Section Zoom is ideal for navigating multiple related slides consecutively.
Can I use these hover zoom animations in older versions of PowerPoint?
The hover zoom effects rely on PowerPoint 365 features like Morph transitions and Zooms, so they won’t work fully in older versions. For best results, use PowerPoint 365 or later.
How can I customize the blur amount for the glassmorphic effect?
When applying the blur effect to your duplicated background image, you can adjust the intensity by selecting the blur amount in the Artistic Effects menu. A blur value around 30 points typically looks great but feel free to experiment.
Are the icons and fonts used in this tutorial free?
Yes. The icons come from PowerPoint 365’s built-in icon set, and the fonts used are Hansoon and Michroma, both free to download.
How do I make the hover animation smooth and fast?
Set the Morph transition duration between your hover and default slides to a low value like 0.135 seconds. This makes the animation feel quick and responsive.
Can I download the free hover zoom template?
Yes! One Skill PPT offers the complete hover zoom template for free. You can find the download link in the video description of the original tutorial on their YouTube channel.
Conclusion
Mastering PowerPoint animation effects like the hover zoom tutorial from One Skill PPT opens a world of possibilities for creating interactive, engaging, and visually stunning presentations. From the elegant glassmorphic effect to seamless hover animations and advanced section zooms, this tutorial covers everything you need to impress your audience.
By organizing your slides into sections, using masks to control visibility, and leveraging Morph transitions alongside slide and section zooms, you can create presentations that feel more like interactive apps than static slide decks.
Whether you’re pitching a business idea, teaching a class, or designing a portfolio, these techniques will help you stand out and deliver a memorable presentation experience.
Ready to get started? Download the free hover zoom template from One Skill PPT’s Patreon and experiment with these tips to create your own dynamic PowerPoint masterpieces!
For more advanced PowerPoint animation tutorials and free resources, be sure to check out One Skill PPT’s YouTube channel and their second channel, Interstellar PowerPoint, for innovative animated slide designs.
Happy presenting!


