
If you’ve ever wanted to elevate your PowerPoint presentations with eye-catching animations and smooth slide transitions, you’re in the right place. In this detailed tutorial, we’ll uncover exactly how to create a stunning title slide animation with a modern glassmorphic effect and a beautiful transition to the next slide — all using PowerPoint’s native tools.
This guide is inspired by the insightful tutorial from One Skill PPT, who generously shares a free Pitch Zoom template and reveals the secrets behind their animated slides. Whether you’re a beginner or an intermediate PowerPoint user, this step-by-step walkthrough will help you master these techniques and add a professional polish to your presentations.
Table of Contents
- Getting Started: Downloading the Free Template and Preparing Your Slide
- Creating the Glassmorphic Effect: Blurred Background and Slide Background Fill
- Animating the Title Text: Wipe and Motion Path Effects
- Adding and Animating Rounded Rectangle Corners
- Setting a Subtle Slide Transition
- Building the Second Slide: Zoomed Background and Morph Transition
- Working with Glassmorphic Circles and Icons
- Naming Shapes for Morph Transition Consistency
- Animating the Circles with Zoom and Spin Effects
- Final Touches and Tips
- Frequently Asked Questions
Getting Started: Downloading the Free Template and Preparing Your Slide
Before diving into the animation process, it’s helpful to start with the free Pitch Zoom PowerPoint template provided by One Skill PPT. This template includes many of the elements used in the tutorial and is an excellent resource to learn from or customize.
To get the free template:
- Visit pptskill.com.
- Click on the “Preview” button and sign up for a free account.
- Once signed in, navigate to Chapter 12 and select the “Bonus Slides Pitch Zoom Template.”
- Scroll down to find the download button and click it to get the template file.
Once you have the template, open PowerPoint and start with a fresh blank slide to create your title animation from scratch.
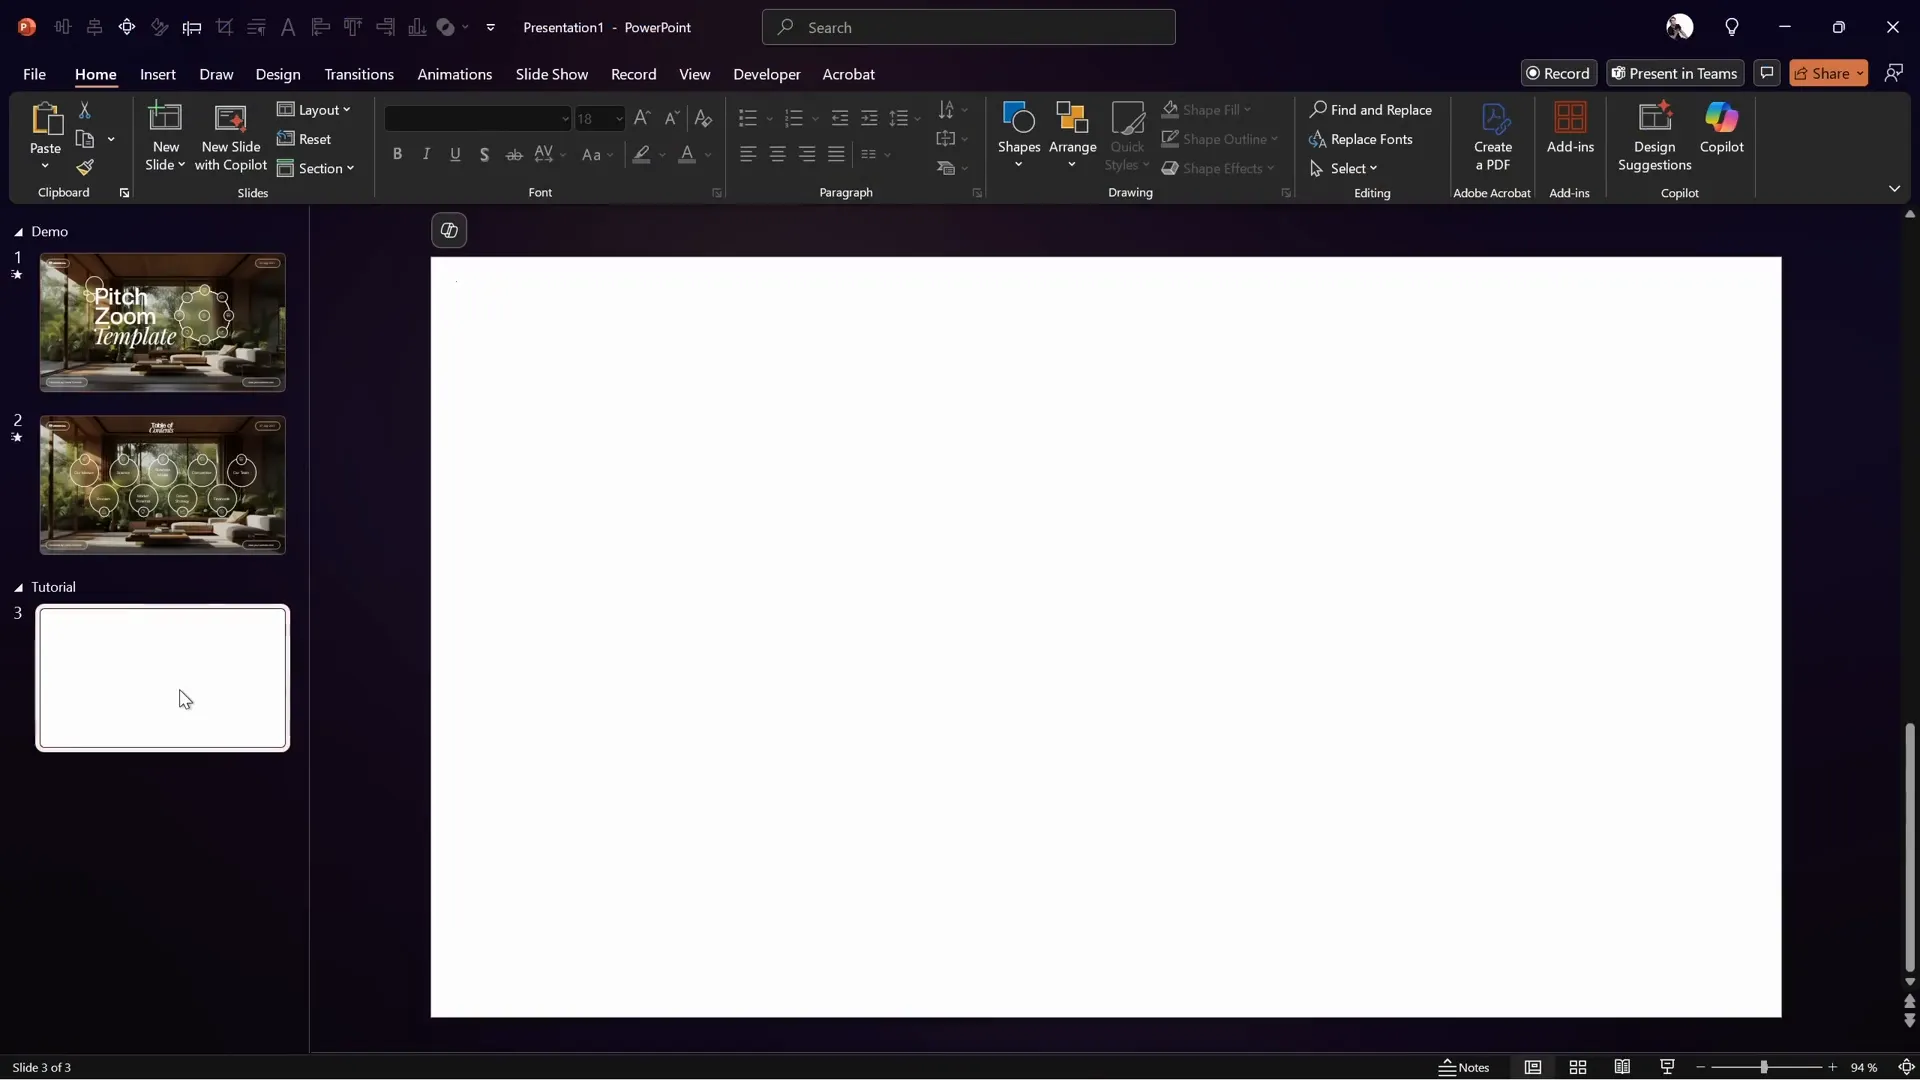
Next, you’ll want to add a beautiful background image to your slide. One Skill PPT recommends using a high-quality photo from Freepik. The exact image link is provided in the video description.
Simply copy the image from the source slide or file and paste it onto your blank slide.
Creating the Glassmorphic Effect: Blurred Background and Slide Background Fill
The signature glassmorphic effect relies on a blurred background layered with sharp foreground elements. Here’s how to create this effect step-by-step:
- Duplicate the background image: Select the original image and duplicate it on the slide.
- Apply maximum blur: Right-click the duplicated image, choose Picture Format, then Artistic Effects. Select the Blur effect and increase it to the maximum level.
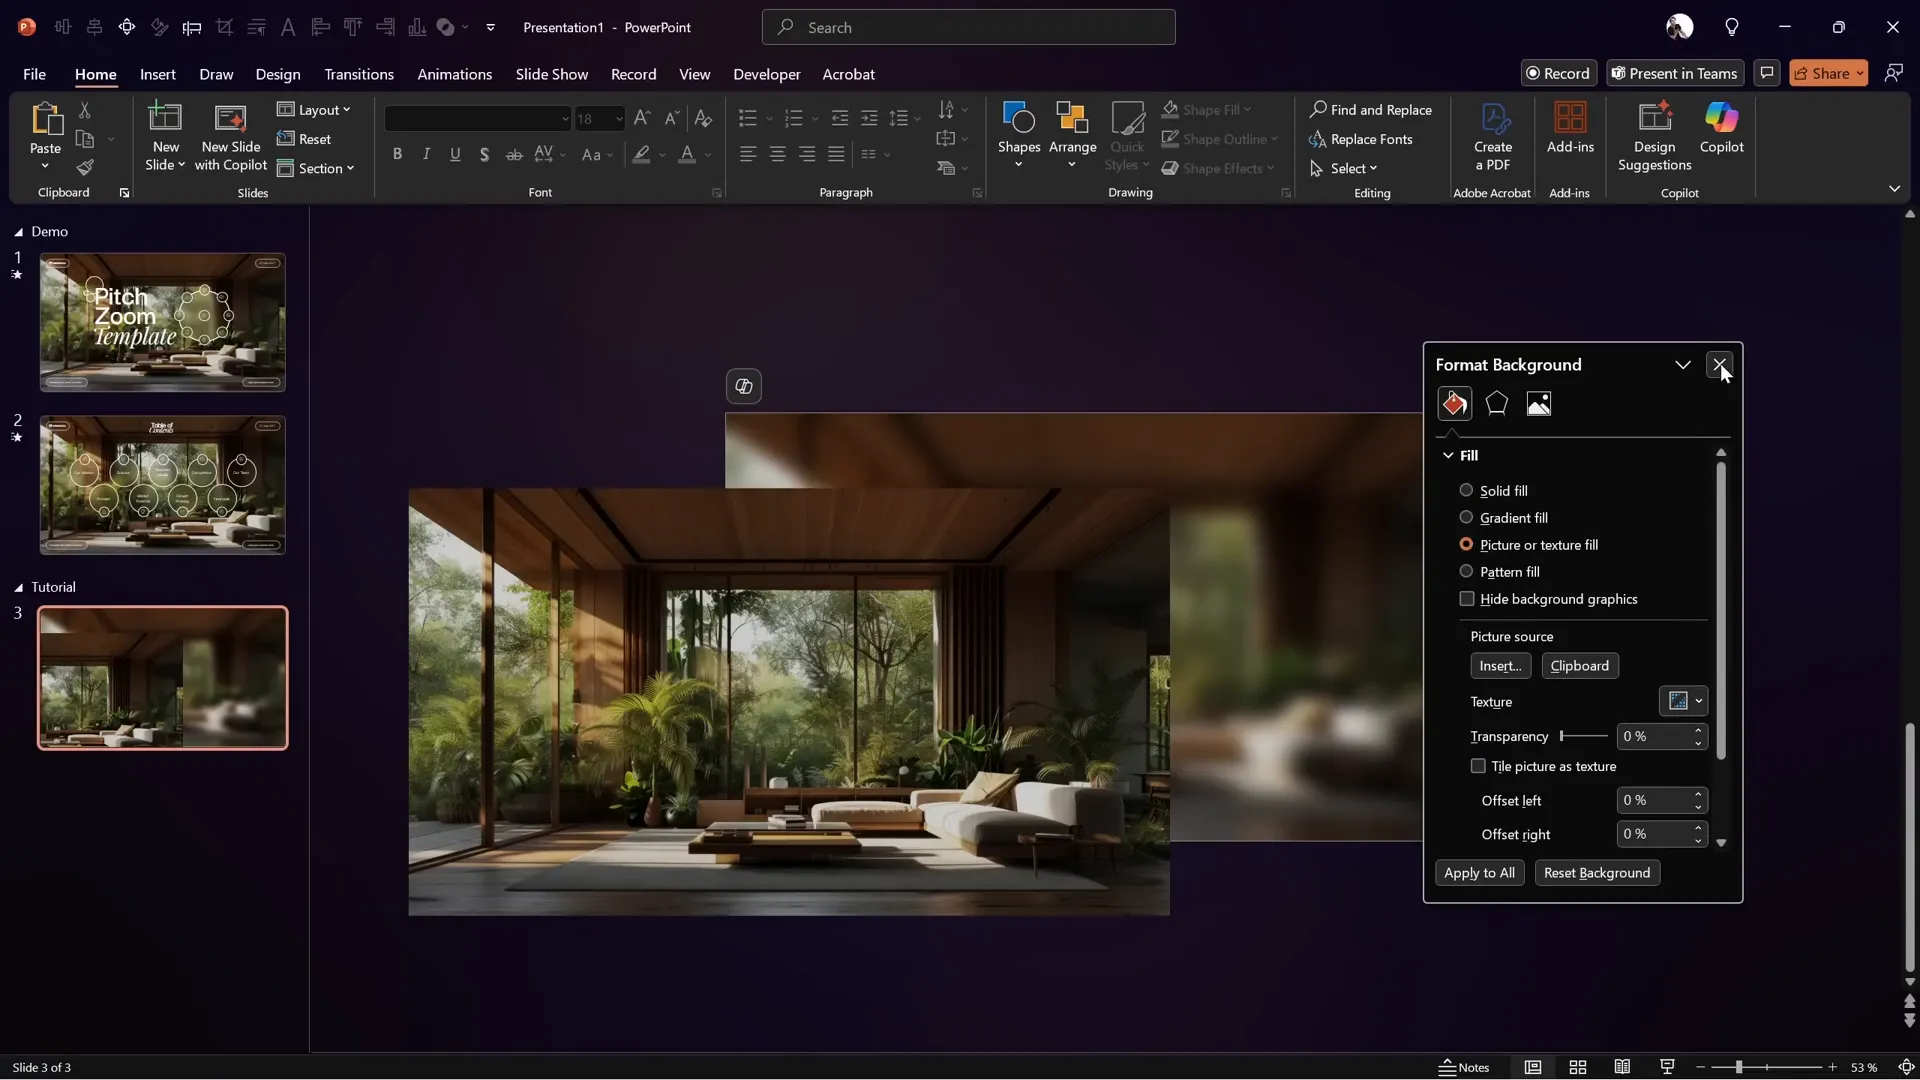
- Copy and delete the blurred image: Copy this blurred image, then delete it from the slide. We will use it as the slide background.
- Set blurred image as slide background: Click on the slide background, go to Format Background, choose Picture or texture fill, and paste the blurred image from the clipboard.
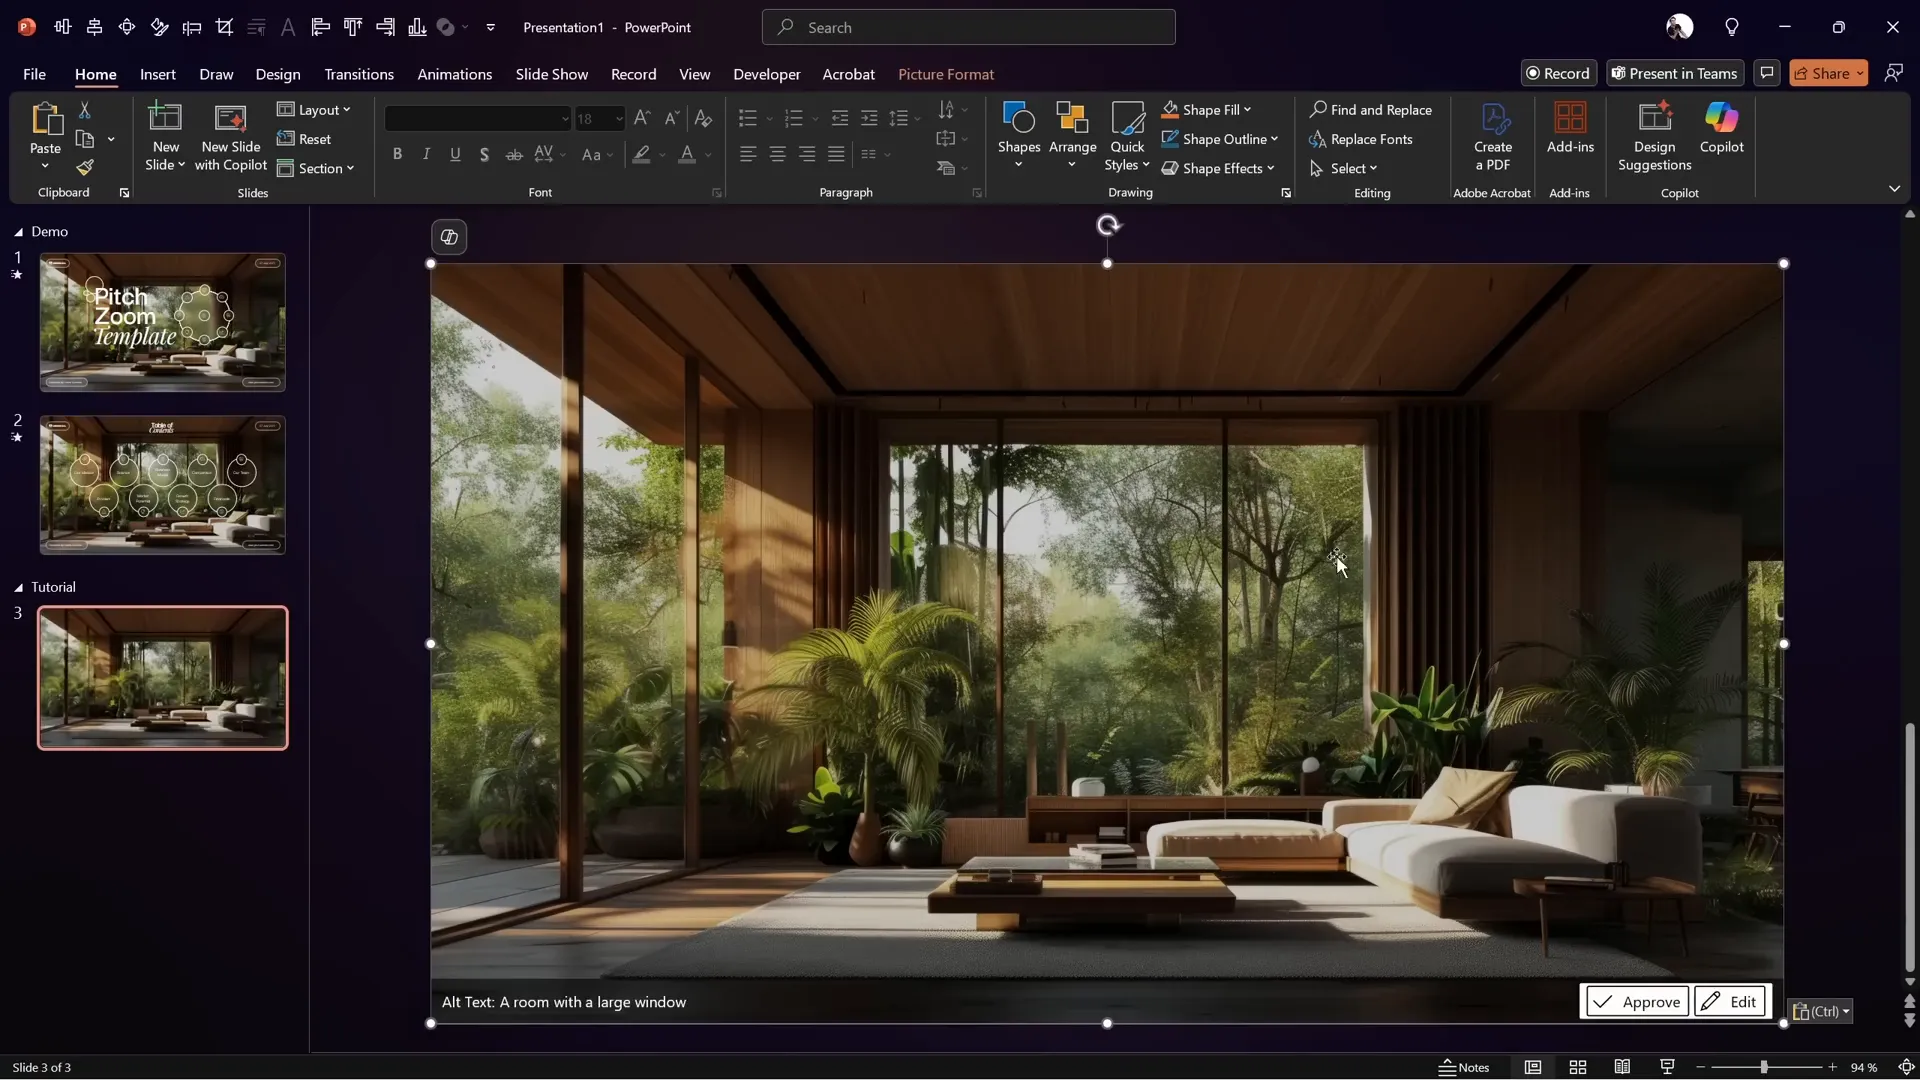
- Re-add the original sharp image: Paste the original sharp image back onto the slide, placing it on top of the blurred background.
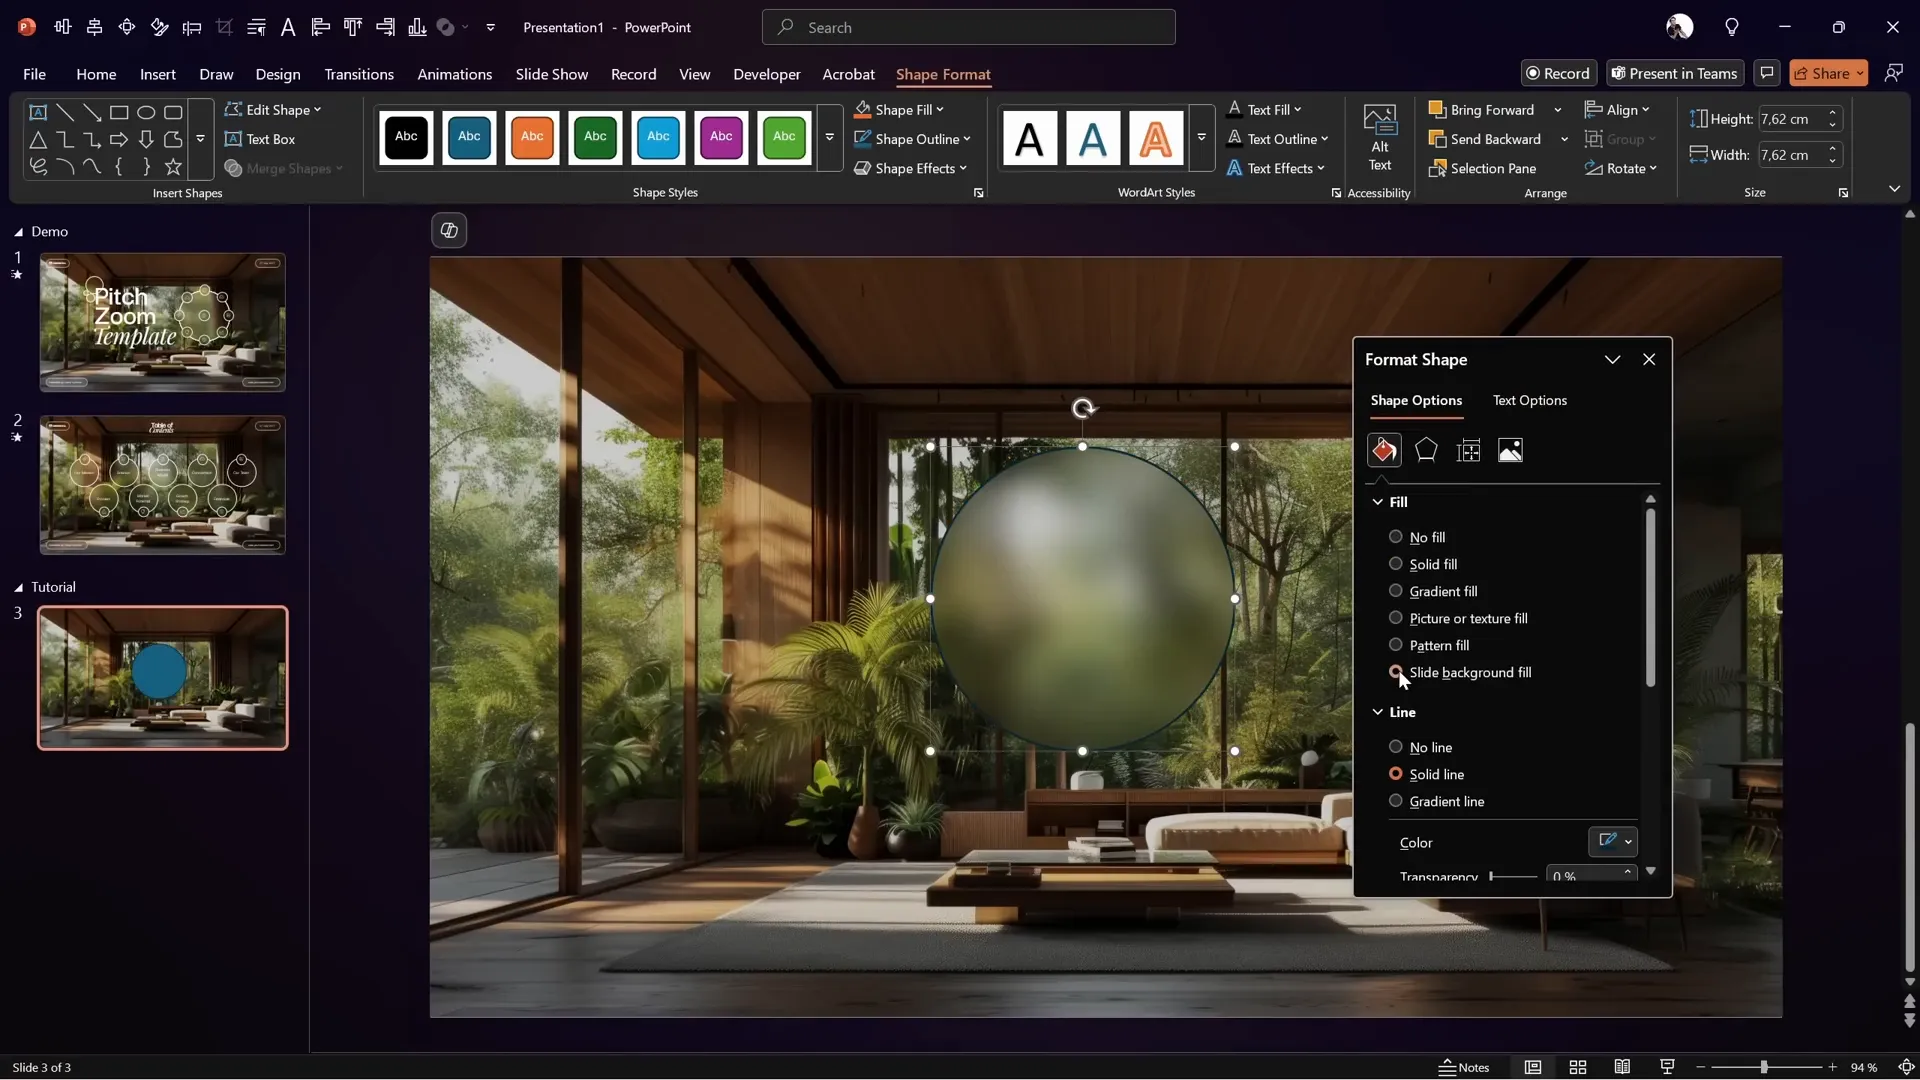
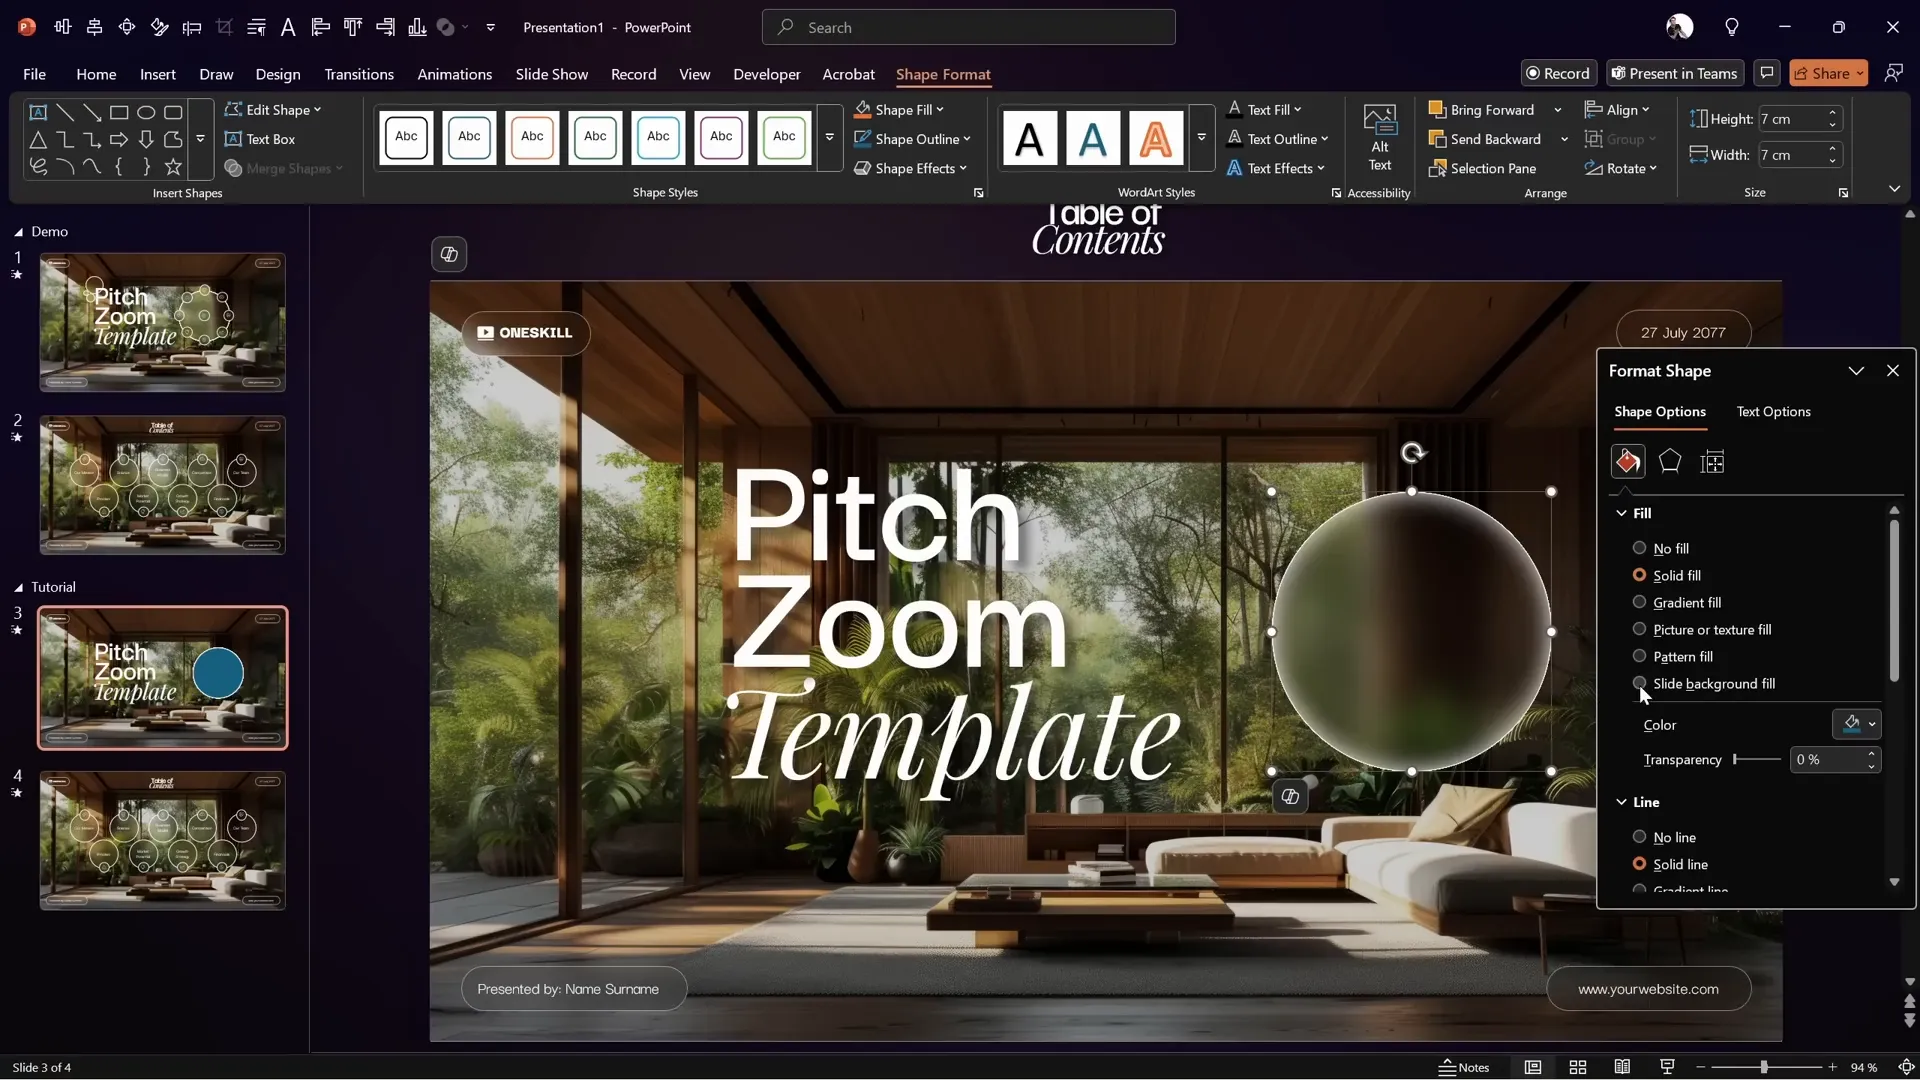
Now, let’s explore how the glassmorphic effect works with shapes. Insert a shape (for example, a circle) on the slide.
Right-click the shape, choose Format Shape, and under the fill options, select Slide Background Fill. This setting fills the shape with the slide’s background, which includes the blurred image.
To enhance the realism of the glass effect, add a thin white outline and an inside shadow with a subtle blur to the shape. This creates depth and a frosted-glass look.
The coolest part? You can move the shape around the slide, and the fill will adapt dynamically to the blurred background, keeping the glassmorphic effect consistent.

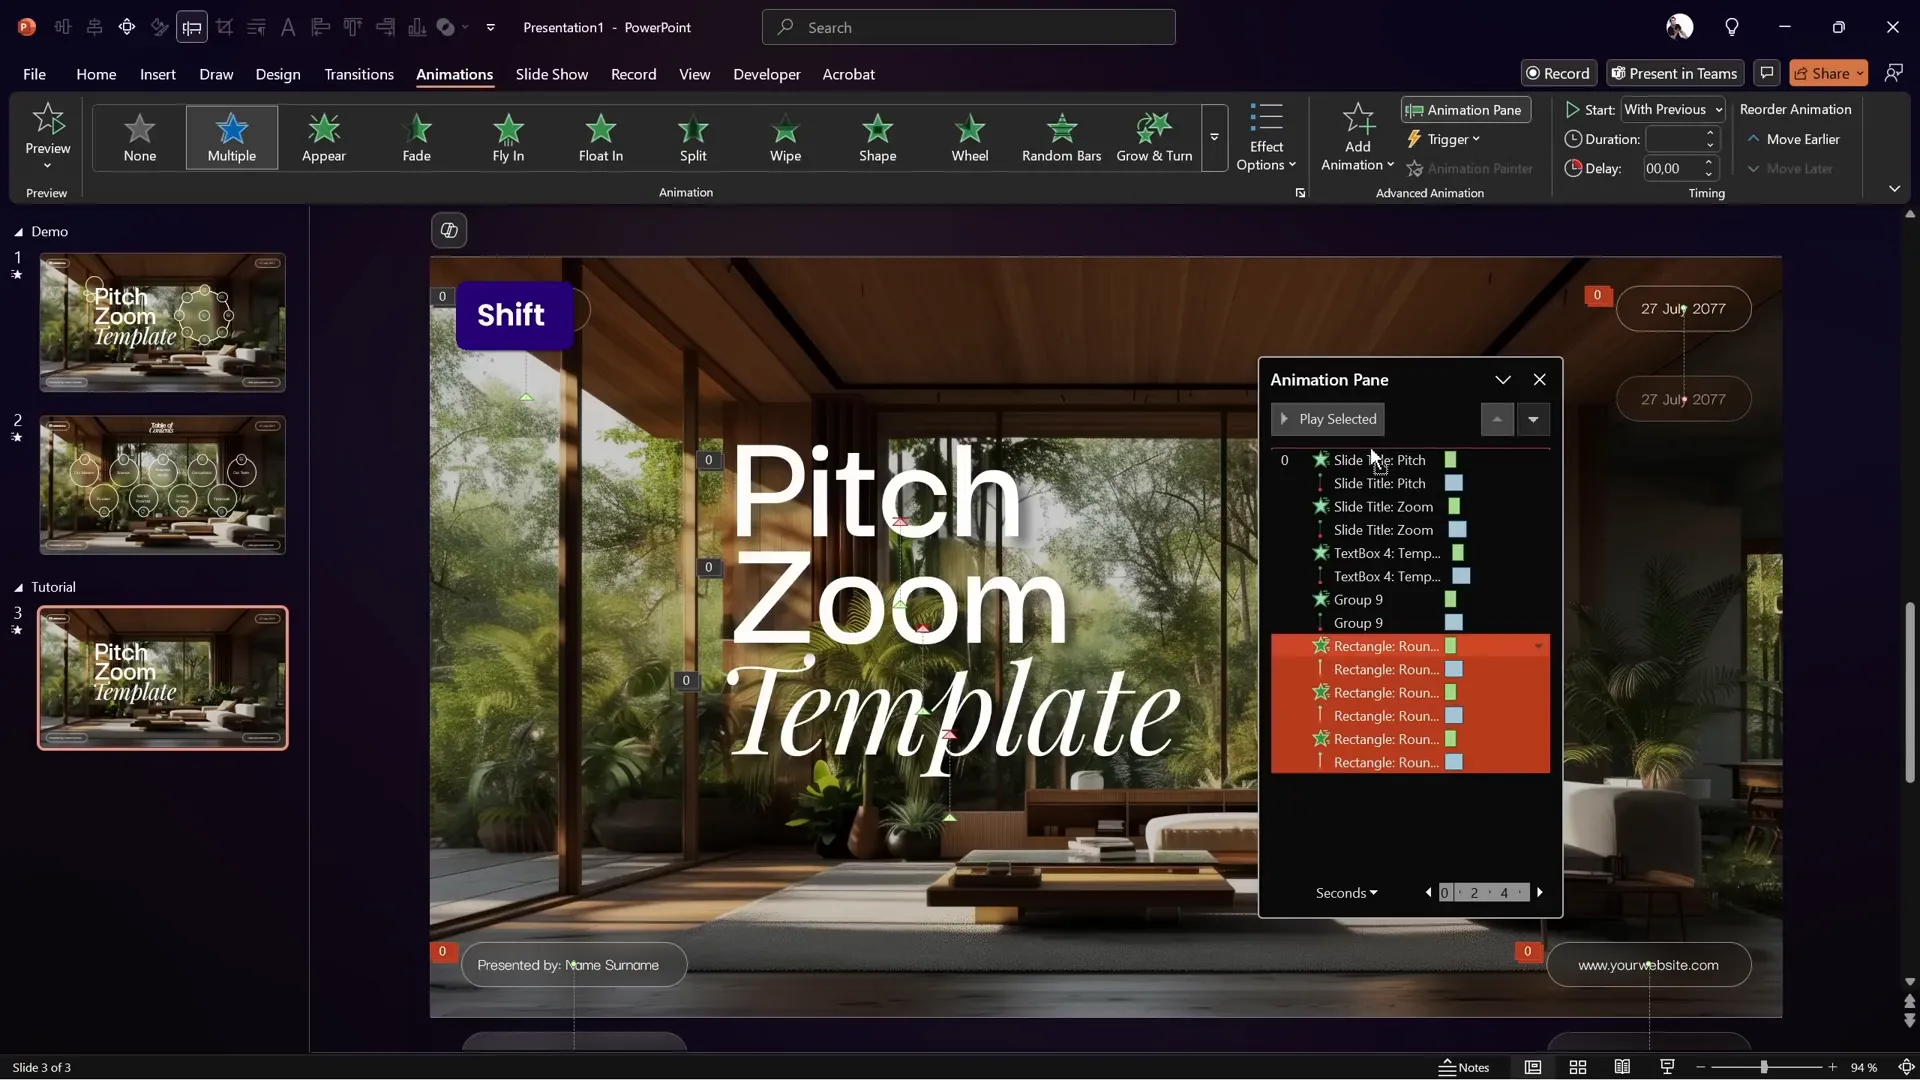
Animating the Title Text: Wipe and Motion Path Effects
With the background set, let’s animate the slide title text. The title consists of three separate text boxes, each containing one word.
To recreate the animation:
- Copy the three text boxes from the template or previous slide and paste them onto your working slide.
- Open the Animation Pane and delete any existing animations to start fresh.
- Select the first text box (e.g., “Pitch”).
- Add a Wipe animation with the direction set to “From Top”. Set it to start With Previous and duration to 0.8 seconds.
- Add a second animation to the same text box: a Motion Path – Line animation.
- Adjust the end point of the motion path slightly upwards to shorten the travel distance.
- Set the motion path animation to start With Previous and duration to 1.25 seconds.
- In the motion path effect options, check Reverse Path Direction to make the text move upward.
- Apply a Smooth Start/End with maximum smoothness for a natural flow.
- Preview the animation; the text should wipe from the top while simultaneously moving upward smoothly.

To save time, use the Animation Painter to copy these animations onto the other two text boxes. Then, add slight delays to the middle and last text boxes to create a staggered entrance:
- Middle text box animations: delay of 0.25 seconds.
- Last text box animations: delay of 0.5 seconds.
This staggered timing adds a polished, professional feel to the title entrance.
Adding and Animating Rounded Rectangle Corners
To complement the title text, add rounded rectangles in the corners of the slide.
Copy these shapes from the template and paste them onto your slide. Apply the same wipe and motion path animations as the text boxes using the animation painter.
Make sure to move these rounded rectangle animations to the top of the animation pane list to keep your animation order organized.
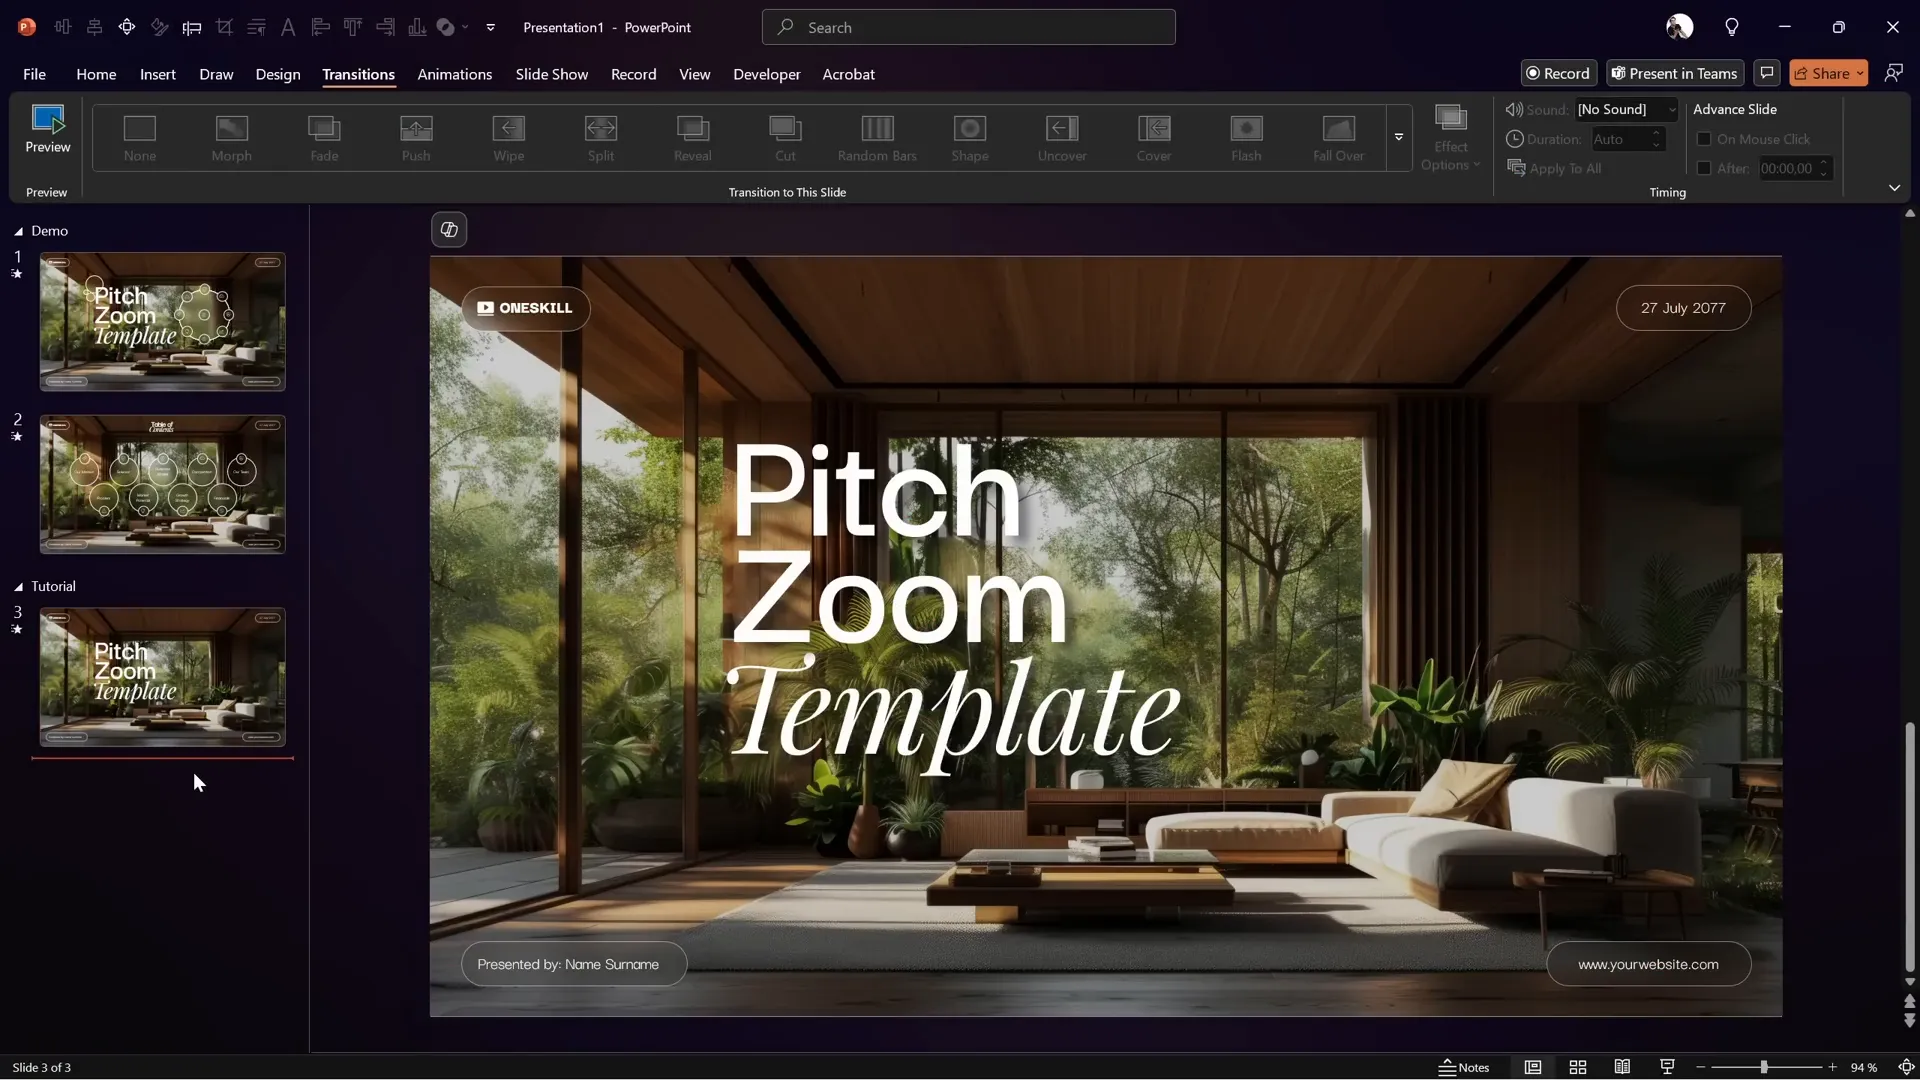
Setting a Subtle Slide Transition
Before moving on, set a subtle transition effect for the slide to enhance the flow to the next one.
One Skill PPT uses the Fade transition with a gentle duration, which works well with the overall elegant design.
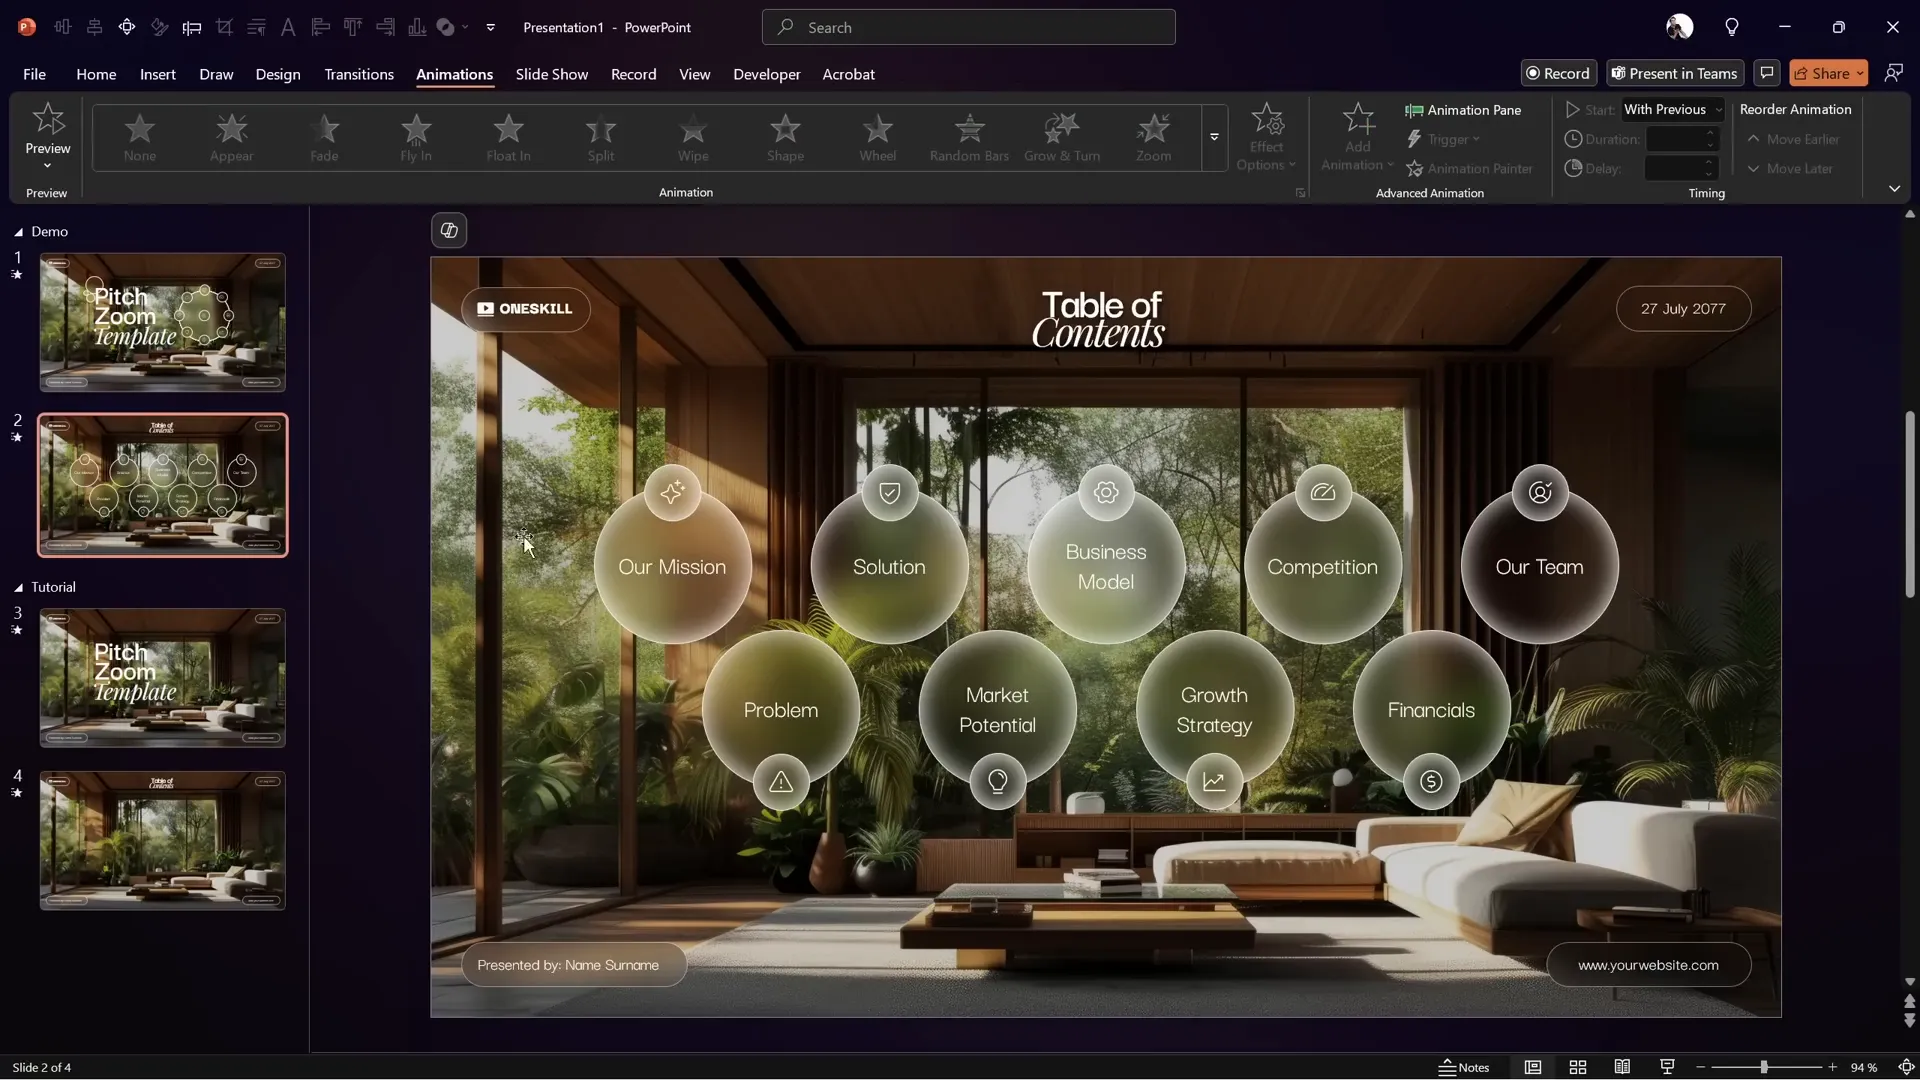
Building the Second Slide: Zoomed Background and Morph Transition
Create a second blank slide where you will add glassmorphic circles and icons. Use the same background image, but this time zoom in slightly using the picture crop options.
Set the slide transition to Morph with a duration of 2 seconds. The morph transition will handle the zoom animation automatically by comparing the two slides.

Add a blurred background image to this slide as well, following the same process used on the first slide.
Bring the original sharp image back on top of the blurred background.
Copy the rounded rectangles from the first slide to the second, but remove their animations, as they won’t be animated here.
Also, copy the table of contents text box and paste it into both the first and second slides, positioning it just outside the slide area on the first slide. The morph transition will animate this text box smoothly onto the second slide.

Working with Glassmorphic Circles and Icons
Now, let’s add the beautiful glassmorphic circles that will hold text or icons.
Each circle uses the slide background fill for the glass effect, with a thin white outline and a blurred white inside shadow to enhance realism.
For simplicity, some circles contain text, while smaller circles are grouped with stylish icons sourced from Phosphor Icons.
Copy all these circles and icons onto the second slide, ensuring no animations are applied yet.
Naming Shapes for Morph Transition Consistency
When using the morph transition with multiple shapes, it’s crucial to name your shapes consistently across both slides to prevent unwanted animation glitches.
Here’s the naming convention used:
- Start each shape name with double exclamation marks (!!).
- Use the same name for corresponding shapes on both slides.
- For example, a smaller circle might be named “!!mission” and the bigger circle “!!mission big”.
To maintain this naming consistency, copy all the big and small circles from the second slide to the first slide.
Align the big circles precisely on top of each other on the first slide, move them slightly to the right, and resize to 7 cm by 7 cm.
Hide the text inside these circles by setting the text transparency to 100% in the format shape text options.
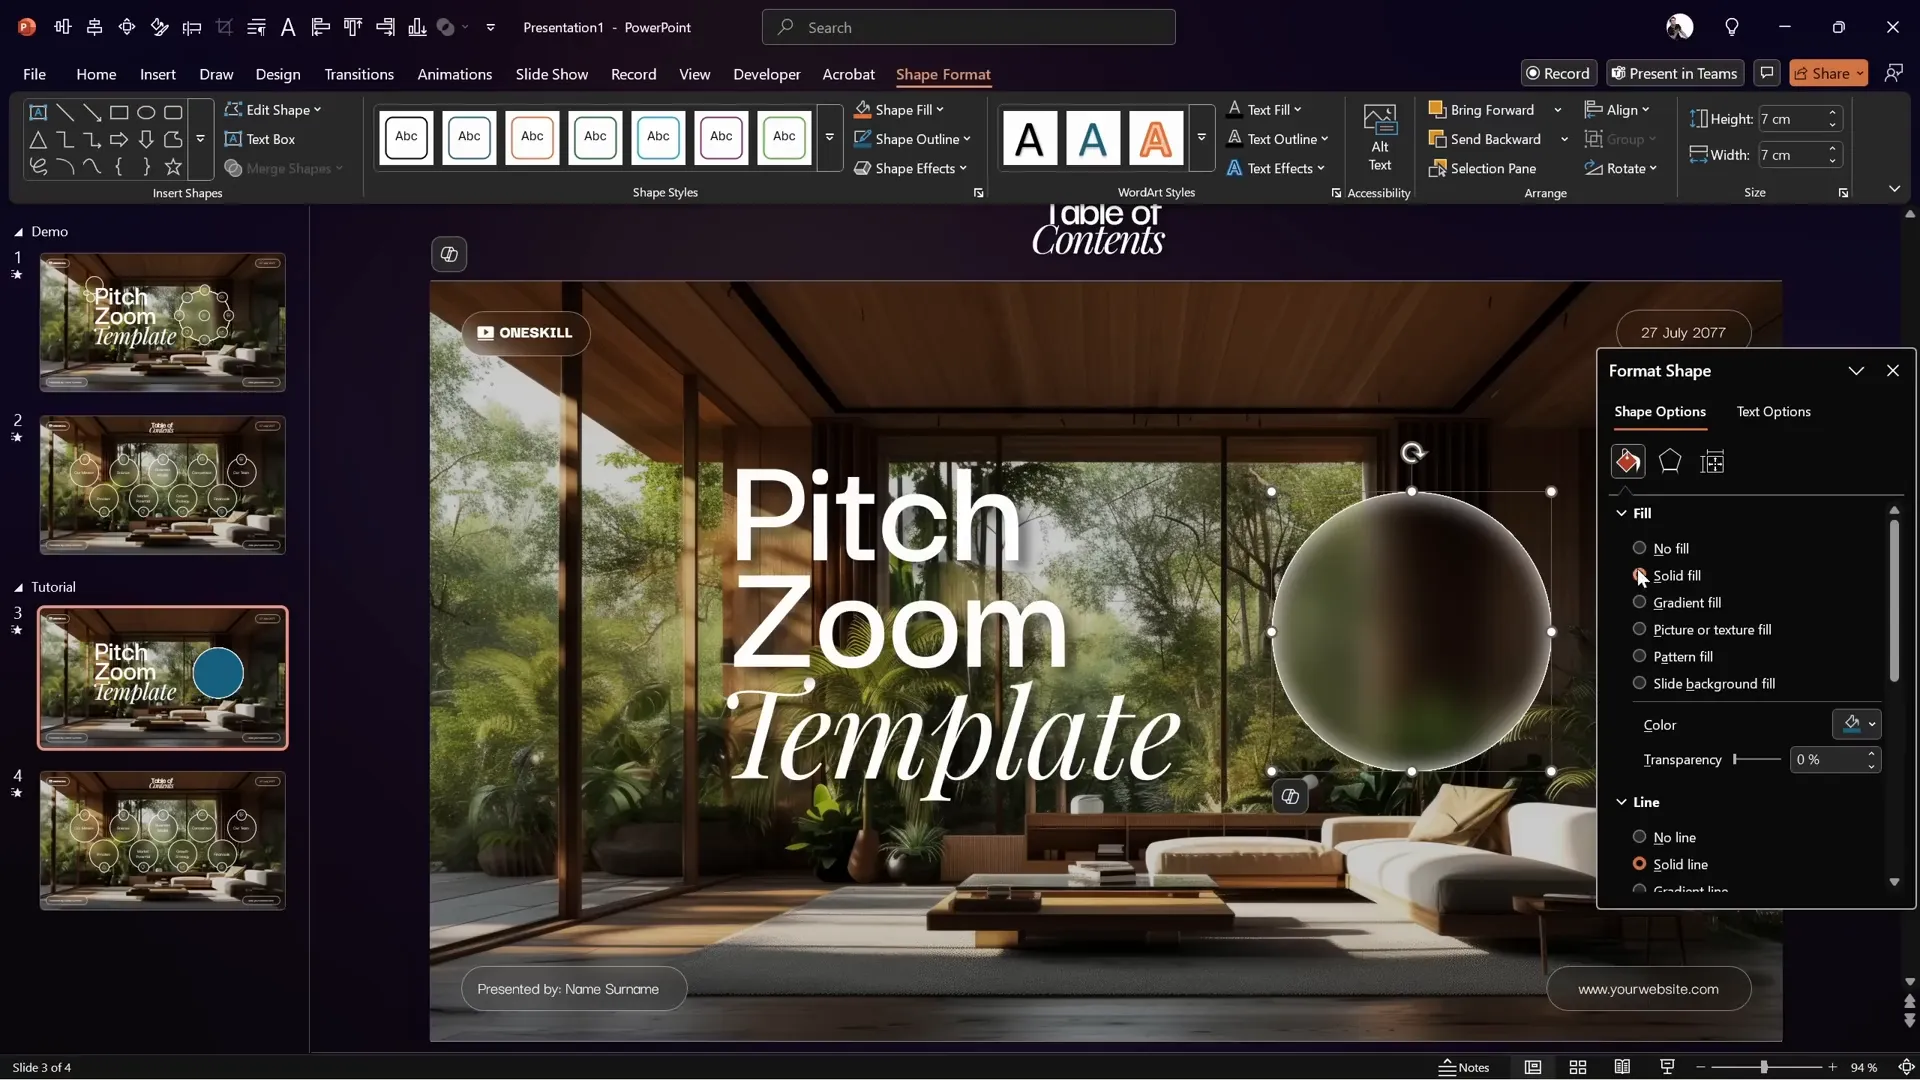
Ensure the fill of the circles is set to Slide Background Fill to maintain the glassmorphic effect.
Animating the Circles with Zoom and Spin Effects
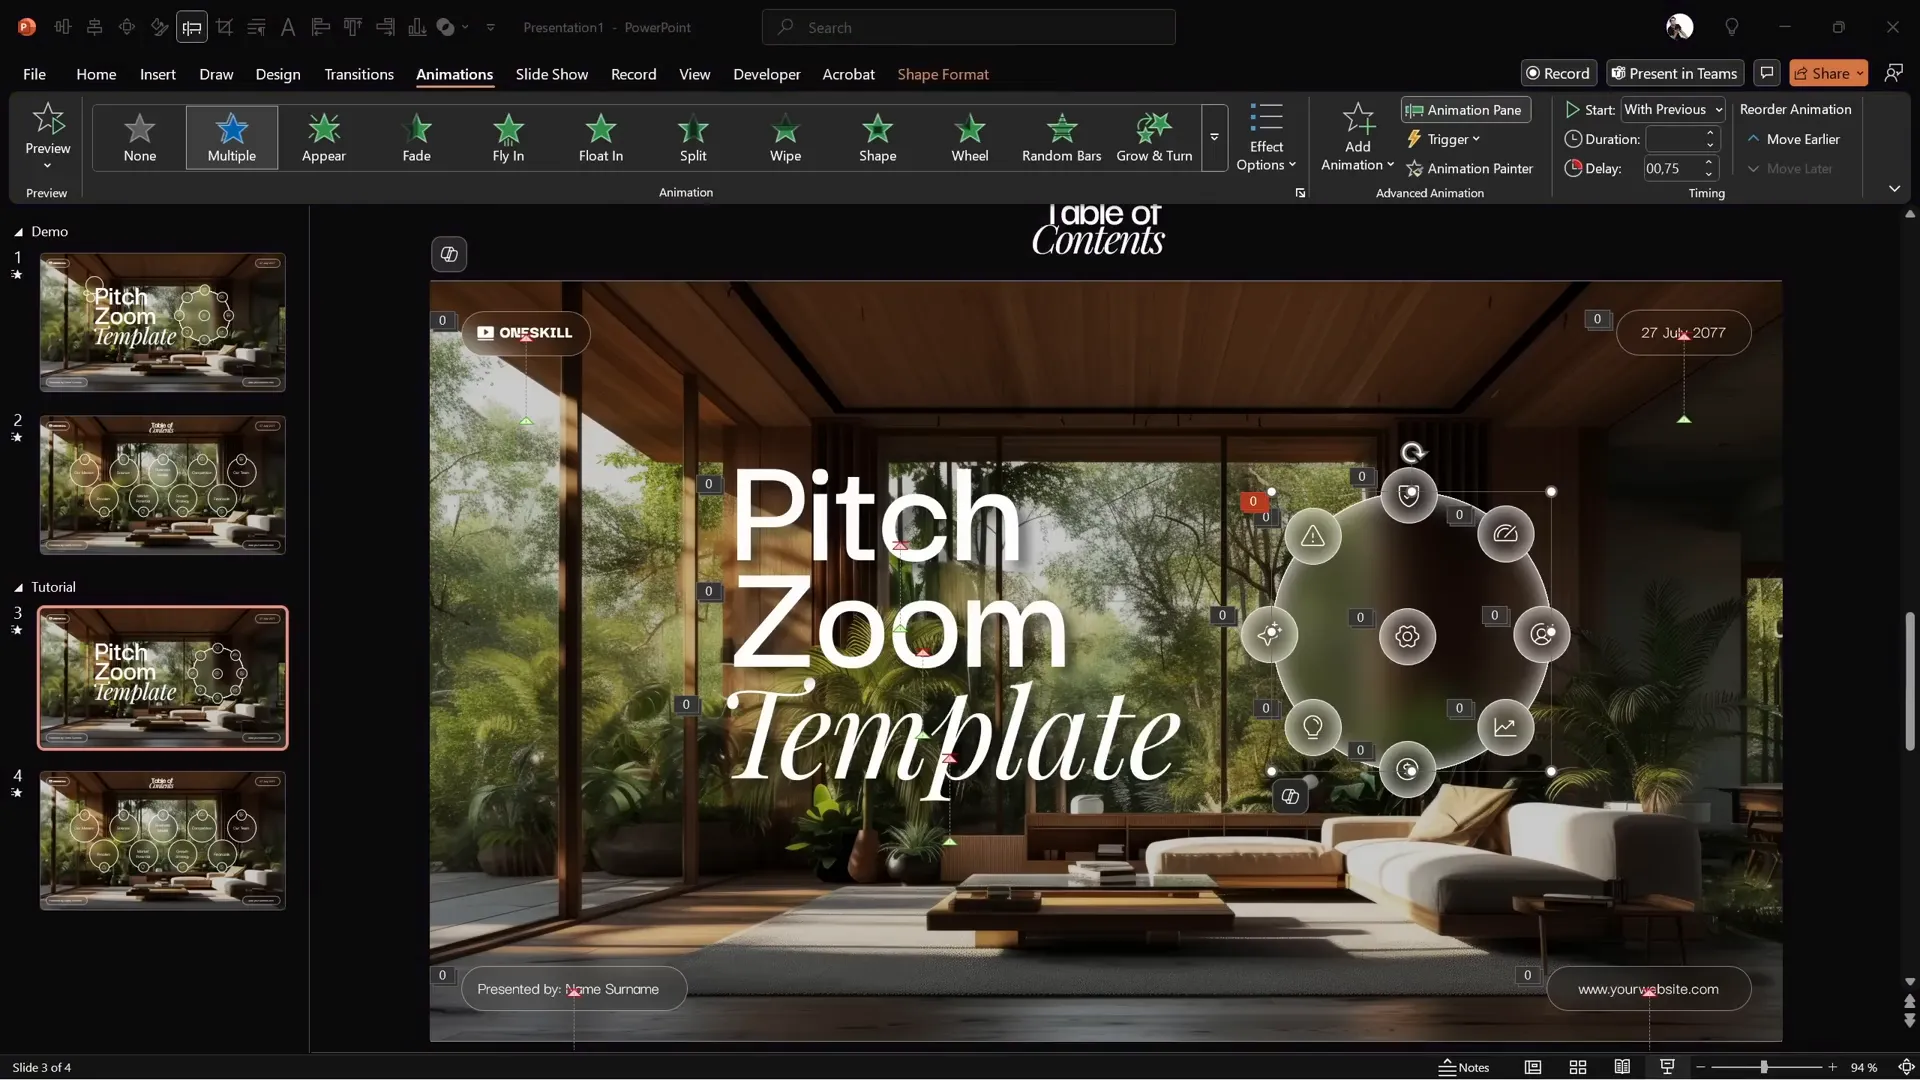
With the circles in place, let’s animate them to create an engaging entrance.
Select the small circle in the middle and add two animations:
| Animation | Settings |
|---|---|
| Zoom | Start: With Previous Duration: 0.75 seconds Delay: 0.75 seconds |
| Spin | Start: With Previous Duration: 1.5 seconds Delay: 0.75 seconds Effect Options: Smooth End (max) |
Preview the animation to see the circle zoom in and spin simultaneously.
Use the animation painter to copy these animations to the rest of the small circles and the big circle.
One issue to address is the premature visibility of the text inside the other big circles (like “Financials”). To fix this:
- Open the selection pane.
- Select all big circles except the first animated one.
- Add an Appear animation to these circles.
- Set the Appear animations to start With Previous with a delay of 2.25 seconds.
This delay ensures that the text and circles only appear after the initial animations and slide transition, maintaining a clean introduction.
Final Touches and Tips
Congratulations! You now have a stunning title slide animation with a beautiful transition to the next slide, all created within PowerPoint.
To take this even further, you can insert clickable slide zooms inside the glassmorphic circles, enabling interactive navigation within your presentation. For more on this, check out One Skill PPT’s previous Pitch Zoom tutorial.
Remember to keep your animations subtle and purposeful. Overloading your slides with too many effects can distract your audience rather than engage them.
Feel free to experiment with timings, transitions, and effects to fit your presentation style and needs.
Frequently Asked Questions
1. What is the glassmorphic effect, and how is it created in PowerPoint?
The glassmorphic effect mimics frosted glass by using blurred backgrounds visible through transparent shapes with subtle outlines and shadows. In PowerPoint, it is created by setting a blurred image as the slide background and filling shapes with the slide background fill option. Adding white outlines and inside shadows enhances the effect.
2. How do I ensure smooth transitions between slides with animations?
Using the Morph transition in PowerPoint allows you to smoothly animate the movement, resizing, and distribution of shapes between slides. Naming shapes consistently on both slides is key to ensuring the morph transition works properly.
3. Can I customize the animations for the text and shapes?
Absolutely! PowerPoint offers a variety of animations like Wipe, Zoom, Spin, and motion paths. You can adjust their timing, delays, and start options to create unique effects that match your presentation style.
4. Where can I get free templates and icons used in this tutorial?
The free Pitch Zoom template is available at pptskill.com. Icons used are from Phosphor Icons, a free icon library. Background images can be sourced from Freepik.
5. Can I add interactive elements like clickable slide zooms to these circles?
Yes! You can insert clickable slide zooms inside the glassmorphic circles to create interactive navigation within your presentation. For detailed instructions, check out the previous Pitch Zoom tutorial linked above.
Summary
Mastering PowerPoint animations and transitions can significantly enhance your presentations’ impact. The combination of glassmorphic effects, well-timed animations, and the morph transition creates a modern, professional look that captivates your audience.
This tutorial walked you through:
- Downloading and preparing a free Pitch Zoom template.
- Creating a blurred background and glassmorphic shapes.
- Animating title text with wipe and motion path effects.
- Adding animated rounded rectangles for design balance.
- Setting smooth slide transitions with the morph effect.
- Building a second slide with zoomed backgrounds and animated circles.
- Managing shape names for flawless morph transitions.
- Animating circles with zoom and spin effects and controlling visibility timings.
With these skills, you’re ready to impress your audience with stunning, dynamic PowerPoint presentations.


