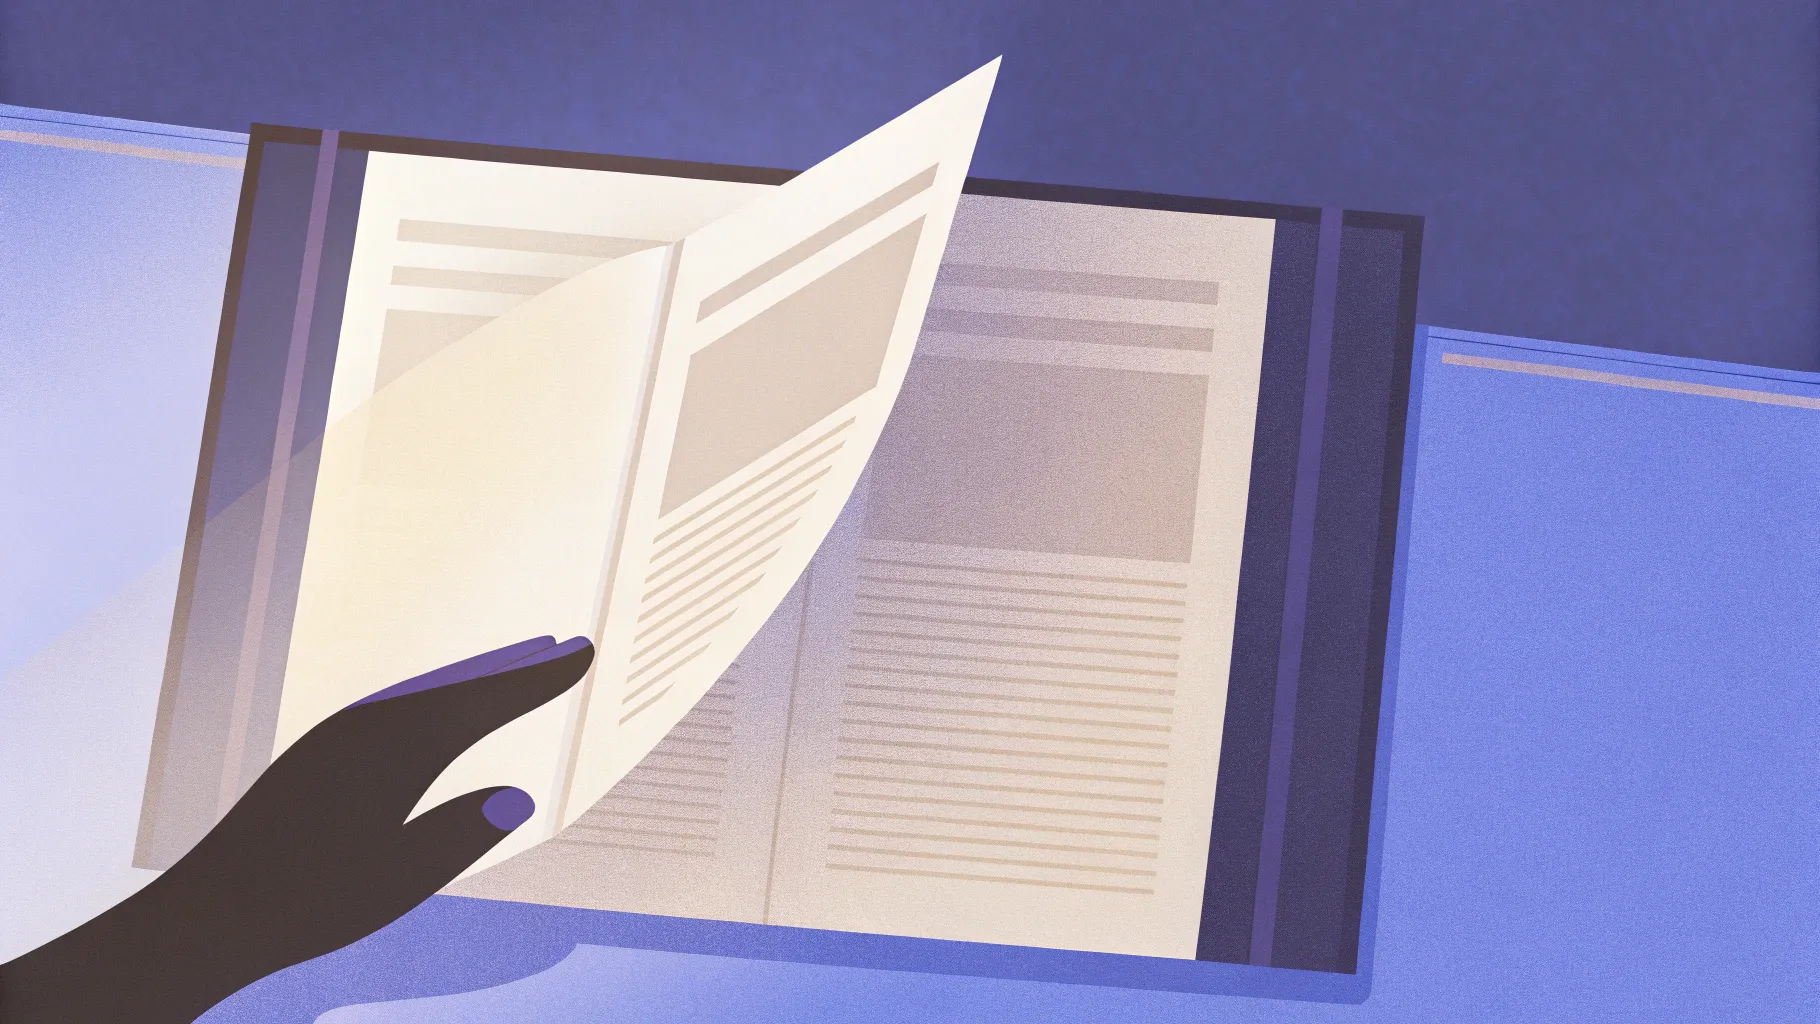
If you’ve ever wanted to wow your audience with a stunning, realistic page flip animation in PowerPoint, you’re in the right place. This comprehensive guide will walk you through the entire process of creating a beautiful page flip animation effect using PowerPoint’s powerful features like Morph transition and 3D rotation. Whether you’re a beginner or looking to elevate your PowerPoint animation skills, this tutorial will help you master a professional effect that grabs attention and adds a polished touch to your presentations.
Throughout this article, you’ll learn how to prepare images, manipulate shapes, and leverage PowerPoint’s animation tools to create a seamless page-turning effect. We’ll also cover tips on adding text and images to your flipping pages, perfect for interactive presentations or digital books.
Table of Contents
- Getting Started: Setting Up Your Slide
- Preparing Background and Book Image
- Removing and Straightening the Book Background
- Cutting Out the Page to Flip
- Grouping and Naming Objects for Organization
- Applying 3D Rotation and Morph Transition for Animation
- Refining Animation and Final Touches
- Adding Text and Images to Flipping Pages
- Frequently Asked Questions
- Conclusion
Getting Started: Setting Up Your Slide
To create a realistic page flip animation, start with a fresh blank presentation in PowerPoint.
- Open PowerPoint and create a new presentation.
- Go to Layouts and select a Blank Slide layout without any text placeholders. This gives you a clean canvas to work on.
Next, you’ll want to add a background that complements the book animation. For this tutorial, a beautiful wooden texture works perfectly to simulate a table or desk surface.
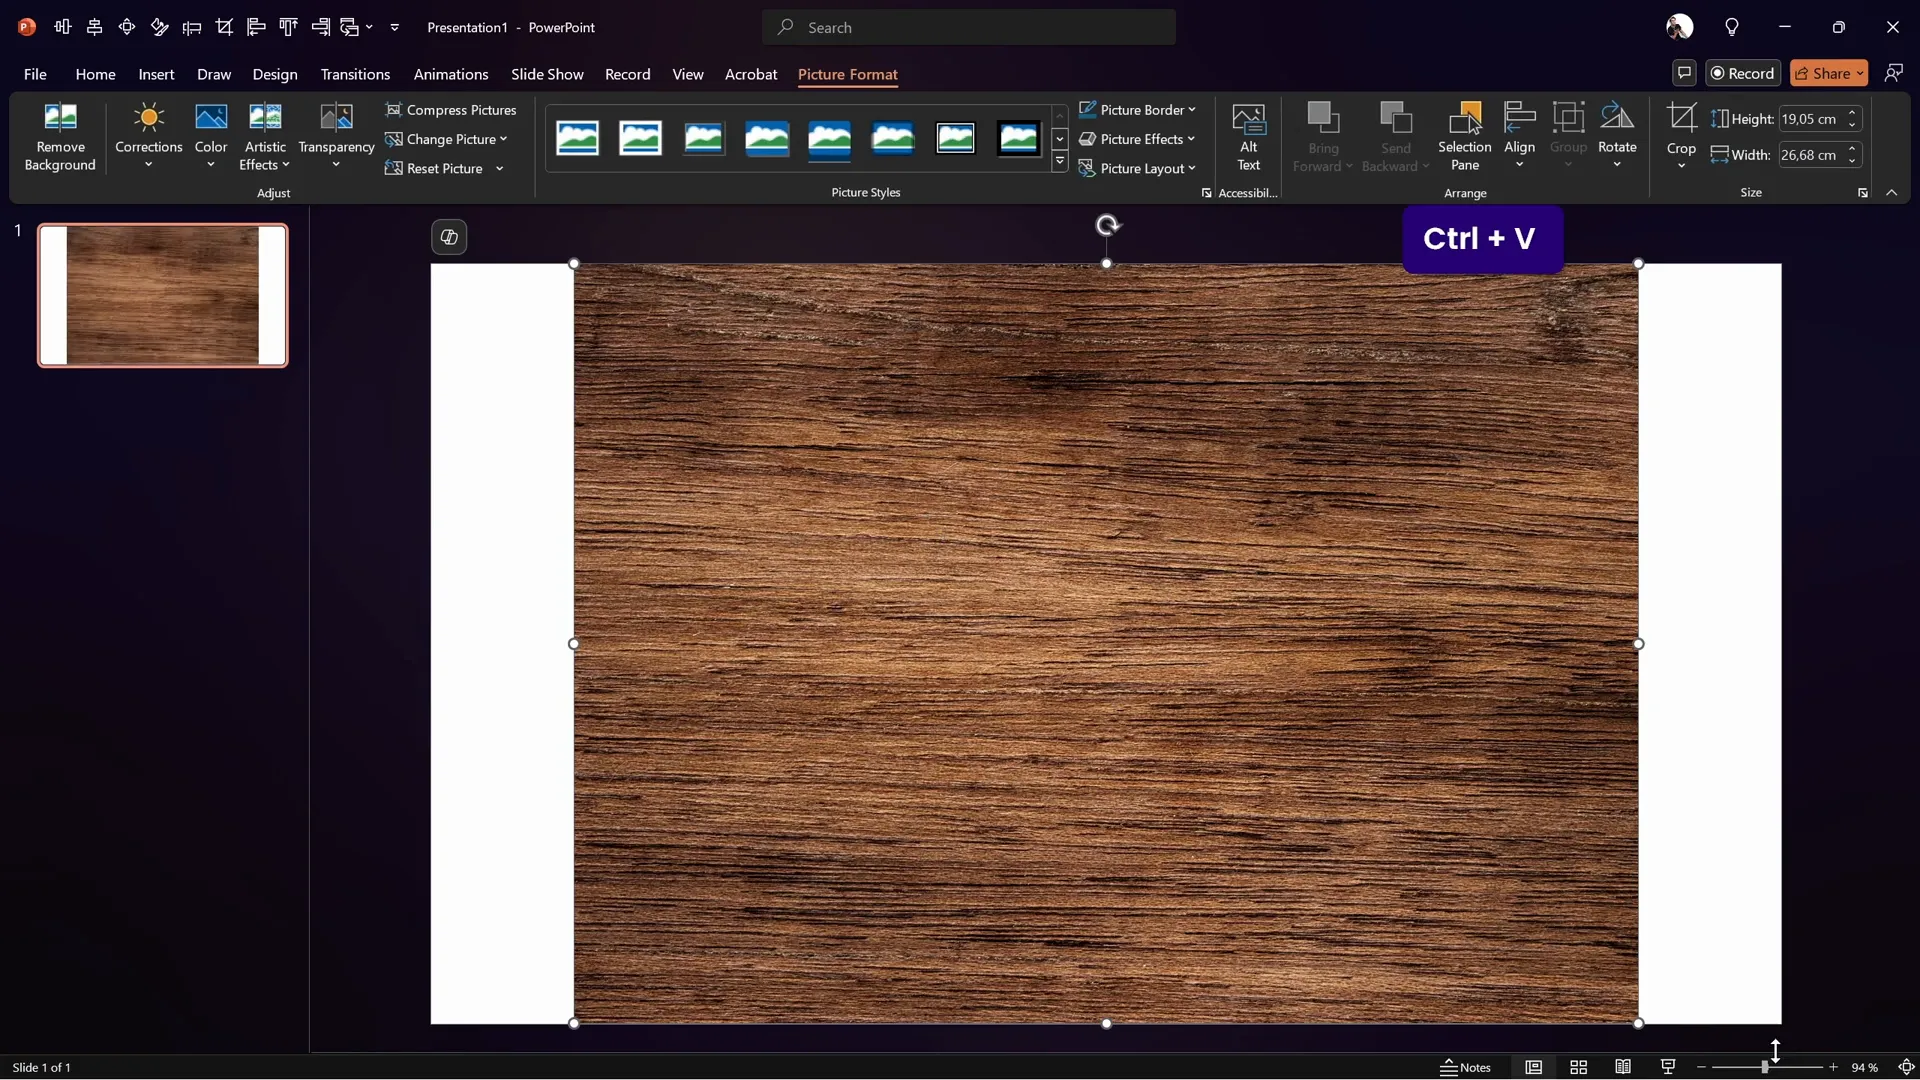
Adding the Background Image
- Find a wooden texture image (for example, from freepik.com). You can copy it directly to your clipboard.
- In PowerPoint, press Ctrl + V (or Command + V on Mac) to paste the image onto the slide.
- Resize the image while holding Ctrl + Shift to resize from the center, ensuring it covers the entire slide.
- Use the Crop tool and set the aspect ratio to 16:9 to perfectly fit the slide dimensions.
- Adjust brightness and contrast under Format Picture > Picture Corrections: reduce brightness by 10% and increase contrast by 10% for better depth.
This sets a warm, inviting background that enhances the realism of the page flip effect.
Preparing Background and Book Image
Now that your background is in place, it’s time to add the book image that will be animated.
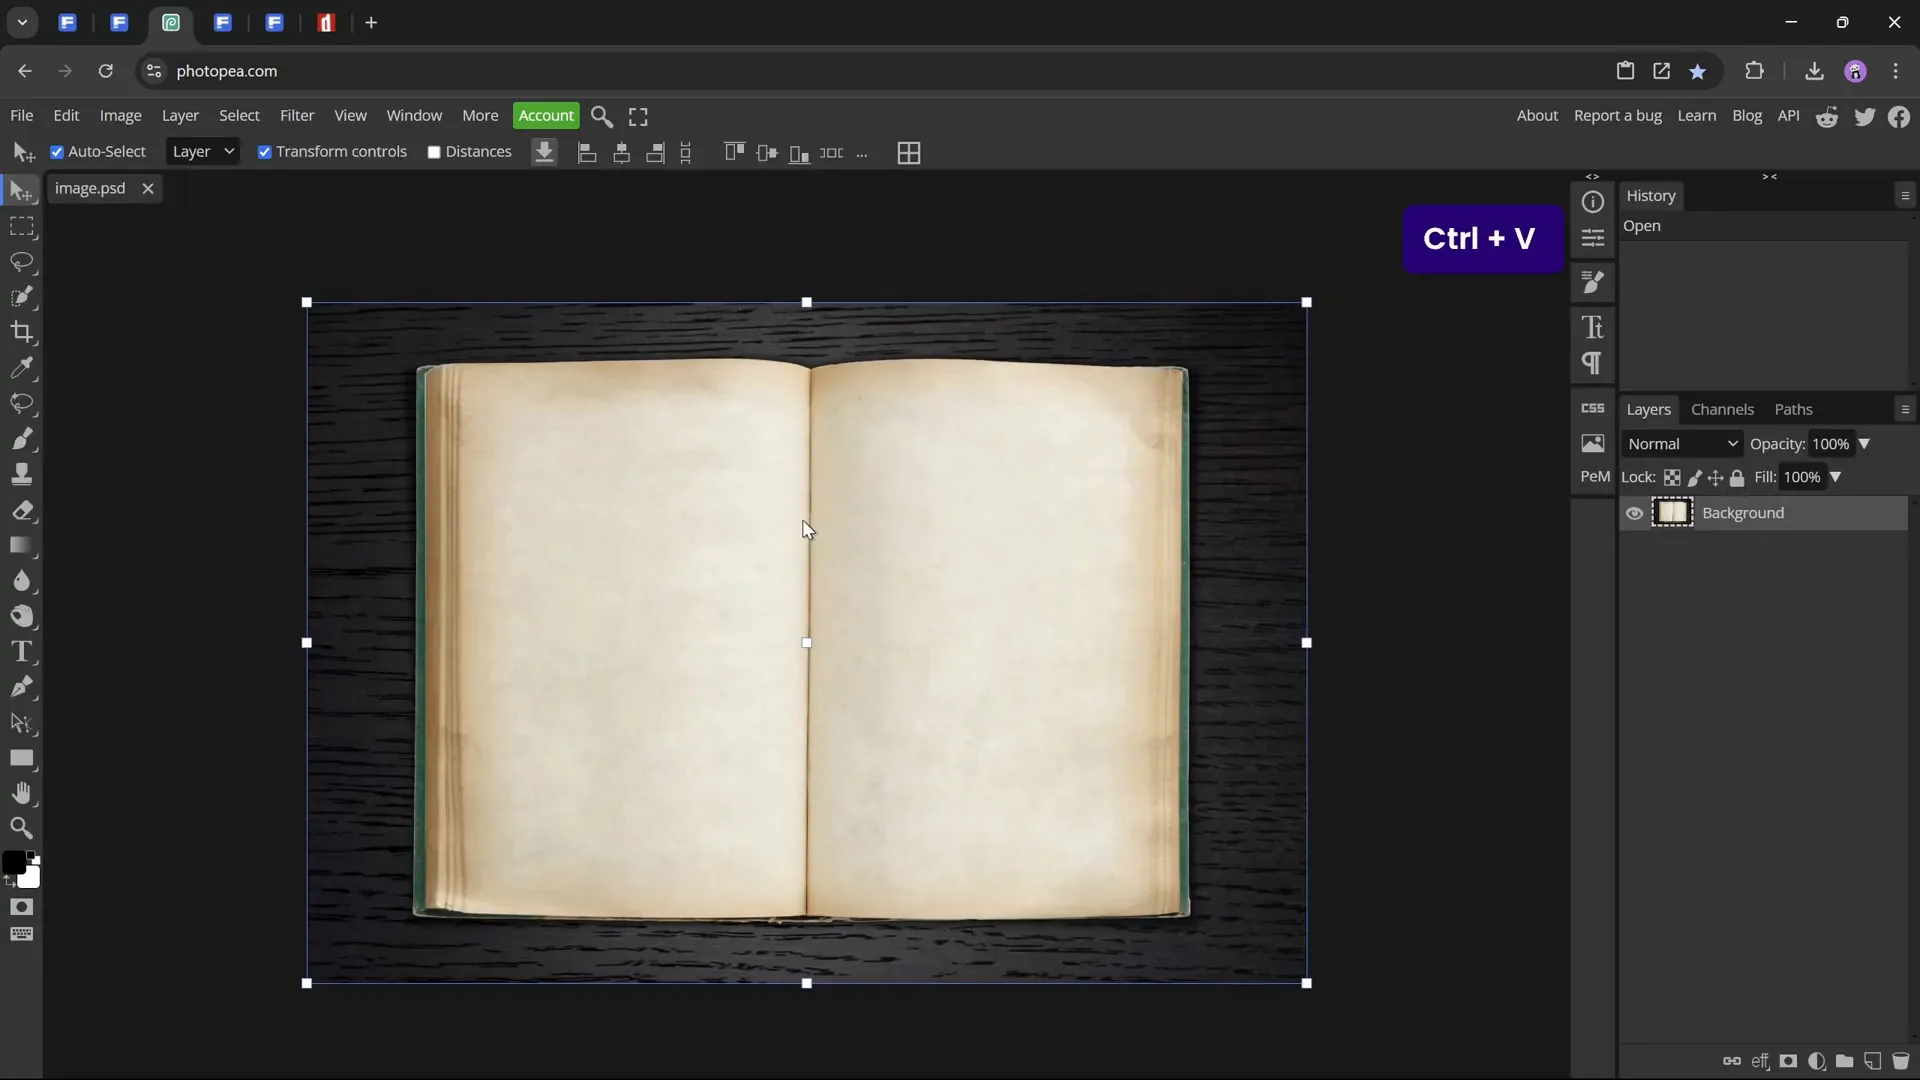
- Download or find a photo of an open book, preferably one with visible pages and a clear division in the middle (again, freepik.com is a great resource).
- Copy the book image to your clipboard.
- Unlike the background, you want to remove the book’s background so it can blend seamlessly with your wooden table background.
Removing the Book Background
For removing the background, use a free online tool like Photopea, a free Photoshop alternative:
- Open Photopea in your browser.
- Paste the copied book image directly using Ctrl + V.
- Use rulers (enable via Ctrl + R) and guides to help position and straighten the image, ensuring the page division line is perfectly centered.
- Rotate and distort the image carefully so the page division line is vertical and centered top to bottom. This is crucial for a natural-looking page flip animation.
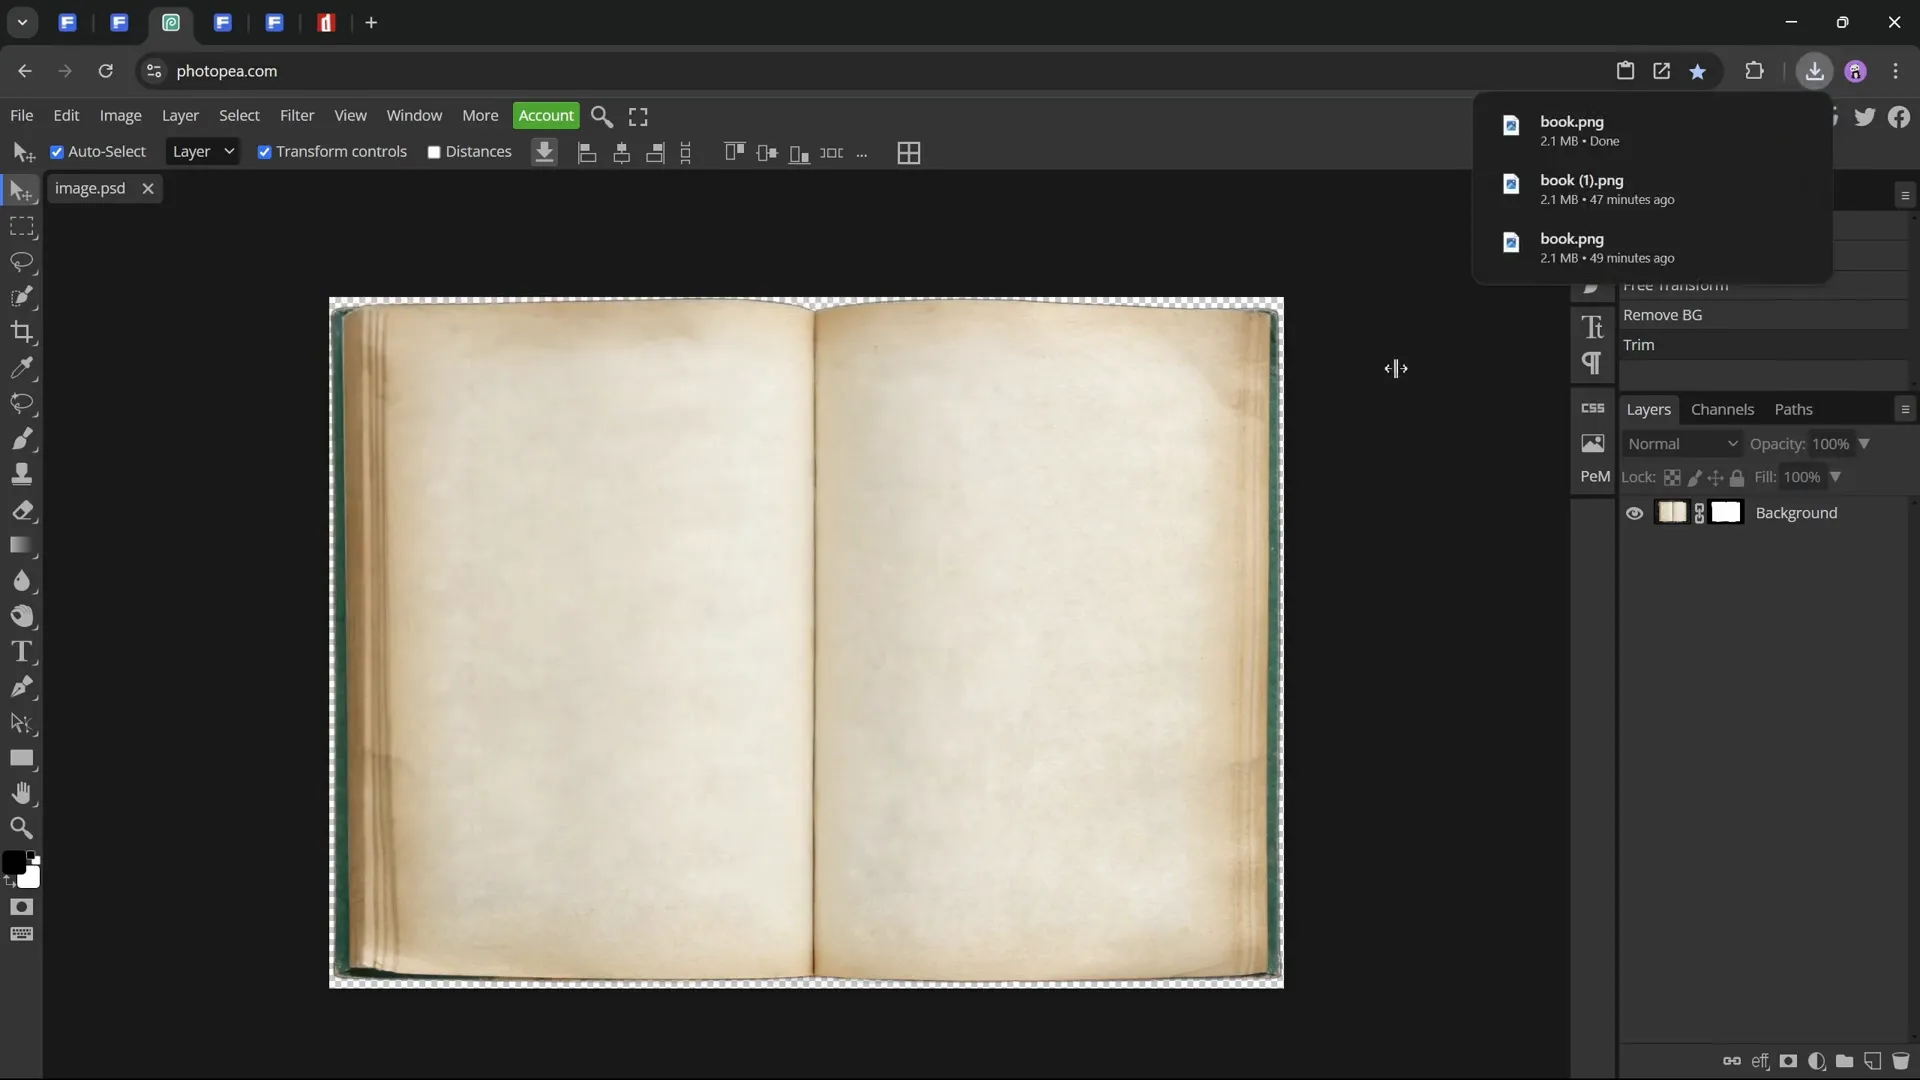
- Use the Remove Background tool in Photopea or manually erase the background so only the book remains.
- Trim excess transparent pixels by using the Trim Image option.
- Export the cleaned book image as a PNG file.
Removing and Straightening Book Background
Why is straightening the book image important? Because the page flip effect depends on the page’s edge being perfectly vertical and centered. If the edge is off, the animation will look unnatural and skewed.
Here are some detailed tips for straightening:
- Use vertical guides to check the center of the book’s page division.
- If the division line isn’t perfectly vertical, rotate the image slightly.
- To avoid unwanted cropping at edges after rotation, use the Distort tool to horizontally stretch or compress parts of the image so the page edge aligns vertically.
Once the page division is perfectly straight and centered, you can proceed with removing the background.
Cutting Out the Page to Flip
Now that your book image is prepared, it’s time to isolate the page that will flip in the animation.
In this tutorial, the right page flips over to the left, so you’ll need to cut out the right page from the book image.
Step-by-Step: Creating the Page Shape
- Duplicate the slide for organizational purposes and create two sections: Book and Page.
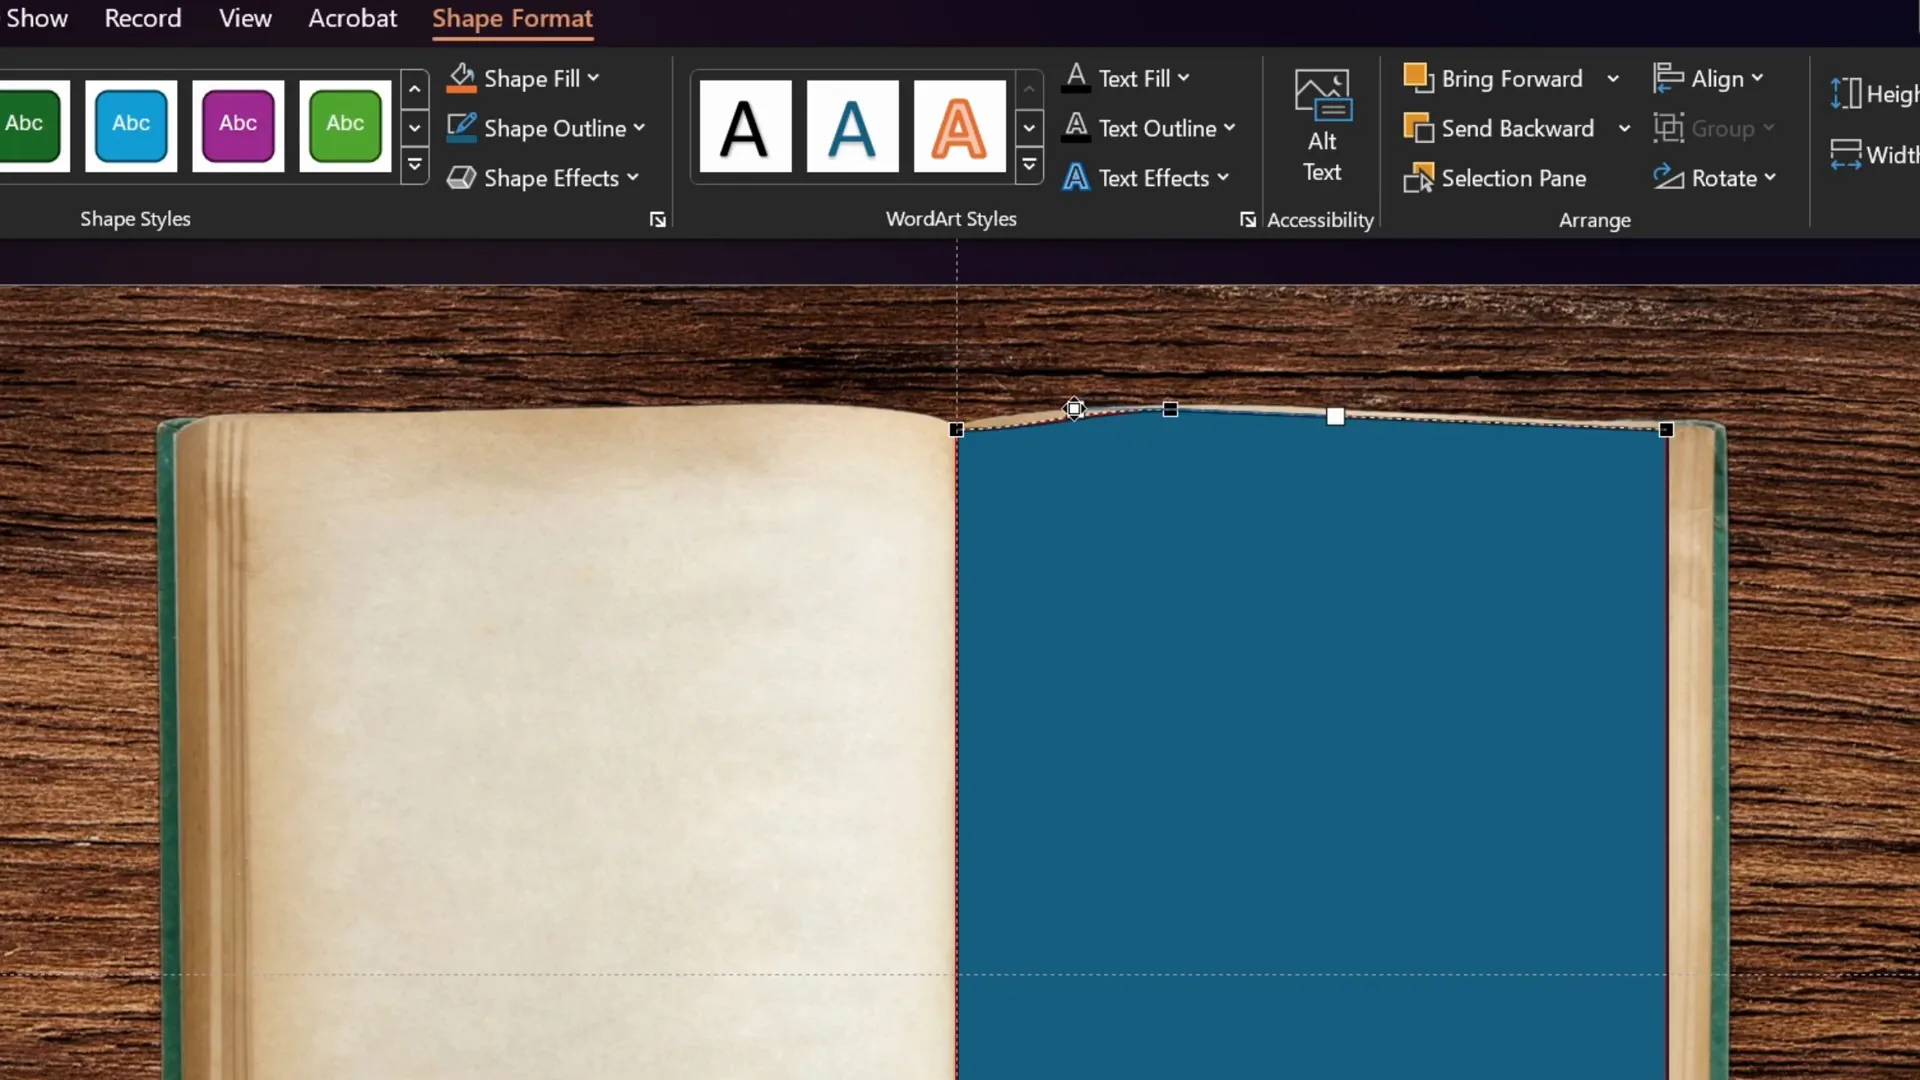
- Insert a Rectangle shape on the slide.
- Position the left edge of the rectangle exactly at the center guide of the slide (the page division line).
- Adjust the rectangle’s top and bottom edges to match where the page starts to curve upward and downward, respectively.
- Adjust the right edge to cover the visible page area.
- Right-click the rectangle and select Edit Points to modify the shape’s corners and edges.
- Create gentle curves at the top and bottom edges to match the natural curve of the page, using the white handles on the points.
Cutting Out the Page
- Select the book image first.
- Hold Shift and select the custom rectangle shape.
- Go to Shape Format > Merge Shapes and select Intersect. This cuts out the page shape from the book image.
- Duplicate the cut-out page with Ctrl + Shift drag.
- Flip the copy horizontally (Shape Format > Rotate > Flip Horizontal) and align it to the center guide to create the left page.
This prepares the pages for the flipping animation by separating the right page (to flip) and the left page (static).
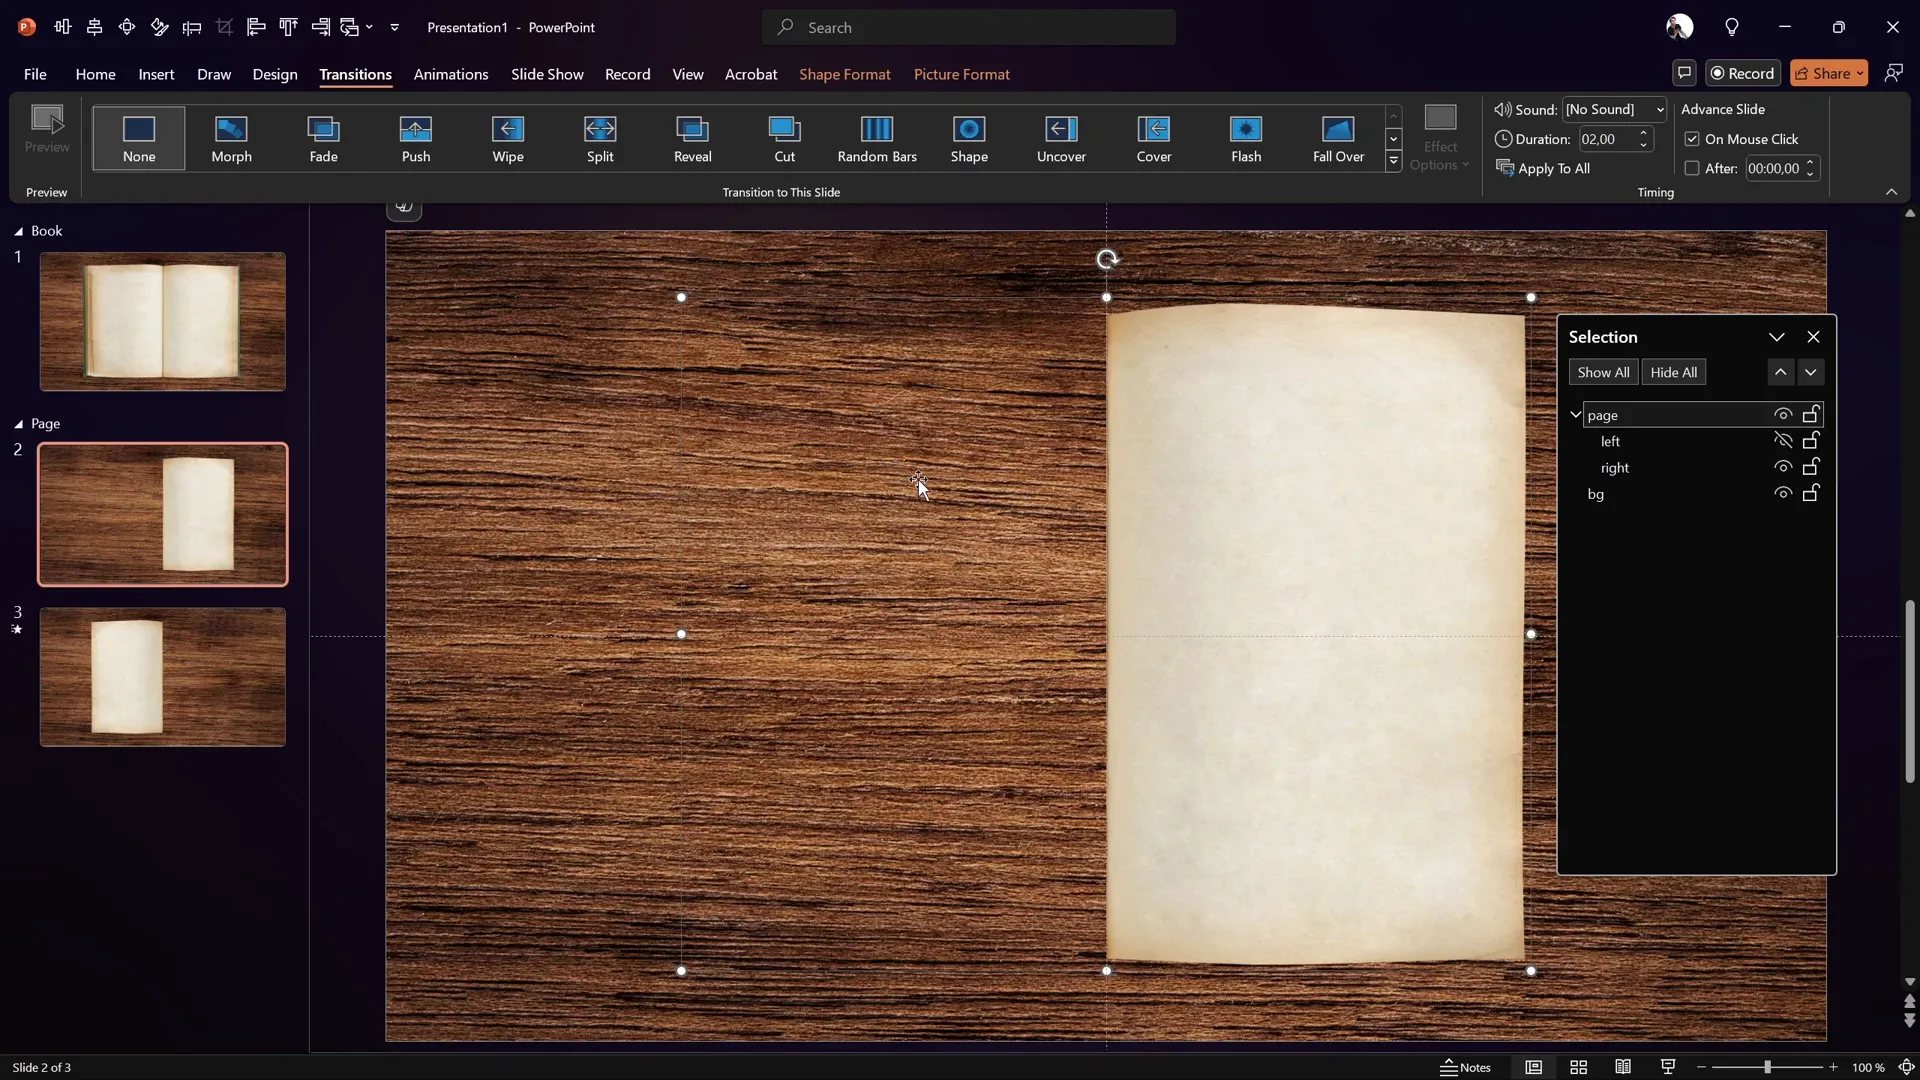
Grouping and Naming Objects for Organization
Organization is key to managing complex animations in PowerPoint. Here’s how to keep your elements tidy:
- Open the Selection Pane (Home > Select > Selection Pane).
- Rename the background photo to BG.
- Rename the right page photo to Right and the left page photo to Left.
- Select both pages and group them (Ctrl + G), then rename the group to Page.
Grouping allows you to apply transformations or animations to both pages simultaneously, which is useful for the 3D rotation and morph transition we’ll apply next.
Applying 3D Rotation and Morph Transition for Animation
Now for the magic: creating the page flip animation using 3D rotation and PowerPoint’s Morph transition.
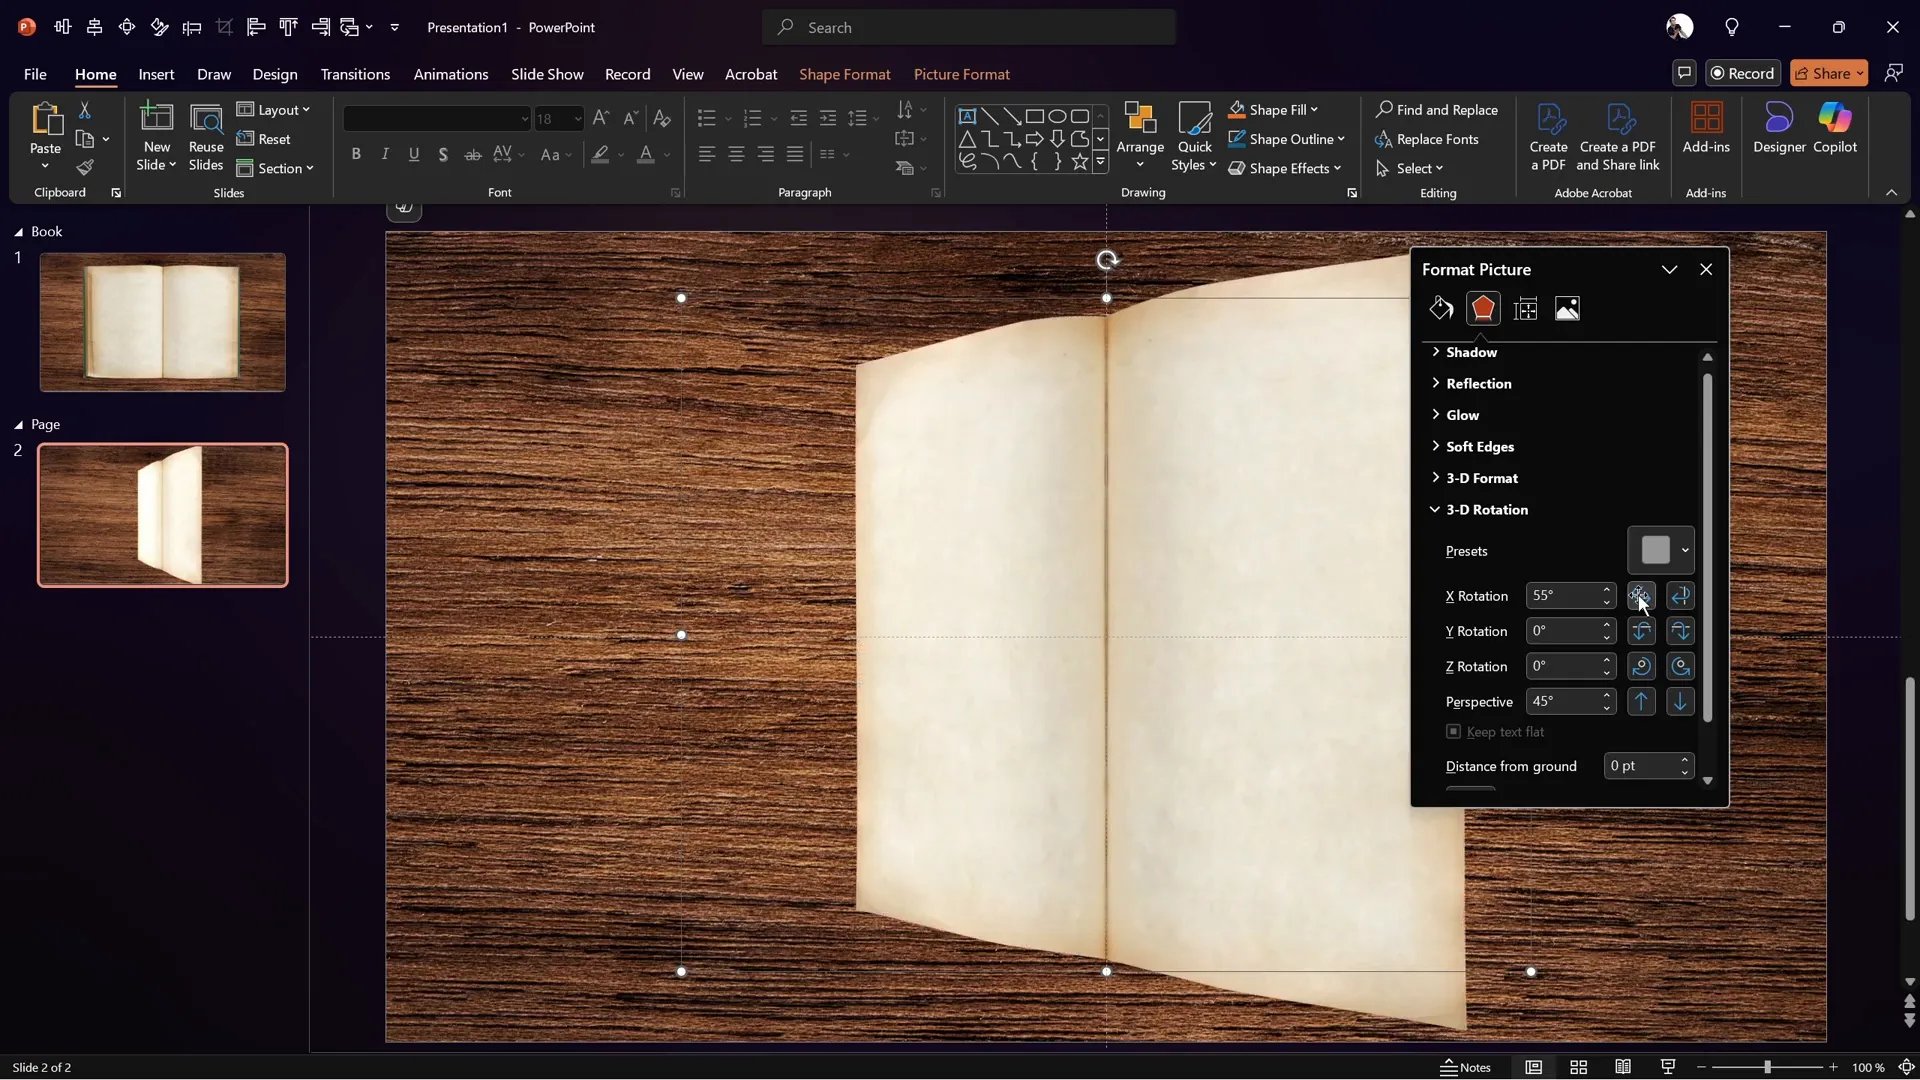
Applying 3D Rotation
- Select the grouped pages.
- Open the Format Picture pane (shortcut Alt + 4 if you have it in your quick access toolbar).
- Go to 3D Rotation Options.
- Choose a perspective preset such as Perspective Front.
- If the image brightens undesirably, adjust the lighting under the 3D Format tab to Contrasting to restore the original look.
- Set the rotation on the X axis to 0° for the first slide.
- Set the perspective field to around 60° for a natural perspective effect.
Creating the Flip Animation with Morph
- Duplicate the slide.
- Make sure the Morph transition is applied on the duplicate slide.
- Select the grouped pages on the duplicate slide.
- Set the X axis rotation to 180°, flipping the page horizontally.
- Preview the slide transition to see the page flip effect.
At this stage, both pages flip, but the goal is to flip only the right page.
Hiding the Left Page
- On the first slide, open the Selection Pane.
- Expand the Page group and hide the Left page by clicking the eye icon.
- Do the same on the second slide.
- Now only the right page is visible and flips, creating a realistic single page flip animation.
Refining Animation and Final Touches
To integrate the animation with the full book image and background:
- Copy the group of pages (with left page hidden) from the page section slide.
- Paste it onto the original book slide (with the full book image and background).
- Rename the book image to Book for clarity.
- Ensure the background is named BG.
- Duplicate this slide.
- Apply the Morph transition on the second slide.
- Set the first slide transition to Fade for smoothness.
- On the second slide, apply the 3D rotation of 180° on the grouped page to flip the page.

Now you have a seamless, realistic page flip animation integrated with your full book and background!
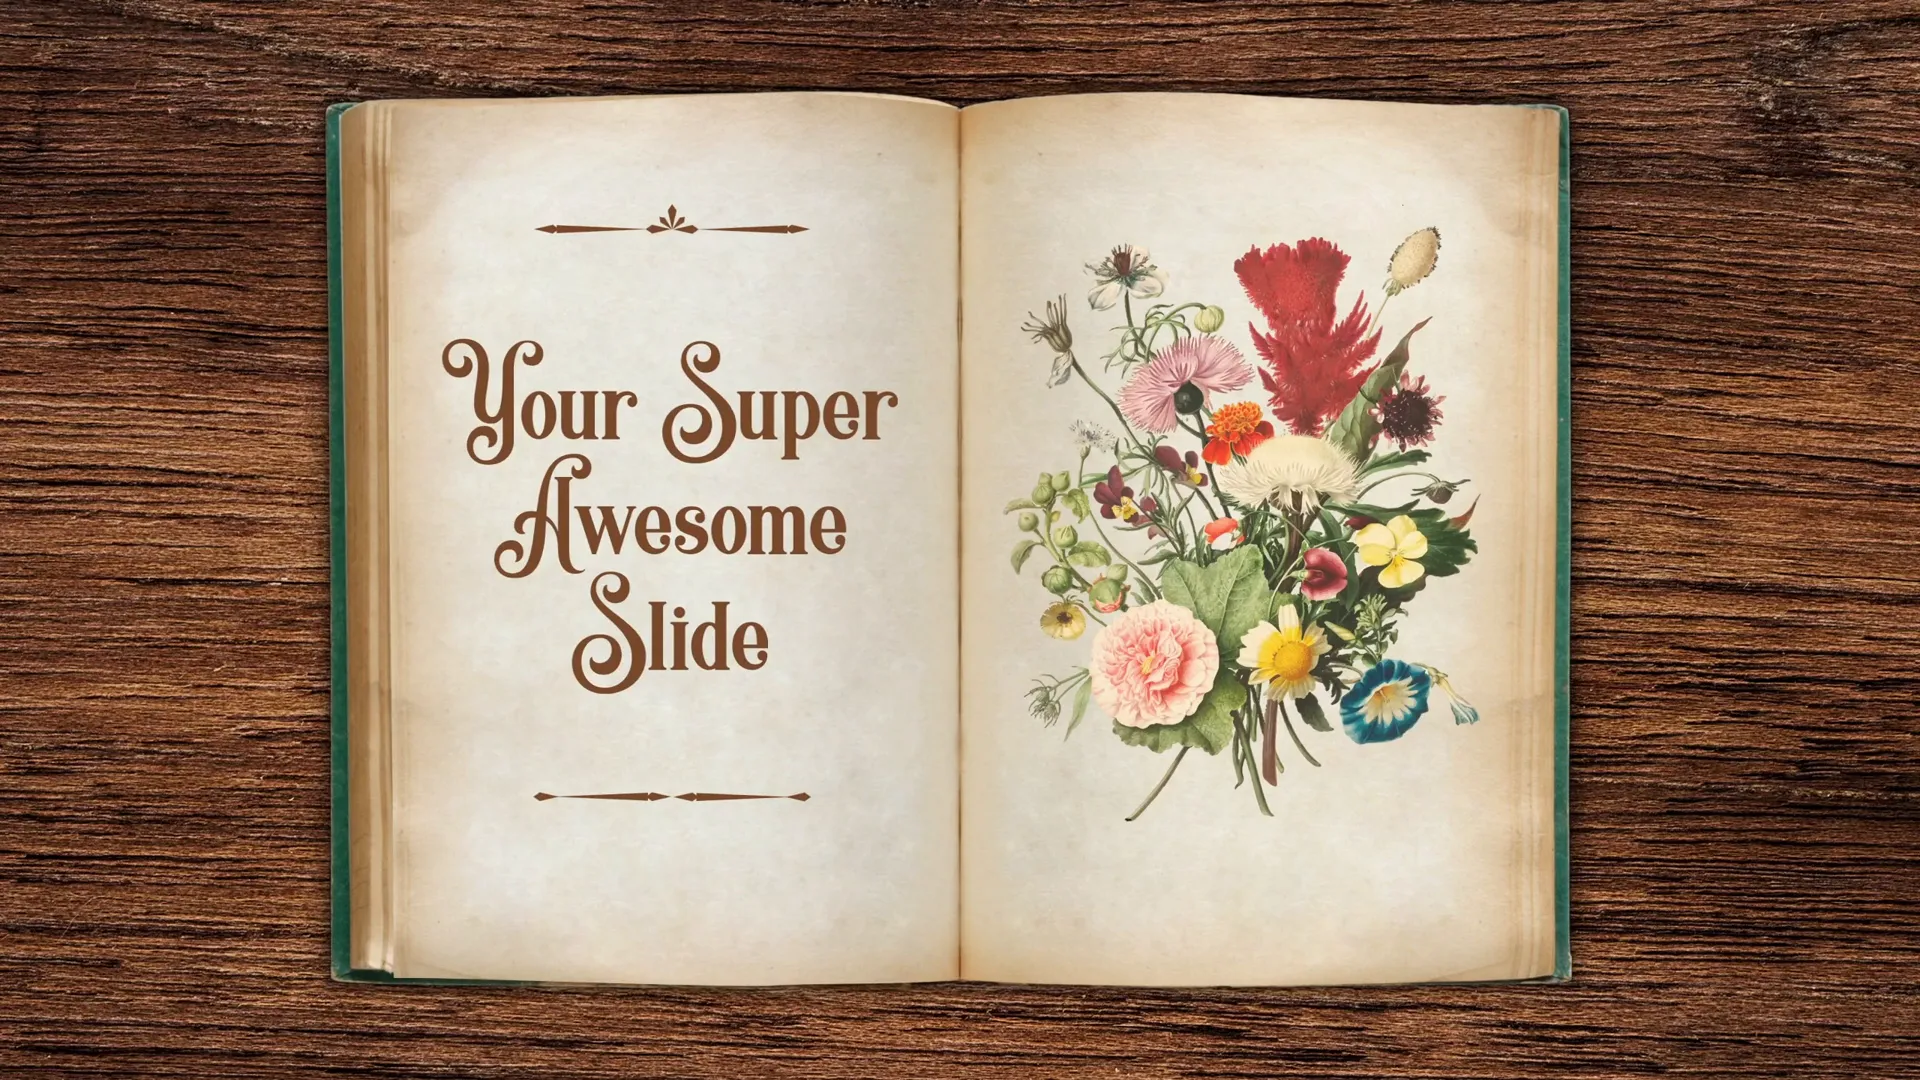
Adding Text and Images to Flipping Pages
To enhance your animation, you can add custom text and images to the flipping pages, making the animation even more engaging.
- Use text boxes or image placeholders on each page before grouping and applying 3D rotation.
- Ensure these elements are aligned properly to maintain the illusion during the flip.
- For example, add zooming pictures or descriptive text that appears as the page flips.
This technique is perfect for interactive presentations, digital portfolios, or eBooks created in PowerPoint.
For an extended lesson on adding images and text, the creator offers a detailed course at pptskill.com, currently available with a Black Friday 50% discount.
Frequently Asked Questions
What PowerPoint version do I need to create this animation?
This tutorial requires PowerPoint with support for Morph transitions and 3D rotation, typically available in Office 365 or PowerPoint 2019 and later.
Can I use my own book and background images?
Yes! Use any images you like, but make sure the book image has a visible page division and the background complements the scene for a realistic effect.
Is it possible to flip both pages?
Yes, but this tutorial focuses on flipping one page for realism. You can adjust visibility settings in the Selection Pane to flip both pages if desired.
How do I add interactive content to the flipping pages?
You can insert text boxes and images before grouping the pages and applying the animation. Ensure they are positioned correctly for the flip effect.
Can I export this animation as a video?
Yes, PowerPoint allows you to export presentations as videos, which will preserve animations and transitions like the page flip.
Conclusion
Creating a realistic page flip animation in PowerPoint is easier than you might think once you understand the key techniques: using Morph transitions combined with 3D rotation, preparing your images carefully, and organizing your slide elements efficiently.
This tutorial has provided you with a step-by-step method to:
- Set up a beautiful background and book image
- Remove backgrounds and straighten images for accuracy
- Cut out page shapes and prepare them for animation
- Apply 3D rotation and Morph transition for a smooth page flip
- Organize and name objects for easy management
- Add text and images to pages for customized content
With these skills, you can create engaging, professional presentations that captivate your audience and bring your content to life.
For further learning and advanced techniques, consider exploring PowerPoint Animation Mastery, where detailed lessons and resources are available, especially during the ongoing Black Friday sale offering 50% off.
Now it’s your turn to try this out and impress your audience with a stunning page flip animation!


