
Are you looking to elevate your presentations with stunning, dynamic effects? Mastering PowerPoint animation slides can transform a simple slide deck into an engaging visual story that captivates your audience. In this comprehensive guide, you’ll learn the secrets behind creating an incredible animated slide design using PowerPoint’s powerful morph transition and photo cropping techniques. Plus, you’ll discover how to download a free, ready-to-use template inspired by the wonders of the universe.
Whether you’re a beginner or a seasoned presenter, this tutorial breaks down the process into easy-to-follow steps, helping you create visually appealing slides that expand photos from small cards to full-screen images seamlessly. Let’s dive into the world of PowerPoint animation slides and unlock your presentation potential!
Table of Contents
- Understanding the Dynamic Animated Slide Concept
- Getting Started: Preparing Your PowerPoint Slide
- How to Create Expandable Photo Cards
- Using the Morph Transition for Animation Magic
- Design Tips to Enhance Your Animated Slides
- Building Multiple Photo Cards for a Cinematic Effect
- Finalizing Your Presentation and Downloading the Free Template
- Frequently Asked Questions
- Conclusion
Understanding the Dynamic Animated Slide Concept
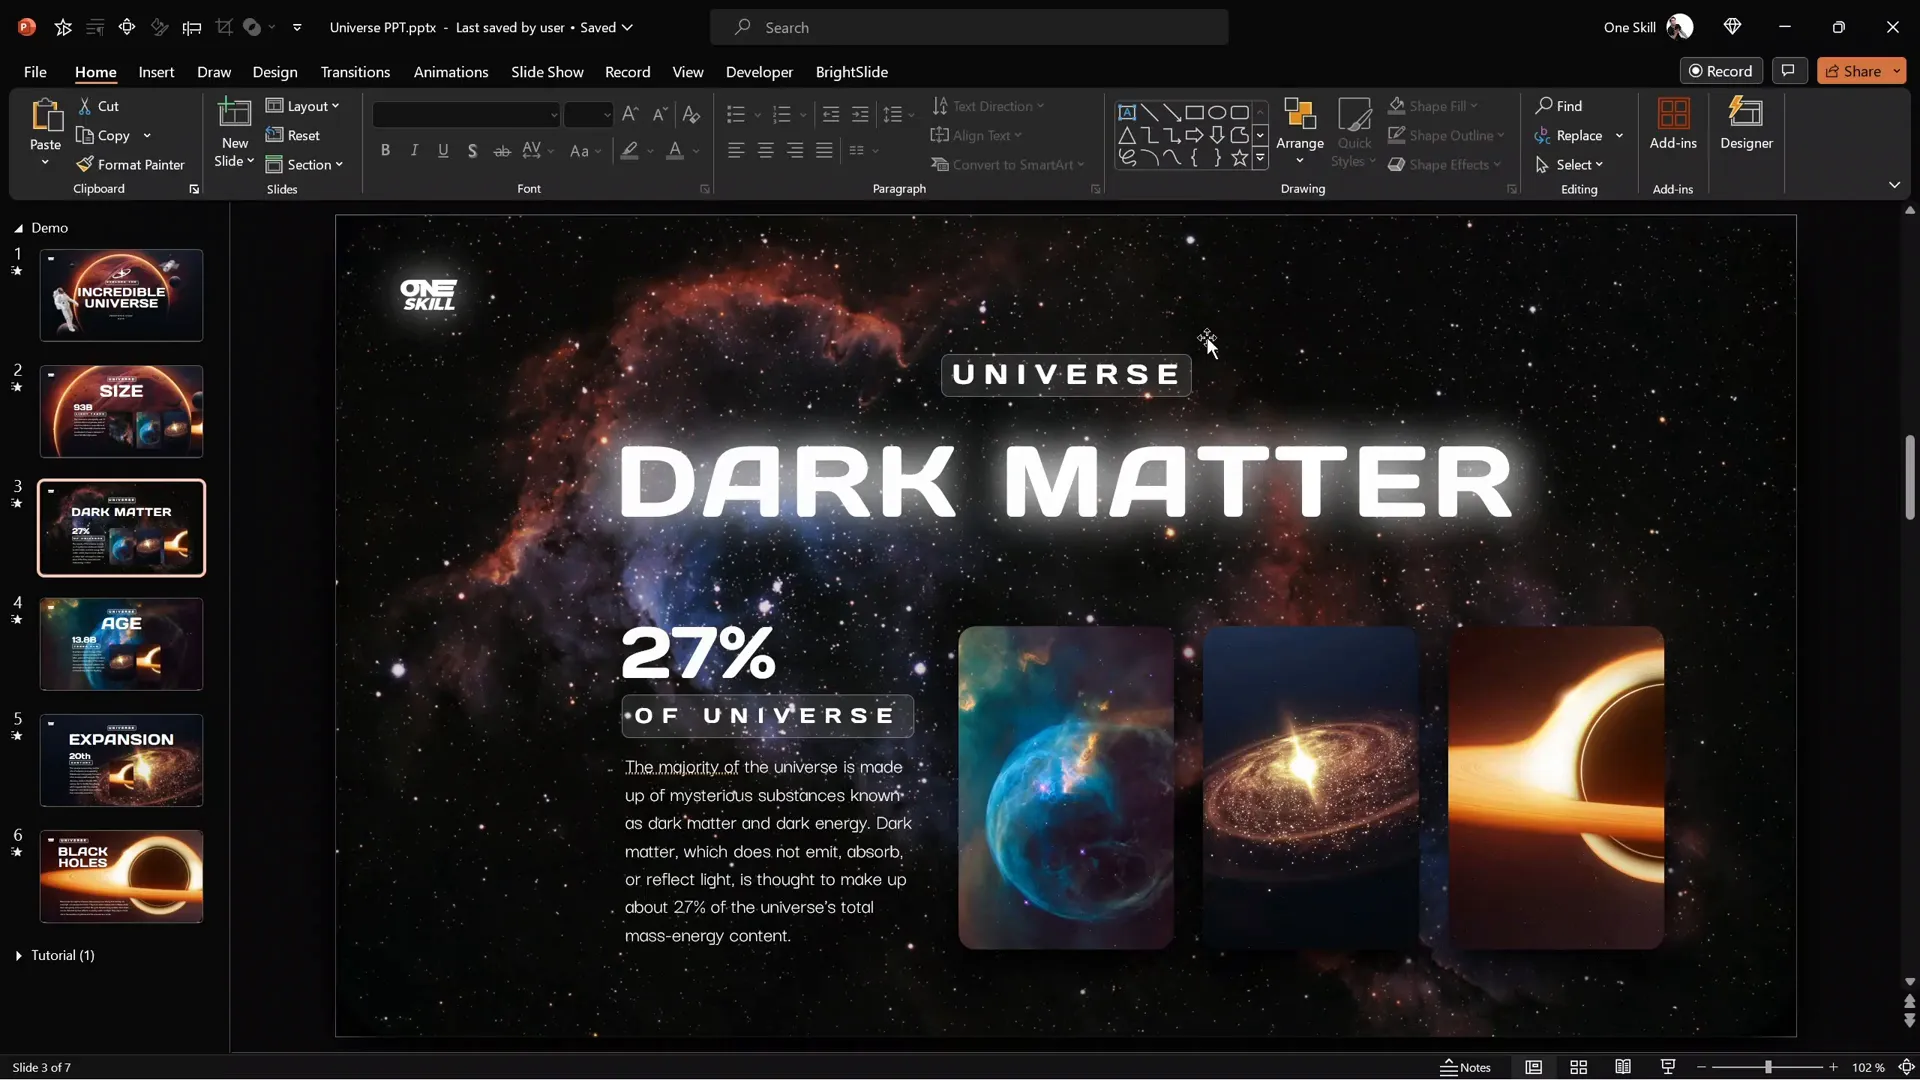
The secret behind creating impressive PowerPoint animation slides lies in making small photo cards expand smoothly into full-screen images. This technique not only adds a professional flair to your presentation but also keeps your audience engaged with cinematic transitions.
Imagine a slide filled with several small photo cards. When you advance to the next slide, one of those cards expands to cover the entire slide, transitioning beautifully from a thumbnail to a full-screen photo. This effect is achieved using PowerPoint‘s morph transition, a powerful feature that animates objects between slides by smoothly transforming their size, shape, and position.
In this tutorial, inspired by a subscriber’s request for a presentation about the universe, we will recreate this effect step-by-step. The final design includes a dark-themed background, rounded photo cards, shadows for depth, and smooth expansion animations that bring your slides to life.
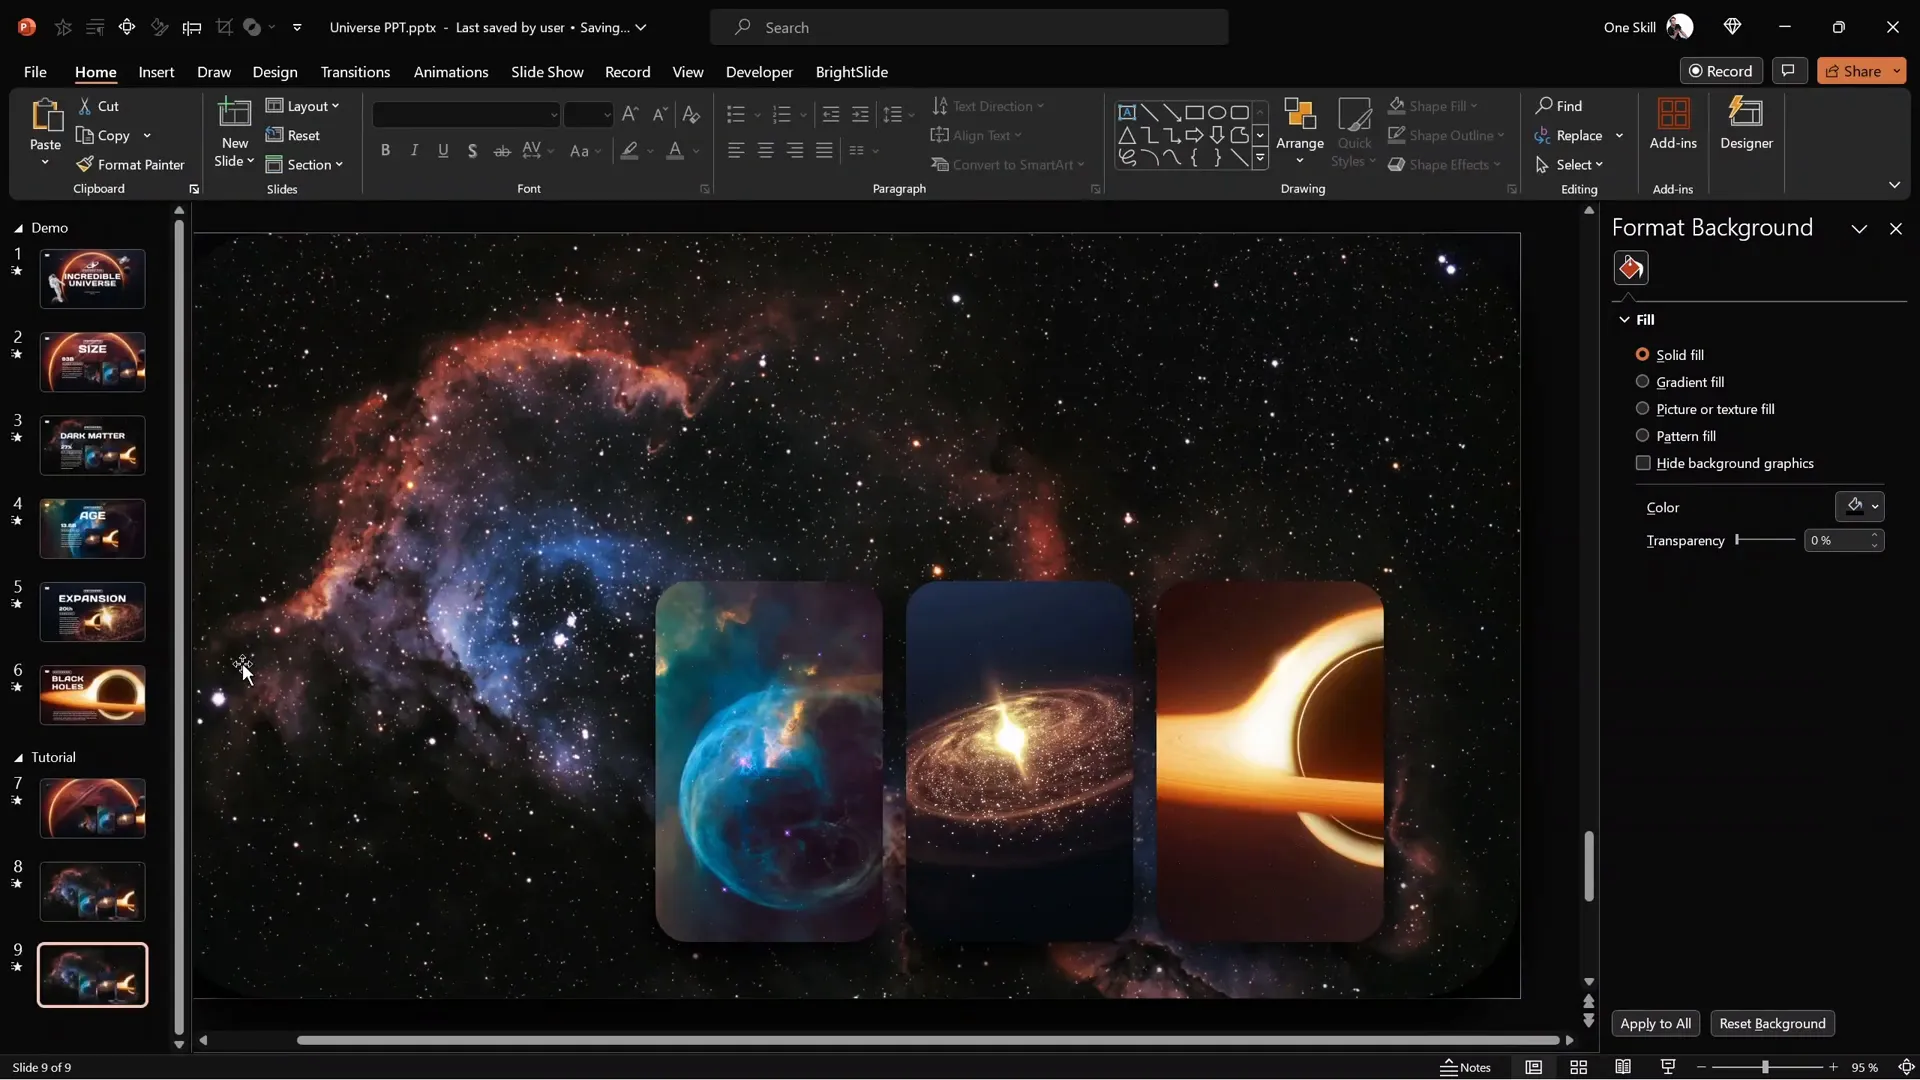
Getting Started: Preparing Your PowerPoint Slide
Before we jump into creating animated slides, it’s important to set up your workspace and prepare the base slide. Here’s how to start from scratch:
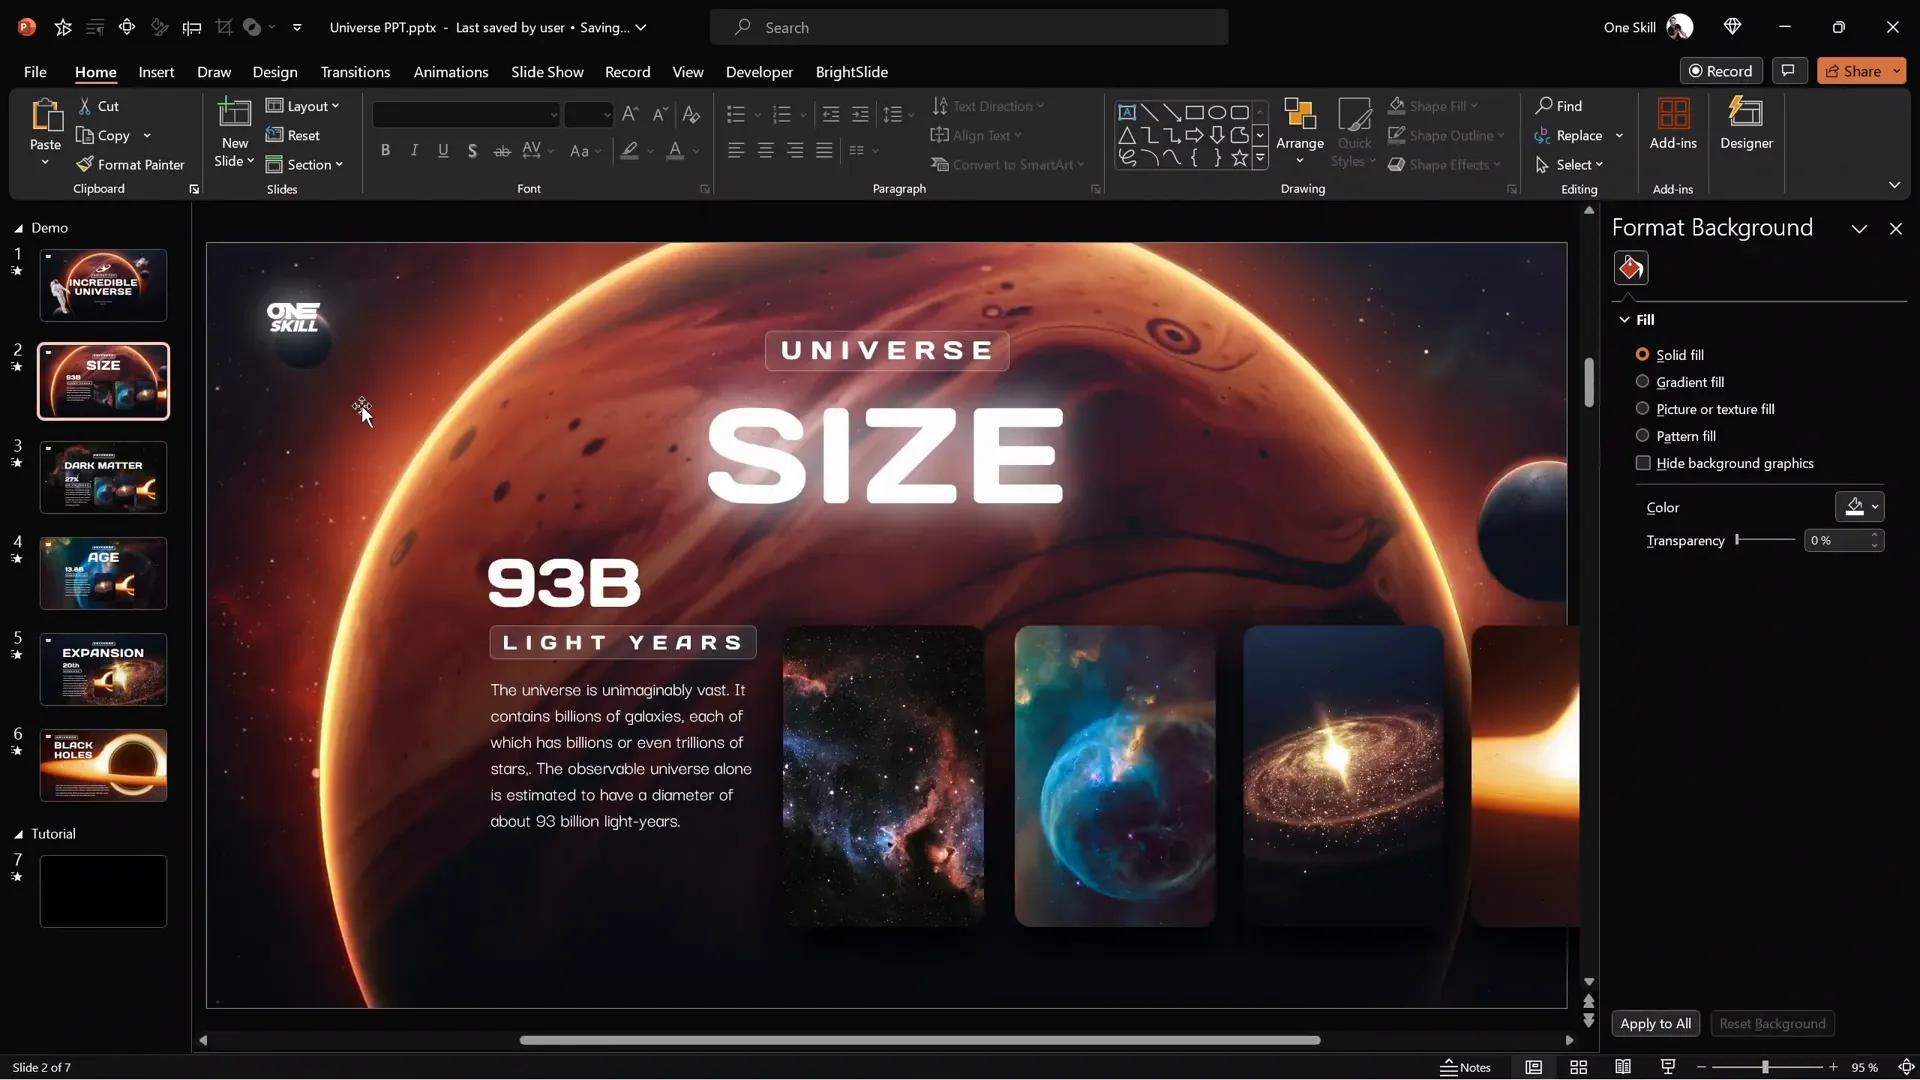
- Open a new blank slide. This gives you a clean canvas to work on.
- Fill the slide background with a solid black color. This dark backdrop will make your photos pop and add a cinematic feel.
- Insert your background photo. Choose a striking image related to your presentation topic — for example, a stunning cosmic photo for a universe-themed presentation. You can copy and paste it onto your slide.
- Adjust the photo as needed. Resize or reposition the background image to cover the entire slide or to your desired layout.
Note: You can find links to all photos used in this tutorial in the video description for easy access.
How to Create Expandable Photo Cards
Now that your base slide is ready, the next step is to create the small photo cards that will later expand into full-screen images. Follow these detailed steps:
- Insert a photo to create a card. Add a new image that will become your photo card.
- Enhance contrast. Adjust the photo’s contrast to make it stand out more prominently on the slide.
- Crop the photo to a rounded rectangle. Select the photo, go to the Crop menu, choose Crop to Shape, and select a rounded rectangle shape. This gives the photo smooth, rounded corners.
- Resize and adjust the cropped area. Click on Crop again to use the black handles to resize the crop area, and use the yellow handles to resize or reposition the photo inside the crop area. Adjust the roundness of the corners using the yellow handle on the shape.
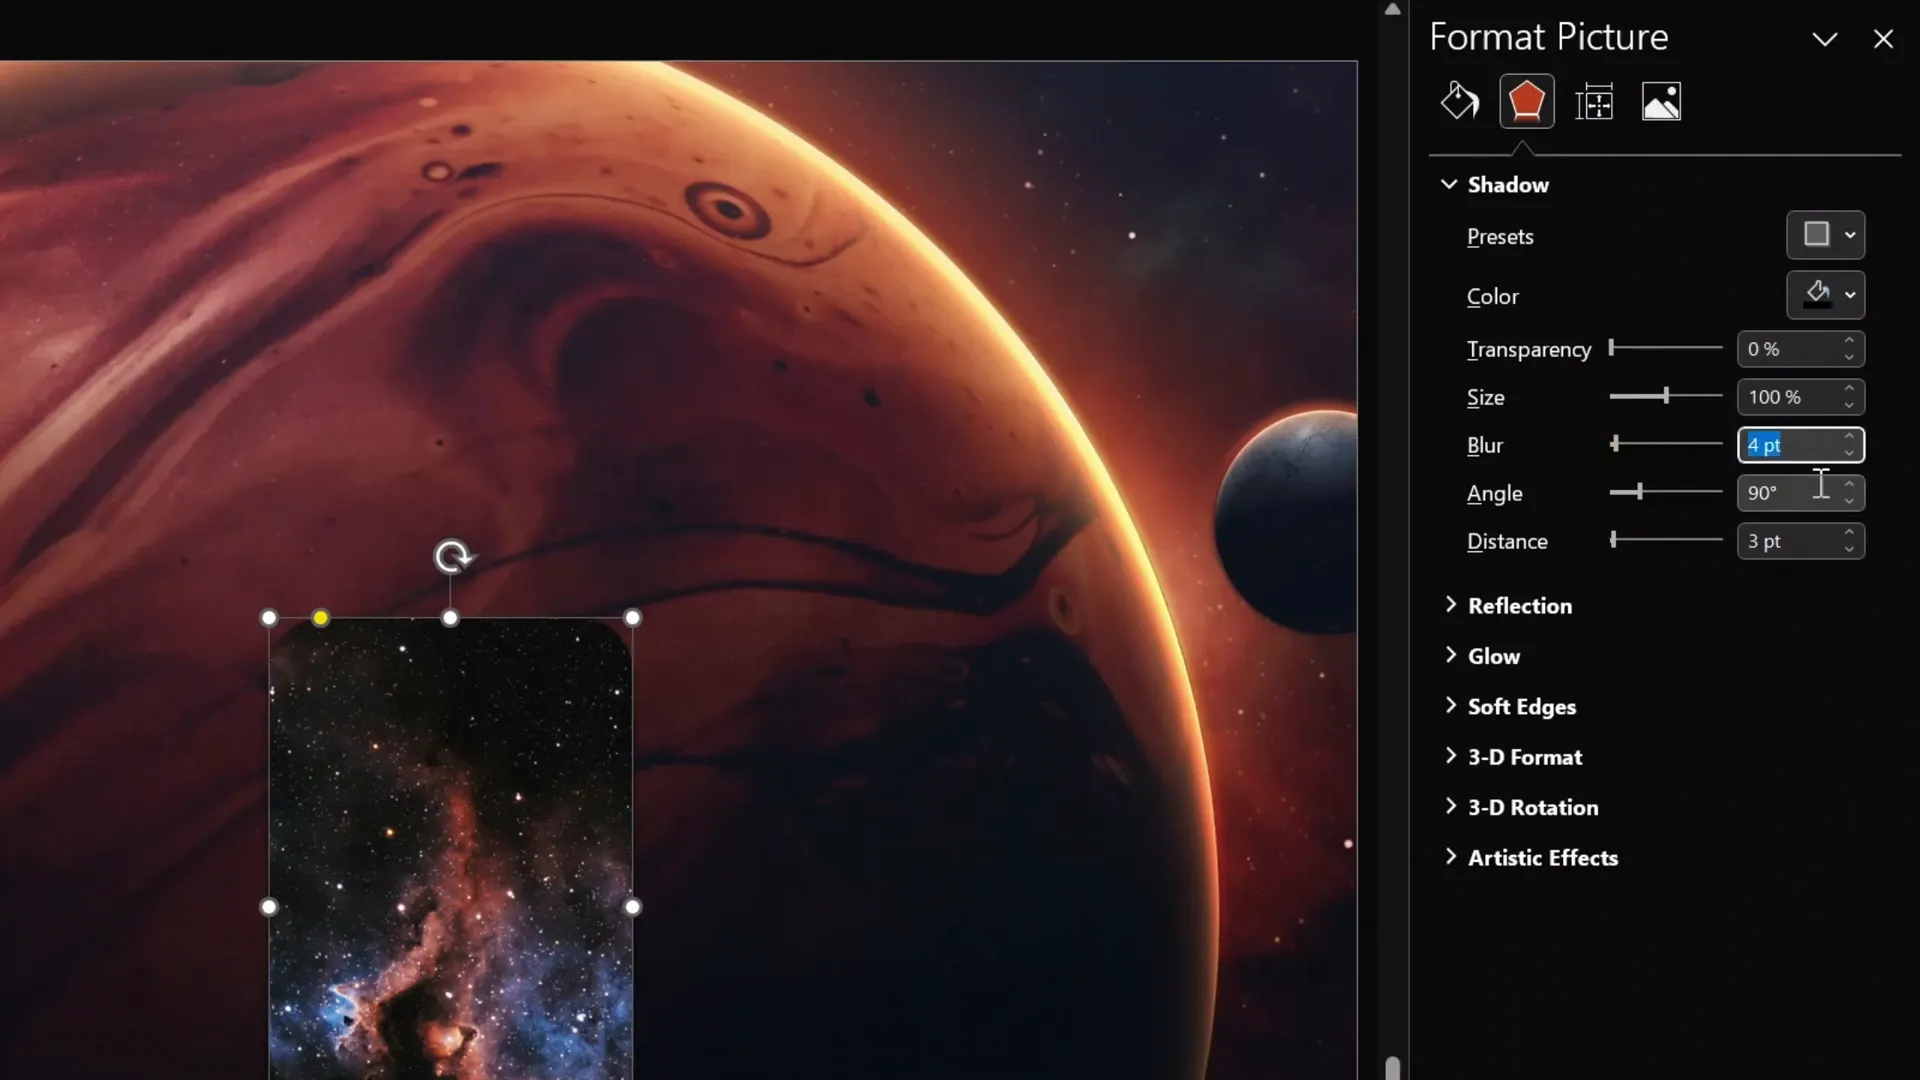
- Add a shadow effect. Apply a subtle shadow to the photo card to create depth and separation from the background.
At this point, you should have a beautiful, small photo card with rounded corners and a shadow that stands out on your slide.
Using the Morph Transition for Animation Magic
The morph transition is a game-changer for creating smooth animations in PowerPoint. It allows objects to seamlessly transform between slides based on their size, shape, and position. Here’s how to use it to expand your photo cards:
- Duplicate the slide with your photo card. Right-click the slide thumbnail and select Duplicate Slide.
- Set the transition to Morph. Go to the Transitions tab and choose Morph for the duplicated slide.
- Resize the photo card on the duplicated slide. Select the photo card, click Crop, and use the white crop handles to expand the photo so it covers the entire slide width.
- Adjust crop handles to full-screen. Use the black cropping handles to expand the crop area to match the slide’s height and width, effectively making the photo full screen.
- Finalize the crop. Click outside the slide or hit crop again to apply changes.
When you play the slide show and transition between these two slides, the small photo card will smoothly expand to a full-screen photo, creating an impressive animation.

Adding Cinematic Effects
To enhance the cinematic feel, you can darken the background photo on the second slide:
- Select the background photo.
- Go to picture brightness options.
- Reduce brightness by around -60% to darken the photo.
This adjustment adds focus to the expanding photo card and creates a more dramatic transition.
Design Tips to Enhance Your Animated Slides
Here are some crucial design tips to make your animated slides look polished and professional:
- Use consistent shapes: Rounded rectangles for photo cards create a modern, friendly look.
- Apply shadows: Adding subtle shadows to cards helps them stand out against the background.
- Use guides: Turn on slide guides and align objects precisely to maintain symmetry and balance.
- Maintain contrast: Use dark backgrounds and adjust photo brightness to ensure key elements pop.
- Limit text: Keep text minimal on animated slides to maintain focus on visuals and transitions.
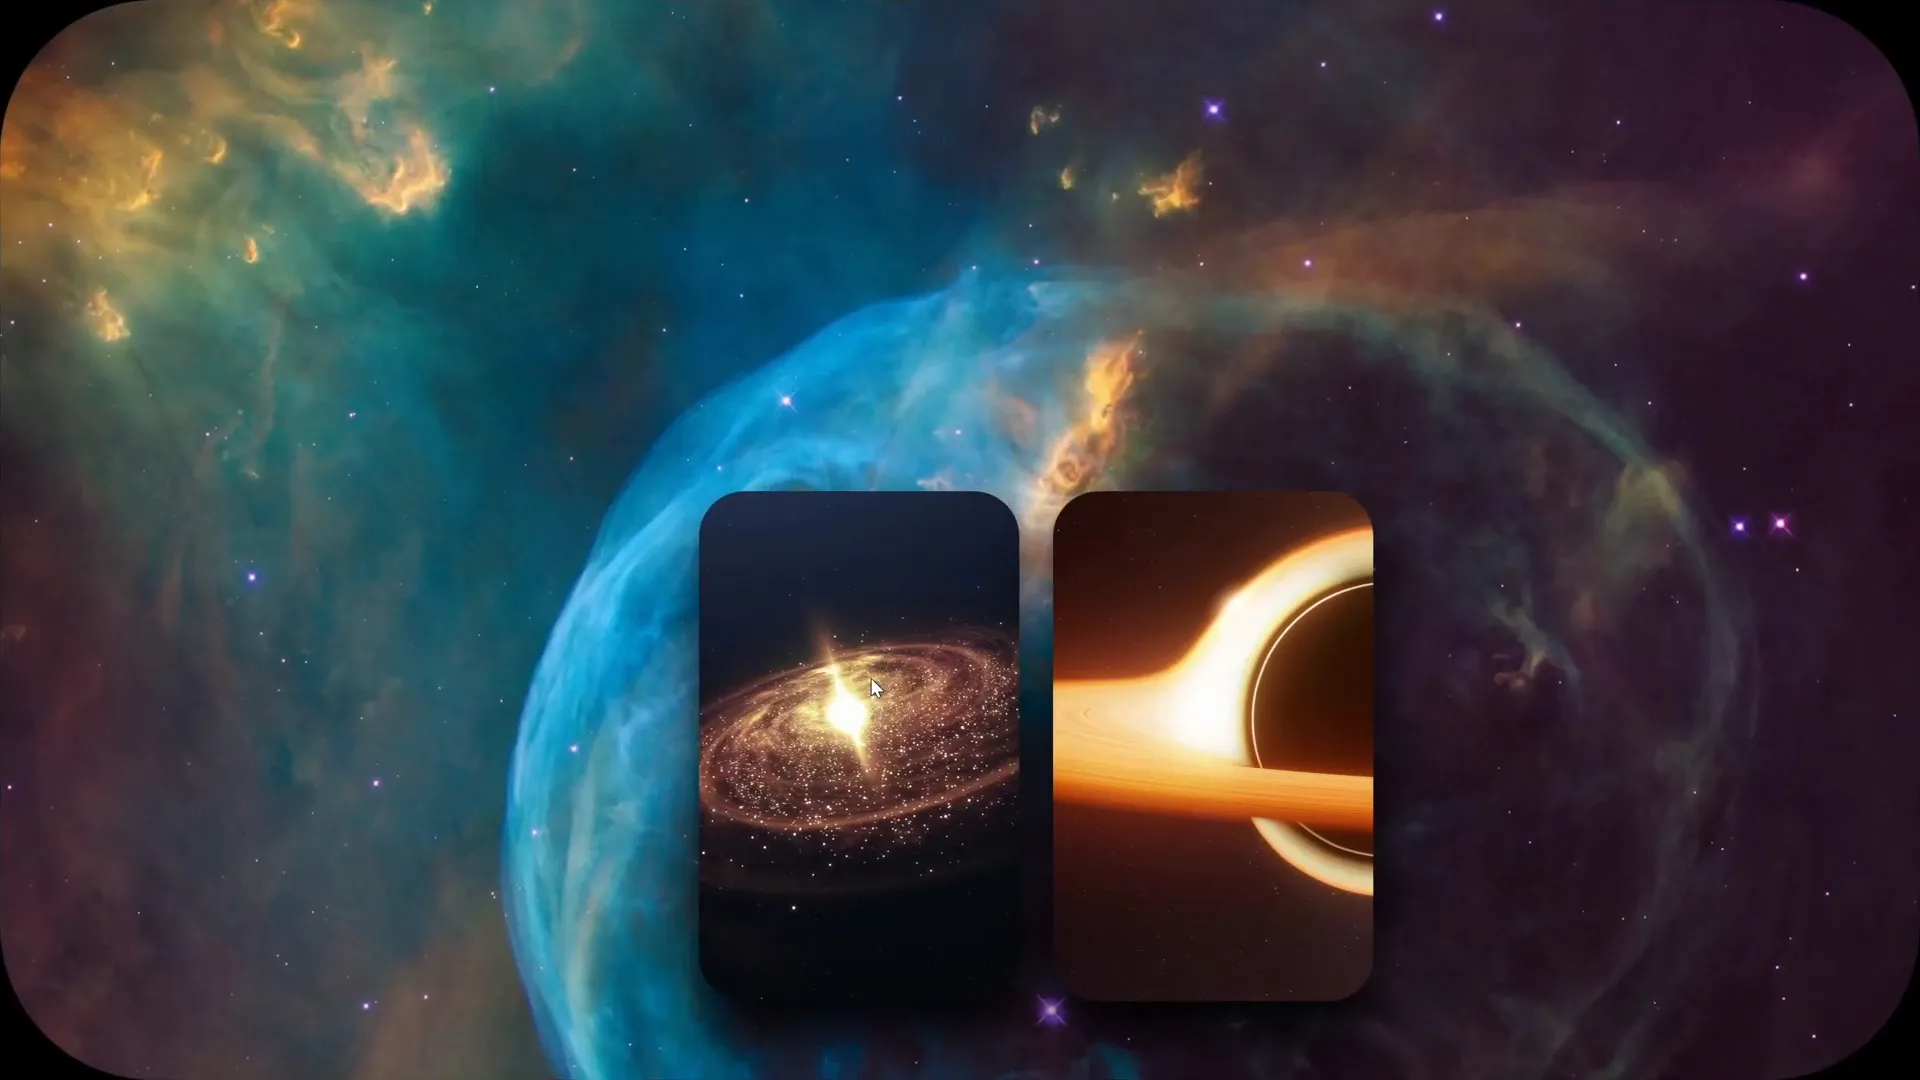
Building Multiple Photo Cards for a Cinematic Effect
To create a more dynamic presentation, you can add multiple photo cards and animate them expanding one by one. Here’s how:
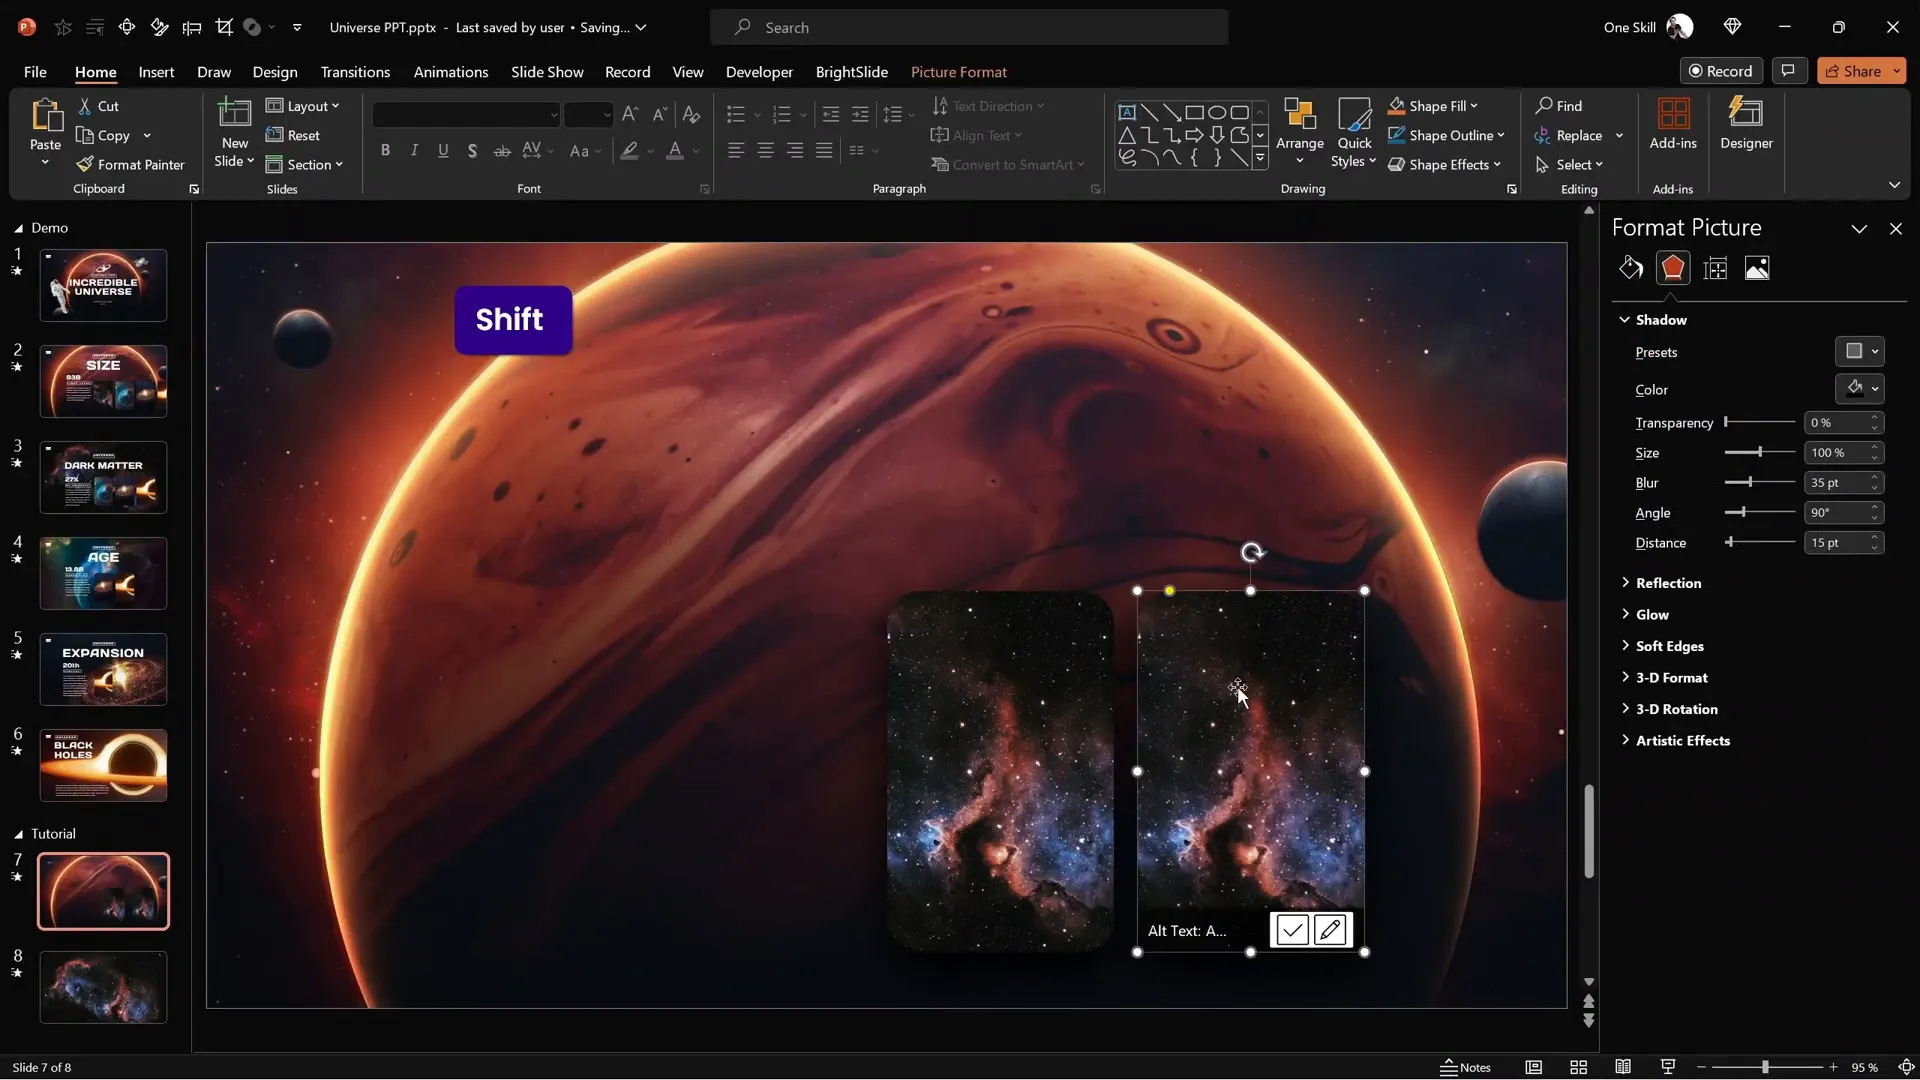
- Duplicate your photo card multiple times. Hold down Ctrl + Shift and drag the photo card to make copies aligned horizontally.
- Replace photos in each card. Change the images inside the cards to add variety and visual interest.
- Activate slide guides. Turn on vertical guides and position a guide at the left edge of the first card to help with alignment.
- Copy all photo cards and paste them onto the next slide.
- Delete the first card on the second slide. It will be replaced by the full-screen expanded photo.
- Align the remaining cards to the vertical guide. This makes them stack neatly where the first card was.
- Set the transition to Morph. This animates the first card expanding while the others slide into place.
When you run the slideshow, the first card expands to full screen, and the other cards transition smoothly into the first card’s position, creating a polished animation sequence.
Creating Additional Slides
Repeat the same process to create subsequent slides where each photo card expands in turn:
- Delete the background photo on the new slide to avoid layering issues.
- Make the expanded photo the slide background, positioning it centrally and darkening it for cinematic effect.
- Expand the next photo card to full screen using cropping handles.
- Move remaining photo cards to the vertical guide position.
- Set the transition to Morph.
This technique allows you to animate each photo card expanding to full screen in sequence, creating a seamless and captivating presentation flow.
Finalizing Your Presentation and Downloading the Free Template
After building your animated photo cards and slides, it’s time to enjoy the full presentation and prepare it for use. Here are some final steps:
- Review the full presentation. Play the slideshow from start to finish, observing the smoothness of the morph transitions and overall design.
- Download the free template. Visit pptskill.com and sign up for free PowerPoint animation mastery lessons.
- Access the Morph Animation section. Download the “Bonus Slides Universe Template” PPTX file.
- Install required fonts. Ensure all fonts used in the template are installed for proper display.
This ready-made template can save you time and inspire your own creative presentations.
Frequently Asked Questions
What is the Morph transition in PowerPoint?
The Morph transition is a feature in PowerPoint that lets you animate smooth movement, resizing, and transformation of objects between slides. It’s perfect for creating dynamic visual effects like expanding photo cards.
Which version of PowerPoint supports Morph transition?
The Morph transition is available in PowerPoint 2016 and later versions, including Office 365 subscriptions. Make sure your software is up to date to access this feature.
Can I use any photo for the expandable cards?
Yes, you can use any photo, but high-resolution images with good contrast work best to maintain quality when expanding to full screen.
How do I add rounded corners to photos in PowerPoint?
Select the photo, go to the Crop menu, choose Crop to Shape, and select a rounded rectangle. You can adjust the corner roundness using yellow handles on the shape.
Is the Morph transition compatible with all PowerPoint elements?
Morph works best with shapes, pictures, and text boxes. Complex animations or multimedia might not transition smoothly with Morph.
How can I download the free animated slide template?
Visit pptskill.com, sign up for the free PowerPoint animation mastery lessons, and find the “Bonus Slides Universe Template” under the Morph Animation section.
Can I customize the template after downloading?
Absolutely! The template is fully editable, allowing you to replace photos, change colors, and modify text to fit your presentation needs.
Conclusion
Mastering PowerPoint animation slides with the Morph transition and creative photo cropping techniques can dramatically enhance the impact of your presentations. By following this step-by-step guide, you can create beautiful expanding photo cards that captivate your audience and deliver your message with style.
Remember to keep your designs clean, use consistent shapes and shadows, and leverage slide guides for alignment. With practice, you’ll be able to create cinematic, professional slides that stand out.
Don’t forget to download the free universe-themed template from pptskill.com to jumpstart your creative journey. Experiment with different images and layouts to make this technique your own!
Now it’s your turn to impress your audience with dynamic PowerPoint animation slides that look like they were made by a pro.
Stay creative, stay inspired, and happy presenting!


