
If you want to take your PowerPoint presentations to the next level, mastering PowerPoint animations is a game-changer. Whether you’re pitching an idea, teaching a class, or delivering a keynote, dynamic animations not only grab attention but also help communicate your message more effectively. This comprehensive guide will walk you through five professional-level PowerPoint animation techniques that you can start using immediately to create stunning, engaging slides.
These techniques are inspired by the work of Interstellar PowerPoint, an amazing PowerPoint creator whose animation secrets have been distilled here for your benefit. From flipping slide zooms to futuristic typewriter text effects, and colorful spinning donut charts, you will learn how to create visually compelling presentations that stand out.
Ready to animate like a pro? Let’s dive in!
Table of Contents
- 1. Flip Animation for Slide Zooms
- 2. Creating Animated Textures to Spice Up Your Slides
- 3. Rotating 3D Text Animation with Morph Transition
- 4. Futuristic Typewriter Animation for Text
- 5. Fun with Colorful Spinning Donut Charts
- Frequently Asked Questions (FAQ)
- Conclusion
1. Flip Animation for Slide Zooms
Slide zooms in PowerPoint are a fantastic way to create interactive presentations by jumping between sections or slides smoothly. However, the default zoom effect can sometimes feel a little plain. Let’s learn how to add a captivating flip animation to your slide zooms to make your presentations more engaging and professional.
Step-by-Step Guide to Creating Flip Animation on Slide Zooms
- Insert a Slide Zoom: Navigate to Insert > Zoom > Slide Zoom and select a slide you want to zoom into.
- Remove Zoom Border: Once inserted, remove the zoom border for a cleaner look by selecting the slide zoom and choosing No Border.
- Enable Return to Zoom: Make sure the Return to Zoom option is activated. This allows you to zoom back after viewing the slide.
- Add 3D Rotation: Select the slide zoom object, go to 3D rotation presets, and pick a parallel rotation style.
- Adjust Rotation Angles: Increase the X-rotation to flip the slide zoom to the other side, making sure you can also experiment with Y and Z rotations for different effects.
Once set up, clicking on the slide zoom will trigger a smooth flip animation while zooming in, and flipping back when zooming out. This effect adds a dynamic and visually appealing transition that elevates your presentation’s professionalism.
Adding Subtle Floating Animations to Illustrations
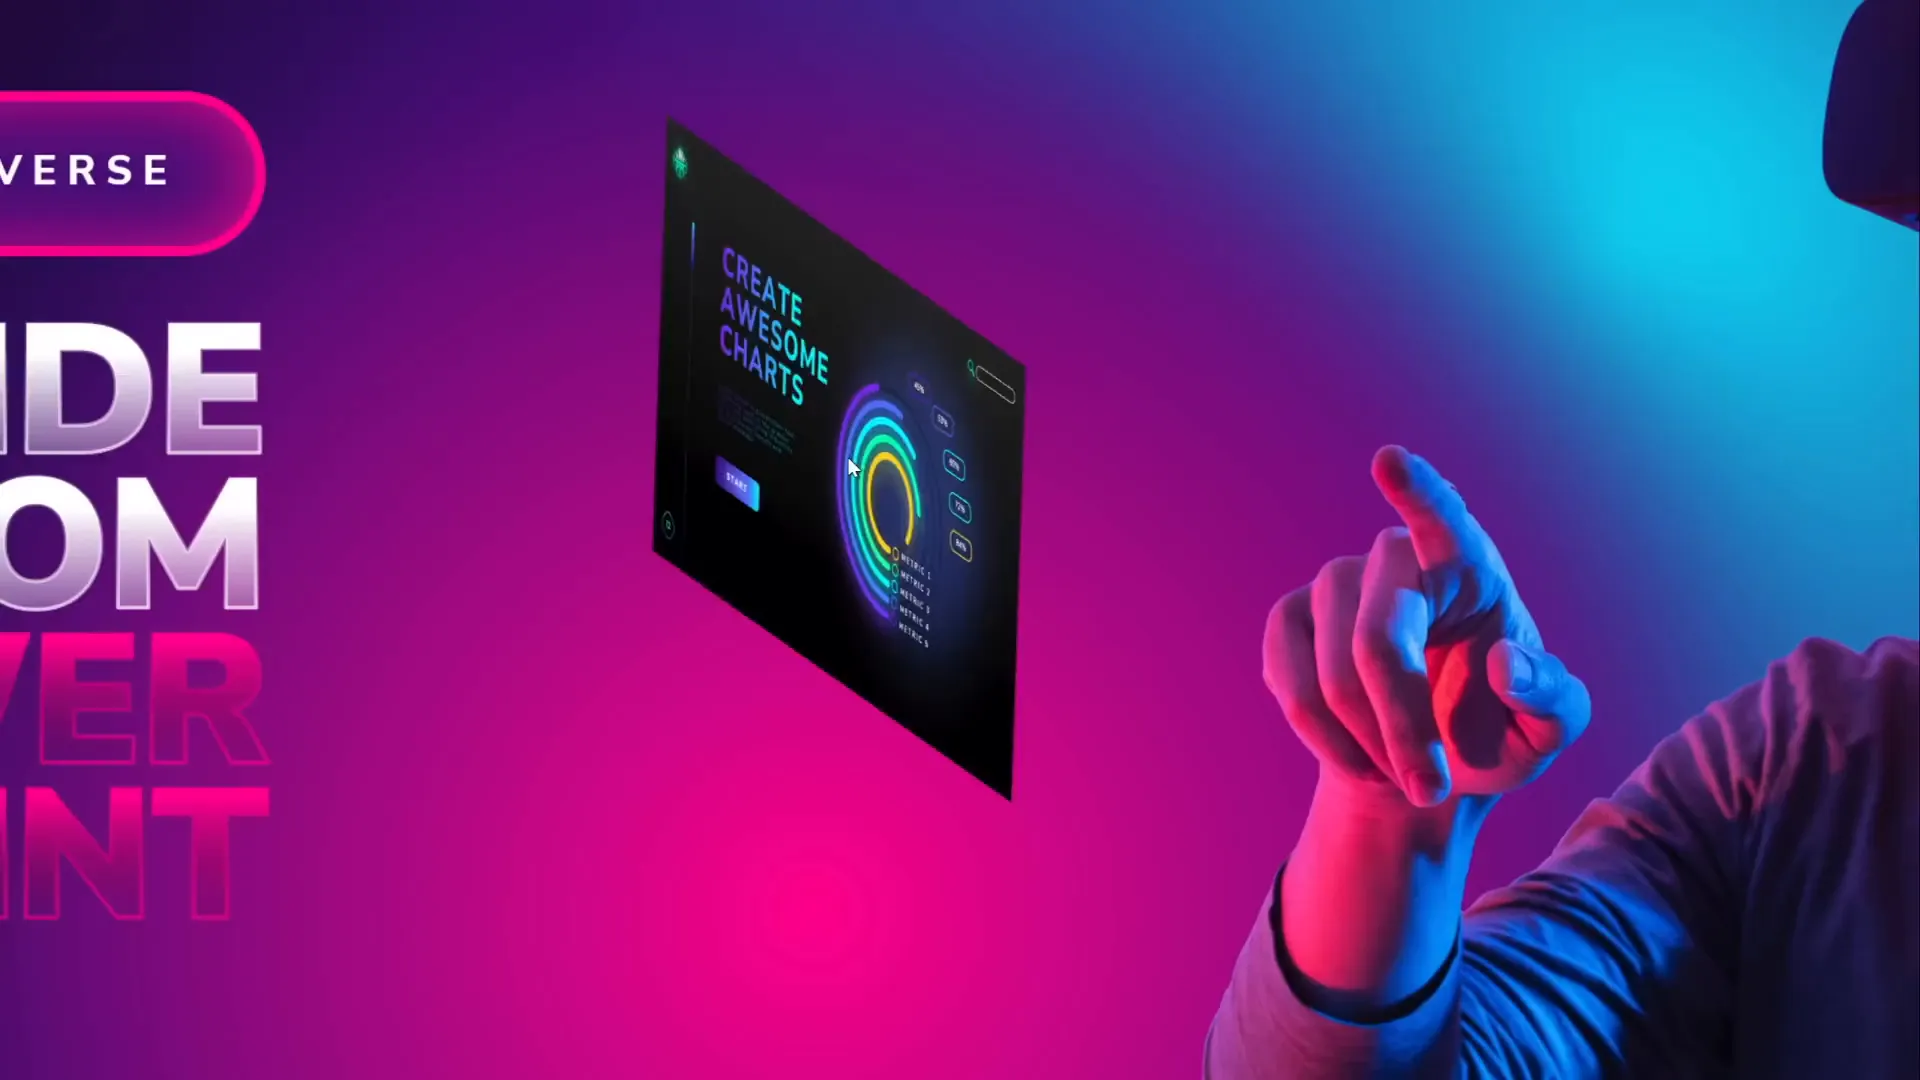
On the same slide, you might want to add subtle motion to illustrations, such as a floating character or object, to add life to your presentation. For example, animating a character wearing VR glasses with a gentle up-and-down motion combined with a subtle spin can create a floating effect.
- Motion Path Animation: Use a short vertical motion path (line animation) with a duration of about 2 seconds. Enable smooth start and smooth end for natural movement and activate Auto Reverse so the animation loops back and forth.
- Spin Animation: Add a spin animation with a very small angle (e.g., 2 degrees), also with smooth start and auto-reverse enabled.
Combining these two animations results in a gentle floating effect that enhances the visual interest of your slides without being distracting.
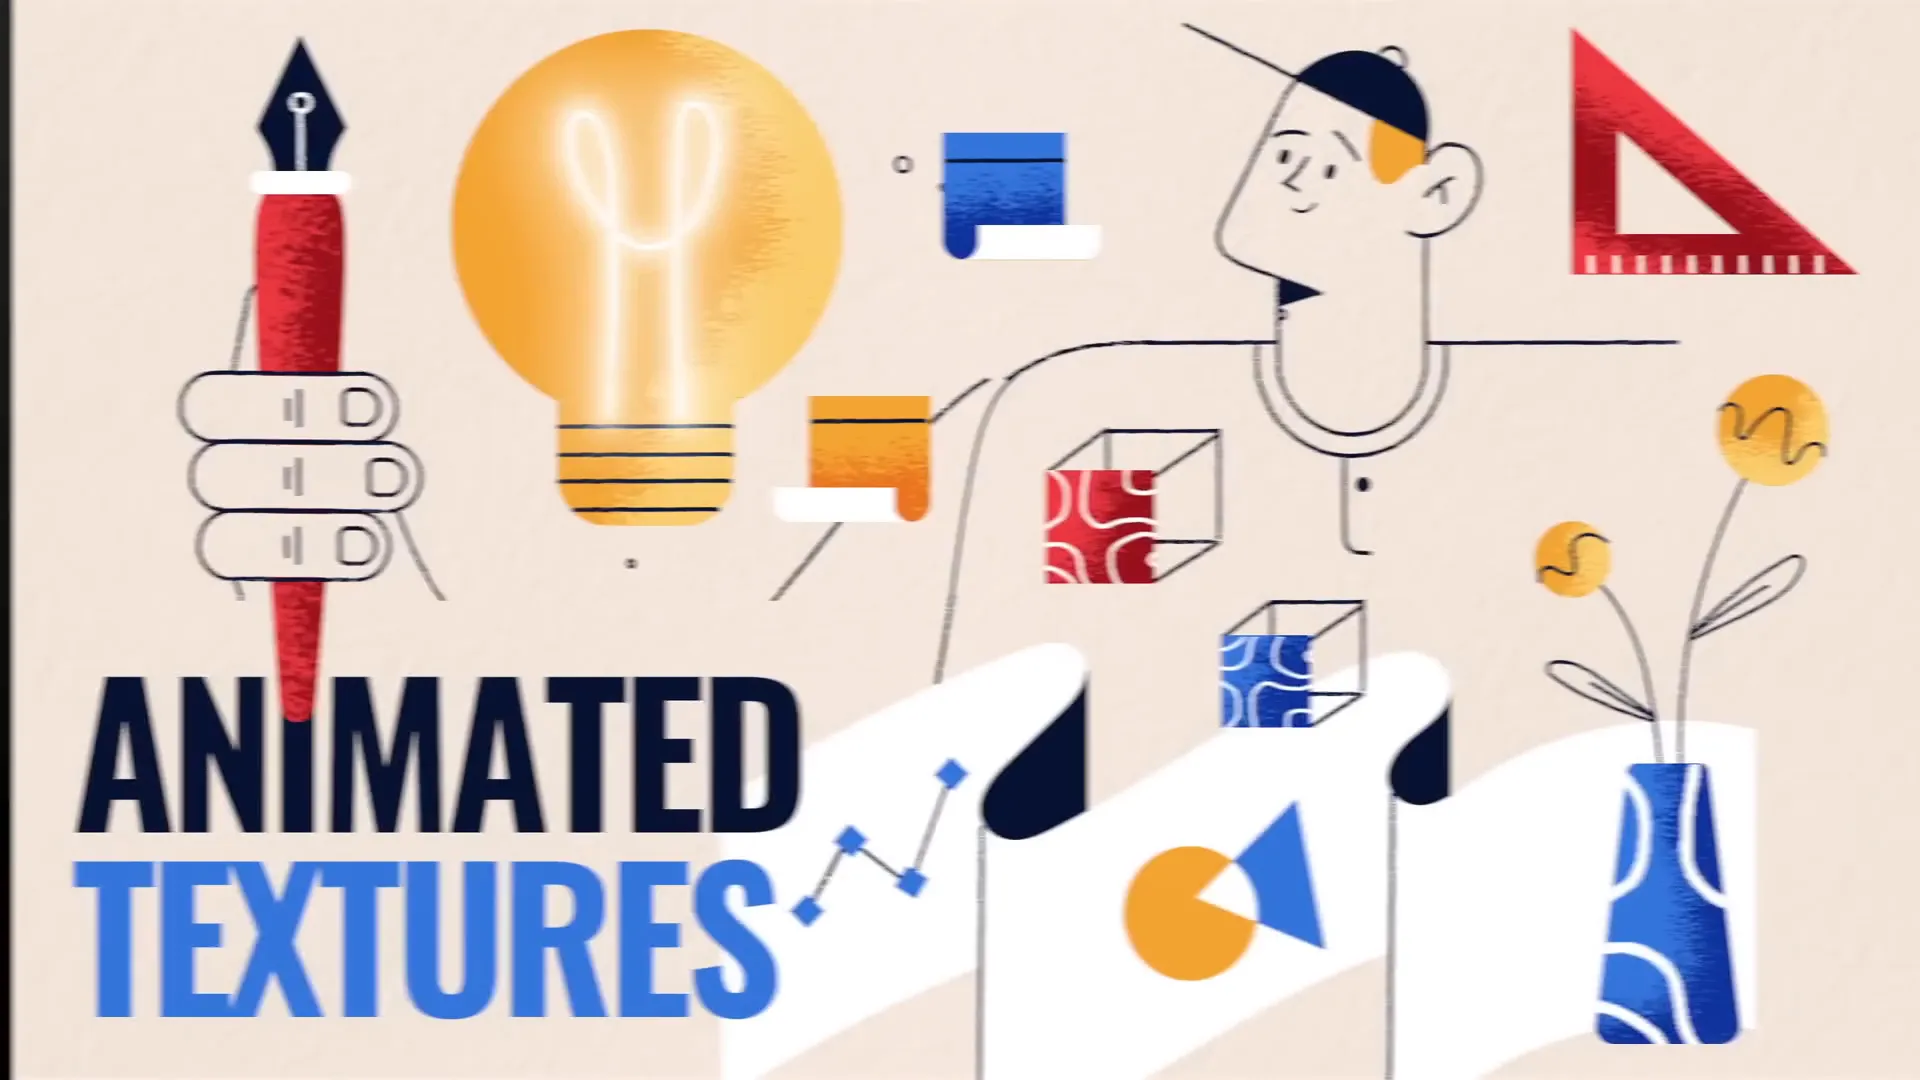
2. Creating Animated Textures to Spice Up Your Slides
Animated textures are a creative way to add dynamic backgrounds or design elements to your slides or illustrations. Using vector shapes and multiple animation effects, you can create captivating textures that move and interact with other slide elements.
How to Create Animated Textures in PowerPoint
- Use Vector Shapes: Start with vector illustrations or shapes that allow you to edit points and customize design.
- Create Multiple Layers: Insert shapes such as squares or rectangles of different sizes, duplicating and aligning them centrally to form a layered design.
- Group the Shapes: Select all shapes and group them (Ctrl + G) to animate as a single object.
- Add Spin Animation: Apply a spin animation to the group with clockwise direction and set it to quarter spin.
- Adjust Animation Settings: In the animation pane, set the spin to start With Previous, duration 2 seconds, enable smooth start and end, and check Auto Reverse for a back-and-forth spin.
- Add Grow/Shrink Animation: Using the Add Animation button, apply a grow/shrink effect with a growth percentage of about 130%. Use smooth start and auto-reverse to create a pulsing effect.
You can also customize line styles to add a sketchy or hand-drawn look, and adjust colors for better visibility. Exporting this animated slide as a transparent GIF allows you to embed it as an animated texture anywhere within your presentation.

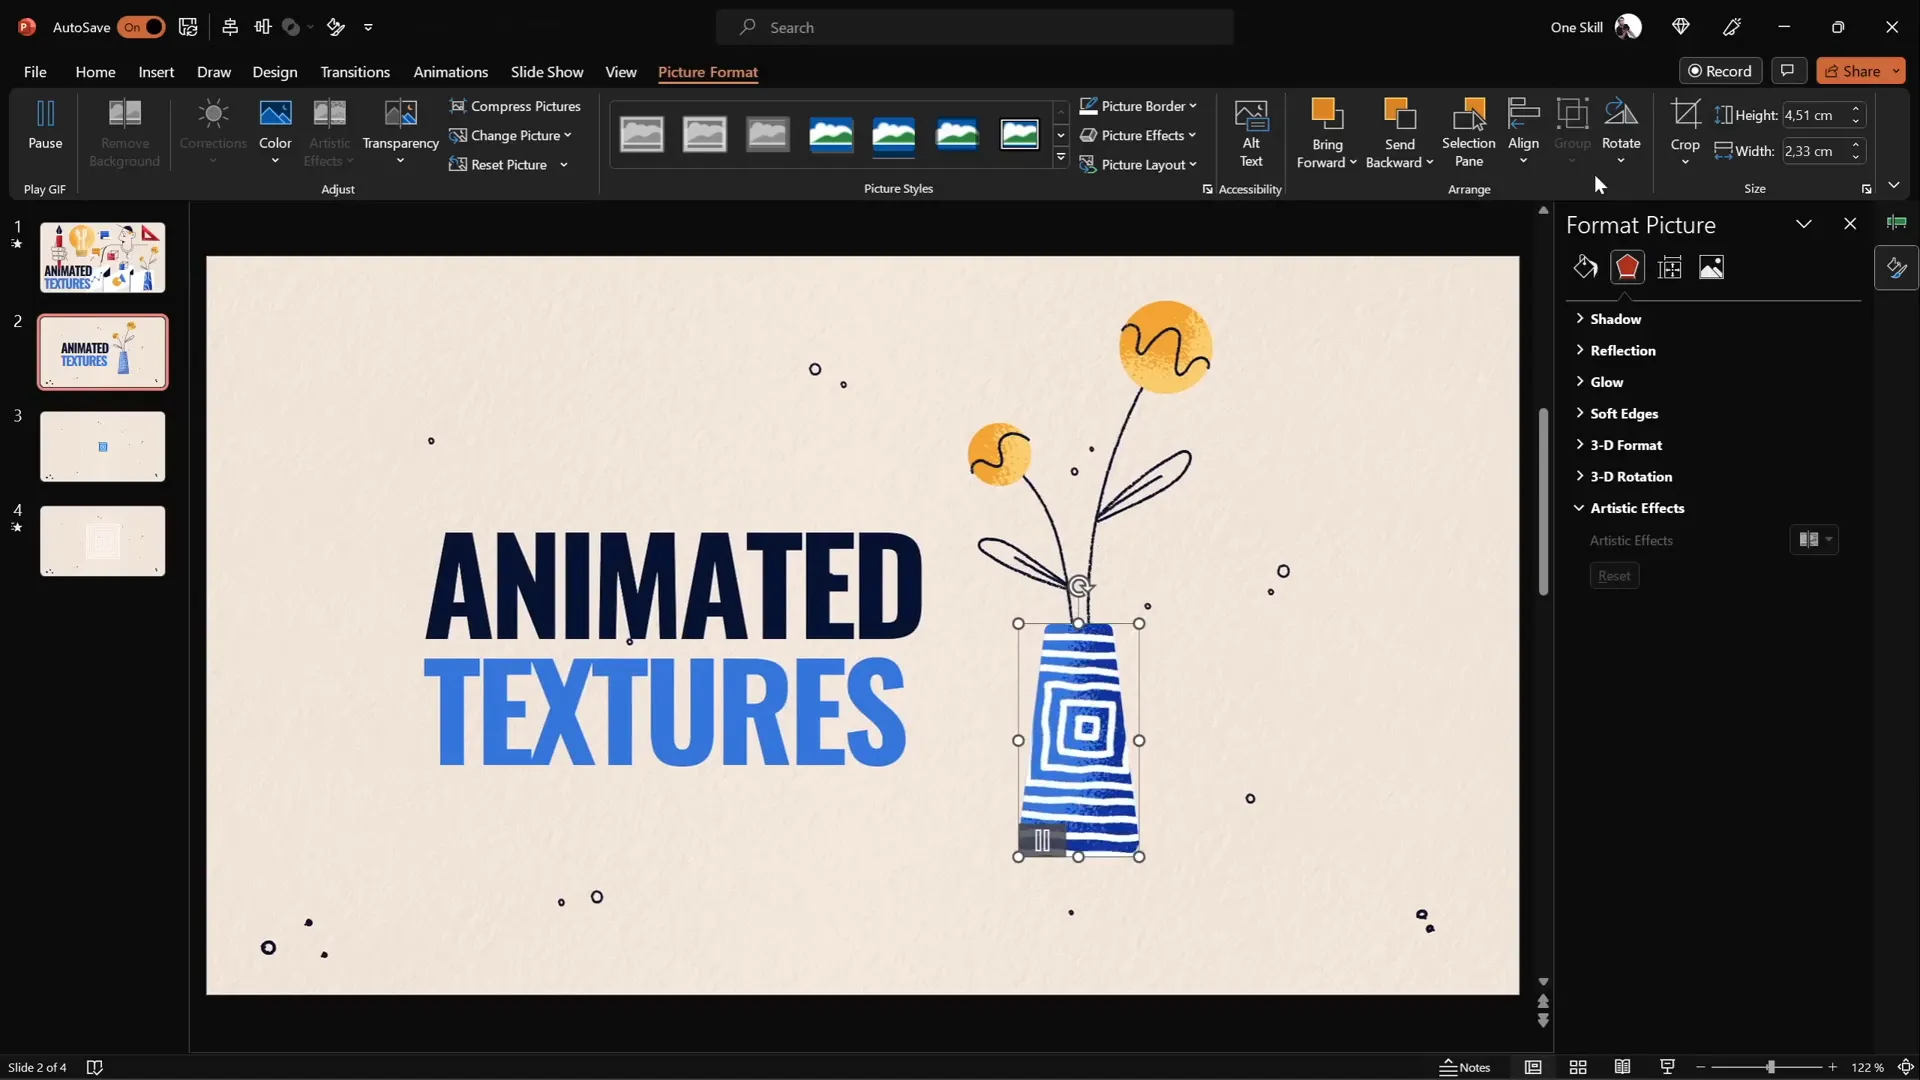
Using Animated Textures as Fill Patterns
Once you have your animated GIF, you can crop it to fit any shape on your slide, such as a vase or background element, using the Merge Shapes > Intersect tool. This technique lets you add lively textures to static shapes, creating a futuristic and modern design aesthetic.
3. Rotating 3D Text Animation with Morph Transition
Want to create an eye-catching intro slide with rotating 3D text? Combining PowerPoint’s 3D rotation features with the Morph transition allows you to produce smooth, dynamic text animations that rotate in space.
Steps to Create Rotating 3D Text Animation
- Add Text Box: Insert a large text box on your slide with your desired text.
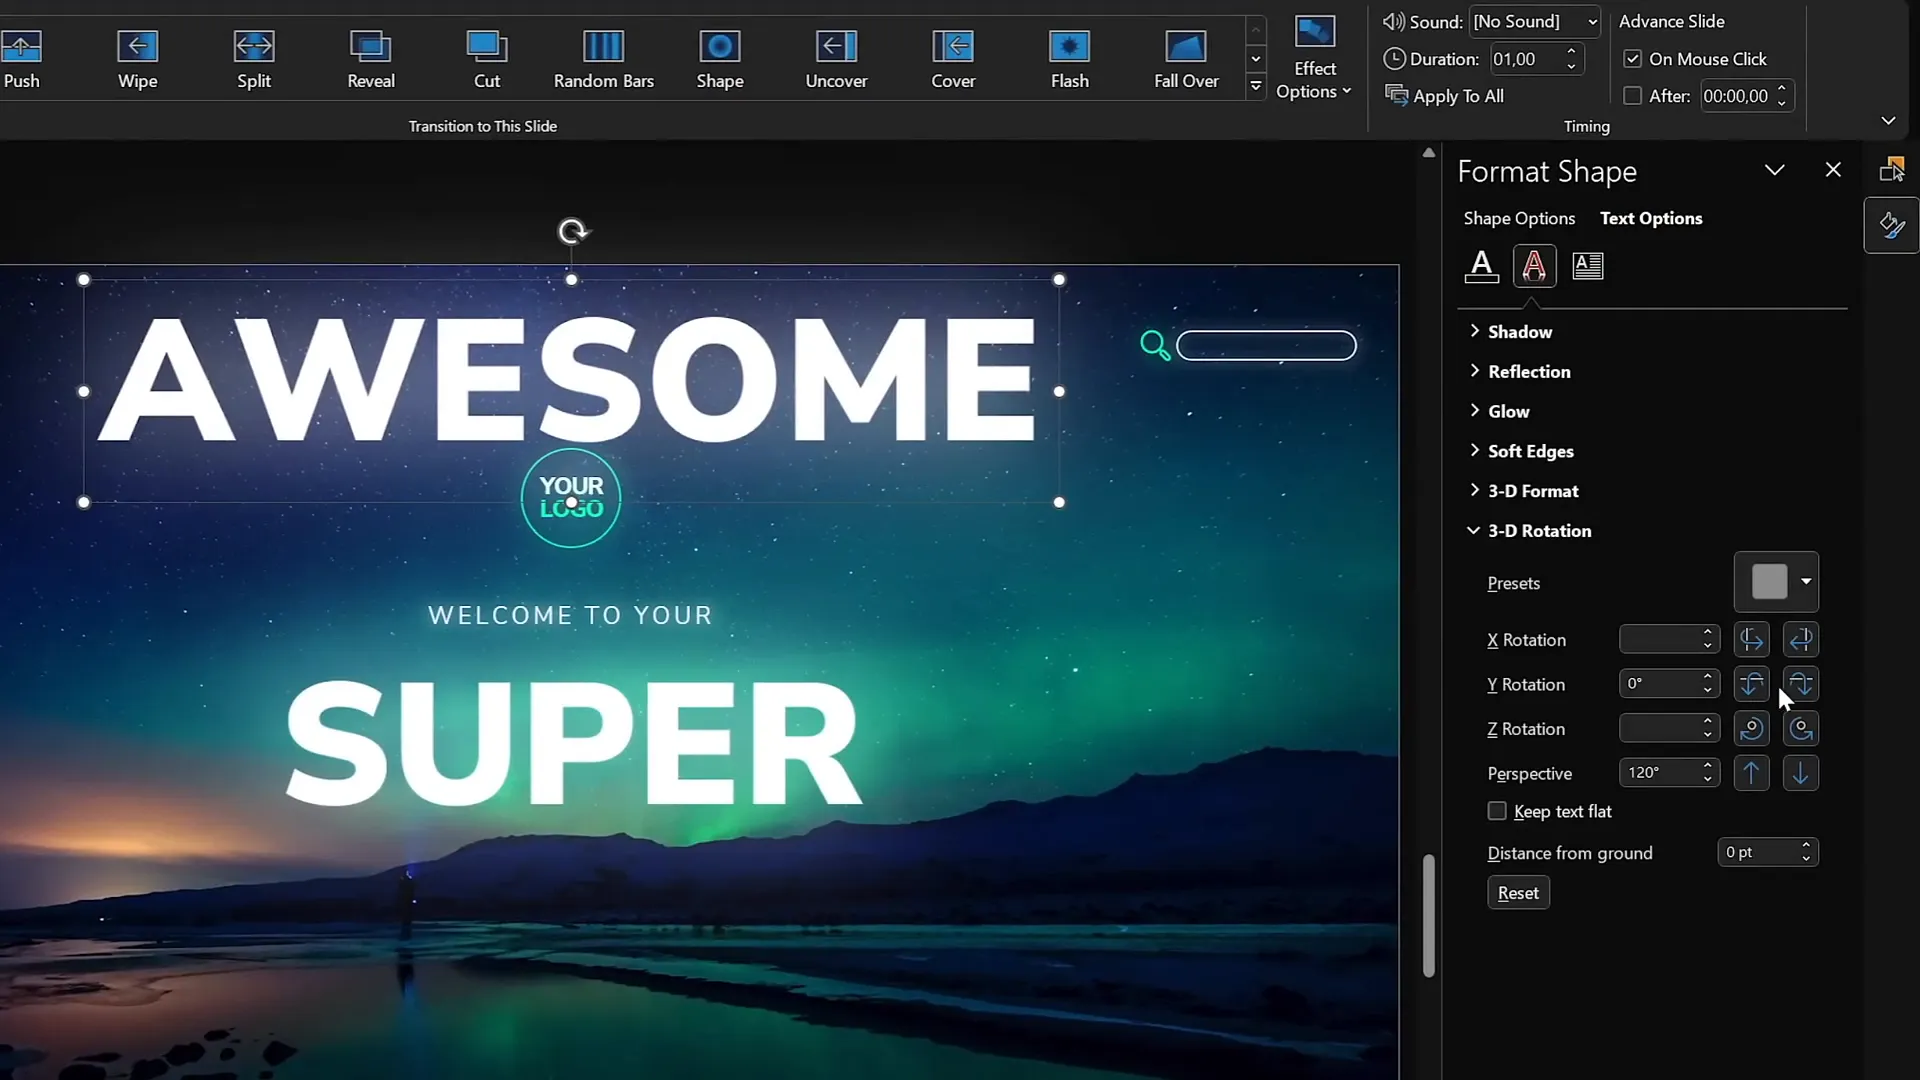
- Apply 3D Rotation: Go to Format Shape > Text Options > 3D Rotation, and select a perspective preset such as Perspective Relaxed.
- Set Rotation Angles: Adjust the perspective field to the maximum of 120 degrees and keep Y rotation at 0.
- Duplicate Slide: Duplicate the slide and change the text content on the second slide (e.g., from “Super” to “Awesome”).
- Adjust 3D Rotation on Duplicate: On the duplicate slide, select the original text box, rotate it 90 degrees on the X-axis (making it flat), and position it so its midpoint touches the new text.
- Apply Morph Transition: Set the transition between the two slides to Morph with a duration of 1 second.
- Repeat for Second Text: On the first slide, apply the opposite Y rotation (270 degrees) to the second text box and position it accordingly.
When played, this setup creates a seamless 3D rotation effect where the text flips smoothly between the two words, perfect for dynamic intros or title slides.
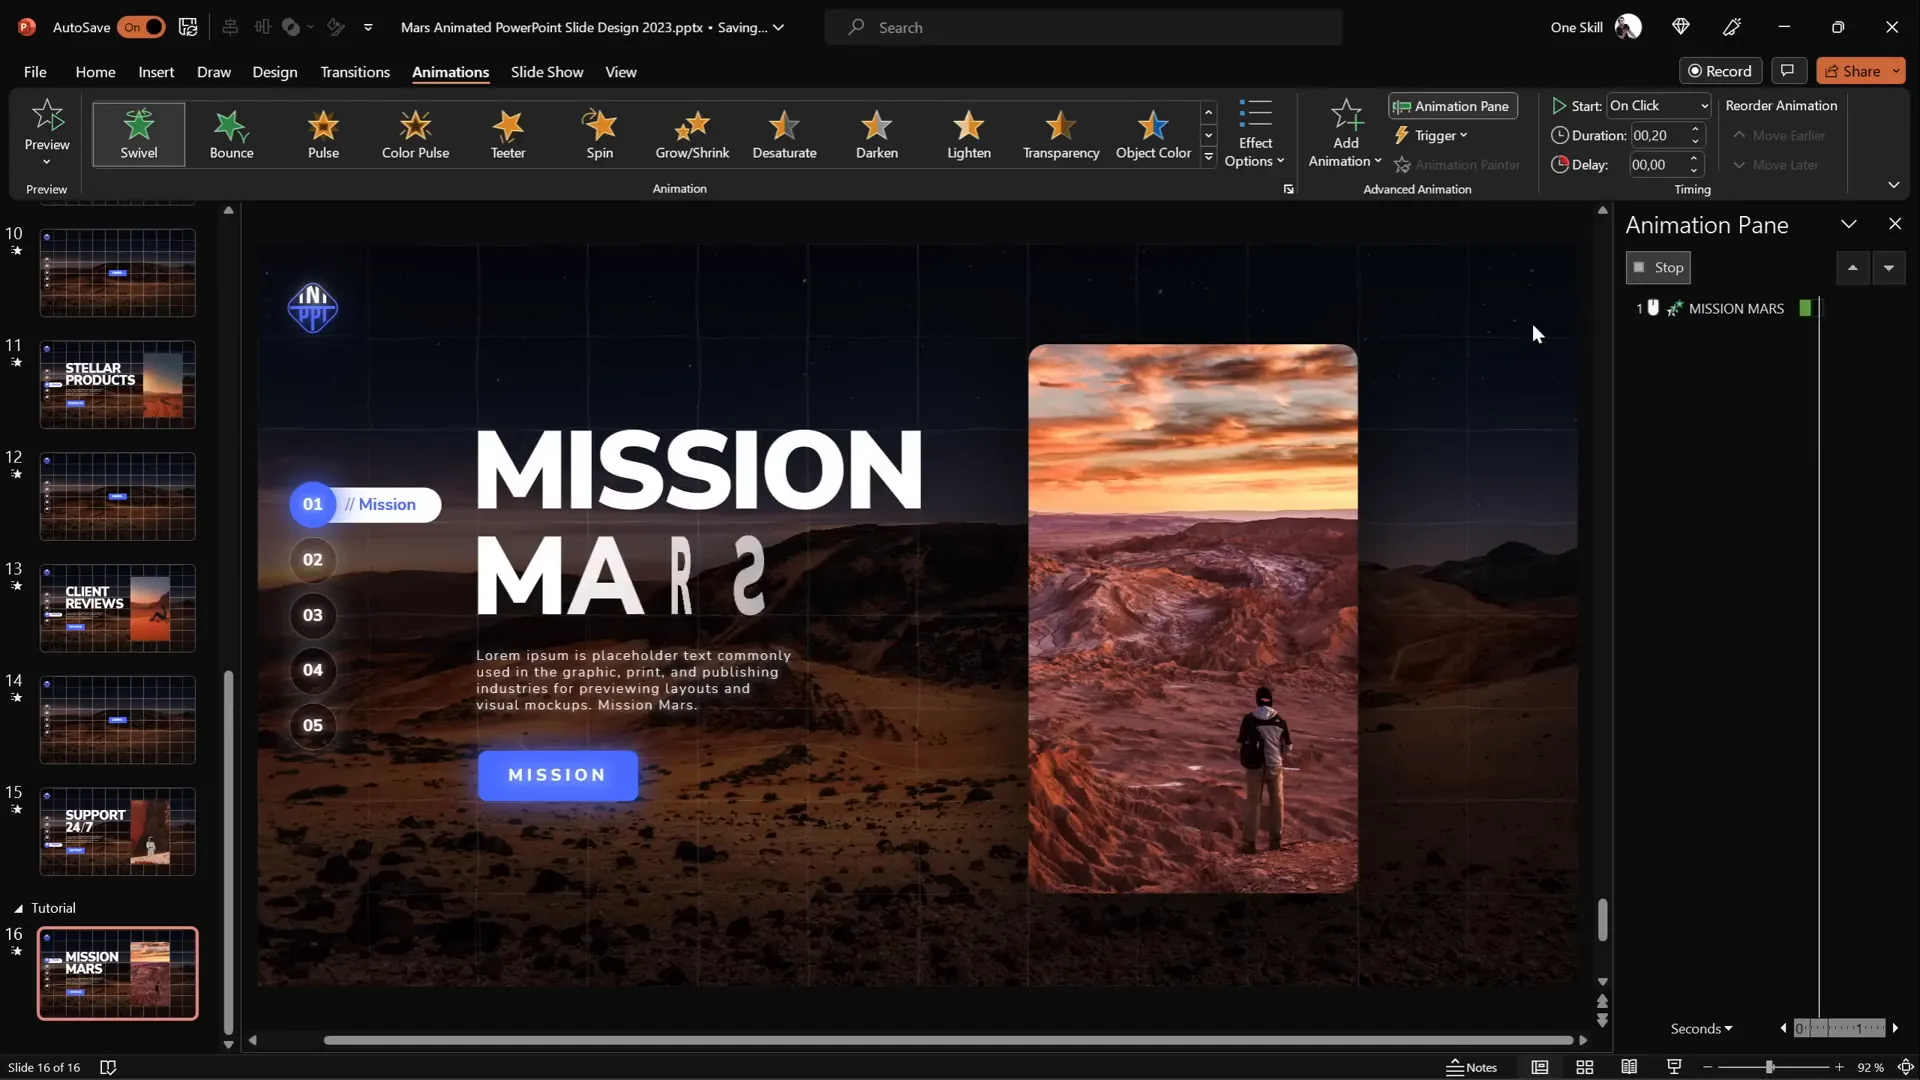
4. Futuristic Typewriter Animation for Text
Bring some sci-fi flair to your text with a futuristic typewriter animation using the Swivel animation effect combined with letter-by-letter animation.
How to Create the Futuristic Typewriter Effect
- Select Text Box: Highlight the text you want to animate.
- Apply Swivel Animation: Go to Animations and select the Swivel entrance effect.
- Adjust Animation Timing: Set the duration to a short time (e.g., 0.2 seconds) for a quick effect.
- Animate by Letter: In the animation options, set the text animation to happen by letter with a delay of about 10% between letters.
- Use Animation Painter: Copy this animation and paste it onto other text elements you want to animate similarly.
- Start Animation on Click: Set the first animation to start on click, then set subsequent animations to start with previous, so everything plays smoothly after one click.
- Adjust Paragraph Animation: For longer paragraphs, animate by word to keep the flow faster and more readable.
This method gives your text a high-tech, typewriter-like reveal that is both elegant and engaging, ideal for futuristic or tech-themed presentations.

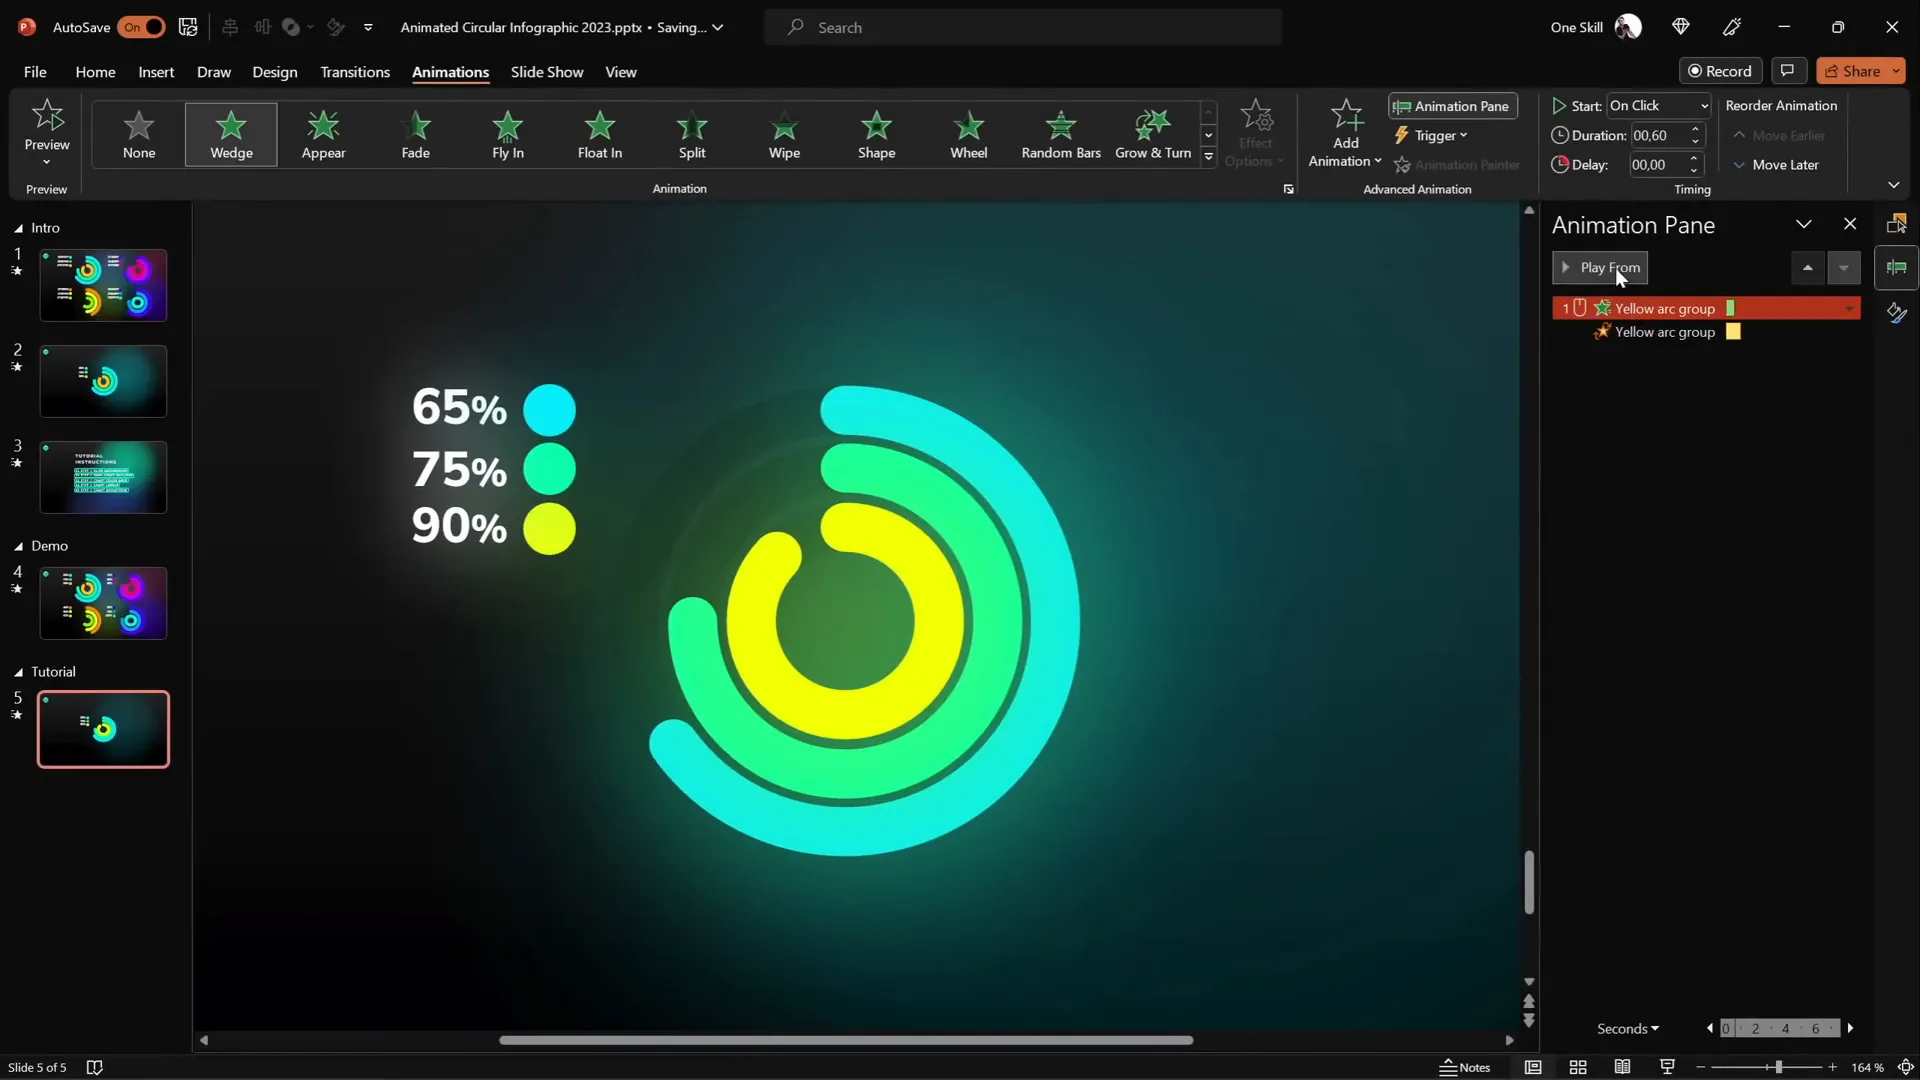
5. Fun with Colorful Spinning Donut Charts
Donut charts are a popular way to visually display percentages or proportions. Adding spin animations to these charts can make your data presentation more lively and memorable.
Creating and Animating Donut Charts
| Step | Action | Details |
|---|---|---|
| 1 | Create Donut Shape | Insert an Arc shape holding Shift for perfect curves; increase line width to ~20pt; set cap type to Round. |
| 2 | Adjust Arc | Use yellow handles to adjust the arc size and shape to look like a donut segment. |
| 3 | Apply Wedge Animation | Add the Wedge entrance animation and reduce duration to 0.6 seconds for speed. |
| 4 | Add Spin Animation | Add a spin animation starting with previous; set duration to 1 second; set spin amount to 1080° (3 full spins). |
| 5 | Adjust Timing | Set spin animation duration to 0.5 seconds for a quick futuristic spin effect. |
| 6 | Duplicate Animation | Use animation painter to apply the same animation to other donut chart segments. |
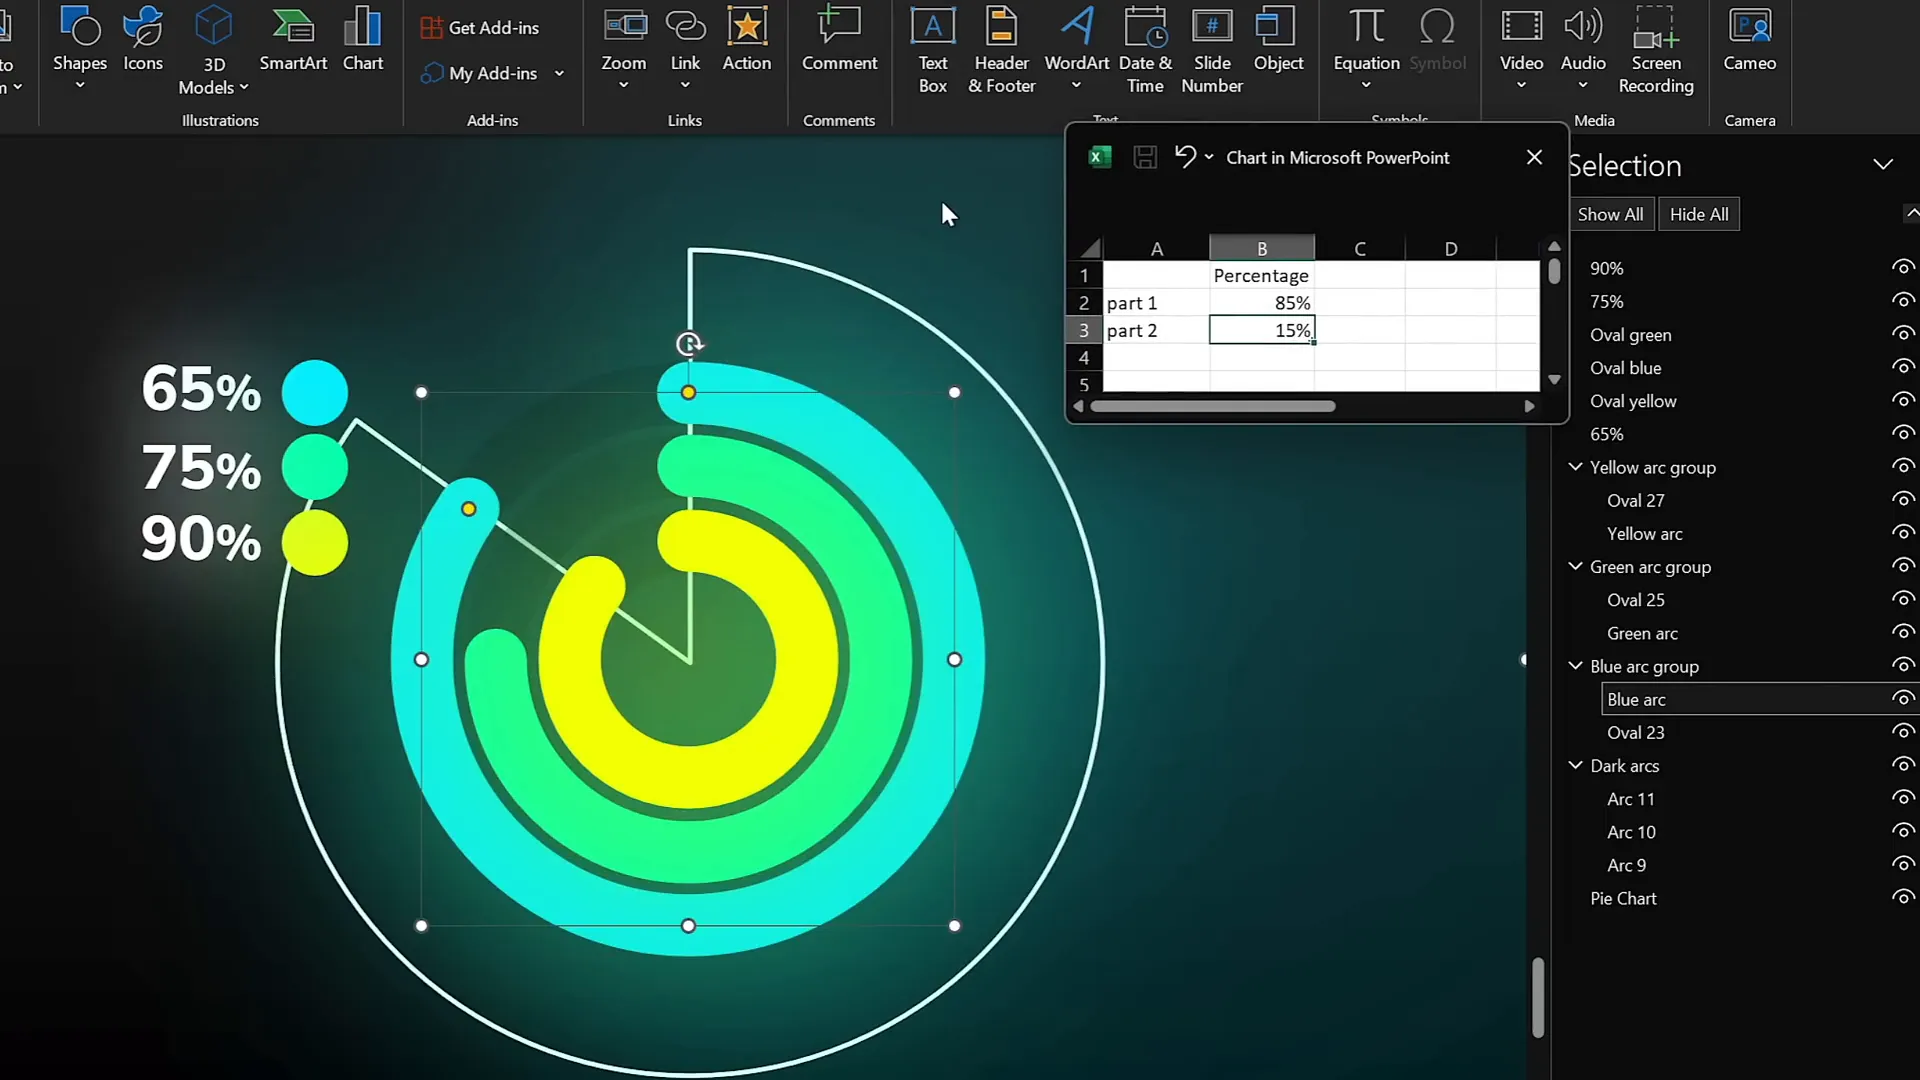
Precisely Adjusting Donut Chart Percentages
To make sure your donut charts accurately represent specific percentages (e.g., 85%, 90%), use a hidden pie chart as a guide.
- Insert Pie Chart: Add a simple pie chart behind your donut charts.
- Edit Data: Right-click the pie chart and select Edit Data to adjust the percentage values.
- Use Pie Chart as Reference: Drag your donut chart’s arc until it aligns perfectly with the appropriate segment of the pie chart.
This method ensures your visual data matches your numerical data precisely, enhancing the professionalism and clarity of your presentation.
Frequently Asked Questions (FAQ)
Q1: Can I use these animation techniques in older versions of PowerPoint?
Some features like the Morph transition and Slide Zoom require PowerPoint 2016 or later versions. However, many of the animation effects such as spin, grow/shrink, and 3D rotation are available in earlier versions but might require manual setup.
Q2: How do I ensure my animations run smoothly during a presentation?
Always preview your animations in Slide Show mode and adjust timing and delays as needed. Using the Animation Pane helps you fine-tune start options and durations to ensure smooth playback.
Q3: Can I export animated PowerPoint slides as GIFs?
Yes, PowerPoint allows exporting slides or ranges as animated GIFs. This is useful for embedding animated textures or sharing animated content outside PowerPoint.
Q4: How can I make animations less distracting?
Use subtle movements, keep animation durations short, and avoid over-animating multiple elements simultaneously. The goal is to enhance, not overwhelm, your message.
Q5: Are these animation techniques suitable for business presentations?
Absolutely. When used thoughtfully, these animations can make complex information more digestible and keep your audience engaged, especially for data-driven or creative presentations.
Conclusion
Mastering PowerPoint animations is a surefire way to elevate your presentations from ordinary to extraordinary. By incorporating flip animations on slide zooms, animated textures, 3D rotating text, futuristic typewriter effects, and spinning donut charts, you can create visually stunning and professional slides that captivate your audience.
Remember, the key to effective animation is balance—use these techniques to highlight your key points and support your narrative without overwhelming your viewers. Practice these animations, experiment with timing and styles, and you’ll soon be animating like a pro.
For even more inspiration and detailed tutorials, be sure to explore creators like Interstellar PowerPoint, who share innovative ideas and step-by-step guides to push your PowerPoint skills further.
Happy animating, and may your next presentation be your best yet!
Check out the full video: Create PowerPoint ANIMATIONS Like a Pro ✨ feat. @interstellar_ppt


