PowerPoint animations can transform a simple presentation into an engaging, interactive experience. Imagine having a 3D Mandalorian helmet that follows your mouse cursor smoothly across the slide—sounds impressive, right? In this comprehensive guide, we’ll walk you through creating this stunning effect step-by-step, using PowerPoint’s Morph transition and action features. Whether you’re a PowerPoint beginner or an experienced user, this tutorial will help you master creative PowerPoint animations that captivate your audience.
This tutorial is inspired by the creative work of One Skill PPT, who expertly demonstrates how to bring 3D animation interactivity into PowerPoint. Ready to dive in? Let’s explore how to make your presentations stand out with this unbelievable PowerPoint animation.
Table of Contents
- Getting Started: Setting Up Your Presentation
- Choosing a Background and Slide Layout
- Adding Text Elements and Branding
- Inserting the 3D Mandalorian Helmet
- Creating Slide Variations for Animation
- Applying the Morph Transition for Smooth Animation
- Using Mouse-Over Actions to Track Cursor Movement
- Final Touches and Testing Your Animation
- Frequently Asked Questions (FAQs)
- Conclusion
Getting Started: Setting Up Your Presentation
Before diving into the animation, it’s essential to prepare a fresh PowerPoint presentation where you can build your work from scratch. Starting with a blank canvas ensures you have full control over the design and layout.
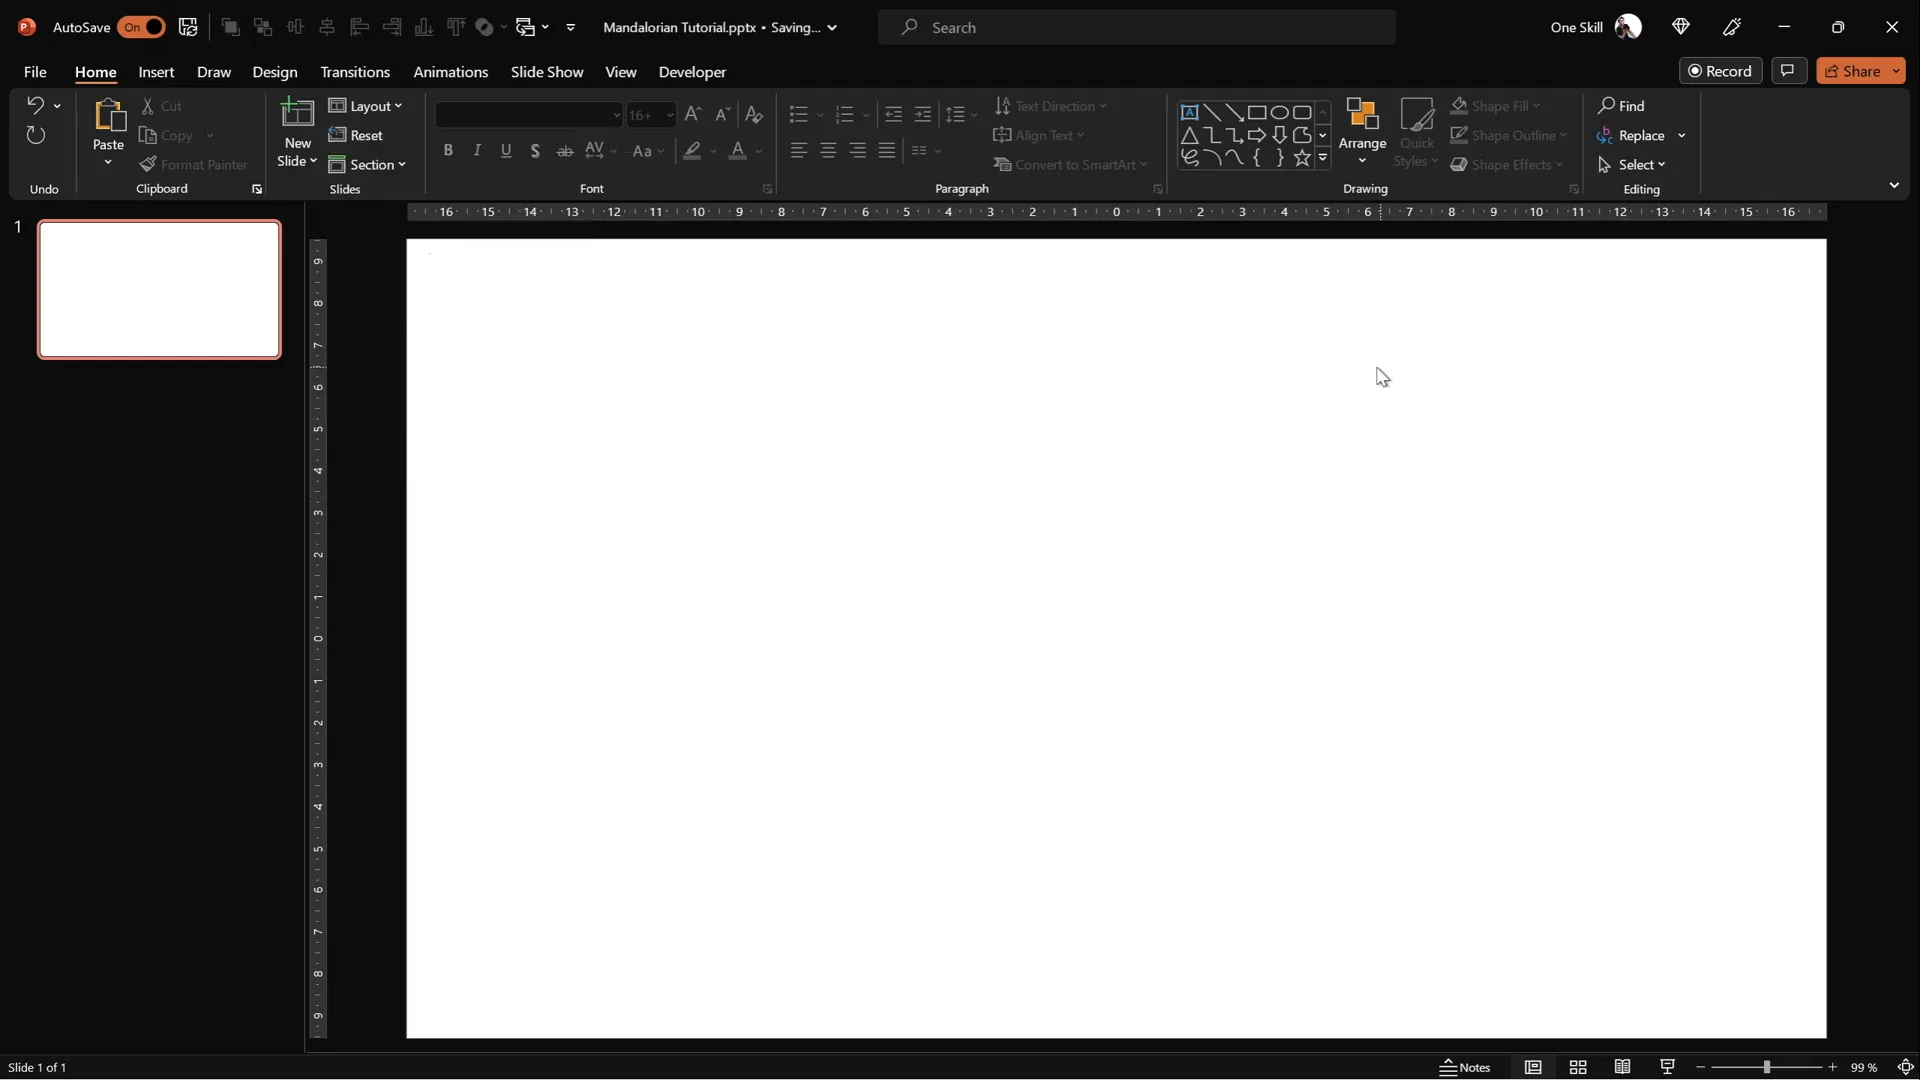
- Open Microsoft PowerPoint and select New Presentation.
- Choose a Blank Slide Layout to remove any pre-existing placeholders or elements.
Starting clean helps you avoid distractions and allows your animation to shine. You’ll be adding various elements, including images, text, and a 3D model, so having an uncluttered slide is key.
Choosing a Background and Slide Layout
A visually appealing background sets the tone for your animation. Here’s how to add and adjust a background image that complements the Mandalorian helmet animation:
- Find a high-quality image that suits your theme. For this tutorial, a dramatic photo that fits the Mandalorian aesthetic works best. You can source free images from sites like Unsplash or use the recommended photo linked in the resources.
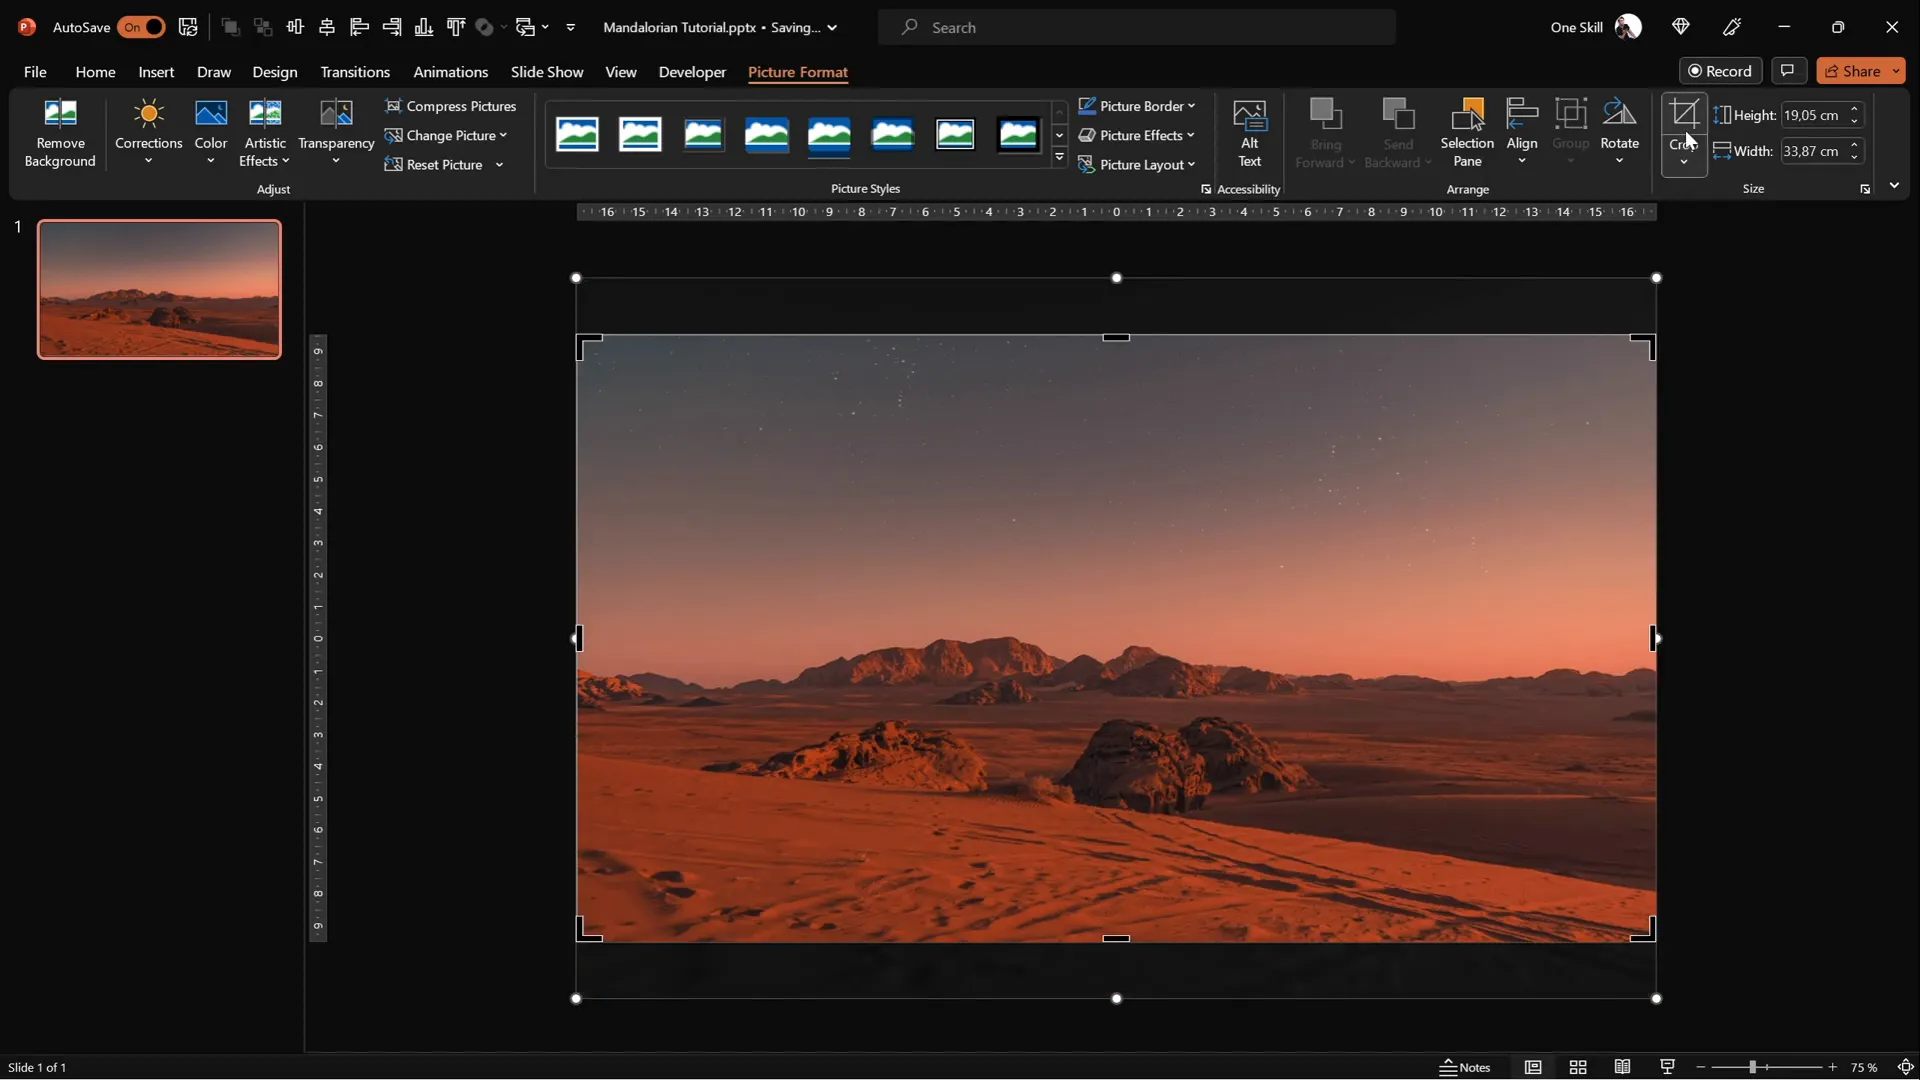
- Insert the image by clicking Insert > Pictures and selecting your chosen photo.
- Resize the photo to cover the entire slide. Hold down the Ctrl + Shift keys while dragging a corner to maintain proportions while expanding.
- Crop the image to a 16:9 aspect ratio for perfect slide coverage: go to Picture Format > Crop > Aspect Ratio > 16:9.
- Click Crop to finalize adjustments.
This process ensures that your background image fits perfectly without distortion, providing a stunning backdrop for your 3D animation.
Adding Text Elements and Branding
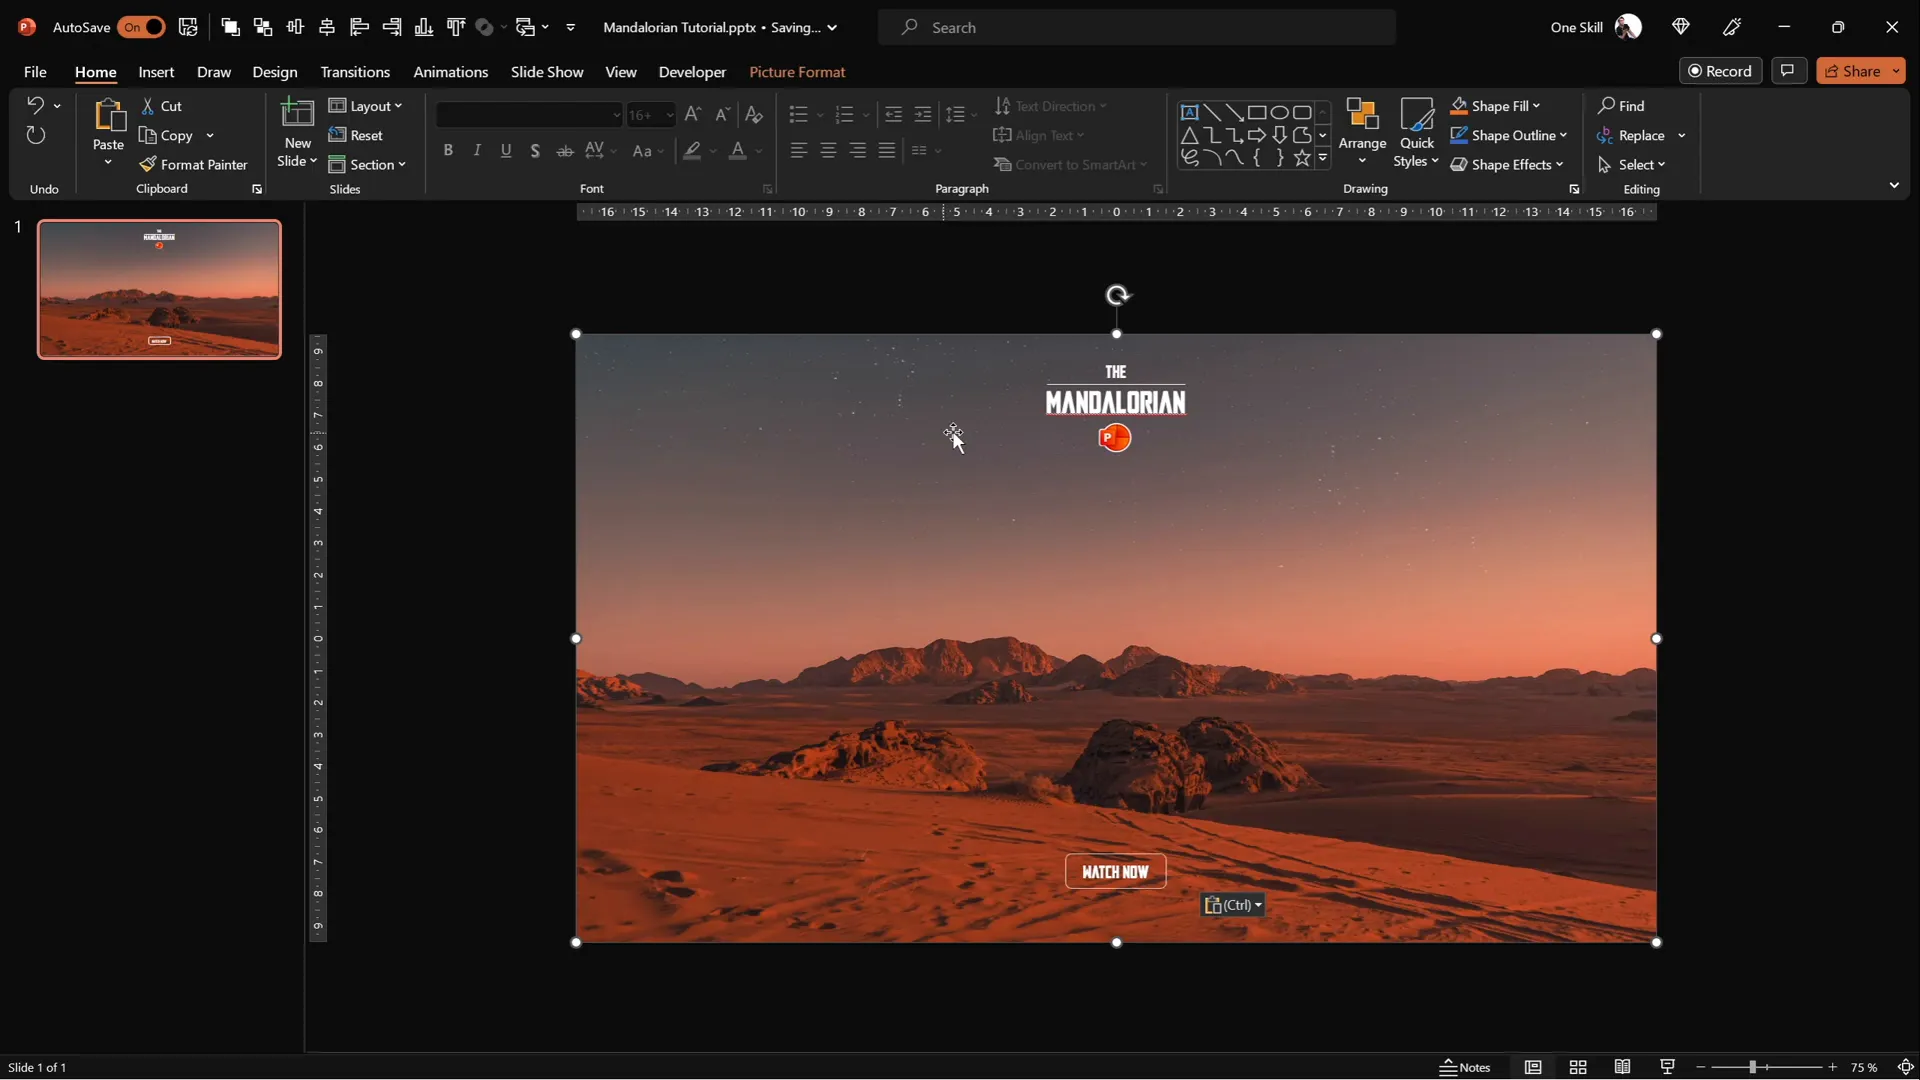
To personalize your slide and add a professional touch, you can include text boxes and branding elements such as logos or custom fonts. Here’s how to efficiently manage text and branding:
- If you already have text boxes or logos from previous presentations, use the Slide Master view to manage and reuse these elements consistently across slides.
- Open View > Slide Master to access master layouts where you can paste grouped text boxes and logos.
- Using the Slide Master prevents accidental selection during editing and lets you apply the same design to multiple slides.
- For stylish text boxes, use the Mandalore font, which captures the theme perfectly. This font is available for free and linked in the resources.
By managing text and branding in the Slide Master, you save time and ensure consistent design throughout your presentation.
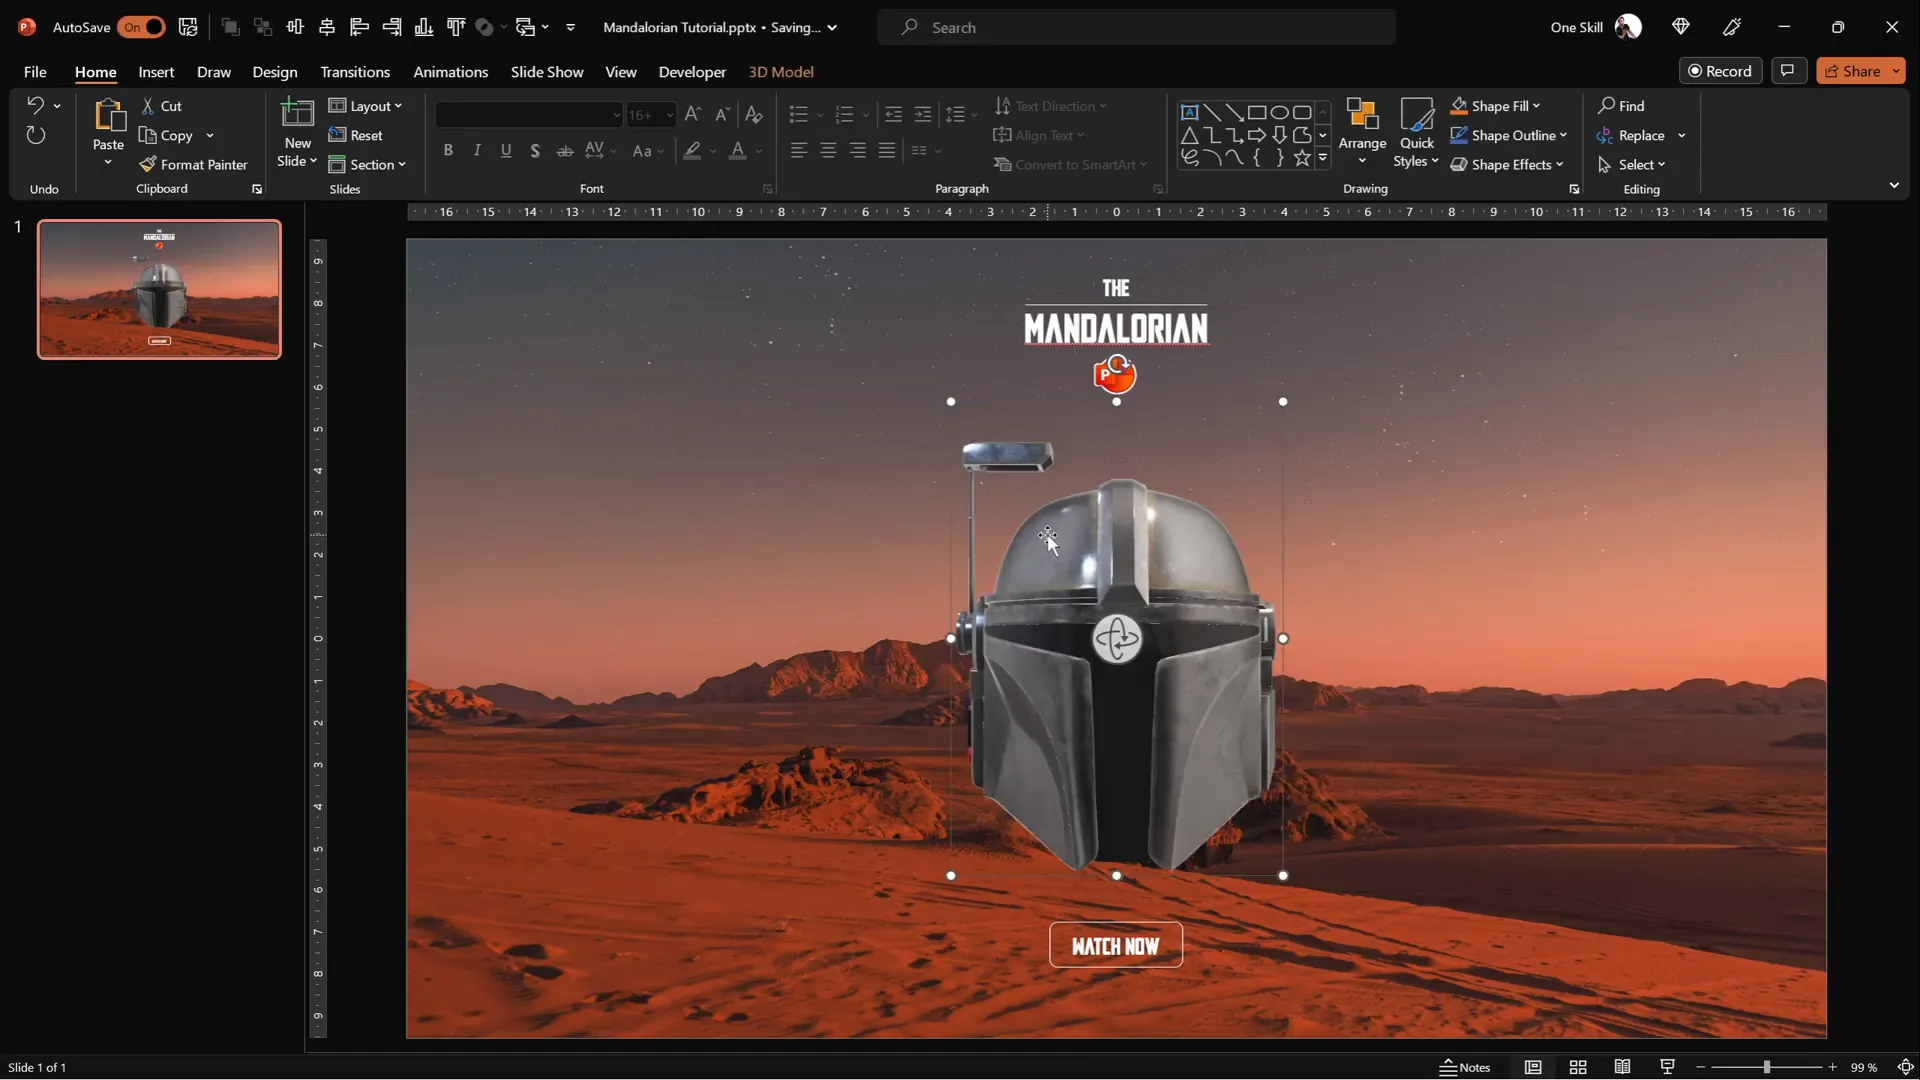
Inserting the 3D Mandalorian Helmet
One of the coolest features in modern PowerPoint versions is the ability to insert 3D models. This tutorial uses a Mandalorian helmet model to create an interactive animation effect.
- Download the 3D Mandalorian helmet model from the provided link or choose any 3D model you prefer.
- Go to Insert > 3D Models > From a File or From Online Sources to add the model to your slide.
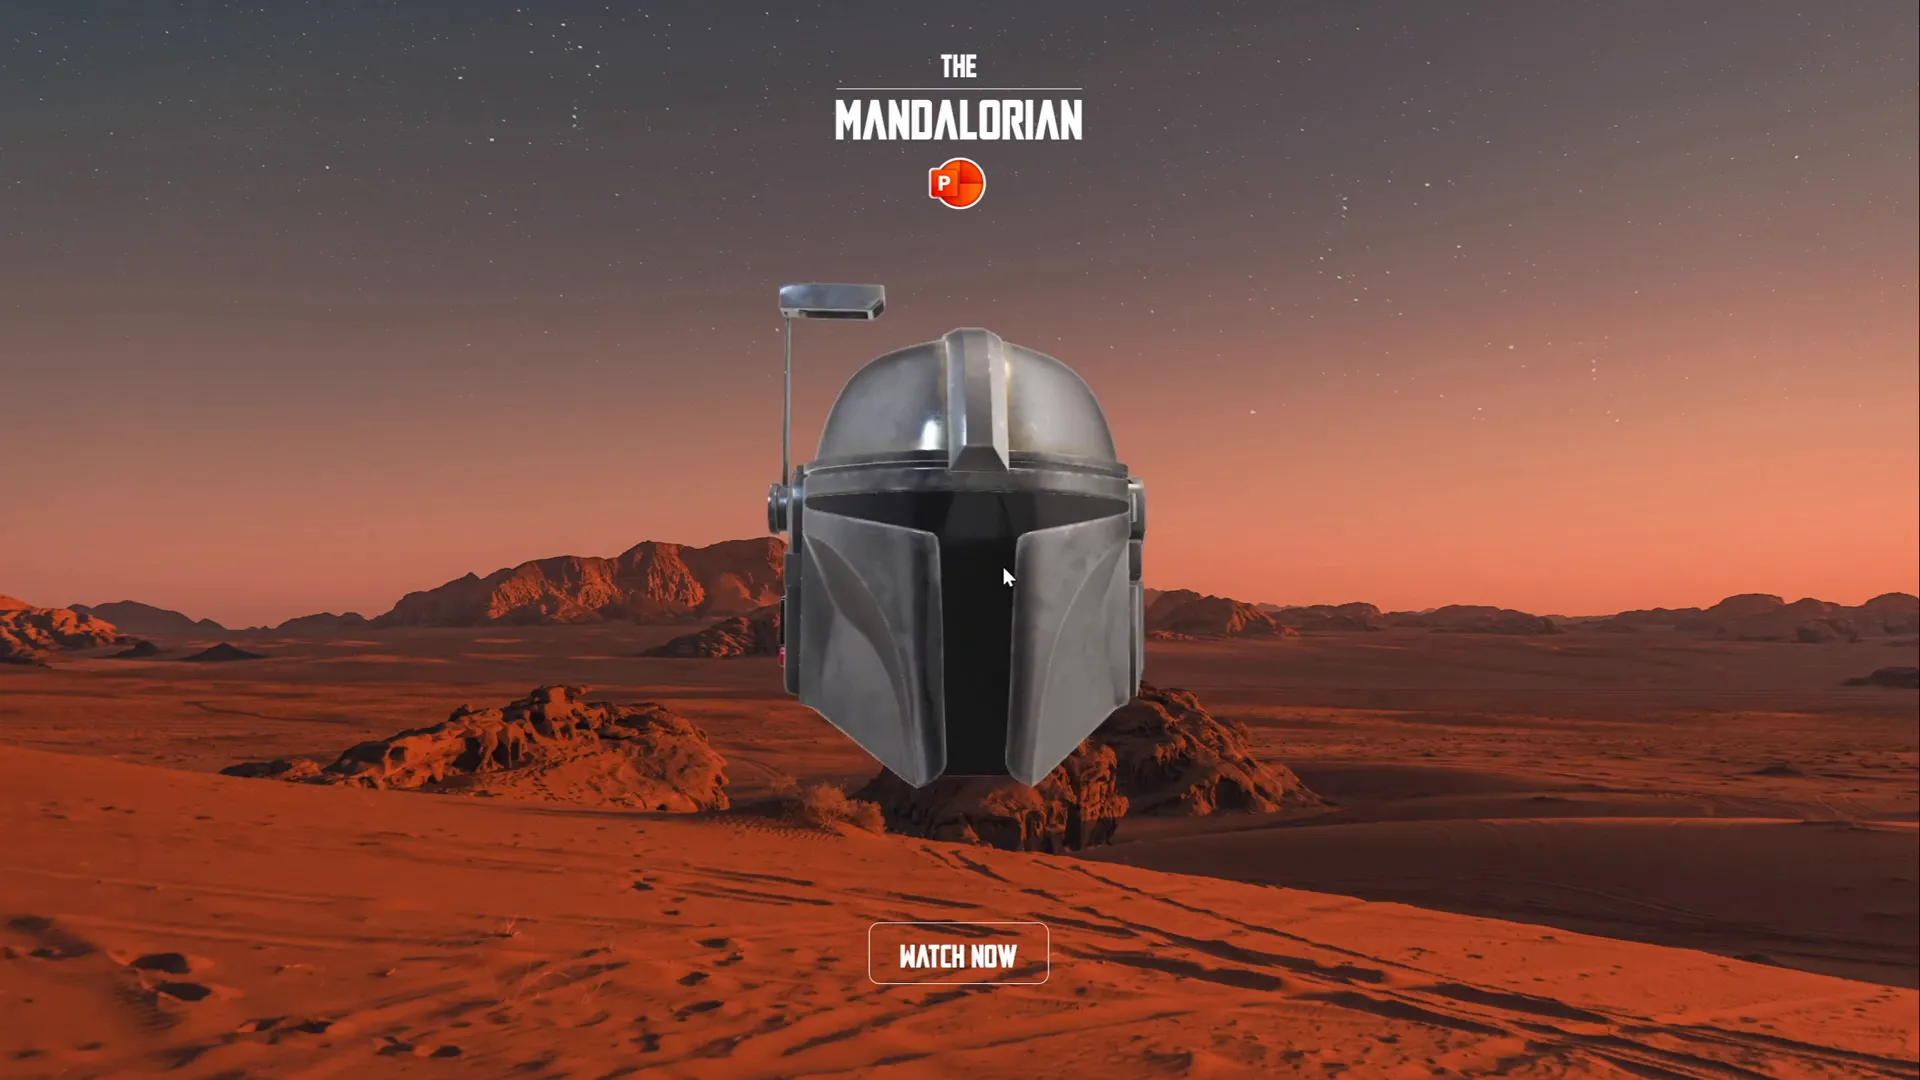
- Position the helmet centrally, making sure it’s clearly visible against your background.
The 3D model will be the star of your animation, so take a moment to familiarize yourself with rotating and resizing it for the best visual impact.
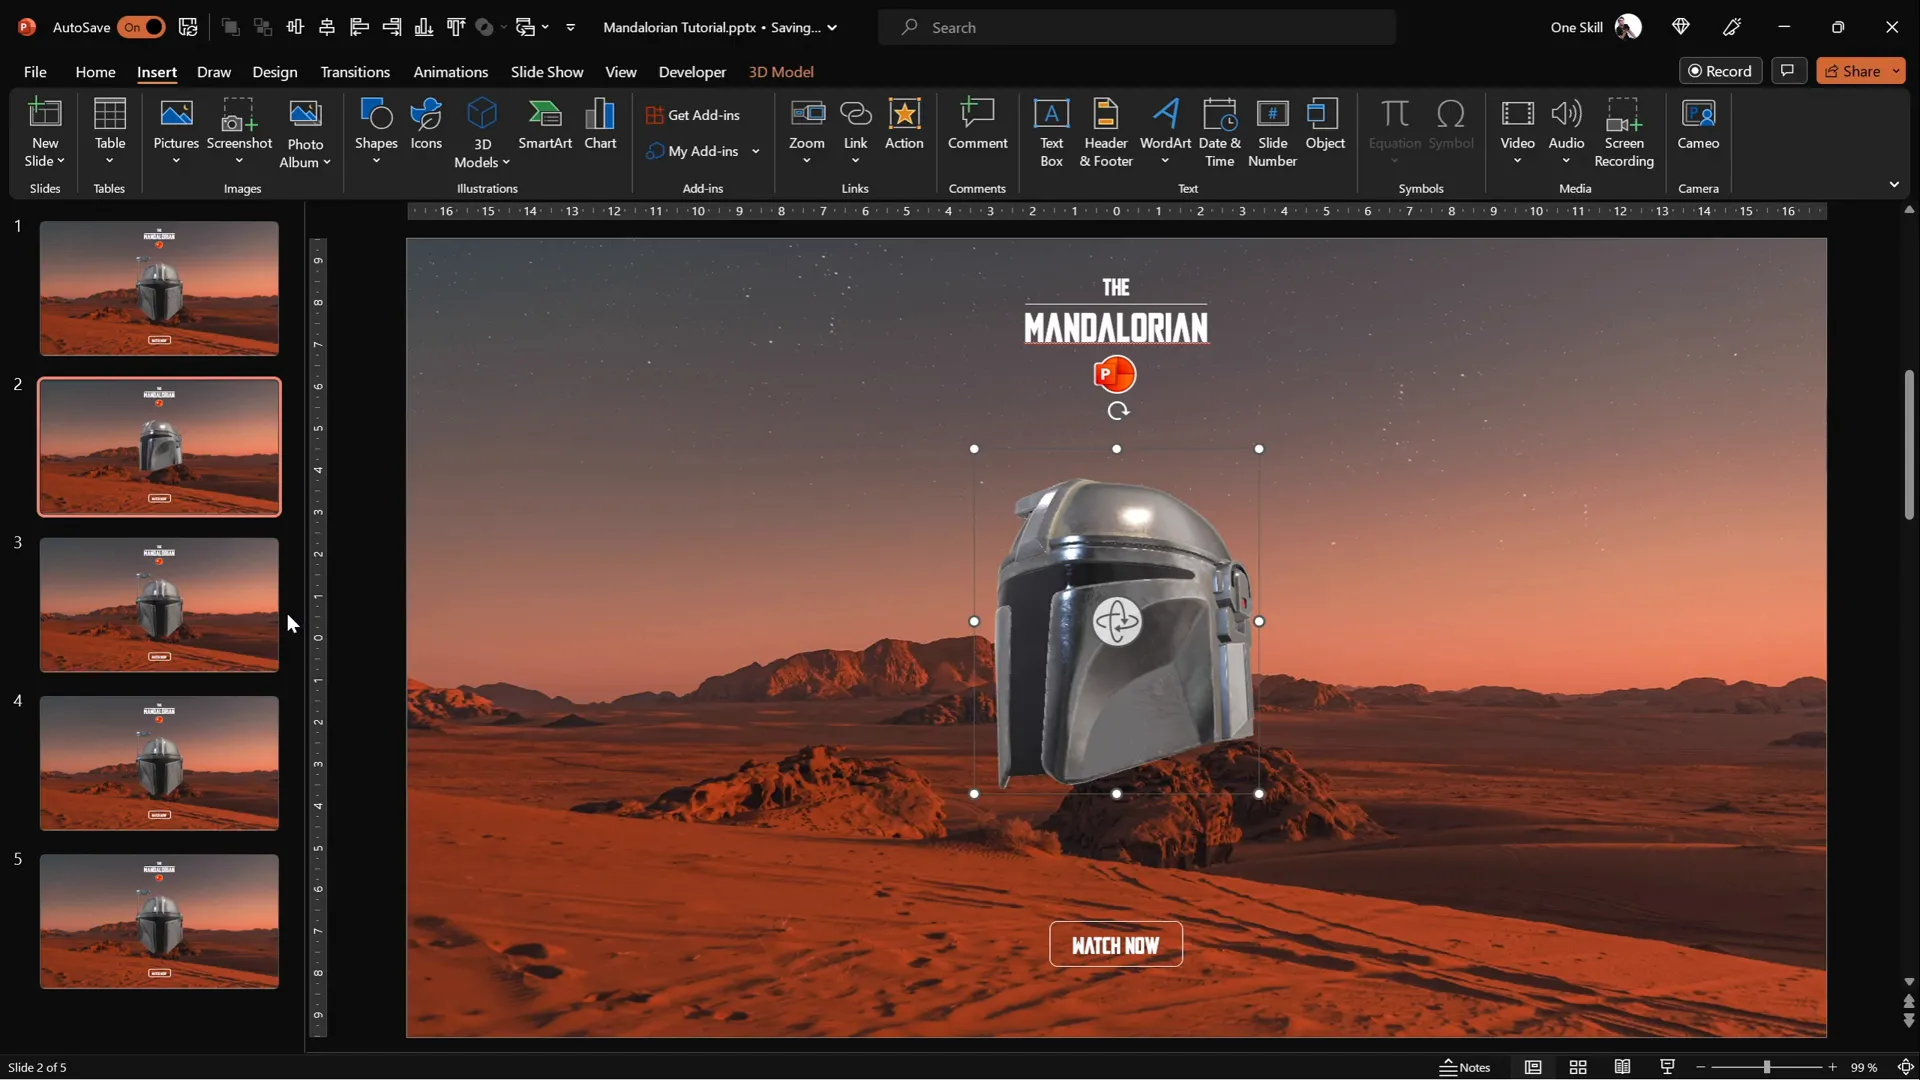
Creating Slide Variations for Animation
The core of this interactive animation lies in creating multiple slides where the Mandalorian helmet faces different directions. This gives the illusion of the helmet following your mouse cursor.
- Duplicate your initial slide four times to create a total of five identical slides.
- On each duplicated slide, rotate the 3D helmet to face a different direction:
- Slide 1: Default position (center-facing).
- Slide 2: Helmet faces top-left.
- Slide 3: Helmet faces bottom-left.
- Slide 4: Helmet faces bottom-right.
- Slide 5: Helmet faces top-right.
- Use the 3D model’s rotation handle to adjust the view on each slide precisely.
These variations are critical for creating the smooth directional movement illusion when transitioning between slides.
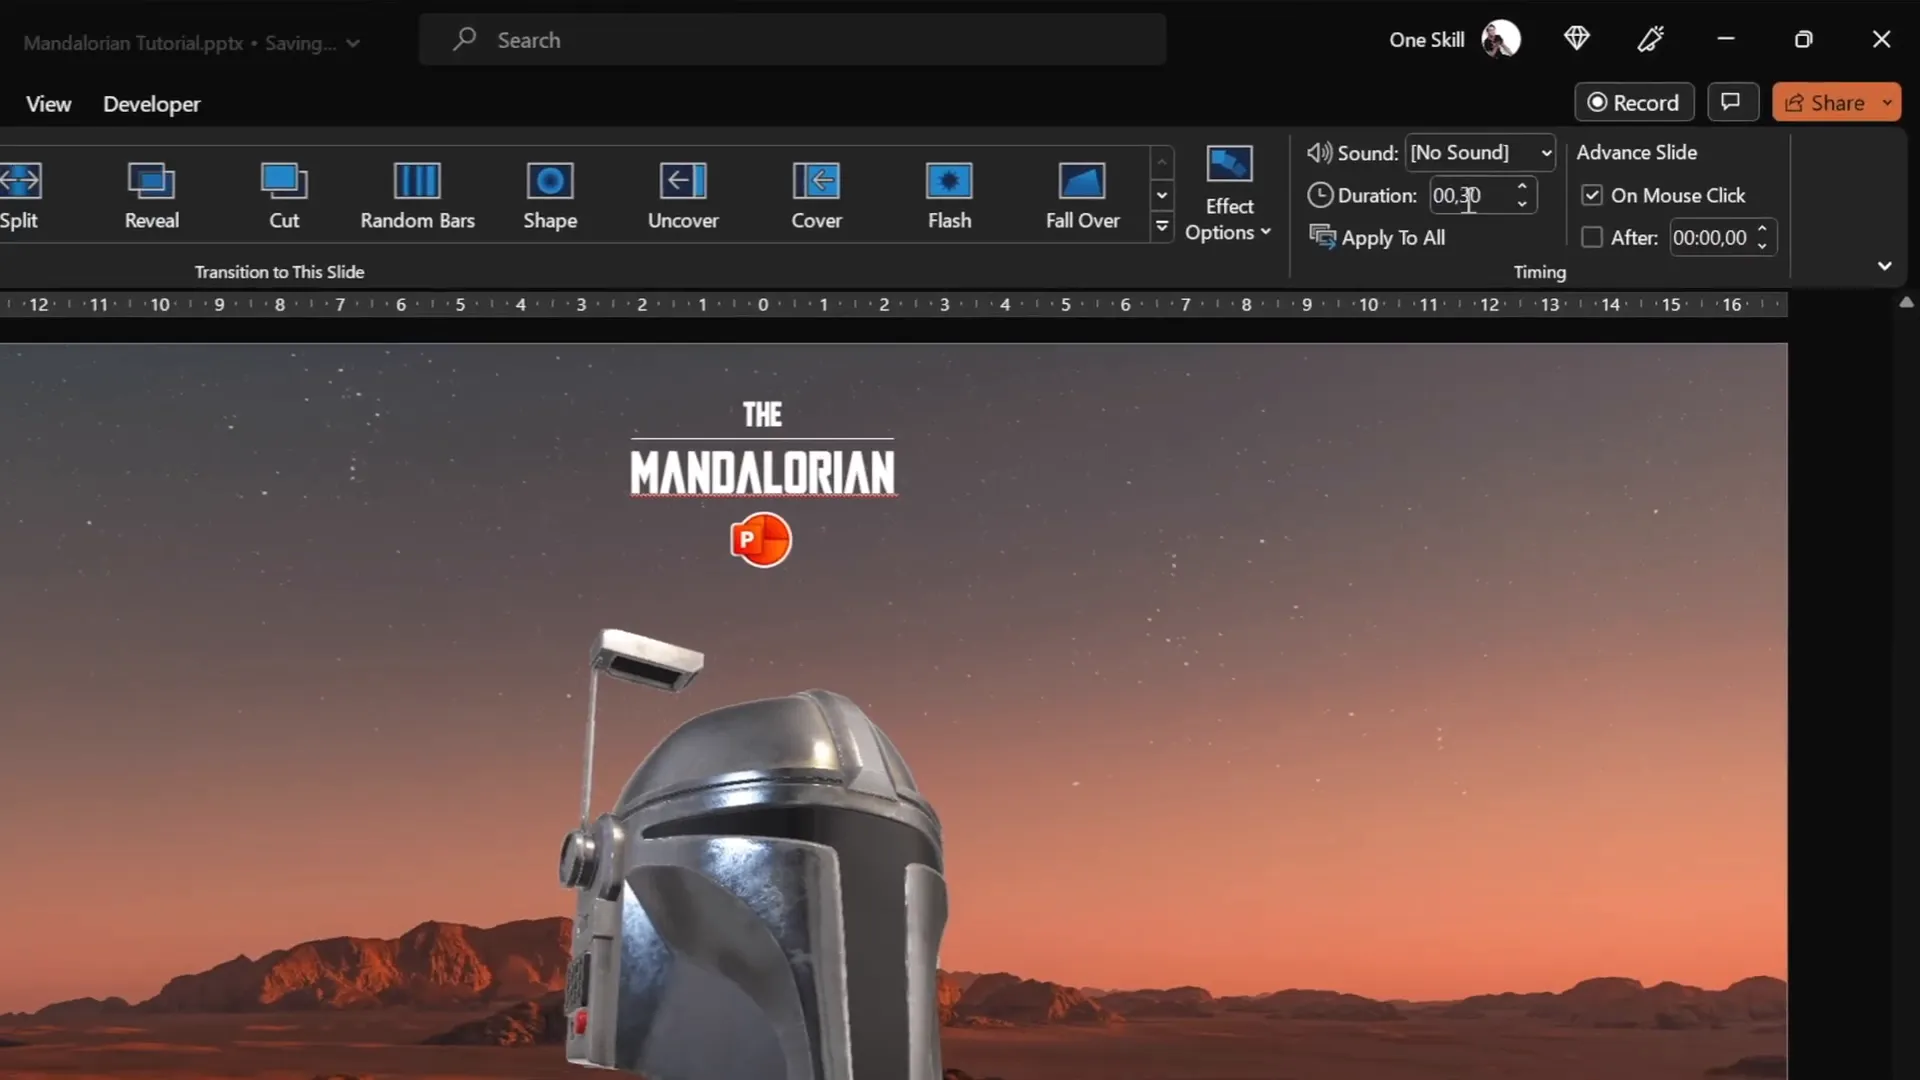
Applying the Morph Transition for Smooth Animation
PowerPoint’s Morph transition allows you to create seamless animation effects between slides by smoothly transforming objects’ positions, sizes, and rotations.
- Select all five slides in the slide sorter pane.
- Go to the Transitions tab and choose Morph as the transition effect.
- Set the transition duration to 0.3 seconds for a quick and smooth effect.
- Test the animation by navigating through the slides using the arrow keys; observe how the helmet smoothly changes direction.
The Morph transition is a powerful tool for creating dynamic animations without complex coding or external software.
Using Mouse-Over Actions to Track Cursor Movement
To make the Mandalorian helmet truly interactive—following your mouse cursor—you need to add invisible hotspots on your slides that trigger slide transitions based on cursor position.
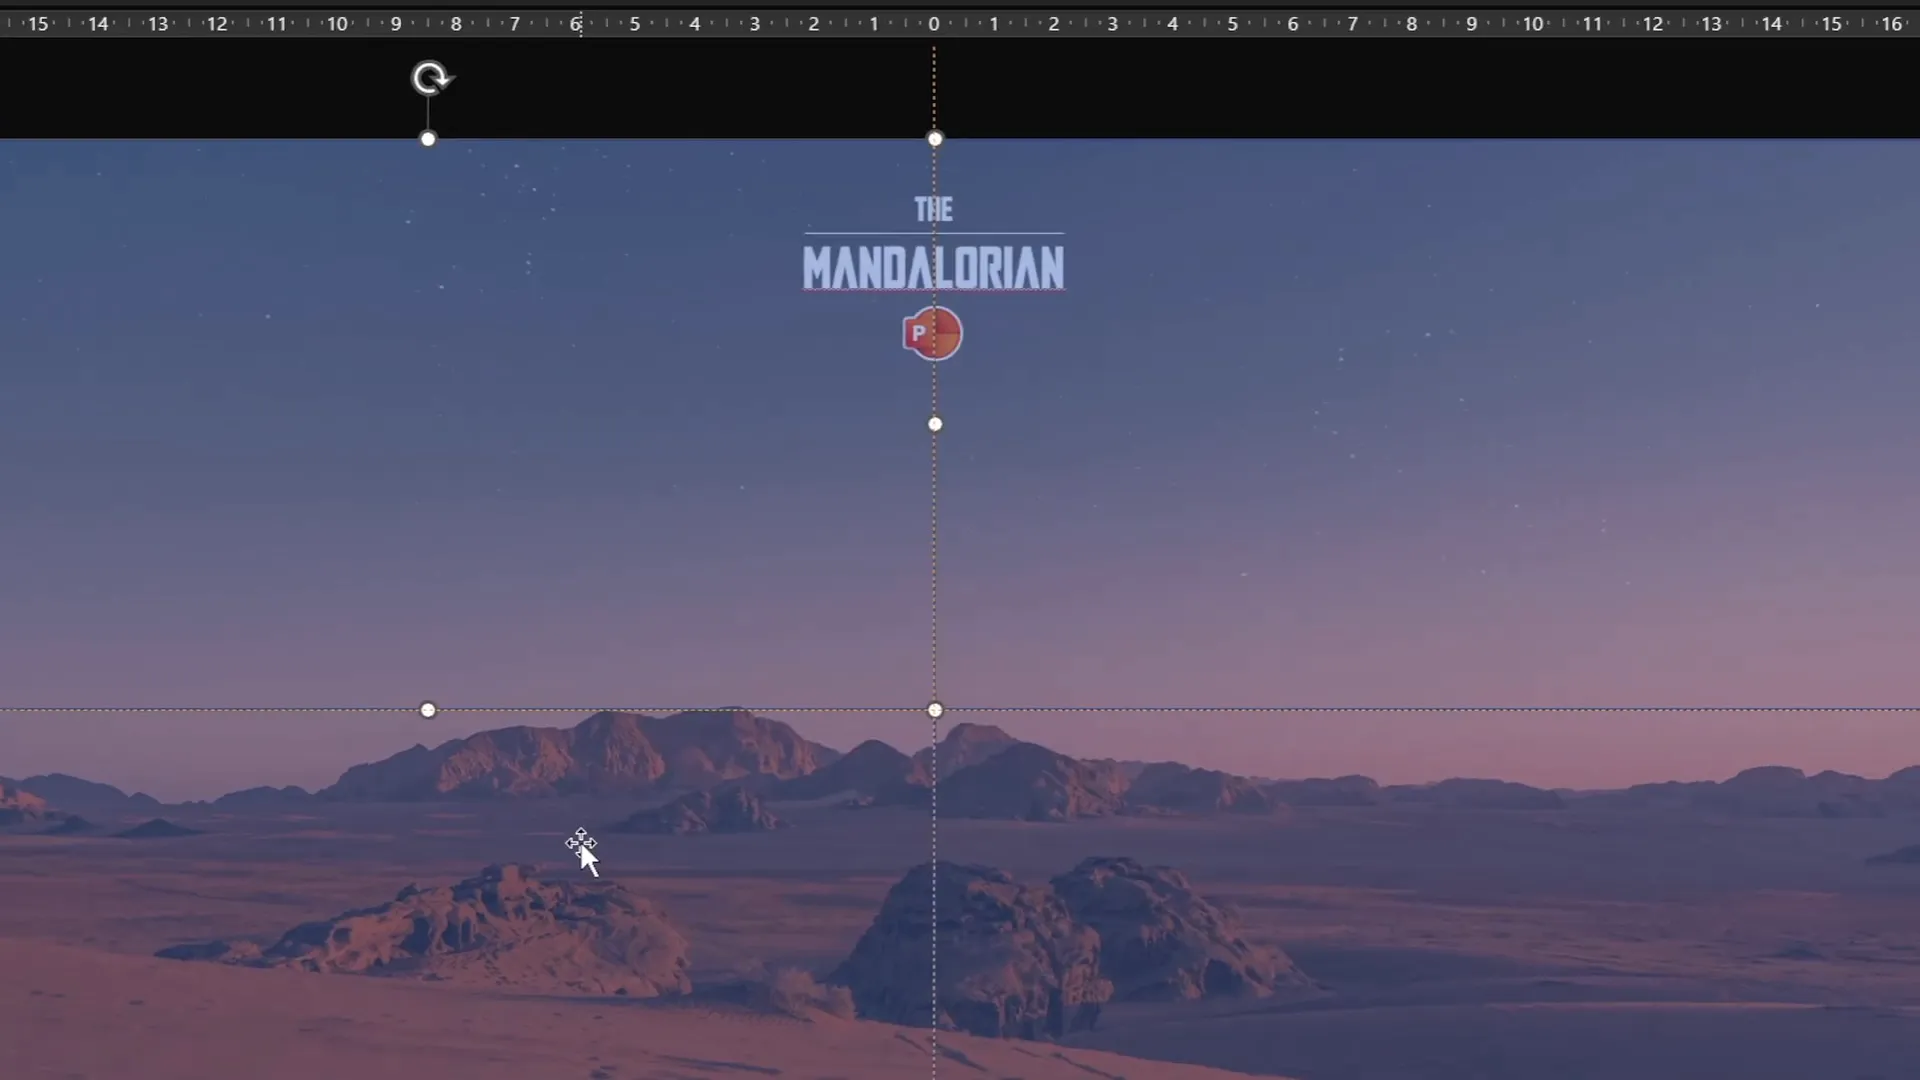
Step 1: Activate Slide Guides
Slide guides help divide your slide into distinct areas for precise hotspot placement:
- Go to the View tab and enable Guides.
- Two center guides will appear, dividing the slide into four quadrants.
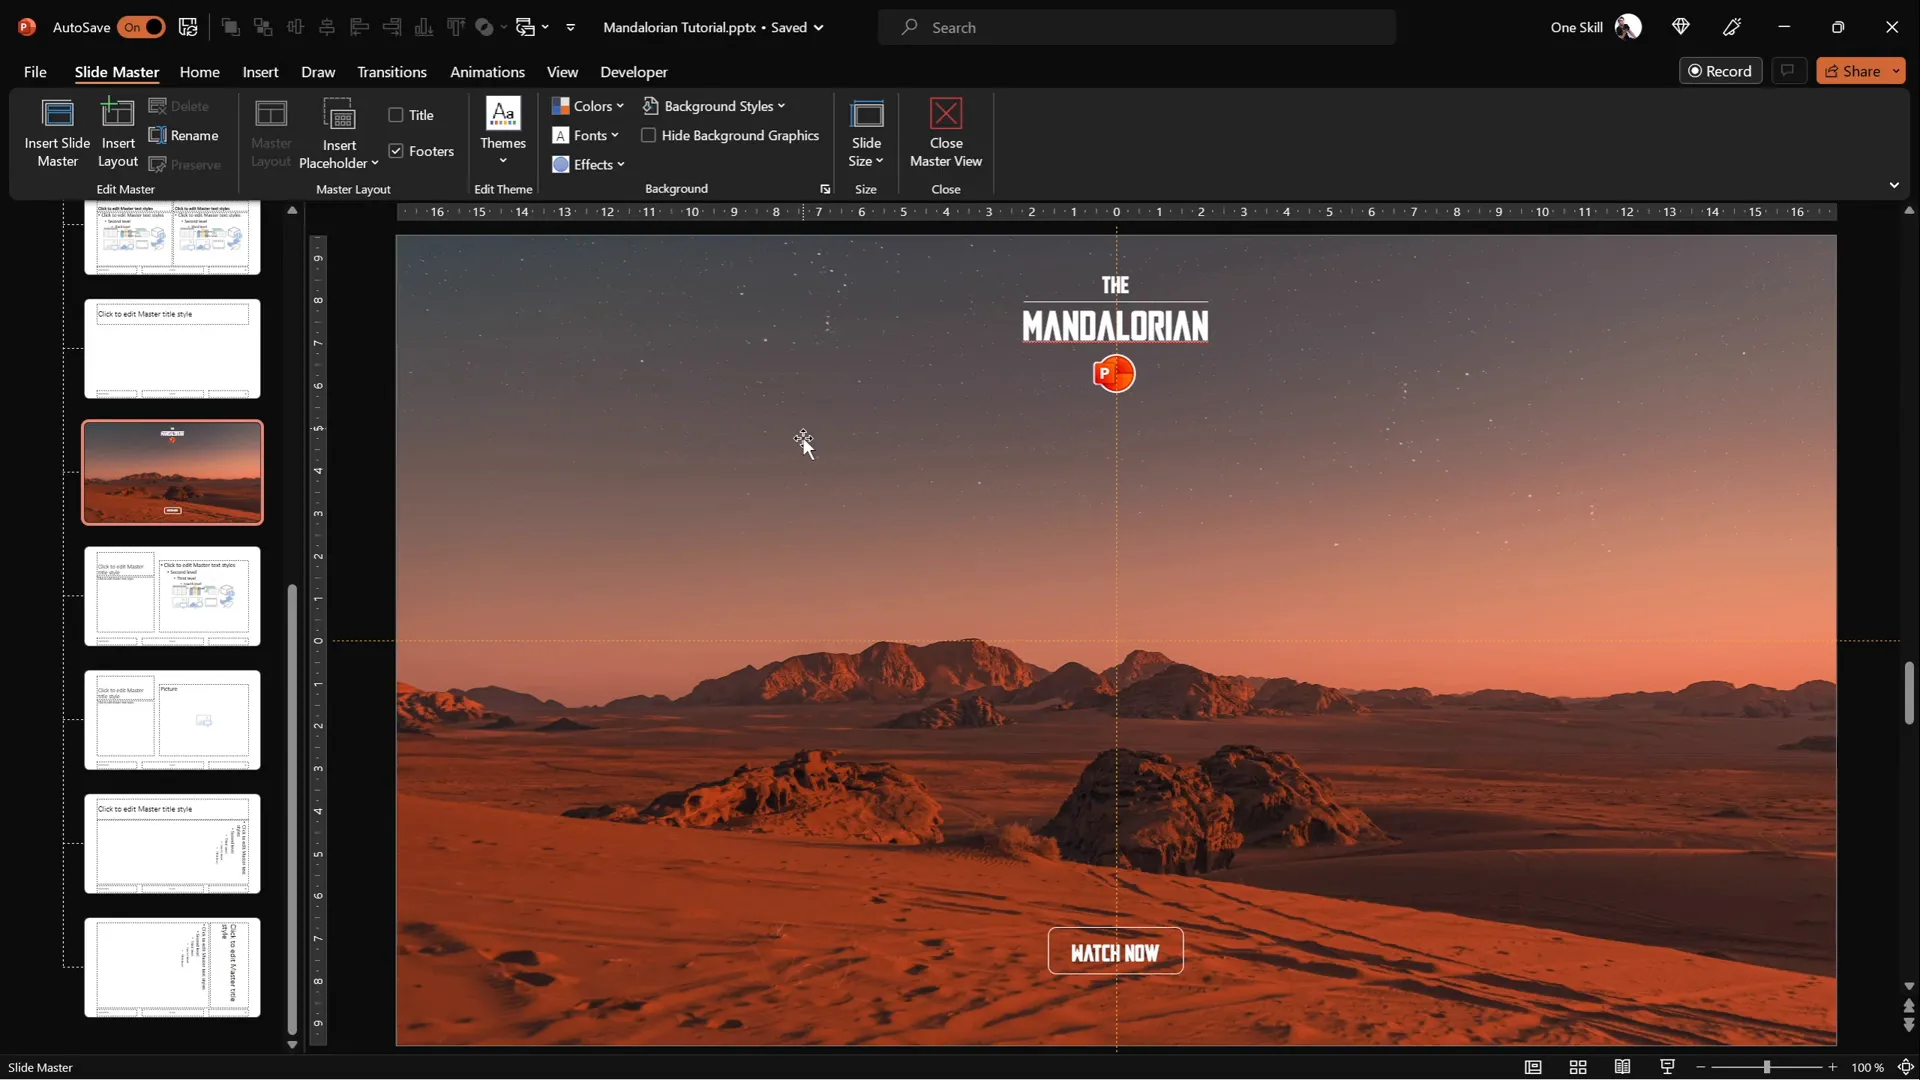
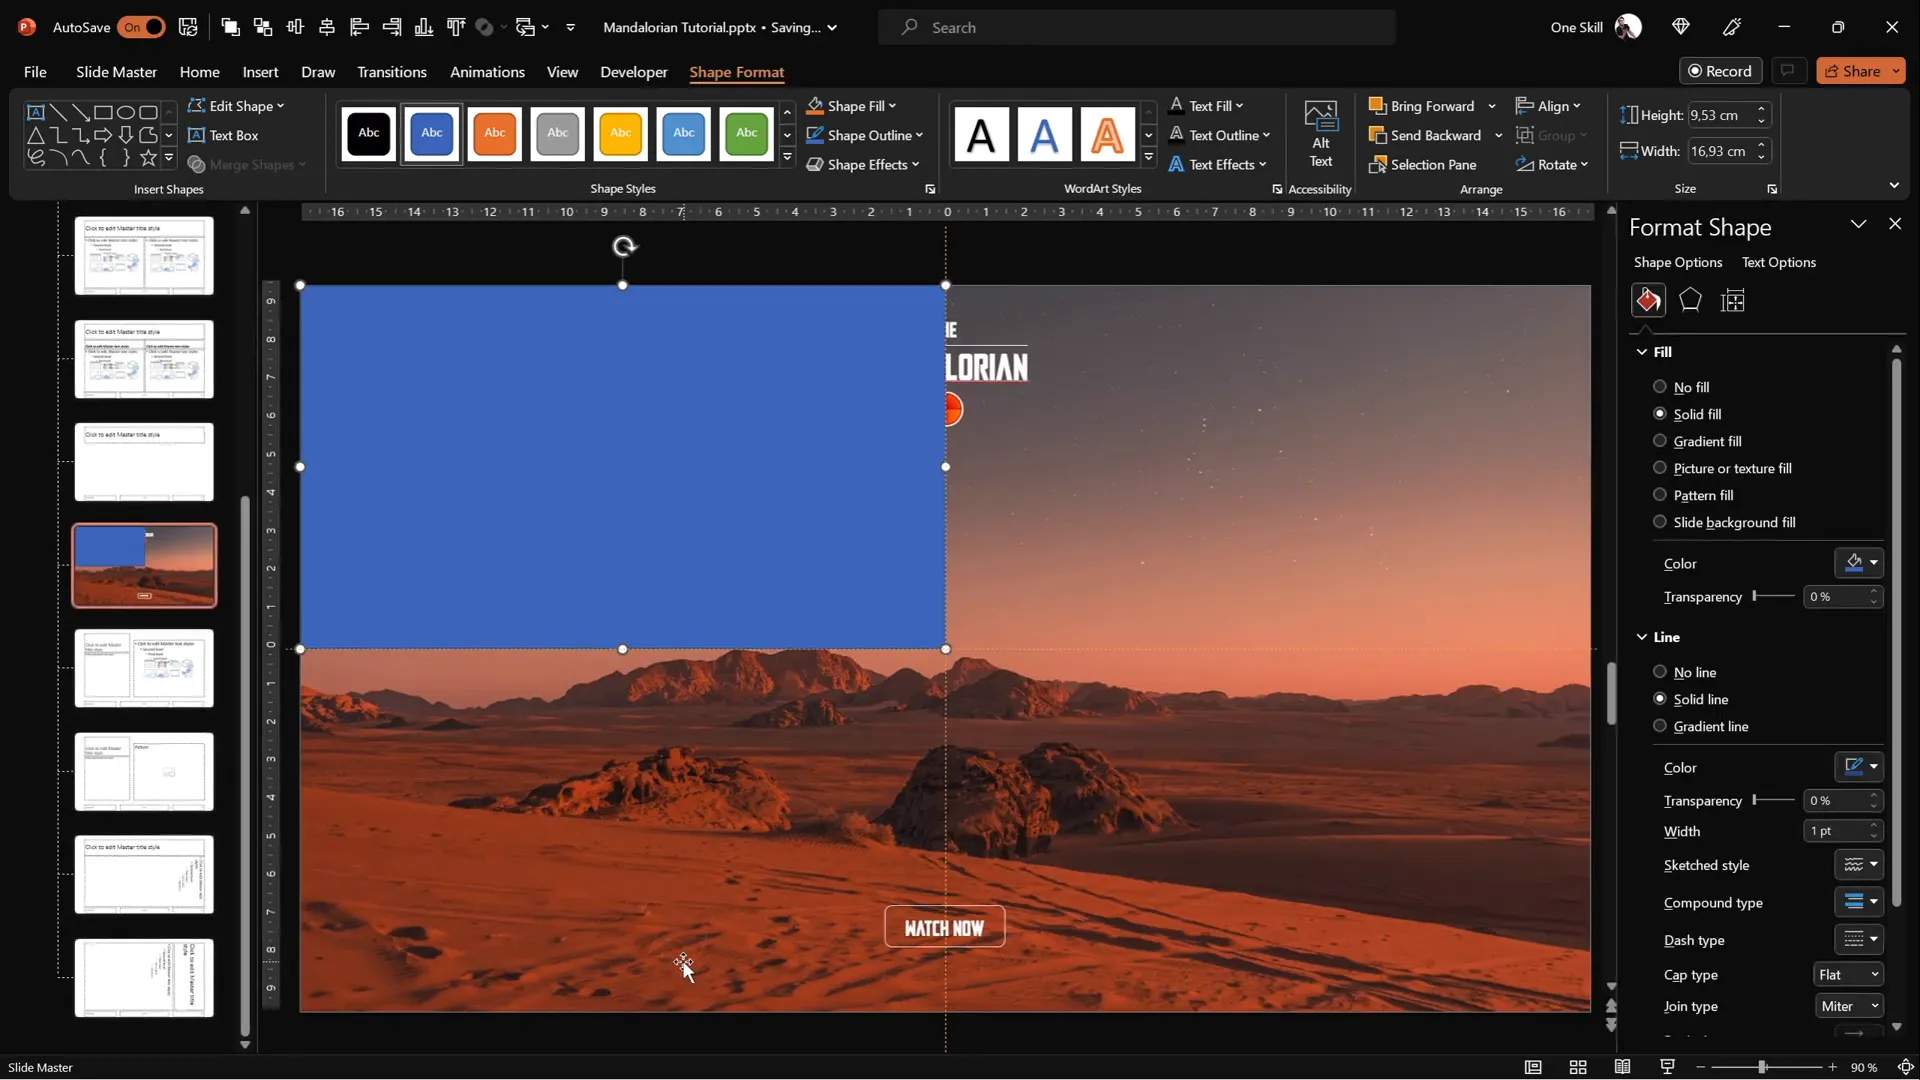
Step 2: Add Invisible Rectangles as Hotspots
- Enter Slide Master view to add shapes that apply to all slides.
- Insert four rectangles, one covering each quadrant of the slide.
- Optionally, set the rectangles’ fill color to semi-transparent to see their placement clearly.
- Duplicate the first rectangle to ensure consistent size and alignment across quadrants.
Step 3: Assign Mouse-Over Actions
Each rectangle will trigger a slide change when the mouse hovers over it:

| Rectangle Location | Action | Target Slide | Helmet Direction |
|---|---|---|---|
| Top Left | Mouse Over | Slide 2 | Helmet faces top-left |
| Bottom Left | Mouse Over | Slide 3 | Helmet faces bottom-left |
| Bottom Right | Mouse Over | Slide 4 | Helmet faces bottom-right |
| Top Right | Mouse Over | Slide 5 | Helmet faces top-right |
- For each rectangle, select it, go to Insert > Action, choose the Mouse Over tab, and set a hyperlink to the corresponding slide number.
- After assigning all mouse-over actions, select all rectangles and set their fill and outline to No Fill and No Line to make them invisible but still interactive.
These invisible hotspots detect your cursor’s position and trigger the appropriate slide, creating the illusion of the helmet following your mouse.
Final Touches and Testing Your Animation
With all elements in place, it’s time to test your interactive animation to ensure everything works seamlessly.
- Exit the Slide Master view and return to Normal view.
- Start the slideshow in full-screen mode by pressing F5 or clicking Slide Show > From Beginning.
- Move your mouse cursor around the slide. Notice how the Mandalorian helmet smoothly changes direction, following your cursor’s position within the four quadrants.
- Hovering directly over the helmet triggers a jump back to the first slide, resetting the animation.
This interactive effect is a clever use of PowerPoint’s built-in features to simulate real-time 3D tracking without any programming.
Frequently Asked Questions (FAQs)
Can I use any 3D model for this animation?
Yes! While this tutorial uses a Mandalorian helmet, you can insert any 3D model you like. Just make sure your PowerPoint version supports 3D models and the Morph transition.
Which versions of PowerPoint support 3D models and Morph transitions?
PowerPoint 2019, Microsoft 365, and later versions support 3D models and the Morph transition. Older versions may not have these features.
How do I download the Mandalorian helmet 3D model?
The Mandalorian helmet model used in this tutorial is available on Sketchfab (link provided in the resources). You can download it and import it directly into PowerPoint.
Can I customize the mouse-over areas for more precise control?
Absolutely. You can create more rectangles or other shapes with mouse-over actions to divide the slide into more zones, allowing for finer control over the helmet’s movement.
Is this animation resource-intensive? Will it slow down my presentation?
Generally, PowerPoint handles 3D models and Morph transitions efficiently. However, very complex 3D models or many animations on the same slide could impact performance depending on your computer’s specs.
Can I use this technique for other interactive animations?
Yes! The concept of using invisible shapes with mouse-over actions combined with Morph transitions can be adapted to various interactive animations in PowerPoint.
Conclusion
Creating interactive PowerPoint animations like the Mandalorian helmet following your mouse cursor is a fantastic way to elevate your presentations. By leveraging PowerPoint’s 3D model insertion, Morph transitions, and mouse-over actions, you can craft visually impressive and engaging slides without any coding.
The key takeaways for mastering this effect are:
- Start with a clean slide and a compelling background.
- Use the Slide Master to manage reusable elements and save time.
- Insert and thoughtfully rotate your 3D model across multiple slides to simulate movement.
- Apply Morph transitions for smooth, natural animations.
- Use invisible shapes with mouse-over actions to create interactive hotspots that respond to cursor movement.
By following these steps, you can create unique PowerPoint animations that captivate your audience and make your presentations memorable.
For those interested, tutorial slides to practice this technique are available for free download on Patreon. Feel free to explore and customize the animation to suit your own presentation style.
Remember, the art of PowerPoint animations lies in creativity and the effective use of PowerPoint’s powerful features. Now that you know how to create this unbelievable animation, it’s time to experiment and bring your own ideas to life.
Happy animating, and as the Mandalorian says, This is the way!
Check out the full video: Unbelievable PowerPoint Animation ✨MANDALORIAN✨


