
Creating captivating PowerPoint presentations is an essential skill for professionals, educators, and creatives alike. One of the key elements that set a presentation apart is the title slide. It’s your audience’s first impression, and making it dynamic and visually appealing can significantly boost engagement. In this comprehensive guide, we’ll walk you through the process of designing an animated title slide in PowerPoint, step by step. This tutorial is inspired by expert techniques and practical tips to elevate your PowerPoint slide design skills.
Whether you’re new to PowerPoint or looking to add some flair to your presentations, this article will equip you with everything you need—from creating beautiful gradients and using the draw tool for handwritten text to incorporating videos and advanced animations. Let’s dive into the magical world of PowerPoint and learn how to craft an animated title slide that leaves a lasting impression.
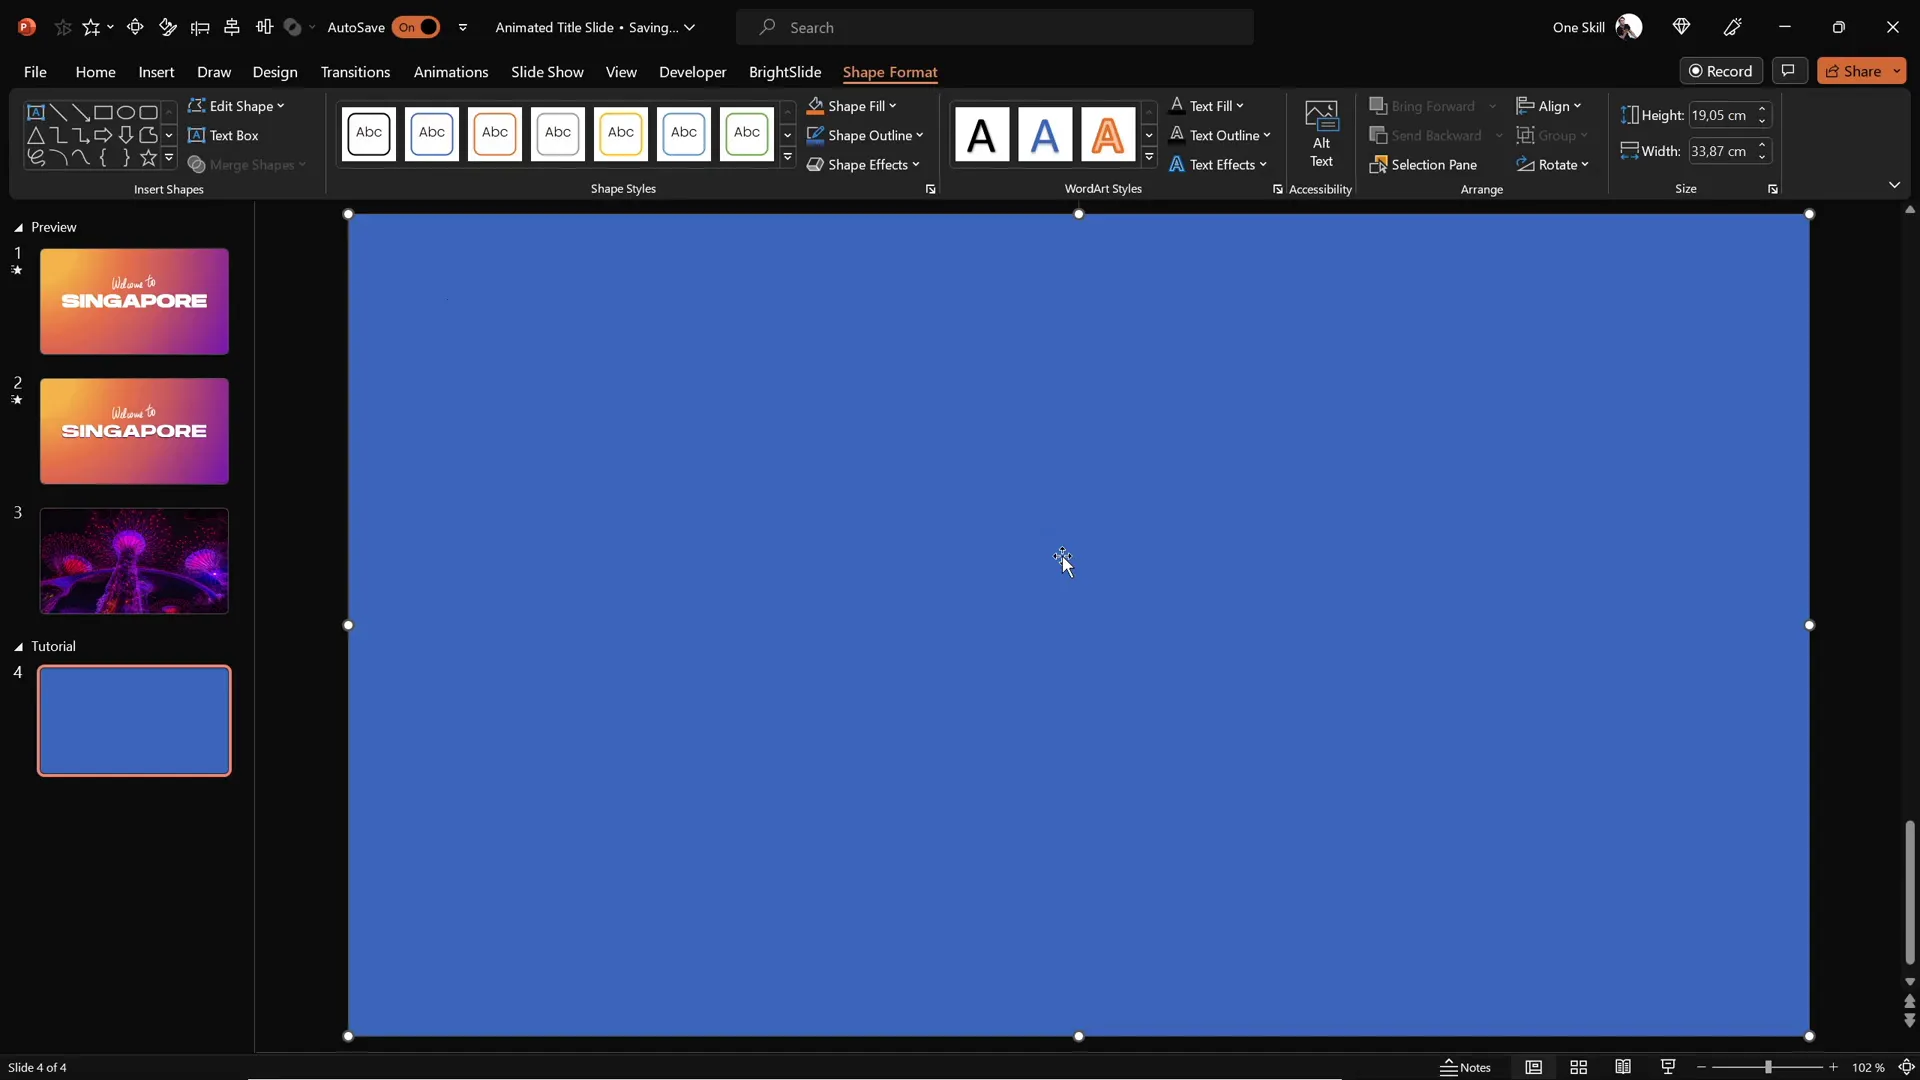
Table of Contents
- Creating a Stunning Gradient Background
- Adding and Styling Your Slide Title
- Using the Draw Tool for Handwritten Text
- Animating Your Text Elements
- Cutting Out Text from the Background
- Inserting and Animating a Background Video
- Adding Exit and Growth Animations for Impact
- Frequently Asked Questions
- Conclusion
Creating a Stunning Gradient Background
Every great slide starts with a compelling background that sets the tone and mood. For our animated title slide, we’ll begin by creating a full-screen rectangle with a beautiful radial gradient fill.
Step-by-Step Instructions:
- Start with a blank black slide in PowerPoint.
- Insert a rectangle shape that covers the entire slide.
- To add a gradient fill, select the rectangle, then use the Format Painter tool to copy the gradient from a previous slide or create your own.
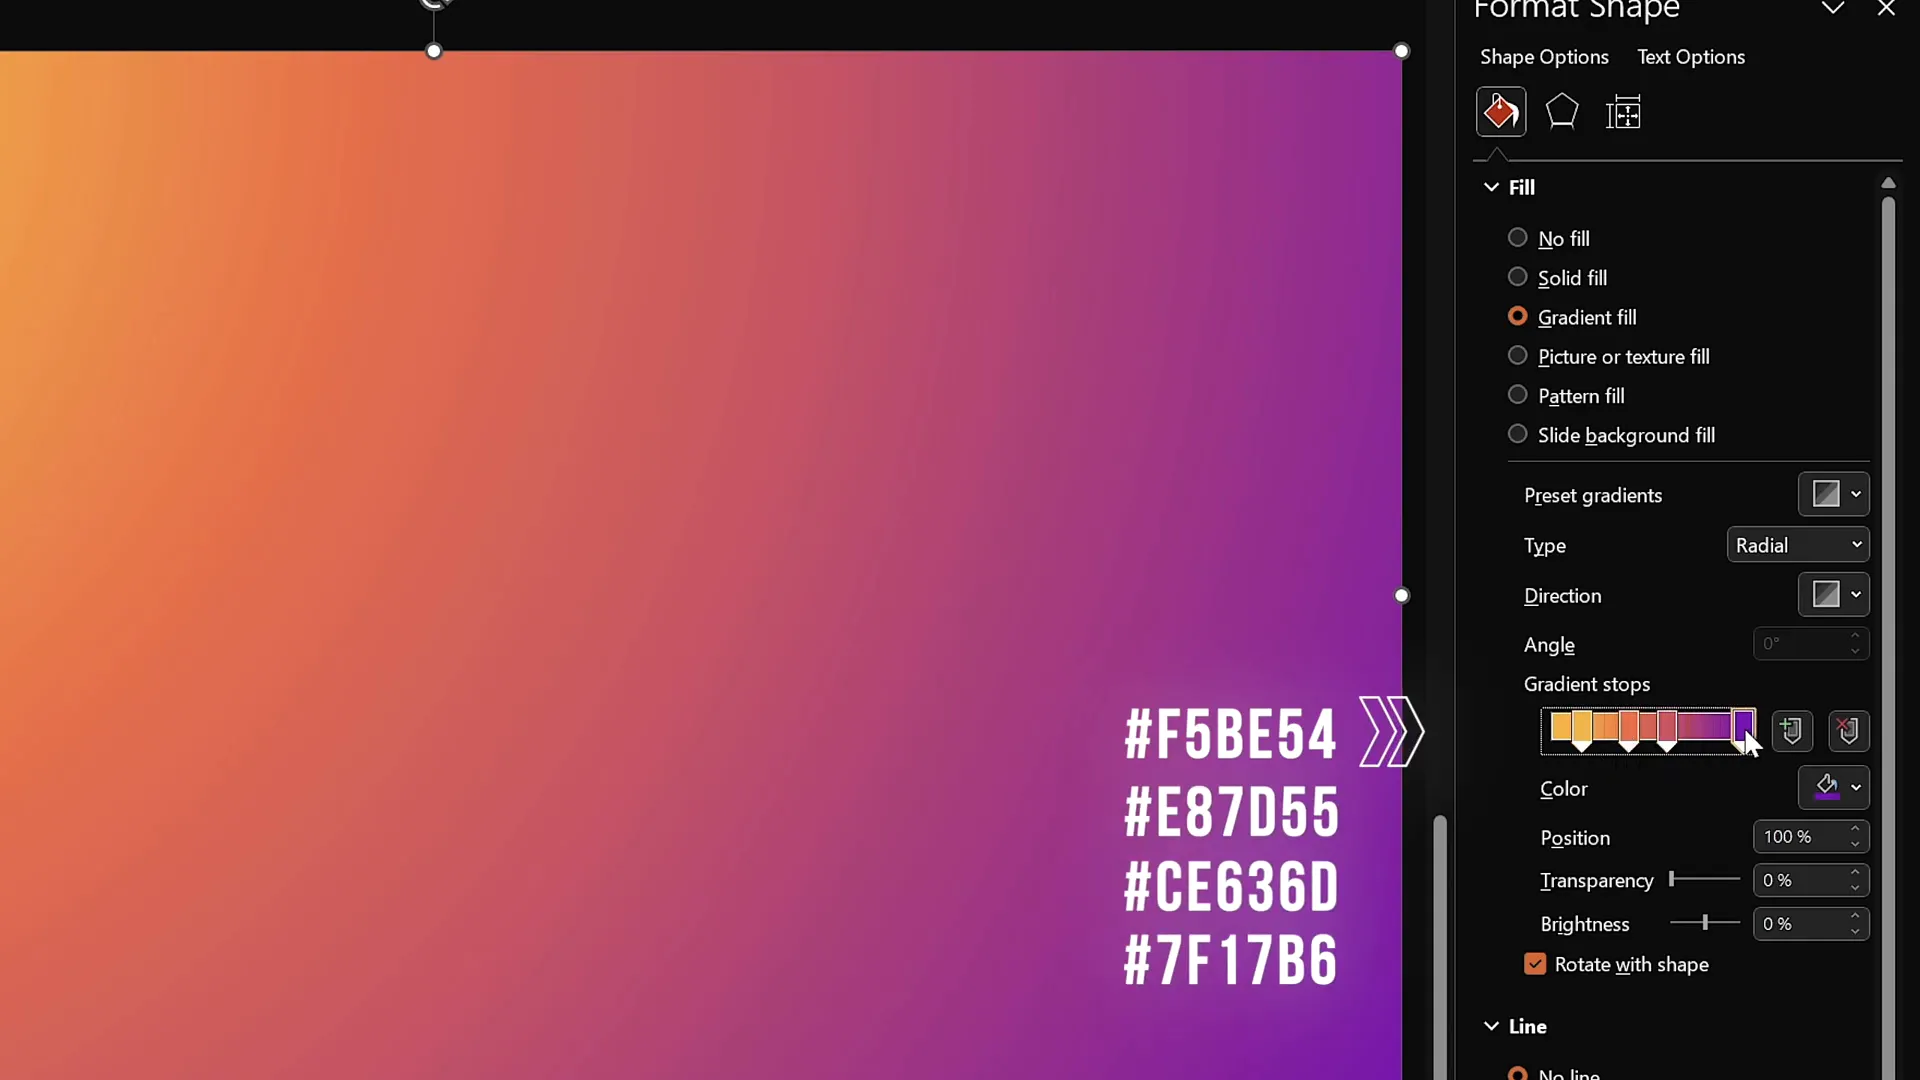
- Open the Format Shape pane and choose Gradient Fill. Set the gradient type to Radial and adjust the gradient direction to start from the top left corner.
- Customize the gradient by adding four color stops with specific hex codes to achieve a layered, vibrant look.
This gradient background provides a rich, dynamic canvas for your title slide and works especially well with animations and video overlays.
Adding and Styling Your Slide Title
With the background set, it’s time to add a striking slide title that grabs attention.
How to Add and Style Your Title:
- Go to the Insert tab and select Text Box.
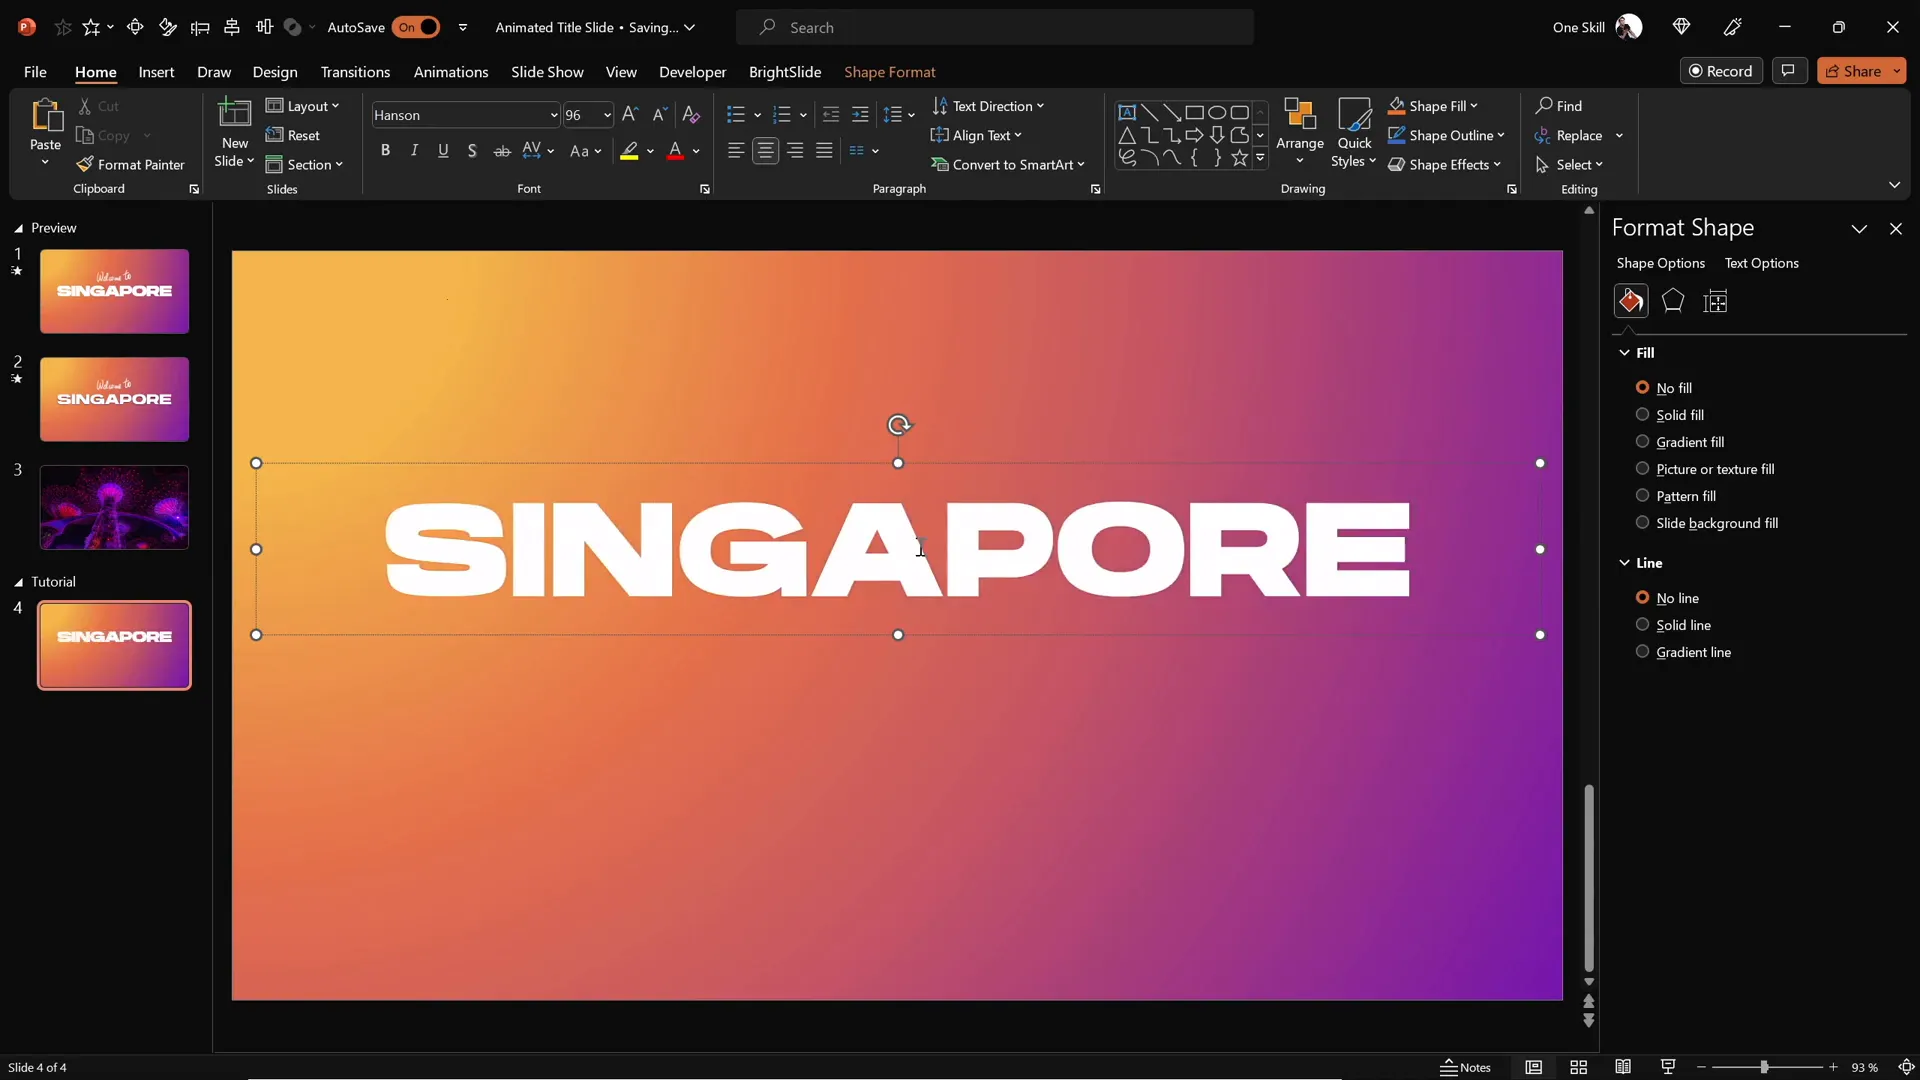
- Click on the slide and type your title text, for example, “Singapore”.
- Choose a bold, modern font like Hanson and set the font size to 96 points for maximum impact.
- Center-align the text box on the slide for a balanced layout.
Large, bold fonts paired with a well-designed background create a professional look that’s easy to read even from a distance.
Using the Draw Tool for Handwritten Text
Adding a personal, handwritten touch can make your slide more engaging. PowerPoint’s draw tool lets you create custom text or doodles directly on your slide.
Tips for Using the Draw Tool Effectively:
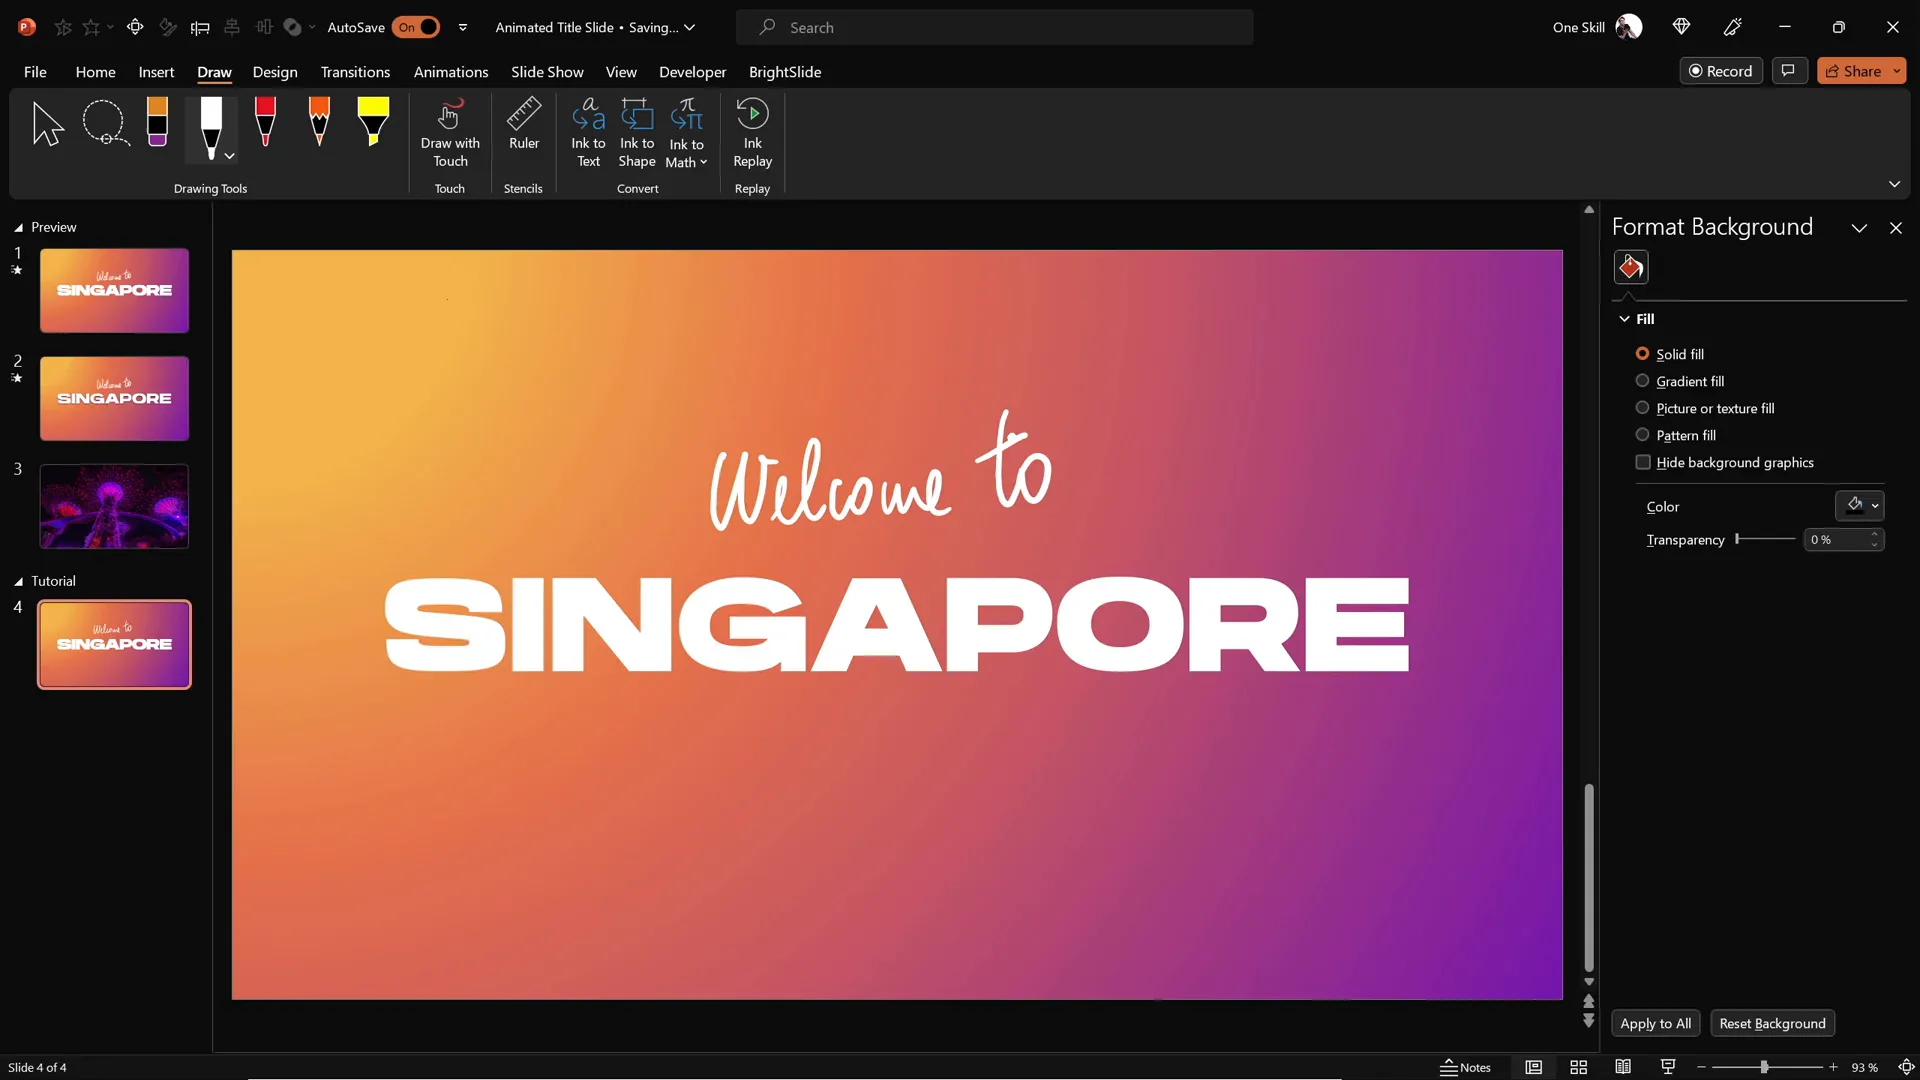
- Choose a pen color that contrasts well with your background and title text.
- Select an appropriate pen thickness to ensure visibility.
- Use a graphics tablet (such as the Wacom Intuos) for smooth, natural handwriting. This tool helps you create cleaner, more professional strokes than a mouse.
- Write phrases like “Welcome to” above your main title for a layered, creative effect.
Handwritten elements add warmth and personality to your slides, making them feel less mechanical and more inviting.
Animating Your Text Elements
Animation breathes life into your slide, guiding your audience’s attention and creating a professional presentation flow.
Animating the Handwritten Text:
- Select the handwritten text box.
- Apply the Replay animation, which replays the drawing stroke as if it’s being written in real-time.
- Adjust the animation duration to 1.3 seconds for a smooth, quick reveal.
Animating the Main Title:
- Select the main title text box.
- Apply the Fly In animation with the direction set from the right.
- Set the animation to start With Previous to sync with the handwritten text animation.
- Adjust the duration to 1 second for a crisp entrance.
- In animation options, increase the movement distance for a soft landing effect.
- Animate the text By Letter with a 10% delay between each letter, creating a cascading effect.
These animations work together to create a captivating intro that feels dynamic yet polished.
Cutting Out Text from the Background
To add a unique visual layer, you can punch a hole through your gradient background in the shape of your title text, revealing a background video or image beneath.
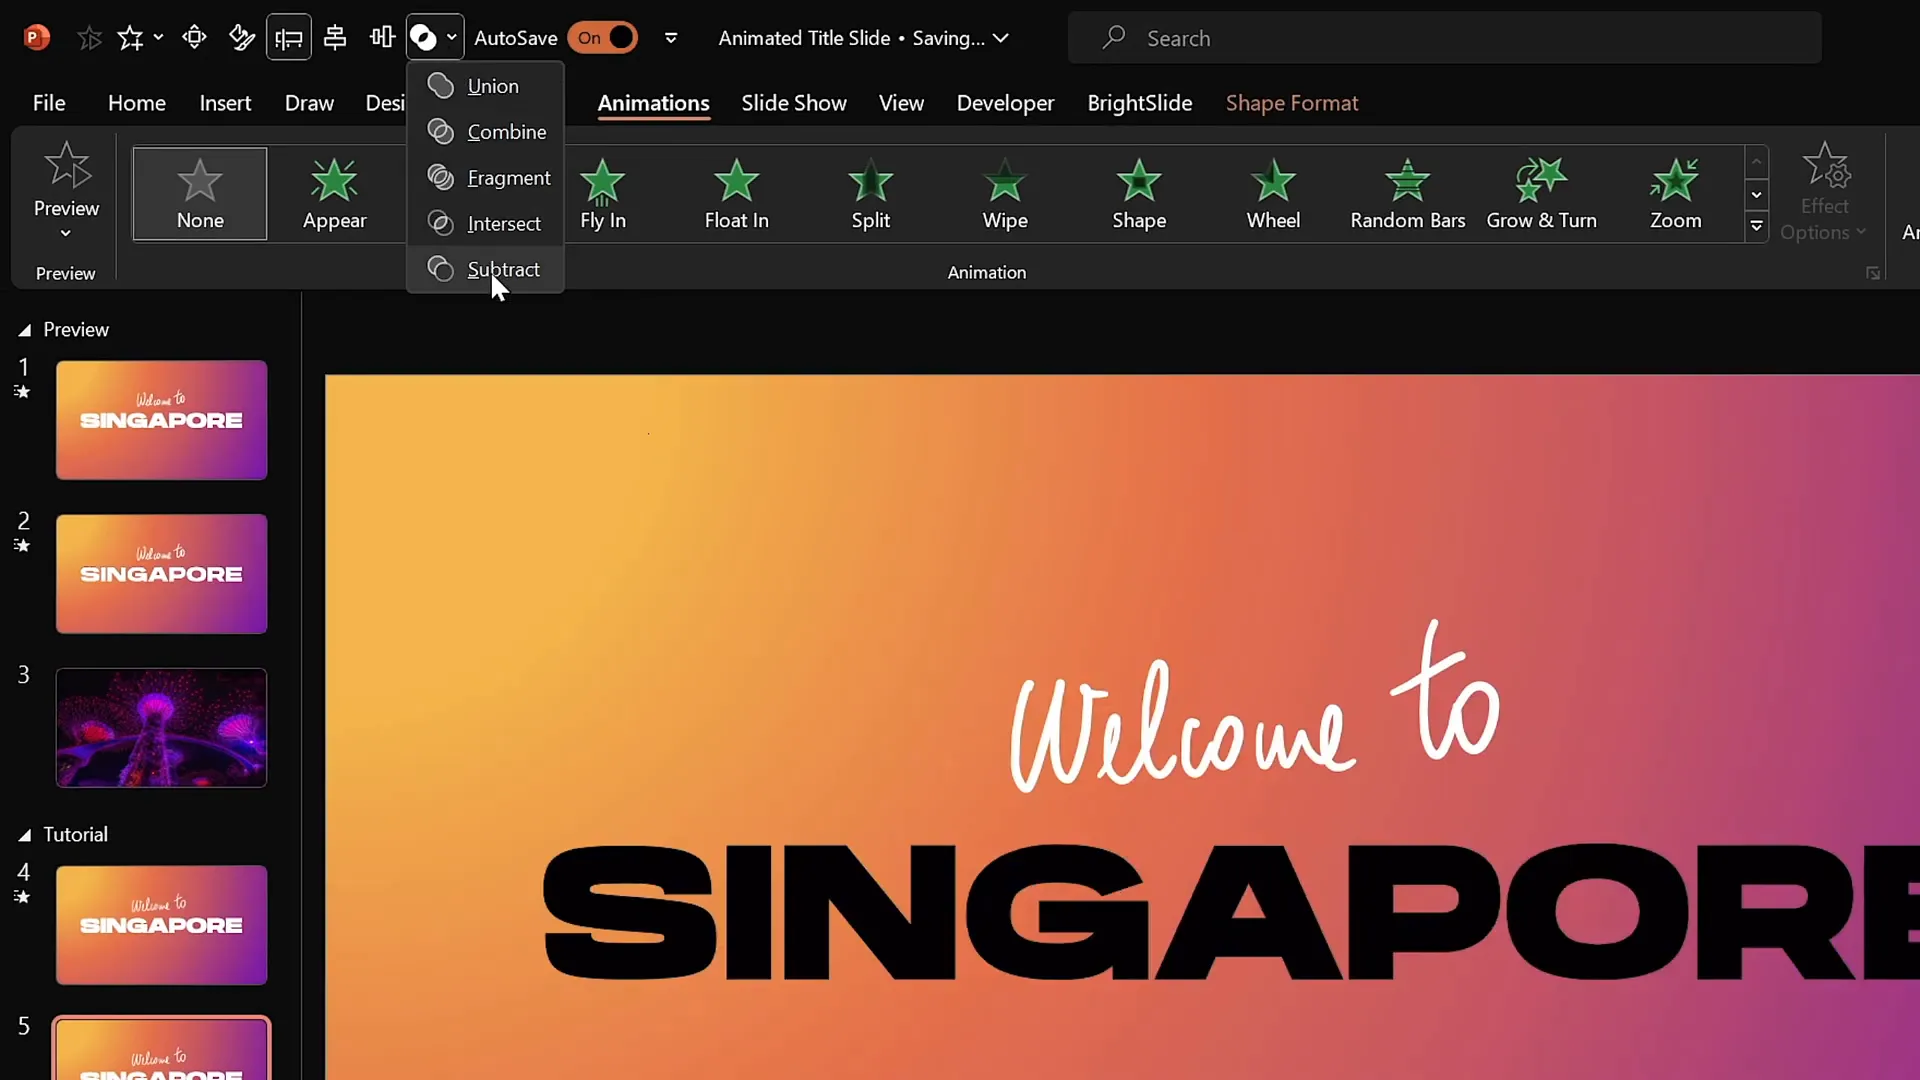
How to Cut Out Text:
- Duplicate your animated slide.
- Remove all animations on the duplicate slide to focus on shape editing.
- Select the background rectangle, then hold the Shift key and select the title text box.
- Go to the Merge Shapes dropdown and select Subtract.
- This action cuts the text out of the rectangle, creating a transparent “window” in the shape of your title.
This technique allows you to layer a video or image behind your text creatively, adding depth and interest to your slide.
Inserting and Animating a Background Video
Adding a video background behind your cutout text elevates your slide design, making it dynamic and visually rich.
Finding and Adding the Right Video:
- Use royalty-free stock video sites like DepositPhotos to find high-quality videos. A great example is the “Singapore super trees lighting up at night” video.
- Download your chosen video and insert it into your PowerPoint slide.
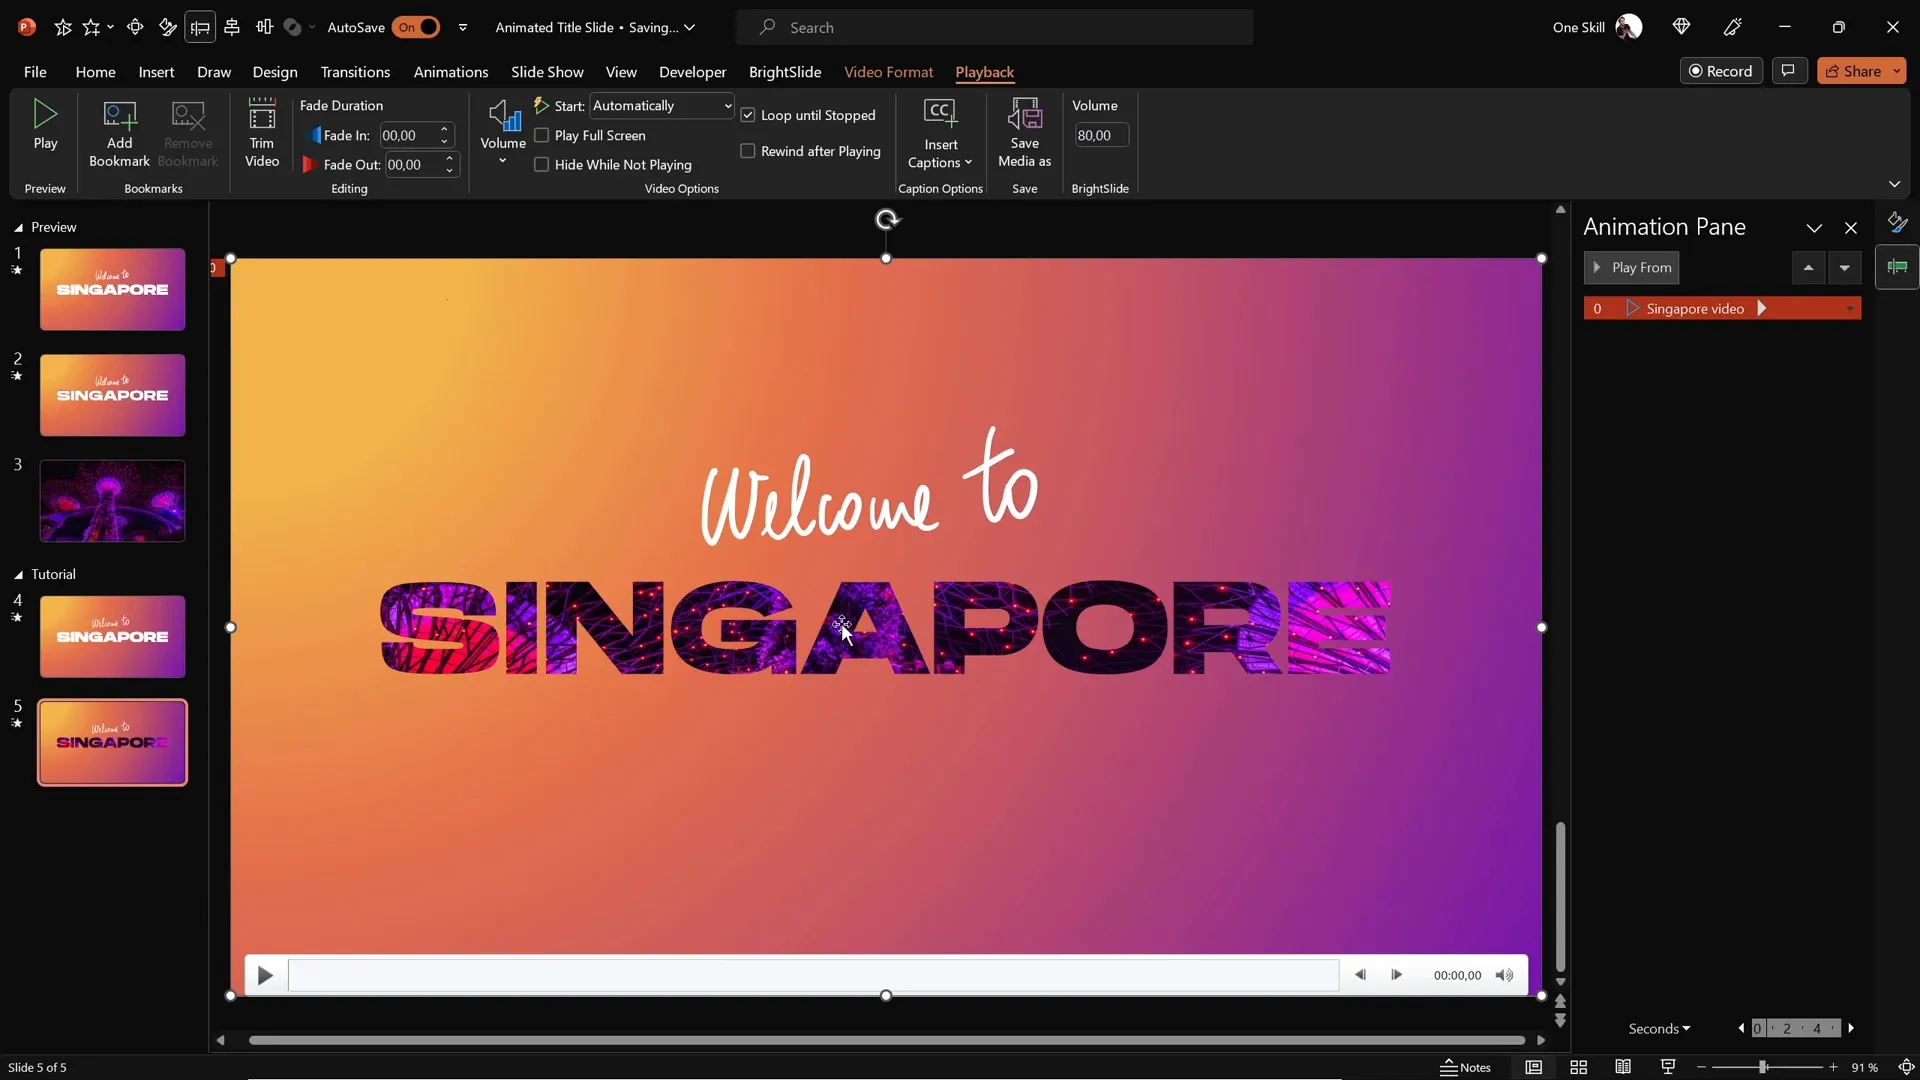
Setting Up the Video:
- Paste the video onto the slide with the cutout rectangle.
- Center-align the video to match the text positioning.
- Send the video to the back layer so it appears behind the cutout text.
- Set the video to play automatically by adding a Play animation starting With Previous.
- Enable the video loop option to keep it playing continuously through the slide.
This setup ensures your video plays seamlessly as part of the slide’s background, visible only through the text cutout.

Adding Exit and Growth Animations for Impact
To conclude your animated title slide sequence with a flourish, add exit animations to your text and a growth animation to your cutout background.
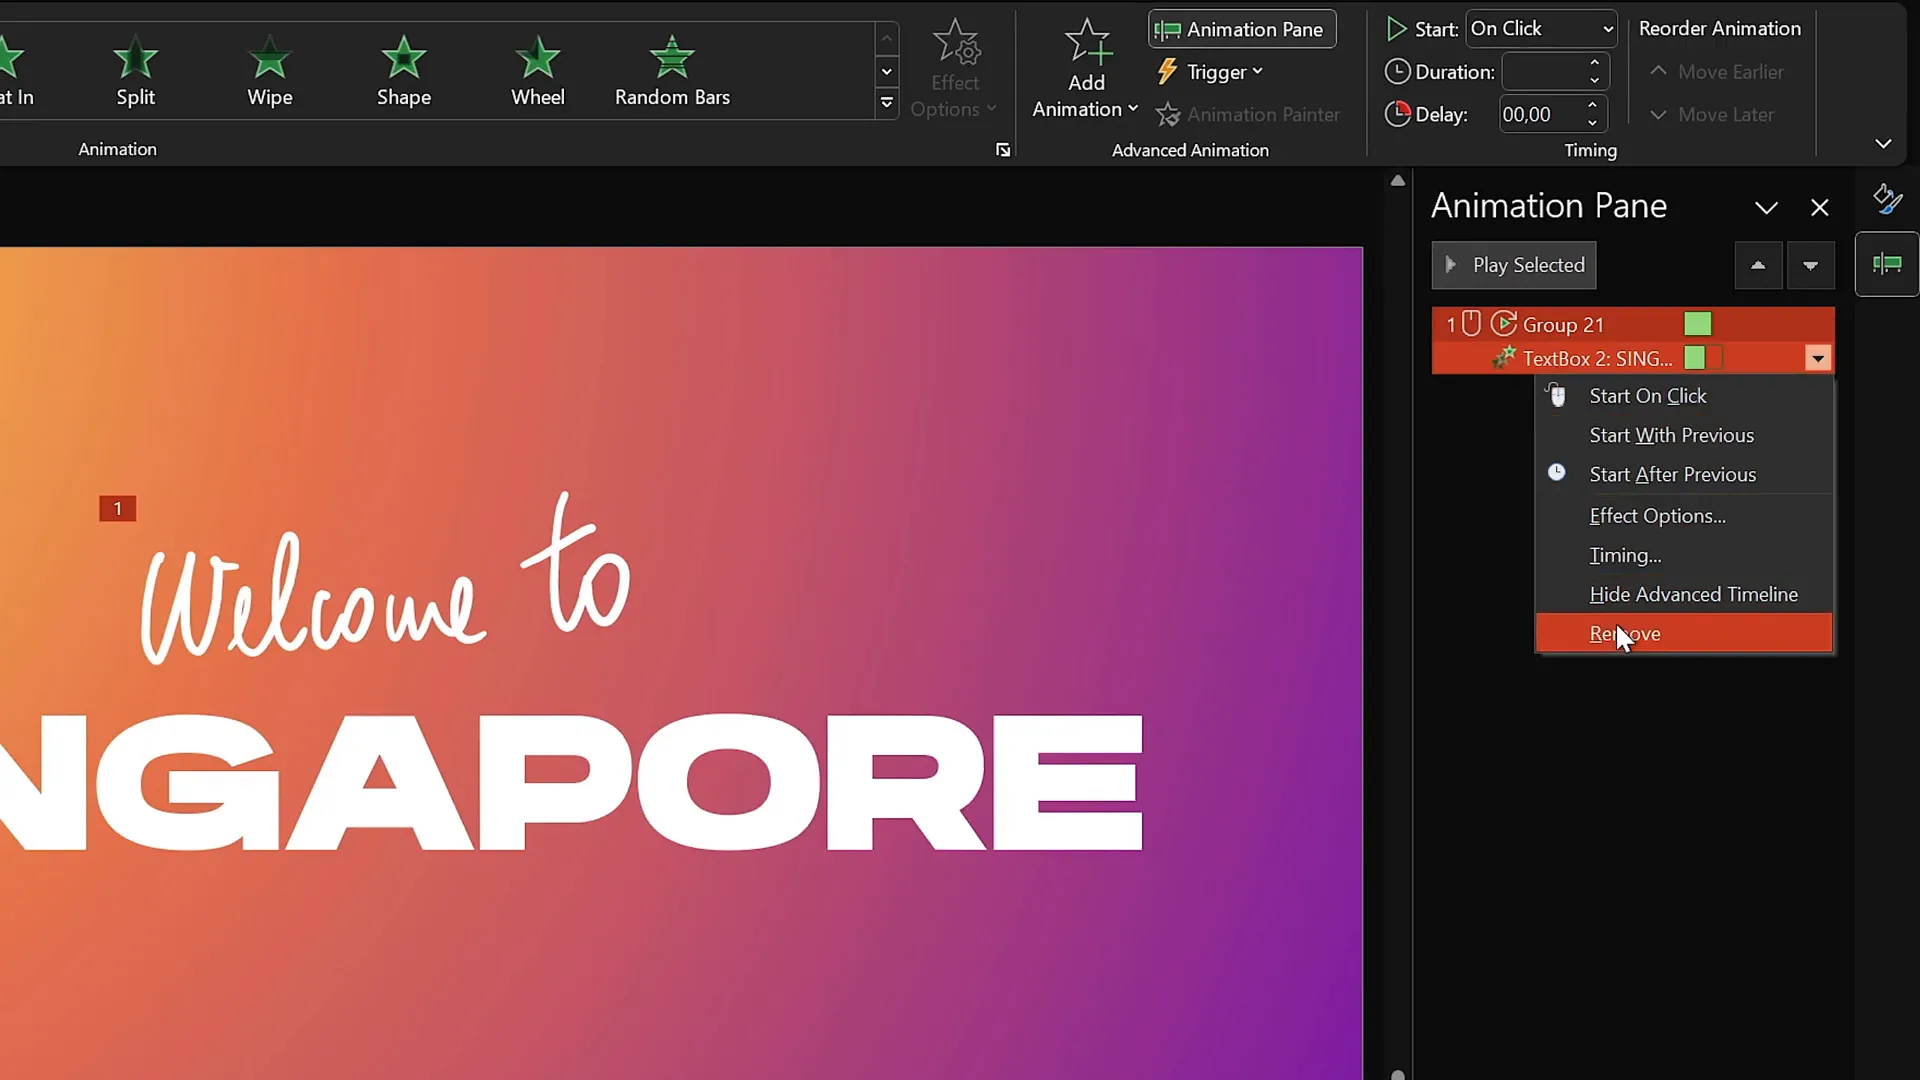
Exit Animations for Text:
- Select both the handwritten and main title text boxes.
- Add an Exit Cloud animation.
- Set the animation to start With Previous for smooth transition.
- Choose the direction To Top and set the duration to 1 second.
- In animation options, set a Maximum Smooth Start for a soft exit.
- For the main title, animate the exit By Letter with a slight delay between letters for a cascading effect.
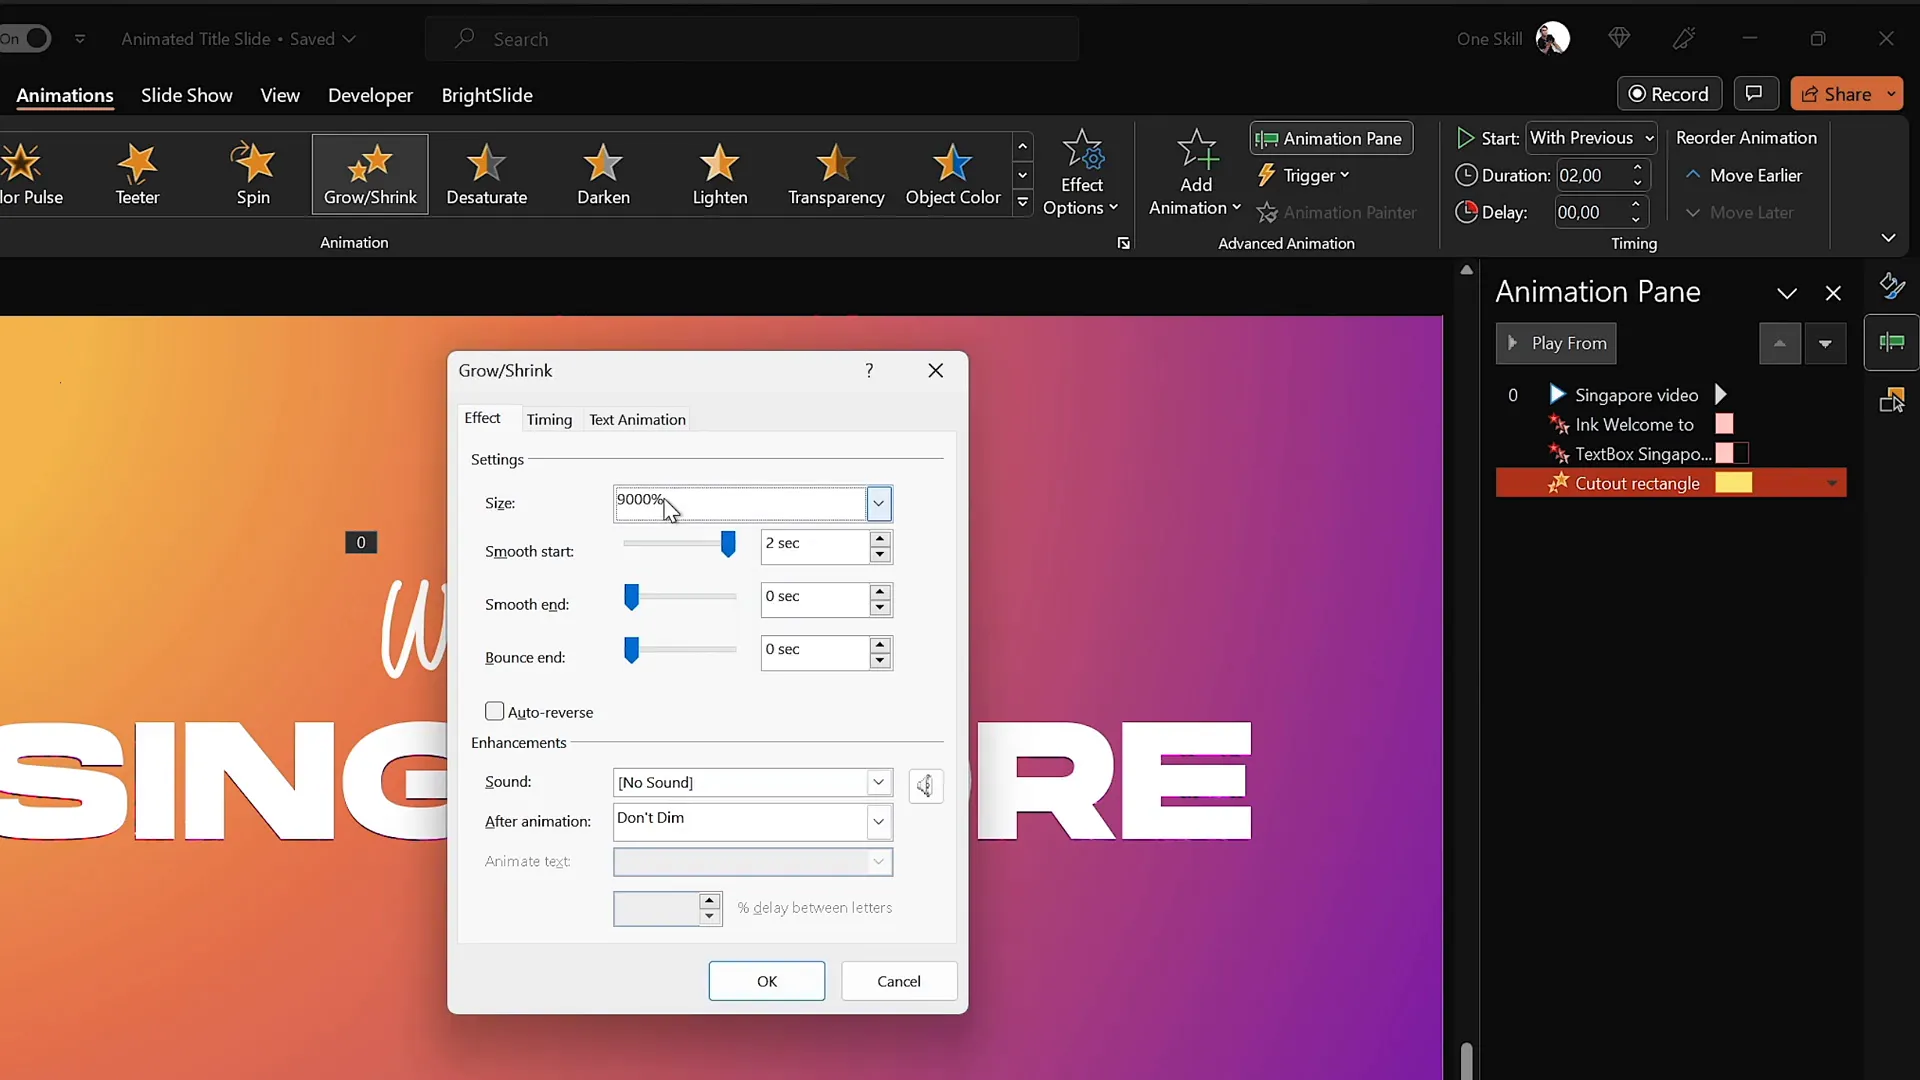
Growth and Shrink Animation for Cutout Background:
- Select the gradient cutout rectangle.
- Add a Grow/Shrink animation.
- Set the animation to start With Previous alongside the exit animations.
- Adjust the duration to 2 seconds with a maximum smooth start for fluid movement.
- Set the growth size to an unusual 9000% so the rectangle dramatically expands, revealing more of the video behind before flying away.
This combination creates a stunning finale, making your slide transition smoothly and memorably.
Frequently Asked Questions
1. What version of PowerPoint do I need to create these animations?
The techniques described work best on PowerPoint Microsoft 365 on Windows. Some features may not be available or behave differently in older versions.
2. Can I use any font for the title?
You can use any font, but for best results, choose a bold and clear font like Hanson. Avoid overly decorative fonts that reduce readability.
3. Do I need a graphics tablet to use the draw tool?
While you can use a mouse, a graphics tablet such as the Wacom Intuos greatly improves the smoothness and natural look of your handwritten text.
4. How do I find royalty-free videos for my slides?
Stock photo and video websites like DepositPhotos offer a wide range of royalty-free videos suitable for presentations.
5. Can I customize the animations further?
Absolutely! PowerPoint allows you to adjust timing, effects, directions, and delays to tailor animations to your style and presentation needs.
6. How do I make sure the video plays automatically and loops?
After inserting the video, add a play animation set to start With Previous and enable the loop option in the playback settings to ensure continuous play.
Conclusion
Mastering PowerPoint slide design by adding animations, handwritten text, gradient backgrounds, and video overlays can dramatically improve the quality and impact of your presentations. The steps outlined here guide you through creating an animated title slide that’s both professional and visually captivating.
Remember, the key to a great presentation isn’t just the content, but how you present it. Utilizing PowerPoint’s powerful animation and multimedia tools helps you tell your story more effectively and engage your audience from the very first slide.
Try out these techniques today and watch your PowerPoint skills transform. With practice, creating stunning animated slides will become second nature, enhancing your presentations and impressing your audience every time.
Happy designing, and may your presentations always shine!
Check out the full video: How to Create ANIMATED PowerPoint ✨TITLE SLIDE✨


