
Creating eye-catching and professional-looking presentations is a skill that can elevate your communication, whether for business, education, or personal projects. One of the most powerful ways to captivate your audience right from the start is by designing an animated title slide in PowerPoint. This article will guide you through a detailed, step-by-step tutorial on how to create a beautiful animated title slide, incorporating advanced PowerPoint animations, videos, and the draw tool for smooth handwritten text effects.
By the end of this guide, you’ll have mastered the techniques to animate your title slides like a pro, making your presentations stand out with stunning visuals and dynamic effects. Let’s dive into the magical world of PowerPoint animations!
Table of Contents
- Getting Started: Setting Up Your Slide
- Adding a Gradient Fill Background
- Inserting and Styling Your Slide Title
- Using the PowerPoint Draw Tool for Handwritten Text
- Applying Animations to Text Elements
- Creating a Text Cutout Effect with Merge Shapes
- Adding a Video Background Behind Text Cutouts
- Adding Exit Animations for a Smooth Transition
- Final Touches and Presentation Tips
- Frequently Asked Questions (FAQ)
Getting Started: Setting Up Your Slide
Before diving into complex animations, it’s essential to set up your PowerPoint slide correctly. Start with a blank slide with a black background to make your colors and animations pop.
- Open PowerPoint and create a new presentation or add a new blank slide to your existing project.
- Select a blank layout and set the slide background color to black for a dramatic starting point.
This clean slate will serve as the canvas for your animated title slide.
Adding a Gradient Fill Background
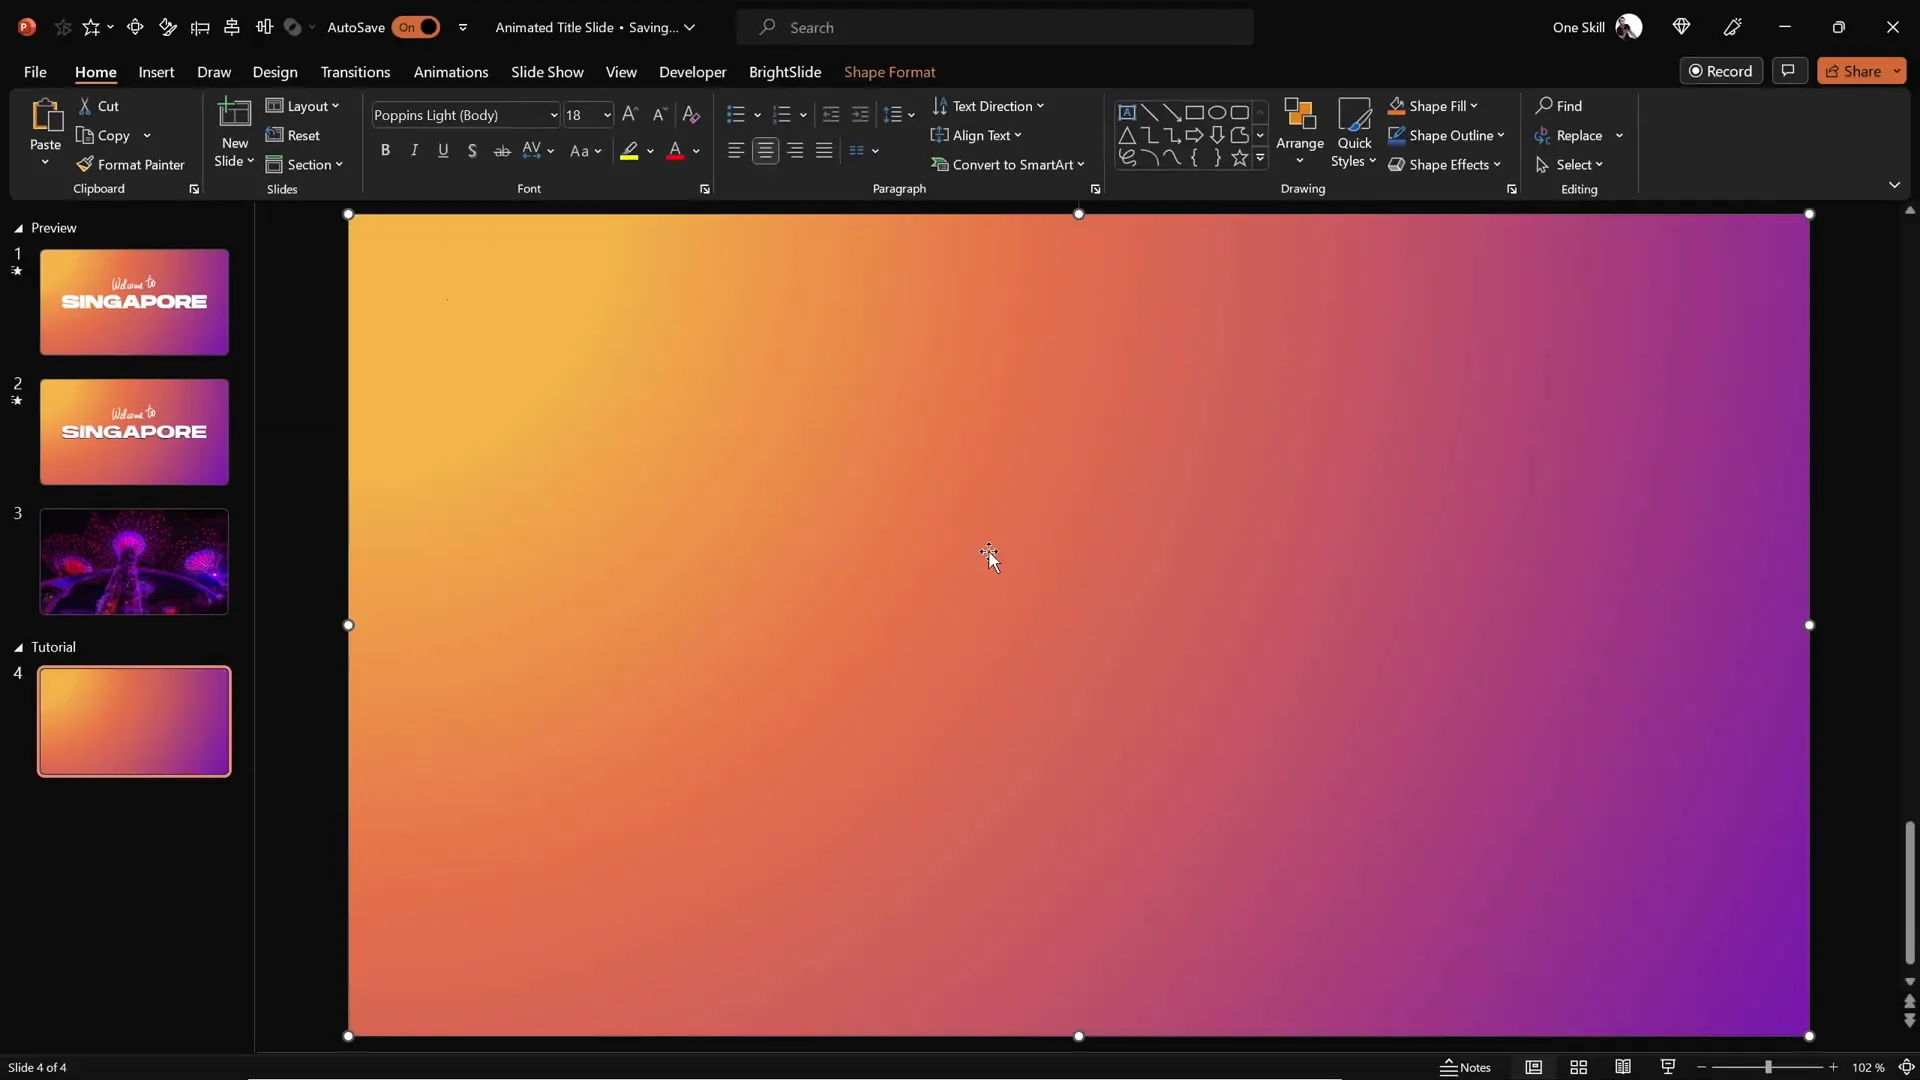
To add depth and visual interest, we’ll start by adding a full-screen rectangle with a beautiful gradient fill.
- Insert a rectangle shape that covers the entire slide.
- Use the Format Painter tool to copy a gradient fill from an existing slide or create your own custom gradient.
- Access the Format Shape pane and choose a radial gradient fill, adjusting the direction to start from the top-left corner.
- Customize the gradient stops with specific colors using hex codes for consistency.
This gradient background will add a subtle, elegant glow effect behind your text, enhancing the overall design.
Inserting and Styling Your Slide Title
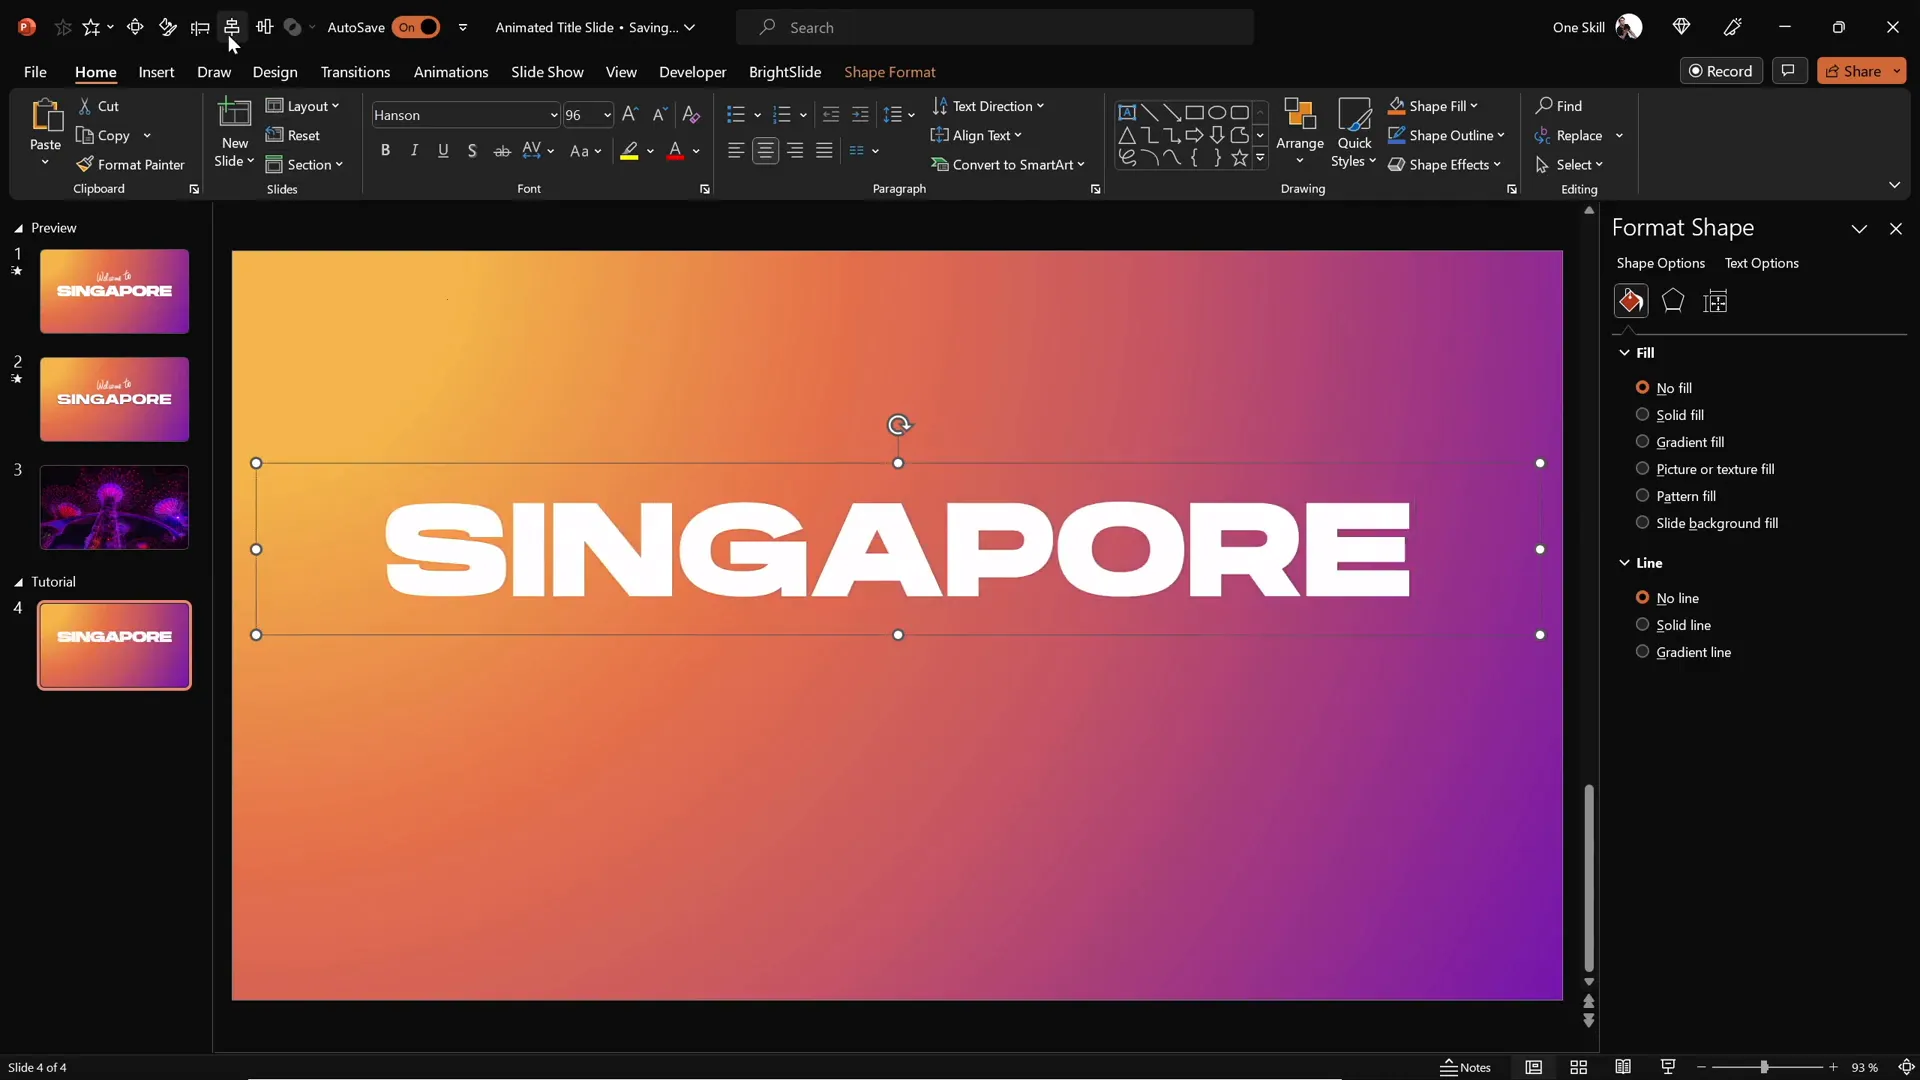
The title is the focal point of your slide, so it should be bold, clear, and well-positioned.
- Go to the Insert tab and select the Text Box tool.
- Draw a large text box in the center of the slide and type your title text, for example, Singapore.
- Choose a strong, bold font like Hanson and set the font size to 96 points for maximum impact.
- Center-align the text box to keep the layout balanced.
Large, bold text grabs attention and serves as the perfect backdrop for your animated effects.
Using the PowerPoint Draw Tool for Handwritten Text
Adding a handwritten touch can make your slide feel personal and unique. PowerPoint’s draw tool allows you to create custom text or doodles.
- Use the Draw tab and select a pen or pencil tool.
- Choose your preferred color and pen thickness.
- Manually draw your text above the title, such as “Welcome to”.
Hand-drawn text can be challenging to make smooth with a mouse, so using a graphics tablet like the Wacom Intuos can help create natural, fluid strokes. This tool provides precision and control, making your handwriting look professional.
Pro Tip: If you’re interested, consider investing in a graphics tablet. This small addition can significantly improve your creative workflow.

Applying Animations to Text Elements
Animating your text elements makes your slide dynamic and engaging. Here’s how to add smooth animations to both your handwritten and typed text.
Animating Handwritten Text
- Select your handwritten text box.
- Apply the Replay animation, which replays the drawing stroke effect.
- Open the Animation Pane to adjust the duration; reduce it from 2 seconds to 1.3 seconds for a quicker, snappier replay.
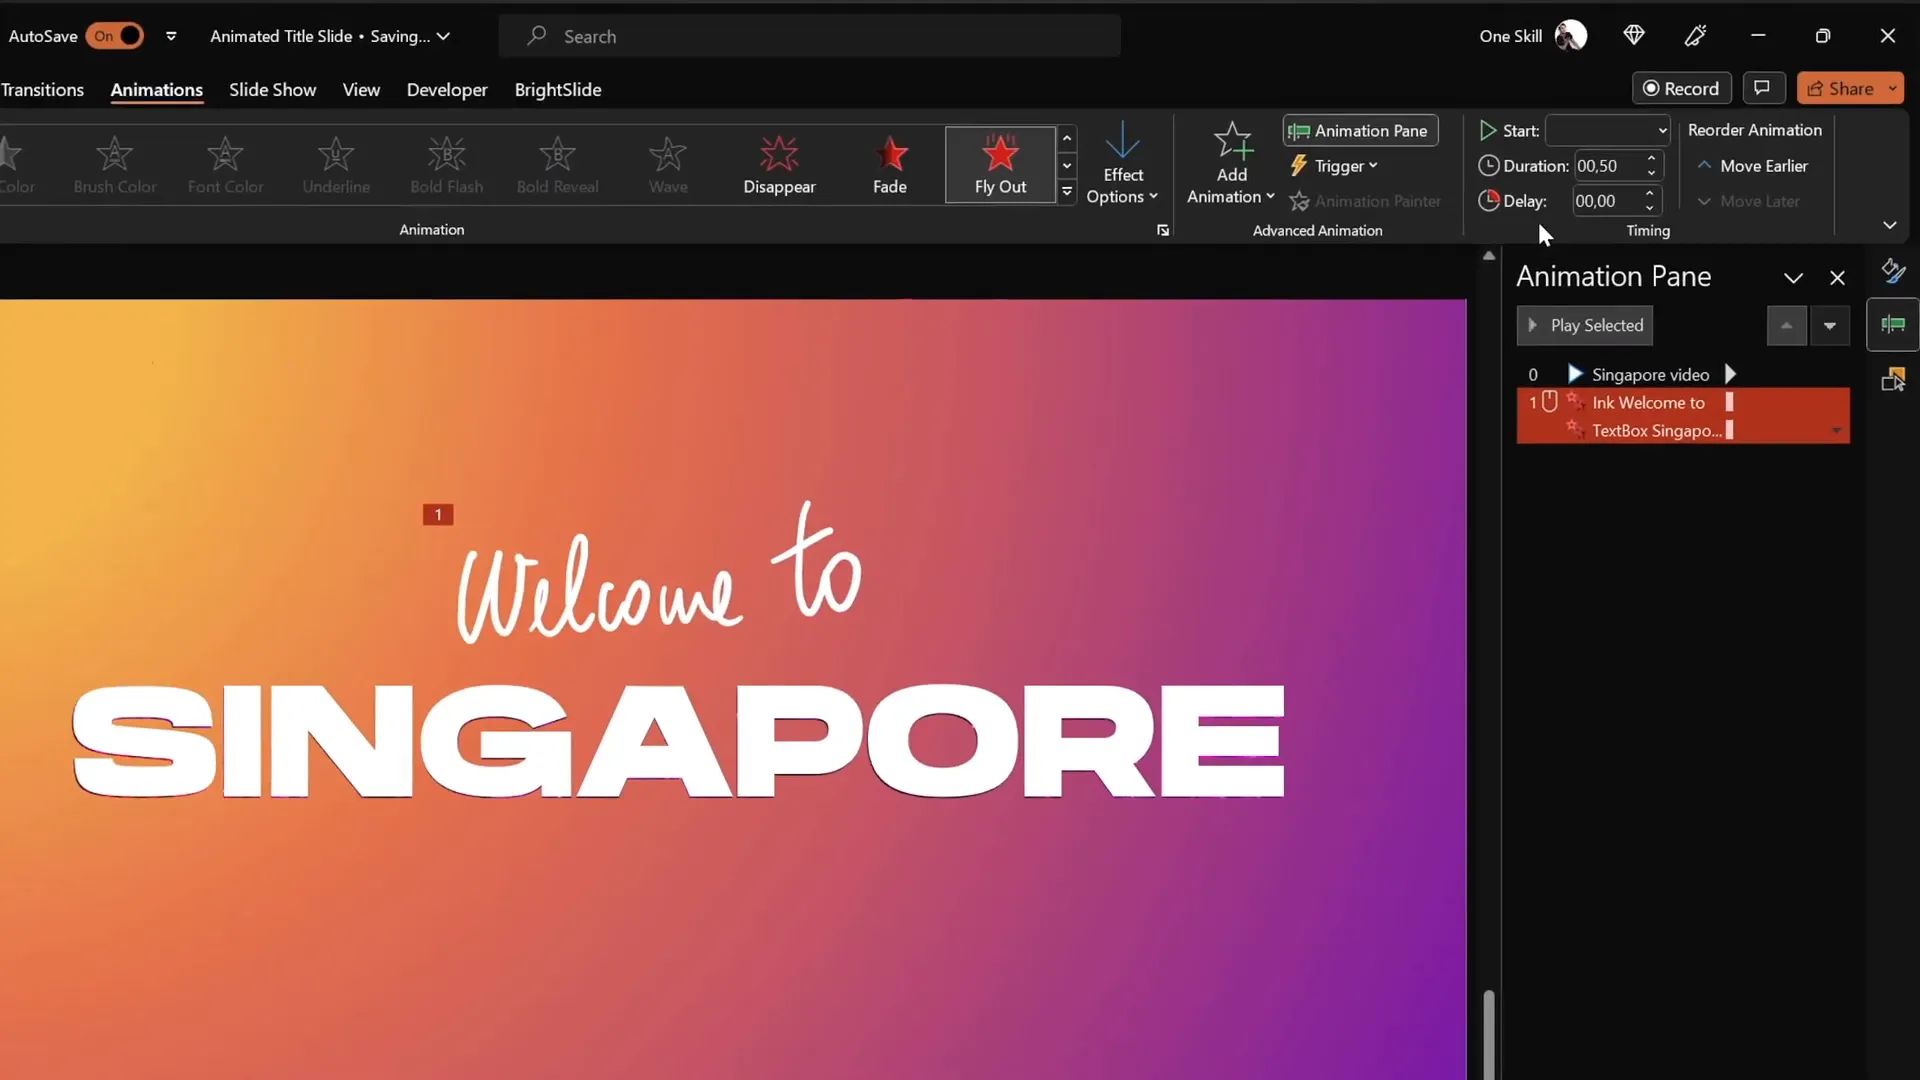
Animating Typed Title Text
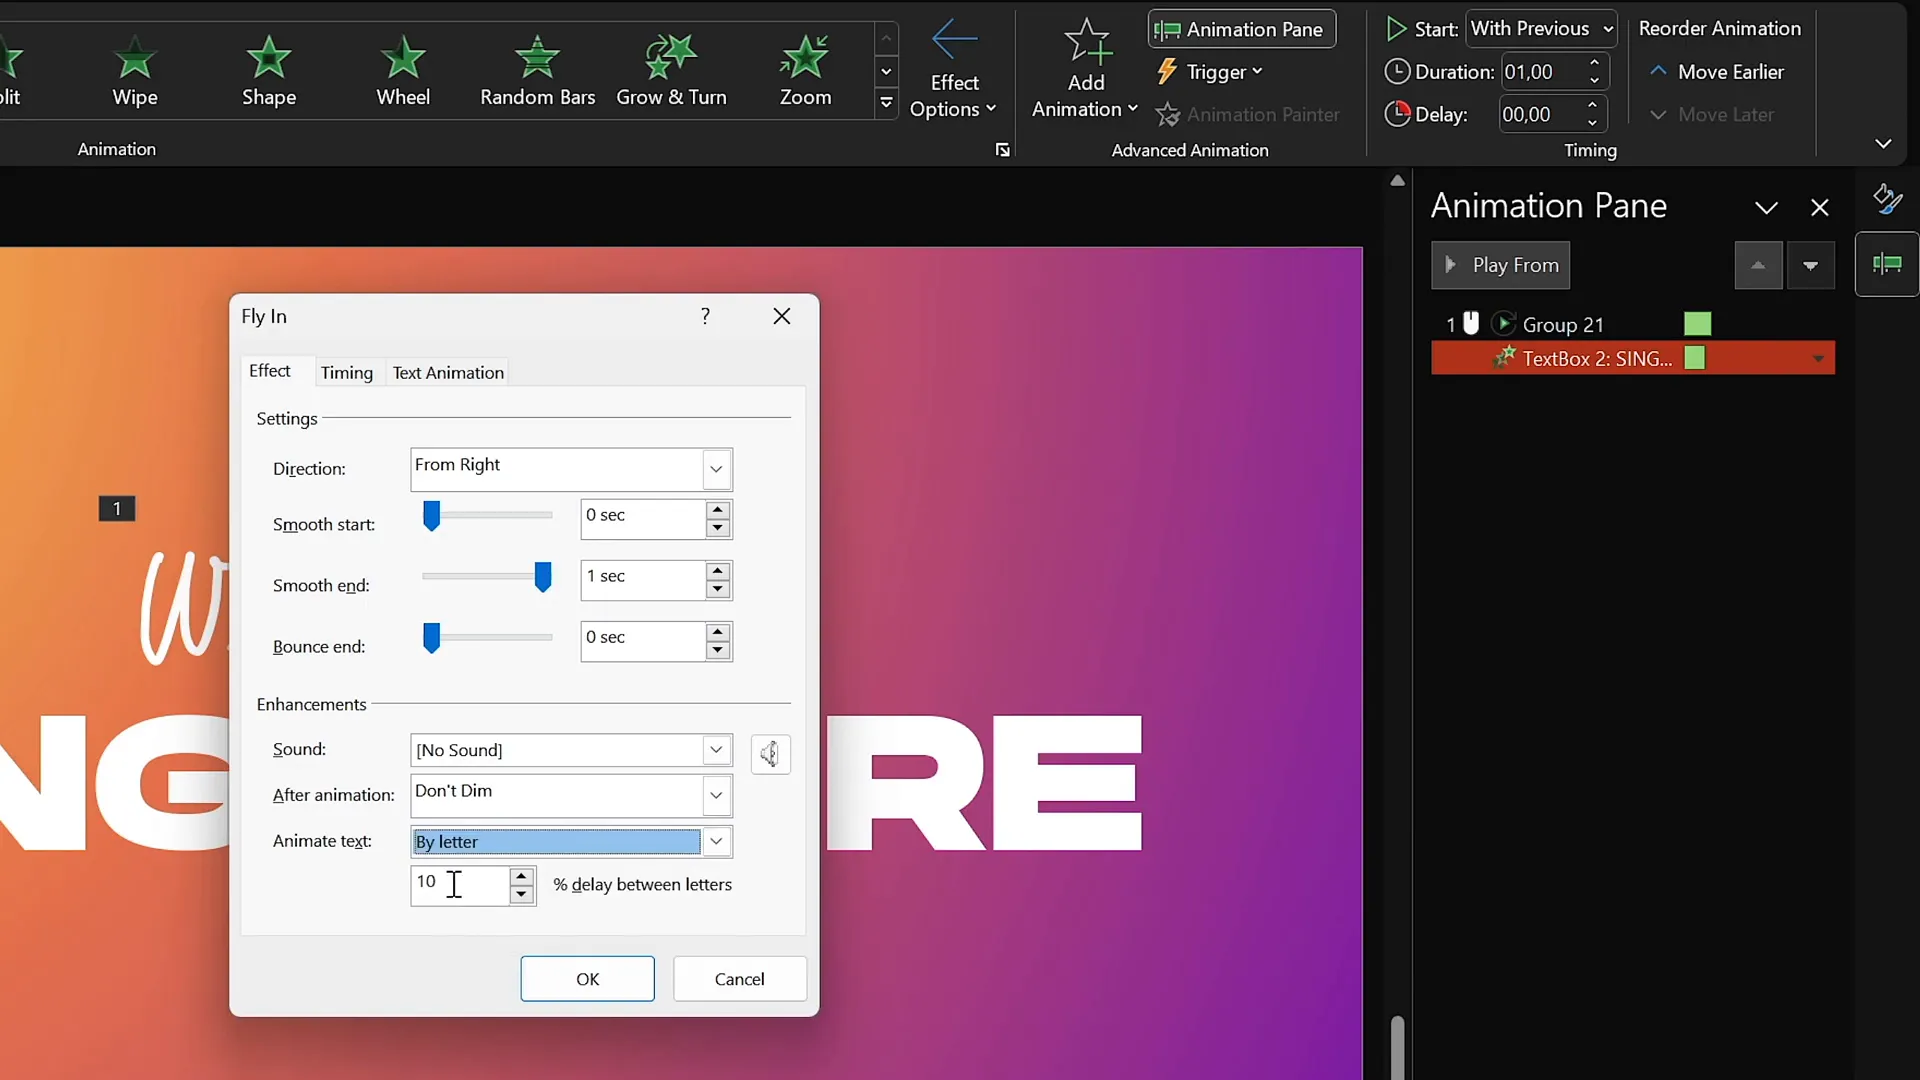
- Select the typed title text box (e.g., “Singapore”).
- Apply the Fly In animation from the right side.
- Set the animation to start with previous, so it plays automatically as the slide loads.
- Adjust the duration to 1 second for a smooth entrance.
- In the animation options, enable By Letter animation with a 10% delay between each letter to create a staggered flying effect.
- Add Maximum Movement for a soft landing effect.
This combination of animations gives your slide a polished and professional feel, with text elements appearing naturally and engagingly.
Creating a Text Cutout Effect with Merge Shapes
One of the most visually striking effects you can create in PowerPoint is the text cutout, where your title text “punches through” a background shape, revealing content underneath.
- Duplicate your animated slide to create a second slide.
- Remove all animations from the duplicated slide to keep it static for now.
- Select the full-screen gradient rectangle and then the title text box.
- Go to the Shape Format tab, click Merge Shapes, and choose Subtract.
This action cuts the title text out of the gradient rectangle, creating a transparent “window” through which you can display other content, such as videos or images.

Adding a Video Background Behind Text Cutouts
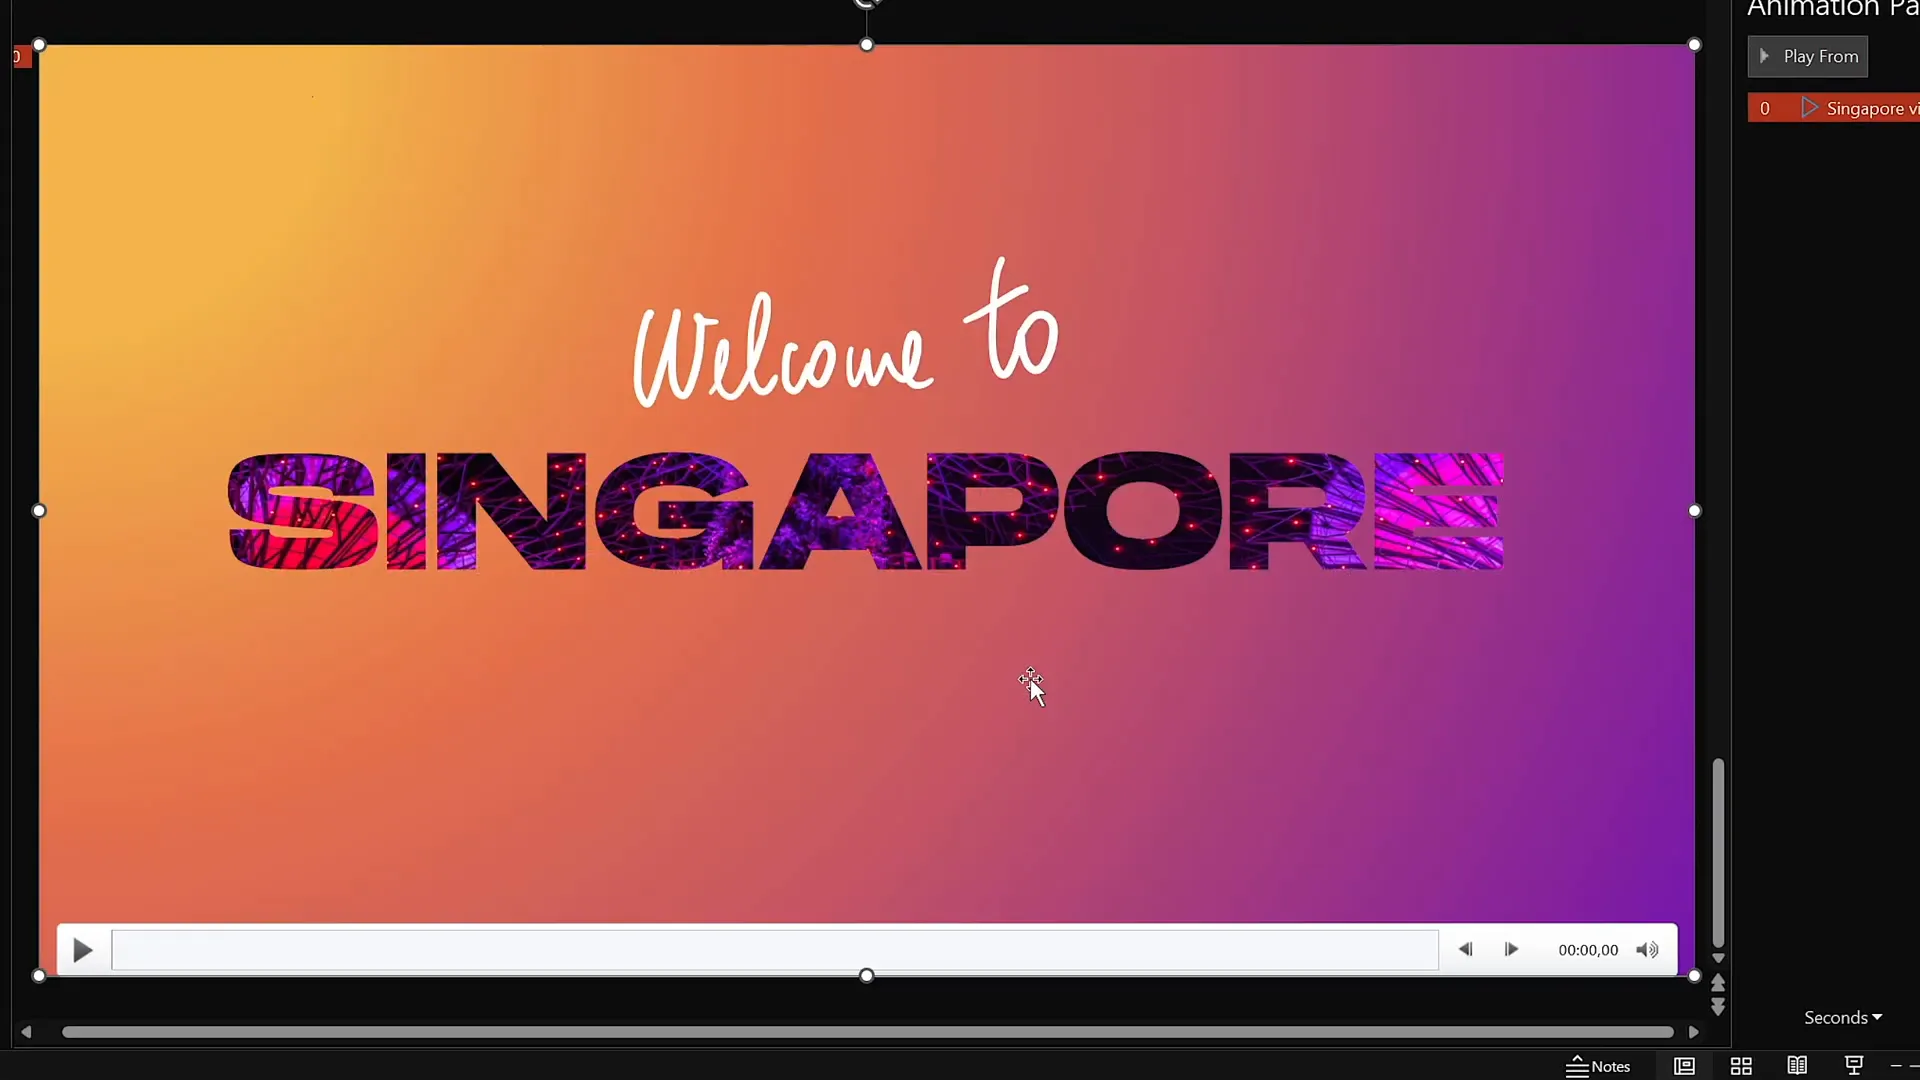
To add dynamic visual interest, you can place a video behind the text cutout, making the letters appear to be filled with moving images.
- Find a royalty-free video that fits your theme. For example, a video of Singapore’s super trees lighting up at night creates a mesmerizing effect.
- Download the video from a reliable stock resource such as DepositPhotos, which provides high-quality royalty-free stock photos and videos.
- Insert the video onto the slide with the text cutout.
- Center-align the video and send it to the back layer so it appears behind the cutout rectangle.
- Set the video playback to start automatically by applying a Play animation set to With Previous.
- Optionally, enable the video to loop continuously in the playback settings.
This technique creates a stunning, animated title slide where your text is alive with movement and color from the video behind it.

Adding Exit Animations for a Smooth Transition
To complete the animation sequence, adding exit animations to text elements makes your slide transitions smooth and professional.
- Select the handwritten “Welcome to” and the typed “Singapore” text boxes.
- Add an exit animation such as Cloud with the direction set to To Top.
- Set the animations to start With Previous so they play automatically.
- Adjust the duration to 1 second for a gentle exit.
- For the title text, set the exit animation to animate By Letter with a delay between letters, creating a staggered flying effect as the text disappears.
This exit animation complements your entrance animations and adds polish to your overall presentation flow.
Final Touches and Presentation Tips
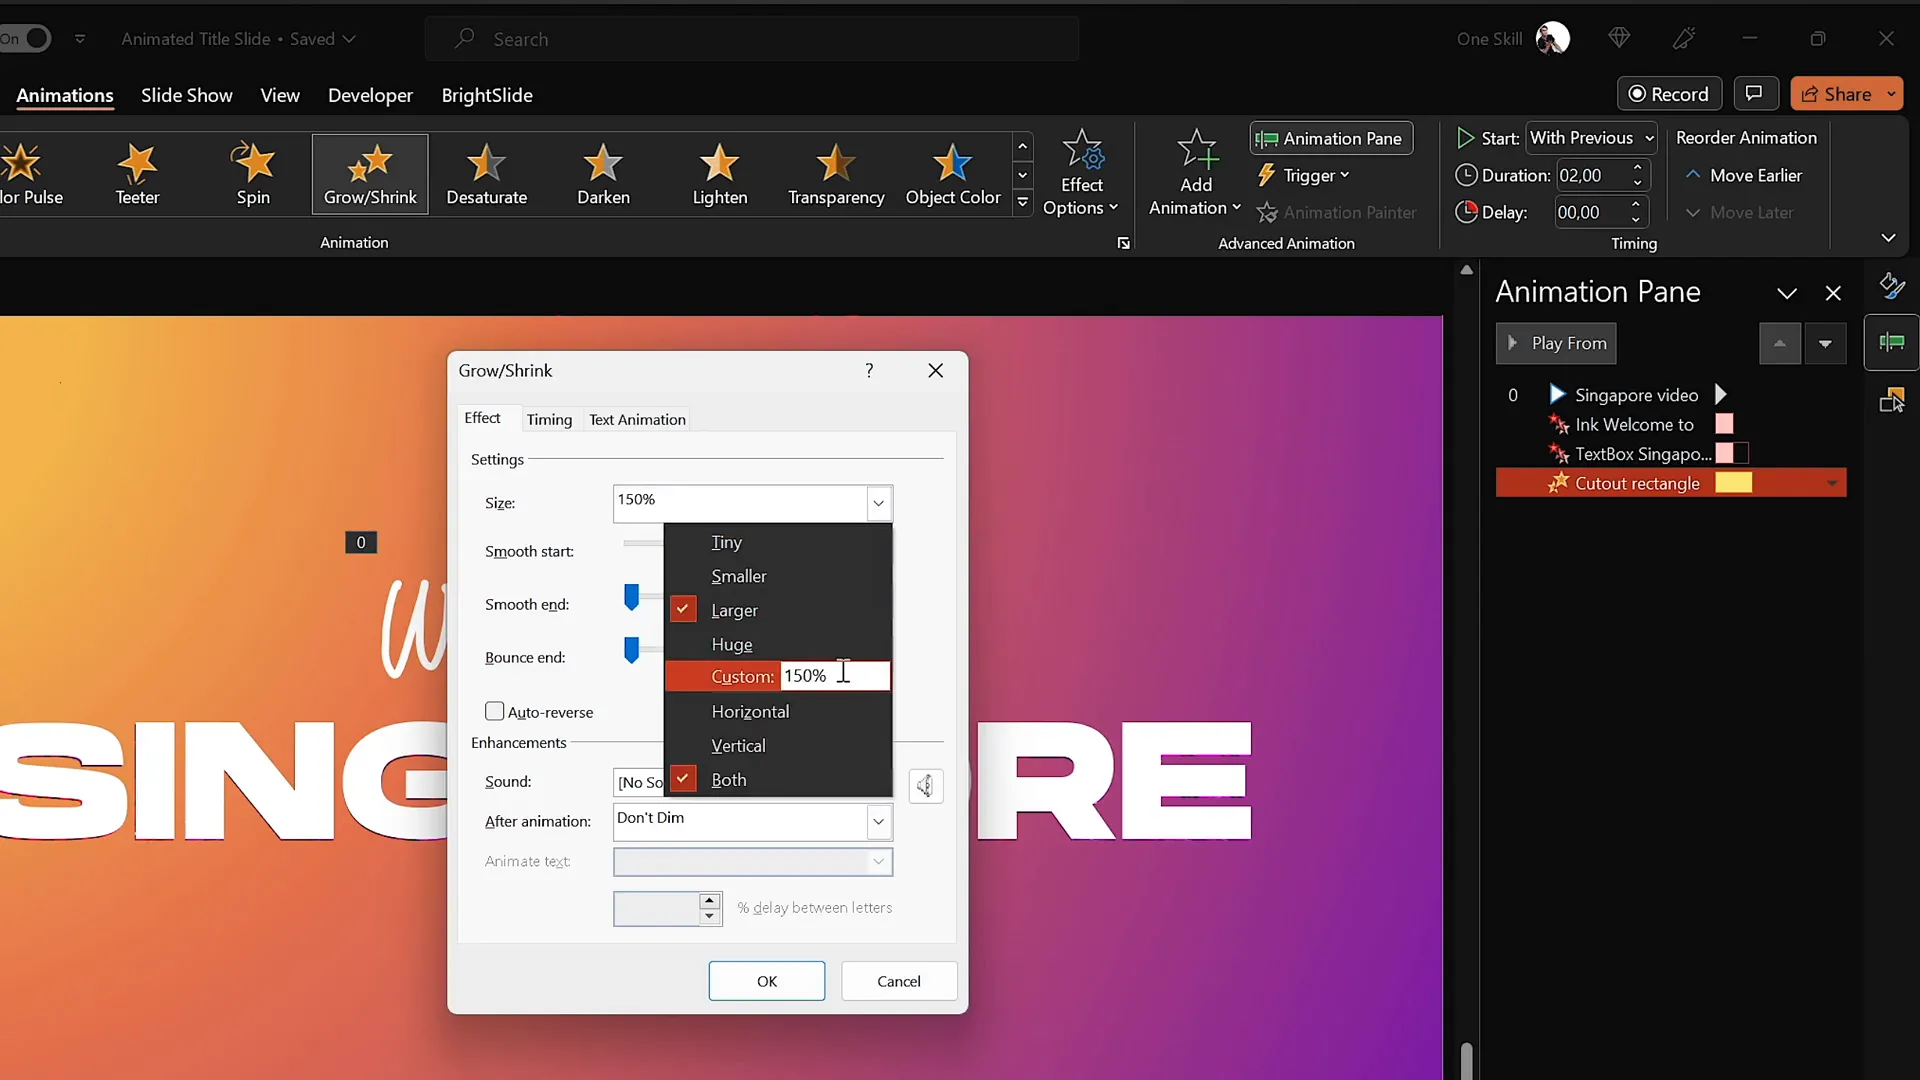
The last step is to animate the gradient cutout rectangle itself to create a zooming and disappearing effect that reveals the video behind it fully.
- Select the gradient rectangle with the text cutout.
- Apply a Grow/Shrink animation.
- Set the animation to start With Previous along with the exit animations of the text.
- Adjust the duration to 2 seconds with a maximum smooth start for a fluid effect.
- Increase the growth size to an unusual 9000% to make the rectangle zoom in and fly away, revealing the video content.
Additionally, set the slide transition to None so the switch from the first slide to the second slide is seamless and without any flicker or delay.
Once you preview the animation sequence, you’ll see how the title text flies in, the handwritten text draws itself, then both exit smoothly as the cutout zooms away, unveiling the video background in a captivating way.
Summary of Animation Settings
| Element | Animation Type | Direction | Duration | Start | Additional Settings |
|---|---|---|---|---|---|
| Handwritten Text (“Welcome to”) | Replay | N/A | 1.3 seconds | On Slide Load | Replay drawing strokes |
| Title Text (“Singapore”) Entrance | Fly In | From Right | 1 second | With Previous | Animate By Letter, 10% delay, Max movement |
| Handwritten & Title Text Exit | Cloud Exit | To Top | 1 second | With Previous | Title text exit By Letter with delay |
| Gradient Rectangle Cutout | Grow/Shrink | Zoom Out | 2 seconds | With Previous | Grow to 9000%, smooth start |
| Background Video | Play | N/A | Loop | With Previous | Autoplay and loop enabled |
Frequently Asked Questions (FAQ)
Can I use these animation techniques in older versions of PowerPoint?
Some features, like the Draw tool and advanced animations, are best supported in Microsoft 365 and newer versions of PowerPoint. Older versions may have limited animation options or lack the Draw tab. Consider updating your software to access the full suite of animation tools.
Do I need a graphics tablet to use the Draw tool effectively?
While you can use a mouse, a graphics tablet such as the Wacom Intuos significantly improves the quality and smoothness of handwritten text and drawings. It offers better control and natural strokes, making your hand-drawn elements look professional.
Where can I find royalty-free videos to use as backgrounds?
Websites like DepositPhotos offer extensive libraries of royalty-free stock videos, photos, and vector art. Many also provide tools like background removers and image upscalers to enhance your media assets.
How do I make sure my animations play smoothly during the presentation?
Always preview your animations in the Animation Pane and run your slideshow in Presentation Mode before the actual event. Adjust durations and delays to ensure timing feels natural and smooth. Avoid overloading slides with too many animations, which can cause lag.
Is it possible to customize the colors in the gradient fill to match my brand?
Absolutely! You can customize each color stop in the gradient fill using hex codes or the color picker. This allows you to match your presentation to your brand colors perfectly.
How do I avoid slide transition flicker between animated slides?
Set the slide transition to None between slides where you want seamless animation flow. This prevents any unwanted visual flicker or delay when moving from one animated slide to another.
Conclusion
Mastering PowerPoint animations transforms your presentations from static to dynamic, engaging, and memorable. By following this comprehensive guide, you now know how to create an animated title slide that combines gradient backgrounds, custom handwritten text, sophisticated text animations, and immersive video backgrounds.
These techniques not only enhance the visual appeal but also keep your audience captivated right from the first slide. Whether you’re presenting for business, education, or creative projects, incorporating these animation tips will elevate your PowerPoint skills and presentation impact.
Remember, the key to great PowerPoint animations is balancing creativity with clarity—use animations to support your message, not distract from it. Experiment with these steps, adjust timings, and customize styles to fit your unique presentation style.
Happy animating, and may your PowerPoint slides always impress!
Check out the full video: How to Create ANIMATED PowerPoint ✨TITLE SLIDE✨


