
PowerPoint animations can transform your presentations from static slides into engaging, interactive experiences. One particularly effective animation style is the “Click and Reveal” animation, which allows your audience to interact with your content by clicking to reveal specific information while hiding the rest. In this comprehensive guide, I’ll walk you through how to create a professional Click and Reveal animation in PowerPoint, using a practical example of pricing options with detailed features.
This tutorial is designed for anyone looking to enhance their PowerPoint skills with dynamic animations that captivate audiences and make your presentations more effective. Whether you’re a beginner or intermediate PowerPoint user, this guide covers everything from slide setup to advanced animation triggers.
Let’s dive into creating stunning PowerPoint animations that will elevate your presentation game!
Table of Contents
- What is Click and Reveal Animation?
- Preparing Your PowerPoint Slide
- Designing and Styling Your Shapes
- Adding and Formatting Text Elements
- Creating Multiple Pricing Options
- Naming Groups for Better Animation Control
- Applying Entrance Animations
- Setting Trigger Animations for Click Events
- Adding Exit Animations to Hide Other Options
- Final Tips for Smooth Animations
- Frequently Asked Questions (FAQ)
What is Click and Reveal Animation?
Click and Reveal animation is a powerful interactive effect in PowerPoint that enables you to display specific content only when clicked, while hiding other content. This technique is particularly useful for:
- Presenting multiple options or packages (like pricing tiers)
- Step-by-step instructions or tutorials
- Interactive quizzes or assessments
- Showing detailed information without overwhelming the slide
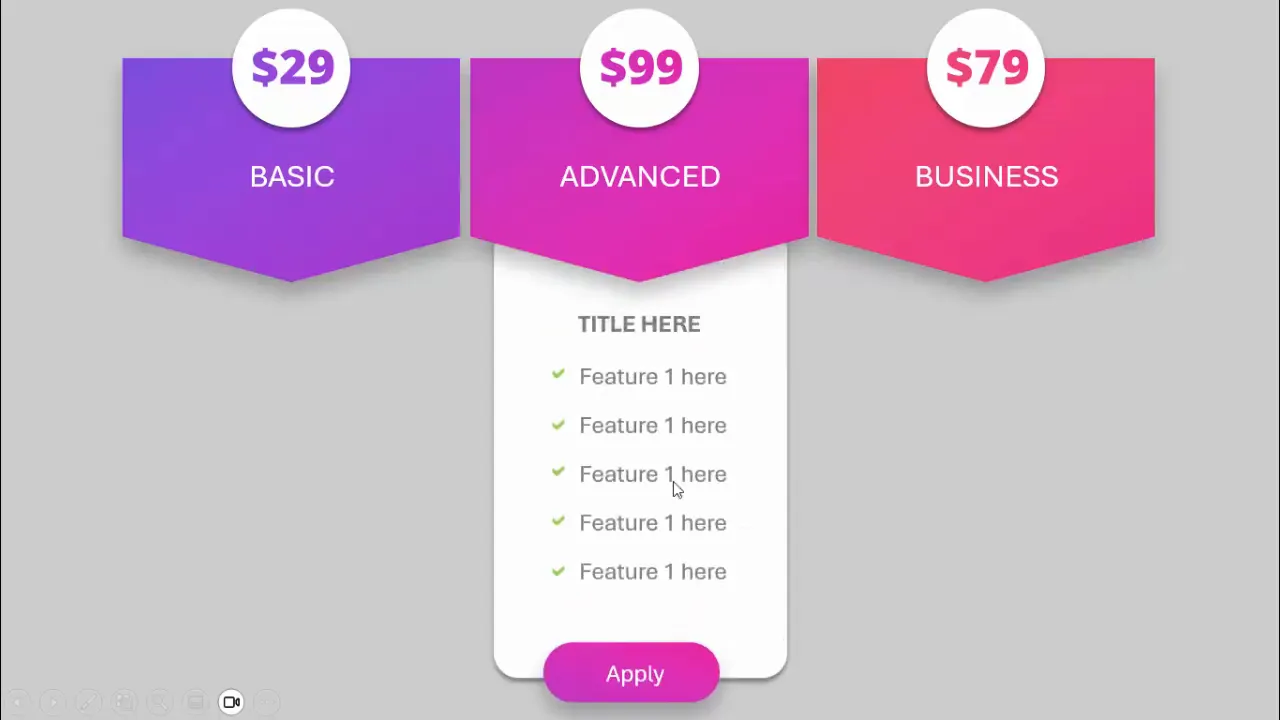
In this tutorial, we’ll use a pricing table example with three options — Basic, Advanced, and Business. Each option reveals its detailed features upon clicking, while hiding the other options to keep the slide clean and focused.
Preparing Your PowerPoint Slide
The first step is to set up your slide properly for the animation and design work. Here’s how:
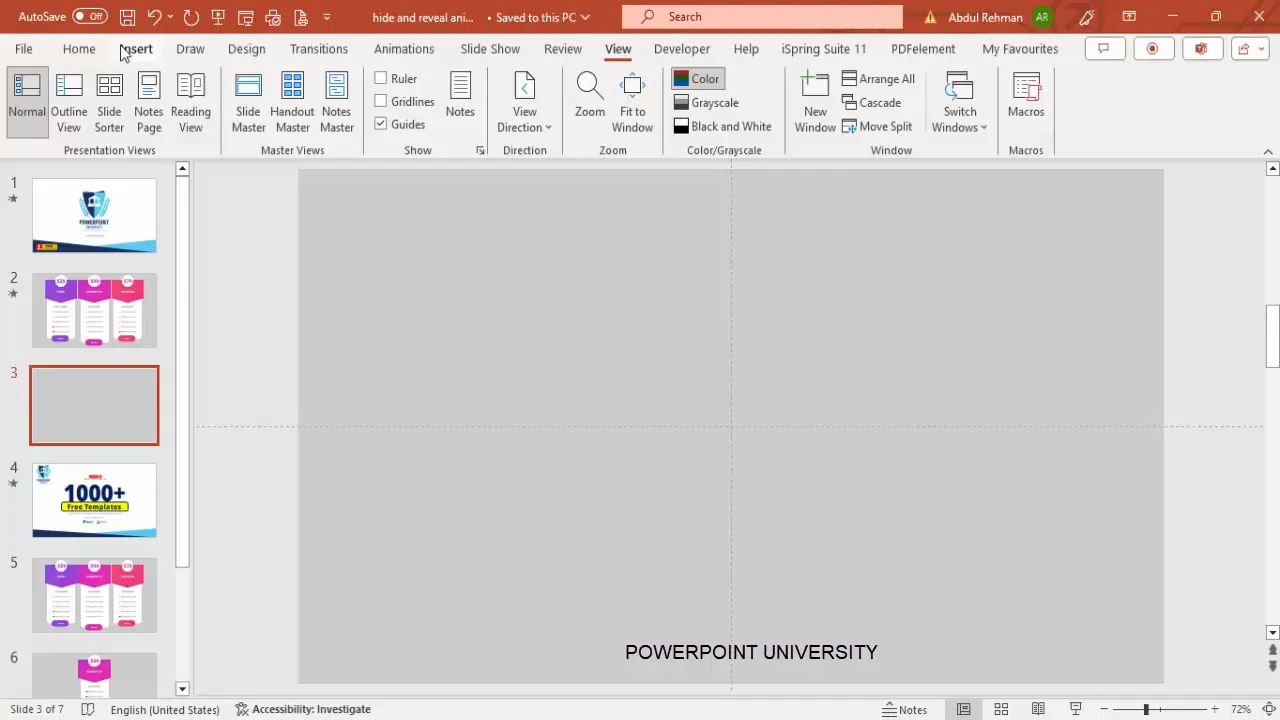
- Add a new slide: Start with a blank slide to give yourself a clean canvas.
- Set the background color: Change the slide background to a light gray color to create a neutral and professional backdrop.
- Enable guides: Go to the View tab and enable Guides. This helps you align your objects perfectly.
Using guides is essential for maintaining a balanced and symmetrical layout, which contributes to a polished and professional look.
Designing and Styling Your Shapes
Next, we’ll create the core shapes that will form the visual structure of your pricing options.
Creating the Arrow Pentagon Shape
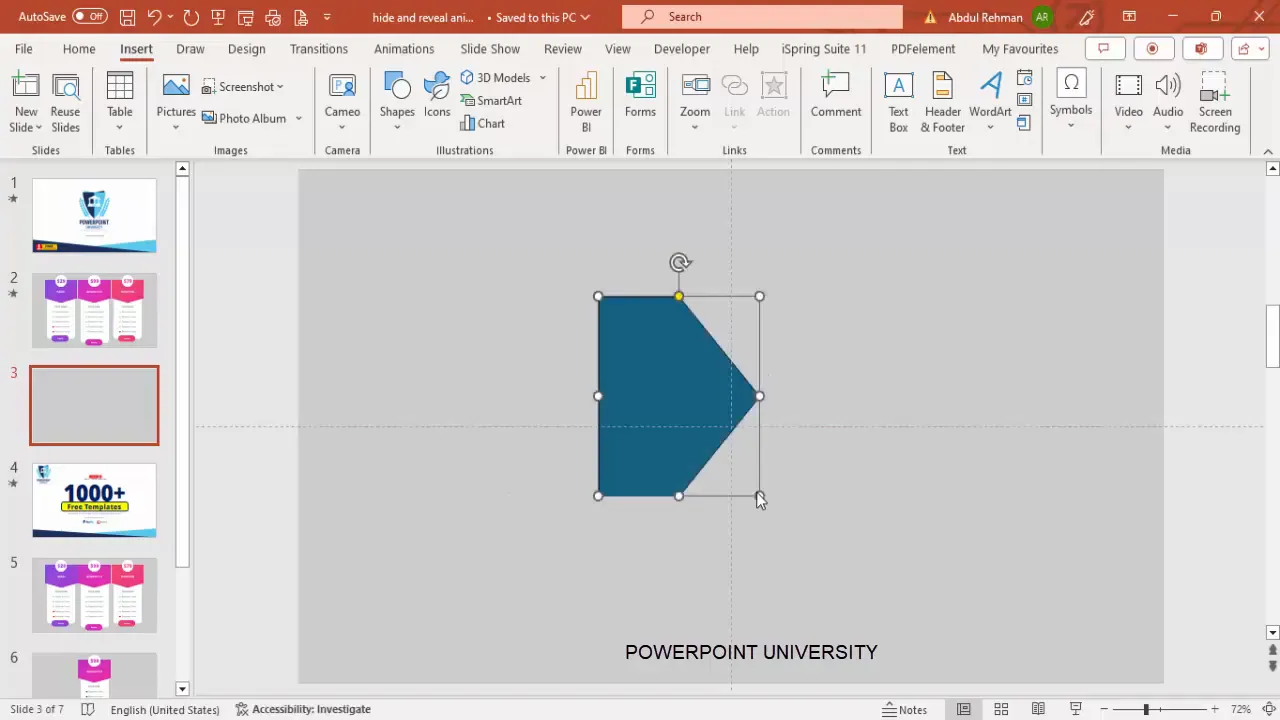
- Go to Insert > Shapes and select Arrow Pentagon from the block arrows category.
- Draw the arrow pentagon roughly in the center of your slide.
- Rotate the shape 90 degrees to the right (Format > Rotate > Rotate Right 90°).
- Align it to the center horizontally and move it slightly upward.
- Increase the width of the shape to make it more prominent.
- Adjust the small orange handle on the shape to reduce the sharpness of the arrow point, creating a softer look.
- Remove the outline by setting Shape Outline to No Outline.
Applying Gradient Fill
To add visual interest, apply a gradient fill to the arrow pentagon:
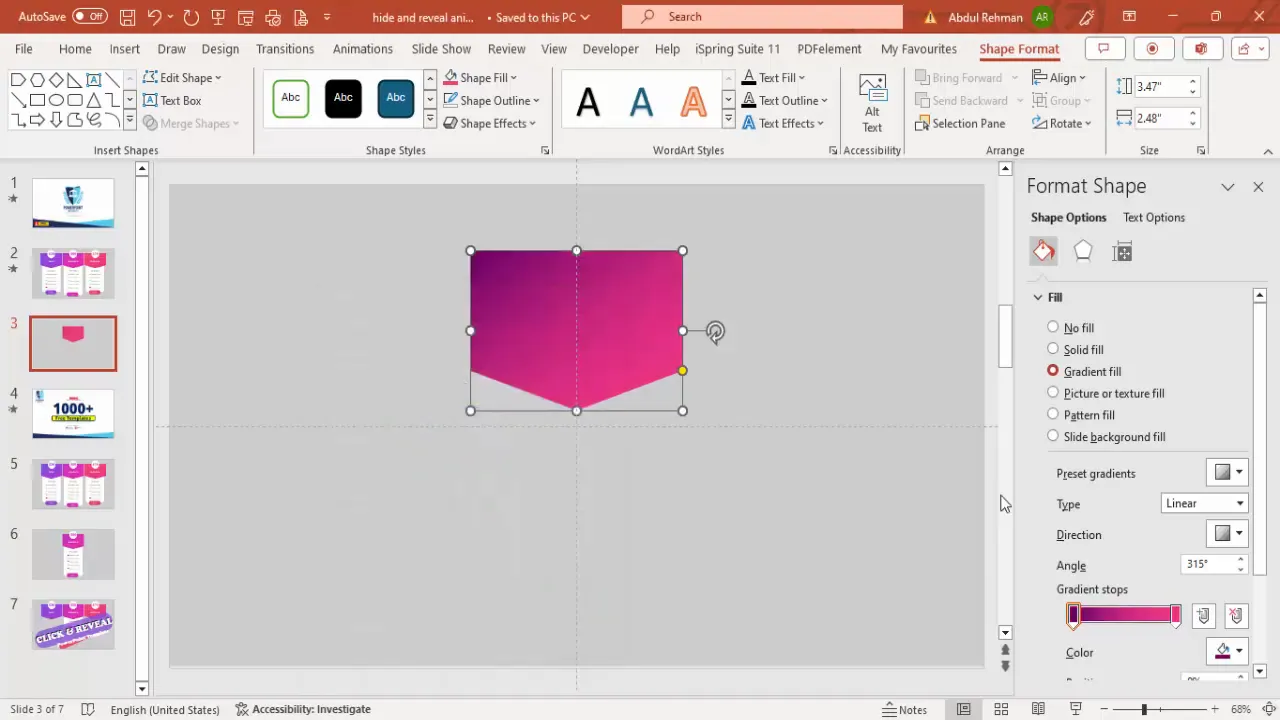
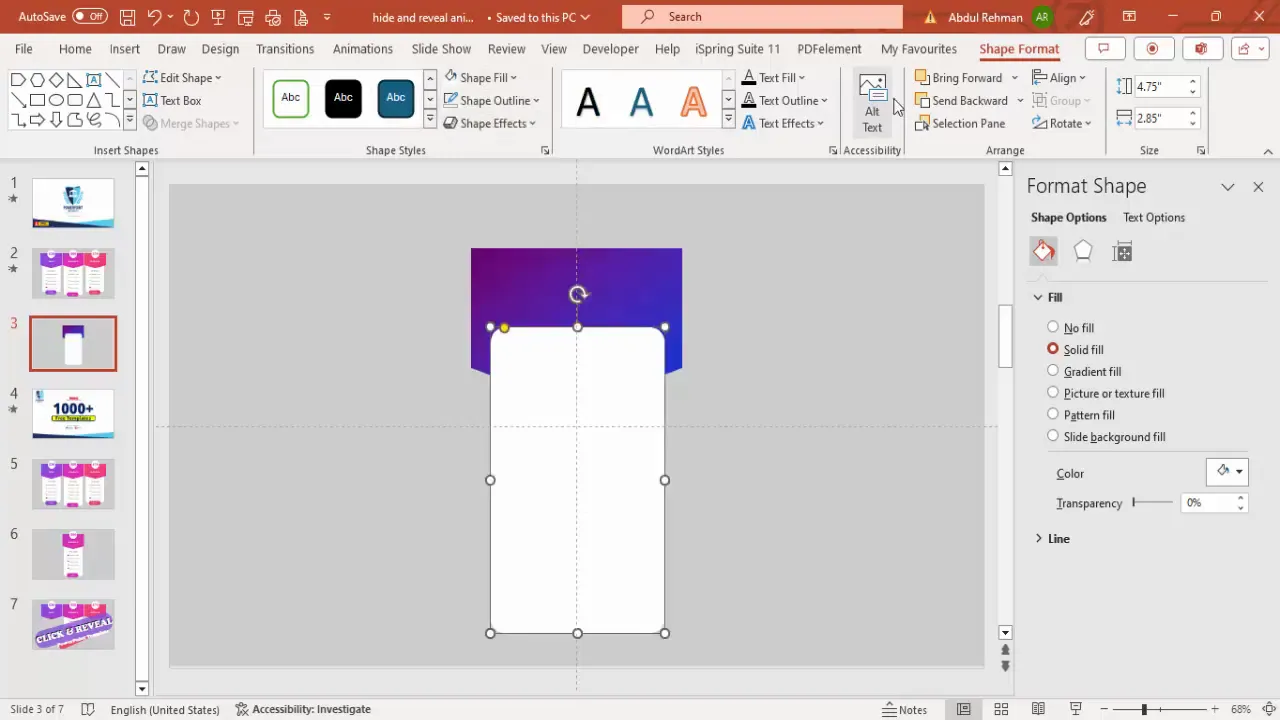
- Right-click the shape and select Format Shape.
- Under Fill, choose Gradient fill.
- Add two gradient stops:
- Set the first stop to a dark purple color.
- Set the second stop to a blue shade.
- Adjust the gradient direction as needed for a smooth blend.
Adding Rounded Corner Rectangles
These rectangles will serve as containers for pricing details and text.
- Insert a Rounded Corner Rectangle shape.
- Draw it centered below the arrow pentagon.
- Adjust the orange handle to control the roundness of the corners.
- Set the Shape Outline to No Outline.
- Fill the shape with white color.
- Send the shape to the back (Right-click > Send to Back).
- Add a subtle shadow effect: go to Shape Effects > Shadow > Offset Bottom. Increase the distance and blur for a soft shadow.
- Repeat to add another rounded rectangle at the bottom for additional design layering. Apply a gradient fill matching the arrow pentagon.
Adding Header Shape for Pricing Options
- Insert a large white rectangle at the top to hold the pricing option titles.
- Make it slightly larger using Ctrl + Shift and drag to scale uniformly.
- Remove the outline and apply the same shadow effect (Offset Bottom).

Adding and Formatting Text Elements
Once the shapes are ready, add descriptive text for pricing and features.
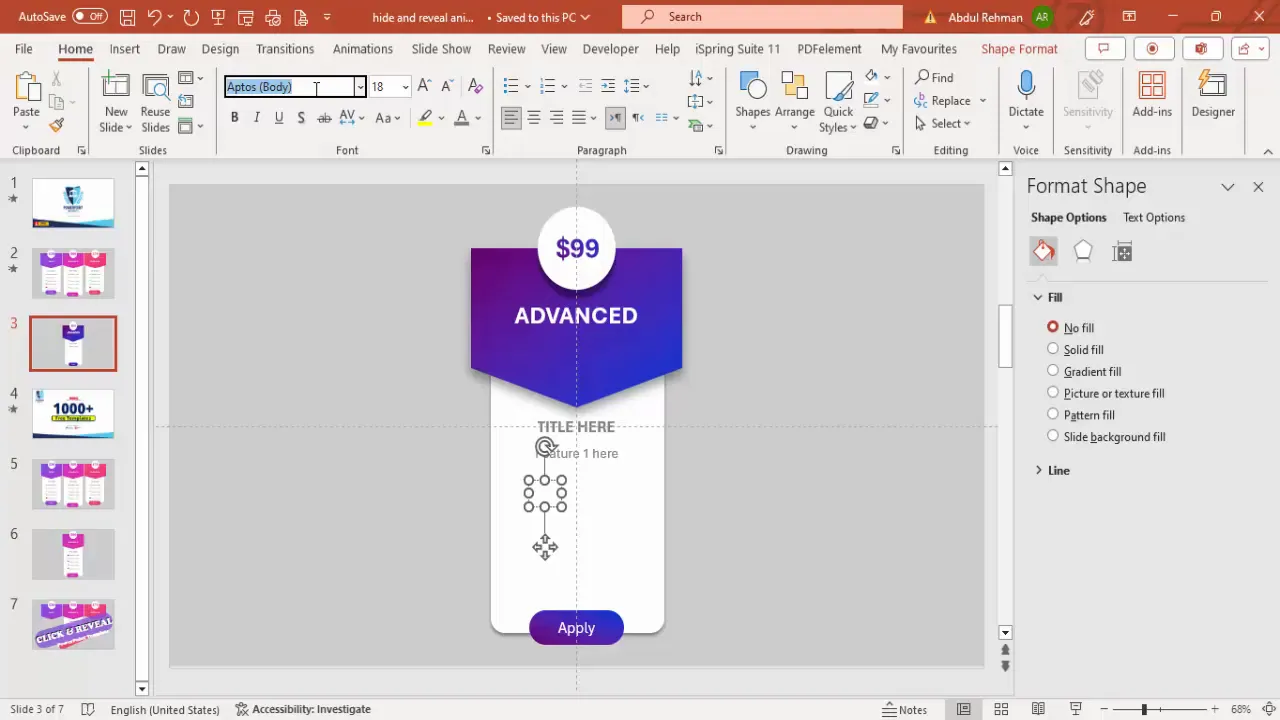
- Insert text boxes for prices, titles, and features.
- Example: Add a price text box with the amount, e.g., “$99”. Center-align the text and make it bold.
- Apply the same gradient fill to the text as the arrow pentagon for a cohesive look:
- Select the text box.
- Go to Text Options > Text Fill & Outline.
- Choose Gradient Fill and apply similar colors.
- Add option titles such as “Basic,” “Advanced,” and “Business” in white bold font, center aligned.
- Add feature descriptions below each pricing option.

Using Webdings for Tick and Cross Marks
To visually indicate feature availability, use Webdings font for checkmarks and crosses:
- Insert a text box and set the font to Webdings.
- Type the letter “a” to display a tick mark.
- Type the letter “r” to display a cross mark.
- Color ticks green and crosses red to clearly distinguish availability.
- Duplicate these symbols across features to indicate which are included in each pricing option.
Creating Multiple Pricing Options
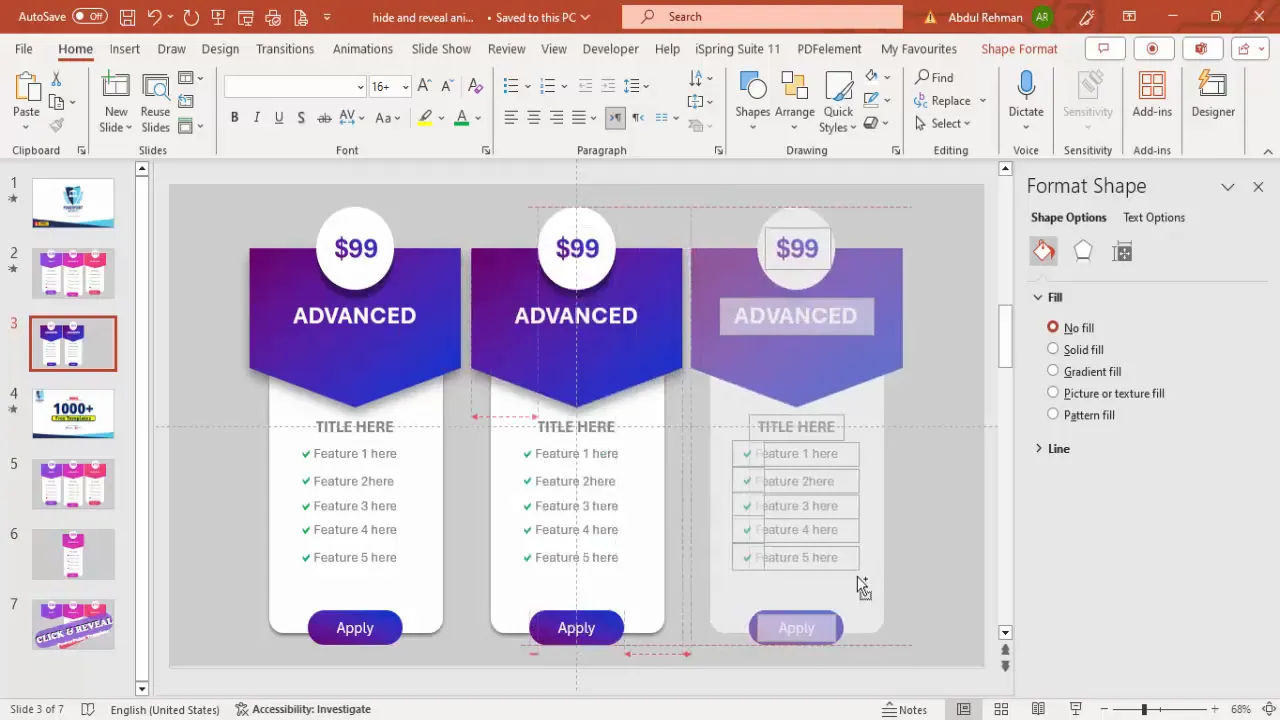
Now that you have one pricing option designed, duplicate and modify it to create the other options.
- Select all objects of your first pricing option.
- Hold Ctrl + Shift and drag to the right to create a copy.
- Repeat to create the third option on the left side.
- Rename the copied options to “Basic,” “Advanced,” and “Business.”
- Adjust prices and feature availability ticks and crosses accordingly:
- Basic: $39, fewer features available (some crosses).
- Advanced: $89, more features (mostly ticks).
- Business: $99, all features available.
- Customize colors for each pricing option to differentiate them visually.
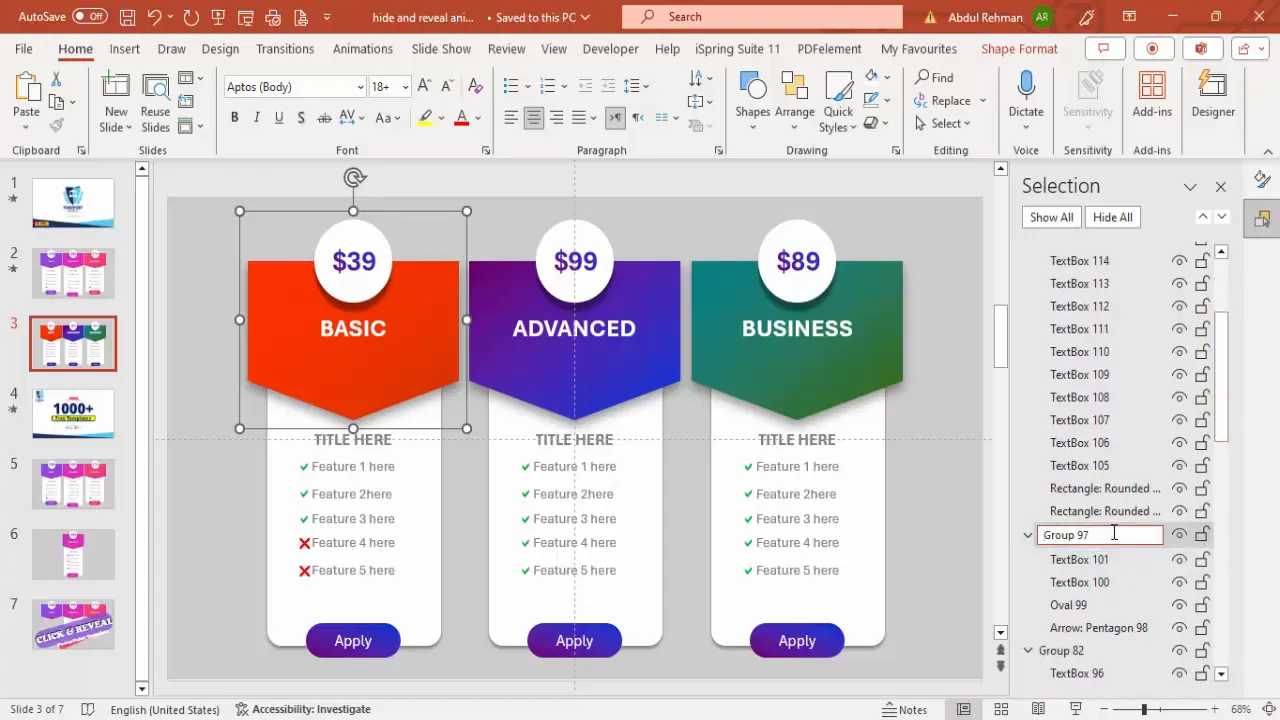
Naming Groups for Better Animation Control
Before applying animations, it’s crucial to group related elements and give them descriptive names. This helps manage complex animations and triggers later.
- Select all elements belonging to one pricing option’s header and press Ctrl + G to group them.
- Do the same for detailed features under each option.
- Open the Selection Pane (Home > Select > Selection Pane).
- Rename groups clearly, for example:
- Basic Option
- Basic Details
- Advanced Option
- Advanced Details
- Business Option
- Business Details
Applying Entrance Animations
With well-named groups, you can now add entrance animations that make your options appear dynamically when clicked.
- Select all three pricing option headers (Basic, Advanced, Business) using the Shift key.
- Go to the Animations tab and click Add Animation.
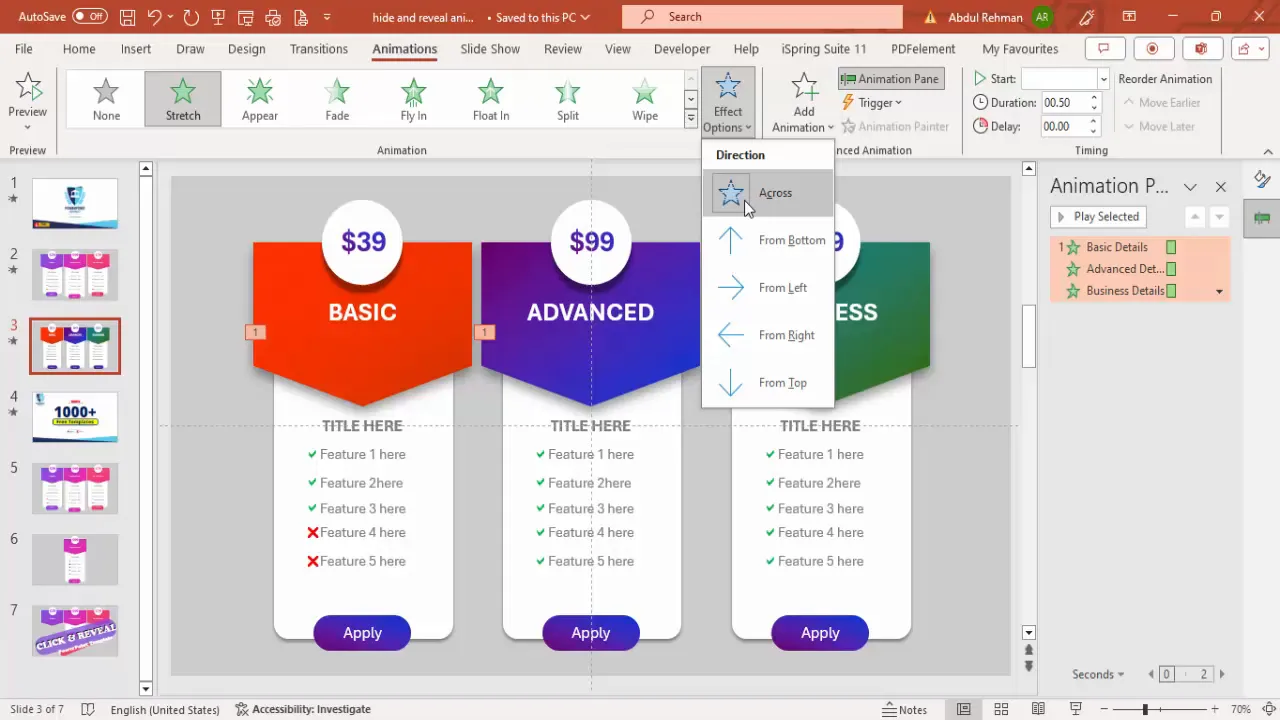
- Choose More Entrance Effects and select Stretch.
- Set the direction to stretch from the top.
- Click OK.
- This animation makes the pricing headers slide in smoothly.
Setting Trigger Animations for Click Events
The key to Click and Reveal animations is setting triggers so that the details for each pricing option appear only when that option is clicked.

- Select the detailed features group for the Basic option.
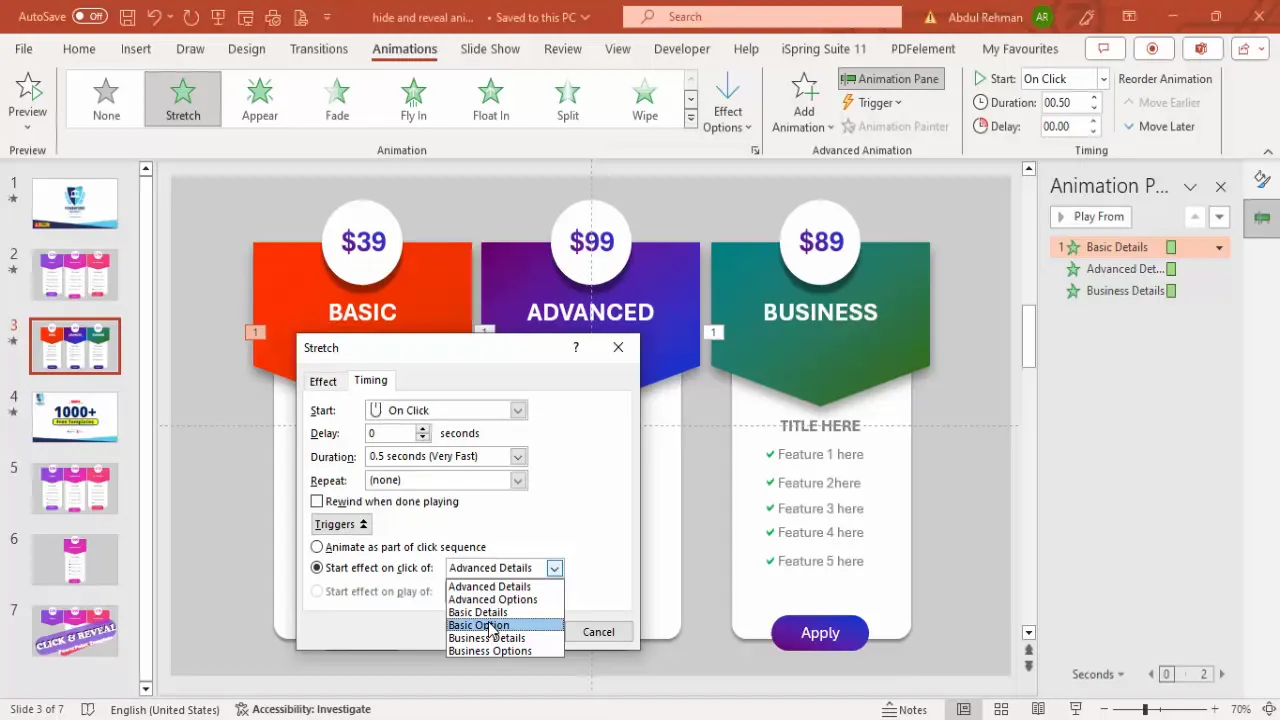
- Open the animation pane and double-click the entrance animation for this group.
- Go to the Timing tab and then Triggers.
- Select Start effect on click of and choose Basic Option.
- Click OK.
- Repeat the same steps for Advanced Details with trigger on Advanced Option, and Business Details with trigger on Business Option.
This setup ensures that clicking on a pricing header reveals only its details.
Adding Exit Animations to Hide Other Options
To maintain a clean slide, when one pricing option is selected, the other options’ details should hide automatically. This requires adding exit animations triggered by clicks on the other options.
- Select all three pricing details groups.
- Go to Animations > Add Animation and choose an exit effect like Collapse (from the top).
- Set the exit animation to With Previous so it triggers smoothly.
- You need to add multiple exit animations to handle all possible hiding scenarios:
- When clicking Basic, hide Advanced and Business details.
- When clicking Advanced, hide Basic and Business details.
- When clicking Business, hide Basic and Advanced details.
- Repeat adding exit animations three times to cover all combinations, adjusting triggers accordingly.
- Finally, add a Disappear exit animation with With Previous to ensure smooth hiding.
This step is crucial for creating a seamless interactive experience where only one pricing option’s details are visible at a time.

Final Tips for Smooth Animations
- Group related objects: Grouping objects helps manage animations easily and keeps your slide organized.
- Name your groups clearly: Use descriptive names in the Selection Pane for quick identification.
- Use triggers wisely: Triggers ensure animations play only when intended, making your presentation interactive.
- Test your animations: Run your slideshow and click through options to ensure animations behave as expected.
- Customize colors and fonts: Match your branding or presentation theme for a professional look.
- Keep animations subtle: Avoid overuse of flashy animations that can distract your audience.
By following these tips, you’ll create polished, interactive PowerPoint animations that engage your audience and communicate your message effectively.
Frequently Asked Questions (FAQ)
What versions of PowerPoint support Click and Reveal animations?
Click and Reveal animations using triggers and grouped animations are supported in PowerPoint 2010 and later, including Office 365 versions.
Can I use this animation technique for other purposes?
Absolutely! Click and Reveal animations are versatile and can be used for quizzes, interactive menus, step-by-step instructions, and more.
How do I manage complex animations without confusion?
Always group related objects and name them clearly in the Selection Pane. Keep your Animation Pane organized and use descriptive labels for triggers.
Can I customize the colors and fonts in the animation?
Yes, all shapes and texts can be customized to match your brand or presentation style using PowerPoint’s formatting tools.
Is there a way to download pre-made templates for Click and Reveal animations?
Many creators, including professional PowerPoint tutorial channels, offer free templates. These can be a great starting point to learn and customize.
How do I preview my animations?
Use the Slide Show mode and click on the interactive elements to test how animations appear and disappear in real time.
Conclusion
Creating Click and Reveal animations in PowerPoint adds a dynamic and interactive layer to your presentations that can captivate and engage your audience. By following the detailed steps outlined above—from preparing your slide and designing shapes to setting up triggers and exit animations—you can build professional, clean, and functional animations that showcase your content effectively.
Remember, the key to successful PowerPoint animations lies in thoughtful design, organized grouping, and precise animation timing. Practice these techniques to enhance your presentations and leave a lasting impression.
For more free PowerPoint templates and tutorials, consider exploring dedicated resources that offer ready-made designs to accelerate your creative process.
Check out the full video: Click and Reveal Animation in PowerPoint


