
If you’ve ever wanted to add captivating animations to your PowerPoint slides but felt unsure where to start, or dreamed of creating advanced, unique animations that truly stand out, you’re in the right place. PowerPoint animations can dramatically elevate your presentations, making them engaging, dynamic, and memorable. In this comprehensive guide, you’ll learn everything you need to become a PowerPoint animation pro — from fundamental animation types to advanced techniques involving text, drawings, 3D models, and custom combinations.
This article distills expert insights and step-by-step instructions to help you master the art of PowerPoint animations, empowering you to captivate any audience and take your presentations to the next level.
Table of Contents
- Why Use PowerPoint Animations?
- The Four Main Types of PowerPoint Animations
- How to Add Animations in PowerPoint
- Using the Animation Pane to Manage Animations
- Adding Multiple Animations to One Object
- Four Additional Ways to Animate in PowerPoint
- Enhancing Animations with Smoothing
- Frequently Asked Questions (FAQ)
- Conclusion
Why Use PowerPoint Animations?
Animations are a powerful tool to breathe life into your slides, emphasizing key points, guiding your audience’s attention, and creating a more engaging storytelling experience. Whether you’re a business professional, educator, designer, entrepreneur, or student, mastering PowerPoint animations can elevate your presentations dramatically.
Animations can:
- Introduce new content smoothly and attractively.
- Highlight important information to keep viewers focused.
- Control the flow of information and pacing of your presentation.
- Make complex information more digestible by breaking it into animated elements.
- Enhance your visual storytelling with dynamic illustration and emphasis.
With the right skills, you can create professional, breathtaking animations that impress your audience without overwhelming them.
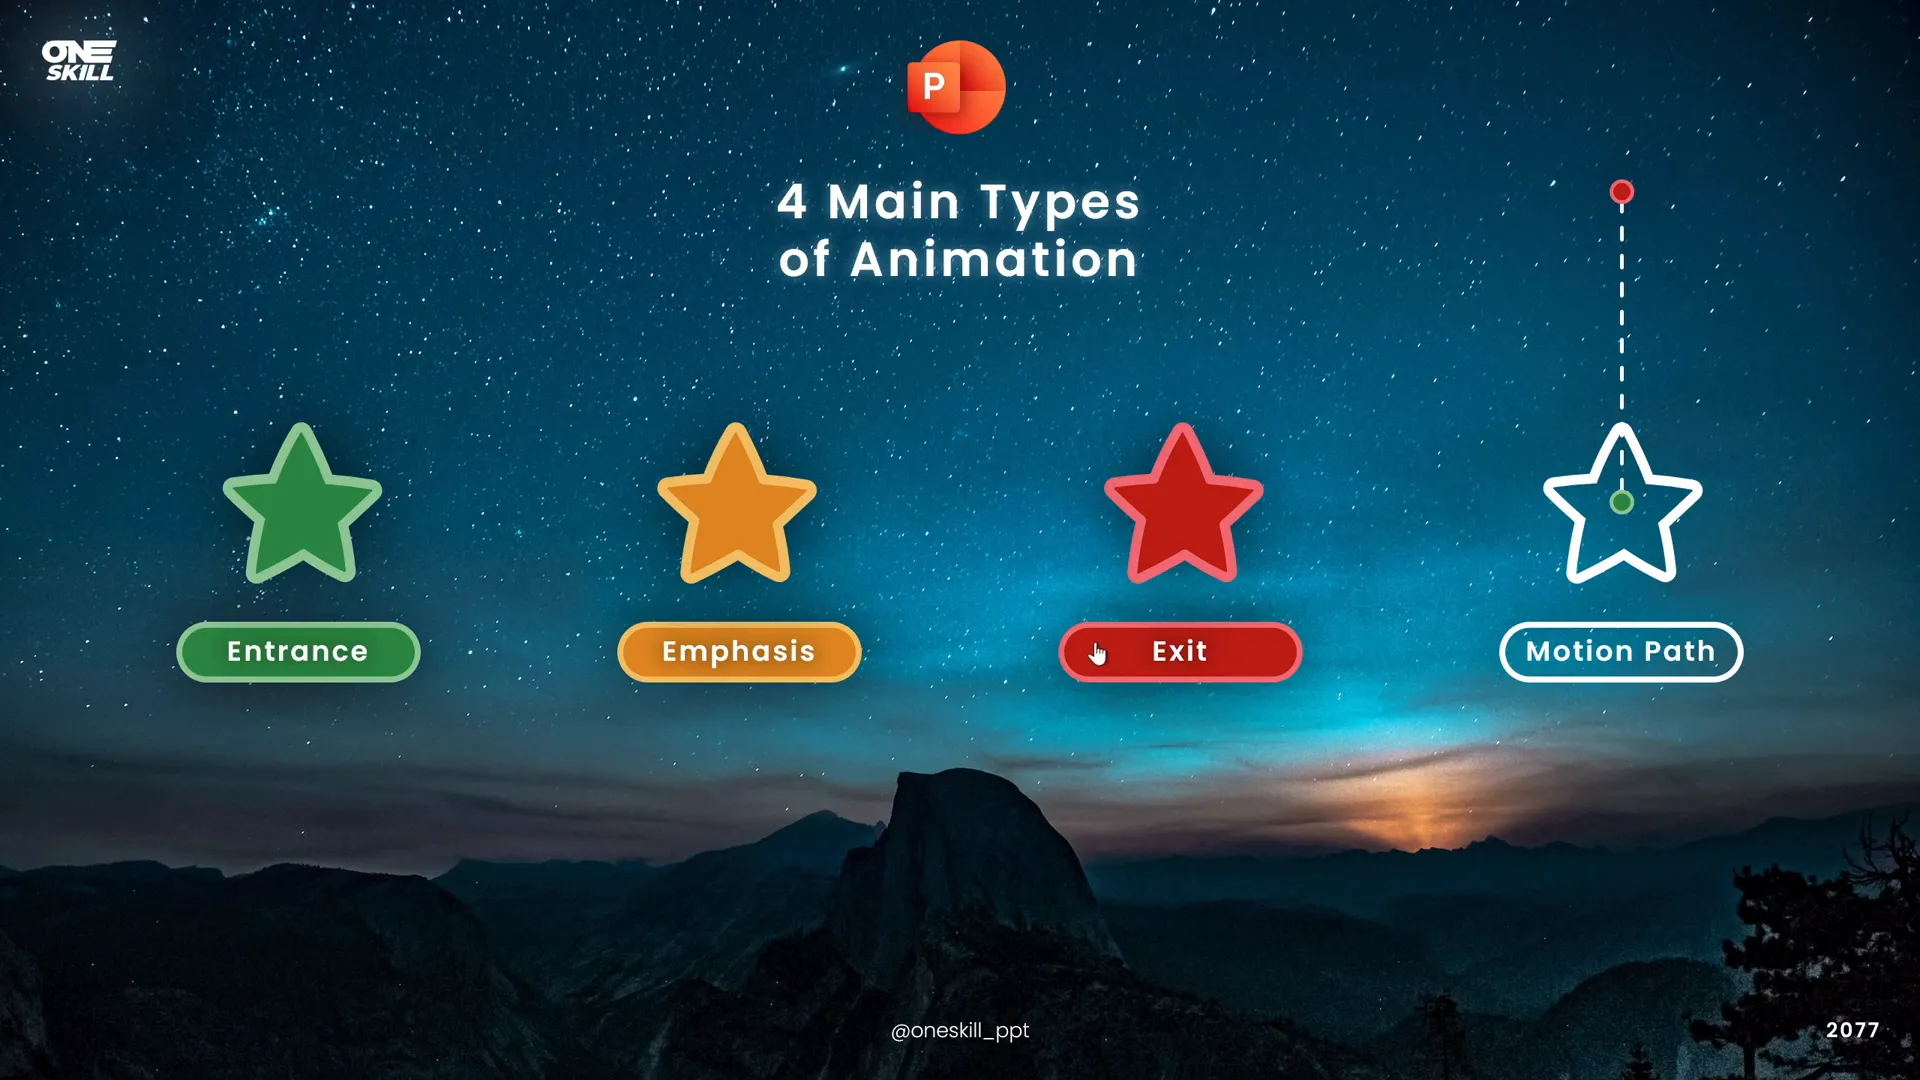
The Four Main Types of PowerPoint Animations
Understanding the core animation categories in PowerPoint is the foundation for building stunning animated presentations. PowerPoint animations fall into four main types:
| Animation Type | Purpose | Examples |
|---|---|---|
| Entrance Animations | Introduce an object onto the slide | Fly In, Fade, Zoom |
| Emphasis Animations | Highlight or draw attention to an existing object | Spin, Pulse, Color Change |
| Exit Animations | Remove or hide an object from the slide | Fade Out, Zoom Out, Fly Out |
| Motion Path Animations | Move an object along a specified path on the slide | Lines, Curves, Circles, Custom Paths |
Each type serves a unique role in your animation workflow, allowing you to craft sophisticated sequences that guide your audience’s eyes and thoughts effectively.
How to Add Animations in PowerPoint
PowerPoint makes it easy to animate almost any object on your slide, including shapes, text boxes, pictures, and videos. Here’s how to add animations step-by-step:
- Select the object you want to animate (e.g., a shape or text box).
- Go to the Animations tab on the PowerPoint ribbon.
- Choose an animation from the gallery. Animations are color-coded by type:
- Green indicates entrance animations.
- Yellow indicates emphasis animations.
- Red indicates exit animations.
- To see more options, click the small arrow at the bottom-right of the animation gallery to open the full list.
- For motion path animations, scroll down to the bottom and select from line paths, curves, circles, or draw your own custom path.
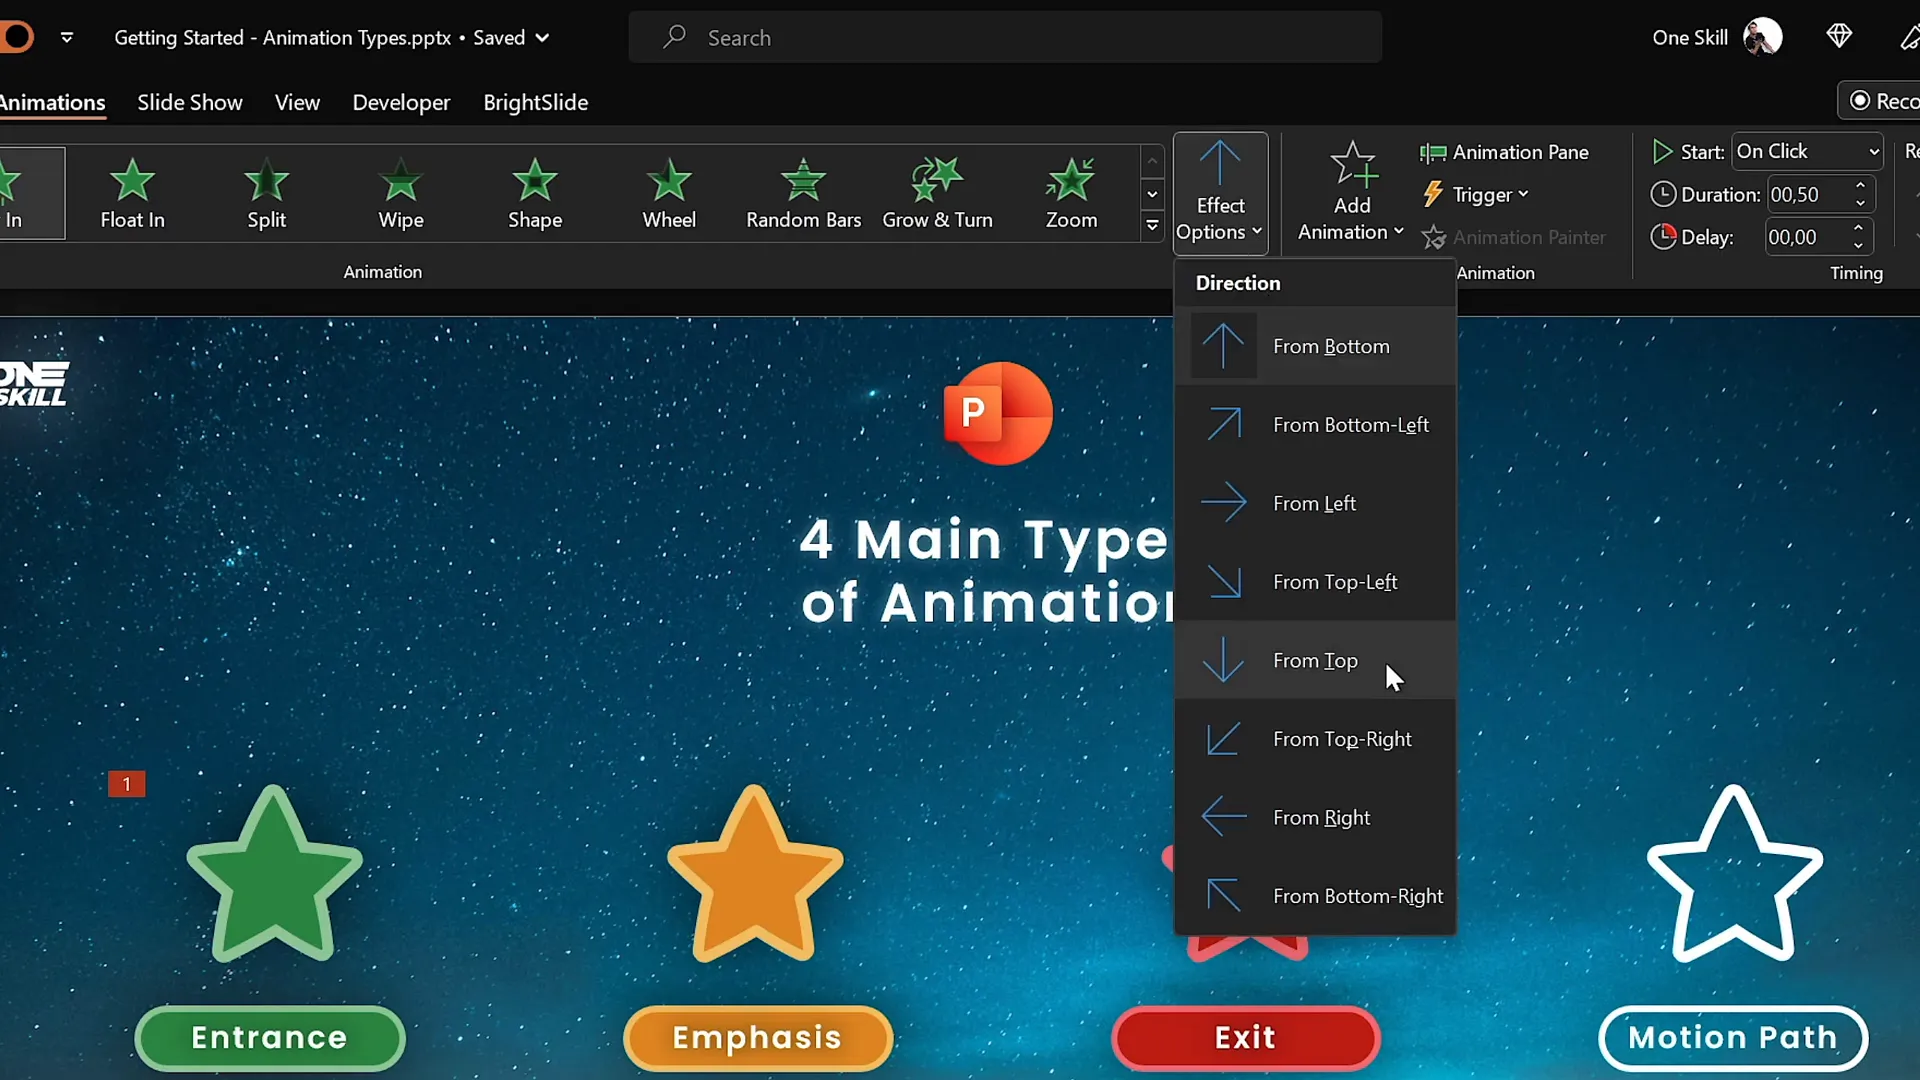
- After selecting an animation, customize its direction or effect options in the ribbon.
For instance, if you add a “Fly In” entrance animation, you can specify the direction (from top, bottom, left, or right) to control how the object enters the slide.
Using the ‘Add Animation’ Button
When you want to add multiple animations to the same object, don’t select animations directly from the main animation gallery after the first animation. Instead, use the Add Animation button. This ensures your new animation is added without replacing the existing one.
For example, if your object already has a “Fly In” animation, and you want to add a “Spin” emphasis animation, first select the object, then click Add Animation and choose “Spin” from the emphasis animations. This method lets you stack animations effortlessly.
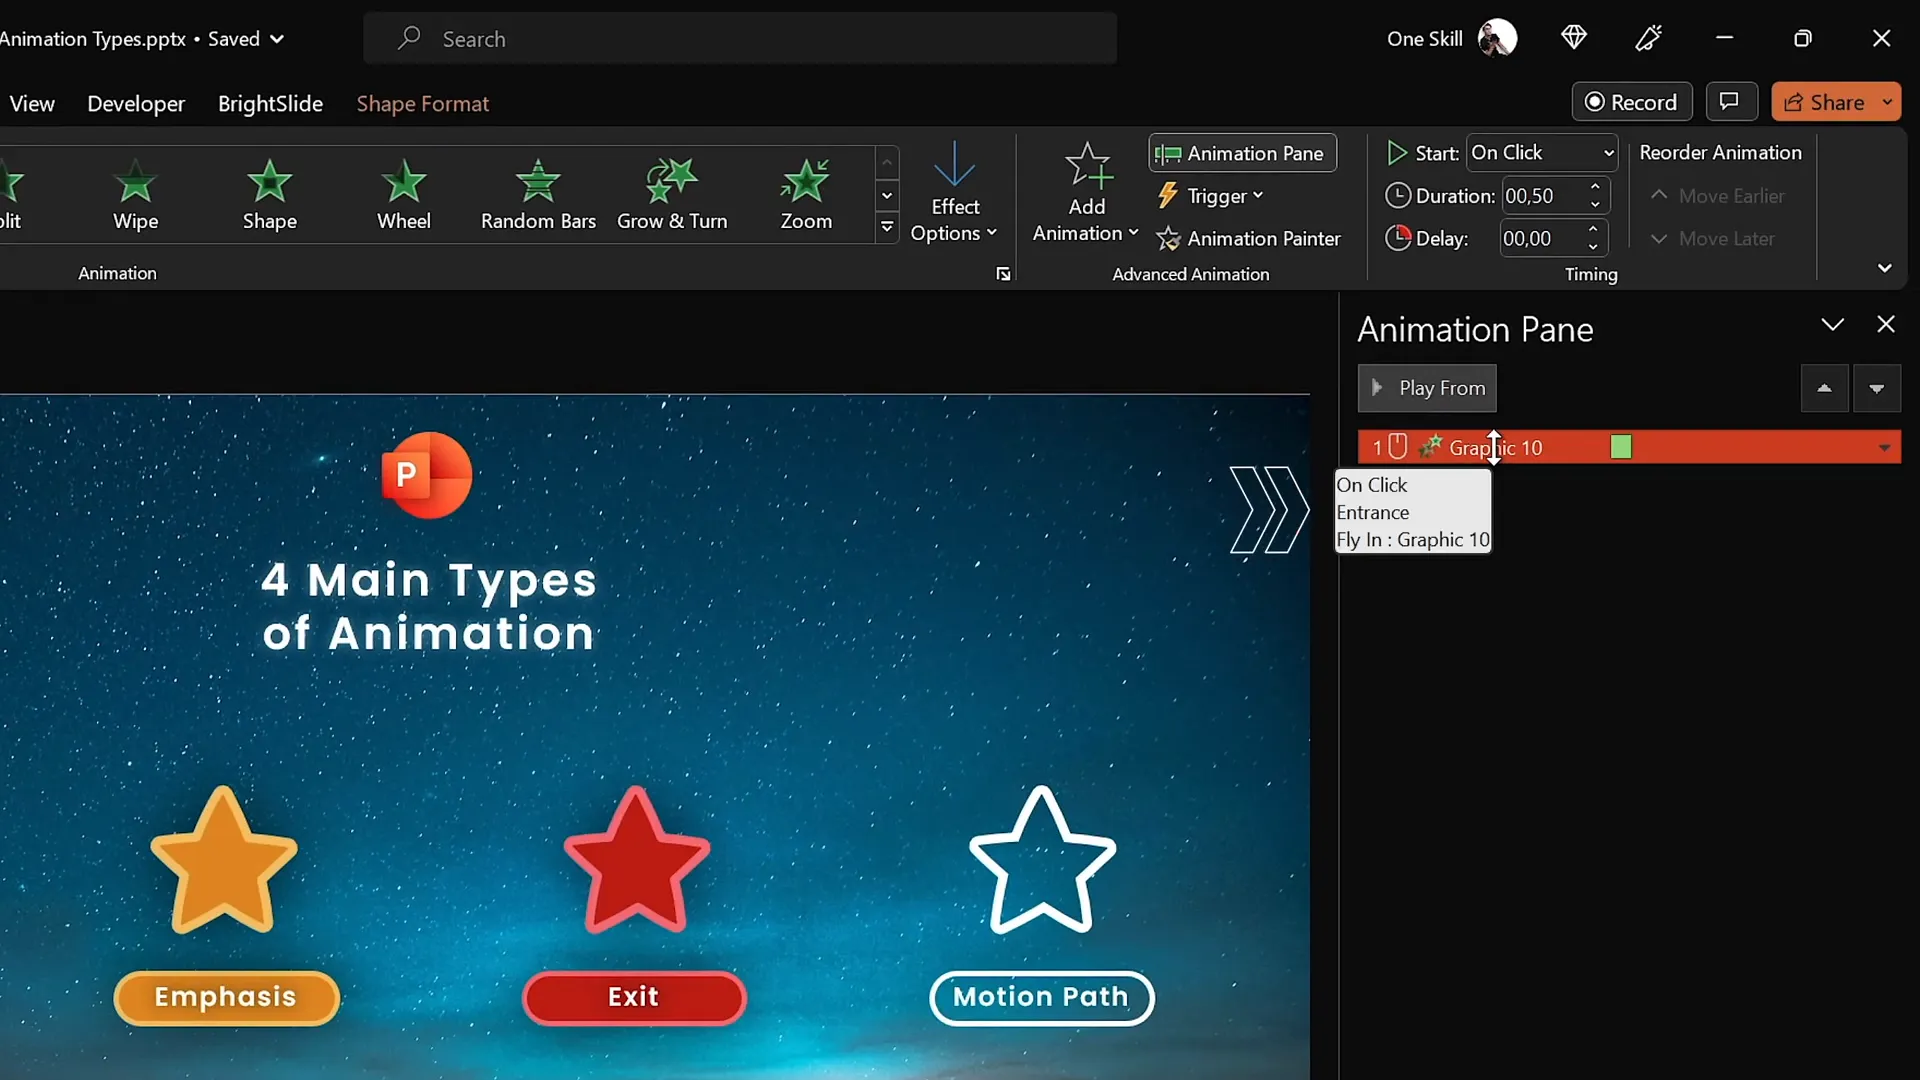
Using the Animation Pane to Manage Animations
The Animation Pane is an essential tool for viewing and managing all animations on your slide. Here’s what it allows you to do:
- See all animations in a list format, showing the order and timing.
- Preview animations by hovering over them.
- Adjust start options:
- On Click: Animation plays when you click the mouse or keyboard.
- With Previous: Animation plays simultaneously with the previous animation.
- After Previous: Animation plays immediately after the previous animation finishes.
- Change duration and delay for precise control over timing.
- Access effect options for fine-tuning animation behavior.
For example, you can set a “Spin” animation to start after previous, so it automatically plays following an entrance animation without needing extra clicks.
Adding Multiple Animations to One Object
Creating dynamic, complex animations often involves applying multiple animations to a single object. Here’s how to do it effectively:
- Select the object you want to animate.
- Apply the first animation normally from the animation gallery.
- To add a second animation, use the Add Animation button instead of clicking directly on the animation icons. This prevents replacing the first animation.
- Manage the sequence and timing of these animations in the Animation Pane.
For example, you could have a star shape fly in from the top, then spin once it’s on screen. Using multiple animations lets you create captivating effects that are far more engaging than a single animation alone.
Four Additional Ways to Animate in PowerPoint
Beyond the four main animation types, PowerPoint offers several advanced animation techniques that can help you push your presentations further:
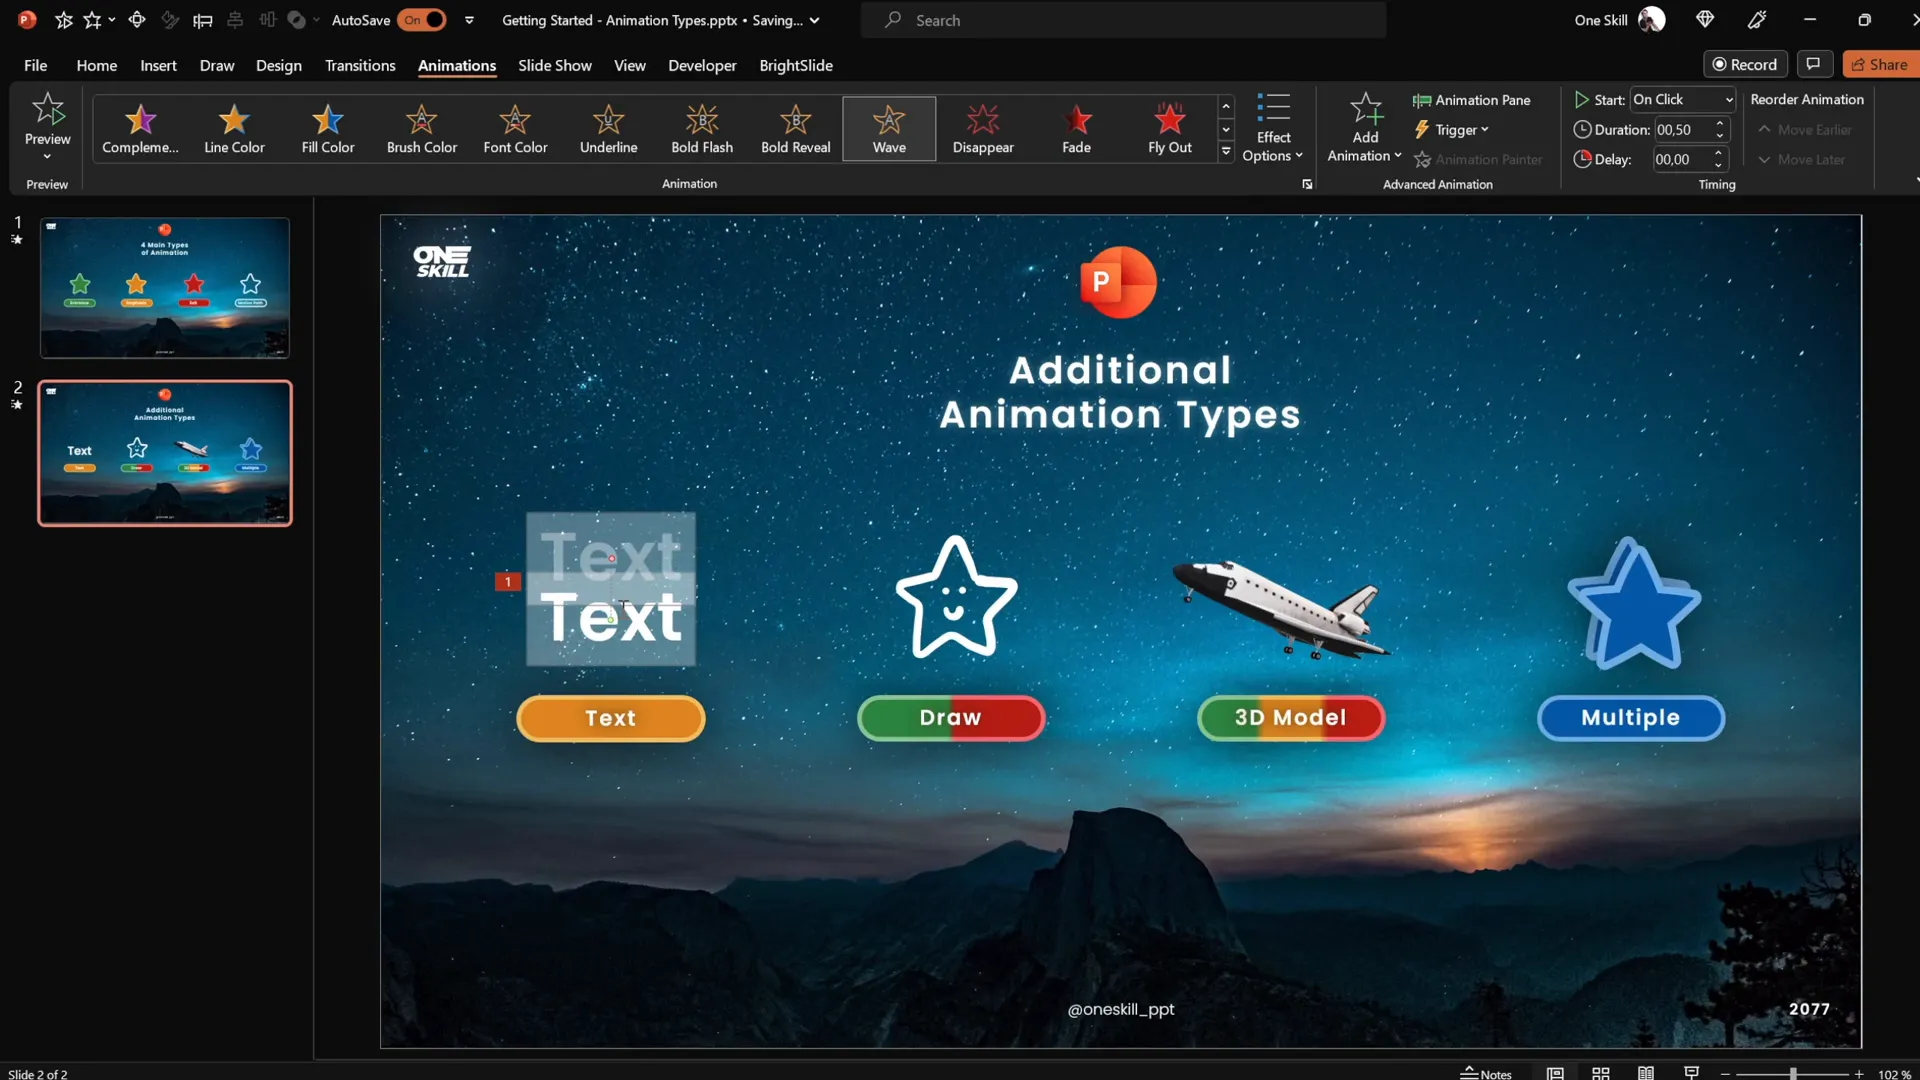
1. Text Animations
Text animations belong mostly to the emphasis category and are exclusively available for text objects. These animations can animate text in creative ways, such as changing color, waving, or flashing. For example, you might apply a wave animation to a headline to add subtle motion and draw attention.
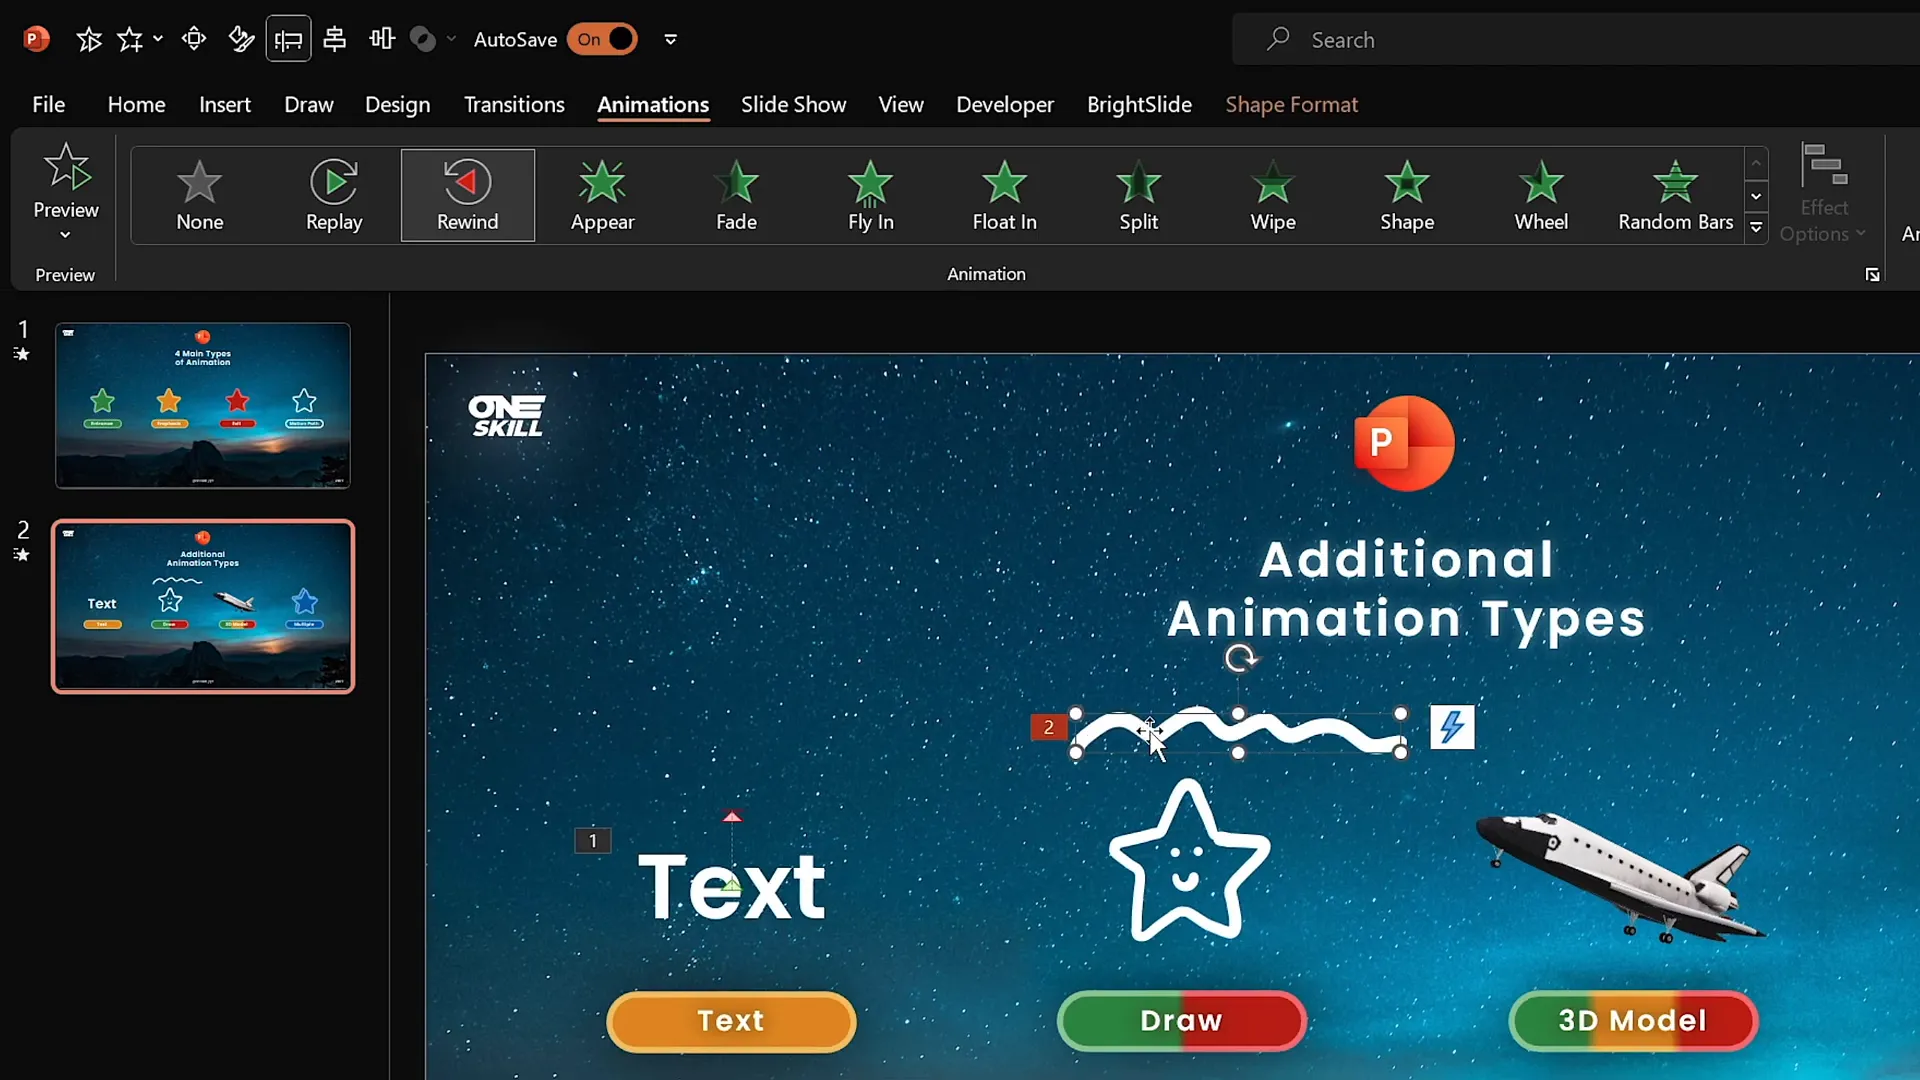
2. Draw Animations
If your version of PowerPoint supports the Draw feature, you can create freehand drawings directly on your slides using pens of various thicknesses and colors. These drawings can then be animated with special Replay and Rewind ink animations that simulate the drawing process being redrawn or erased live.
This feature is perfect for adding a personal touch or illustrating concepts dynamically.

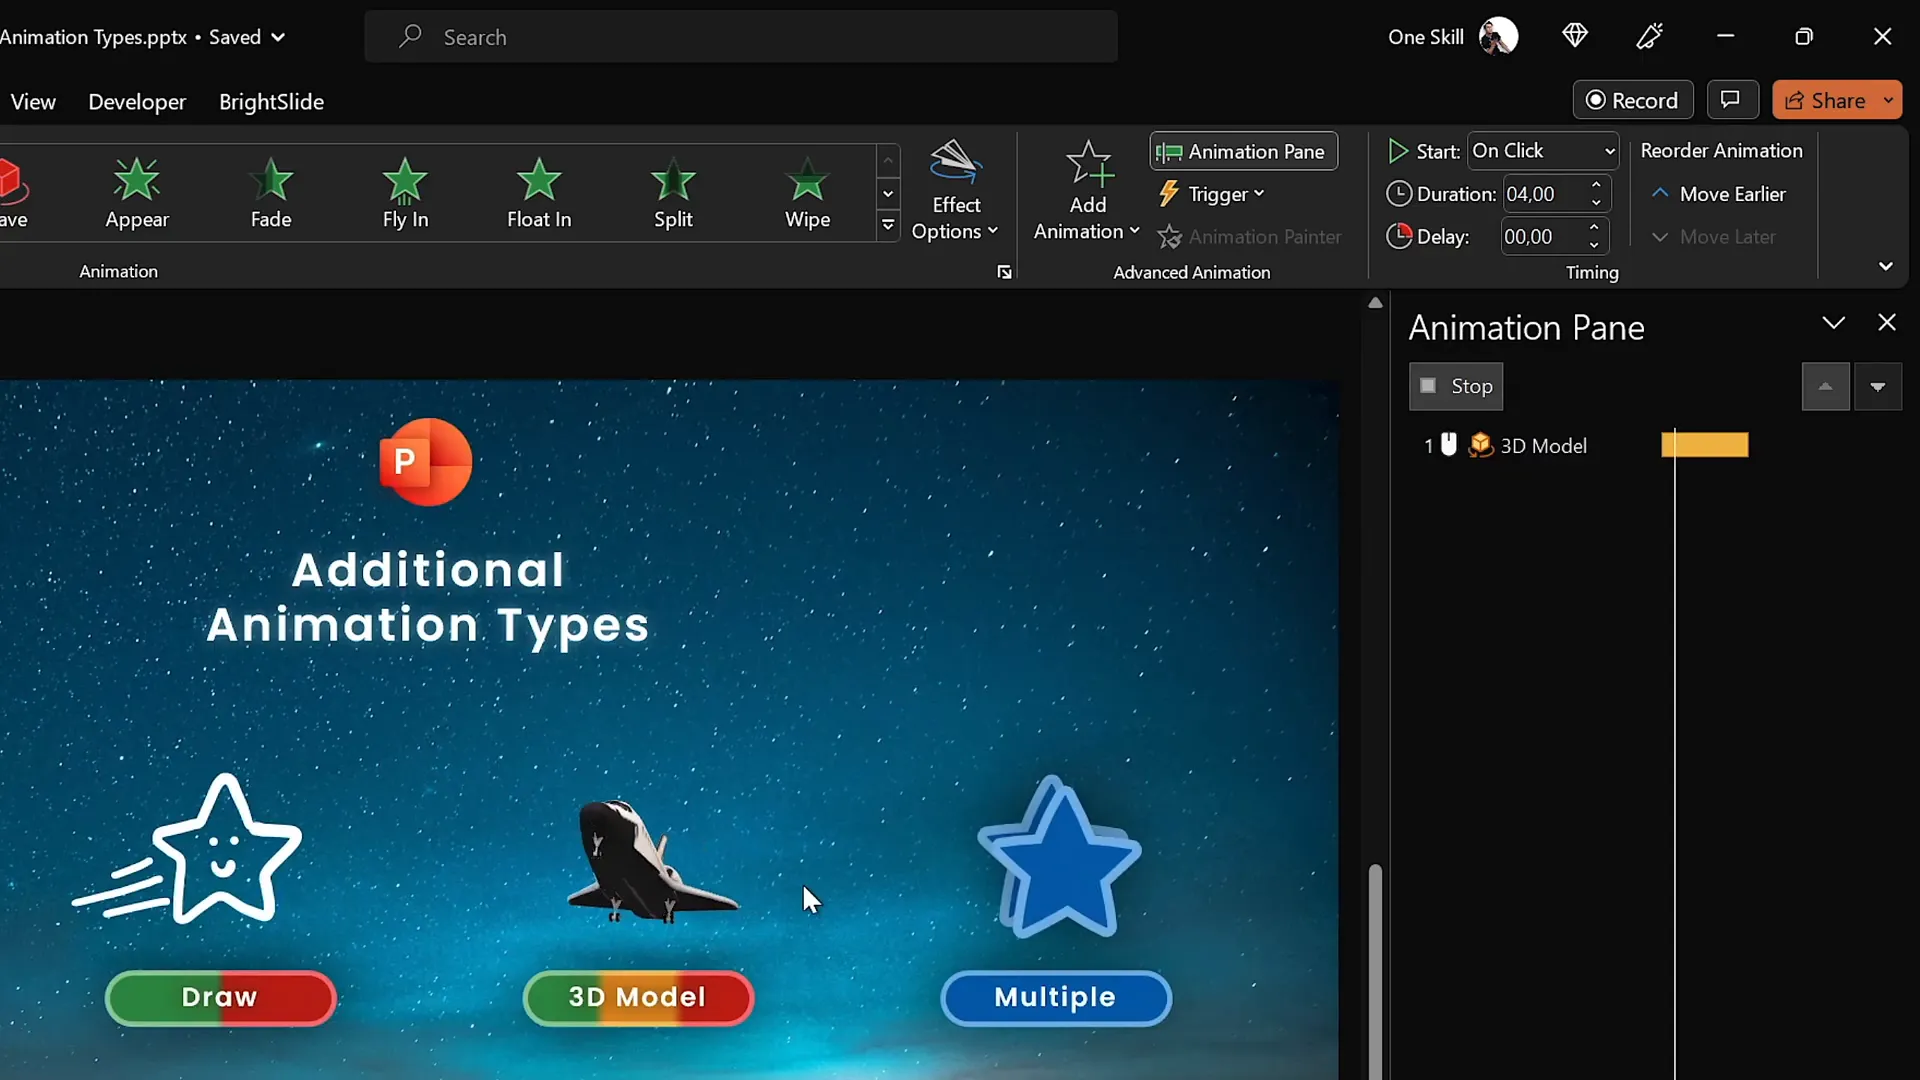
3. 3D Model Animations
PowerPoint now supports 3D models, allowing you to insert and animate three-dimensional objects. These 3D models come with entrance, emphasis, and exit animations designed specifically for them, such as “Turntable” which smoothly spins the model around its axis.
3D animations can make presentations feel cutting-edge and visually impressive, especially when showcasing products, scientific models, or architectural designs.
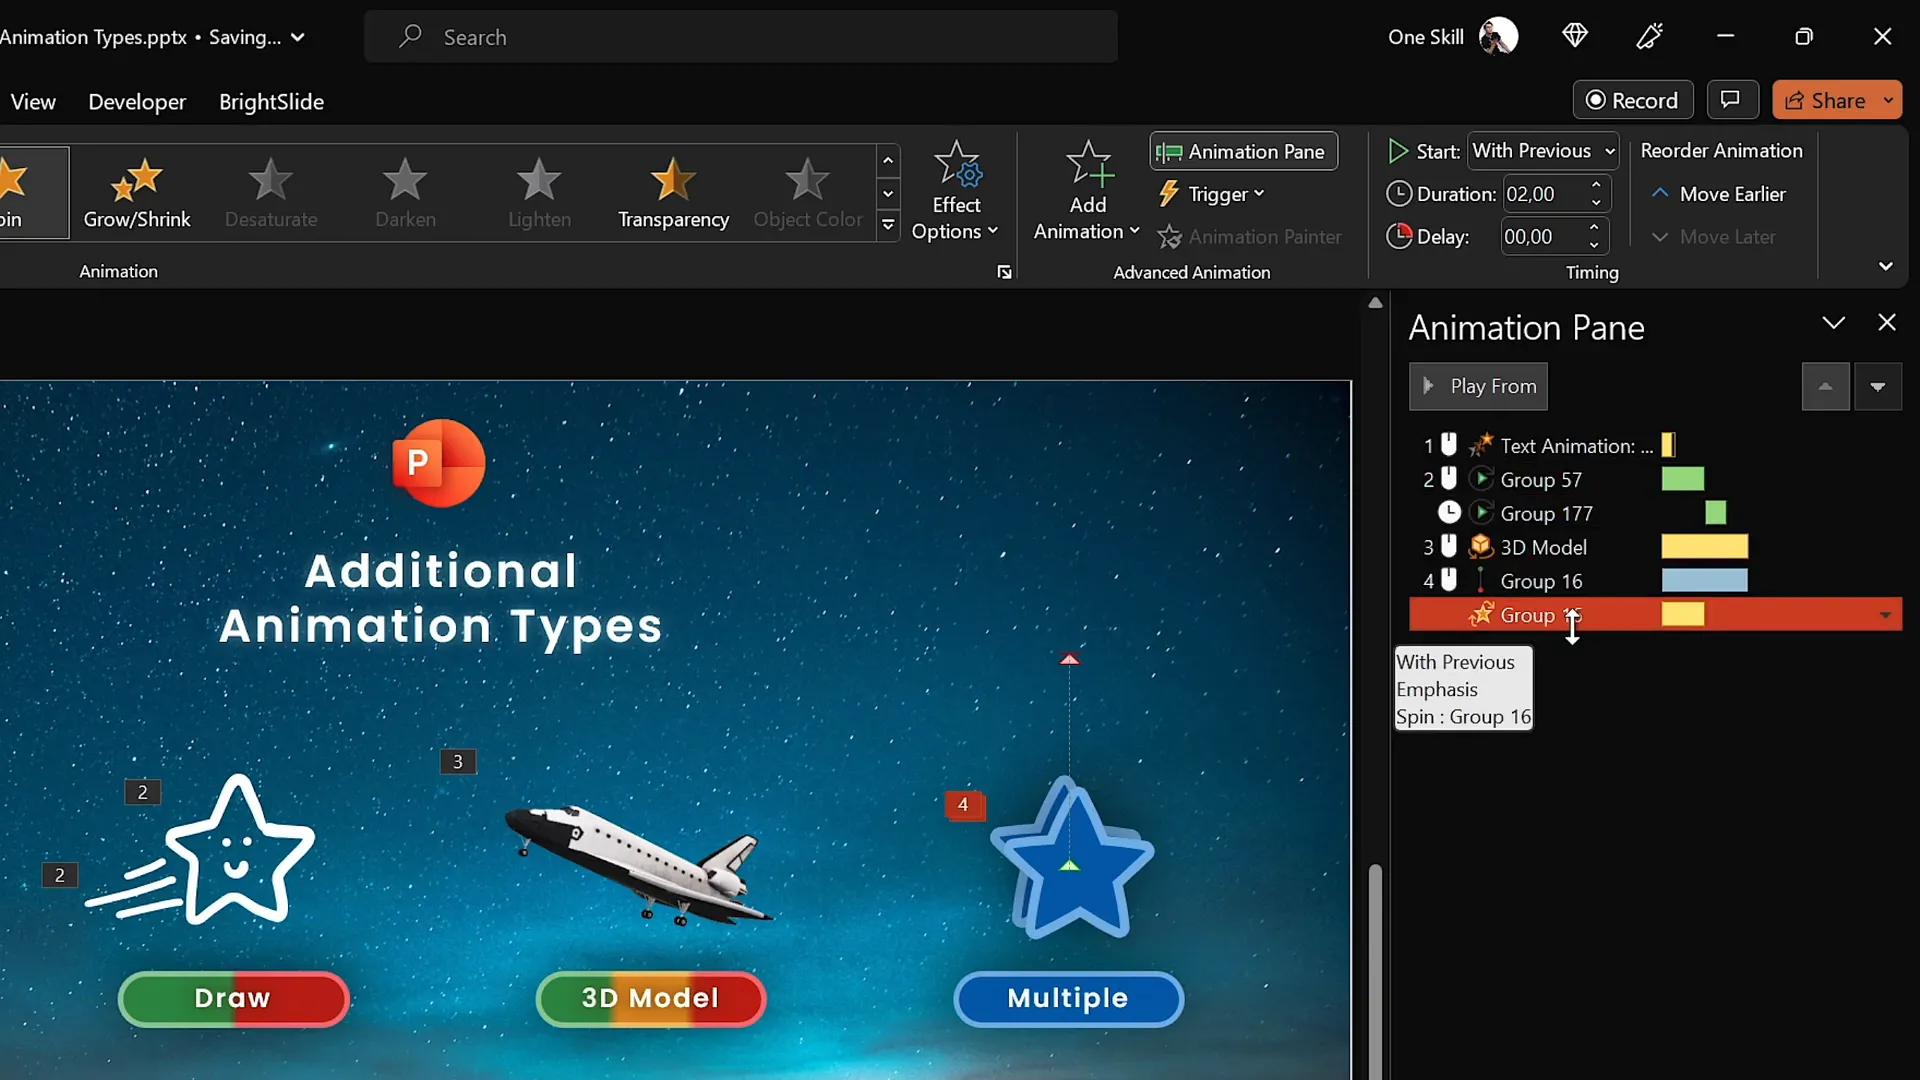
4. Multiple Animations for Custom Effects
Combining multiple animations on grouped objects lets you create highly customized motion effects. For instance, you can group two shapes and apply a motion path that moves them upward while simultaneously applying a spin animation. Synchronizing these animations creates smooth, dynamic visual effects.
Additionally, you can adjust options like Auto Reverse to make motion paths play forward and backward automatically, adding polish and sophistication.
Enhancing Animations with Smoothing
Animation smoothing controls how gracefully animations start and end. By adjusting the Smooth Start and Smooth End sliders, you can make animations accelerate and decelerate naturally rather than abruptly starting or stopping.
Smoothing makes animations feel more professional and visually pleasing, especially for motion paths and spins.
Frequently Asked Questions (FAQ)
Q1: What is the best PowerPoint version for animations?
The recommended versions are PowerPoint 2019, 2021, or Microsoft 365 on Windows. These versions support the advanced animation timeline, which is essential for creating and managing complex animations. While Mac versions of PowerPoint support animations, they lack some advanced timeline features.
Q2: Can I animate any object in PowerPoint?
Yes! You can animate shapes, text boxes, pictures, videos, drawings, 3D models, and even grouped objects. PowerPoint’s animation tools are versatile and allow you to bring almost any slide element to life.
Q3: How do I add multiple animations to the same object without replacing the previous one?
Always use the Add Animation button found in the Animations tab instead of clicking animations directly after the first one is applied. This ensures new animations stack rather than replace existing ones.
Q4: What are motion path animations and how do they work?
Motion path animations move an object from one point to another along a specified path. You can choose from predefined paths like lines, curves, or circles, or draw custom paths. The green bubble marks the starting position, and the red bubble marks the ending position, both of which you can adjust freely.
Q5: How can I preview my animations?
Use the Preview button in the Animations tab to watch your animations play. Also, within the Animation Pane, you can play individual animations or the entire sequence to see how they flow together.
Q6: Can I control when animations start?
Absolutely! Animations can start on mouse clicks, automatically with the previous animation, or after the previous animation finishes. These options let you control pacing and audience interaction.
Q7: What are draw animations and how do I use them?
If your PowerPoint has the Draw tab, you can draw freehand on slides with pens or pencils. You can then animate your drawings with Replay or Rewind ink animations, which simulate the drawing appearing or disappearing dynamically.
Conclusion
Mastering PowerPoint animations transforms your presentations from static slide decks into dynamic storytelling tools that captivate and engage your audience. Starting with the four main animation types — entrance, emphasis, exit, and motion paths — lays a solid foundation. From there, exploring text animations, draw animations, 3D model animations, and combining multiple effects unlocks nearly limitless creative possibilities.
By using PowerPoint’s Animation Pane to manage your effects and adjusting timing, direction, and smoothing, you gain precise control over how your animations play out. Remember to use animations purposefully — subtlety often wins over flashy effects — and always tailor your animations to enhance your message.
Whether you’re a beginner or an experienced user, these techniques will help you create compelling, professional presentations that leave a lasting impression.
So go ahead, start animating, and turn your PowerPoint slides into visual masterpieces!
Check out the full video: The Secret to INCREDIBLE PowerPoint Animations! 🤫✨


