
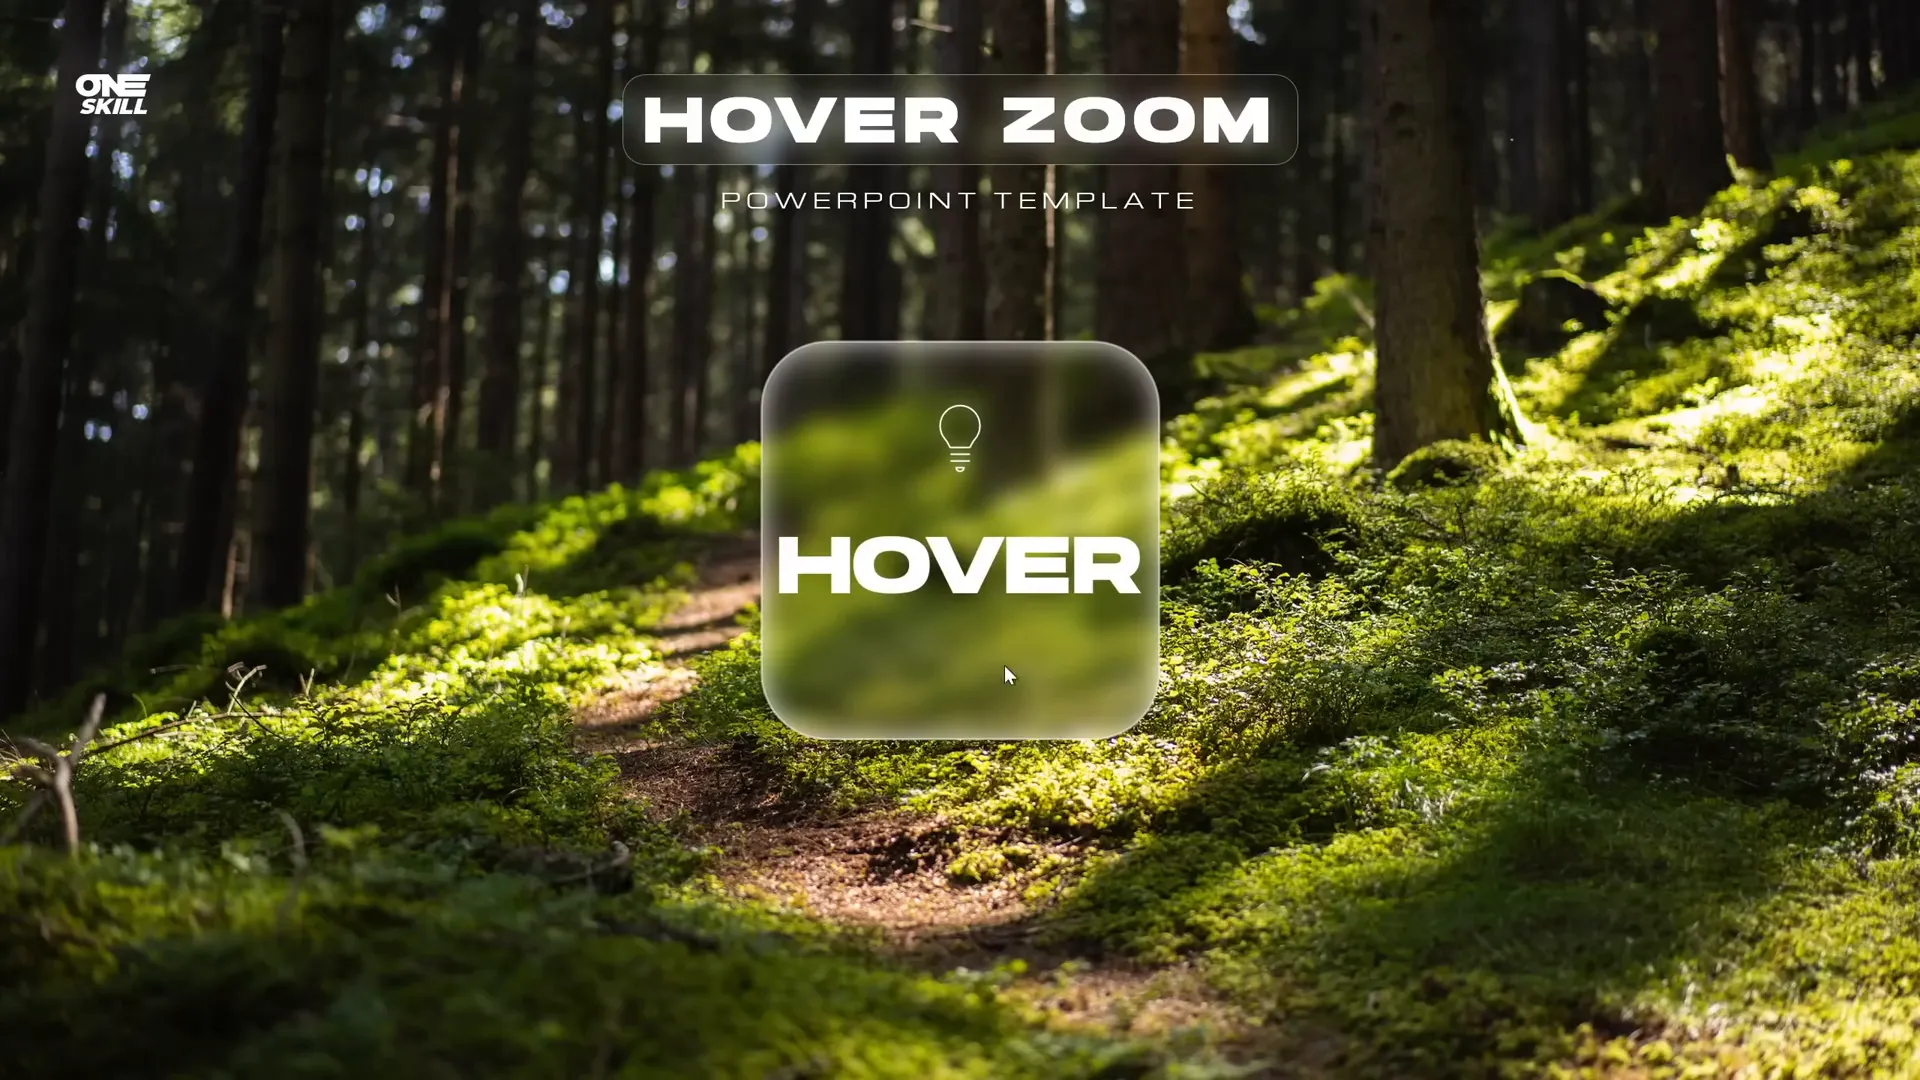
PowerPoint animations can transform a static slide deck into a captivating visual story, and one of the most exciting techniques to master is the hover zoom effect. This interactive animation style not only enhances audience engagement but also adds a modern, professional touch to your presentations. In this comprehensive guide, we’ll explore how to create a stunning hover zoom animation using PowerPoint’s slide and section zoom features, combined with stylish glassmorphic design effects.
Whether you’re a seasoned presenter or just starting to explore PowerPoint‘s animation capabilities, this tutorial will provide you with step-by-step instructions to build an interactive slide design that impresses and informs. Let’s dive into the art of PowerPoint animations and learn how to elevate your slides to the next level.
Table of Contents
- Introduction to Hover Zoom Animations
- Setting Up a Fullscreen Background Photo
- Creating the Glassmorphic Effect in PowerPoint
- Designing the Hover Animation
- Organizing Slides with Sections
- Adding and Customizing Slide Zooms
- Creating a Mask to Hide Slide Zooms
- Enhancing Hover Cards with Highlight Effects
- Using Section Zooms for Multi-Slide Navigation
- Frequently Asked Questions (FAQ)
- Conclusion
Introduction to Hover Zoom Animations
PowerPoint animations have evolved beyond simple fade-ins and fly-ins. One of the most dynamic and visually appealing animation techniques is the hover zoom effect. This method allows you to create interactive cards on a slide that respond when a viewer’s mouse hovers over them. The effect is simple yet powerful: hovering over a card triggers a zoom into a detailed slide, offering additional content without cluttering your main slide.
This tutorial introduces a modern take on the classic slide zoom template, called the hover zoom. It enables users to hover over any card on a slide, causing the slide zoom to pop up, which can then be clicked to dive deeper into the content. The technique leverages PowerPoint’s built-in slide zoom and section zoom features combined with clever use of animations and design effects.
Let’s get started by setting up the foundation of your interactive slide: a fullscreen background photo.
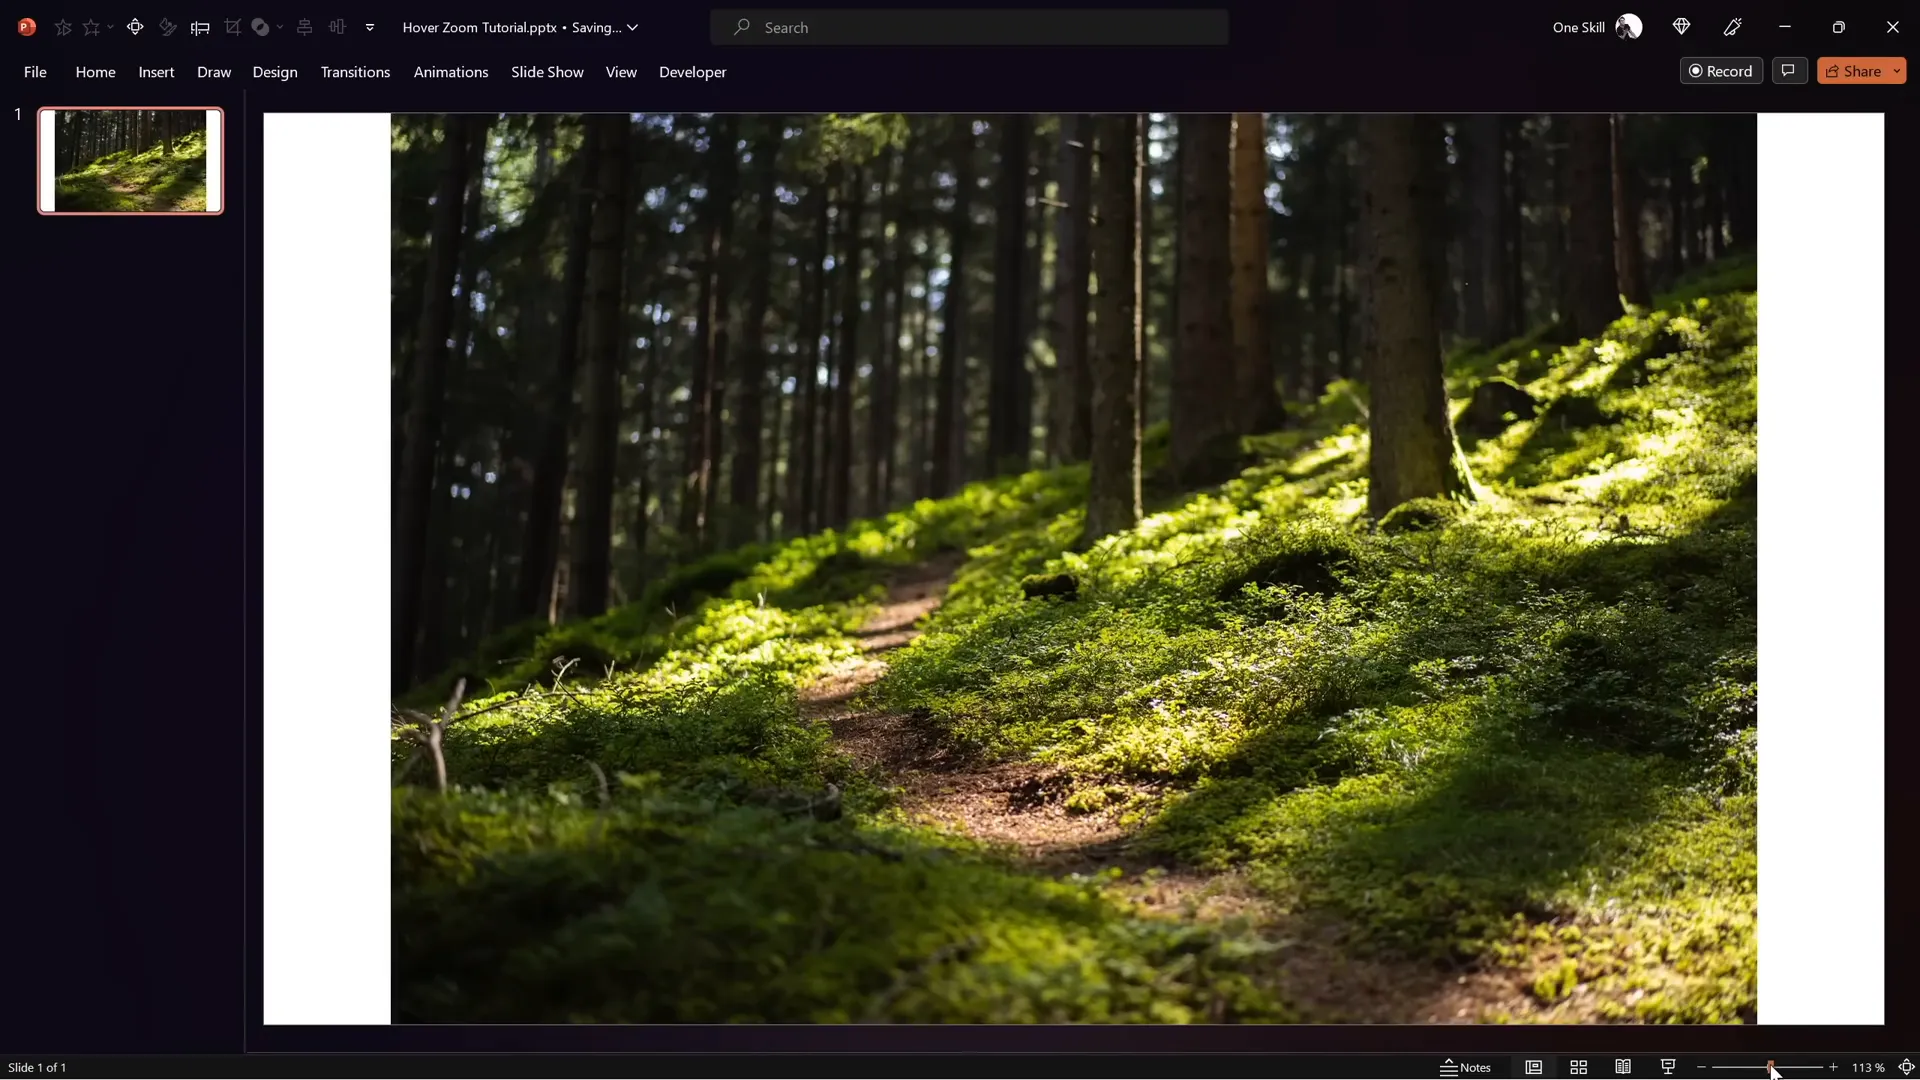
Setting Up a Fullscreen Background Photo
The first step to creating a visually stunning slide is to set a compelling fullscreen photo as your background. Here’s how to do it:
- Create a blank slide: Start with a fresh slide and choose the Blank layout to remove any default placeholders that might interfere with your design.
- Insert a background photo: Go to the Insert tab and select Pictures. Choose a high-quality image that suits your presentation’s theme. For this tutorial, all photos are sourced from Unsplash, a fantastic resource for free, beautiful images.
- Resize and crop the photo: Often, your photo won’t perfectly fit the slide dimensions. To fix this, grab a corner of the image and hold down Ctrl + Shift while dragging to resize proportionally.
- Crop to aspect ratio 16:9: With the photo selected, open the Crop options, select Aspect Ratio, and choose 16:9. Click once to apply. Your photo will now perfectly cover the entire slide.
This fullscreen photo will serve as the visual anchor for your interactive cards and zoom animations.
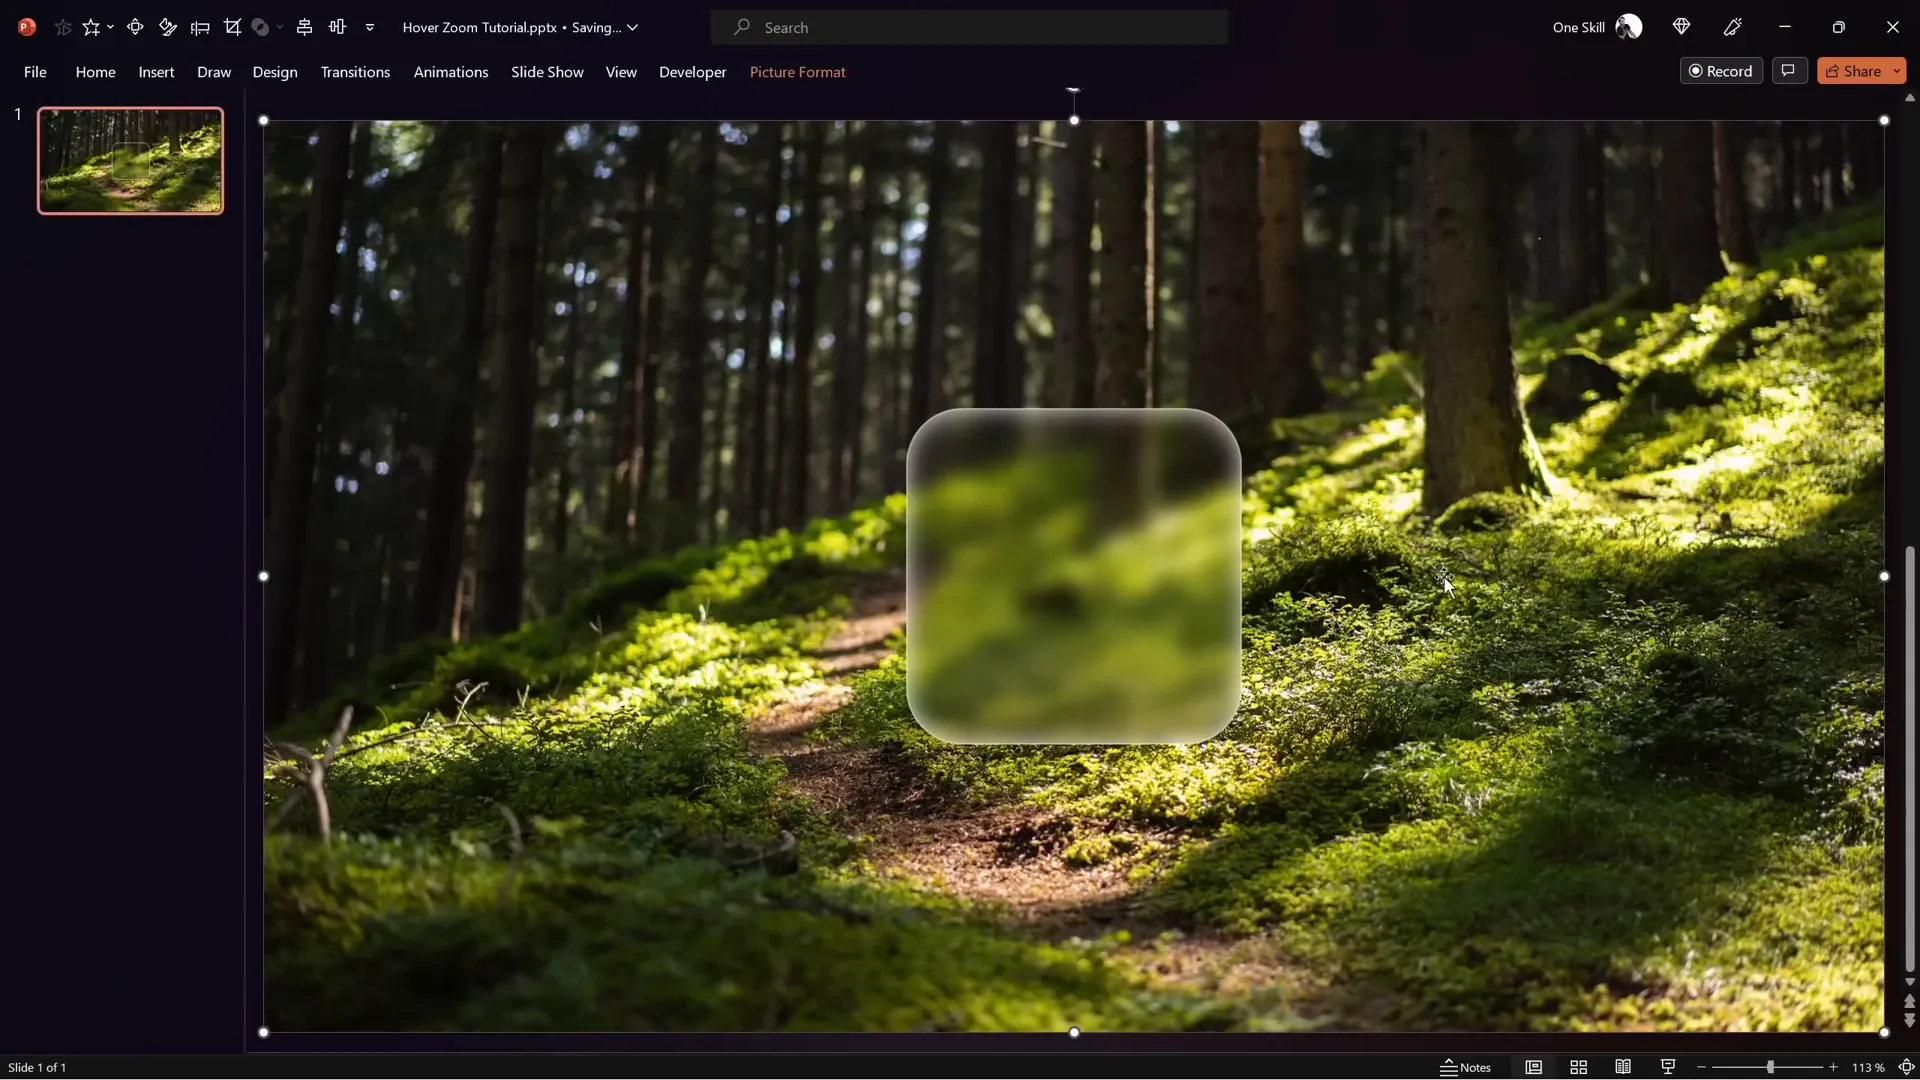
Creating the Glassmorphic Effect in PowerPoint
The glassmorphic effect has become a popular design trend, characterized by frosted glass-like transparency, blurred backgrounds, and subtle highlights that create a modern, elegant look. PowerPoint allows you to replicate this effect with a few steps:
- Duplicate the background photo: Move the original photo slightly aside to see the background. Hold Ctrl and drag the photo to create a copy.
- Apply a blur effect: Right-click the duplicated photo, select Artistic Effects, and choose the Blur effect. Adjust the blur amount as desired (for example, 30).
- Copy and set as slide background fill: Right-click the blurred photo, choose Copy, then delete the blurred photo. Open the slide background fill settings, select Picture or texture fill, and click Clipboard to paste the blurred image as the background fill.
- Reposition the original photo: Move the original photo back to the center and middle of the slide, ensuring it covers the entire slide.
- Insert a shape for the glass effect: Insert a shape such as a rounded rectangle. Right-click the shape, choose Format Shape, then under Fill, select Slide Background Fill. The shape will now adopt the blurred background fill, creating the glassmorphic effect.
- Add frosty edges: Apply a white inside shadow to the shape with a blur amount around 20 points to mimic the frosty highlight edges.
- Size and center the shape: Set the shape’s height and width to 7 cm (a personal lucky number), and center it perfectly on the slide.
This approach creates a flexible glassmorphic card that adapts dynamically to the background, allowing you to move the shape around while maintaining the effect.
Designing the Hover Animation
Now that the visual design is set, let’s bring your slide to life with the hover animation. This animation triggers when the mouse moves over a card, causing interactive elements to appear and animate smoothly.
Step 1: Prepare the elements
- Copy over icons, logos, slide titles, and subtitles from your existing slides to save time. For the slide title, use a stylish font like Hanson and for subtitles, consider Michroma.
- Apply the glassmorphic effect to the slide title to make it stand out.
- Place your icon perfectly centered within the glassmorphic rounded rectangle.
- Insert a text box below the icon with placeholder text such as “Hover” (which you will later update to something meaningful like “Opportunity”).
Step 2: Create the hover effect using morph transition
- Duplicate the slide you just created.
- On the duplicate, make the icon smaller and move it slightly upwards to create a sense of depth.
- Increase the font size of the text box to emphasize the hover state.
- Select both slides and apply the Morph transition with a duration of around 0.135 seconds for a fast, smooth effect.
When you preview these two slides in sequence, the morph transition will animate the icon shrinking and the label enlarging, simulating a hover effect. However, this animation doesn’t automatically trigger on mouse hover yet — it requires setting up mouse-over actions.
Step 3: Set up mouse-over actions
- On the first slide, select the glassmorphic rounded rectangle.
- Go to Insert > Action, choose the Mouse Over tab, and select Hyperlink to Next Slide to link the hover state slide.
- On the second slide, select the background photo.
- Set a mouse-over action to hyperlink back to the previous slide, allowing users to exit the hover animation.
Test the setup in full-screen mode. When you move the mouse over the card, it will transition to the hover slide, and when you move the mouse over the background, it will return to the starting slide. This completes a seamless hover animation cycle.
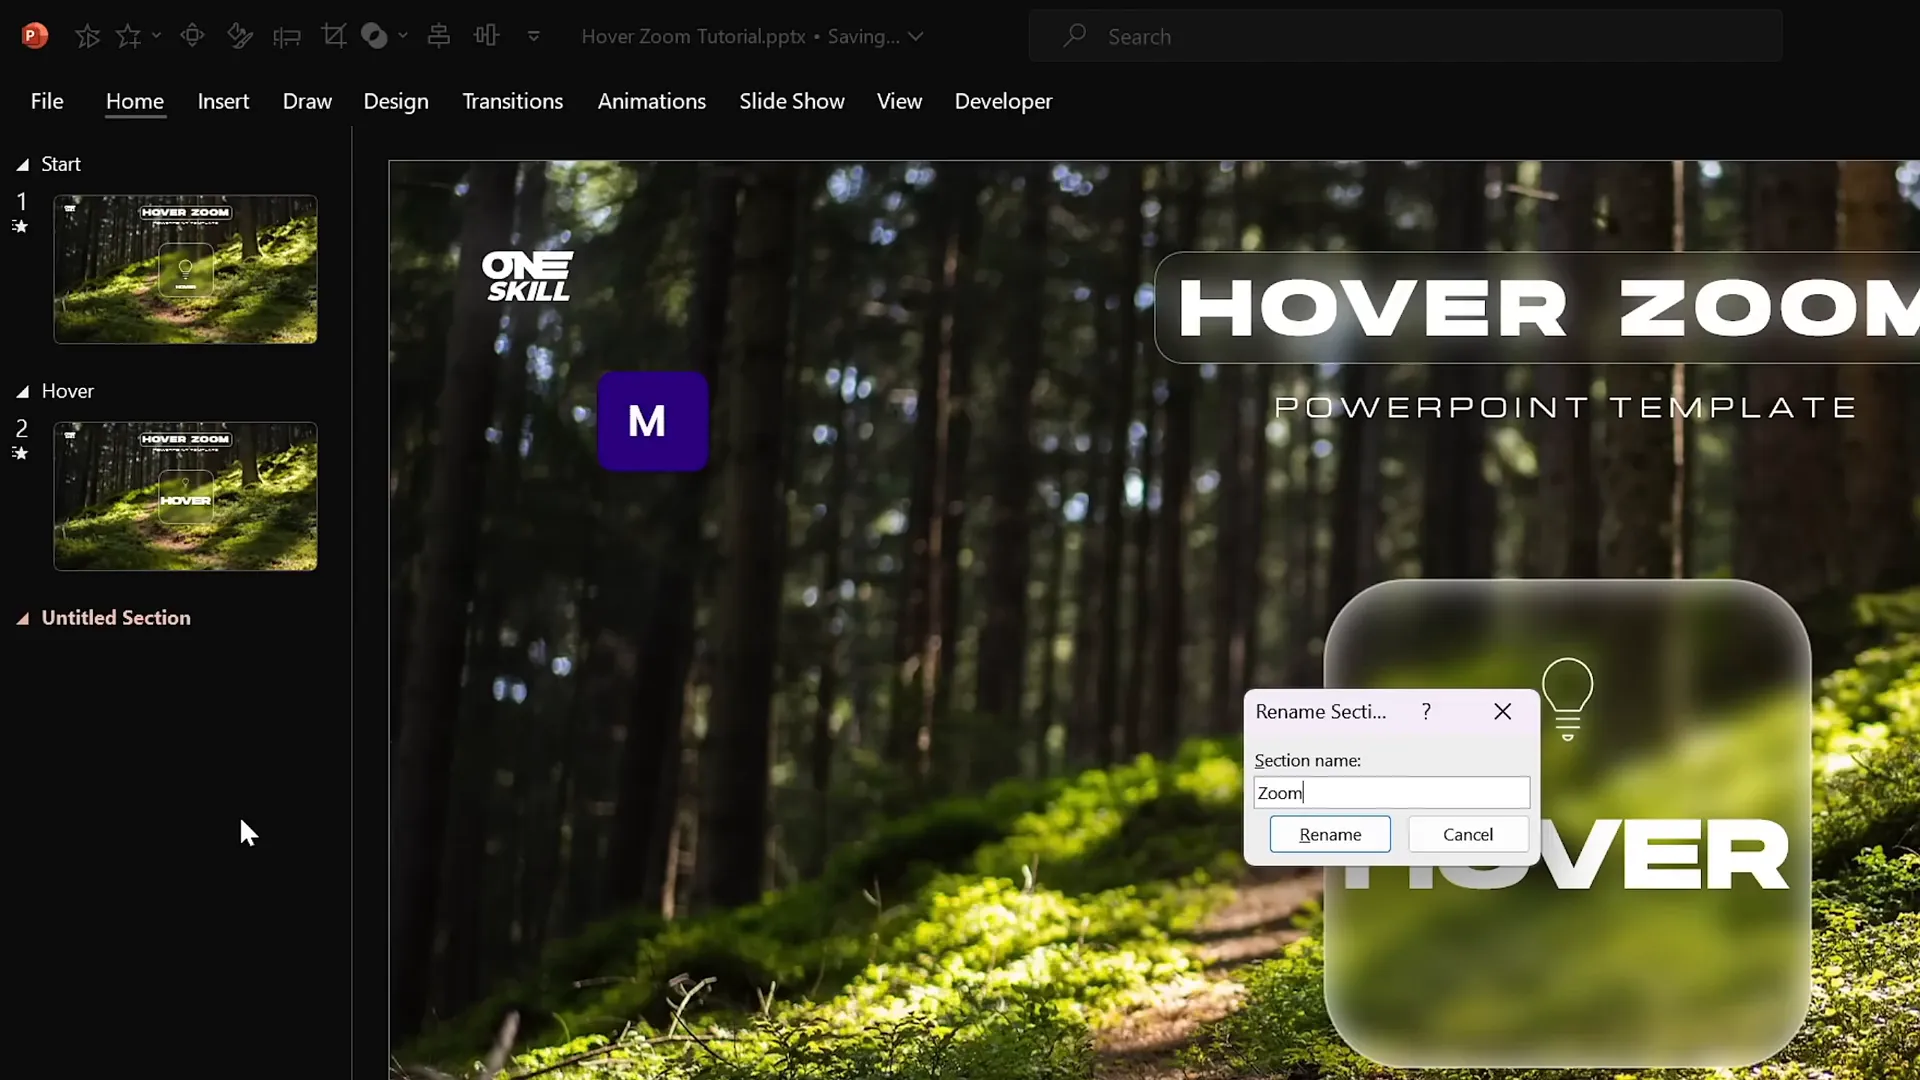
Organizing Slides with Sections
For complex presentations, organization is key. PowerPoint’s Sections feature allows you to group slides logically, which is especially useful when working with hover animations and zoom sections.
In this tutorial, the presentation is divided into three main sections:
- Start: Contains the home or starting slide.
- Hover: Contains multiple hover slides, each representing a different active card.
- Zoom: Contains slides that you zoom into when clicking on a card.
Setting up these sections helps you visualize and manage your presentation structure effectively, especially when dealing with multiple interactive elements.
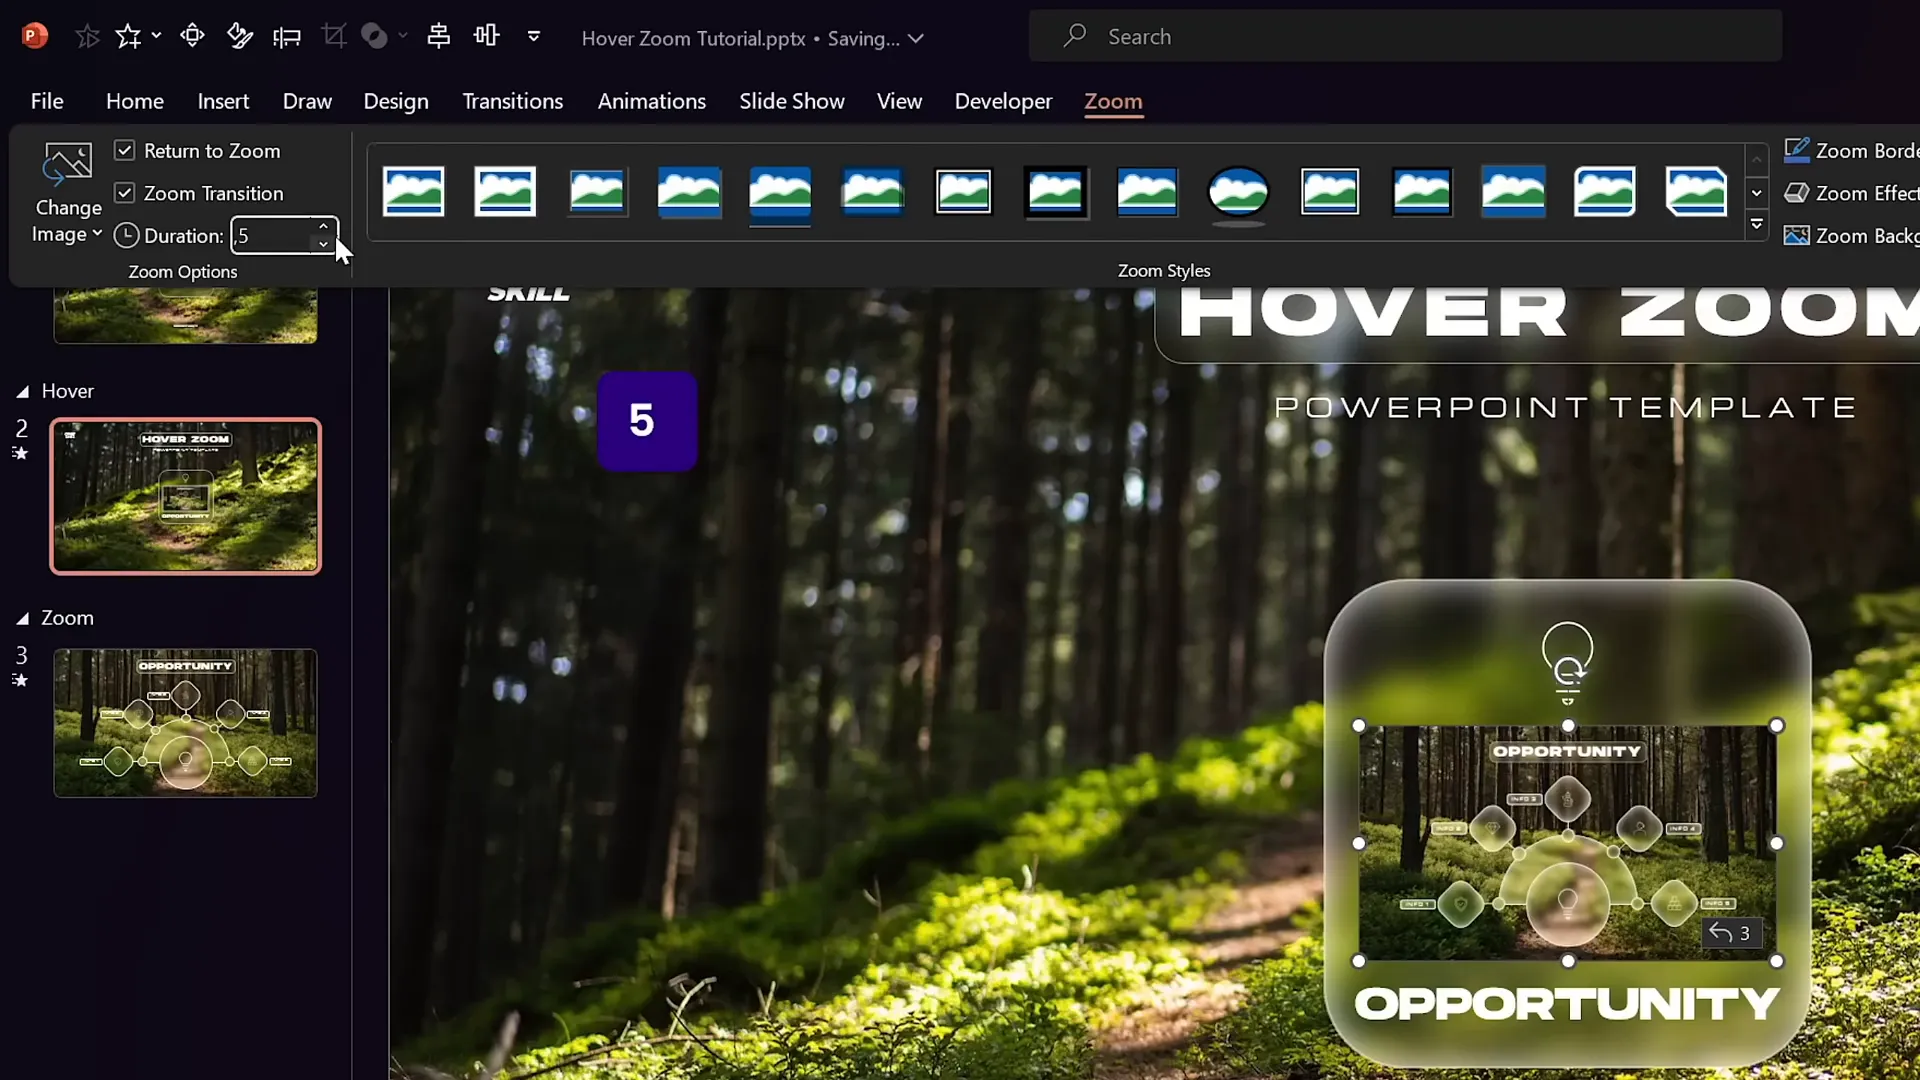
Adding and Customizing Slide Zooms
Slide Zooms are a powerful PowerPoint feature that allows you to embed a clickable thumbnail of another slide directly on your current slide. This technique is essential for creating interactive hover zoom cards.
How to insert a Slide Zoom
- Drag a slide thumbnail from the slide sorter pane onto your current slide, or
- Go to Insert > Zoom > Slide Zoom, then select a slide to insert.
Customizing your Slide Zoom
- Resize the zoom to fit neatly within your glassmorphic card.
- Activate Return to Zoom in the zoom options to allow easy navigation back to the zoomed slide.
- Set the zoom duration to a fast transition, such as 0.5 seconds.
- Apply a style like Reflected Rounded Rectangle for polished rounded corners.
- Optionally disable reflections via Format Slide Zoom > Reflection Options for a cleaner look.
Once you add the slide zoom to both your starting and hover slides, test the interactions. Hovering over the card triggers the zoom and accompanying label to appear, and clicking the zoom brings you into the detailed slide.
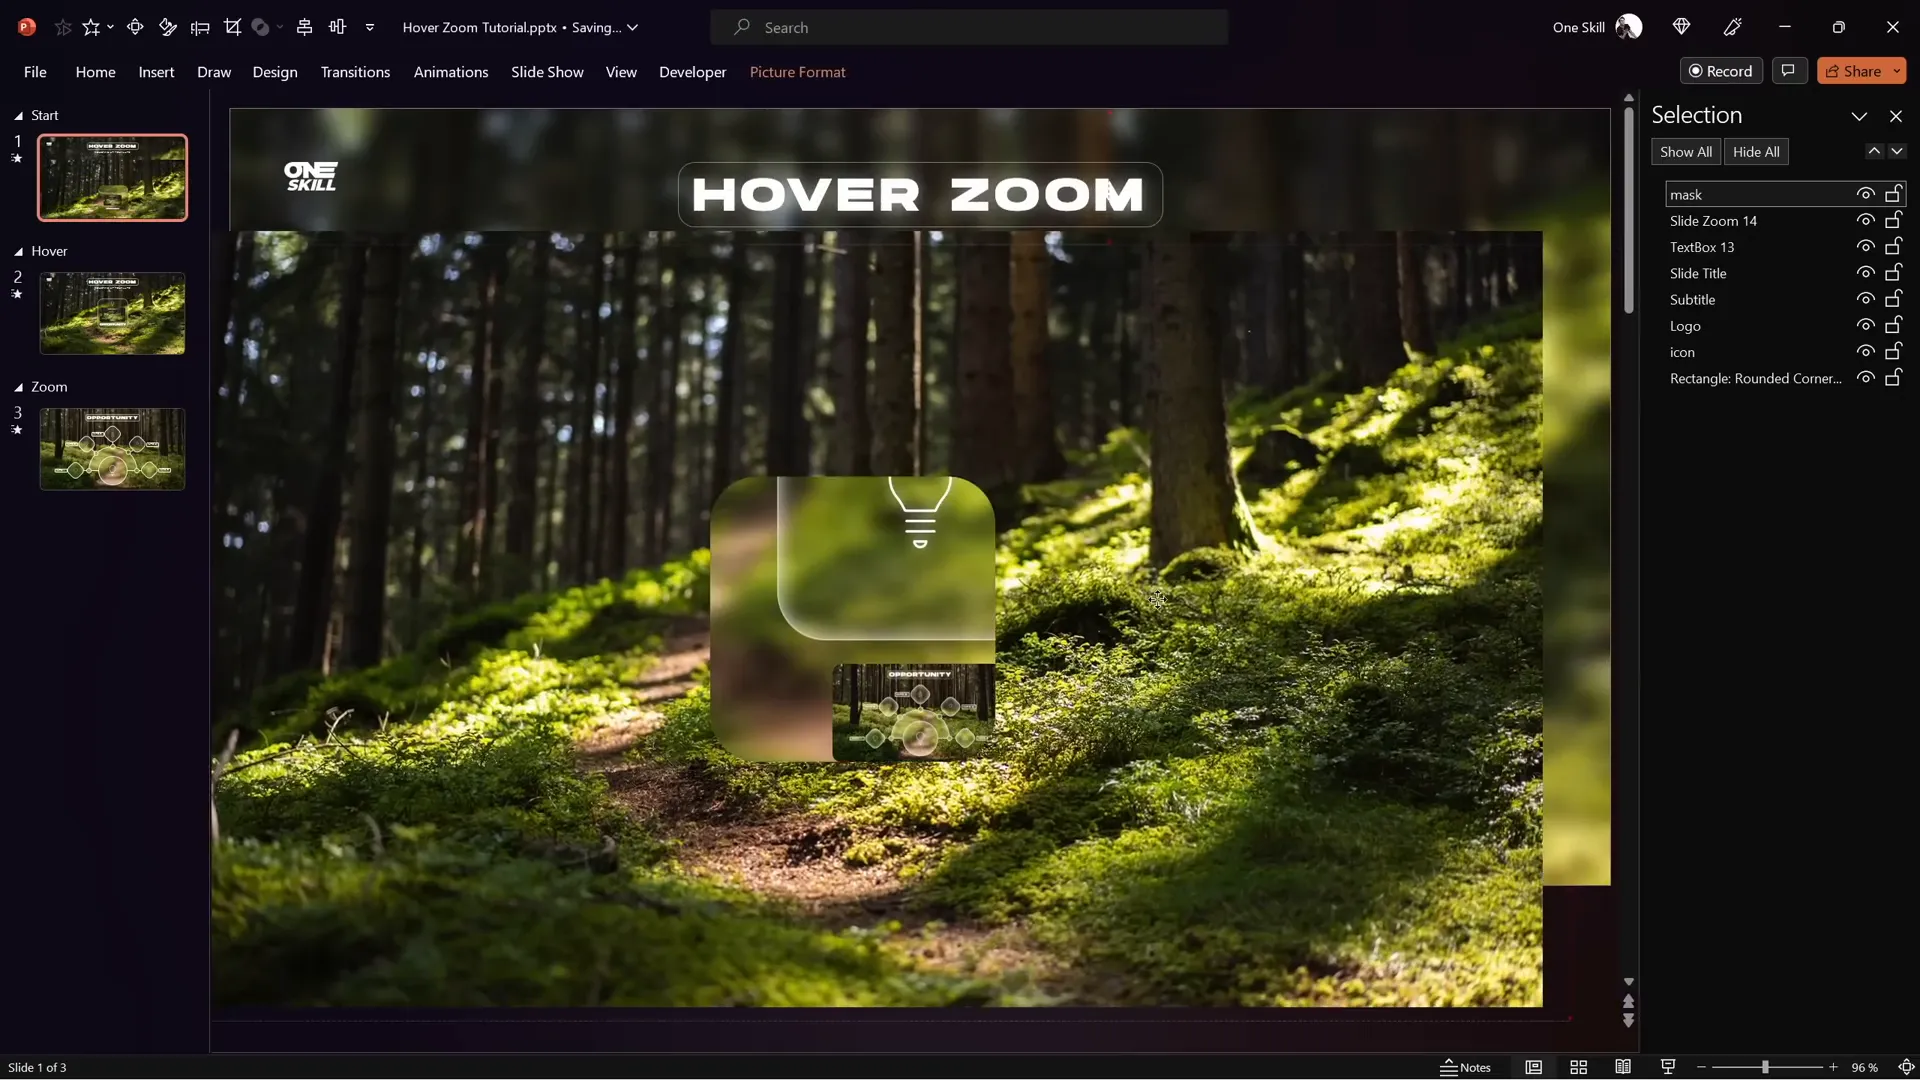
Creating a Mask to Hide Slide Zooms
To keep your slide clean and focused, you may want to mask certain elements like the slide zoom and text labels on the starting slide until a hover action occurs. This is done by punching a hole in the background photo using PowerPoint’s Merge Shapes feature:

- Duplicate the glassmorphic rounded rectangle and change its color to a contrasting color (e.g., blue).
- Position this colored rectangle exactly over the blurred card area on the background photo.
- Select the background photo and then the colored rectangle (hold Shift to select both).
- Go to the Shape Format tab, select Merge Shapes > Subtract. This punches a hole through the background photo.
- Rename the resulting shape to “mask” and bring it to the top of the selection pane.
- Bring slide title, subtitle, and logo to the front to ensure they’re visible above the mask.
- Keep the slide zoom and label behind the mask to hide them initially.
- Copy this mask to your hover slide and assign it a mouse-over action to hyperlink back to the previous slide.
This masking technique ensures that interactive elements only appear when needed and keeps your slide design neat and professional.
Enhancing Hover Cards with Highlight Effects
To make your hover cards visually pop when selected, you can add highlight effects using shadows and shape formatting:
- Switch the inside shadow on the hover card to an Inside Top Shadow with white color and no transparency.
- Adjust the blur and distance sliders to get a subtle glowing effect.
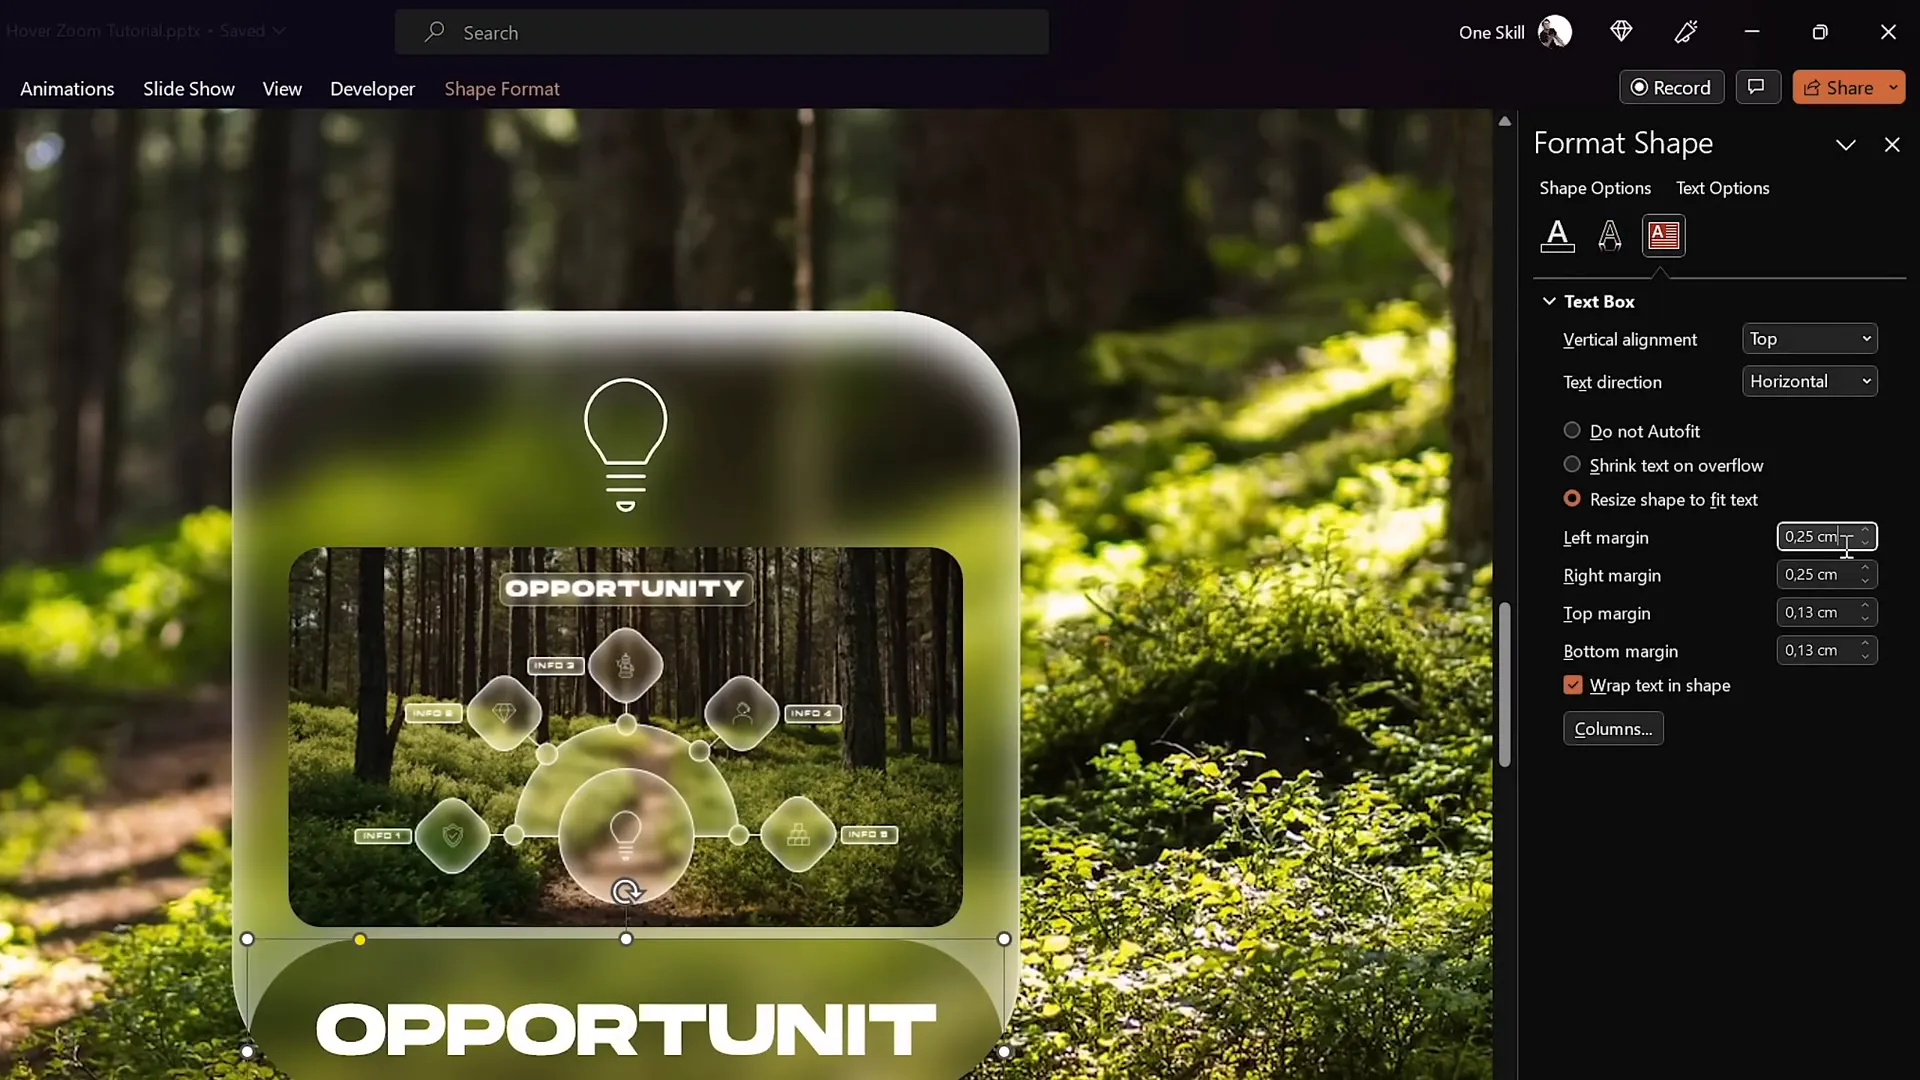
- Style the label text box by applying a slide background fill and an outside white shadow with zero transparency, 100% size, and a blur of 35 points.
- Convert the label box to a rounded rectangle and adjust its corner roundness for a softer look.
- Remove any text box margins and vertically center the text for clean alignment.
- Copy this updated label text box to the starting slide and remove fill and shadow there so it only highlights on hover.
These fine-tuned styling choices create a polished interactive card that clearly communicates when a card is active or selected.
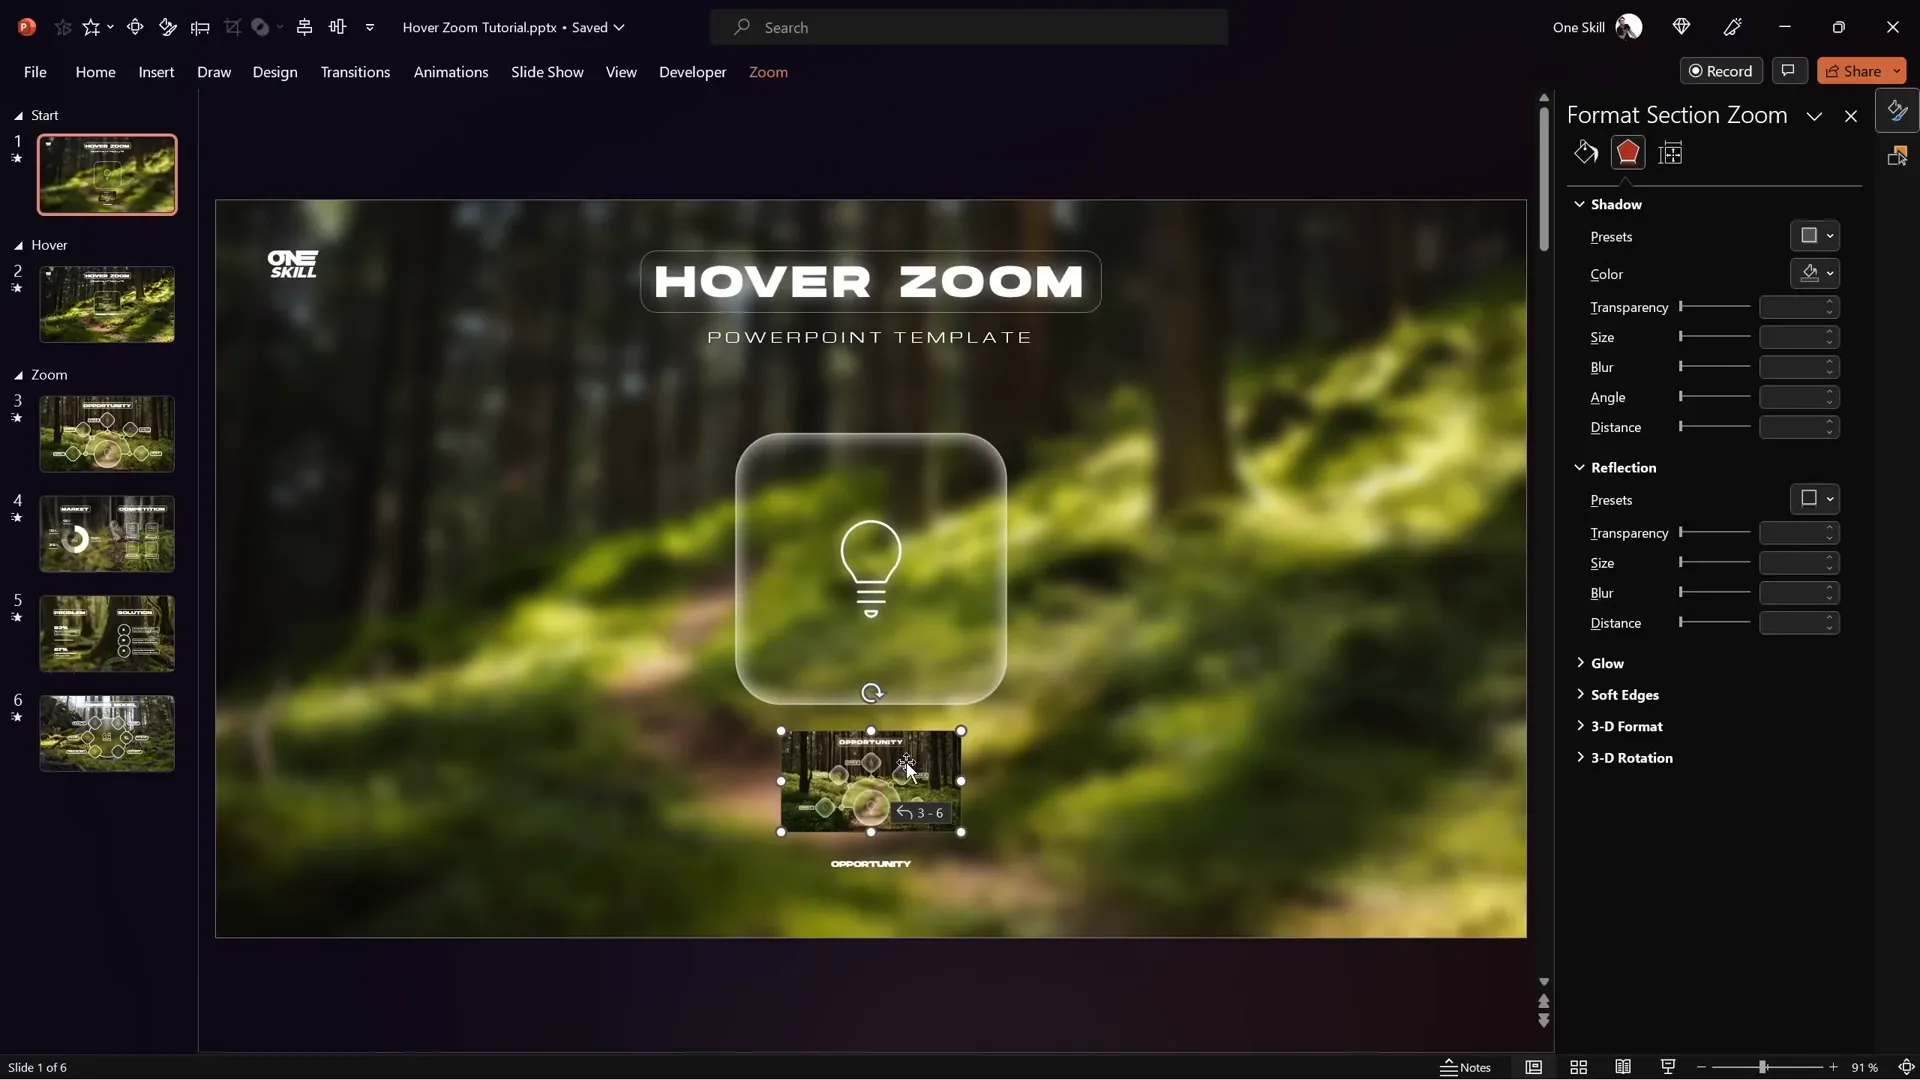
Using Section Zooms for Multi-Slide Navigation
Sometimes, you want to zoom into a series of slides — a mini-section — rather than a single slide. PowerPoint’s Section Zoom feature allows you to do just that, enabling more complex navigation flows.
How to create a Section Zoom
- Organize slides you want to zoom into into a named section (e.g., “Zoom Section”).
- Insert a Section Zoom by going to Insert > Zoom > Section Zoom and selecting the section.
- Enable Return to Zoom and set a fast zoom duration (e.g., 0.5 seconds).
- Style the section zoom with rounded corners and disable reflections for a clean look.
- Resize and position the section zoom below the card on your hover and starting slides.
Fine-tuning transitions
- Apply slide transitions like Uncover from Right to all slides within the zoom section for smooth slide reveals.
- Ensure the Section Zoom is positioned behind the mask for seamless animation.
When you run the presentation, clicking the section zoom zooms into the first slide of the section and allows you to navigate through all included slides before automatically returning.
Frequently Asked Questions (FAQ)
What version of PowerPoint is required to create hover zoom animations?
You need PowerPoint 365 or later versions that support slide zoom and section zoom features.
Can I use any image for the background?
Yes, but it’s best to use high-quality, widescreen (16:9) images. Websites like Unsplash offer excellent free photos.
How do I make sure the hover animation works smoothly?
Use the Morph transition between slides with a short duration (around 0.135 seconds) and set up mouse-over hyperlink actions carefully.
Is it possible to zoom into multiple slides instead of just one?
Yes, use Section Zooms to group multiple slides and zoom into the entire section, allowing multi-slide navigation.
Can I customize the fonts and icons used in the hover cards?
Absolutely. For fonts, consider stylish options like Hanson Bold for titles and Michroma for subtitles. Icons can be inserted from PowerPoint’s built-in icon library.
How do I hide the zoom and label elements on the starting slide?
Create a mask by subtracting a shape from the background photo using the Merge Shapes feature to punch a hole, hiding the zoom and label until hover occurs.
Conclusion
Mastering PowerPoint animations, especially the hover zoom effect, can dramatically enhance your presentations. This tutorial walked you through setting up a fullscreen background, creating a beautiful glassmorphic effect, designing smooth hover animations using morph transitions, organizing slides with sections, and utilizing slide and section zooms for interactive navigation.
With these techniques, you can craft engaging, modern presentations that capture your audience’s attention and communicate your message clearly. Remember, the key to great PowerPoint animations is a balance between visual appeal and usability—making sure your animations support your content rather than distract from it.
Experiment with these tips, customize the styles and fonts to match your brand, and watch your presentations come alive with dynamic hover zoom effects.
Happy presenting!
Check out the full video: PowerPoint HOVER ZOOM Tutorial ✨700K Special✨ ✅ Free Slides


