If you’re looking to elevate your presentation game, mastering PowerPoint design animation is an essential skill. Animated slides not only capture your audience’s attention but also add a professional and polished touch to your presentations. In this comprehensive guide, we’ll walk you through the step-by-step process to create an impressive animated title slide in PowerPoint, just like the one featuring the stunning cityscape of Singapore.
Whether you’re a beginner or an intermediate PowerPoint user, this tutorial will empower you to incorporate animations, use the draw tool for handwritten effects, and embed videos seamlessly into your slides. By the end of this article, you’ll have a fully animated title slide ready to wow your audience.
Table of Contents
- Getting Started: Setting Up Your Slide
- Adding a Gradient Fill Background
- Inserting and Styling the Slide Title
- Using PowerPoint’s Draw Tool for Handwritten Text
- Adding Animations to Your Text Elements
- Creating a Cutout Text Effect with Merge Shapes
- Embedding and Animating Video Backgrounds
- Adding Exit Animations for a Dynamic Finish
- Final Touches and Presentation Tips
- Frequently Asked Questions (FAQ)
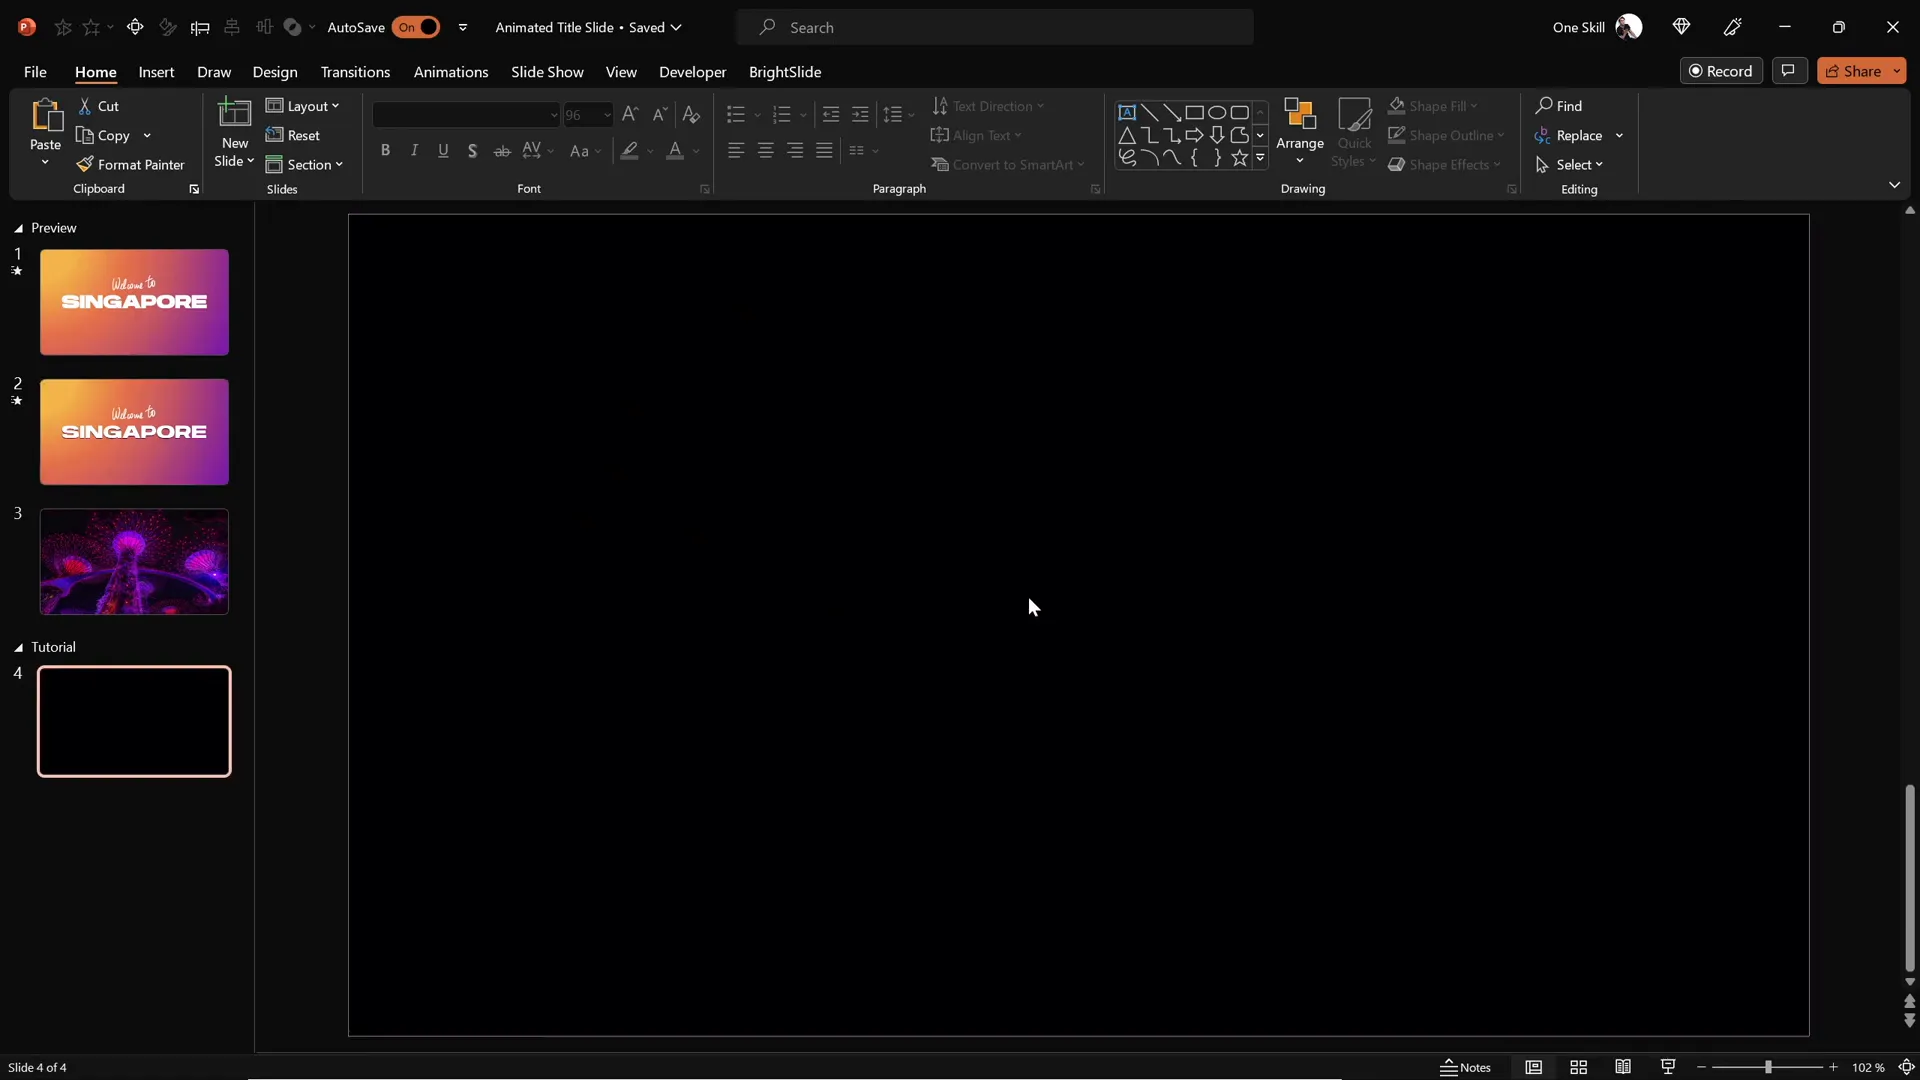
Getting Started: Setting Up Your Slide
Let’s dive into the magical world of PowerPoint and create a captivating animated title slide from scratch. Begin with a blank slide with a black background to maximize the contrast and visual impact of your design.
Here’s how to get started:
- Open PowerPoint and create a new presentation.
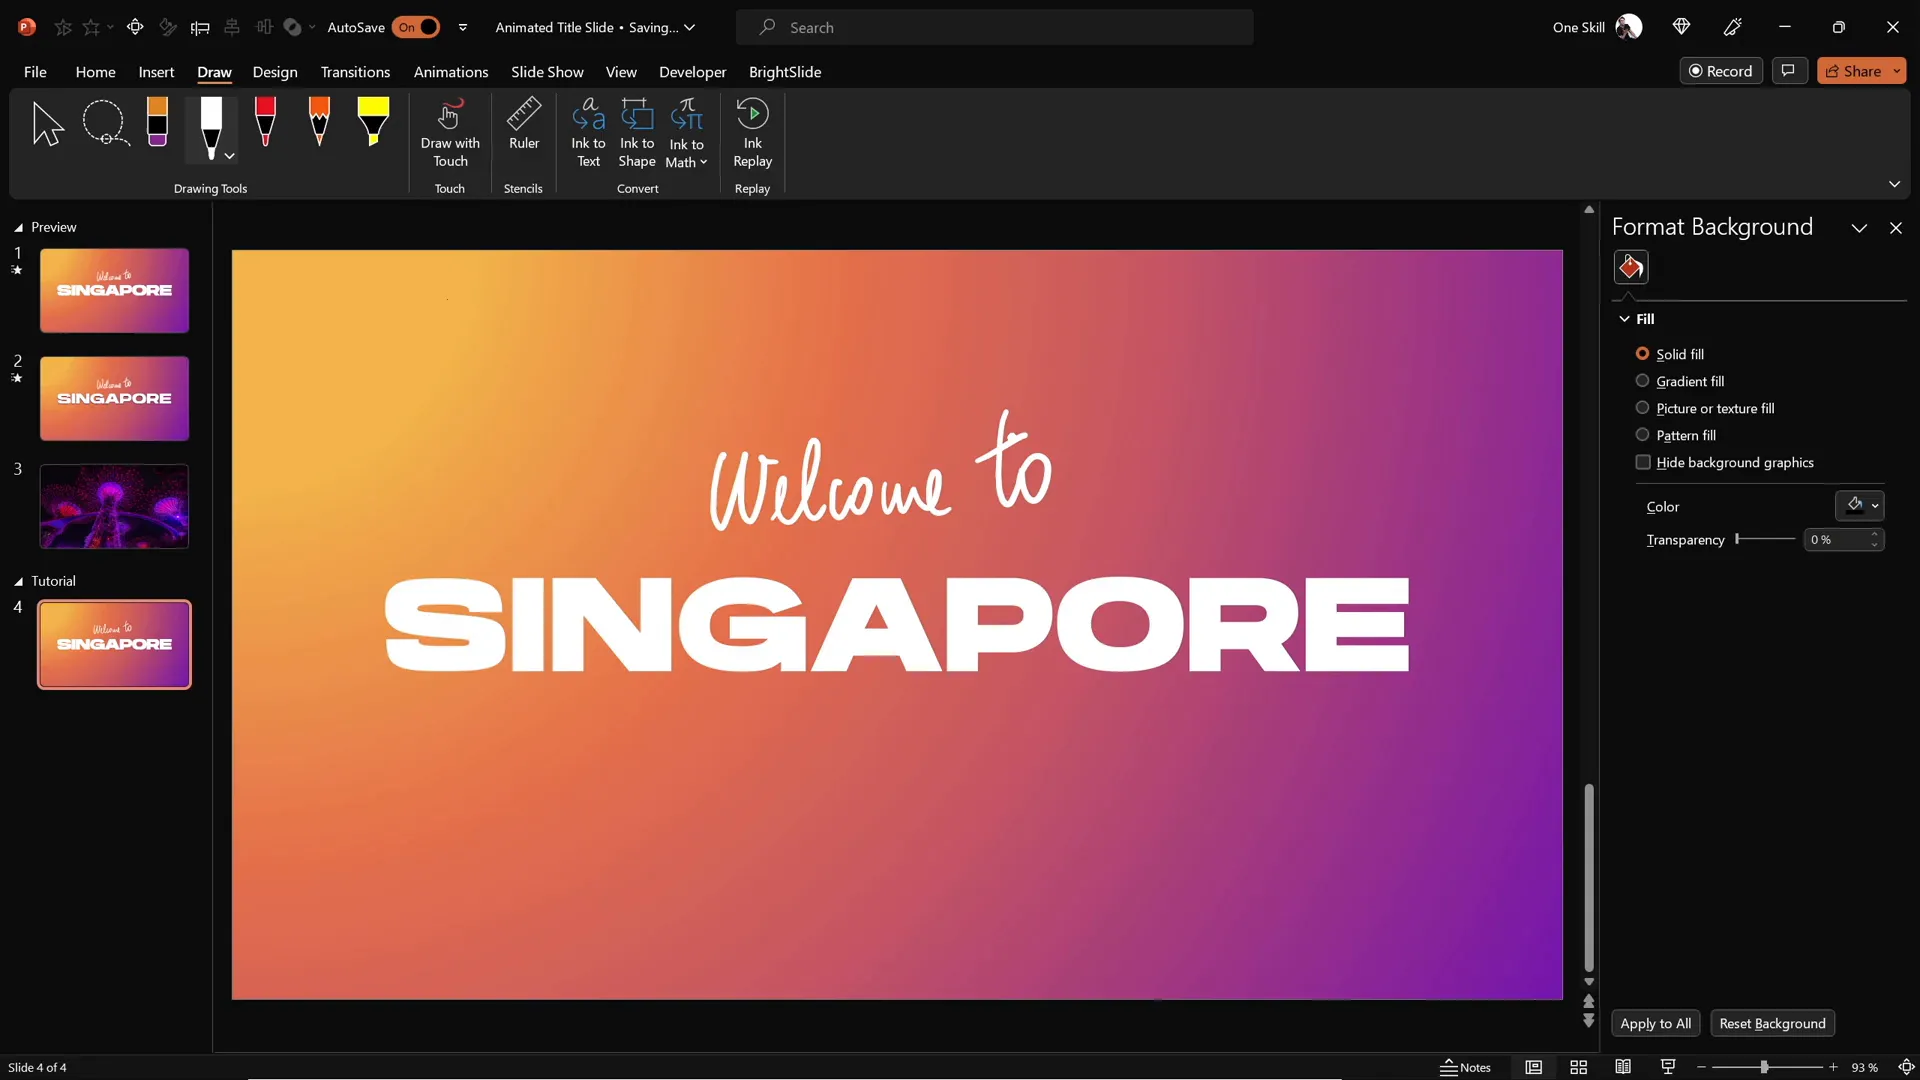
- Insert a new blank slide with a black background. You can set the background color by right-clicking the slide, selecting Format Background, and choosing black.
- This slide will serve as the canvas for your animated title slide.
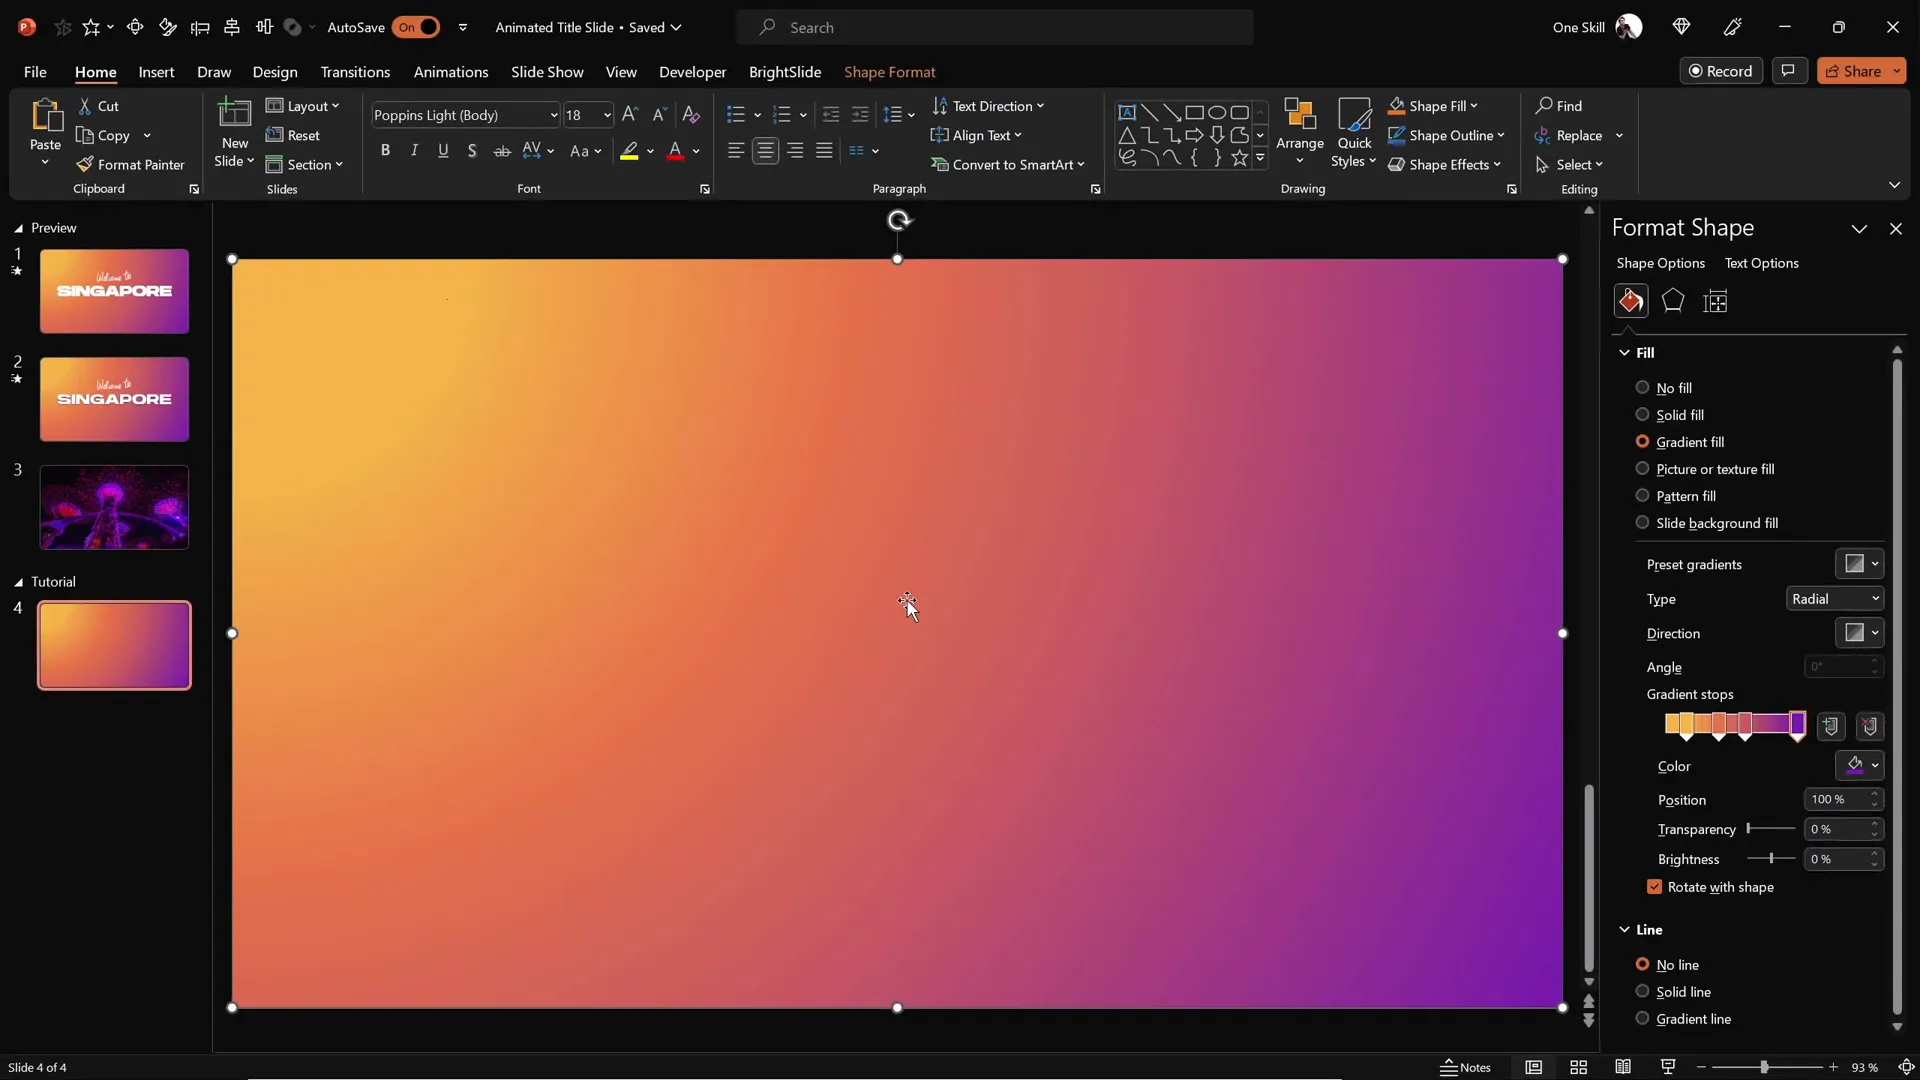
Adding a Gradient Fill Background
Next, create a visually appealing gradient background to add depth and richness to your slide. Instead of using a flat color, a gradient fill gives your slide a polished, modern look.
Follow these steps:
- Insert a rectangle shape that covers the entire slide. Go to the Insert tab, select Shapes, then choose the rectangle. Drag it to cover the full slide area.
- Select the rectangle, then use the Format Painter tool to copy a gradient fill from another shape or set it manually.
- To customize the gradient, right-click the rectangle and select Format Shape. Choose Gradient fill and set the type to Radial.
- Adjust the gradient’s direction to start from the top-left corner for a subtle light effect.
- Use four color stops with specific hex codes for a smooth blend. You can replicate the exact colors used in the tutorial or customize your own palette.
This gradient background will serve as the base layer for your animations and video elements.
Inserting and Styling the Slide Title
With your background ready, it’s time to add the main slide title. For this example, we’ll use the word “Singapore” as our title, but you can customize it to your needs.
Here’s how to insert and style your title text:
- Go to the Insert tab and select Text Box.
- Click and drag to create a large text box on your slide and type your title (e.g., “Singapore”).
- Choose a bold, modern font for impact. The tutorial uses a font called Handsome with a size of 96 points.
- Center-align the text inside the text box to keep it symmetrical.
Choosing the right font and size is crucial for readability and style. Bold sans-serif fonts are often best for title slides.
Using PowerPoint’s Draw Tool for Handwritten Text
To make your title slide more personal and engaging, you can add handwritten text using PowerPoint’s Draw Tool. This adds a warm, human touch to your presentation.
Here’s how to add handwritten text:
- On top of your title text box, use the Draw tab and select a pen or pencil tool.
- Choose your preferred color and pen thickness.
- Write a complementary phrase such as “Welcome to” above your title.
- For smoother handwriting, consider using a graphics tablet like the Wacom Intuos. This device allows for natural pen strokes and better control.
If you don’t have a tablet, don’t worry—you can still use a mouse, but the lines may be less smooth.
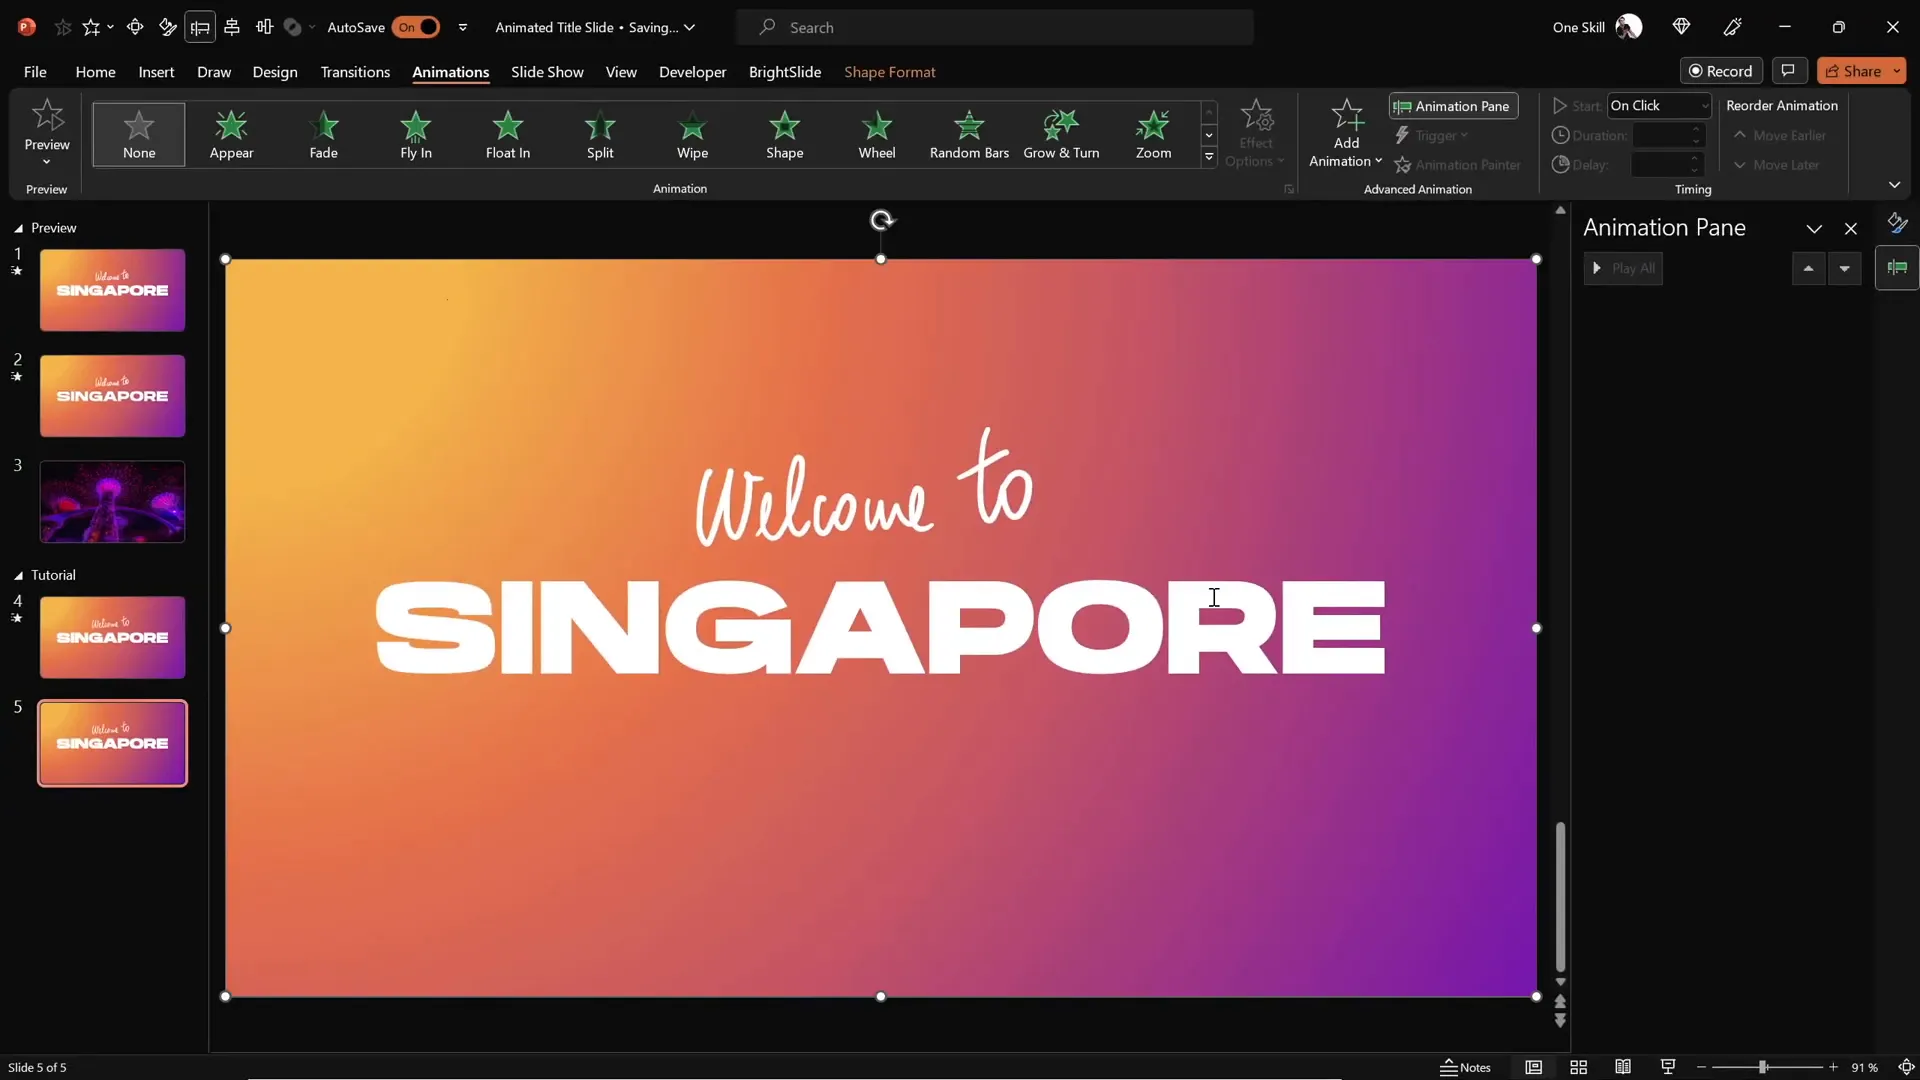
Adding Animations to Your Text Elements
Animations breathe life into your slide, making it dynamic and captivating. PowerPoint offers various animation effects that you can customize for both your handwritten and typed text.
Animating the Handwritten Text
Since the handwritten text was created with the Draw Tool, you can use the Replay animation, which simulates the drawing process.
- Select the handwritten text box.
- Go to the Animations tab and apply the Replay animation.
- Open the Animation Pane to fine-tune the animation timing.
- Adjust the duration to around 1.3 seconds for a smooth and natural speed.
Animating the Title Text
For the main title, use a flying animation to make each letter appear in sequence:
- Select the title text box.
- Apply the Fly In animation with the direction set to From Right.
- Set the animation to start With Previous so it plays automatically.
- Adjust the duration to 1 second for a quick but elegant entrance.
- In the animation options, ensure the text animates By Letter with a 10% delay between letters for a staggered effect.
- Add a Maximum Smooth End to soften the motion as the letters settle.
These animation settings create a professional and visually appealing title reveal.

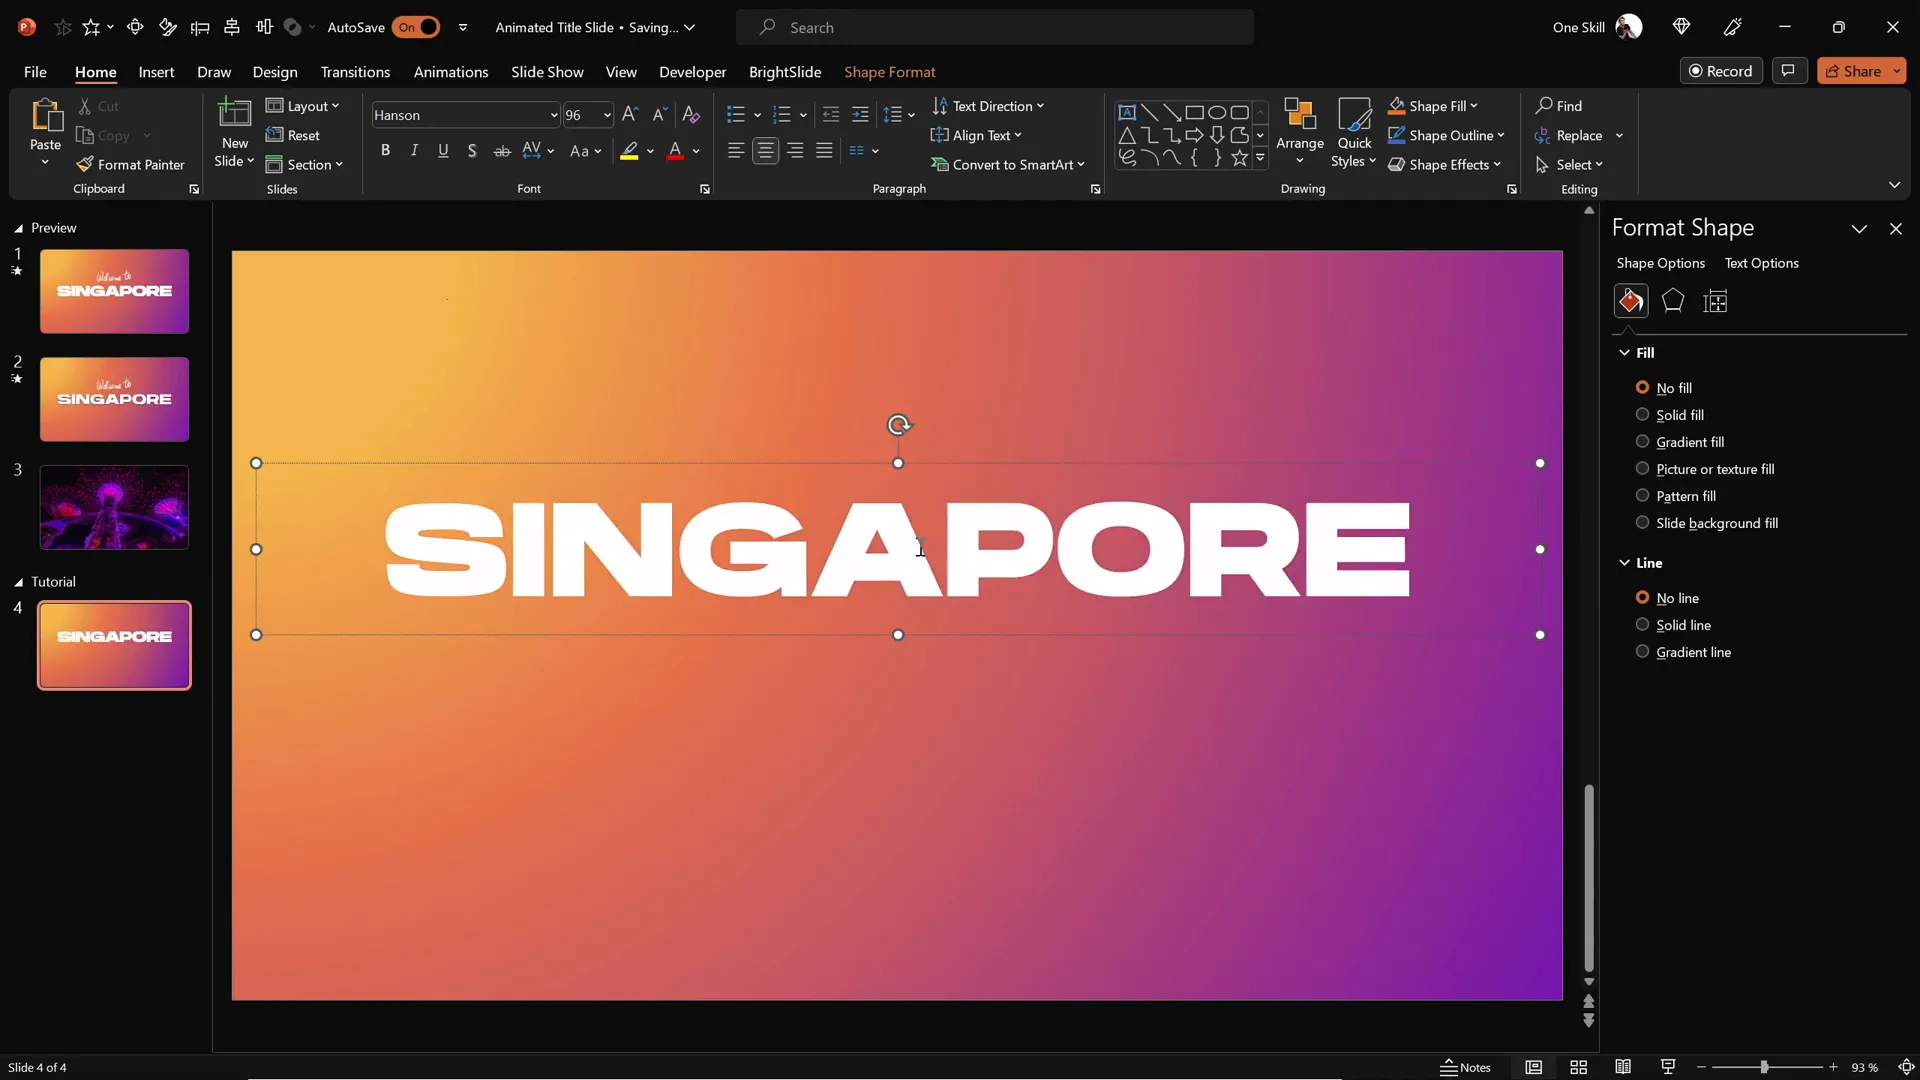
Creating a Cutout Text Effect with Merge Shapes
To add a creative twist, you can punch the title text out of the gradient rectangle, creating a cutout effect that reveals the background or video behind it.
Here’s how to achieve this:
- Duplicate your slide to preserve the original animation settings.
- On the duplicated slide, delete all animations to start fresh.
- Select the gradient rectangle, then hold the Shift key and select the title text box.
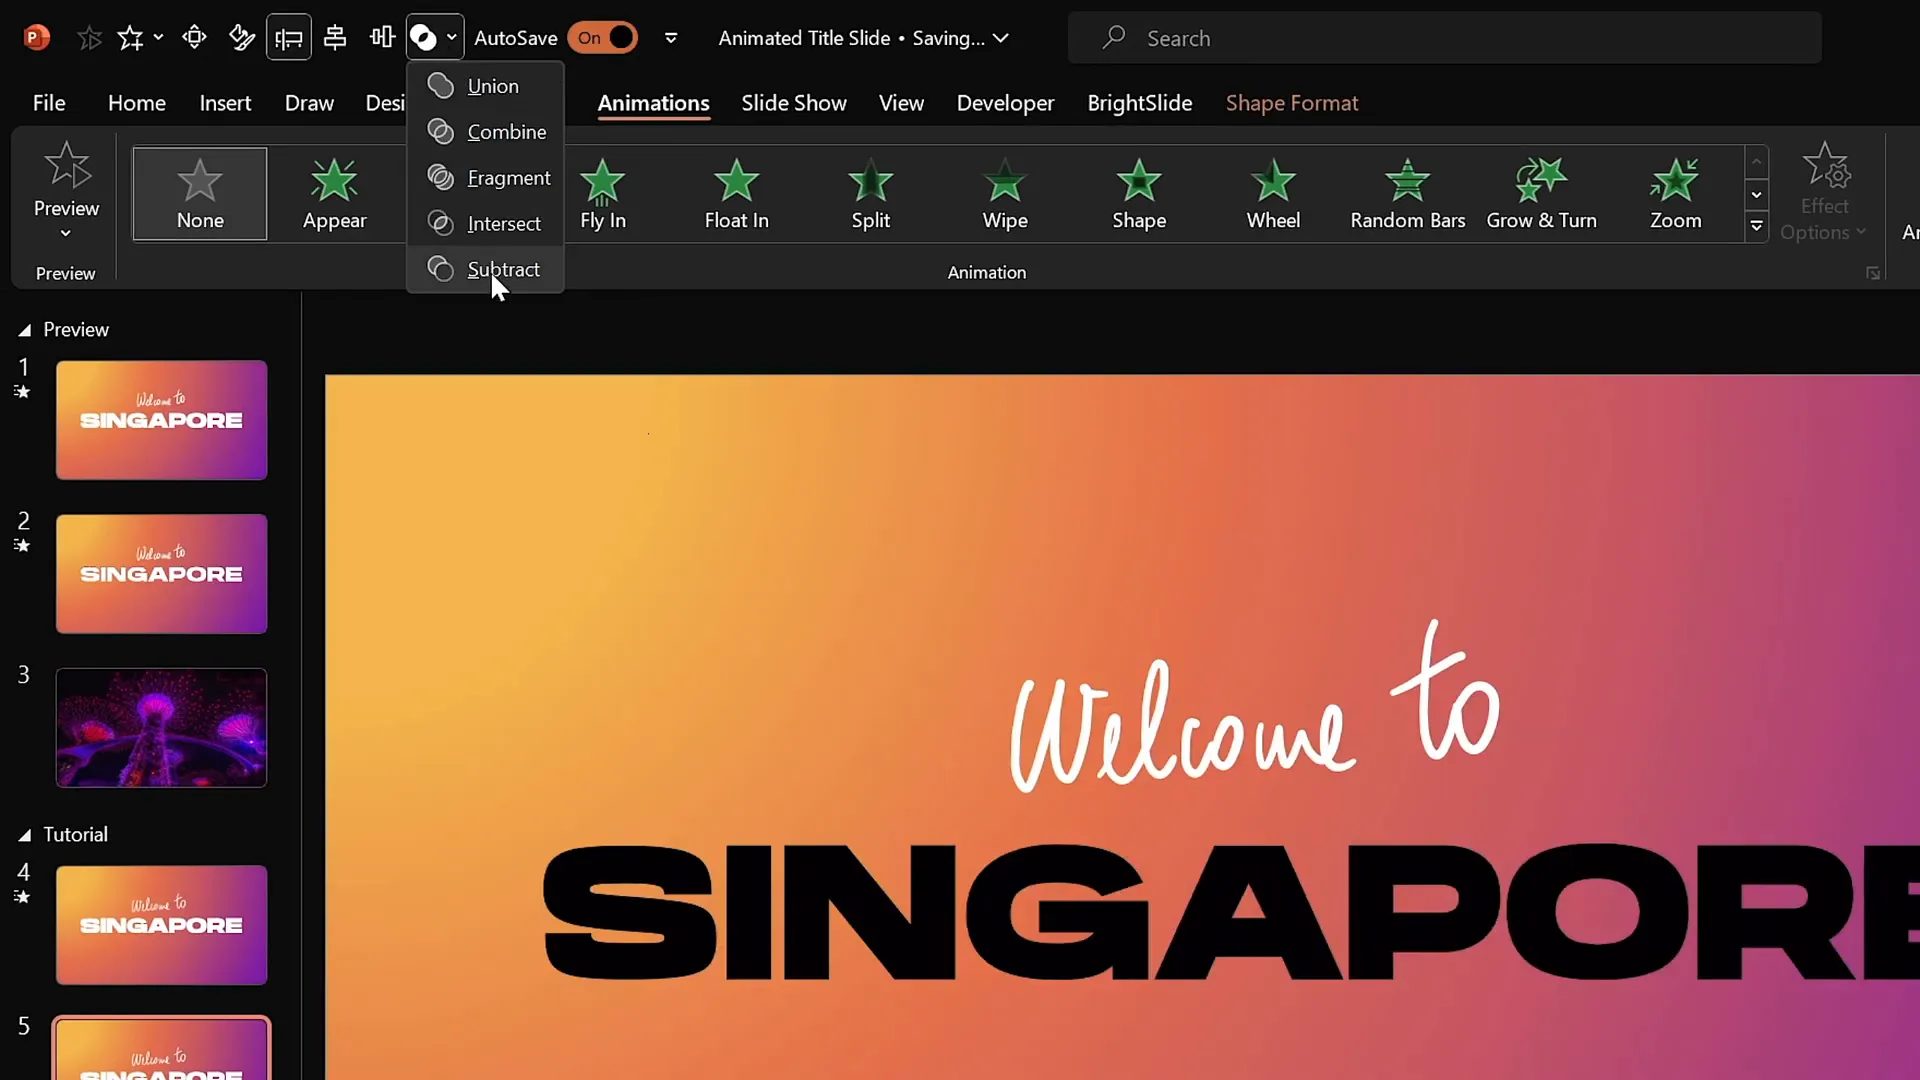
- Go to the Shape Format tab, click on Merge Shapes, and choose Subtract.
- This will cut out the text shape from the rectangle, creating transparent “holes” where the letters were.
The result is a striking visual where your title appears as a window into whatever lies beneath the rectangle.
Embedding and Animating Video Backgrounds
To take your title slide to the next level, embed a video behind the cutout text for a dynamic background effect. This technique is great for showcasing location-specific visuals or engaging visuals relevant to your presentation.
Finding the Right Video
For this tutorial, a royalty-free video of Singapore’s Supertrees lighting up at night was sourced from DepositPhotos. This platform offers a vast library of stock photos, videos, vector images, and music that can be used in creative projects.
Use promo code ONESKILL20 to get 20% off all on-demand downloads and subscriptions, making it affordable to access professional content.
Inserting and Animating the Video
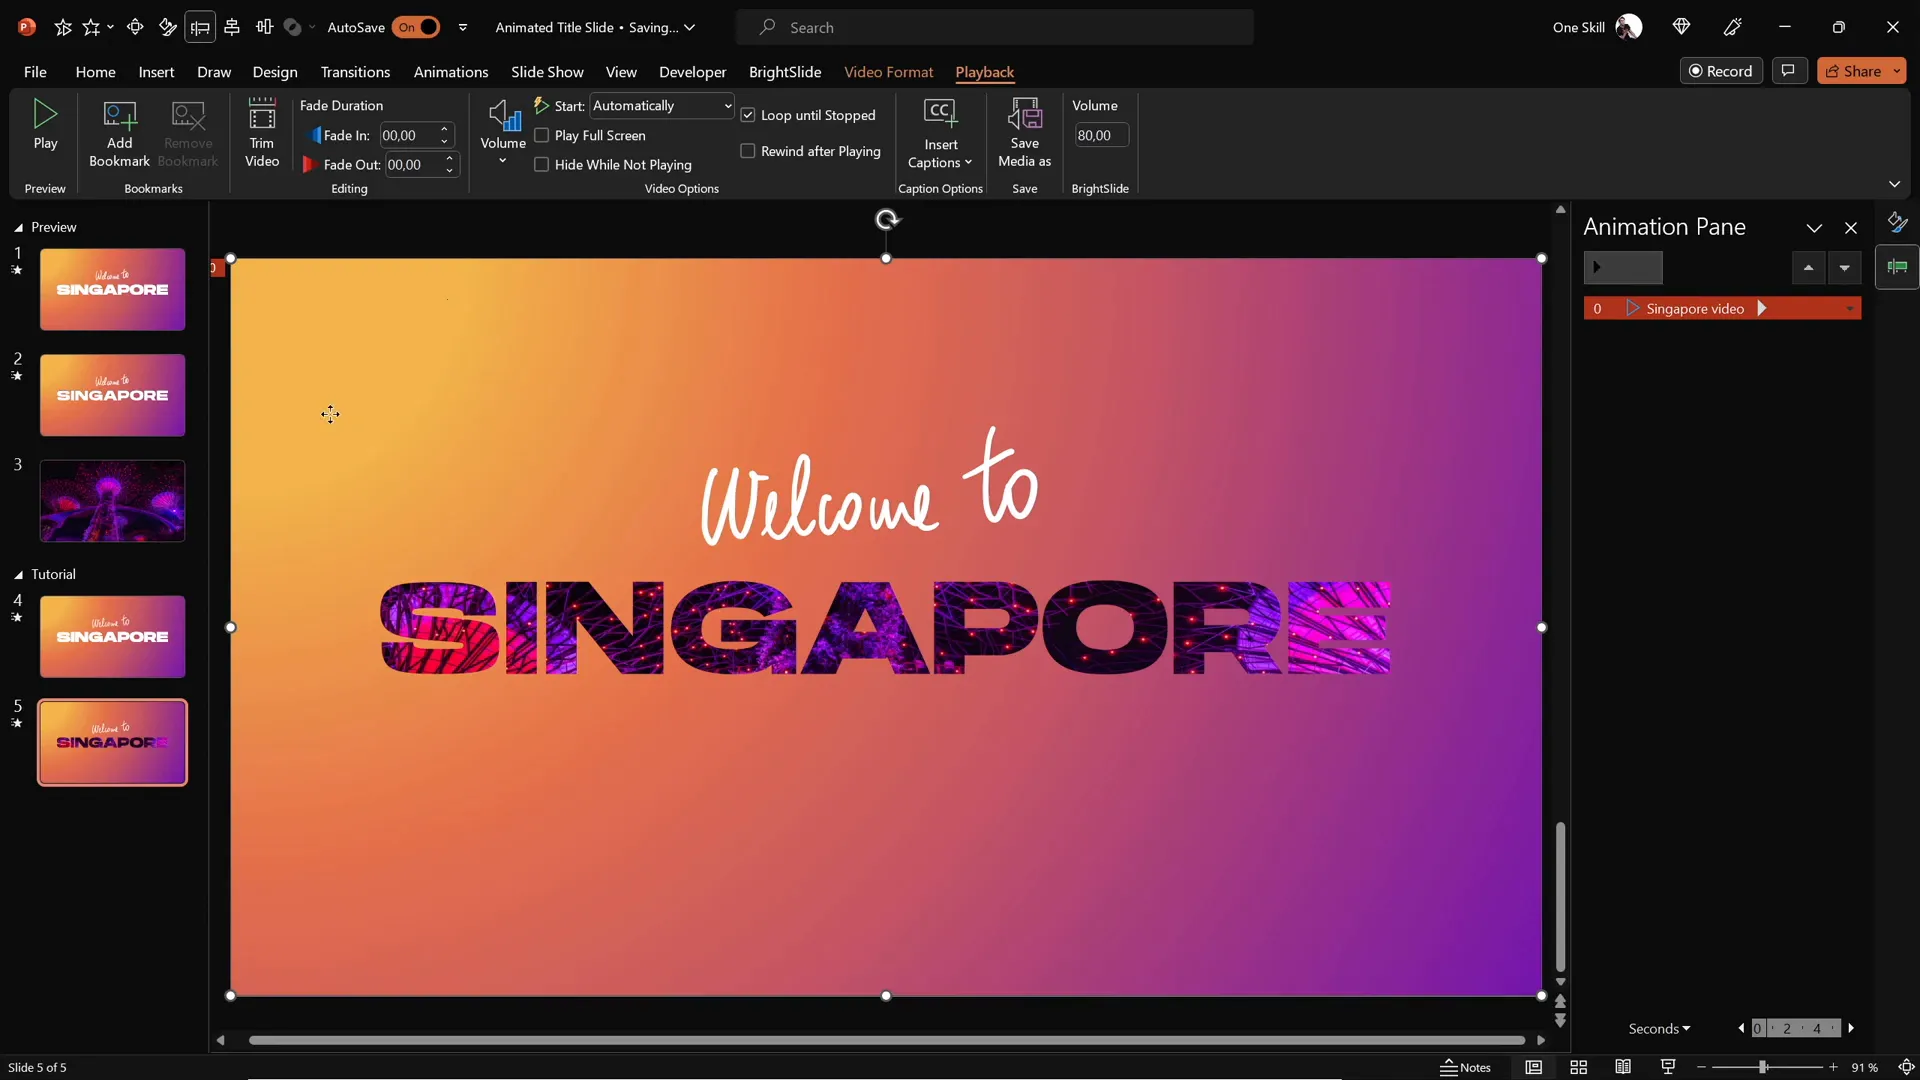
- Download your chosen video and insert it into the slide with the cutout rectangle.
- Center align the video so it fits well behind the cutout letters.
- Send the video to back so it appears beneath the rectangle and text layers.
- Set the video playback options to Loop for continuous play during your presentation.
- Add a Play animation to the video, set to start With Previous, so it plays automatically when the slide appears.
This setup creates a captivating animated title slide where the video shines through the cutout text, adding a modern and professional flair.
Adding Exit Animations for a Dynamic Finish
To complete the animation sequence, apply exit animations to the text and cutout shapes for a smooth transition to your next slide or content.
- Select both the handwritten and title text boxes.
- Apply an Exit Fly Out animation with the direction set to To Top.
- Set the animations to start With Previous for simultaneous playback.
- Adjust the duration to 1 second for a graceful exit.
- For the title text, animate the exit By Letter with a 10% delay to maintain the staggered effect.
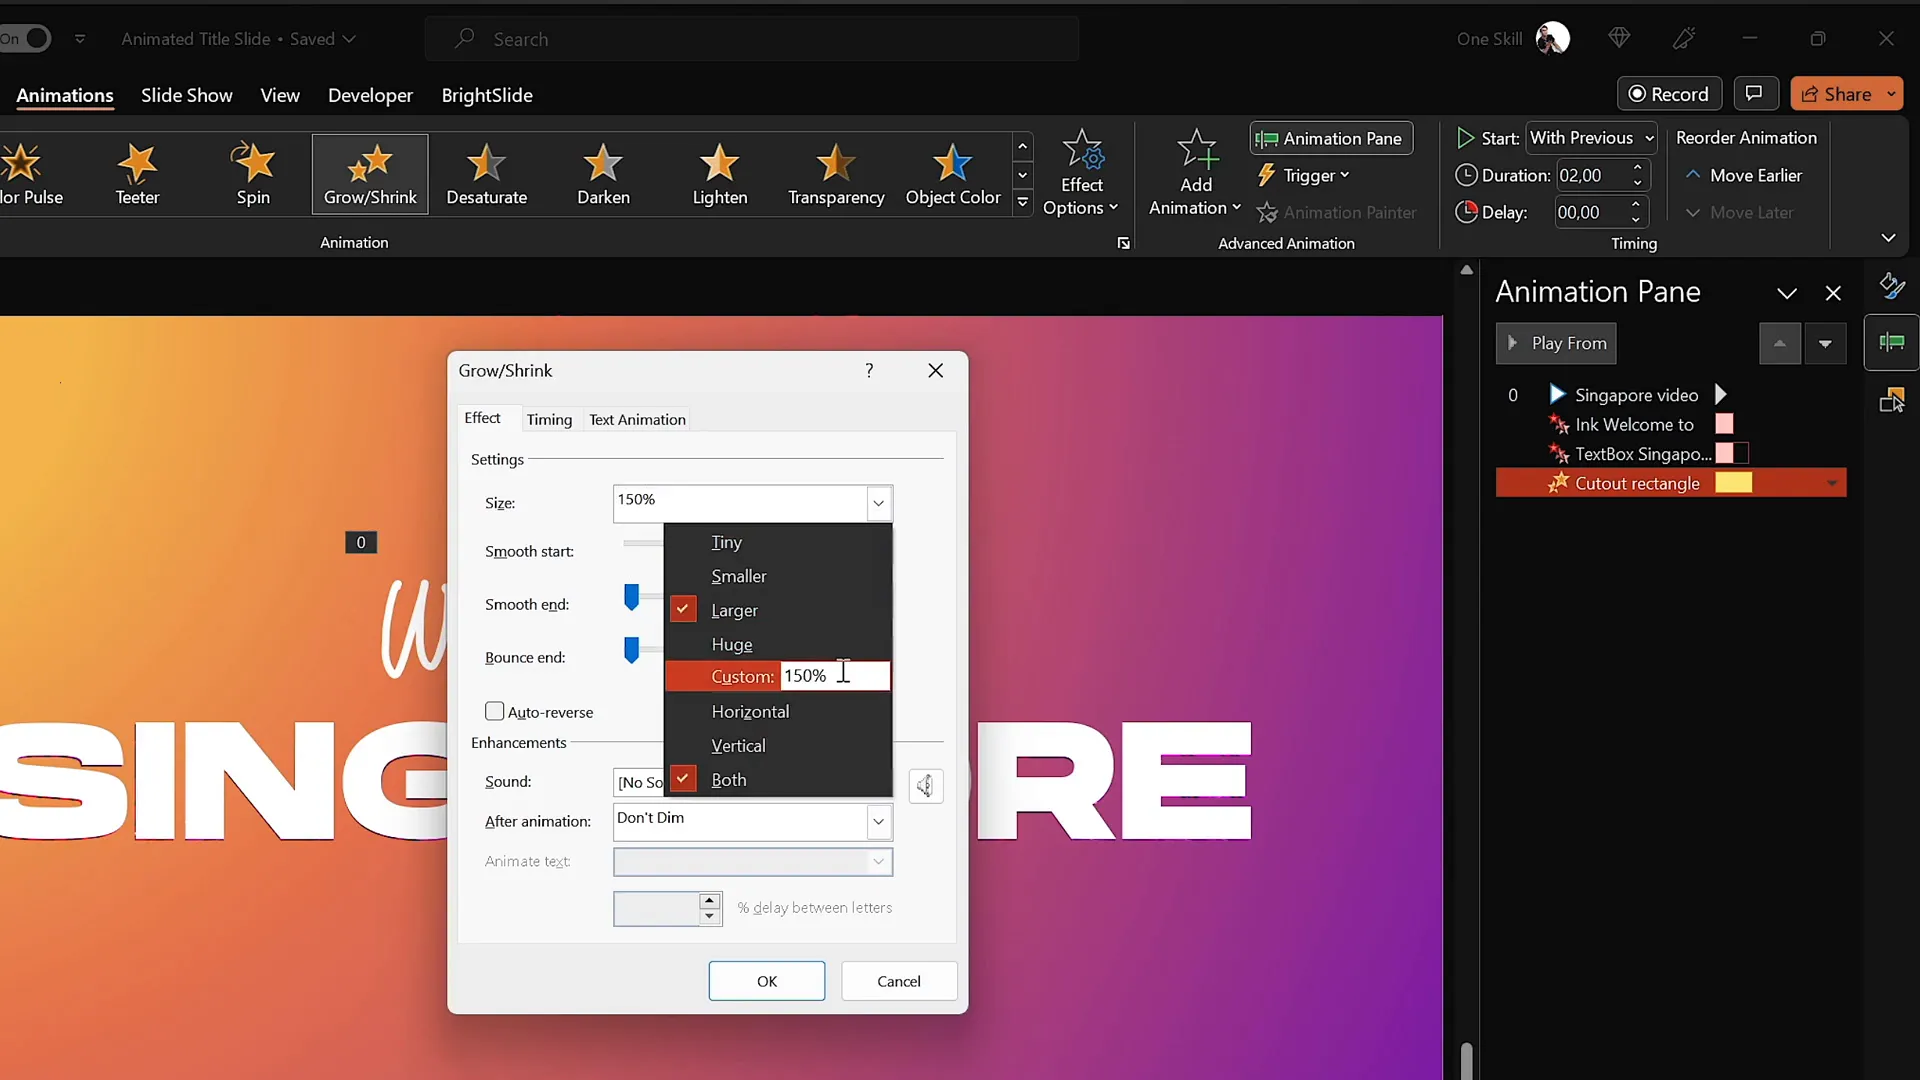
- Select the cutout rectangle and apply a Grow/Shrink animation.
- Set this animation to start With Previous, with a duration of 2 seconds and a maximum smooth start.
- Set the growth size to an unusual 9000% so the rectangle zooms and flies away, revealing the video fully.
This combination of exit animations creates an engaging flow, making your title slide feel alive and dynamic.
Final Touches and Presentation Tips
Before wrapping up, here are a few additional tips to ensure your animated title slide looks flawless and performs smoothly during your presentation:
- Remove Slide Transitions: For a seamless effect, set the slide transition to None between your animated slides. This avoids distractions and makes the animation feel instantaneous.
- Rename Layers: Use the Selection Pane to rename your objects (e.g., “Welcome Text,” “Title Text,” “Cutout Rectangle,” “Background Video”) for easier management.
- Test Your Animation: Always preview your animations in the Animation Pane to ensure timings and effects look natural.
- Use a Graphics Tablet: For smoother handwritten animations, consider investing in a graphics tablet like the Wacom Intuos. It offers better control over your strokes compared to a mouse.
- Embed Fonts: To prevent font substitution issues on other computers, embed your fonts via File > Options > Save > Embed fonts in the file.
By following these tips, you’ll create a polished, professional animated title slide that sets the tone for your entire presentation.
Frequently Asked Questions (FAQ)
Can I use any video for the background in PowerPoint?
Yes, PowerPoint supports various video formats like MP4 and WMV. It’s best to use royalty-free or licensed videos to avoid copyright issues. Platforms like DepositPhotos offer high-quality stock videos perfect for presentations.
Is the Draw Tool available on all versions of PowerPoint?
The Draw Tool is available in Microsoft 365 and PowerPoint 2019 and later versions. It may not be available in older versions. Check your PowerPoint version or update to access this feature.
How do I ensure my animations play smoothly on other devices?
Embed your fonts and media files within your presentation. Test your slideshow on the device you plan to present on. Bringing your own laptop can also help avoid compatibility issues.
Can I customize the animation speed and direction?
Absolutely! PowerPoint allows you to adjust the duration, start time, delay, and direction of animations to suit your style and pacing.
What if I don’t have a graphics tablet for handwriting?
You can still use a mouse or touchpad, but the lines may be less smooth. Alternatively, you can create handwritten text in another app and import it as an image.
Conclusion
Mastering PowerPoint design animation can transform your presentations from ordinary to extraordinary. By combining gradient backgrounds, animated text, creative cutout effects, and embedded videos, you create immersive title slides that captivate your audience from the start.
This tutorial has shown you how to build an animated title slide step-by-step using PowerPoint’s native tools, along with recommendations for enhancing your workflow like using a graphics tablet and stock video resources.
Remember, animation should always support your message without overwhelming your content. Use these techniques thoughtfully to add polish and professionalism to your presentations.
If you want to explore more PowerPoint animation tips and tricks, be sure to check out the PowerPoint animation playlist from One Skill PPT for expert tutorials and inspiration.
Now it’s your turn—open PowerPoint, follow the steps, and create your own stunning animated title slide today!