
If you’ve ever wanted to add a touch of magic to your presentations, mastering PowerPoint animation techniques is an excellent skill to develop. One of the most captivating effects you can create is a realistic page flip animation that mimics the turning of a book’s page. This tutorial will walk you through how to create a stunning, lifelike page flip animation using PowerPoint’s built-in tools like the Morph transition and 3D rotation effects.
Whether you’re designing a digital brochure, an interactive storytelling presentation, or just want to impress your audience with slick animation, this guide will equip you with the skills to bring your slides to life. Plus, you’ll learn some advanced tips on how to customize the pages with your own text and images for a truly personalized effect.
Let’s jump right in and explore the step-by-step process for creating this advanced PowerPoint animation!
Table of Contents
- Getting Started: Setting Up Your PowerPoint Slide
- Adding Background and Book Images
- Preparing the Book Photo and Removing Its Background
- Aligning the Book Image on the Slide
- Cutting Out the Page to Flip
- Grouping and Naming Slide Elements
- Applying 3D Rotation for the Flip Effect
- Using Morph Transition for Smooth Animation
- Final Touches and Adding Custom Content
- Frequently Asked Questions (FAQ)
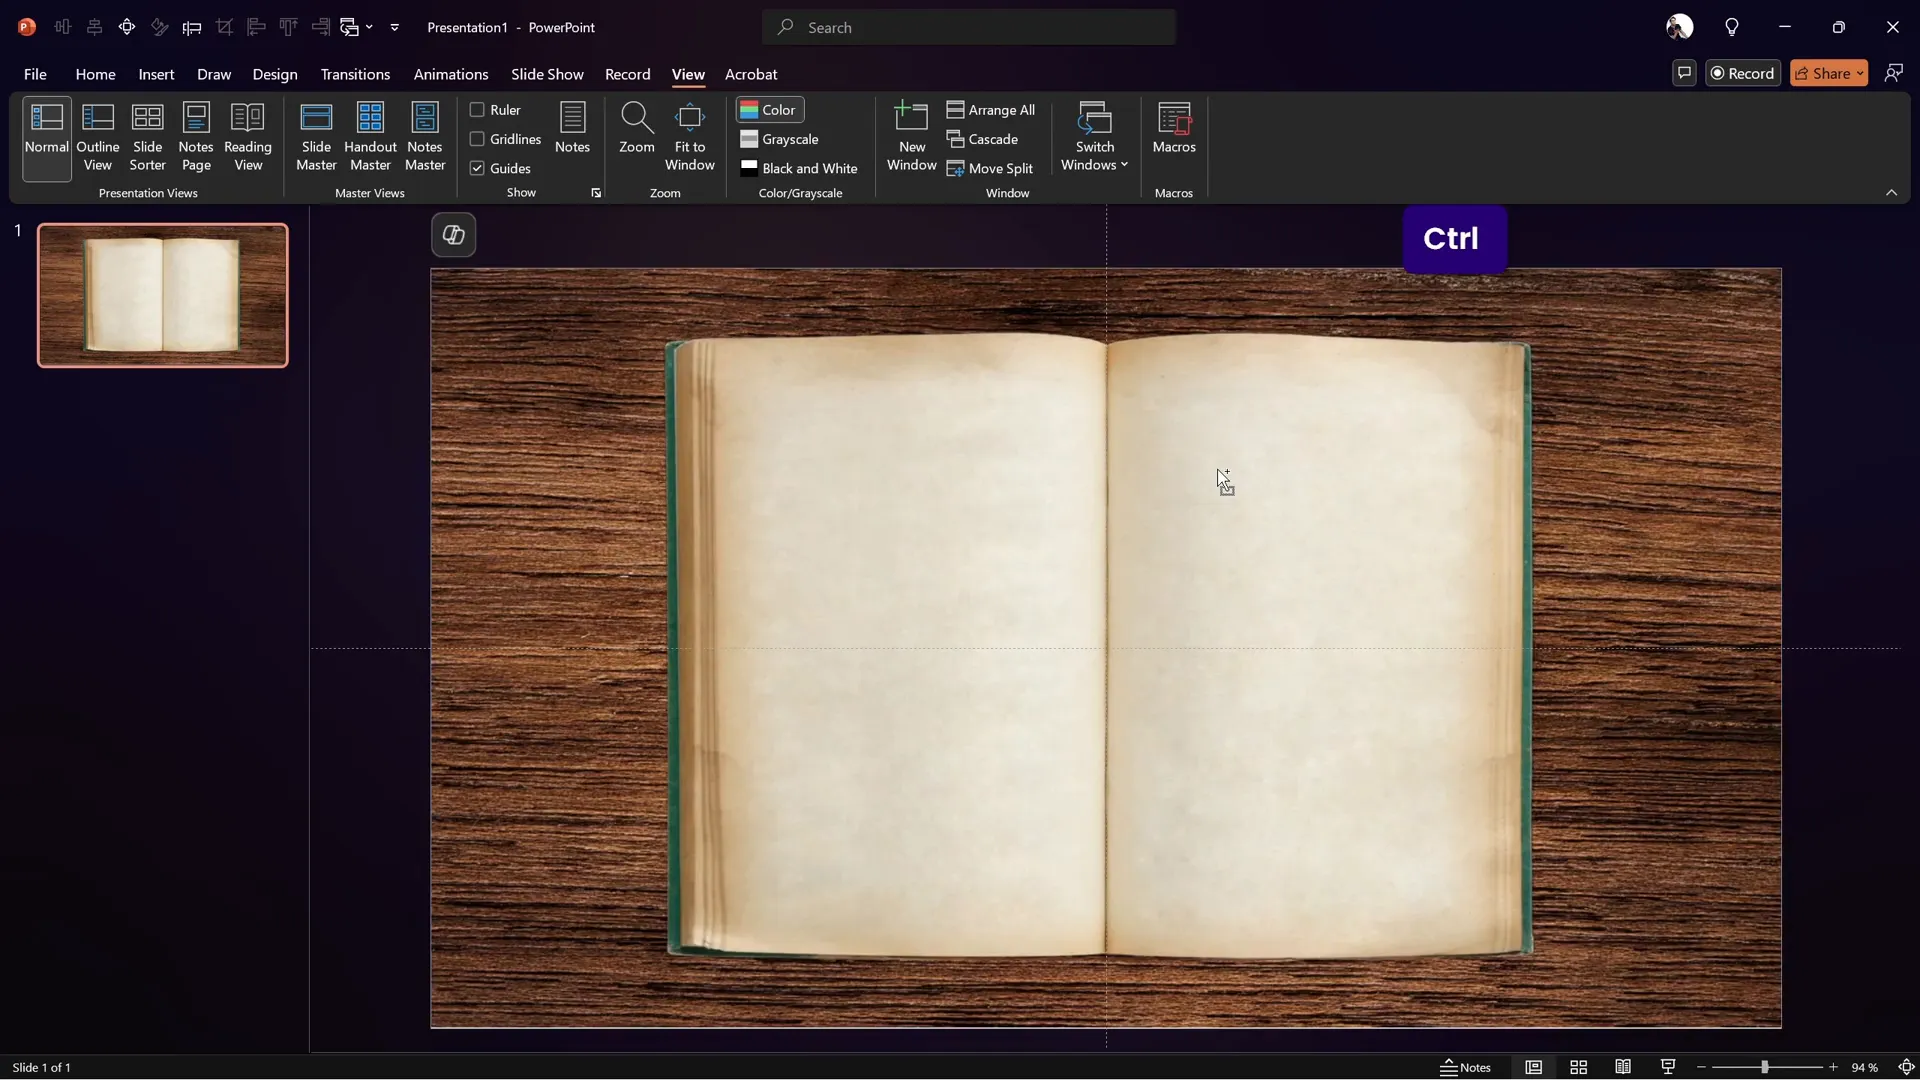
Getting Started: Setting Up Your PowerPoint Slide
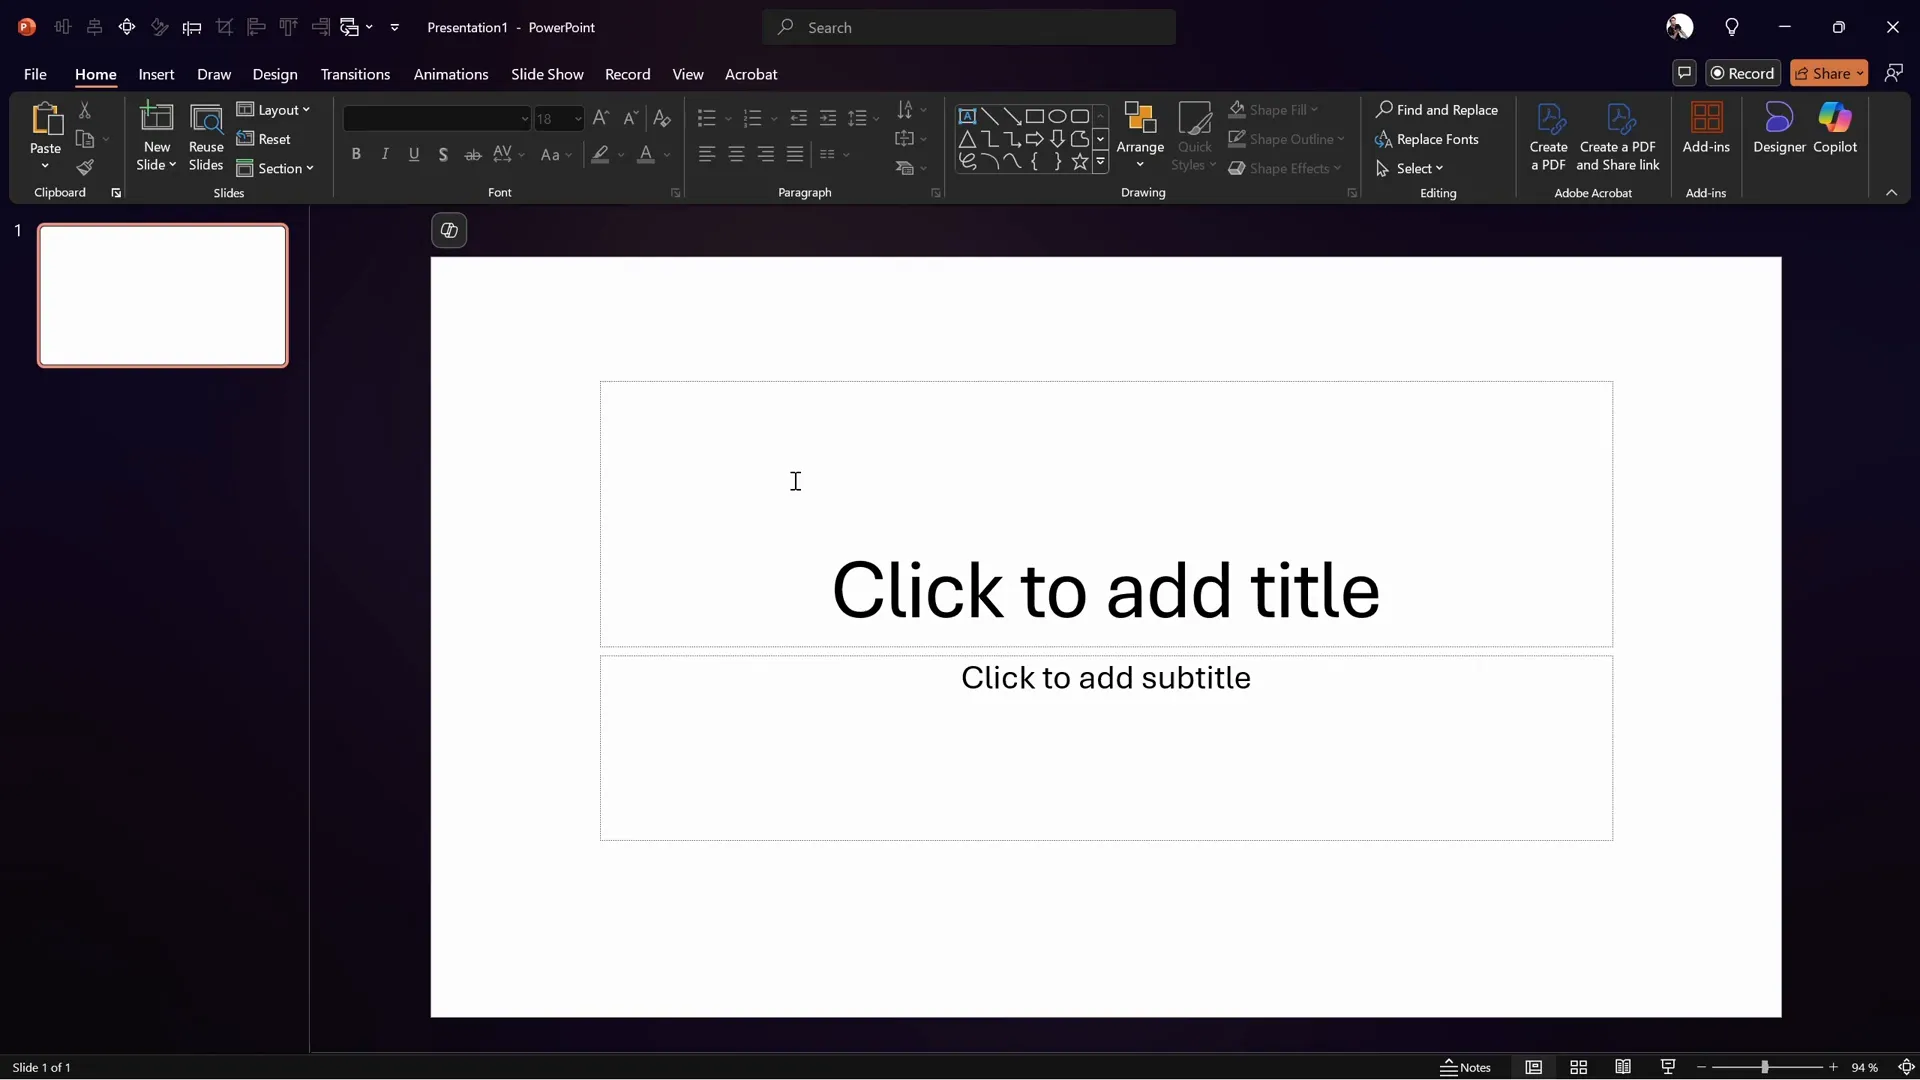
The first step in creating a page flip animation is to start with a clean slate. Open PowerPoint and create a new presentation. For a distraction-free workspace, select a blank slide layout that removes any default text placeholders.
- Open PowerPoint and select New Presentation.
- Go to the Layout menu and choose Blank to start with a clean slide.
This blank canvas will allow you to build your page flip animation without any interference from preset content, giving you full creative control.
Adding Background and Book Images
To create a realistic setting for the page flip, you’ll need an appealing background and an image of an open book.
Choosing and Adding a Background
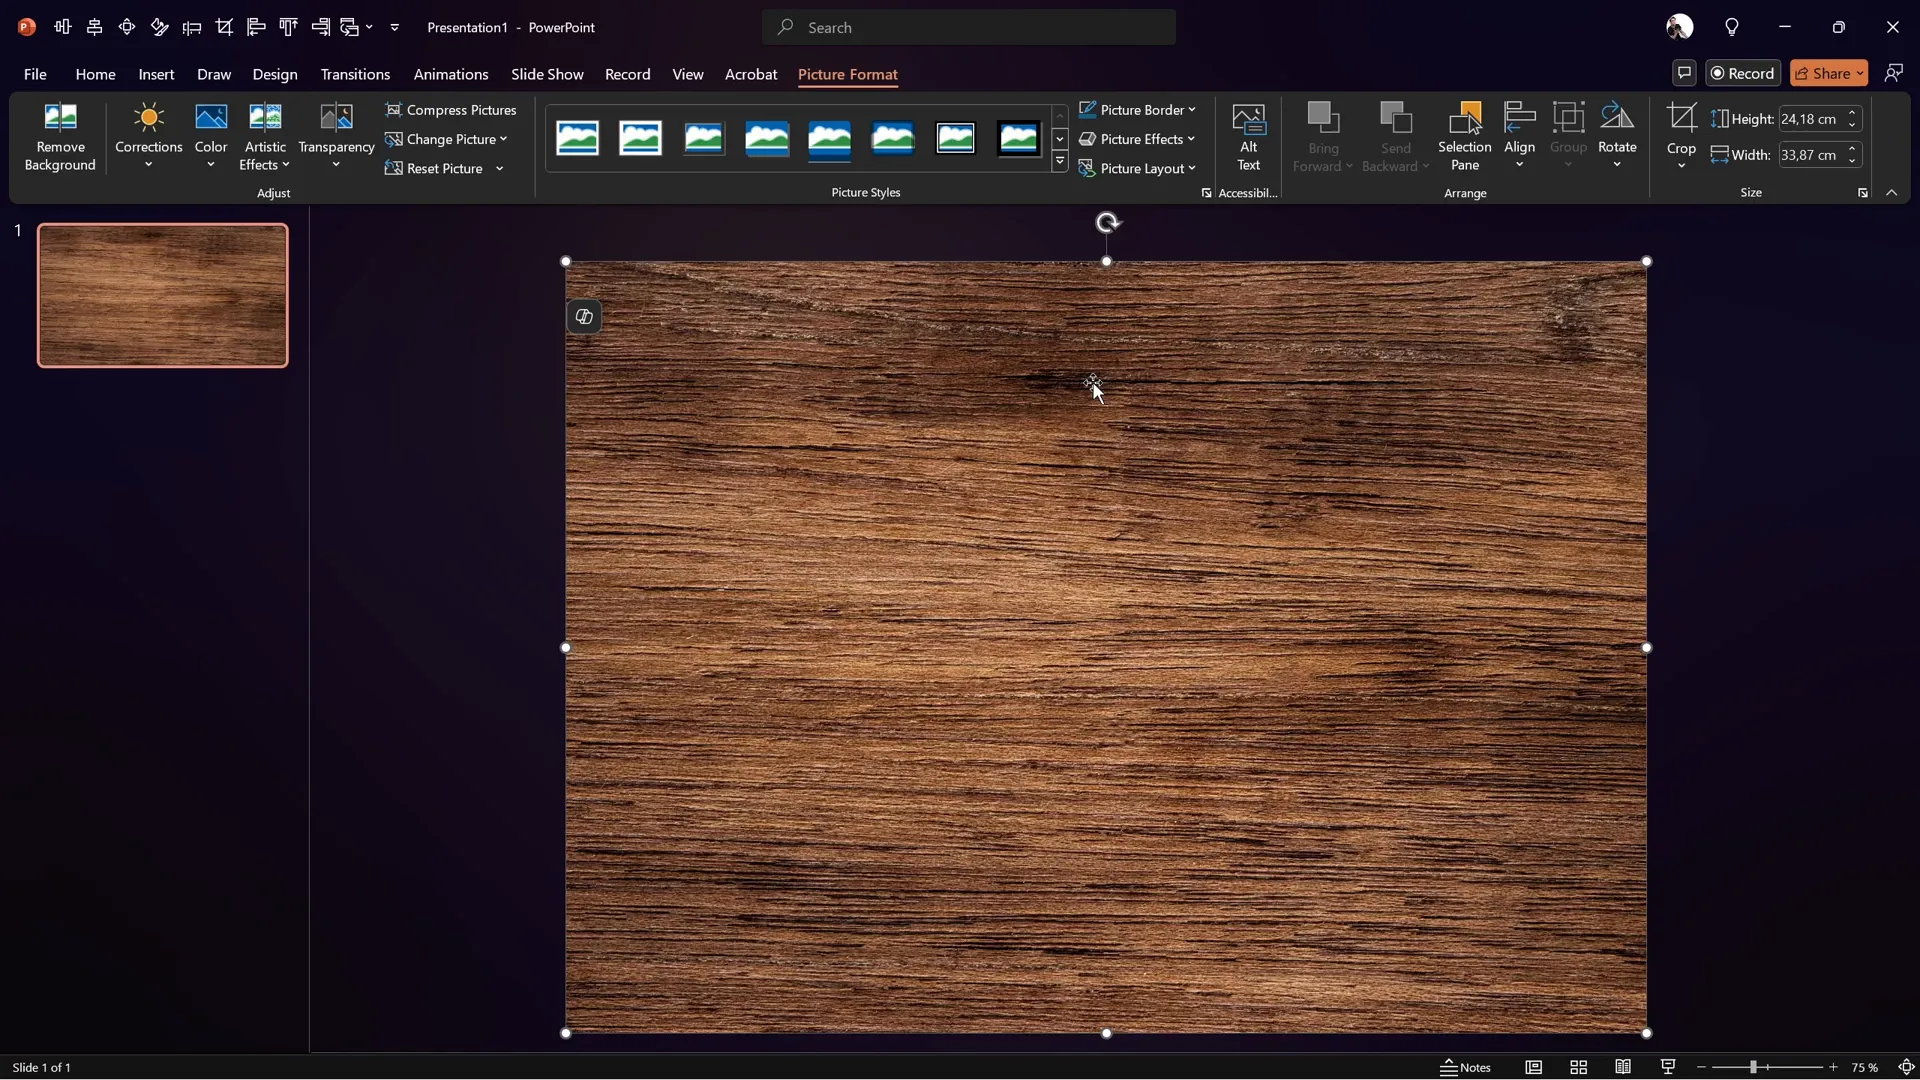
For the background, a wooden texture works beautifully as it mimics a tabletop or desk where the book rests. Free resources like Freepik offer high-quality free images for this purpose.
- Copy the wooden texture image from the source website.
- Return to your PowerPoint slide and paste it with Ctrl + V (or Cmd + V on Mac).
- Resize the image by dragging from the corners while holding Ctrl + Shift to keep it centered and proportional until it covers the entire slide.
- Use the Crop tool to set the aspect ratio to 16:9, ensuring the image fits perfectly.
Adjust the image’s brightness and contrast for a more natural look:
- Right-click the image and select Format Picture.
- Navigate to Picture Corrections.
- Set brightness to -10% to darken slightly.
- Increase contrast to +10% for richer texture.
Adding the Book Image
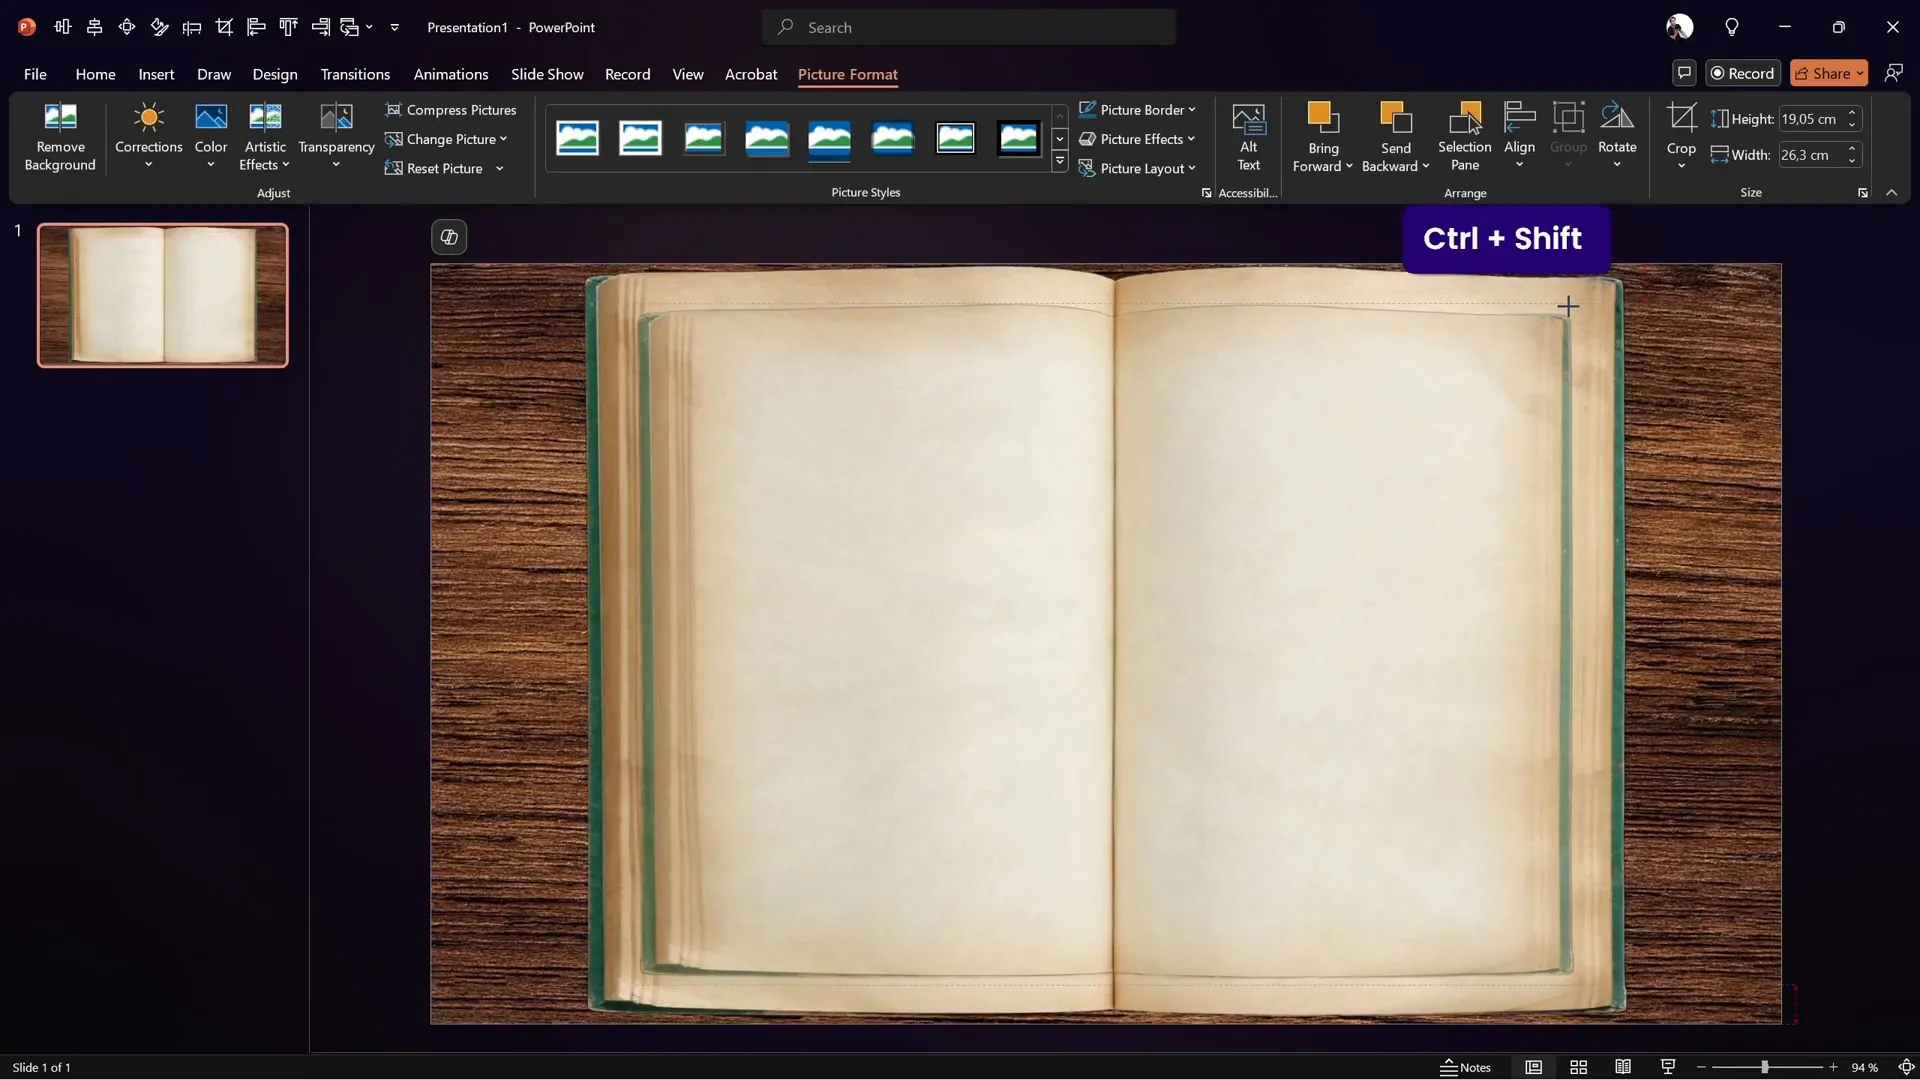
Next, find a photo of an open book with visible pages. You can use resources such as Freepik for suitable images.
- Copy the book image from the source.
- Paste it into PowerPoint on a new slide or on top of the background slide.
Because the background is already set, the book image’s background should be removed for cleaner integration. This leads us to the next step.
Preparing the Book Photo and Removing Its Background
To make the book image blend seamlessly into your slide, removing its background is essential. This can be done using free online tools like Photopea, a free Photoshop alternative.
Steps to Remove Background and Straighten the Image
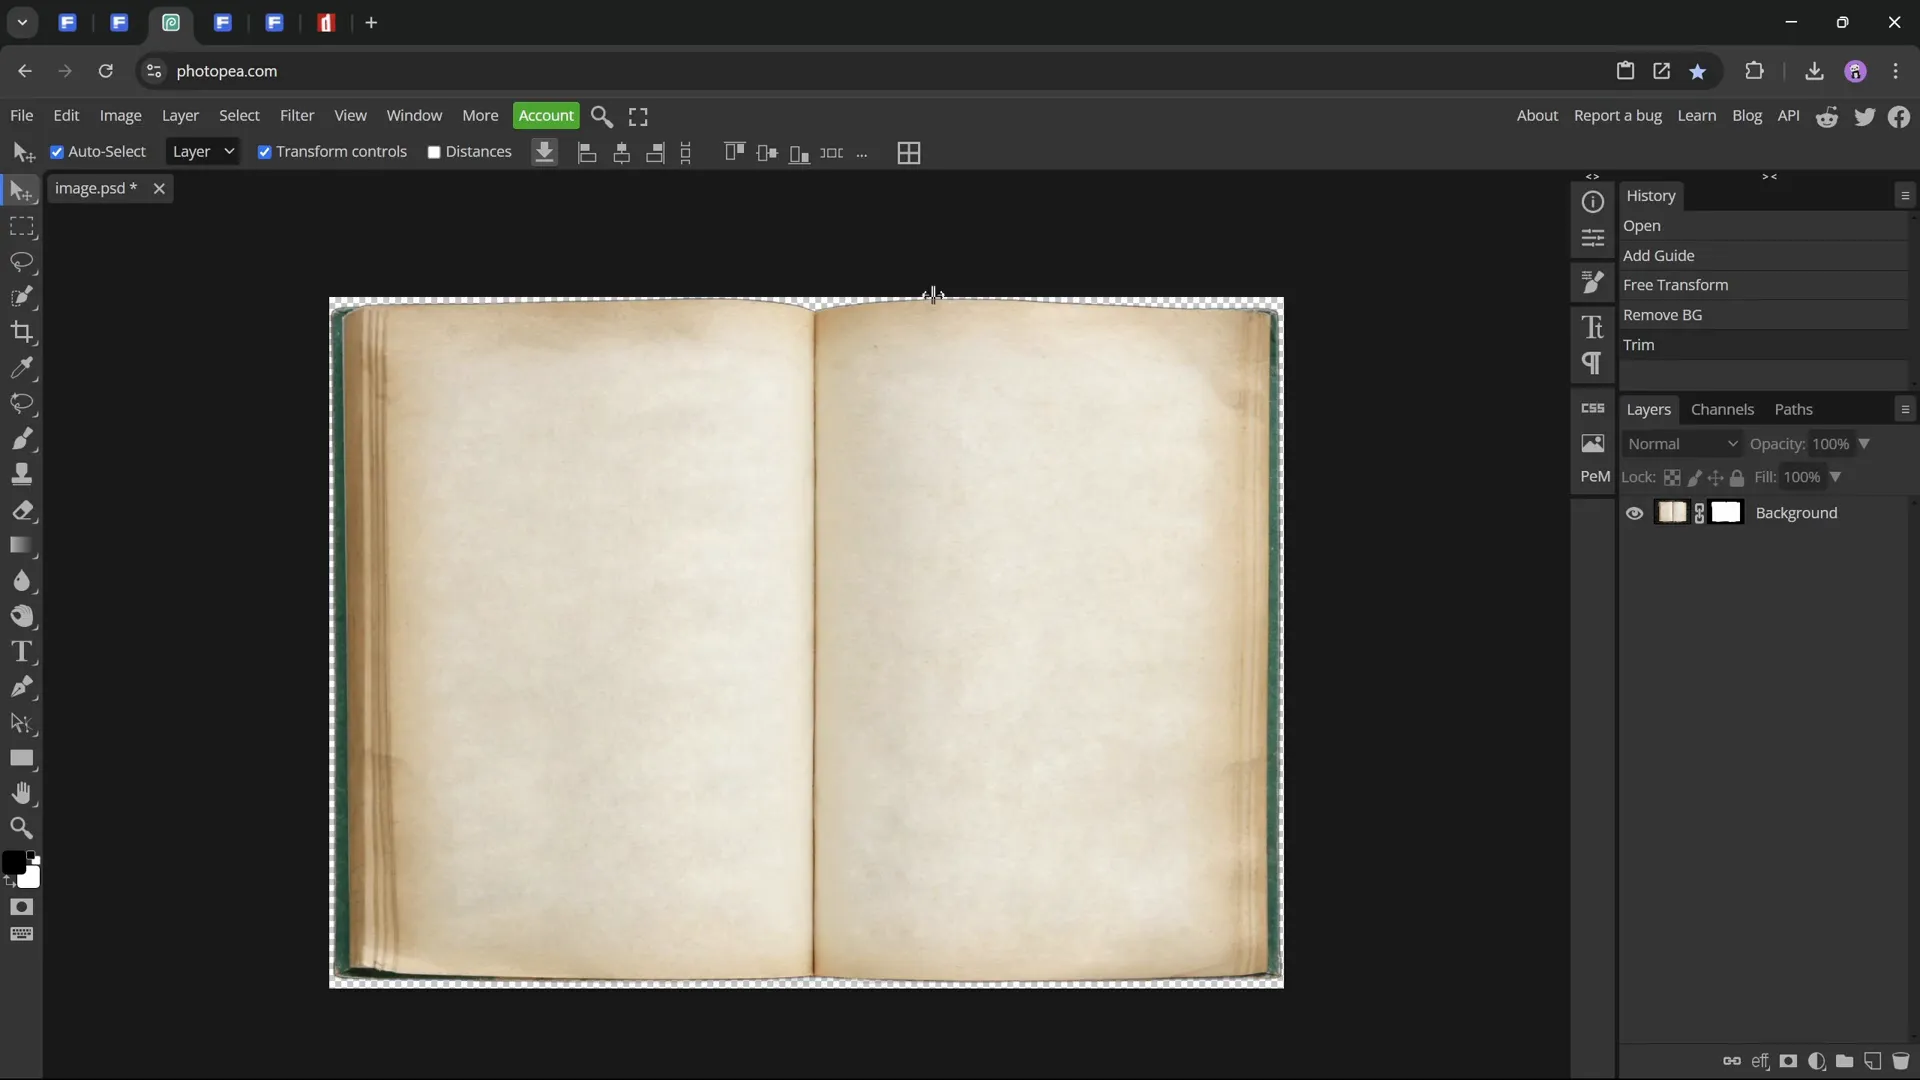
- Open photopea.com in your browser.
- Paste the copied book image directly into Photopea (Ctrl + V or Cmd + V).
- Activate rulers (Ctrl + R) and drag vertical guides to the center of the page division in the book.
- If the page division line is skewed, use the Transform tool to straighten it by rotating and distorting the image horizontally.
- Once aligned, use the Remove Background option to isolate the book from the photo’s background.
- Trim the image canvas to remove any transparent pixels surrounding the book.
- Export the image as a PNG file with transparency preserved.
This process ensures the book image will sit perfectly on the slide without unsightly borders or background mismatches.
Aligning the Book Image on the Slide
Back in PowerPoint, import the edited book PNG file:
- Go to Insert > Pictures > This Device and select your saved book image.
- Resize the book proportionally and position it so that the page division line aligns exactly with the center guide of the slide.
- Use the arrow keys for fine adjustments to ensure perfect centering.
Later, you can add subtle shadows to the book image to make it appear naturally resting on the wooden background.
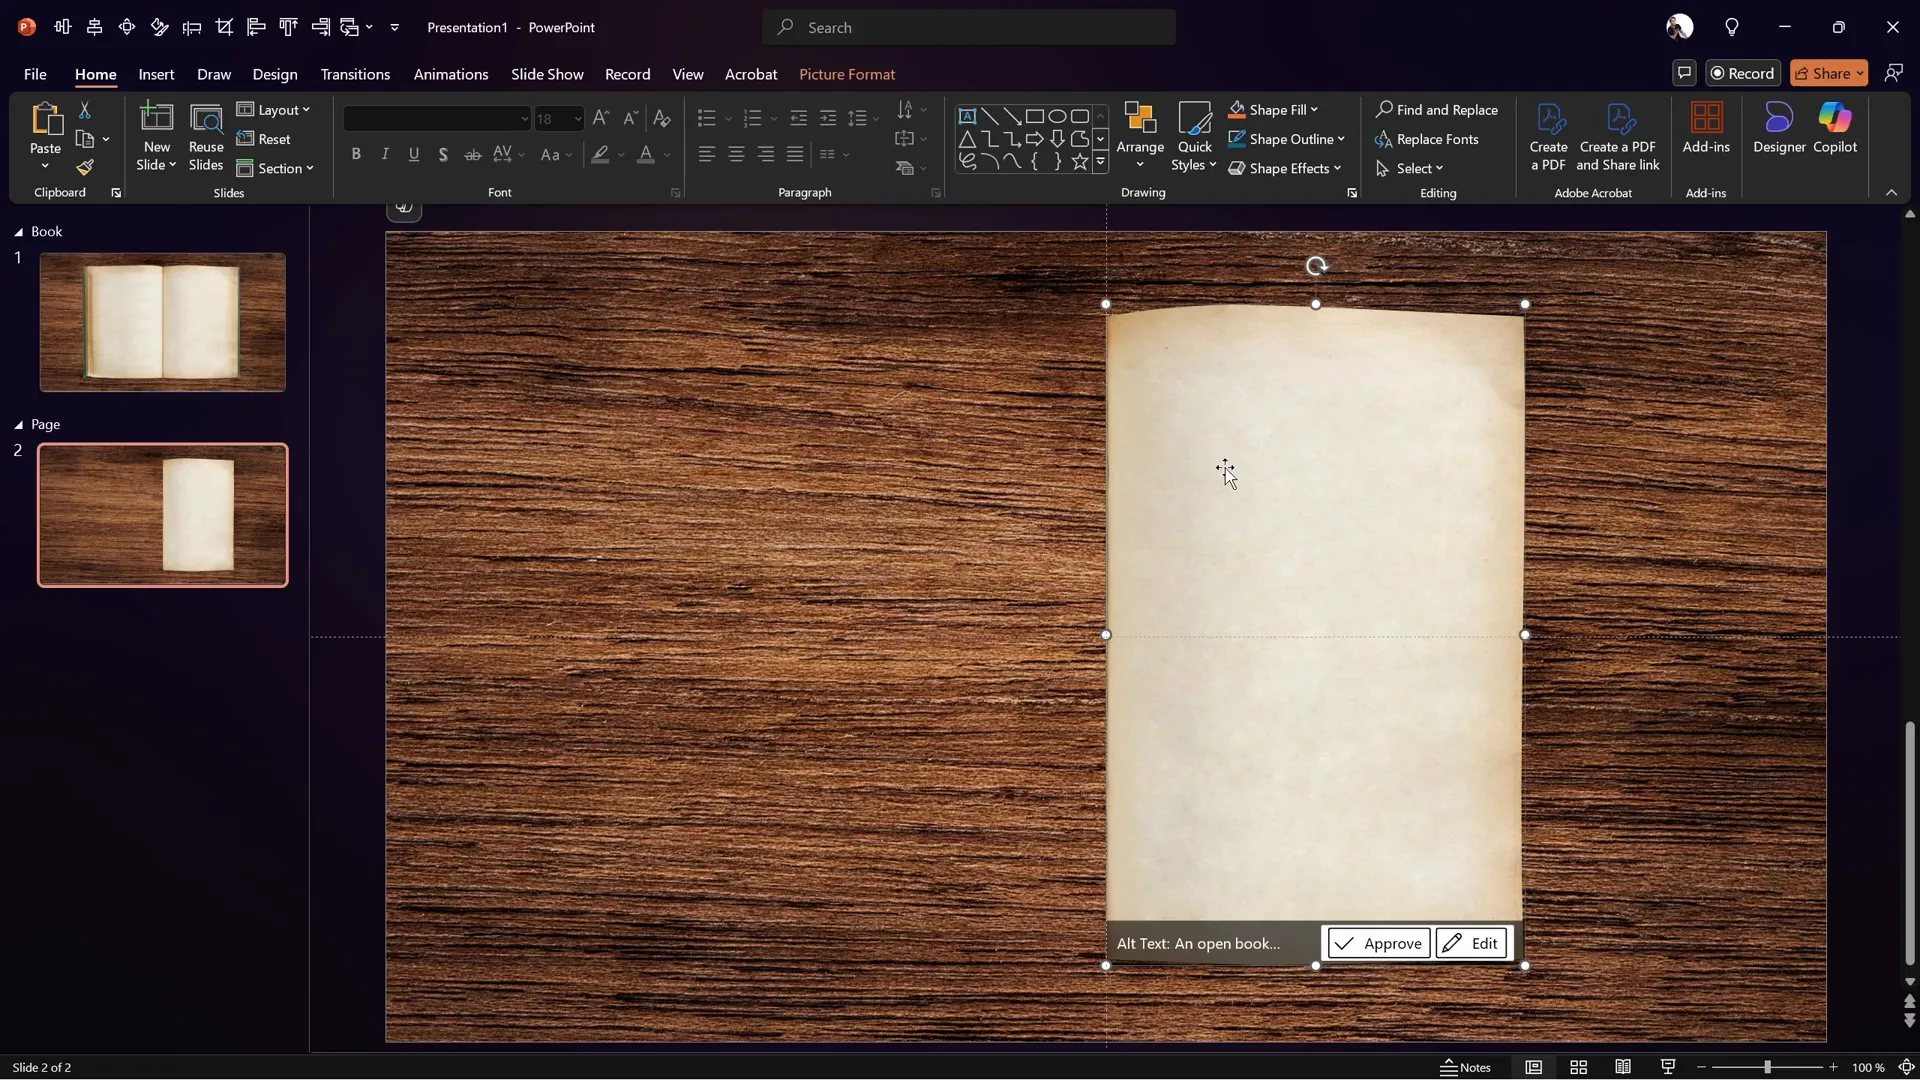
Cutting Out the Page to Flip
To simulate a page flip animation, you need to separate one page of the book (usually the right page) so it can be animated independently.
Steps to Cut Out the Page
- Duplicate the slide with the book image to work on the page separately.
- Insert a rectangle shape that covers the right page area you want to flip.
- Align the left edge of the rectangle exactly with the slide’s center guide.
- Adjust the top, bottom, and right edges of the rectangle to cover the page area, including the curved parts of the page edges.
- Right-click the rectangle and select Edit Points to curve the top and bottom edges to match the natural curve of the book’s page.
- Select the book image first, then the rectangle, and use Shape Format > Merge Shapes > Intersect to cut out the page shape.
- Duplicate this cut-out page and flip it horizontally to create the left page for animation continuity.
This technique allows you to animate the page independently from the rest of the book, creating the illusion of a real page flip.
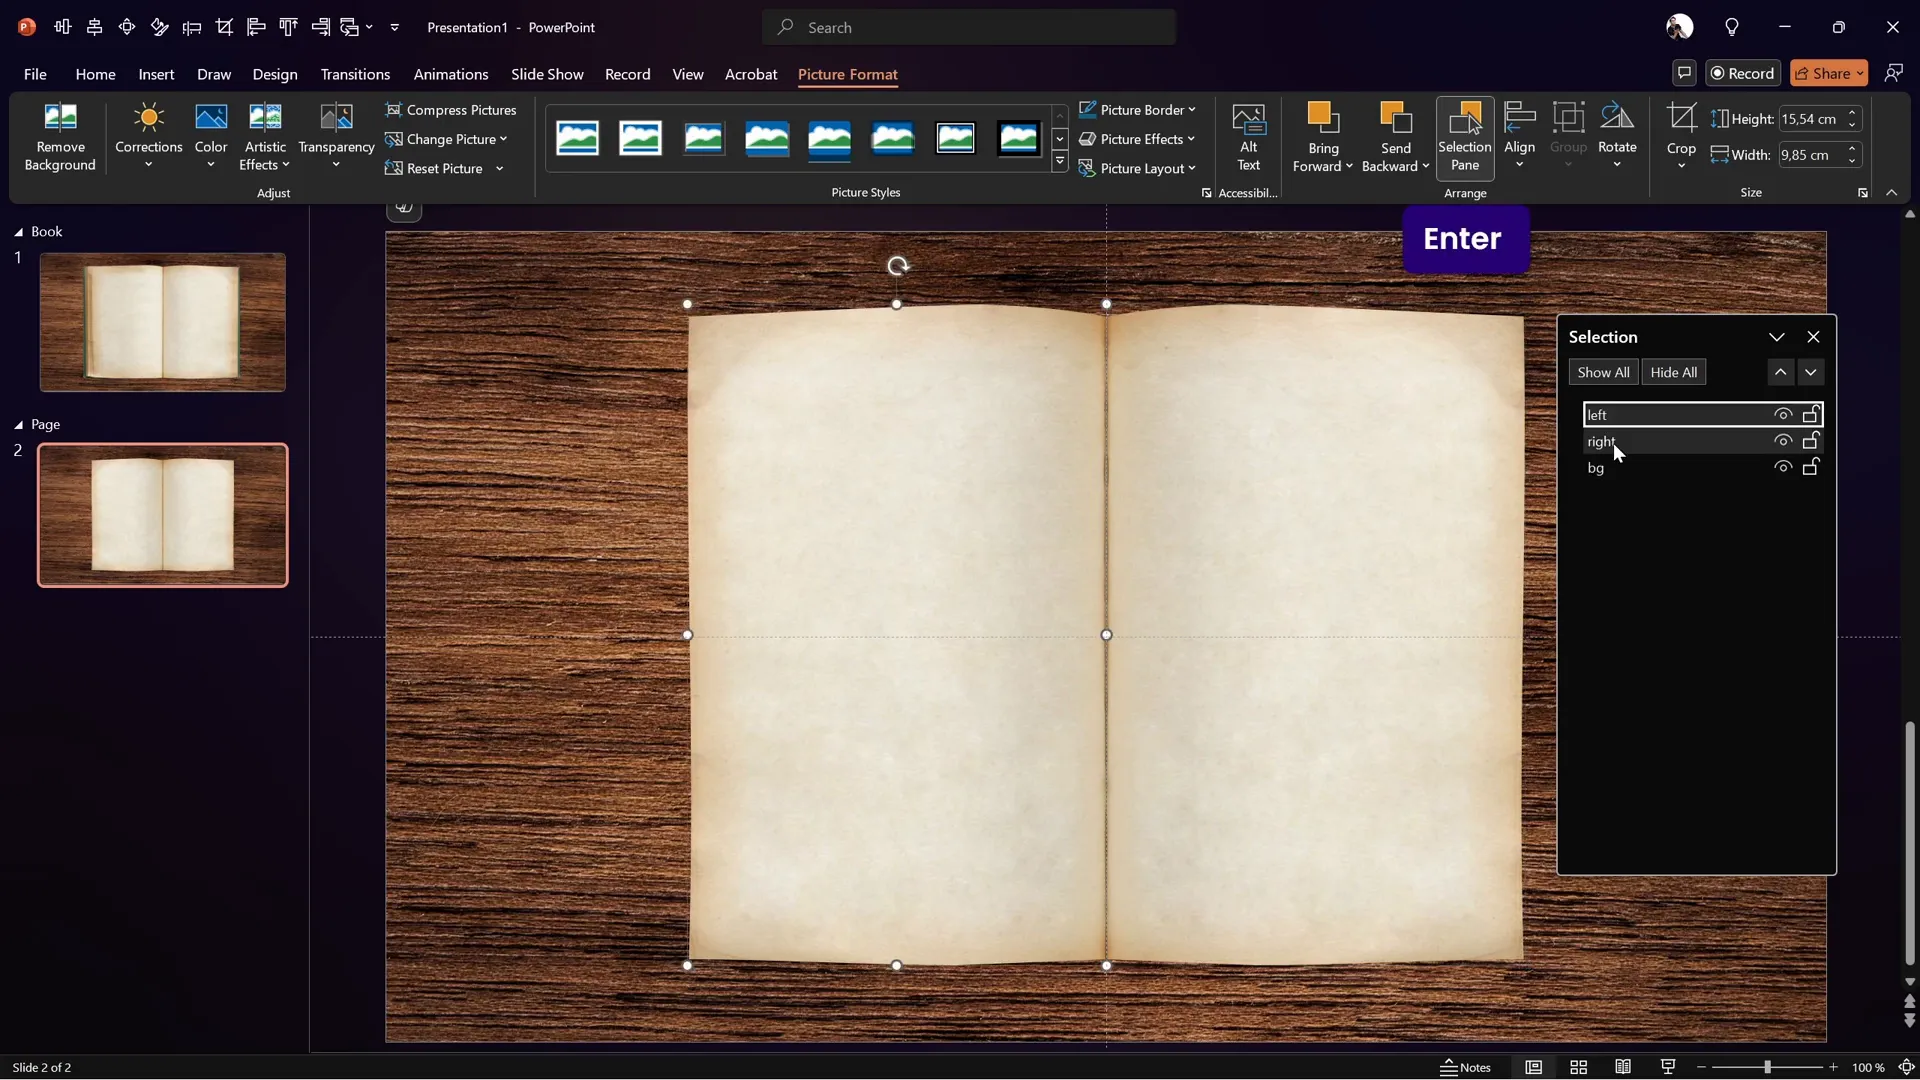
Grouping and Naming Slide Elements
Organization is key when working with multiple objects in PowerPoint, especially for complex animations.
- Select both the left and right page images and group them (Ctrl + G).
- Rename the group to Page in the Selection Pane for easy reference.
- Name the background image BG and the full book image Book.
Proper naming and grouping simplify the animation process and help you keep track of all elements.
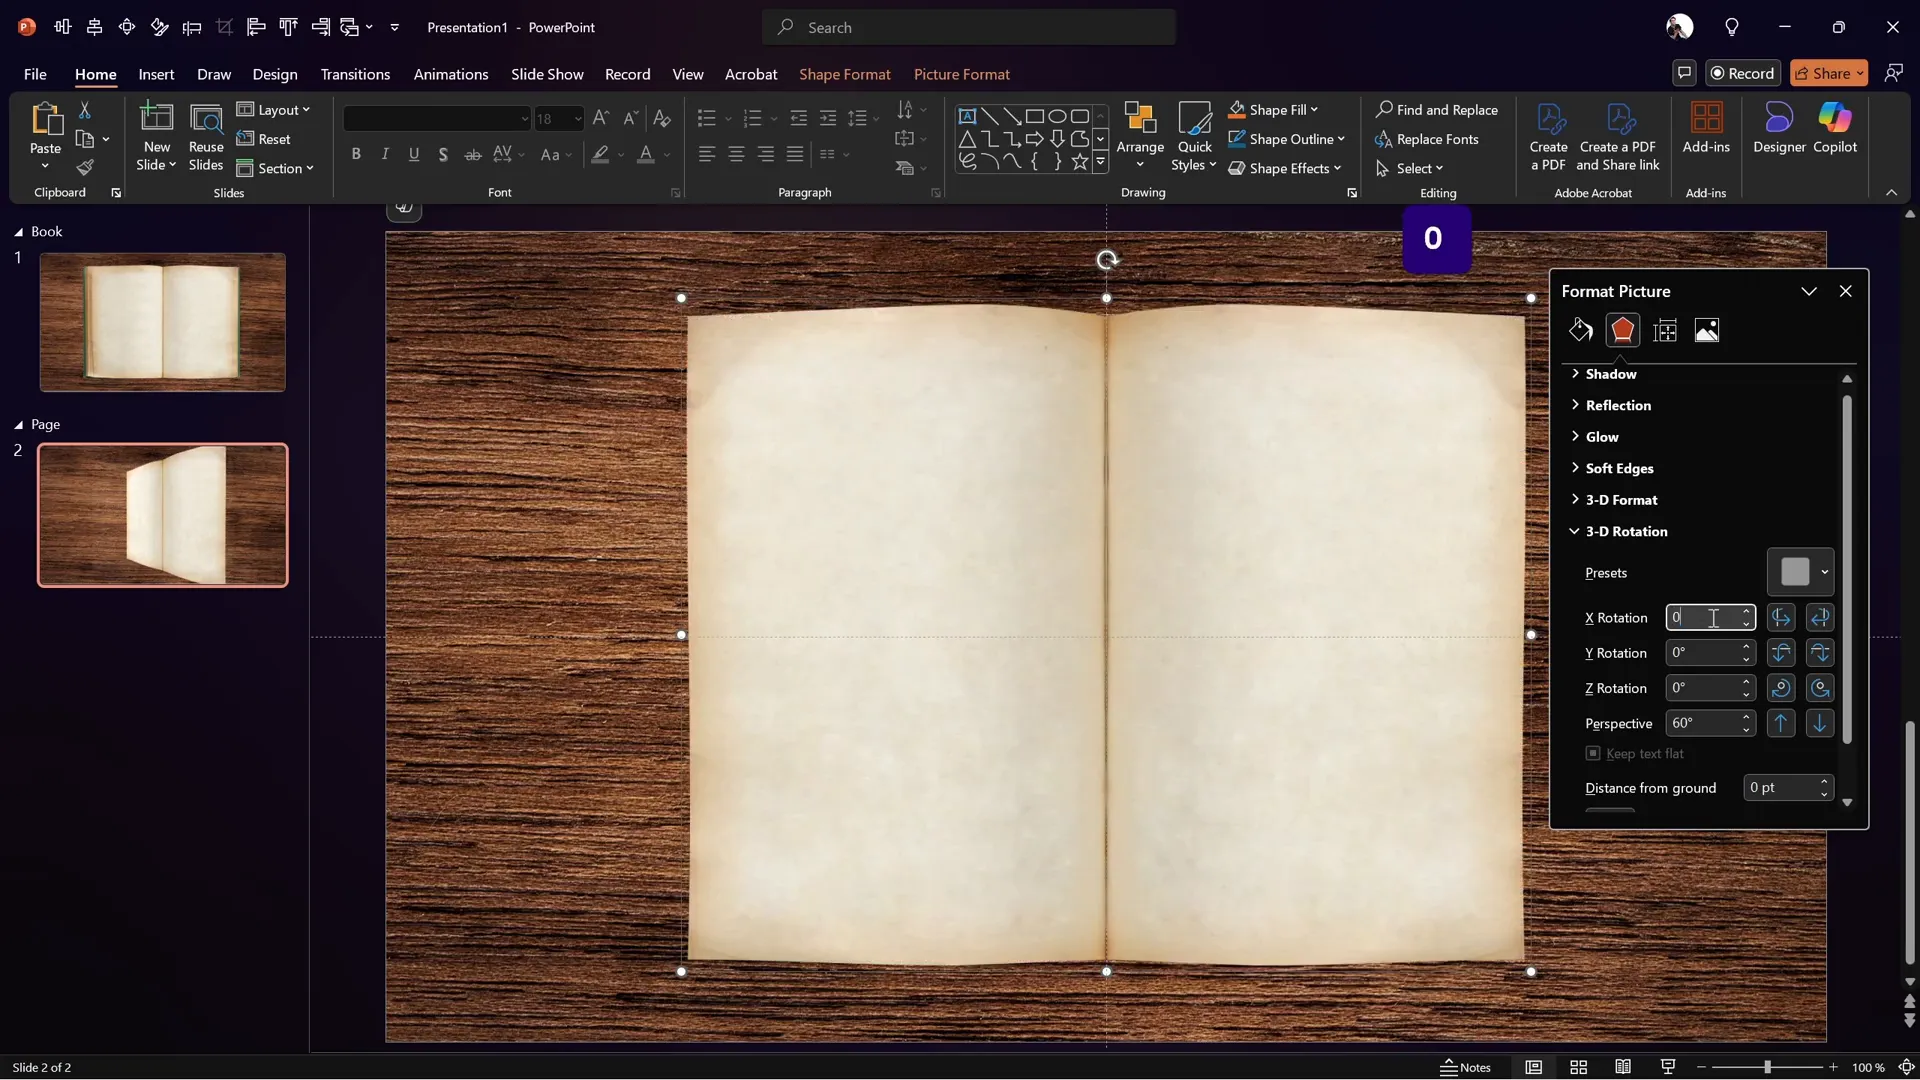
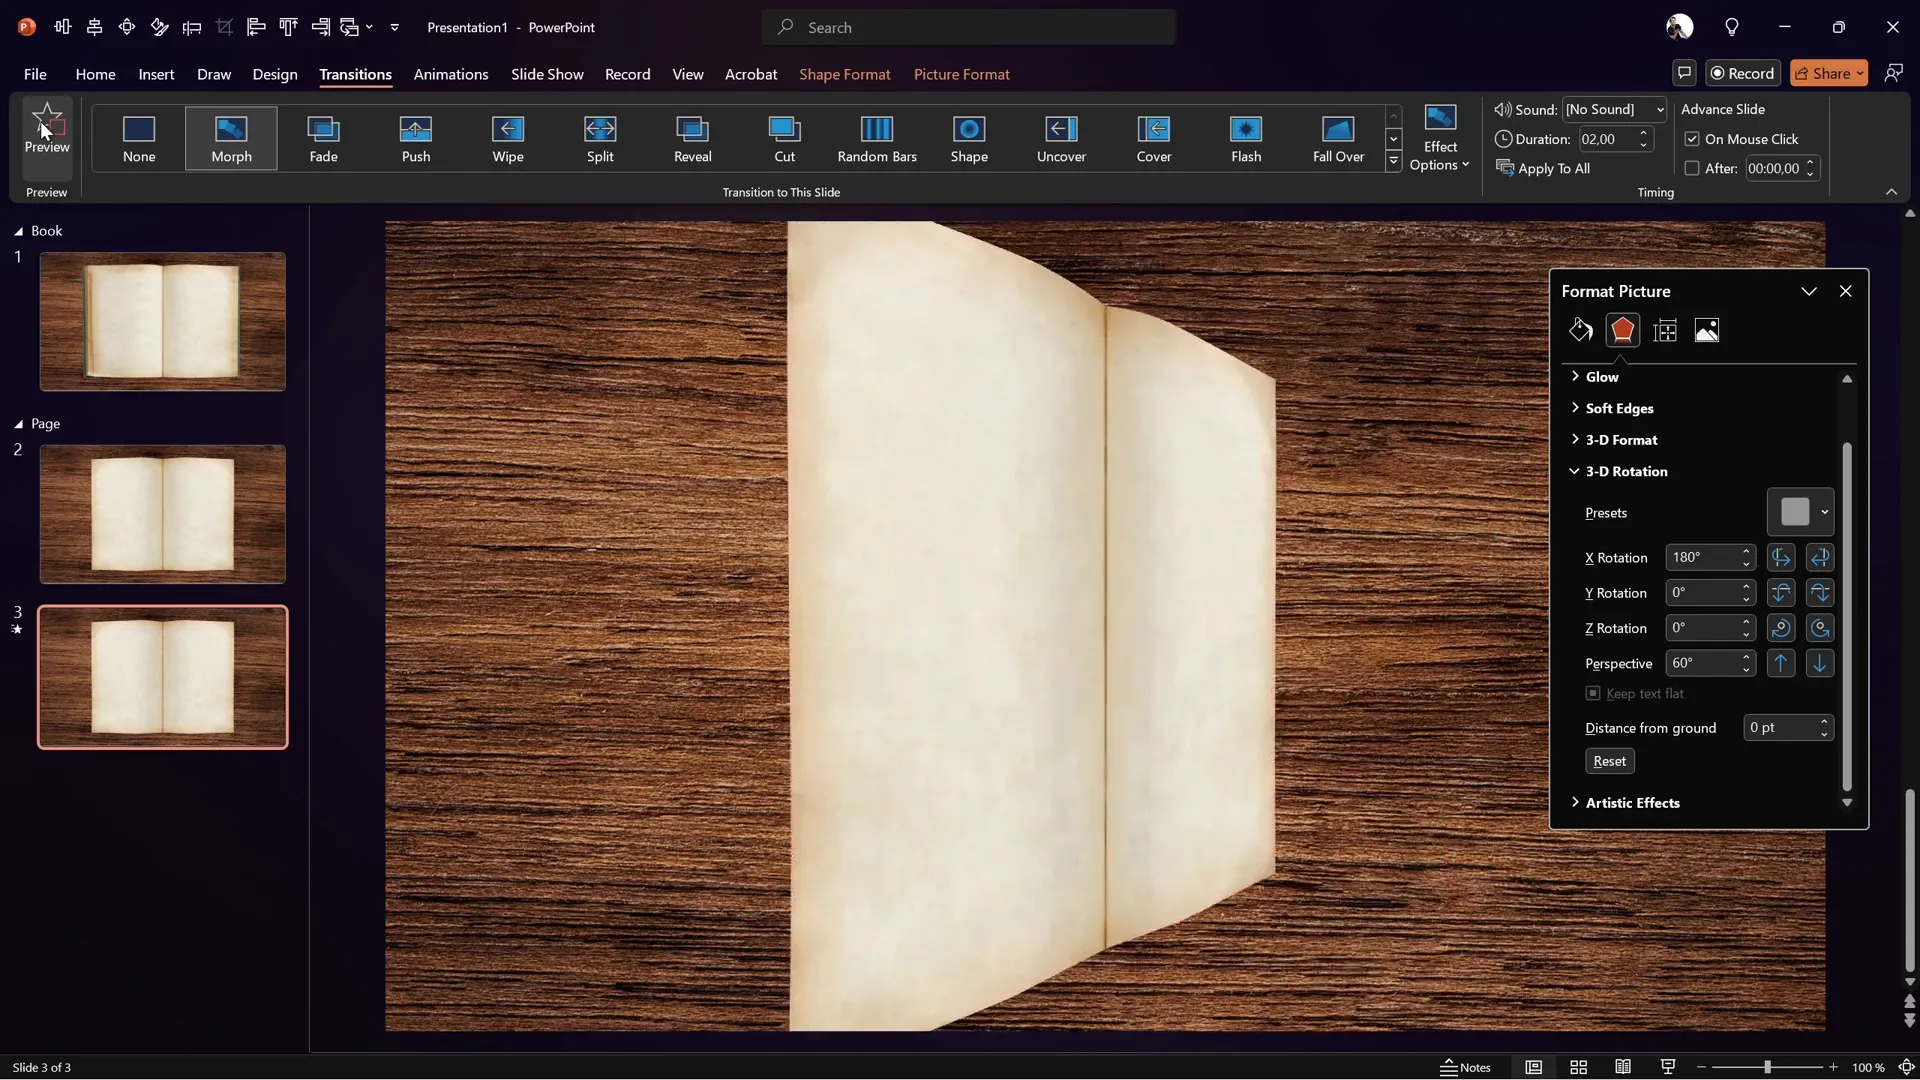
Applying 3D Rotation for the Flip Effect
Now comes the magic — creating the realistic flip effect using PowerPoint’s 3D rotation and perspective tools.
Steps to Apply 3D Rotation
- Select the grouped pages.
- Open the Format Shape pane (shortcut Alt + 4 if configured).
- Go to 3D Rotation options.
- Choose a perspective preset, such as Perspective Front, to add depth.
- Set the perspective field (e.g., 60 degrees) to control the dramatic effect.
- Adjust the X Rotation to 0 degrees for the initial slide (pages flat).
- In the duplicate slide, set X Rotation to 180 degrees to flip the page.
- To maintain image brightness, switch the 3D lighting option to Contrasting.
This rotation simulates the page turning over in 3D space, creating a convincing flip effect.
Using Morph Transition for Smooth Animation
The Morph transition is the secret ingredient that brings the page flip animation to life smoothly and professionally.
- Ensure the Morph transition is applied to the slide where the page flips (the duplicate slide with 180° rotation).
- Set the transition duration to your preference for pacing.
- Hide the left page on both slides so only the right page flips.
- Preview the transition — the page should appear to flip realistically from right to left.
Using Morph with 3D rotation allows PowerPoint to seamlessly interpolate the rotation and position changes between slides, creating a fluid animation.
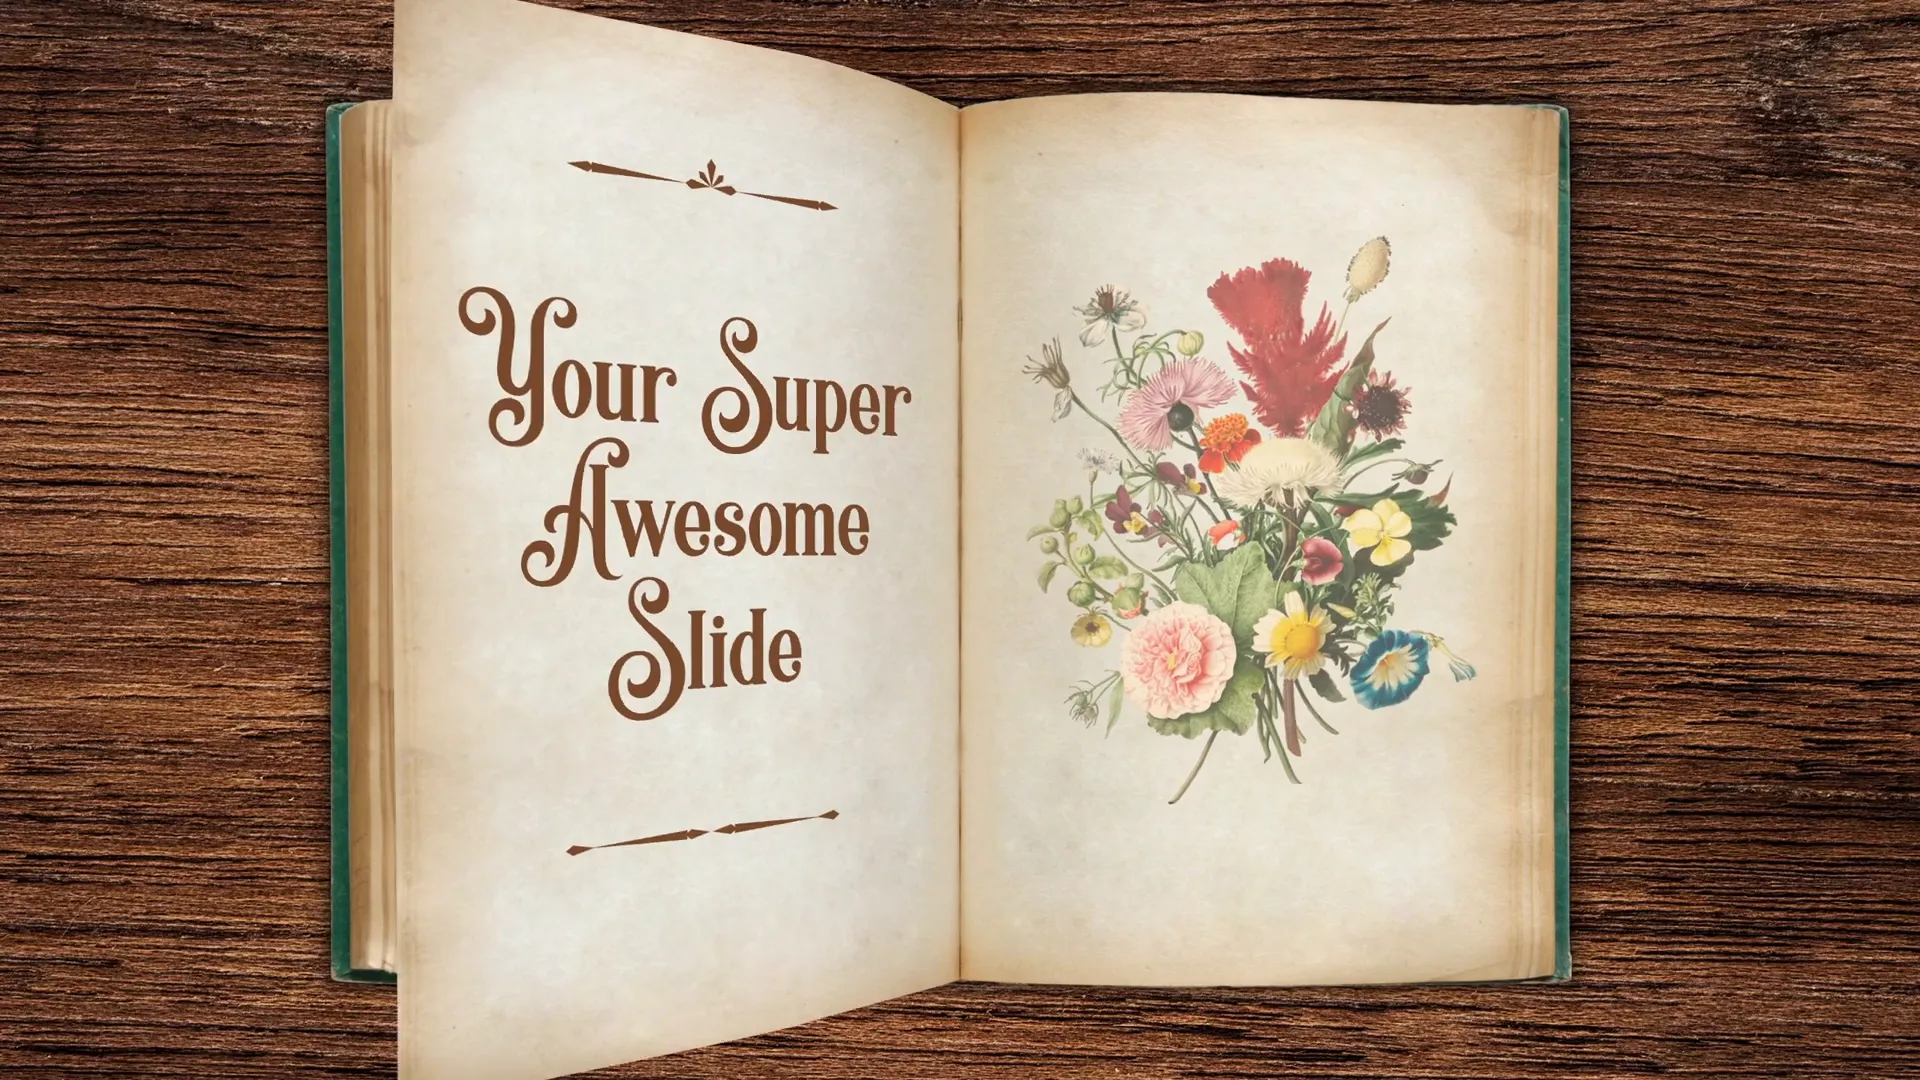
Final Touches and Adding Custom Content
Once the basic page flip animation is working smoothly, you can elevate your presentation by adding custom text and images to the flipping pages.
- Add text boxes or images onto the right page before the flip.
- Ensure that the content aligns with the page shape and rotates with it.
- Consider adding zoom effects to images on the flipped page for dynamic storytelling.
- Use shadows and highlights to enhance realism.
This customization allows you to create interactive and visually appealing presentations, perfect for digital brochures, portfolios, or educational materials.
For more advanced lessons on adding text and images to flipping pages, check out the extended tutorial available at pptskill.com, where you can also find a Black Friday deal with 50% off on the full PowerPoint Animation Mastery course.
Frequently Asked Questions (FAQ)
What is the Morph transition in PowerPoint?
The Morph transition is a powerful feature in PowerPoint that allows smooth animation between slides by automatically transitioning object movement, resizing, and rotation. It’s essential for creating realistic animations like page flips.
Can I use any image for the book in this animation?
Yes, but for best results, choose an image of an open book with visible page divisions. It should have a clear contrast between pages and preferably a simple background that can be easily removed.
Is this page flip animation compatible with all versions of PowerPoint?
The Morph transition and 3D rotation features are available in PowerPoint 2016 and later versions, including Microsoft 365. Older versions may not support these features fully.
How can I add my own text or images to the flipping pages?
After cutting out the page shape and grouping it, you can insert text boxes or images onto the page shape. Use the same 3D rotation and Morph transition settings to animate these elements along with the page flip.
Do I need any external software to create this animation?
You only need PowerPoint to create the animation. However, for removing backgrounds from images, free online tools like Photopea or PowerPoint’s own background removal tool can be helpful.
Can I customize the direction of the page flip?
Yes, by adjusting the rotation axis and flipping the page group horizontally, you can create left-to-right or right-to-left page flip animations.
How long should the Morph transition duration be?
It depends on your presentation speed, but typically a duration of 1 to 2 seconds creates a smooth and natural page flip effect.
Can I use this animation for interactive ebooks or presentations?
Absolutely! This animation is perfect for interactive digital presentations, ebooks, portfolios, and any scenario where you want to simulate page turning.
Where can I learn more advanced PowerPoint animation techniques?
For a deep dive into PowerPoint animation mastery, including adding interactive elements and complex animations, visit pptskill.com and explore their courses and tutorials.
Conclusion
Creating a realistic page flip animation in PowerPoint is a fantastic way to enhance your presentations and captivate your audience. By combining a clean slide setup, carefully prepared images, precise shape editing, 3D rotation, and the Morph transition, you can simulate the natural motion of flipping pages with surprising realism.
This tutorial covered everything from setting up your slide and background to cutting out the flipping page and animating it smoothly. With practice, you can customize the pages with your own text and images, turning your presentations into professional-looking interactive experiences.
Remember, the key to mastering PowerPoint animation lies in experimentation and attention to detail. Don’t hesitate to try variations on the rotation angles, perspective settings, and transition durations to find what works best for your content.
If you want to take your PowerPoint skills even further, consider joining the PowerPoint Animation Mastery course at pptskill.com, currently available at a special Black Friday discount.
Happy animating!


