
When it comes to educational presentations, especially in specialized fields such as dental education, delivering content that is both visually appealing and informative is essential. PowerPoint offers a versatile platform to create such content, and with the right techniques, you can develop interactive slides that captivate your audience while effectively conveying complex information.
In this comprehensive guide, we will explore how to design an animated tooth anatomy slide in PowerPoint, inspired by a detailed tutorial from POWERPOINT UNIVERSITY. This tutorial not only demonstrates the creative use of PowerPoint’s tools but also provides a practical approach to illustrating dental concepts with clarity and professionalism. Whether you are an educator, dental professional, or PowerPoint enthusiast, this article will walk you through the process of building an engaging slide for dental education using PowerPoint.
Let’s dive into the step-by-step process, design tips, and animation techniques to create a dynamic presentation slide that brings tooth anatomy to life.
Table of Contents
- Understanding the Tooth Anatomy Slide
- Designing the Tooth Graphic in PowerPoint
- Creating Interactive Infographic Options
- Adding Text and Detailed Information
- Applying Animations for Interactivity
- Tips for Effective PowerPoint for Education Slides
- Frequently Asked Questions (FAQ)
- Conclusion
Understanding the Tooth Anatomy Slide
The foundation of this project is an animated slide that visually breaks down the anatomy of a tooth. The slide is designed entirely in PowerPoint, showcasing the platform’s ability to create detailed and interactive educational content without relying on external graphic software.
The slide features a tooth illustration with an added gum design. When the presenter clicks, the tooth’s parts move aside to reveal the internal components. This interactive behavior helps learners visualize the different layers and structures that make up a tooth.
Key parts of the tooth highlighted include:
- Crown: The visible part of the tooth above the gum line.
- Neck: The region where the crown meets the root.
- Root: The part embedded in the jawbone.
- Enamel: The hard, outer protective layer.
- Dentin: The layer beneath the enamel.
- Pulp: The innermost part containing nerves and blood vessels.
- Gums: The soft tissue surrounding the tooth.
- Cementum: The layer covering the root.
- Nerves and Blood Vessels: Vital components within the pulp.
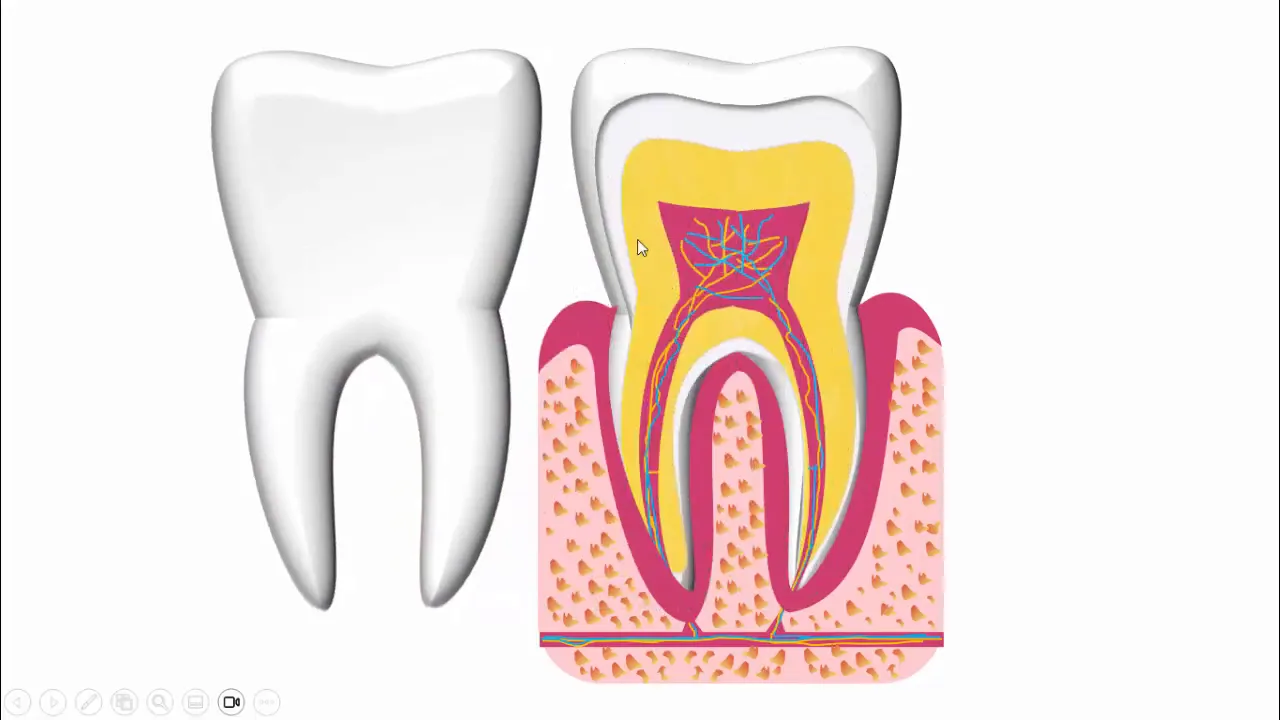
This layout allows educators to guide their audience step by step, clicking to reveal each section, making the learning experience more interactive and memorable.
Designing the Tooth Graphic in PowerPoint
Creating a tooth graphic from scratch in PowerPoint can be challenging due to the complexity of the shape and the need for detailed layers. However, PowerPoint’s shape tools and formatting options provide powerful ways to design or enhance such graphics.
Here’s a summarized approach to designing or preparing the tooth graphic:
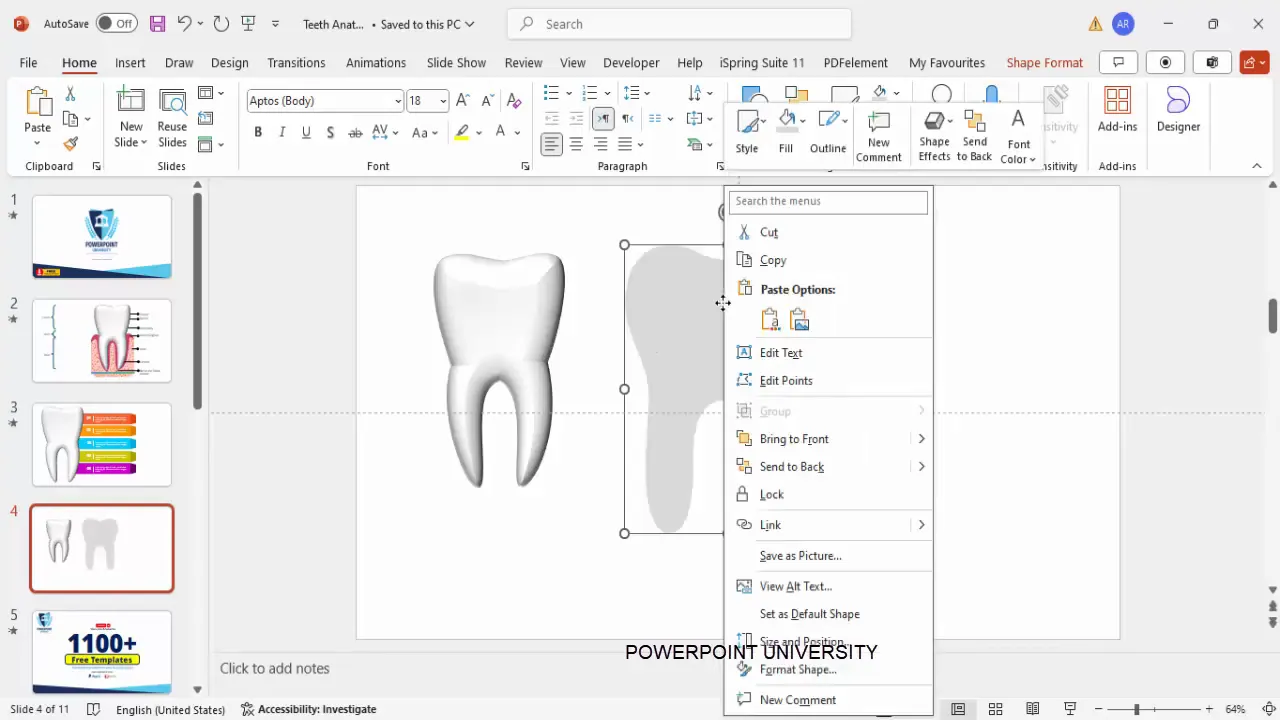
- Using Pre-Existing Shapes: PowerPoint includes a tooth shape that you can insert. To use it:
- Insert the tooth shape from the shape gallery.
- Right-click and select Convert to Shape to enable detailed editing.
- Resize the tooth while holding the Shift key to maintain proportions.
- Apply a base color, usually white for the enamel.
- Enhancing with 3D Effects: To add depth and realism:
- Right-click the tooth shape and choose Format Shape.
- Go to the Effects tab and select 3D Format.
- Apply a Bevel effect to create a raised edge.
- Adjust the height and width of the bevel to your liking.
- Custom Drawing: For those who prefer a fully custom design, PowerPoint’s Freeform Shape tool can be used to trace or draw the tooth outline, though this requires more time and skill.
While designing a fully detailed tooth graphic is a lengthy process, using the built-in shape with effects is a practical and visually appealing alternative.
Creating Interactive Infographic Options
To make the slide more informative and customizable, the tutorial introduces an infographic panel with multiple options that can be displayed alongside the tooth graphic. These options can represent different aspects or details about the tooth, such as layers, functions, or dental conditions.
Here’s how to create these infographic options:
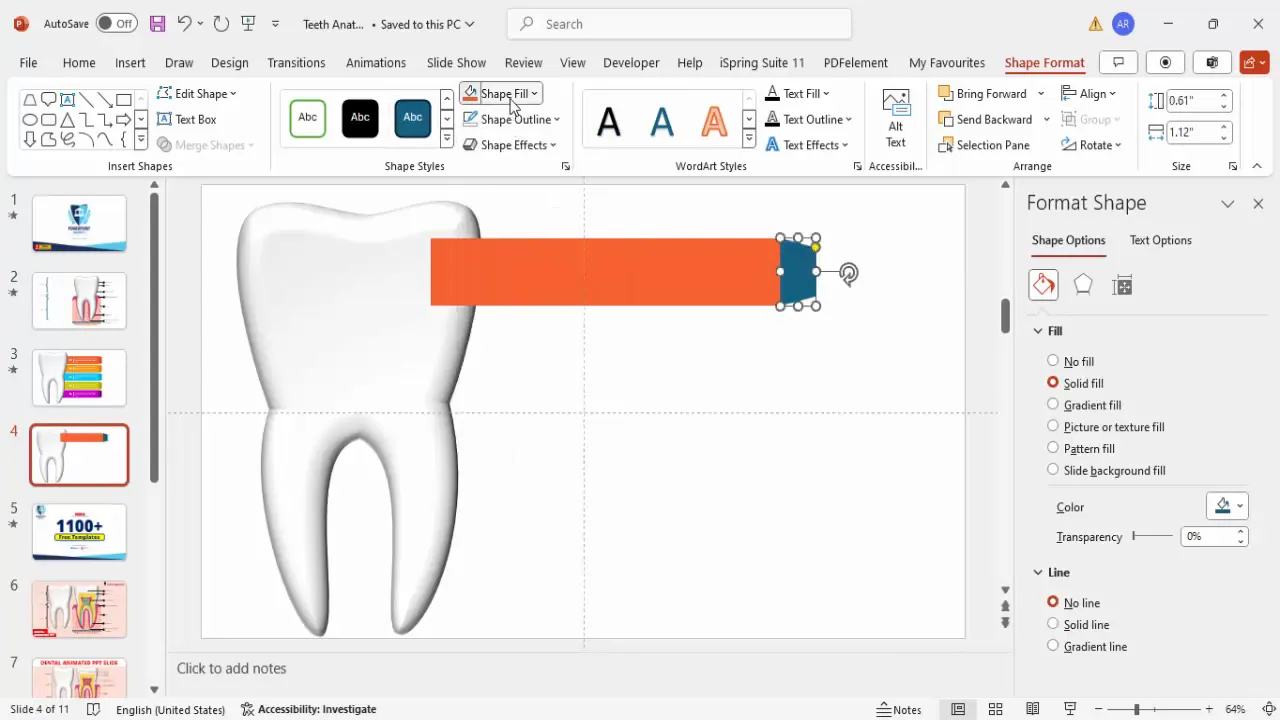
- Insert Rectangle Shapes: Use rectangles as the base for each option panel.
- Draw the rectangle to the desired size.
- Remove the outline by setting Shape Outline to No Outline.
- Fill the shape with a light color (e.g., light orange).
- Add Trapezoid Shapes: Attach trapezoids to the rectangles to create a stylized tab effect.
- Insert a trapezoid shape.
- Rotate it using Alt + Right Arrow keys to align properly.
- Adjust the width and height to match the rectangle.
- Fill the trapezoid with a darker shade of the rectangle’s color.
- Remove the outline.
- Duplicate Panels: Select both the rectangle and trapezoid, then hold Ctrl + Shift and drag down to duplicate.
- Create as many panels as needed (four or five recommended).
- Change colors for each panel to visually differentiate them.
- Group Panels: Select all parts of each panel and group them using Ctrl + G for easy handling.
This structured approach to creating infographic options enhances the slide’s clarity and provides a neat, professional look.
Adding Text and Detailed Information
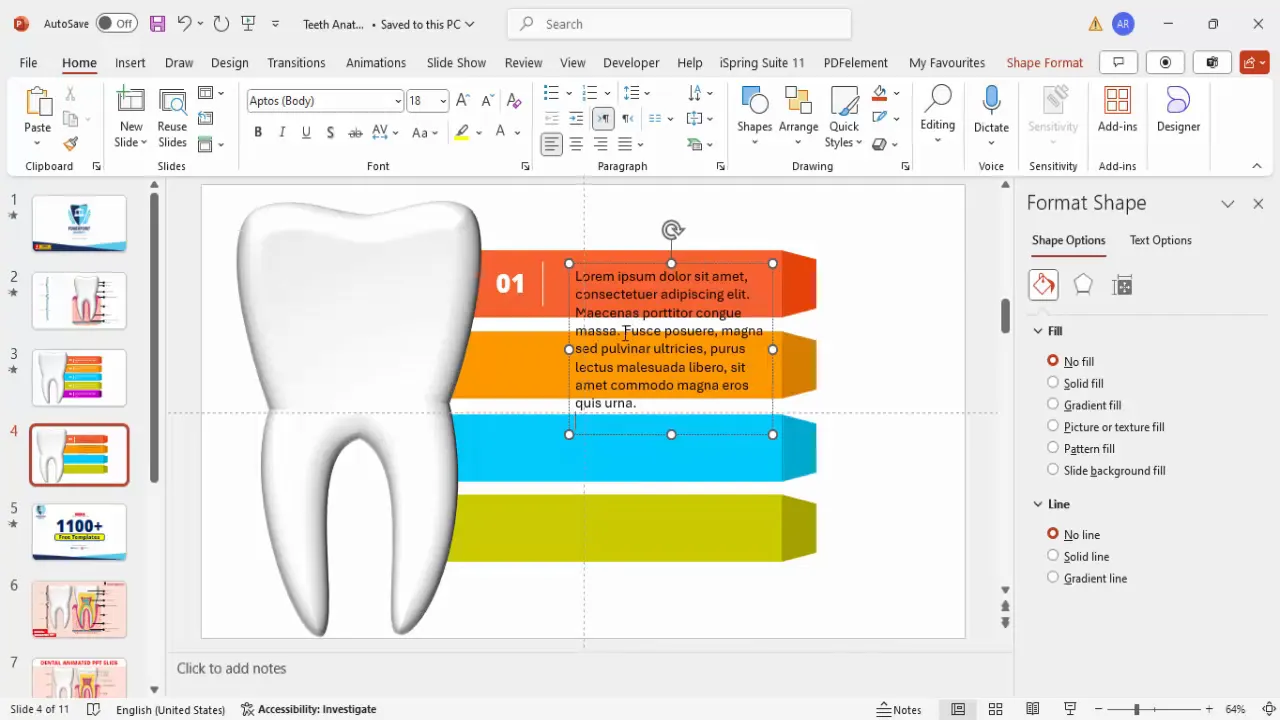
After designing the infographic panels, adding descriptive text is essential to communicate information effectively. Here’s how to add and format the text:
- Option Titles: Add a title such as “Option One” using a text box.
- Use a bold, clean font like Open Sans Extra Bold for readability.
- Center-align the text in the panel.
- Choose a contrasting font color, such as white, for visibility against colored backgrounds.
- Set the font size appropriately (e.g., 32 pt).
- Divider Lines: Insert a line shape below the title to separate it from the detailed text.
- Hold the Shift key while drawing to keep the line straight.
- Format the line color to white or a light shade.
- Detailed Text: Add a text box with detailed information below the divider.
- Use a smaller font size for readability (e.g., 14-18 pt).
- Maintain white or light-colored text for contrast.
- Keep the text concise and informative.
- Duplicate and Customize: Group the title, line, and detailed text and duplicate these groups for other options.
- Adjust the text content and colors to match each infographic panel.
Organizing text this way improves the slide’s readability and helps learners focus on key points.

Applying Animations for Interactivity
Animations bring the slide to life and engage the audience by revealing information progressively. Here’s a guide to applying effective animations:
- Enable Animation Pane: Open the Animation Pane from the Animations tab to manage animations.
- Select Panels: Highlight all infographic panels or groups you want to animate.
- Add Stretch Animation: Choose More Entrance Effects and select Stretch for a dynamic reveal.
- Set Animation Trigger: Configure each animation to start On Click so the presenter controls the flow.
- Direction: Set the animation to start from the left, creating a natural slide-in effect.
- Group Animations: Group related animations to synchronize their timing.
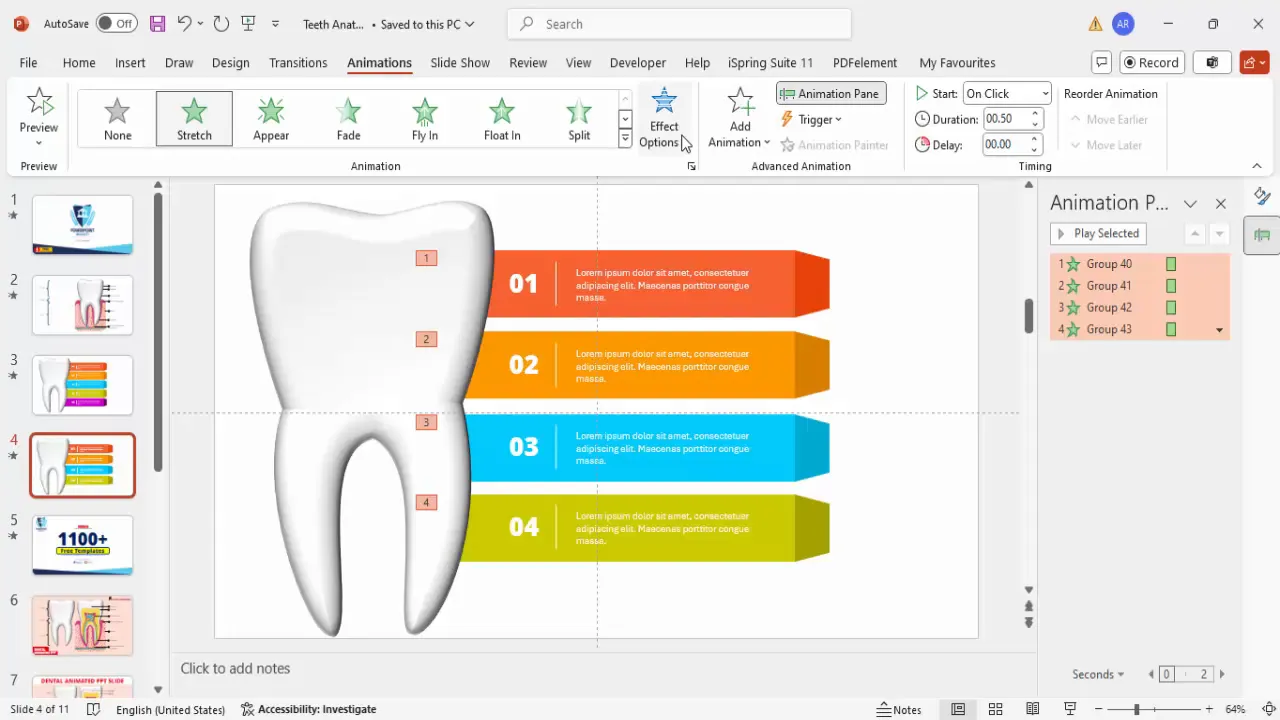
When played, these animations make the infographic panels slide in smoothly, guiding the viewer’s attention and reinforcing the presentation’s structure.
Tips for Effective PowerPoint for Education Slides
Creating educational slides in PowerPoint requires balancing clarity, engagement, and professionalism. Here are some best practices to keep in mind when designing educational content like the tooth anatomy slide:
1. Prioritize Simplicity and Clarity
- Use clean, legible fonts such as Open Sans or Arial.
- Keep text concise, avoiding information overload.
- Use contrasting colors for text and backgrounds for readability.
2. Use Consistent Color Schemes
- Choose a color palette that complements your subject (e.g., soft blues and oranges for dental topics).
- Maintain consistency across all infographic panels and elements.
3. Leverage PowerPoint’s Shape and Format Tools
- Use built-in shapes and customize them with effects like bevels and shadows.
- Group related shapes to manage them easily.
4. Incorporate Interactive Elements
- Use animations to reveal information progressively.
- Control animations with clicks to pace the presentation.
5. Test and Refine Animations
- Preview animations to ensure smooth transitions.
- Adjust timing and order to maintain audience engagement.
6. Provide Downloadable Resources
- Offering free templates or slides increases accessibility and encourages sharing.
- Include instructions or notes for users to customize the slides.
7. Maintain Professionalism
- Avoid excessive animations or sound effects that distract.
- Ensure all elements align properly for a polished look.
Frequently Asked Questions (FAQ)
Q1: Can I create detailed anatomical diagrams entirely in PowerPoint?
Yes, PowerPoint’s shape tools, drawing capabilities, and formatting options allow you to create detailed diagrams. However, complex illustrations may require patience and skill. Alternatively, you can import images or use built-in shapes for efficiency.
Q2: How can I make my educational slides more engaging?
Use animations to reveal information step-by-step, add interactive elements like clickable parts, and incorporate colorful, consistent infographics. Keeping text concise and visuals clear also helps maintain audience interest.
Q3: What fonts are best suited for educational presentations?
Sans-serif fonts like Open Sans, Arial, and Calibri are clean and easy to read on screens. Choose bold versions for headings and regular or light versions for body text. Avoid decorative fonts that may reduce readability.
Q4: How do I control the timing of animations in PowerPoint?
Use the Animation Pane to sequence animations. Set triggers such as On Click, With Previous, or After Previous to control when animations start. Adjust duration and delay for smooth transitions.
Q5: Is it possible to share my animated slides with others?
Yes, you can share PowerPoint files directly or export slides as videos or PDFs. For interactive animations, sharing the PowerPoint file is best to preserve functionality.
Conclusion
PowerPoint is a powerful tool for education, capable of creating engaging, interactive slides that simplify complex topics such as tooth anatomy. By combining thoughtful design, clear infographics, detailed text, and smooth animations, educators can enhance their presentations and help learners grasp important concepts more effectively.
The step-by-step approach to designing an animated tooth anatomy slide outlined here showcases how leveraging PowerPoint’s features can transform a basic slide into an educational experience that is both visually appealing and informative.
Whether you are preparing a lecture, workshop, or patient education material, these techniques can elevate your PowerPoint presentations to the next level. Remember to keep your design clean, your animations purposeful, and your content focused on your audience’s learning needs.
Explore these methods, customize the templates, and bring your educational slides to life with PowerPoint for education.
Check out the full video: PPT for Dental Education


