
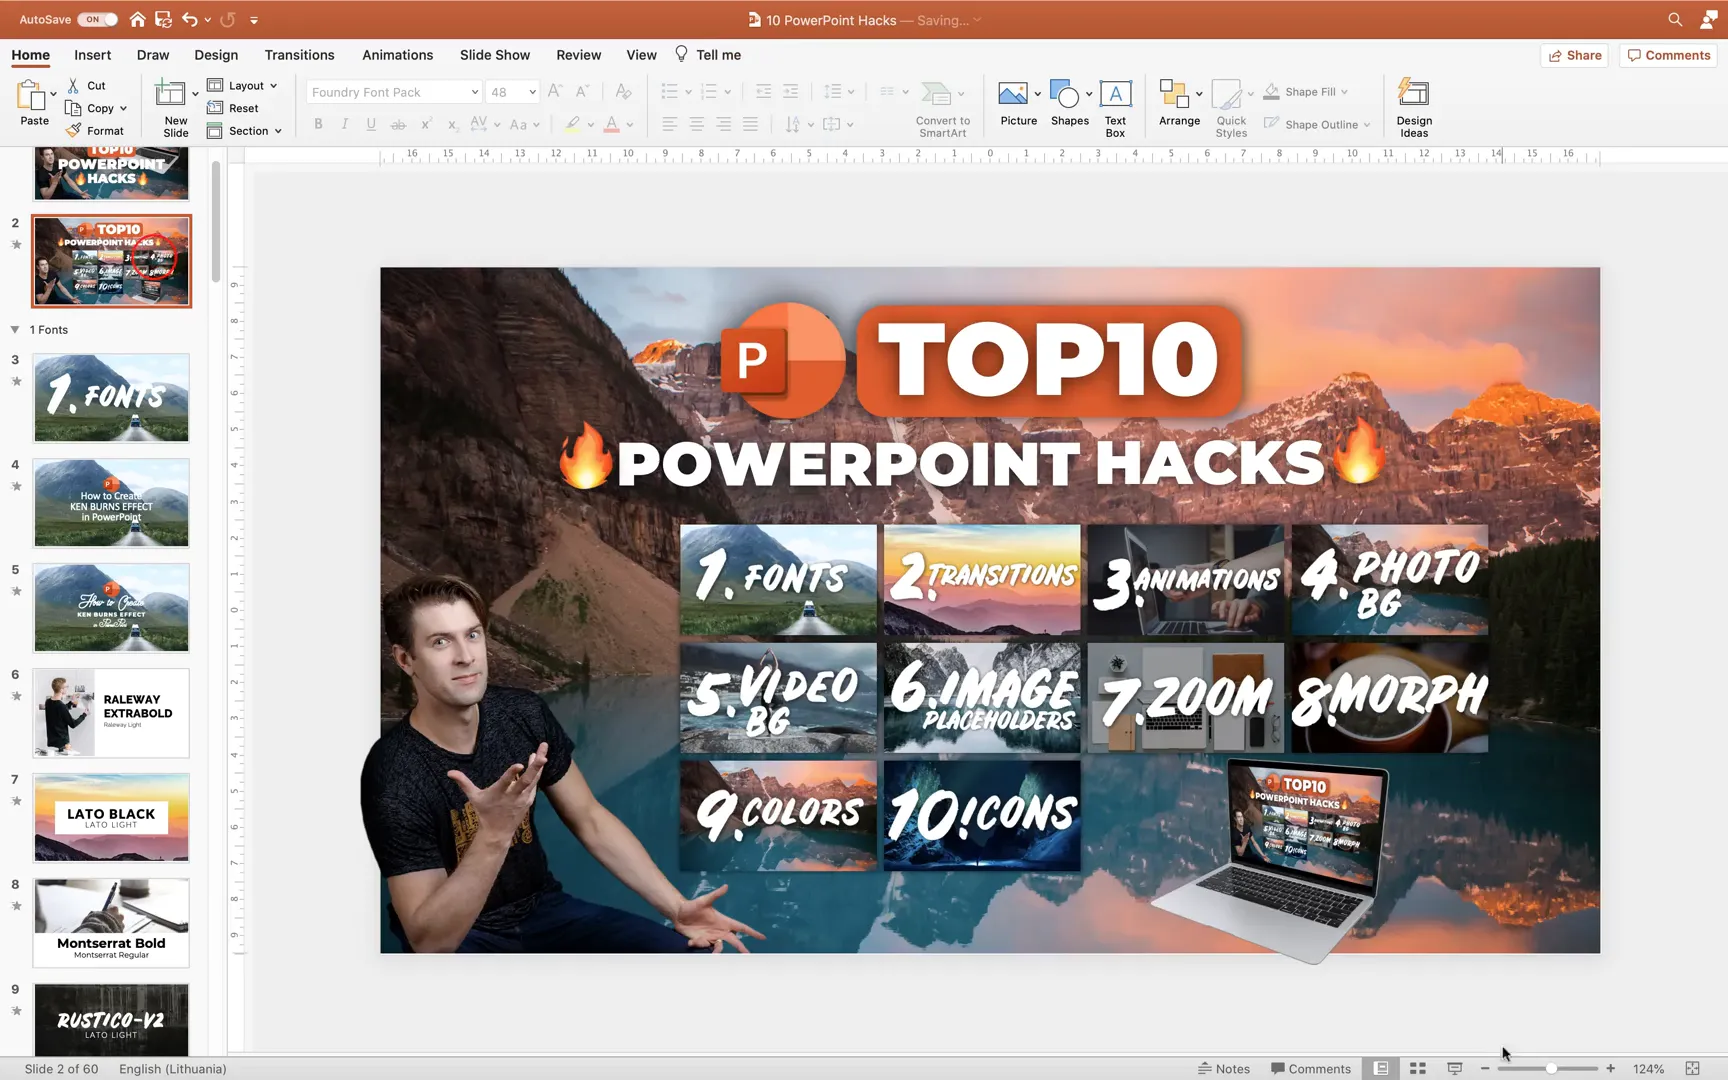
Creating stunning PowerPoint presentations that captivate your audience can sometimes feel like a daunting task. However, with the right techniques and a few clever hacks, you can elevate your slides from ordinary to extraordinary. In this comprehensive guide, I’ll share with you ten powerful PowerPoint hacks that will instantly improve your presentations. Whether you’re a beginner or a seasoned presenter, these tips will help you design engaging, professional, and visually appealing slides that leave a lasting impression.
These hacks were inspired by the work of One Skill PowerPoint, a renowned presentation designer who shares practical and creative tips to master PowerPoint. By applying these techniques, you’ll be able to craft presentations that not only look great but also communicate your message effectively.
Table of Contents
- Introduction: Why Mastering PowerPoint Matters
- Hack #1: Elevate Your Slides with Modern Fonts
- Hack #2: Use Subtle Slide Transitions for Smooth Flow
- Hack #3: Animate Slide Elements to Present in Steps
- Hack #4: Create Stunning Fullscreen Photo Backgrounds
- Hack #5: Use Video Backgrounds for Dynamic Slides
- Hack #6: Customize Image Placeholders for Creative Layouts
- Hack #7: Zoom Into Slides for Non-Linear Navigation
- Hack #8: Use the Morph Transition for Smooth Animations
- Hack #9: Leverage Color Palettes for Consistent and Flexible Design
- Hack #10: Replace Bullet Points with Icons for Visual Impact
- Conclusion: Transform Your PowerPoint Presentations Today
- Frequently Asked Questions (FAQs)
Introduction: Why Mastering PowerPoint Matters
PowerPoint remains one of the most widely used tools for business presentations, educational lectures, and creative storytelling. But simply throwing text and images onto slides isn’t enough anymore. Audiences expect visually engaging content that supports your narrative and keeps their attention.
Understanding how to leverage PowerPoint’s features—fonts, transitions, animations, backgrounds, and more—can make a significant difference. With these skills, you’ll be able to create slides that look polished, professional, and tailor-made for your audience.
Let’s dive into the top ten PowerPoint hacks that will transform your slide decks and presentation skills.
Hack #1: Elevate Your Slides with Modern Fonts
Fonts are the silent heroes of slide design. The right font can instantly change the feel and professionalism of your presentation. On the other hand, default fonts like Calibri, while readable, can make your slides look plain and uninspired.
To quickly improve the look of your slides, switch from basic fonts to stylish and modern font packs. In my examples, I use a combination of Foundry, Montserrat, and fonts from the Font Tree pack. These fonts add character and personality without sacrificing readability.
Another important tip is to play with letter spacing. Adjusting the spacing between letters can create a more elegant or bold look, depending on your content and style. Don’t forget to experiment with font sizes as well to create hierarchy and visual interest.
To help you find the right fonts, I recommend visiting fontsquirrel.com, where you can find a variety of free fonts perfect for presentations. Using font pairings thoughtfully can make your slide titles, headings, and body text complement each other beautifully.
Why Fonts Matter
Fonts influence how your audience perceives your message. A modern, clean font can boost your credibility and make content easier to read. Conversely, outdated or overused fonts can detract from your professionalism. Taking the time to select and customize fonts is a simple yet impactful step toward better presentations.
Hack #2: Use Subtle Slide Transitions for Smooth Flow
Transitions are the visual effects that occur when moving from one slide to the next. Without transitions, your presentation might feel abrupt and jarring. Adding subtle transitions can improve the flow and polish of your slides.
PowerPoint offers a variety of transitions, but my favorite is the Fade transition. It’s gentle, unobtrusive, and professional. You can apply it easily by selecting your slide, navigating to the Transitions tab, and choosing Fade.
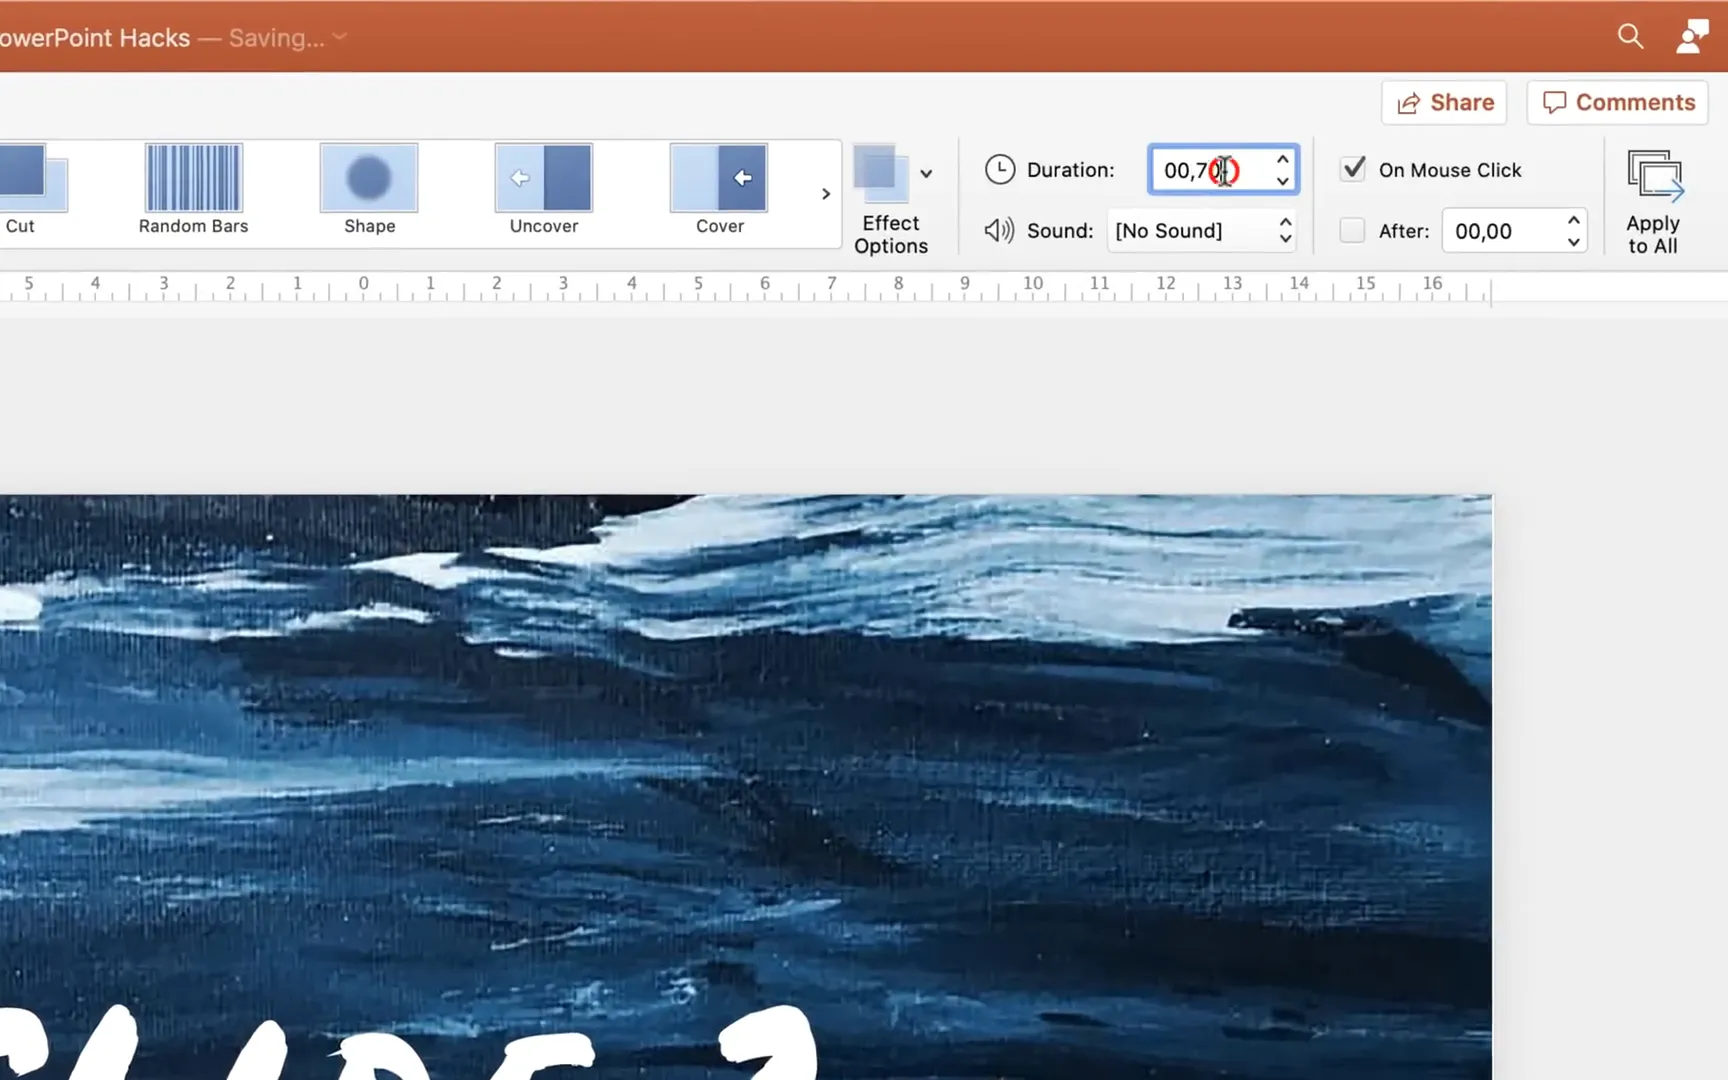
Another great tip is to adjust the duration of the transition. For instance, increasing it to around two seconds creates a smooth, elegant effect that doesn’t distract from your content.
Feel free to experiment with other transitions, but remember: the most effective presentations use subtlety. Overusing flashy transitions can make your slides look gimmicky rather than professional.
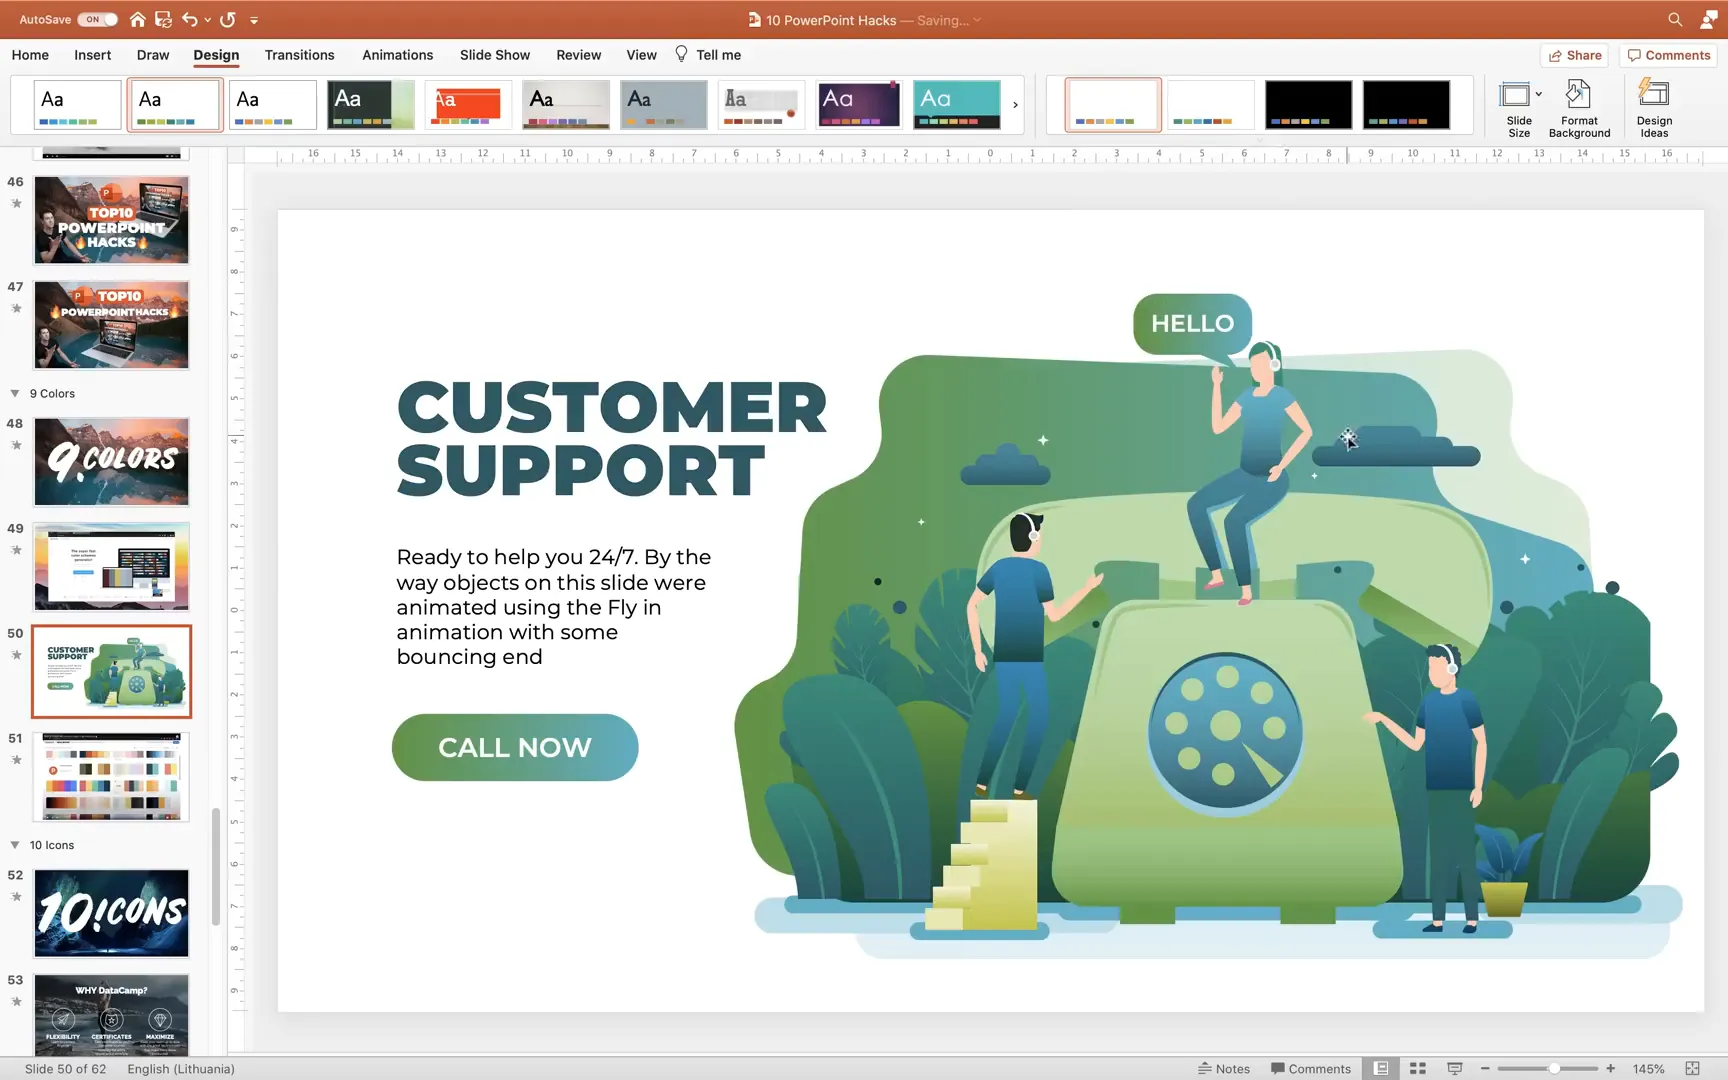
Hack #3: Animate Slide Elements to Present in Steps
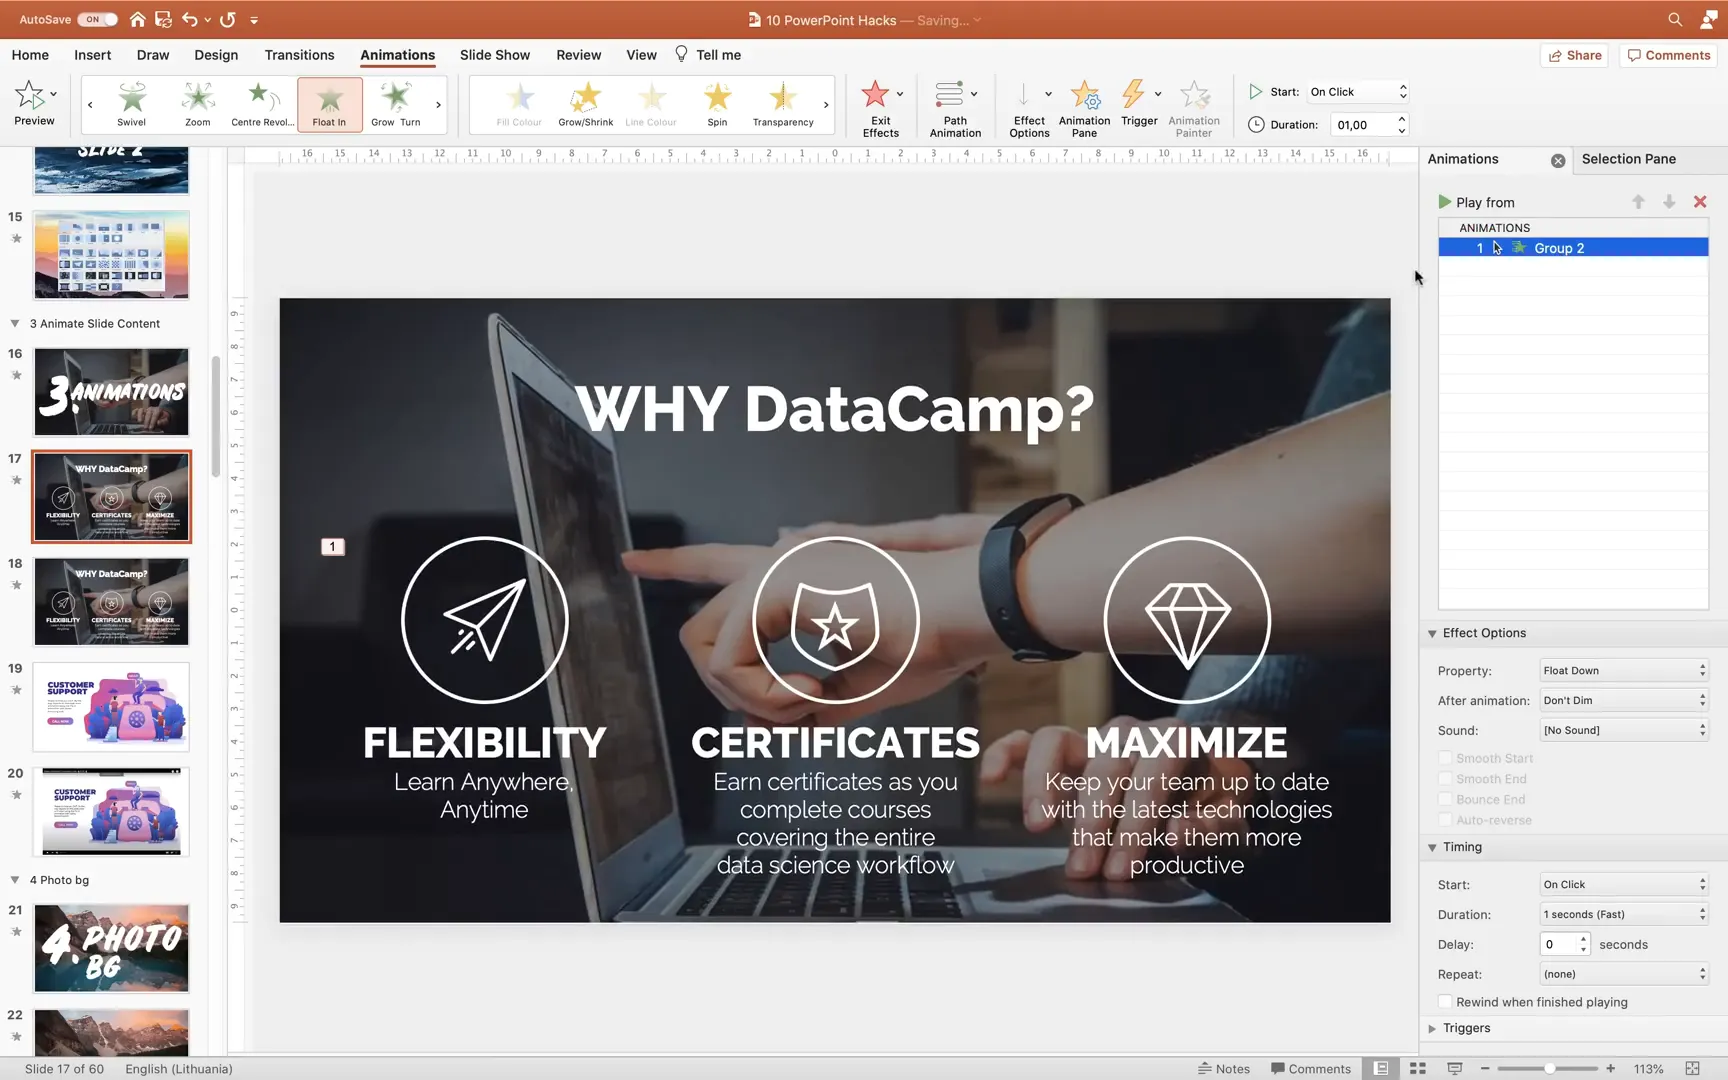
Animations allow you to reveal slide content piece by piece, which can help keep your audience focused and prevent information overload. Instead of presenting all your points at once, animating groups of elements lets you control the pace of your presentation.
For example, if you have three groups of text or visuals—like “flexibility,” “certificates,” and “maximize”—you can animate each group to appear one at a time with a click. This method makes your message clearer and more engaging.
How to Animate Groups in PowerPoint
- Select the elements you want to animate together and group them by right-clicking and choosing Group.
- Open the Animations tab and launch the Animation Pane to see your animations.
- Choose entrance animations like Float In or Fade to bring your groups onto the slide.
- Use the Animation Painter tool to quickly copy animations from one group to others.
- Set the animation start option to On Click to control when each group appears during your presentation.
This technique is user-friendly and significantly enhances your slide’s professionalism. It’s especially useful for breaking down complex information into digestible parts.
If you want to explore more advanced animation techniques, consider learning how to create custom animations that sync perfectly with your speech or storytelling style.
Hack #4: Create Stunning Fullscreen Photo Backgrounds
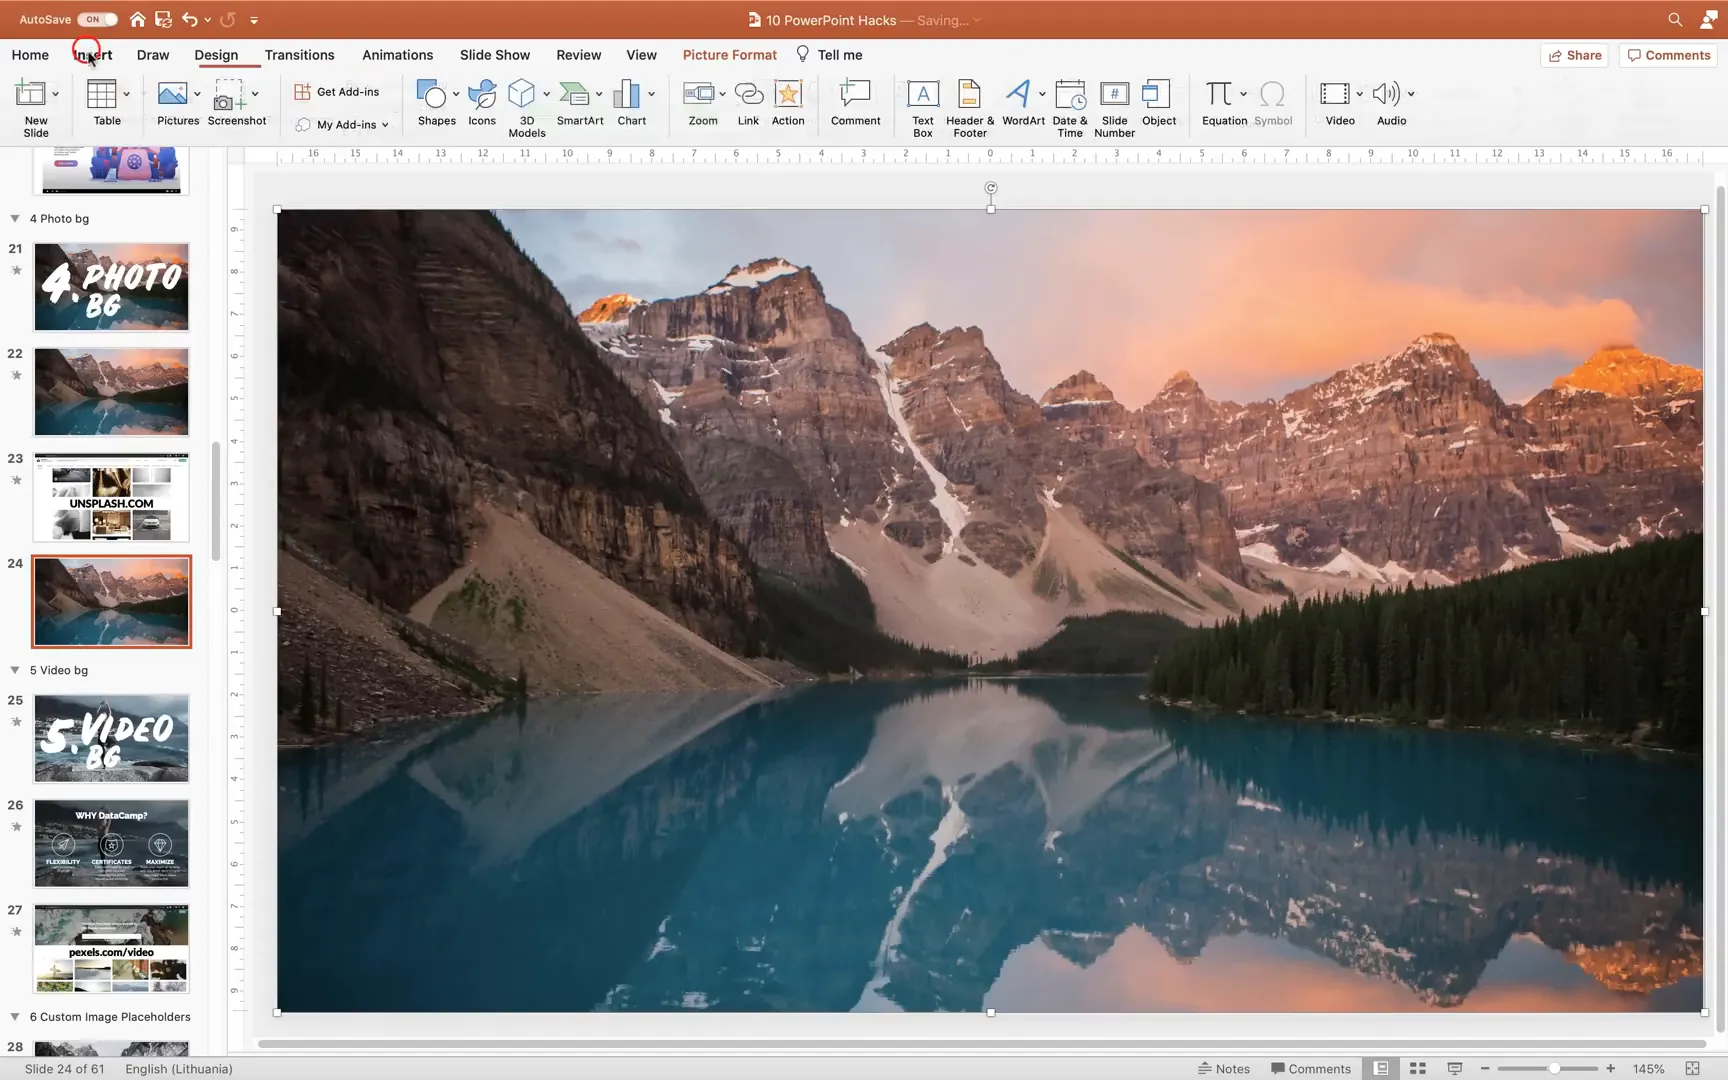
Visual backgrounds can dramatically enhance the look and feel of your slides. Using a fullscreen photo as your slide background adds depth and context to your message.
To create a fullscreen photo background:
- Find a high-quality, relevant photo. I recommend Unsplash for free, beautiful images.
- Insert the photo into your slide and select it.
- Go to the Crop options and set the aspect ratio to 16:9, matching your slide size.
- Adjust the crop and position so the photo covers the entire slide without distortion.
- Add your slide content, such as titles, text boxes, or icons, on top of the photo.
Fullscreen photo backgrounds are excellent for setting the tone and grabbing attention, especially for title slides or section dividers.
Hack #5: Use Video Backgrounds for Dynamic Slides
If photos aren’t enough to wow your audience, try using video backgrounds. Videos bring movement and life to your slides, creating a memorable visual experience.
Here’s how to create a video background:
- Download a quality video from free sites like Pexels.
- Insert the video into a blank slide.
- Make sure the video covers the entire slide.
- Set the video to start Automatically when the slide loads.
- If the video is too bright or distracting, overlay a semi-transparent black rectangle to tone it down.
- Add your text and icons on top of the video background.

Video backgrounds are ideal for modern, creative presentations where you want to make a bold statement. Just be mindful of file size and playback performance to avoid lag.
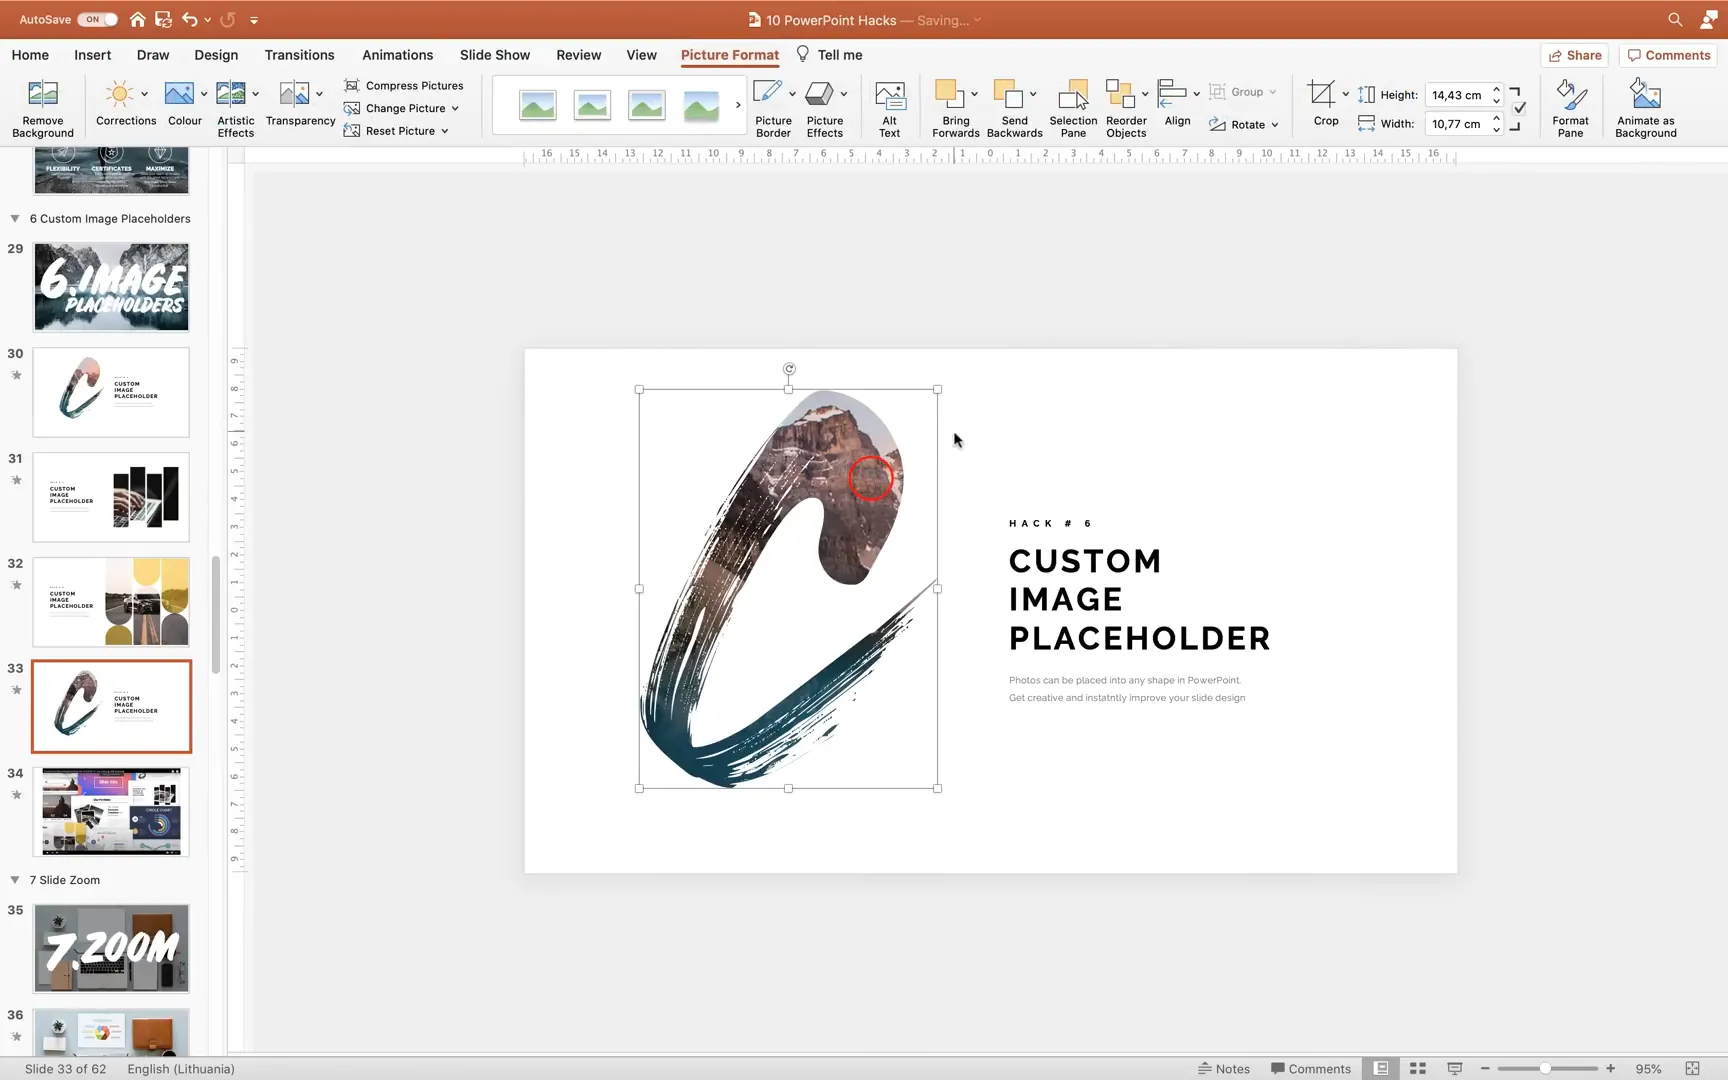
Hack #6: Customize Image Placeholders for Creative Layouts
Photos don’t have to be confined to boring squares or circles. You can place images inside custom shapes to add flair and uniqueness to your slides.
One creative approach is to use typography as an image placeholder. For instance, placing a photo inside a large letter creates an eye-catching visual effect.
How to Create Custom Image Placeholders
- Type a letter using a font with character, such as the “Heaters” font, which has a brushed look.
- Insert a rectangle and send it behind the letter.
- Select both the letter and the rectangle, then use Merge Shapes > Intersect to convert the letter into a shape.
- Insert your photo, send it to back, select the photo and the letter shape, and again use Intersect to crop the photo inside the letter.
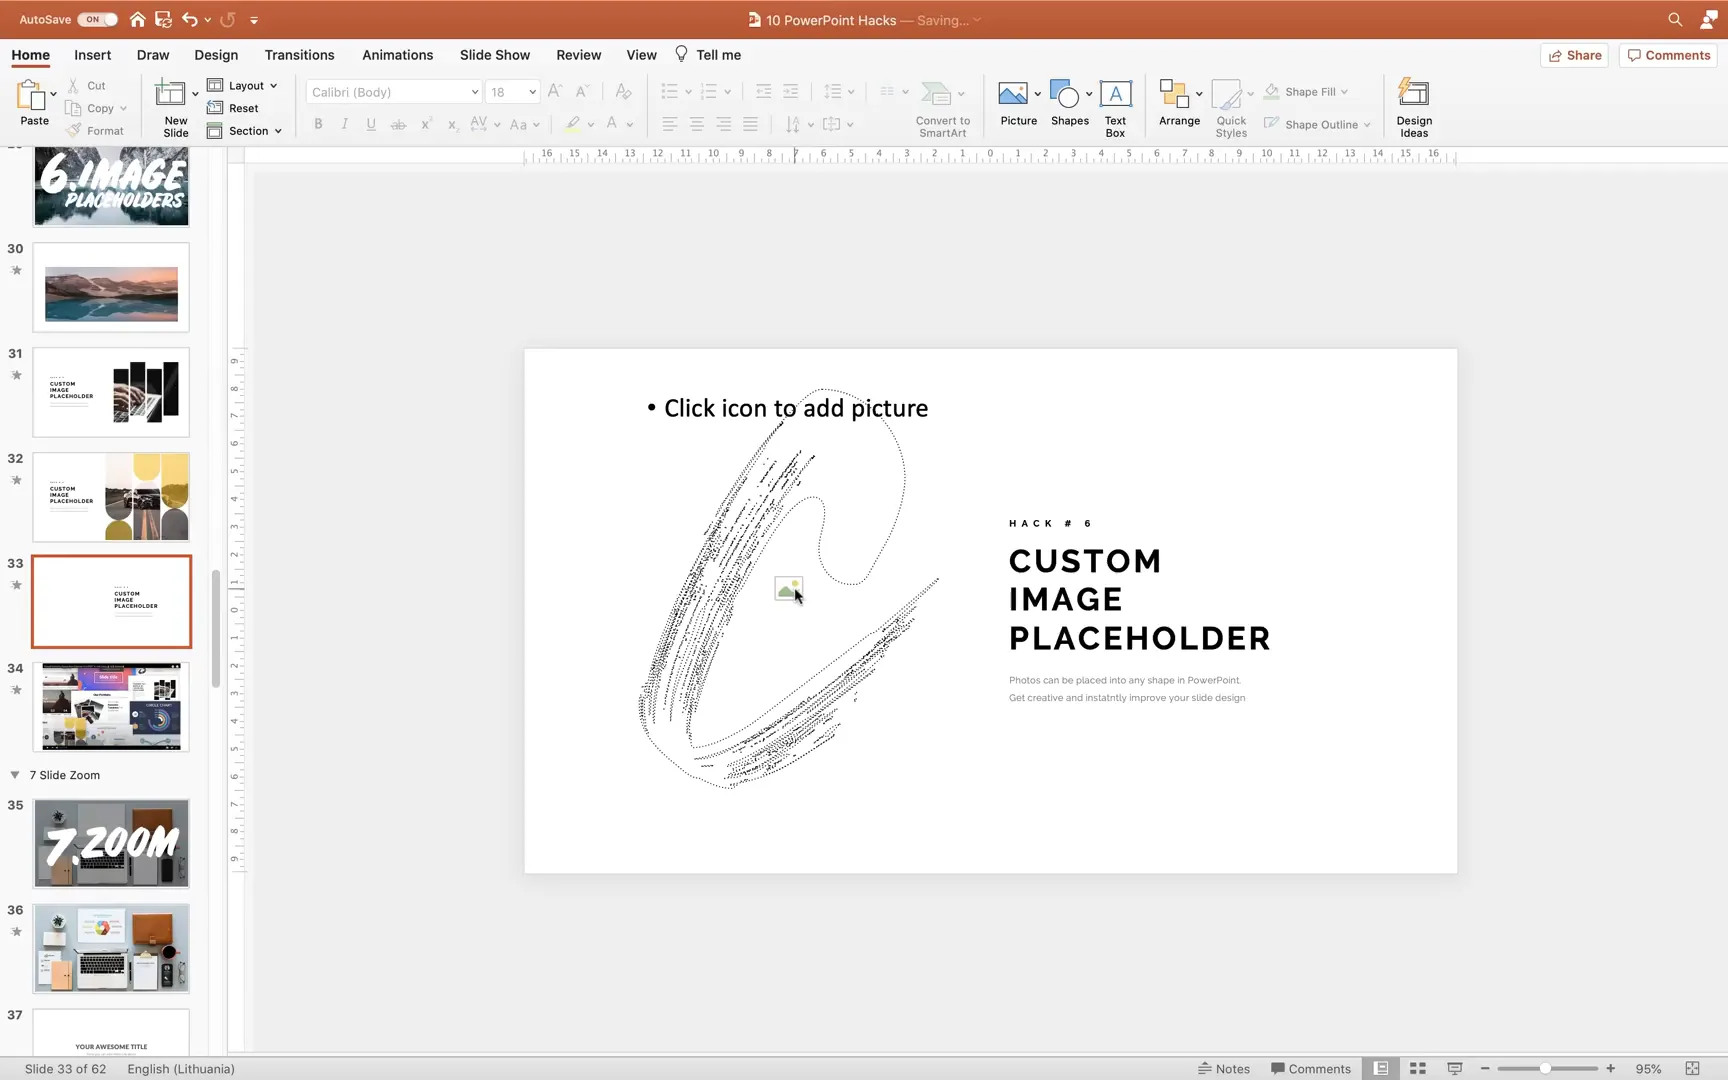
This method works great for static images, but if you want to easily swap photos without losing the shape, create a custom image placeholder in the Slide Master view:
- Cut your letter shape.
- Go to Slide Master and paste the shape.
- Insert a picture placeholder over the shape and send it to the back.
- Select both and use Intersect again to create the custom placeholder.
- Now, when you use this layout, you can insert and replace images easily.
This hack unleashes your creativity and helps you design visually engaging layouts that stand out.
Hack #7: Zoom Into Slides for Non-Linear Navigation
The Zoom feature in PowerPoint offers a dynamic way to navigate your presentation non-linearly. Instead of flipping through slides sequentially, you can “zoom” into specific slides from a homepage or summary slide.
Zoom is available in Office 365 and PowerPoint 2019 and later versions. It’s perfect for interactive presentations, where you want to jump to different sections based on audience interest or your flow.

To use Zoom:
- Go to Insert > Zoom > Slide Zoom.
- Select the slides you want to zoom into.
- Place the zoom thumbnails anywhere on your homepage slide.
- Customize the thumbnails by removing backgrounds or resizing.
- Ensure the option to return to the homepage after the zoomed slide is selected.
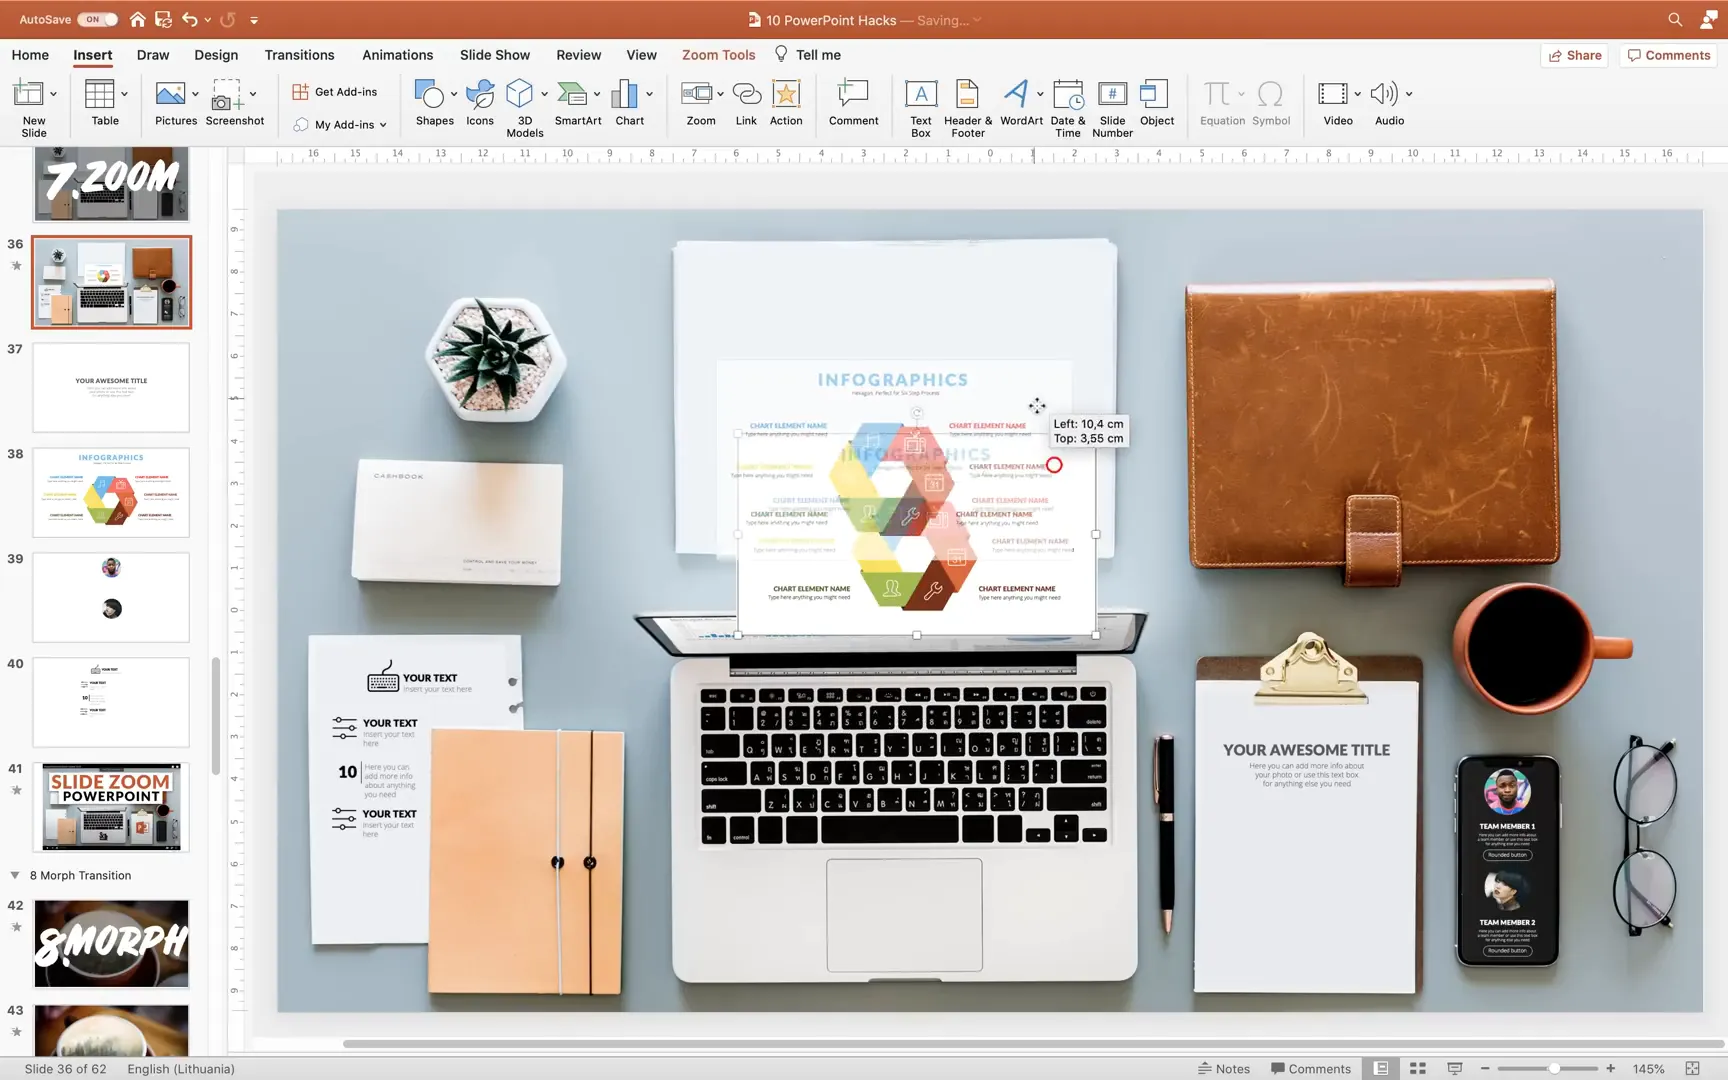
During your presentation, clicking a zoom thumbnail will take you directly to that slide and clicking again will bring you back to the homepage. This creates a smooth, engaging, and flexible presentation experience.
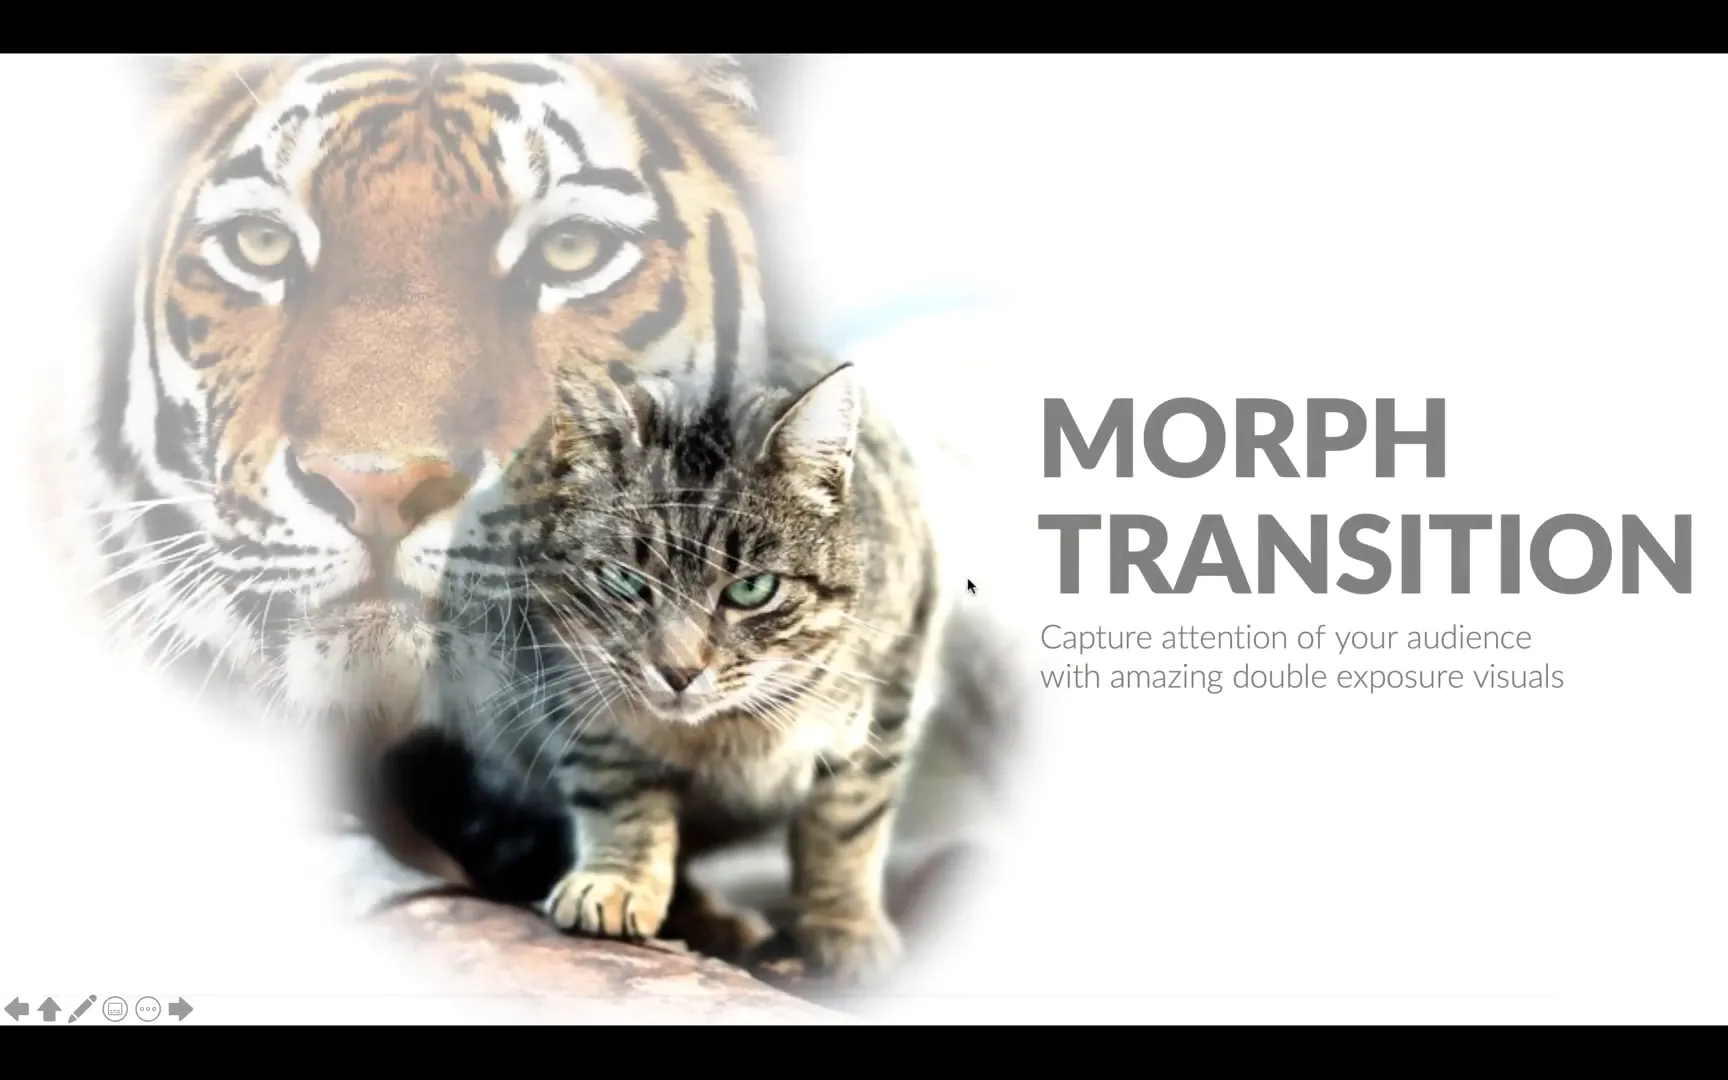
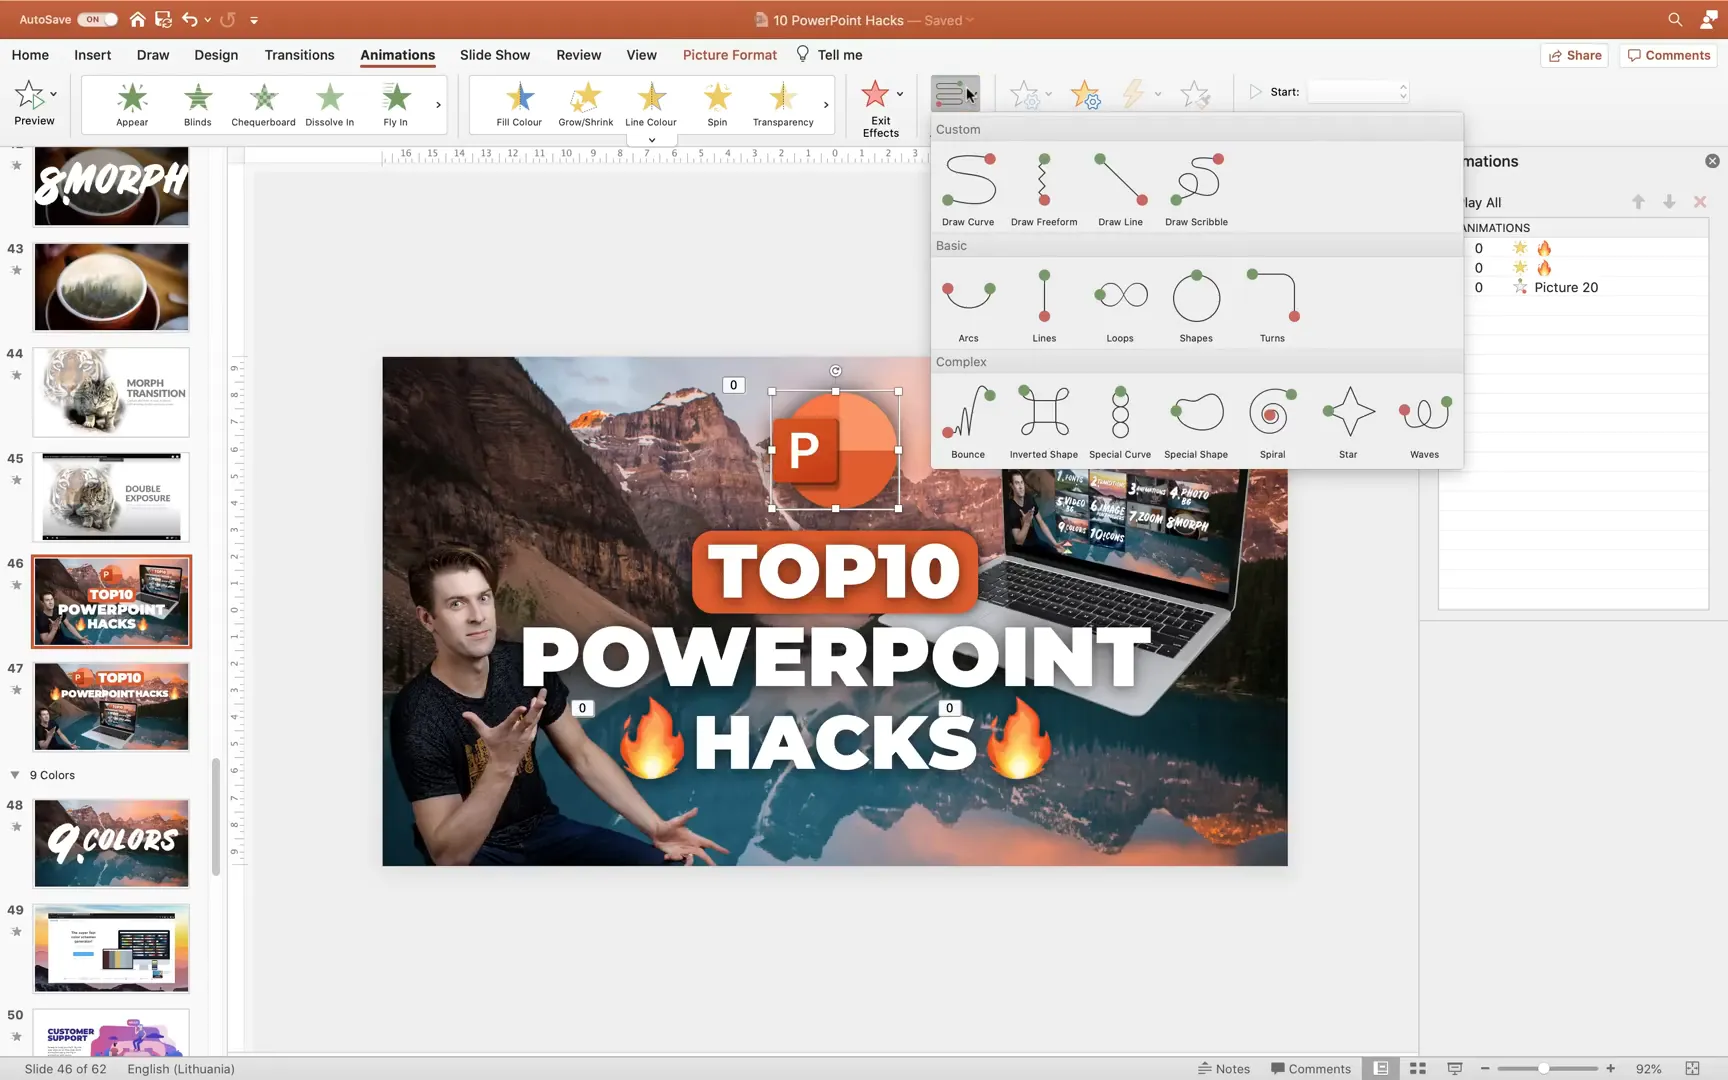
Hack #8: Use the Morph Transition for Smooth Animations
The Morph transition is a game-changer for animating objects and creating smooth visual effects in PowerPoint. It allows you to seamlessly transition one slide into another by morphing shapes, images, and text.
With Morph, you can do cool effects like morphing one photo into another, creating double exposure visuals, or animating objects moving and resizing on the slide.
How to Use Morph Effectively
- Duplicate your slide.
- On the duplicate, move, resize, or replace objects as desired.
- Apply the Morph transition to the second slide.
- Make sure objects you want to morph have the same name in the Selection Pane (using double exclamation marks, e.g., !!forest).
This technique lets you animate complex movements and transformations without manually creating motion path animations for every object.
If you don’t have access to Morph, you can simulate similar effects using motion path animations, but it’s more time-consuming as you’ll need to animate each object individually.
Hack #9: Leverage Color Palettes for Consistent and Flexible Design
Color is one of the most powerful design elements in your presentation. Using a consistent color palette improves cohesiveness and professionalism.
Instead of picking random colors, use predefined color palettes from websites like coolors.co. These palettes are designed to work harmoniously together.
PowerPoint lets you apply color palettes to your slide elements. Once you set your shapes and text boxes to colors from a palette, you can switch palettes to instantly update the entire slide’s look.
This flexibility is invaluable when you want to experiment with different moods or match your brand colors without manually changing each element.
Creating custom color palettes also helps maintain brand consistency and saves time in future presentations.
Hack #10: Replace Bullet Points with Icons for Visual Impact
Bullet points are often overused and can make slides look dull and text-heavy. Instead, use icons to represent your points visually. Icons add clarity and make your slides more engaging and easier to scan.
You can find a wide variety of free icons on sites like Flaticon. Additionally, newer versions of PowerPoint include built-in icon libraries accessible via Insert > Icons.
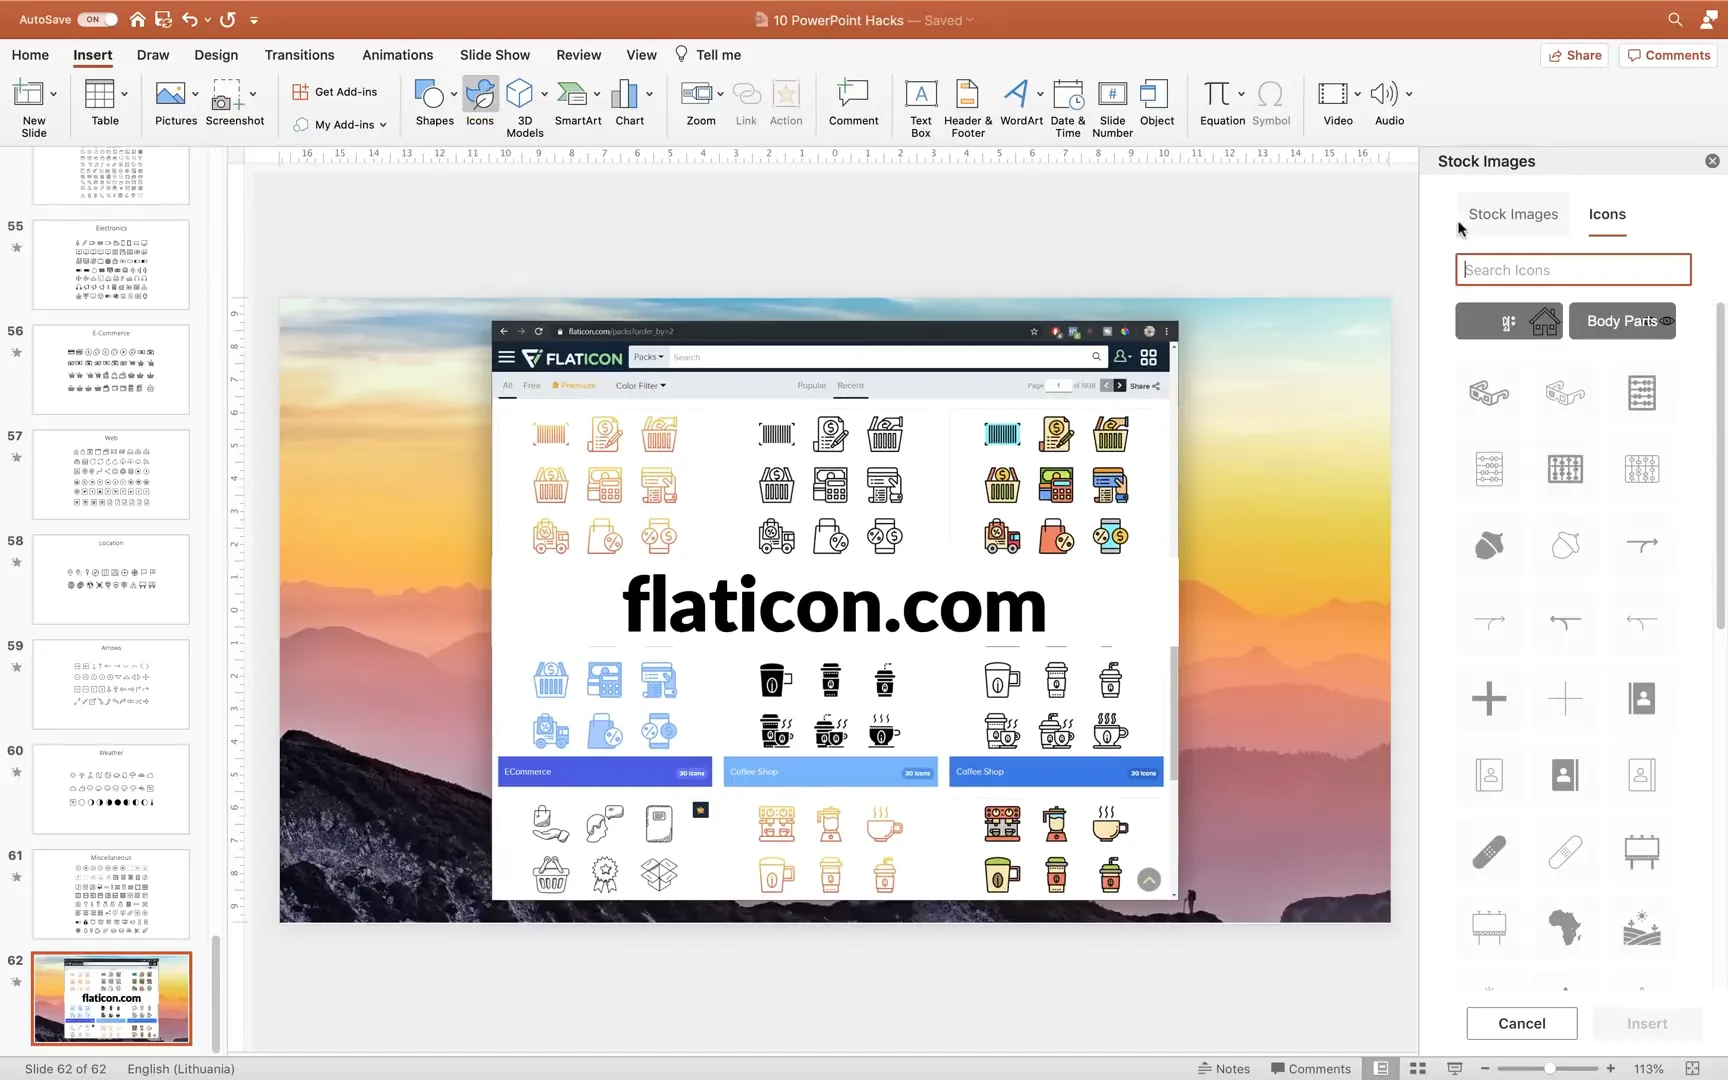
Using icons also helps break up text and adds a modern touch to your slides. Make sure to pick icons that are simple, consistent in style, and relevant to your content.
Conclusion: Transform Your PowerPoint Presentations Today
Mastering these ten PowerPoint hacks will dramatically improve your slide design and presentation skills. From choosing the right fonts and colors to using animations, video backgrounds, and interactive features like Zoom and Morph, each tip adds a layer of professionalism and creativity to your work.
Remember, the goal of any presentation is to communicate your message clearly and keep your audience engaged. By applying these techniques, you’ll create slides that do just that—making your presentations not only awesome but also memorable.
Keep experimenting, stay creative, and happy presenting!
Frequently Asked Questions (FAQs)
Q1: Where can I find free fonts suitable for PowerPoint presentations?
You can find a variety of free, high-quality fonts on websites like Font Squirrel. These fonts are safe to use and often come with licenses that allow commercial use.
Q2: How can I add smooth transitions between slides?
Use PowerPoint’s Transitions tab and select subtle options like Fade. Adjust the duration to around 2 seconds for a professional feel. Avoid overusing flashy transitions to keep your presentation polished.
Q3: What is the Morph transition and how do I use it?
The Morph transition animates objects smoothly from one slide to the next. Duplicate a slide, move or resize objects on the second slide, then apply the Morph transition. Ensure objects have matching names in the Selection Pane for best results.
Q4: Can I use video backgrounds in PowerPoint without slowing down my presentation?
Yes, but be mindful of video file size and format. Use short, optimized videos and test playback before presenting to avoid lag. Overlaying a semi-transparent shape can help reduce brightness and distraction.
Q5: How do I create custom image placeholders in PowerPoint?
In Slide Master view, you can create shapes and insert picture placeholders. Use the Merge Shapes > Intersect function to combine shapes and placeholders, allowing easy swapping of images while maintaining custom shapes.
Q6: What are the benefits of using color palettes in slide design?
Color palettes ensure consistency and harmony across your slides. They make it easy to apply and change colors systematically, saving time and enhancing visual appeal. You can find palettes online or create your own.
Q7: Where can I find icons to replace bullet points?
Free icons are available at Flaticon and other icon repositories. Newer PowerPoint versions also include built-in icon libraries accessible via the Insert menu.
Q8: What is the Zoom feature in PowerPoint?
Zoom allows non-linear navigation by creating clickable thumbnails of slides on a homepage. It provides an interactive way to jump between sections and return to the main slide, enhancing audience engagement.
Q9: Can these hacks be used in all versions of PowerPoint?
Most hacks work in recent versions of PowerPoint. Features like Morph and Zoom require Office 365 or PowerPoint 2019 and later. For older versions, alternative techniques like motion path animations can be used.
Q10: How can I learn more advanced PowerPoint techniques?
Explore tutorials from reputable designers, join online courses, and practice regularly. Resources like One Skill PowerPoint’s videos and platforms like DataCamp offer courses on related skills such as data visualization and design.
Check out the full video: 10 PowerPoint HACKS for 🔥Awesome Slides🔥


