
Hello my friends! If you’re looking to elevate your PowerPoint skills and create eye-catching, interactive presentations, you’ve come to the right place. Today, I’m going to guide you through crafting an incredible PowerPoint morph animation that features a sleek accordion navigation combined with a beautiful vertical parallax photo effect. This tutorial is designed for anyone who wants to make their slides more dynamic and professional using PowerPoint’s Morph transition and hyperlink features.
Whether you’re a beginner or an intermediate PowerPoint user, by the end of this guide, you’ll have a fully functional accordion navigation system that not only looks stunning but also provides smooth transitions and captivating visual effects on your slides. So, grab your laptop, open PowerPoint, and let’s dive right in!
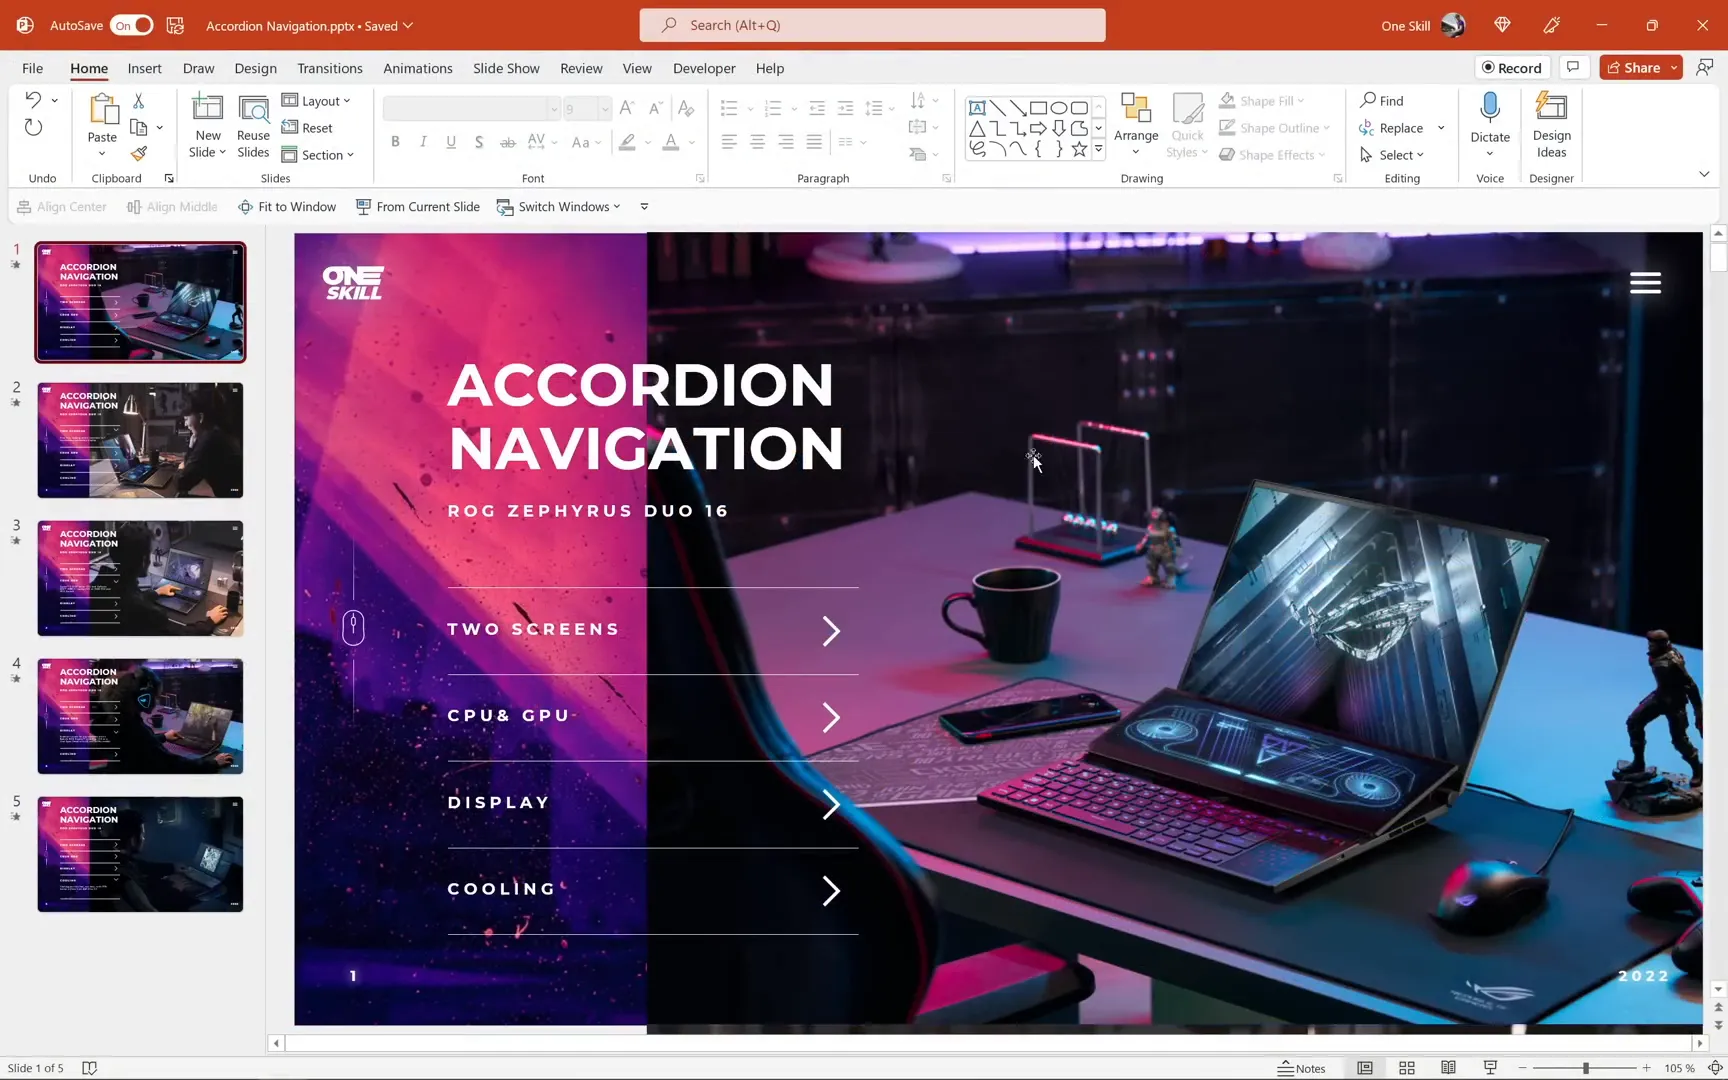
Table of Contents
- What is Accordion Navigation and Why Use Morph Animation?
- Getting Started: Preparing Your PowerPoint Tutorial Slides
- Step 1: Duplicating Slides and Clearing Content for Navigation
- Step 2: Inserting Hyperlinks for Interactive Tabs
- Step 3: Adding Additional Information to Each Tab
- Step 4: Applying Morph Transitions for Smooth Animations
- Step 5: Creating the Vertical Parallax Scrolling Effect with Photos
- Step 6: Testing and Enjoying Your Interactive Accordion Navigation
- Tips for Enhancing Your PowerPoint Accordion Navigation
- Frequently Asked Questions (FAQ)
- Final Thoughts
What is Accordion Navigation and Why Use Morph Animation?
Accordion navigation is a user interface pattern where sections of content expand and collapse like the folds of an accordion. In PowerPoint, this allows you to create interactive tabs or panels that reveal additional information when clicked, keeping your slides tidy and engaging.
The Morph transition in PowerPoint is a powerful tool that creates seamless animations between slides by smoothly transitioning objects’ size, position, and appearance. Using Morph in combination with accordion navigation enables you to animate the expansion and collapse of content sections effortlessly, giving your presentation a polished and modern feel.
Adding a parallax effect—where background images move at different speeds relative to foreground content—further enhances the visual experience, making your presentation feel more dynamic and immersive.
Getting Started: Preparing Your PowerPoint Tutorial Slides
To follow along, I recommend downloading the free tutorial slides I prepared. These slides come with the basic layout and elements needed to create the accordion navigation effect. Feel free to use them as a starting point or create your own from scratch based on this guide.
Let’s begin by examining the layout of the first slide in the tutorial:
- A vertical line on the left side hosts several tabs represented by text boxes and arrows.
- On the right side, there is space allocated for photos that will participate in the parallax scrolling effect.
- The slide master includes a menu icon and a year text box, which remain visible throughout the navigation to maintain consistency.
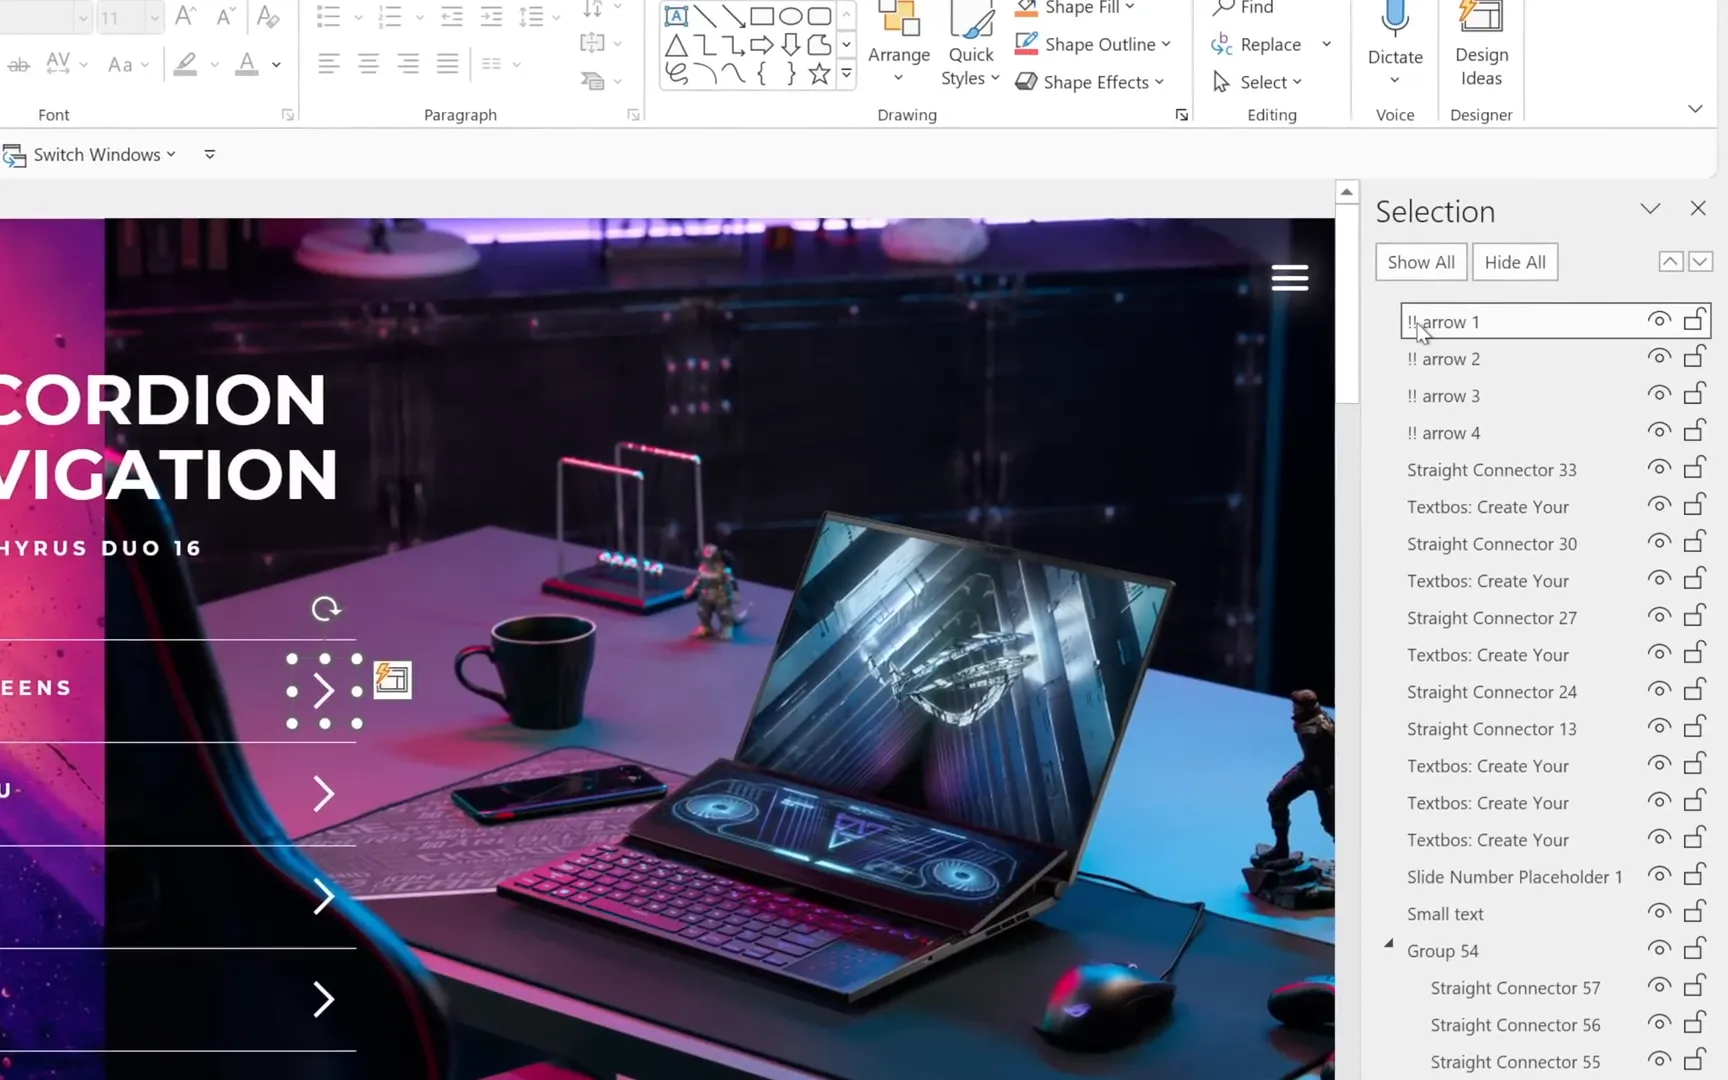
One important detail to note is the naming of the arrows in the selection pane. Each arrow has been given a unique name with double exclamation marks (e.g., “Arrow!!1”) to help PowerPoint distinguish between them during the Morph transition. This prevents PowerPoint from mixing up the arrows and ensures smooth animations.
Before we move forward, a quick shoutout to the creators of the beautiful photos used in this tutorial:
- The scenic photo on the left is from Unsplash.
- All gaming laptop photos come from rog.asus.com.
Although this video is not sponsored by Asus, it would be amazing to test these techniques on an actual gaming laptop someday!
Step 1: Duplicating Slides and Clearing Content for Navigation
Start by duplicating the first slide using Ctrl + D. This will create an exact copy that we will modify to display additional information for each tab.
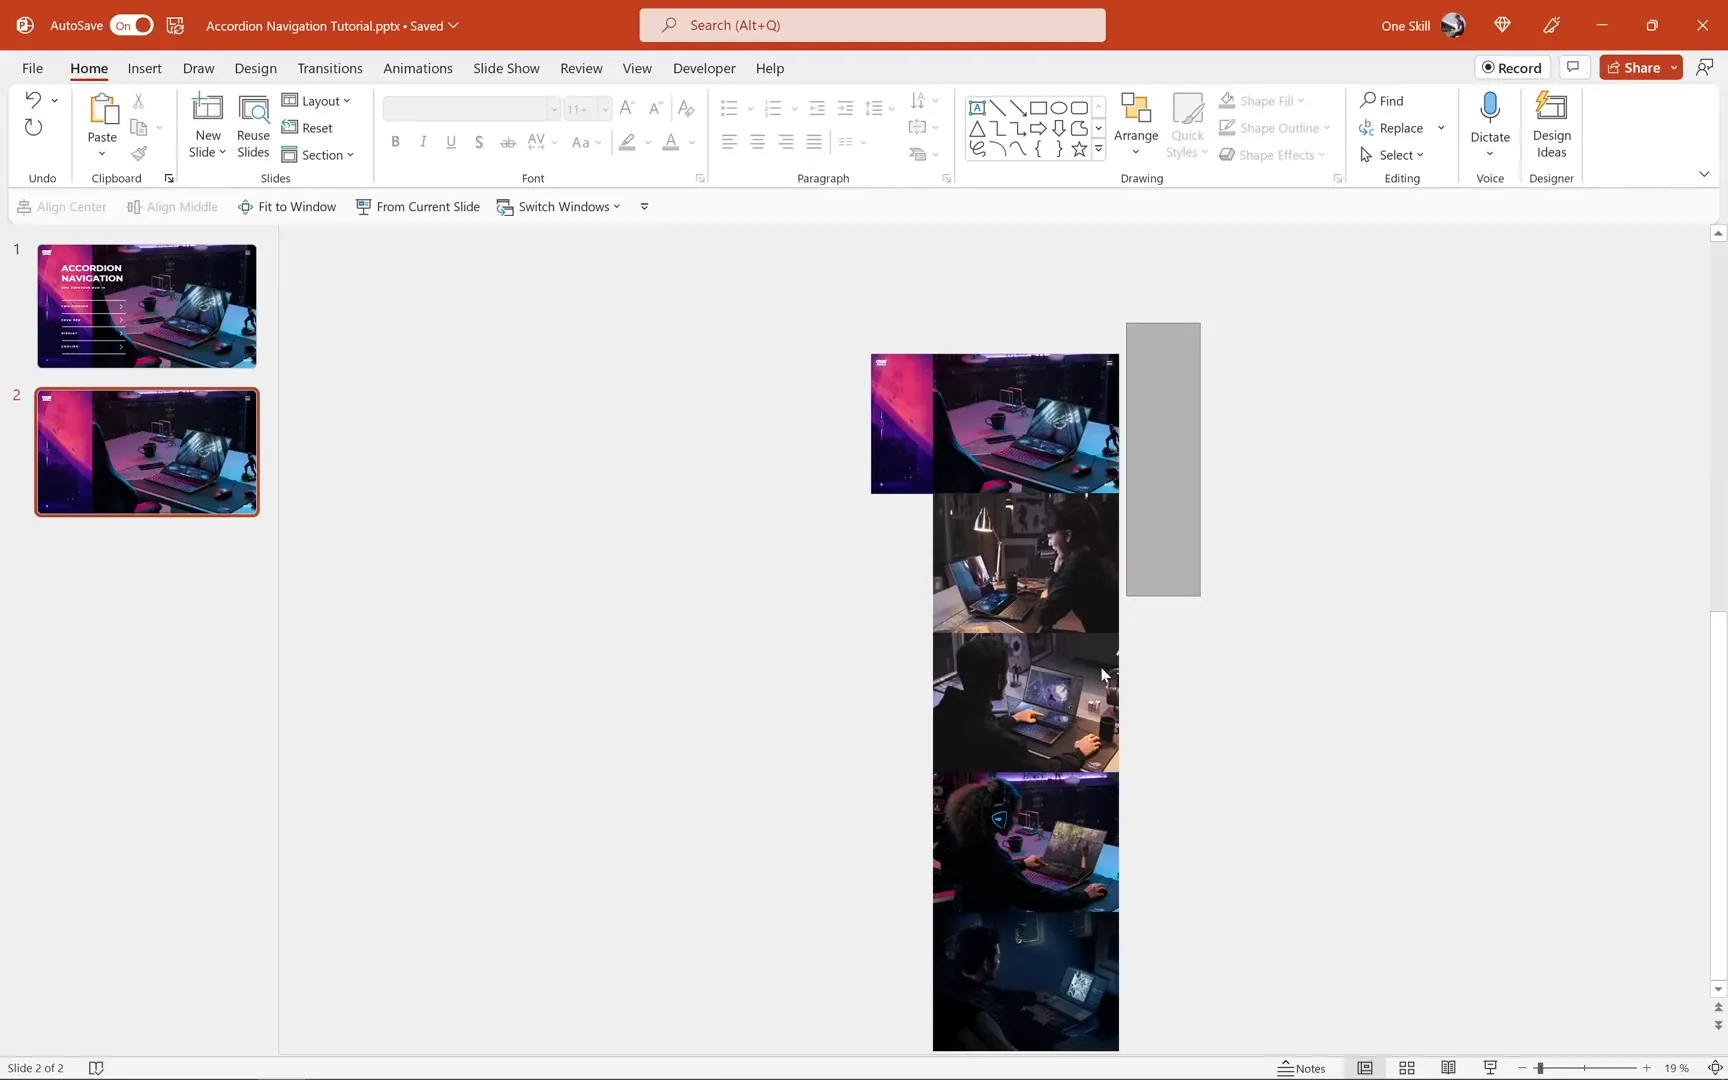
On the duplicated slide (slide 2), delete all the text boxes and photos to keep it almost empty. This clean slate will make it easier to add the content specific to the second tab later on.
Step 2: Inserting Hyperlinks for Interactive Tabs
Now, let’s add interactivity to our arrows by inserting hyperlinks that navigate to the corresponding slides when clicked. You can add hyperlinks to text boxes or arrows, but for this tutorial, we’ll use arrows.
Since we have four tabs, we need four slides. Duplicate the empty slide a few more times until you have five slides in total (one homepage slide and four content slides).
Here’s how to add hyperlinks:
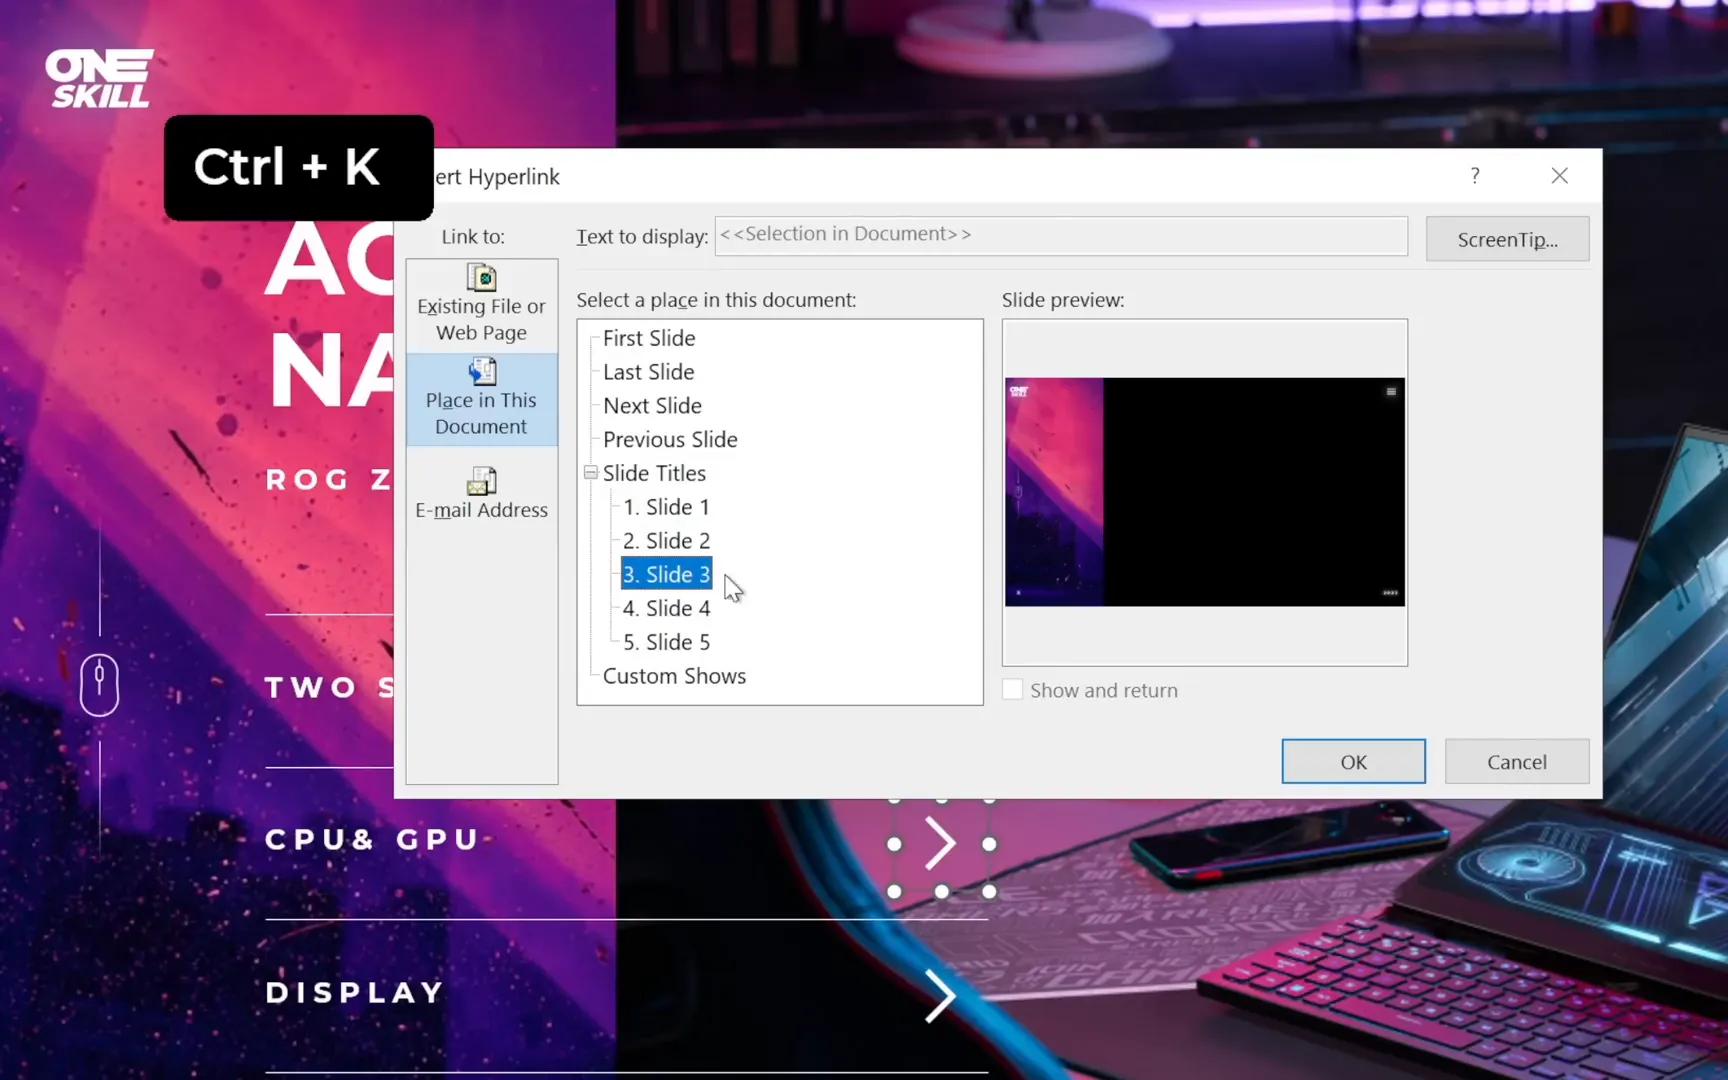
- Select the first arrow on slide 1 and press Ctrl + K.
- Link it to slide 2.
- Repeat this process for the second arrow linking to slide 3, the third arrow to slide 4, and the last arrow to slide 5.
- Add a hyperlink to the slide title on all slides linking back to slide 1 to serve as the homepage navigation.
Easy peasy lemon squeezy!
Step 3: Adding Additional Information to Each Tab
Now it’s time to populate each content slide with detailed information related to the selected tab.
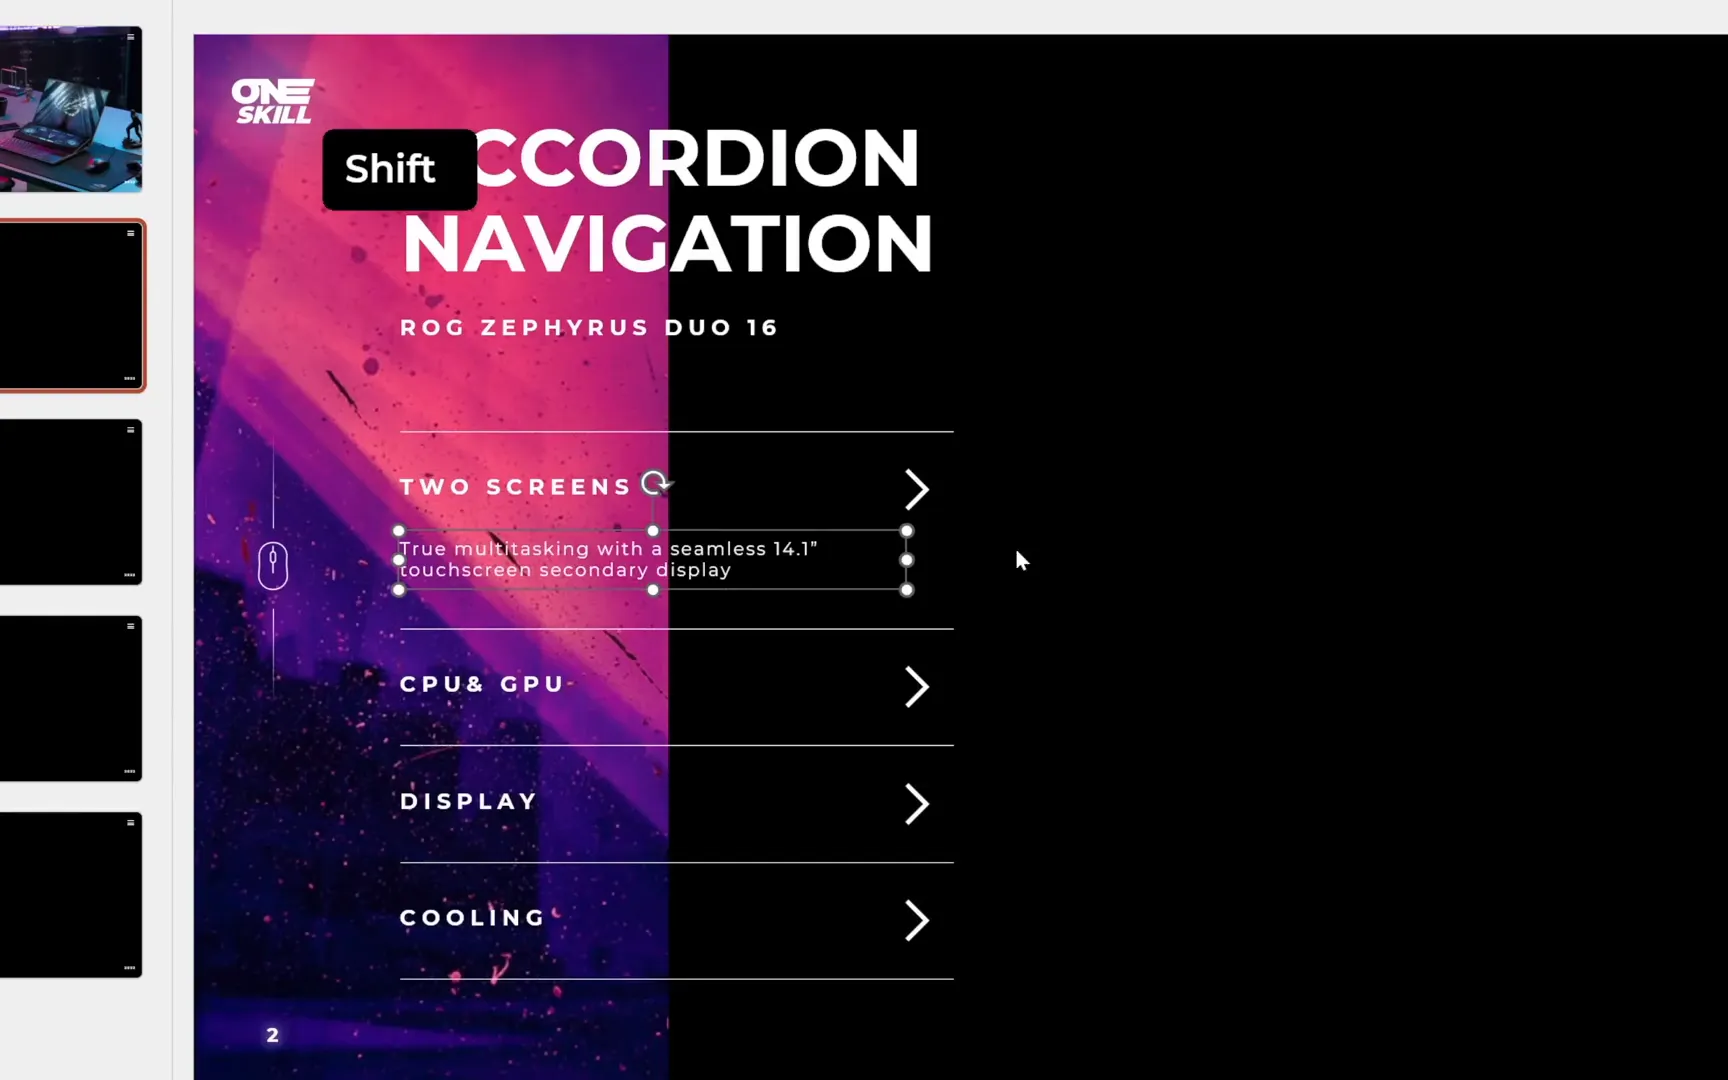
Start with slide 2 (first tab content):
- Copy the text box with additional information from your previously created slides or the tutorial slides.
- Paste it onto slide 2.
- Adjust the position of the existing text boxes and arrows slightly upwards to make space for the new text box in the middle area.
Repeat this process for slides 3, 4, and 5, each time pasting the relevant information and repositioning the elements to maintain a clean layout.
- Slide 3: Add information about CPU and GPU.
- Slide 4: Add details about the display.
- Slide 5: Add cooling system information.
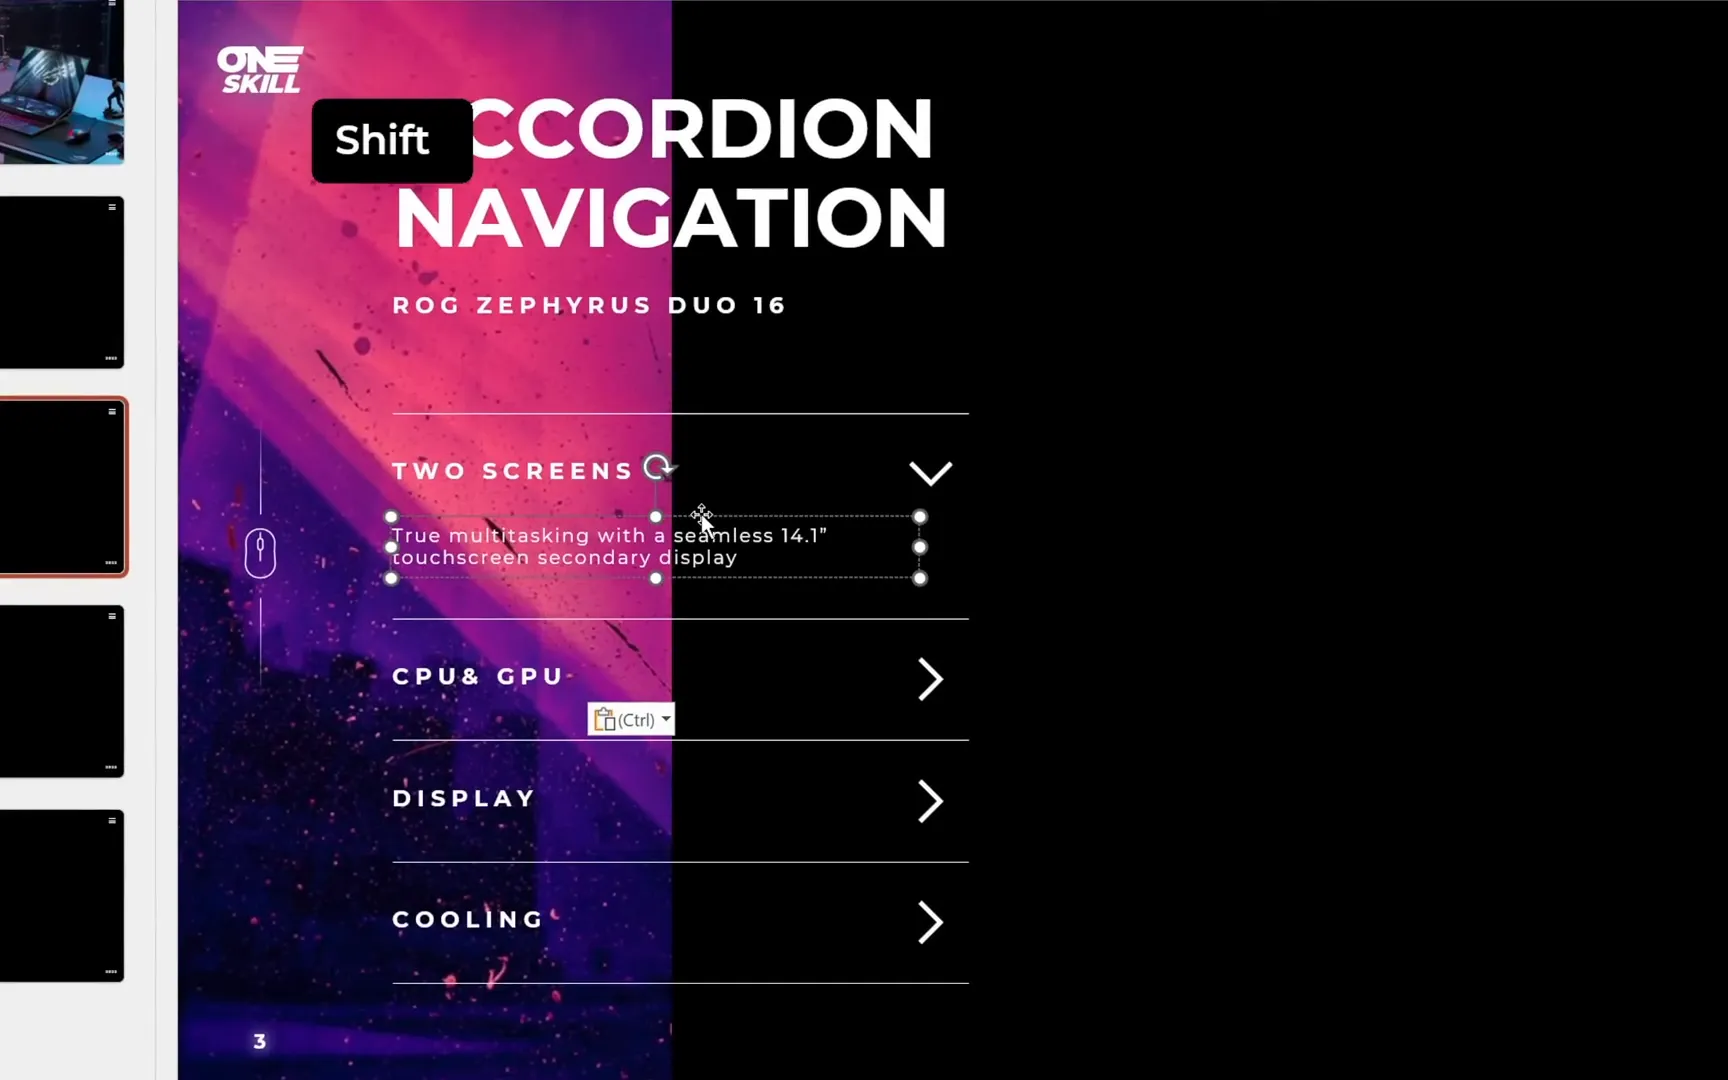
For each slide, don’t forget to rotate the arrow on the active tab to point downwards by holding down the Alt key and pressing the right arrow key a few times. This subtle animation cue enhances the user experience by indicating which tab is currently selected.

Step 4: Applying Morph Transitions for Smooth Animations
Once all your slides have the appropriate content and hyperlinks, it’s time to add the magic touch: the Morph transition.
Here’s how:
- Select all slides by pressing Ctrl + A.
- Go to the Transitions tab.
- Choose Morph from the list of transitions.
- Set the duration to 1 second for a smooth but snappy animation.
The Morph transition will animate the changes between slides, such as the repositioning of text boxes, rotation of arrows, and any other object transformations, creating a seamless accordion effect.

Step 5: Creating the Vertical Parallax Scrolling Effect with Photos
Now for the exciting visual effect on the right side: vertical parallax scrolling with photos.
Here’s the step-by-step process:
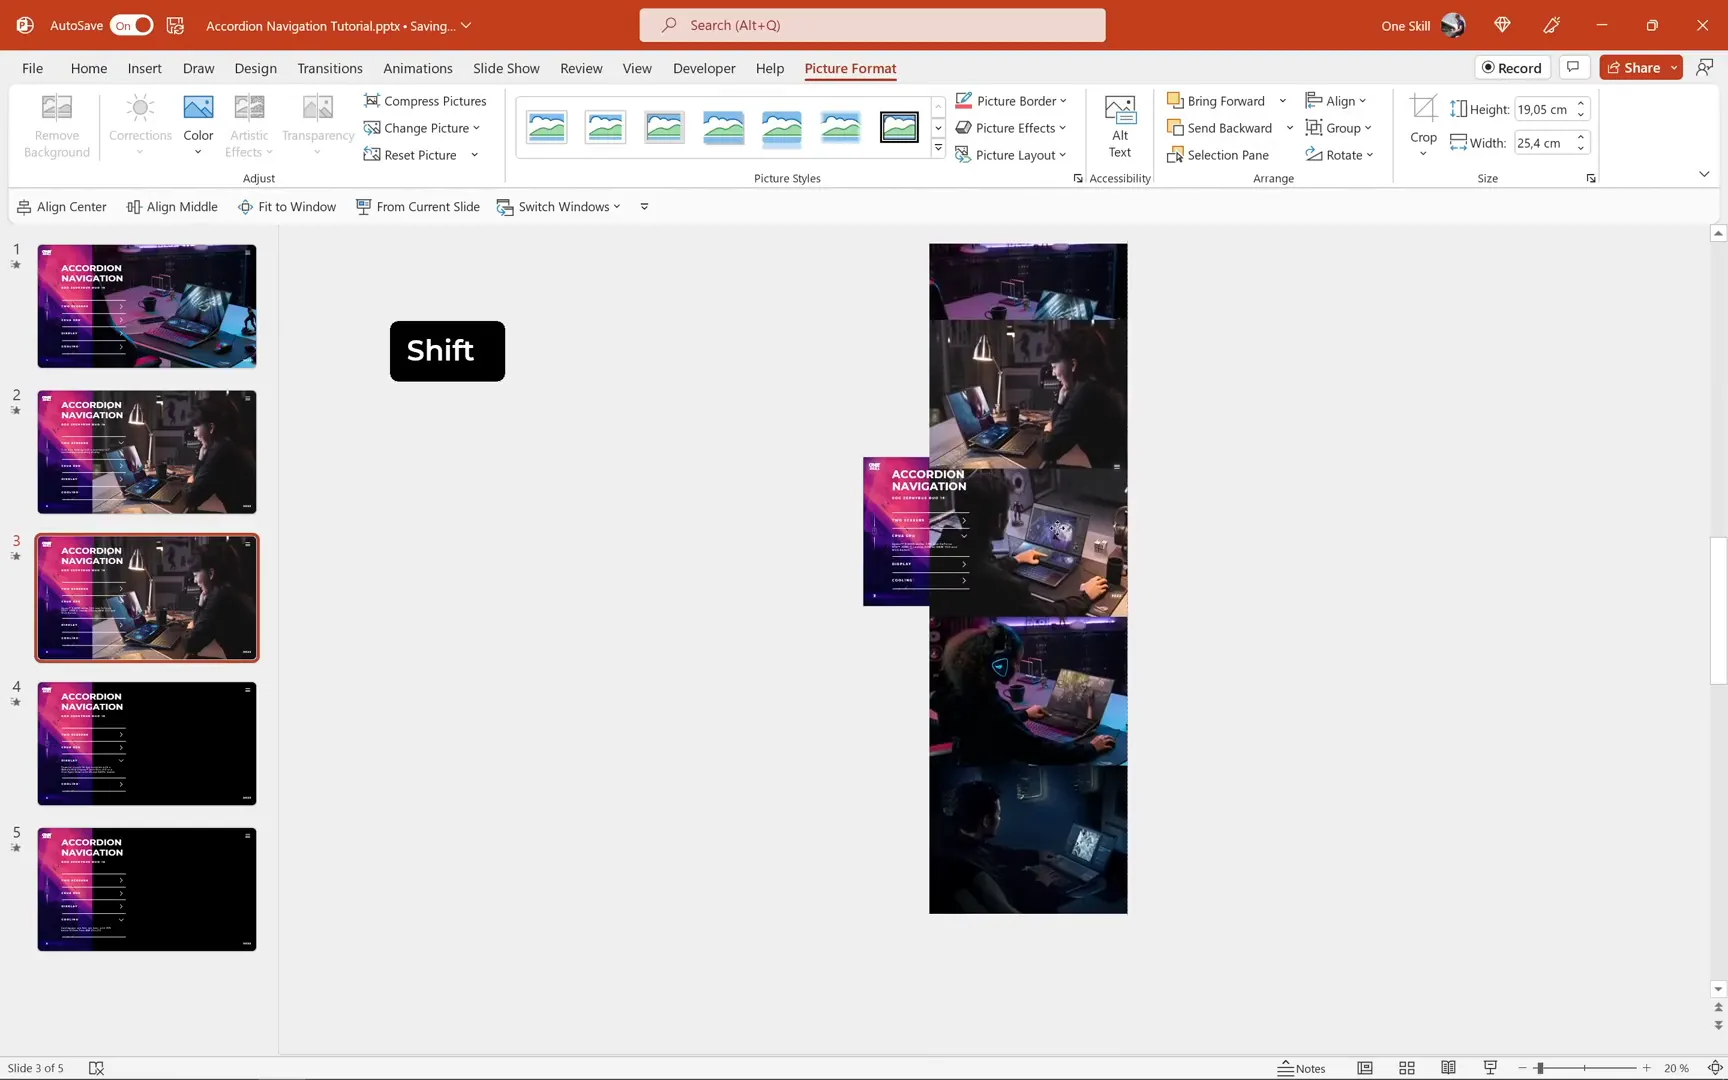
- On slide 1, select all five photos on the right side by holding down the Shift key and clicking on each photo.
- Copy the photos and paste them onto slide 2.
- Send the photos to the back so that the text remains visible.
- Move the photos upwards so that the second photo becomes visible in the slide window.
- Adjust the first photo by moving it halfway downwards to create the parallax effect.
- Repeat this process for slides 3, 4, and 5, each time moving the photos up so the next photo is visible, and adjusting the photos at the top by moving them halfway downwards.
This technique leverages the Morph transition to simulate vertical parallax scrolling, making your photos appear to scroll smoothly as you navigate between tabs.
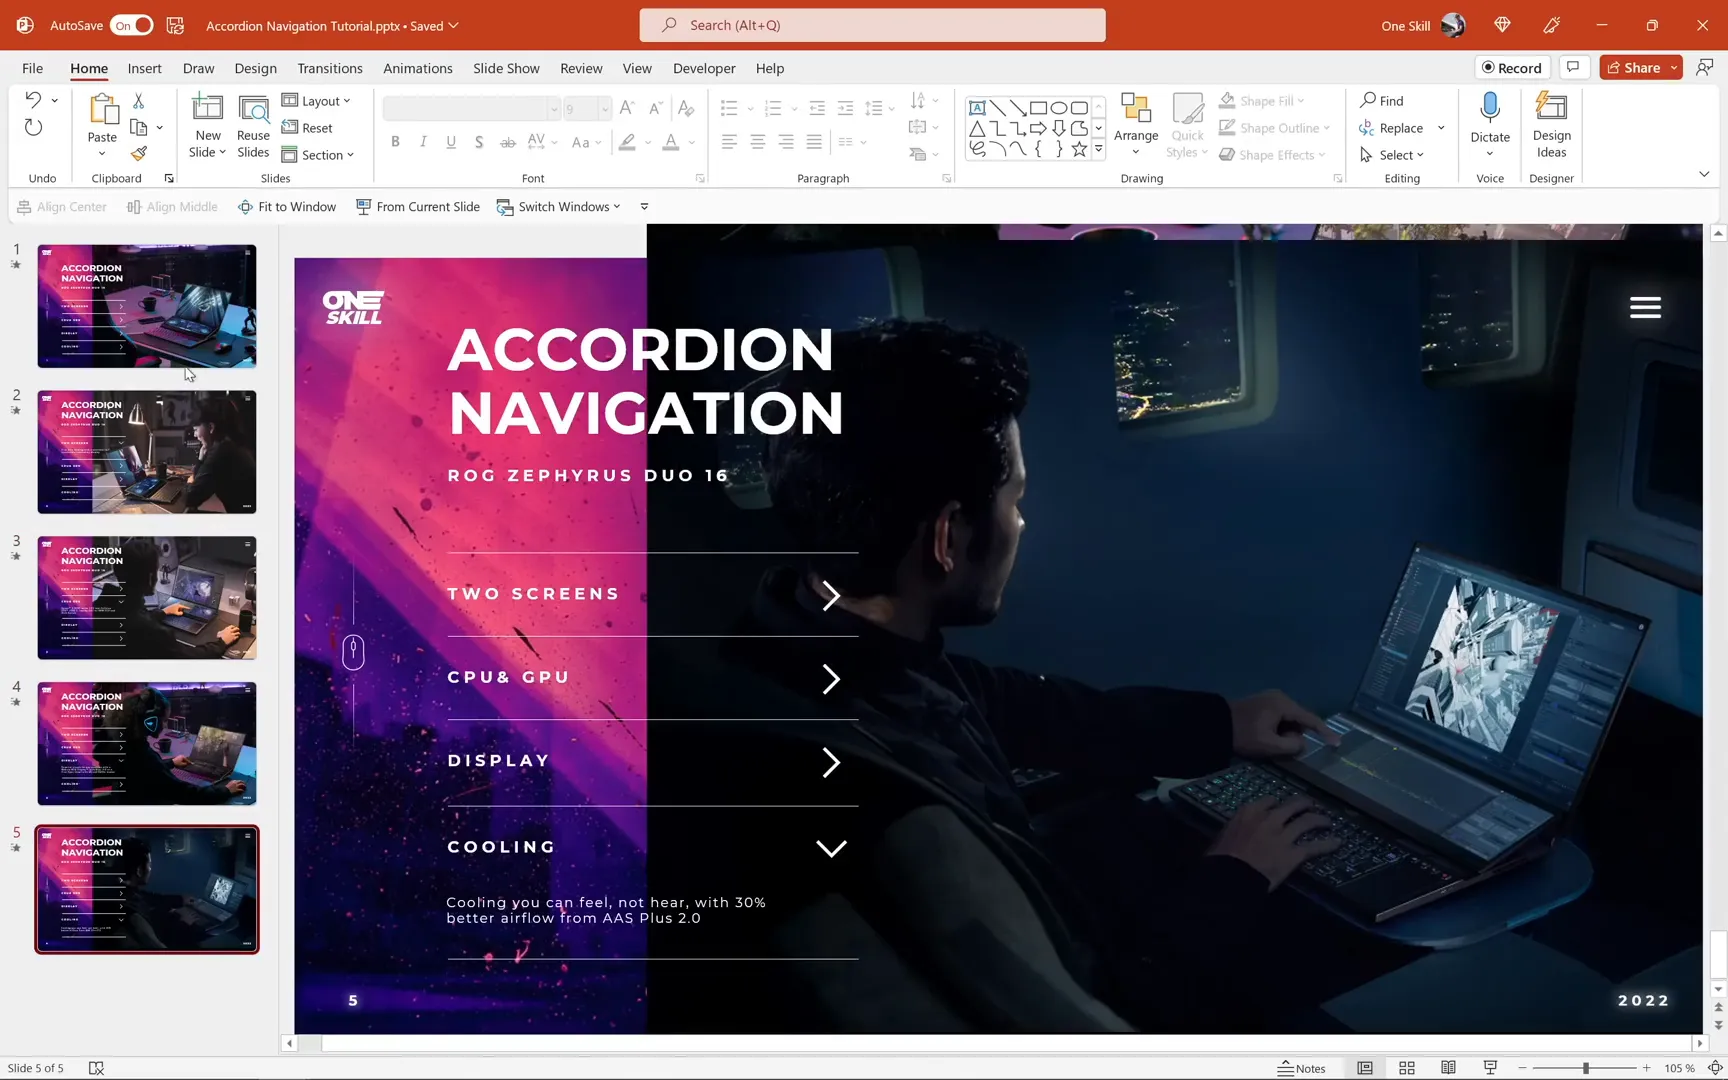
Step 6: Testing and Enjoying Your Interactive Accordion Navigation
With all the slides prepared, hyperlinks inserted, content added, and transitions applied, it’s time to test your creation!
Start the slideshow from slide 1 and try clicking on the arrows to navigate through the tabs. Notice how the content changes, the arrows rotate, and the photos on the right smoothly scroll with a parallax effect.
Clicking the slide title will always bring you back to the homepage slide, ensuring easy navigation throughout your presentation.
Congratulations! You’ve successfully created a powerful and visually stunning PowerPoint accordion navigation system with morph animation and vertical parallax scrolling.
Tips for Enhancing Your PowerPoint Accordion Navigation
- Customize the Design: Experiment with different shapes, colors, and fonts for your tabs to match your brand or presentation theme.
- Use Icons: Replace arrows with custom icons to make your navigation more intuitive and visually appealing.
- Add Sound Effects: Incorporate subtle sound effects when clicking tabs to enhance interactivity.
- Optimize for Different Devices: Test your presentation on various screen sizes to ensure your layout and animations work well everywhere.
- Keep it Simple: Avoid overcrowding your slides. The accordion navigation works best when it keeps content concise and organized.
Frequently Asked Questions (FAQ)
What versions of PowerPoint support the Morph transition?
The Morph transition is available in Microsoft 365 (formerly Office 365) and PowerPoint 2019 or later. If you’re using an earlier version, you might not have access to this feature.
Can I use this accordion navigation technique for other types of presentations?
Absolutely! This method works well for product showcases, portfolios, educational content, and any presentation where you want to organize content into interactive sections.
Is it possible to use images other than the ones provided in the tutorial?
Yes! Feel free to replace the photos with any images that fit your content. Just make sure to adjust their positions to maintain the parallax effect.
How can I customize the duration of the Morph transition?
Simply select all your slides, go to the Transitions tab, and adjust the duration slider to your preferred speed. I recommend 1 second for a smooth animation.
Can I add hyperlinks to other shapes or text boxes instead of arrows?
Definitely. Hyperlinks can be assigned to any object in PowerPoint, including text boxes, shapes, and images. Choose what works best for your design.
Final Thoughts
Creating an accordion navigation system in PowerPoint using the Morph transition is a fantastic way to add professionalism and interactivity to your presentations. By combining clean navigation tabs, smooth animations, and captivating photo parallax effects, you’ll keep your audience engaged and impressed.
Remember, the key elements to master here are:
- Properly naming objects in the selection pane to avoid animation glitches.
- Using hyperlinks strategically for seamless navigation.
- Applying the Morph transition to animate changes elegantly.
- Adjusting photo positions to create a vertical parallax effect.
Keep practicing these techniques, and soon you’ll be able to create even more complex and beautiful PowerPoint animations and interactions. Stay happy, stay healthy, and keep creating amazing presentations!
Check out the full video: INCREDIBLE PowerPoint Morph Animation 🔥Accordion🔥


