
PowerPoint presentations don’t have to be static or boring. With the right techniques and a bit of creativity, you can create dynamic, eye-catching slides that captivate your audience and elevate your storytelling. In this comprehensive guide, I’ll share the secret to designing incredible animated slides in PowerPoint, the kind that look professional and polished, yet are surprisingly easy to create.
This tutorial is inspired by a subscriber request and focuses on using the Morph transition combined with clever photo cropping and layering techniques to create stunning animations—specifically, animated cards that expand into full-screen photos with smooth, cinematic effects. Whether you’re a beginner or an intermediate PowerPoint user, by the end of this guide, you’ll be able to replicate these effects and apply them to your own presentations.
Table of Contents
- Why Use Animated Slides in PowerPoint?
- Understanding the Core Concept: Expandable Photo Cards
- Step-by-Step Guide: Creating the Animated Slide Design
- Putting It All Together: The Final Presentation
- How to Get the Free Template
- Additional Resources
- Frequently Asked Questions (FAQ)
- Final Thoughts
Why Use Animated Slides in PowerPoint?
Animations add a layer of engagement and professionalism to your presentations. They help guide your audience’s focus, emphasize key points, and make transitions between ideas visually appealing. However, many users shy away from animations because they seem complicated or require advanced skills.
Fortunately, PowerPoint’s Morph transition simplifies creating smooth, dynamic animations without needing complex coding or external tools. Morph lets you animate objects by smoothly transforming shapes, sizes, and positions from one slide to the next. This opens up a world of creative possibilities, such as the expanding photo cards we’ll explore here.
Understanding the Core Concept: Expandable Photo Cards
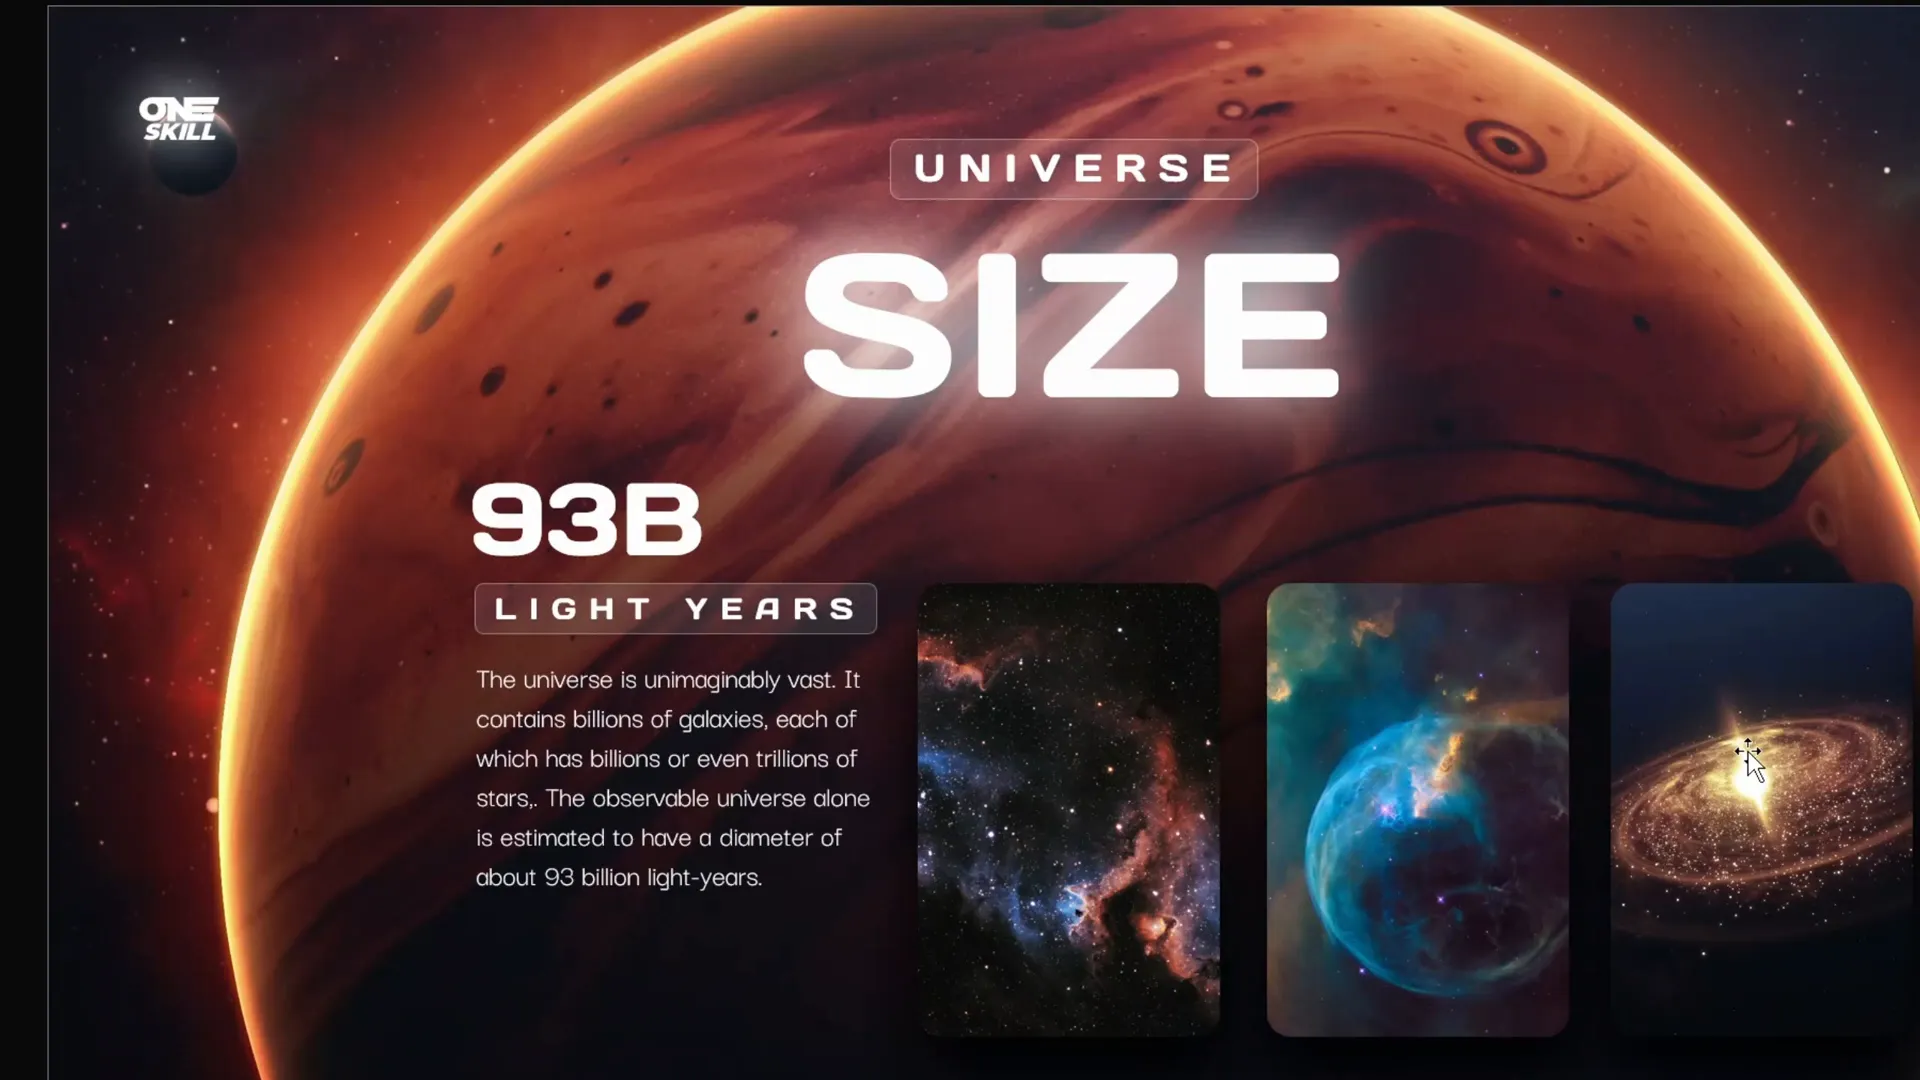
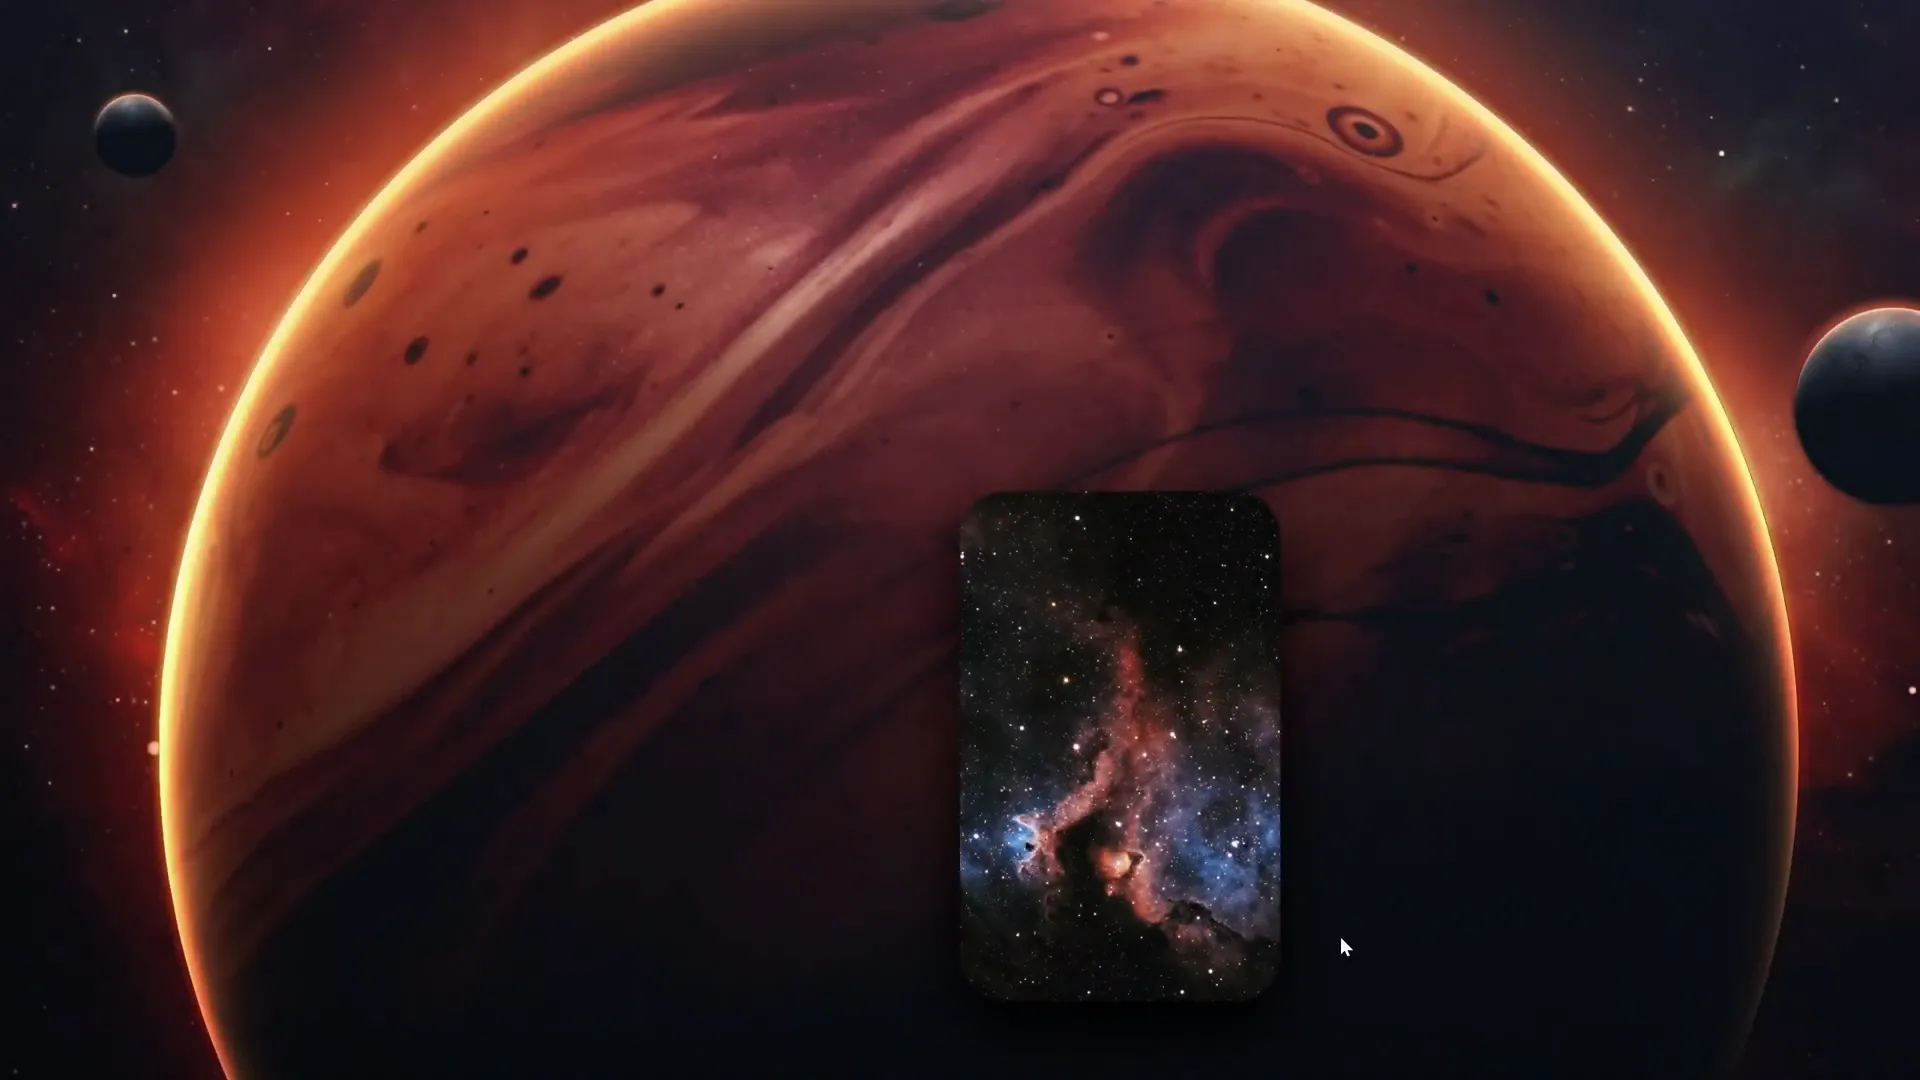
The heart of this tutorial lies in creating small photo “cards” that expand into full-screen images on the next slide, producing a seamless zoom effect. Imagine a collection of small thumbnails on one slide, each representing a different photo. When you transition to the next slide, the selected card expands to fill the entire screen, drawing full attention to that image.
This effect is not only visually impressive but also highly functional. It allows you to showcase multiple images compactly and then highlight each one individually without overwhelming the viewer.
How the Morph Transition Works
The magic behind these animations is PowerPoint’s Morph transition. Morph detects changes in the position, size, and shape of objects between consecutive slides and animates those changes smoothly. To use Morph effectively:
- Duplicate your slide to create the next frame of the animation.
- Modify the duplicated slide by resizing, repositioning, or cropping objects.
- Apply the Morph transition between the original slide and the modified one.
PowerPoint then automatically animates the transformation, creating the illusion of movement or expansion.
Step-by-Step Guide: Creating the Animated Slide Design
Now, let’s dive into the practical steps to create this dynamic PowerPoint slide from scratch.
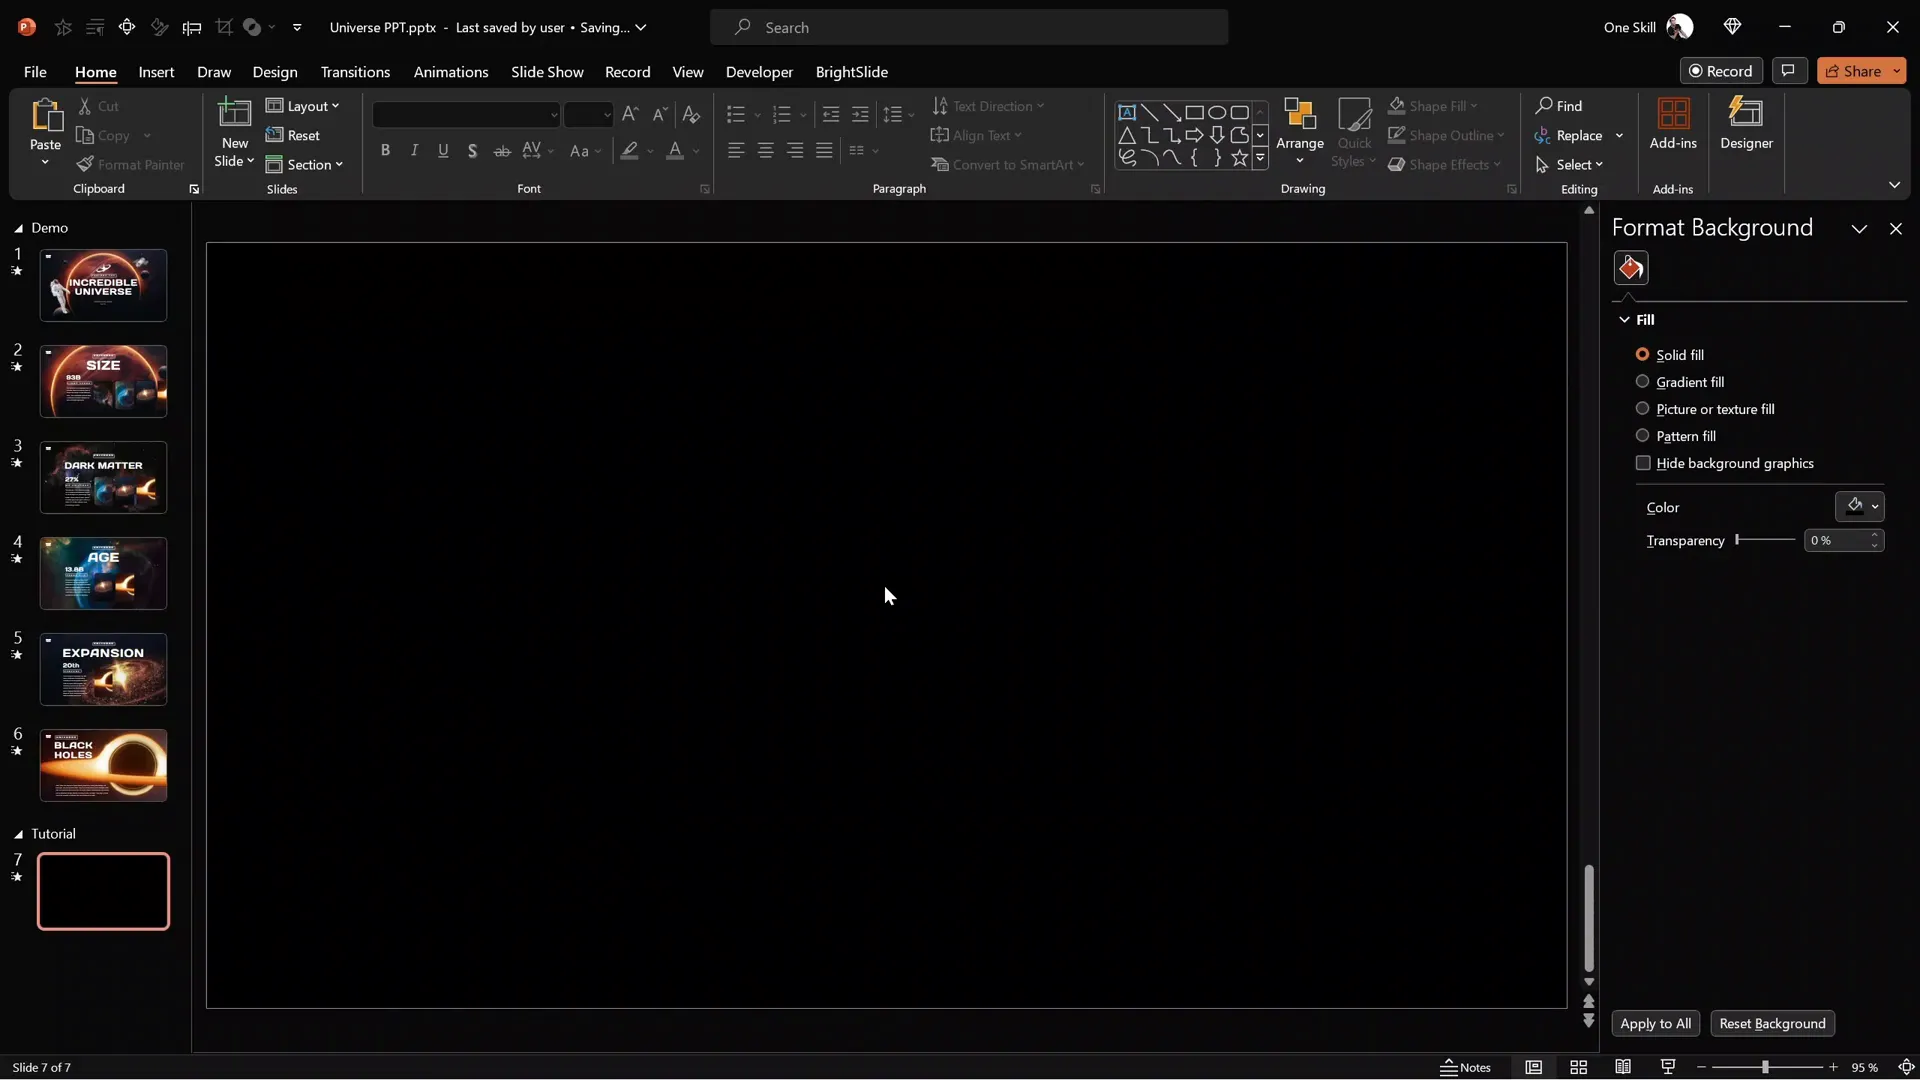
1. Setting Up the Base Slide
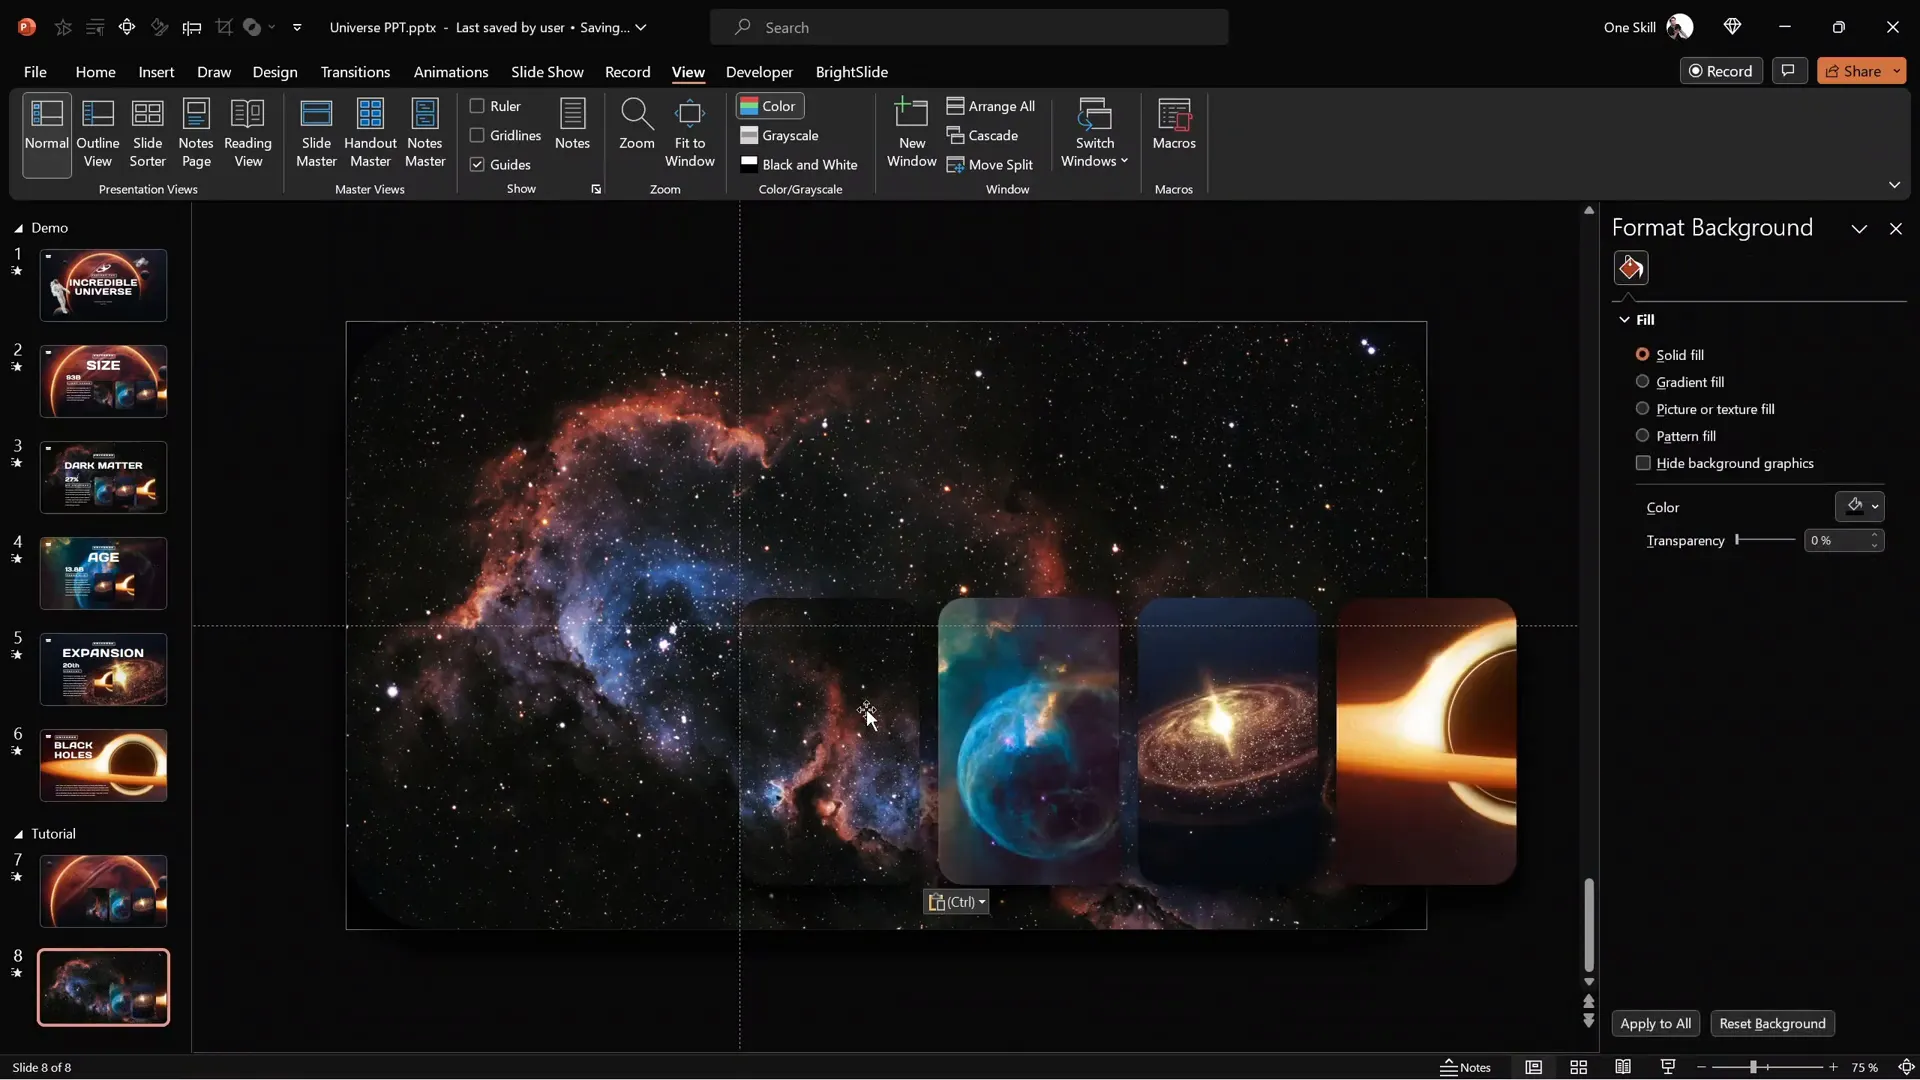
Start with a blank slide and set the stage by giving it a solid black background. This dark base enhances the visibility of your photos and gives a sleek, cinematic feel to your presentation.
2. Adding a Background Photo
Next, select a beautiful photo to use as the slide’s background. Using high-quality images adds visual interest and professionalism. For this tutorial, I used a photo from my existing collection, but you can use any image that fits your presentation’s theme.
To insert the photo:
- Copy the image from your source.
- Paste it onto the slide.
- Resize or reposition it if necessary.
Note: You can find links to all photos used in this example in the resources section below.

3. Creating the First Photo Card
To create the expandable card effect, you need to start with a small photo card. Here’s how to make one:
- Insert another photo that will serve as your card.
- Enhance the photo’s contrast to make it pop against the background. Adjust the contrast or brightness as needed.
- Crop the photo to a rounded rectangle shape:
- Select the photo.
- Go to the Crop menu.
- Choose “Crop to Shape” and select a rounded rectangle.
This immediately softens the edges for a more polished look.
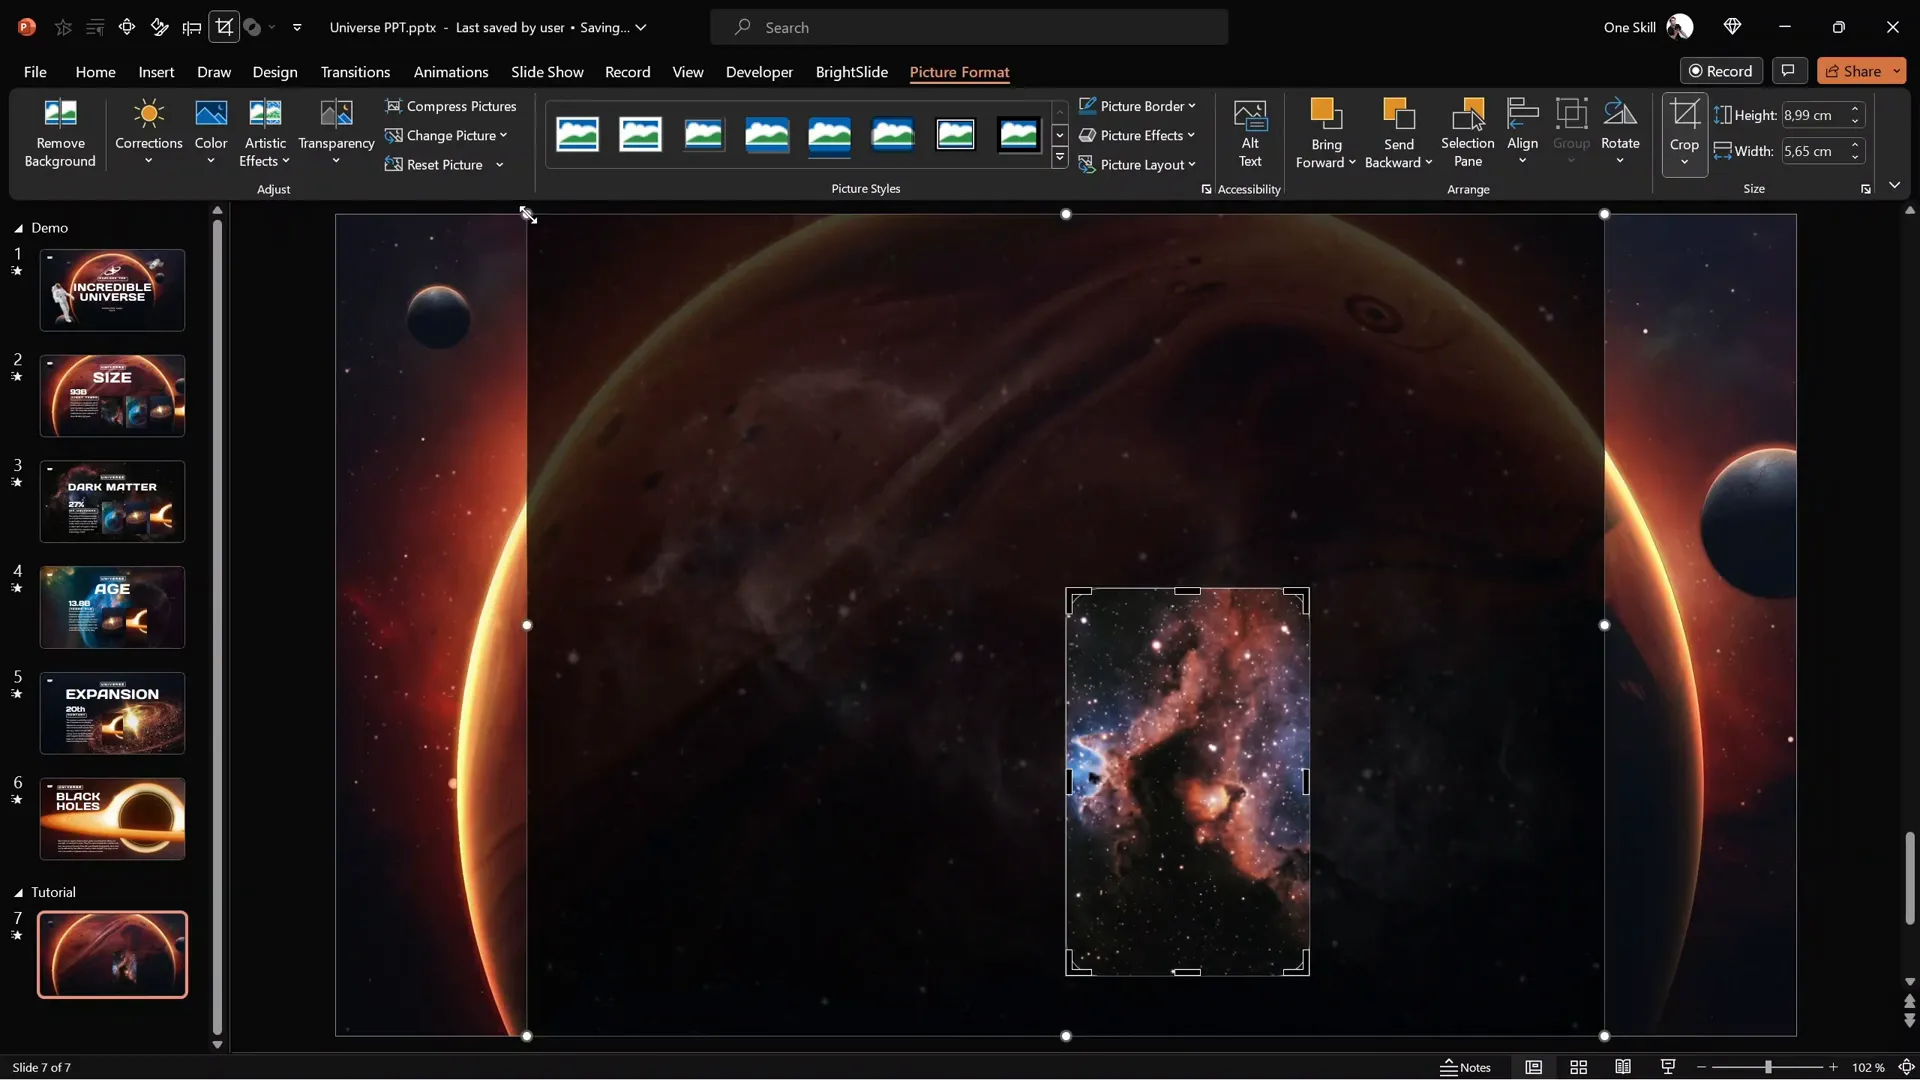
4. Adjusting the Photo Card Size and Crop Area
The photo might still be too large, so click the crop button again to adjust the visible area:
- Use the black crop handles to resize the crop area, determining how much of the photo is visible.
- Use the yellow handles to resize or move the photo within the crop area, deciding which part of the image shows.
- Adjust the roundness of the corners using the yellow handle for a perfect look.
Once satisfied, click outside the crop area to apply changes.
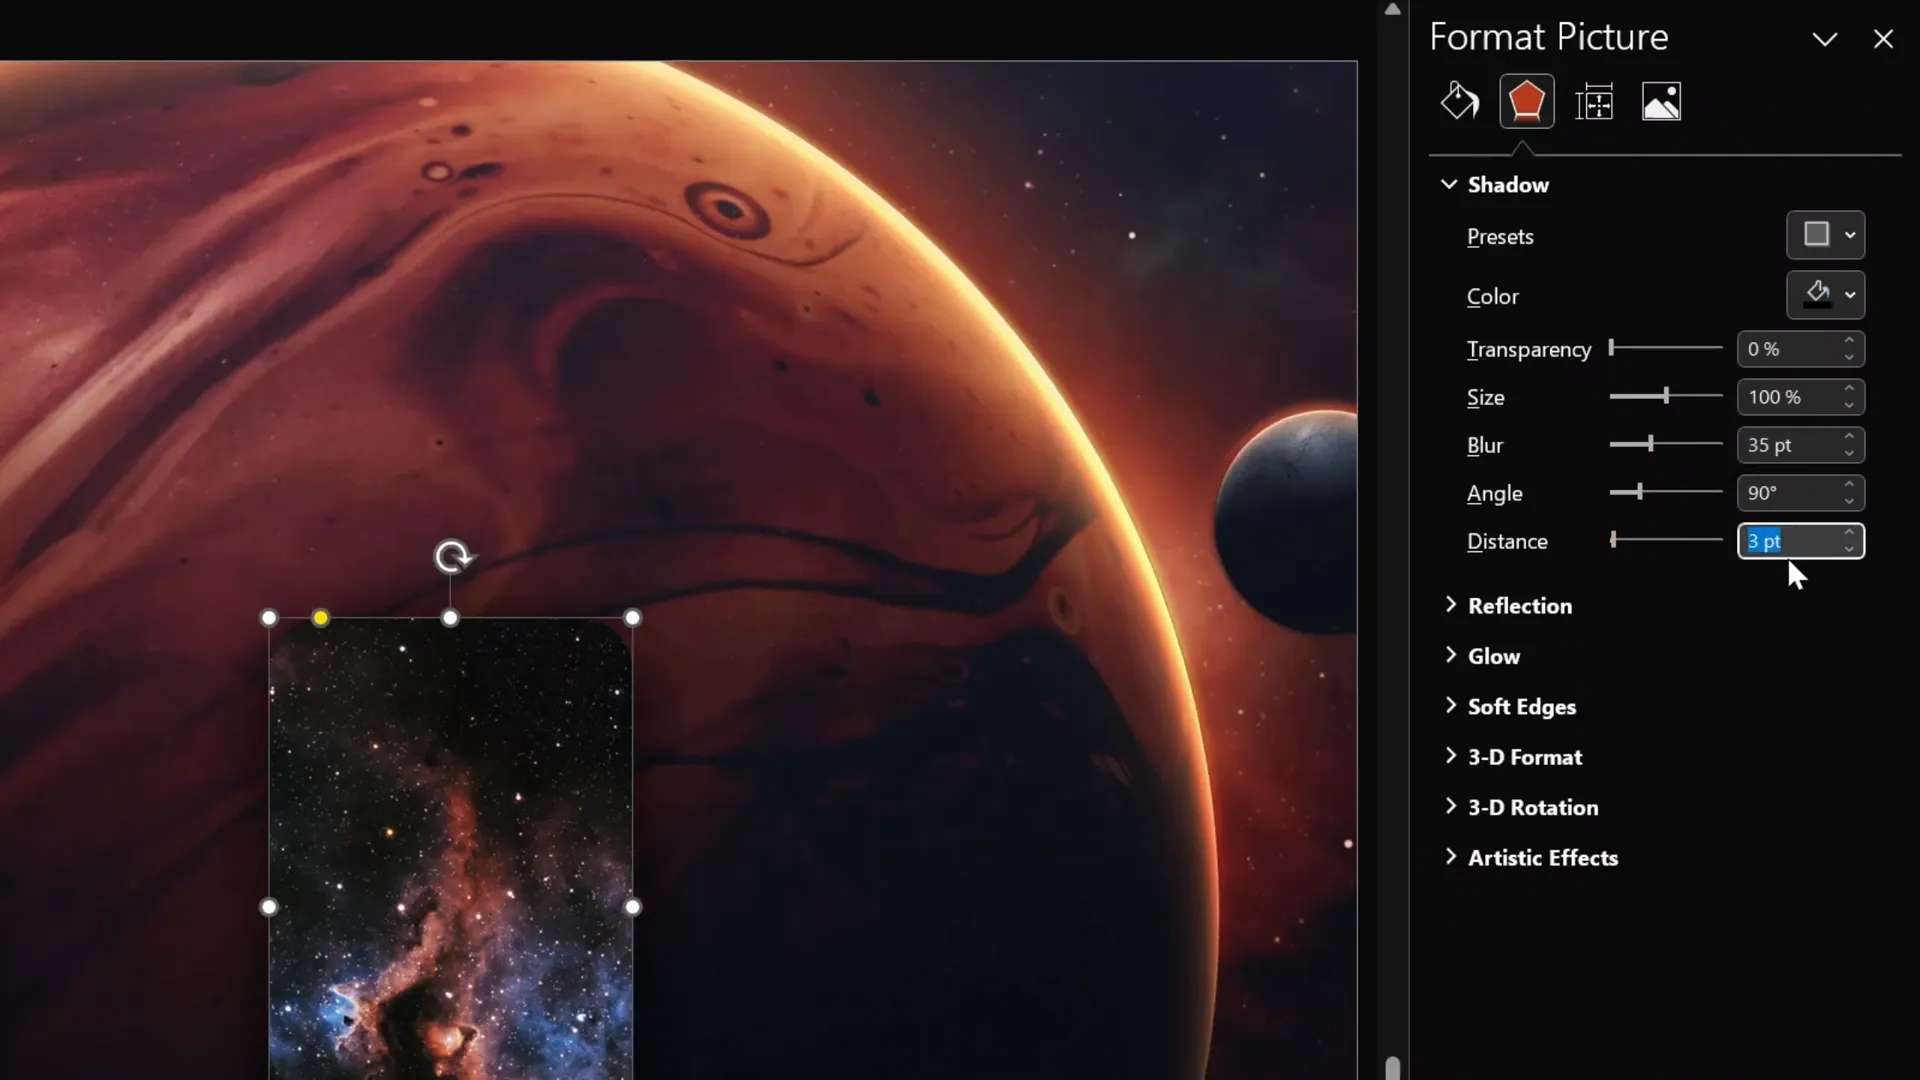
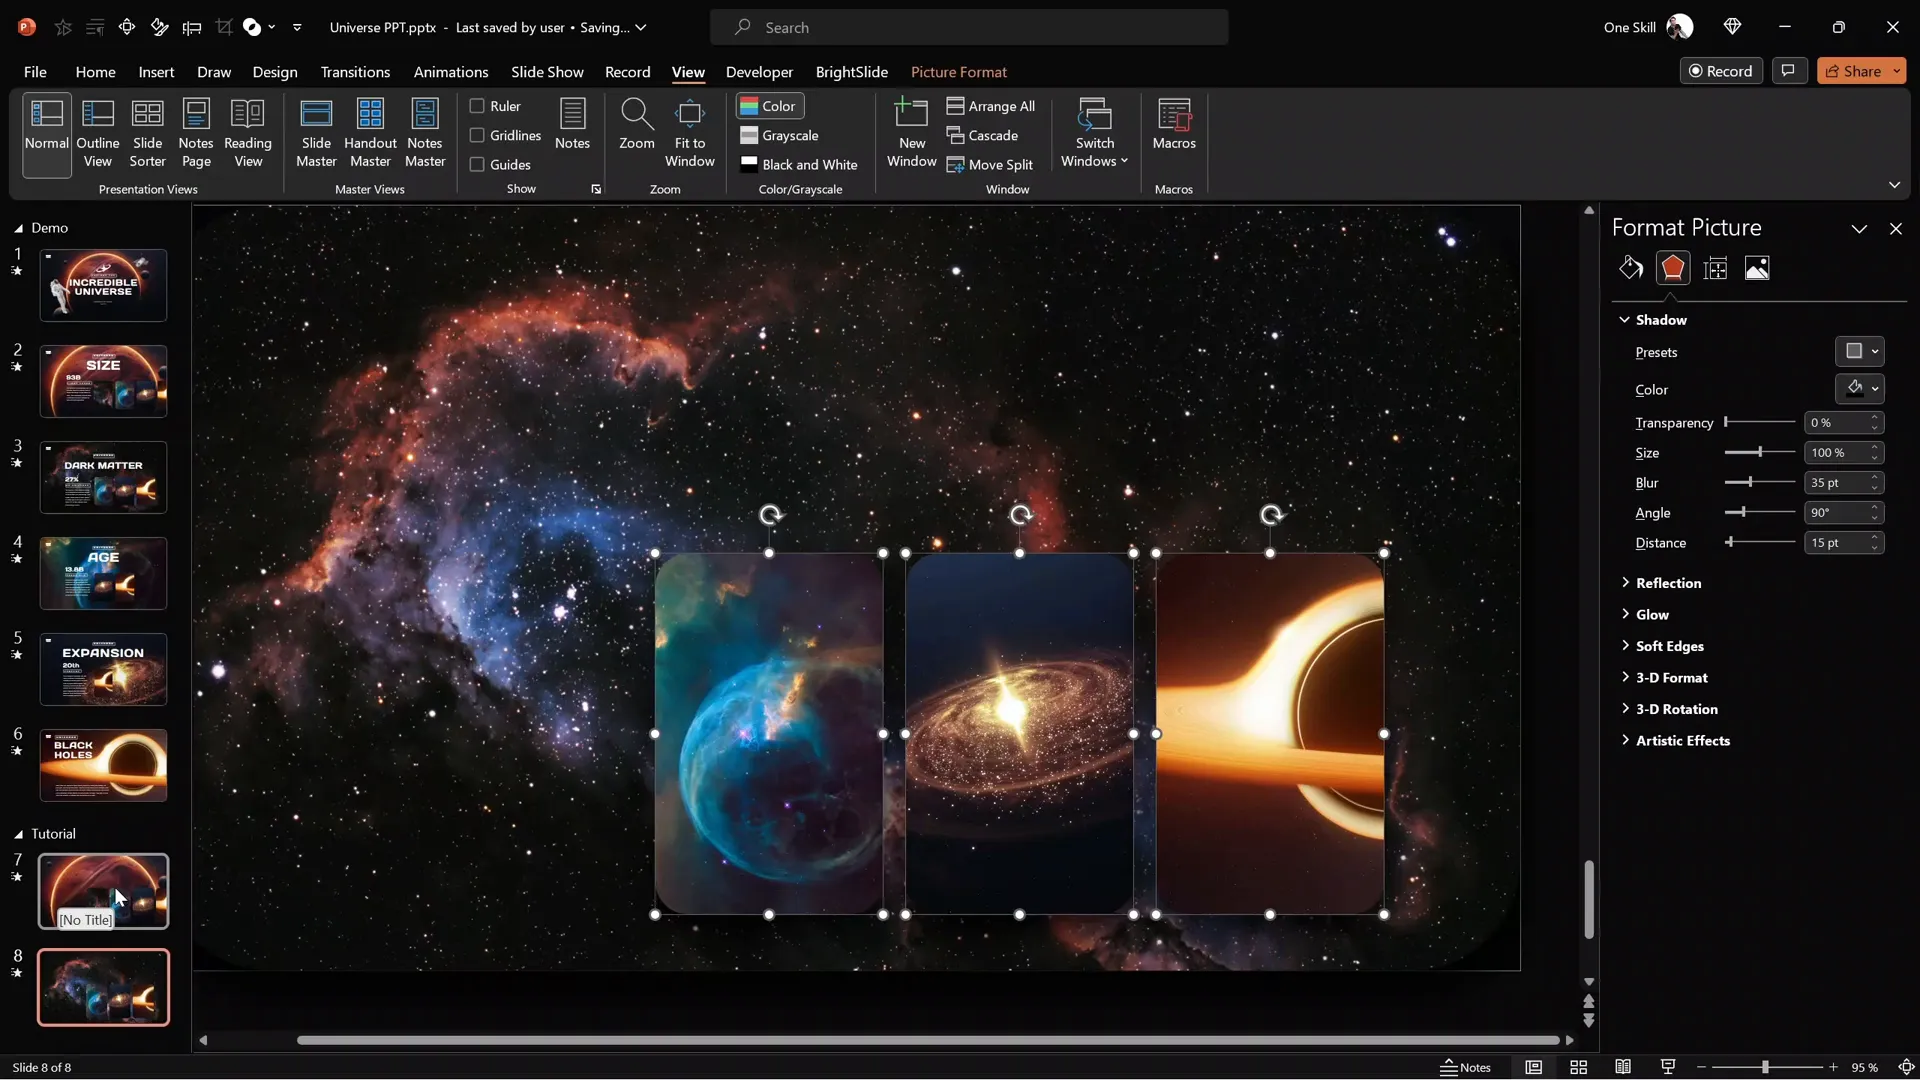
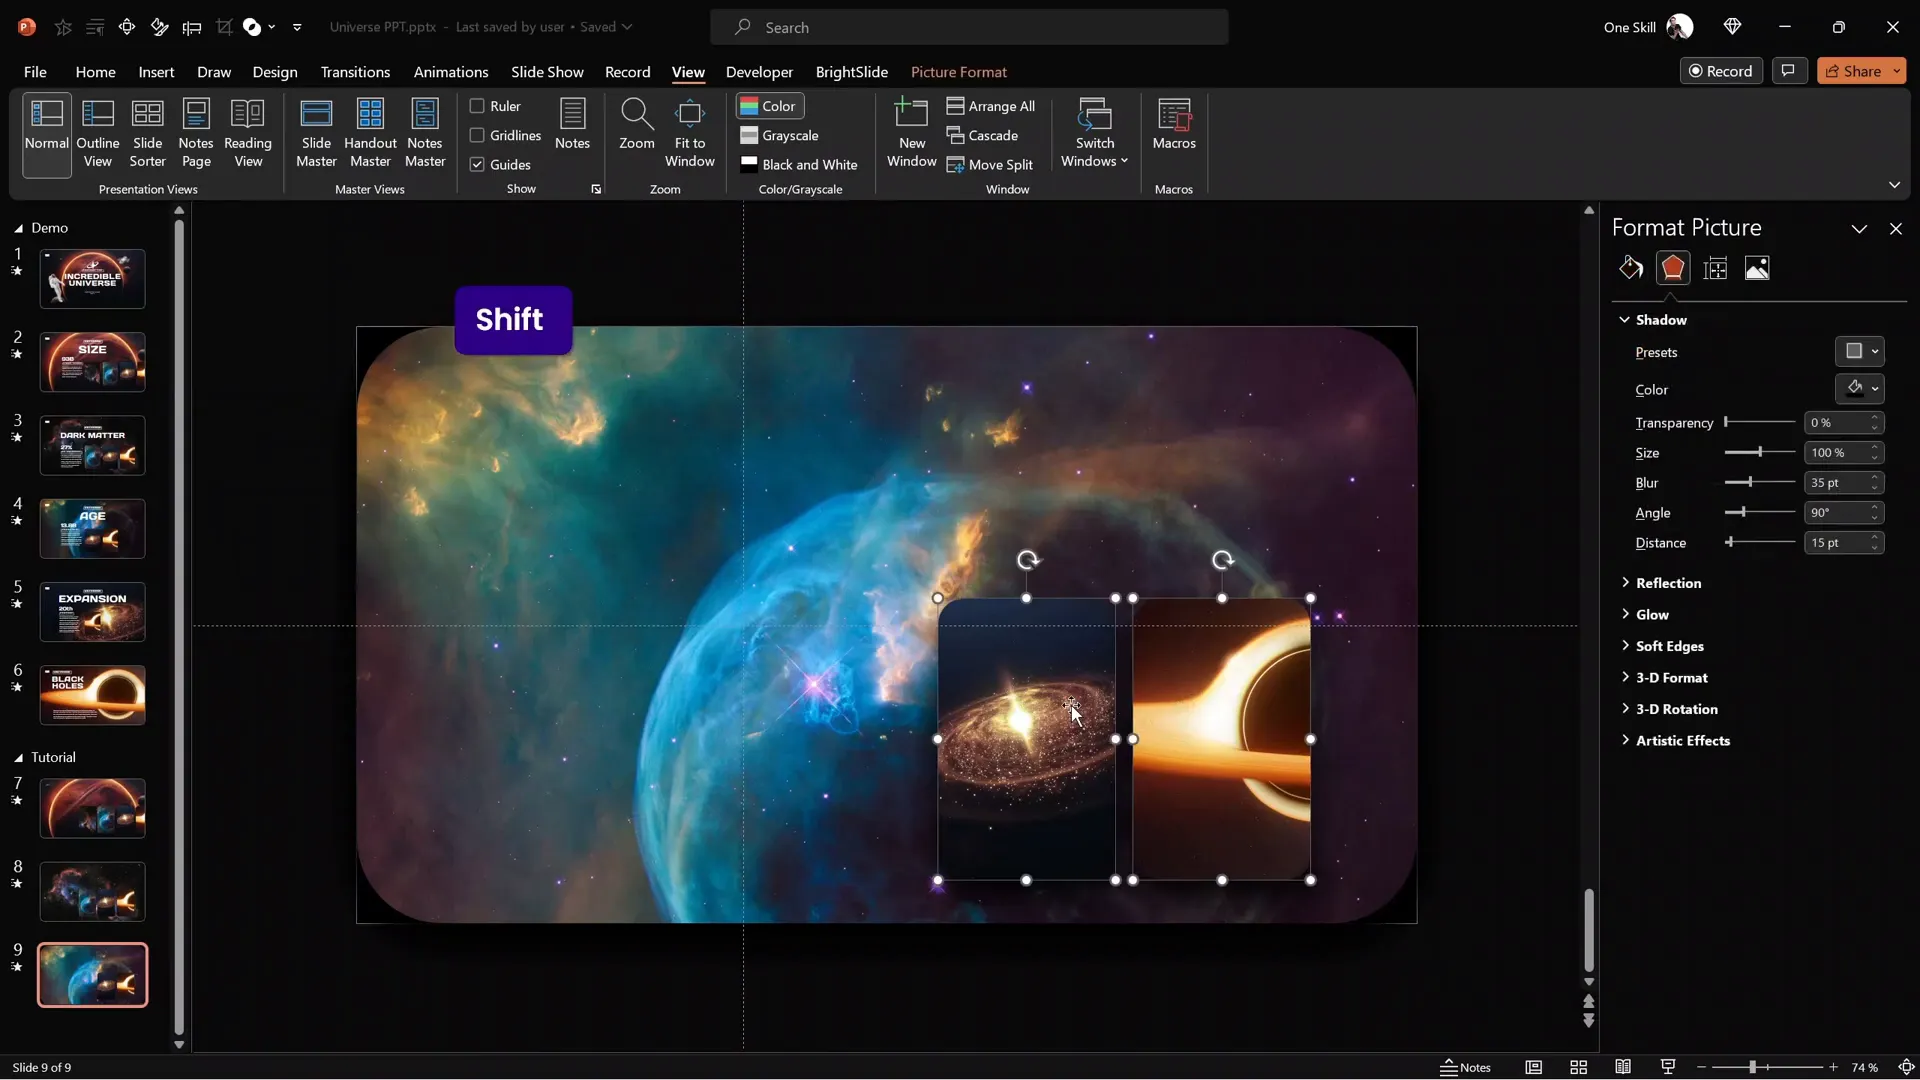
5. Adding a Shadow Effect
To make the card stand out from the background, add a subtle shadow:
- Select the photo card.
- Go to Picture Effects and choose Shadow.
- Apply a soft shadow to add depth.
This small detail enhances the card’s visual appeal and gives a slight 3D effect.
6. Duplicating the Slide for Animation
Now that your first slide with the photo card is ready, duplicate the slide to create the next frame for the animation:
- Right-click the slide in the slide sorter pane.
- Select Duplicate Slide.
On the duplicated slide, you will modify the photo card to expand it to full screen.
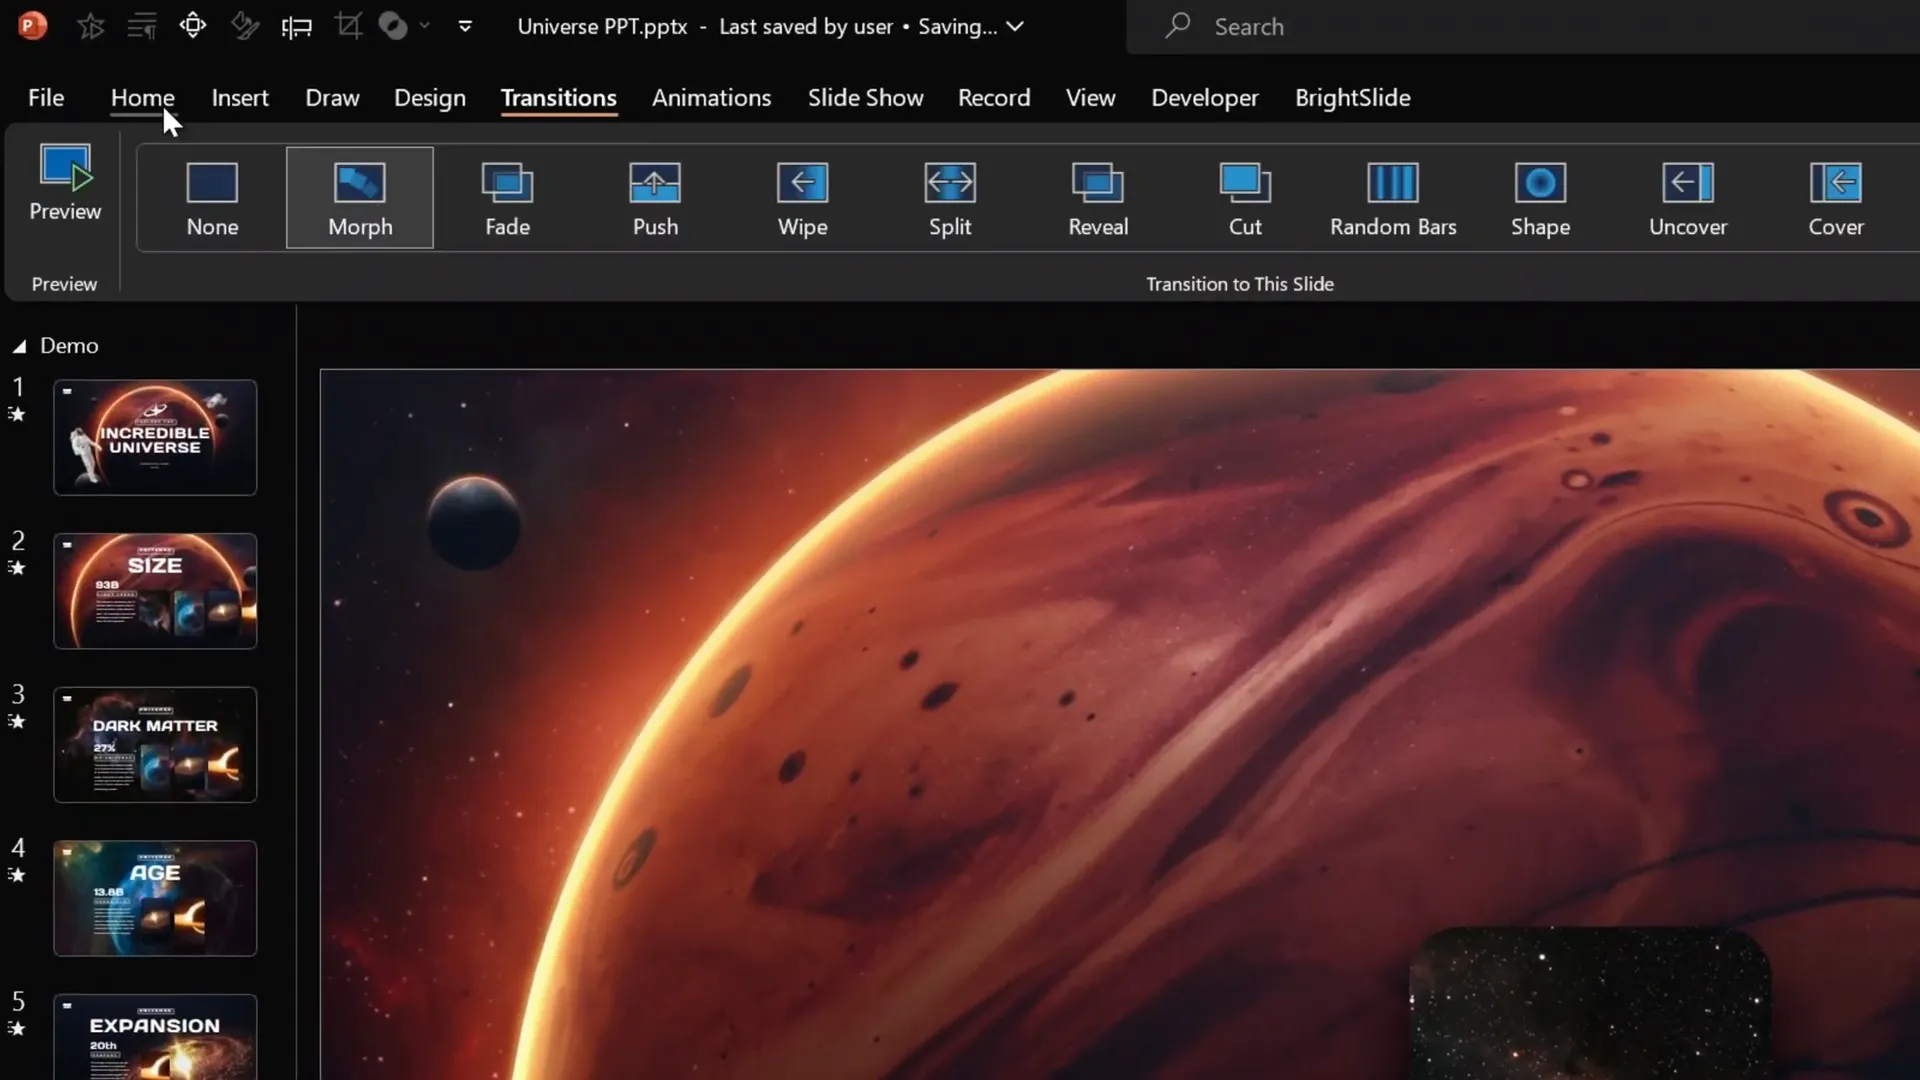
7. Applying the Morph Transition
Go to the Transitions tab and select Morph. This transition will animate changes between the two slides.
Make sure Morph is applied on the duplicated slide, as it animates from the previous slide to this one.
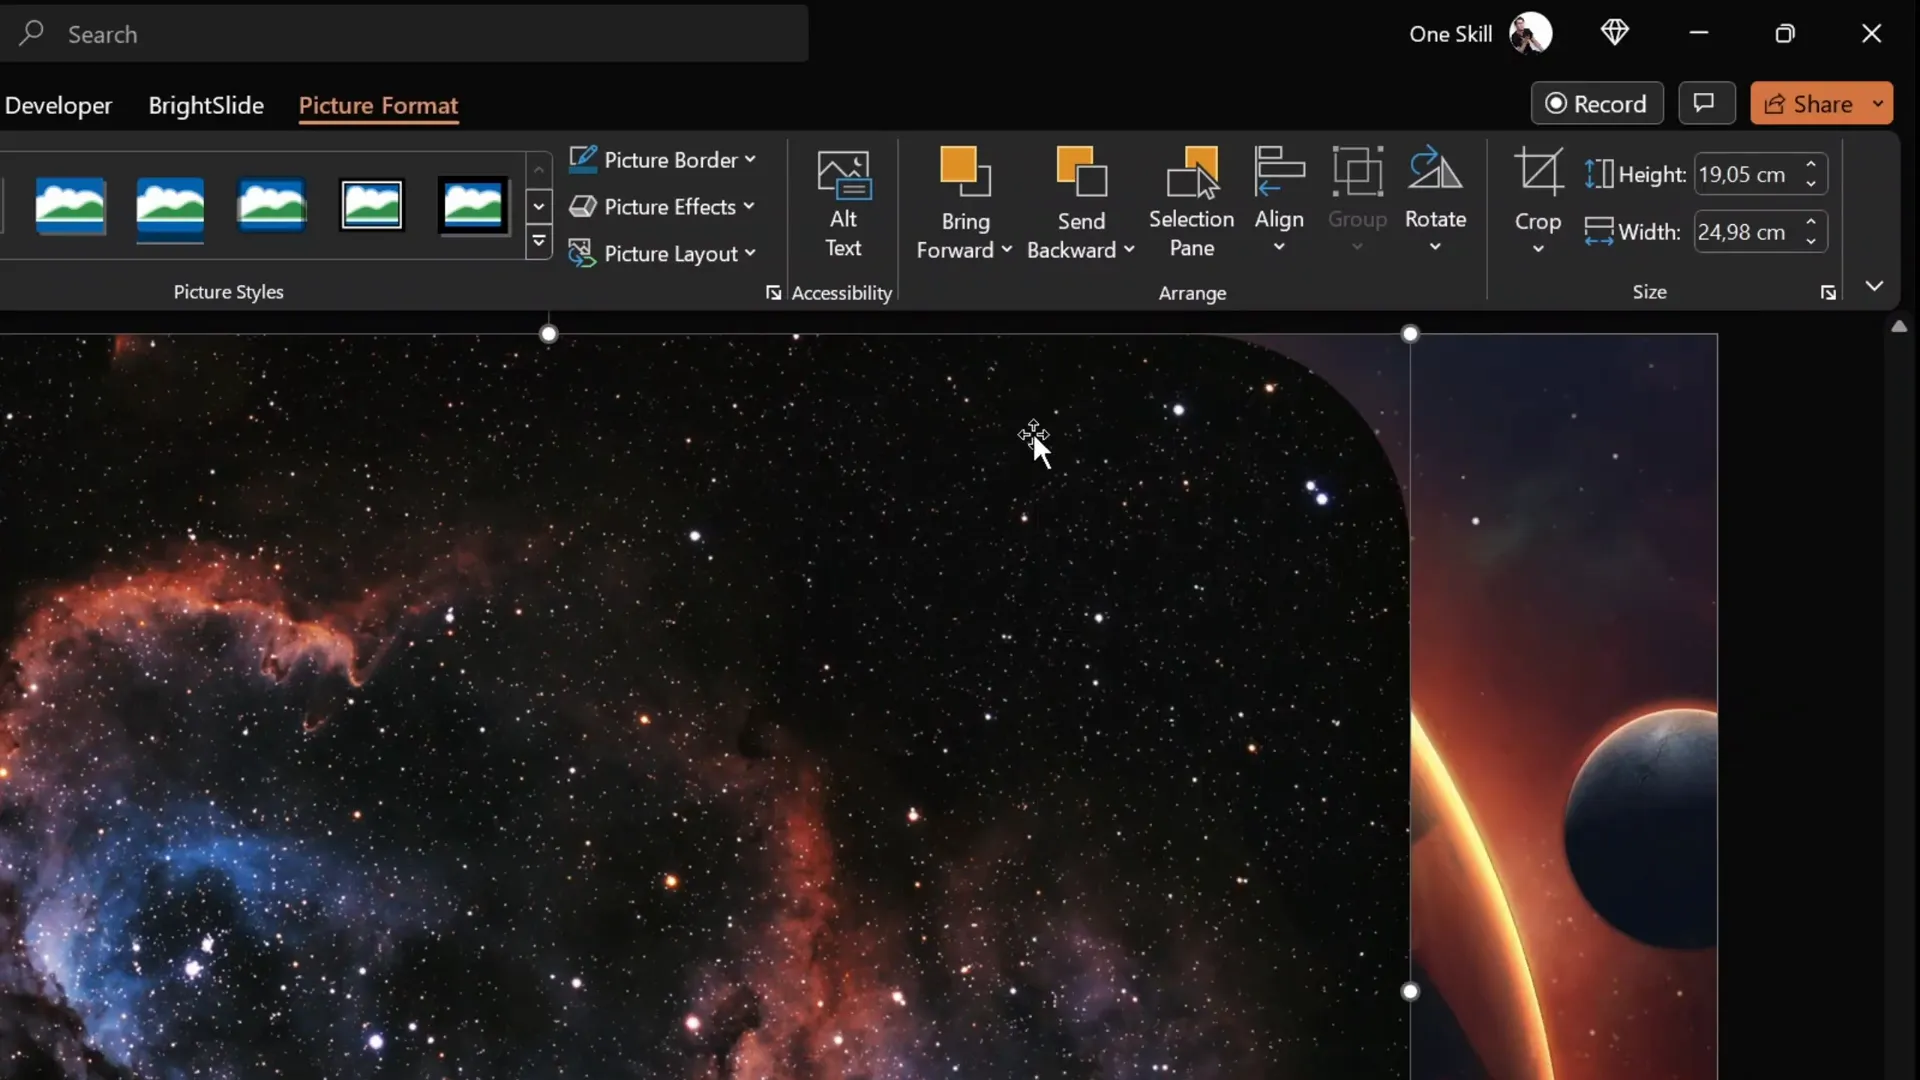
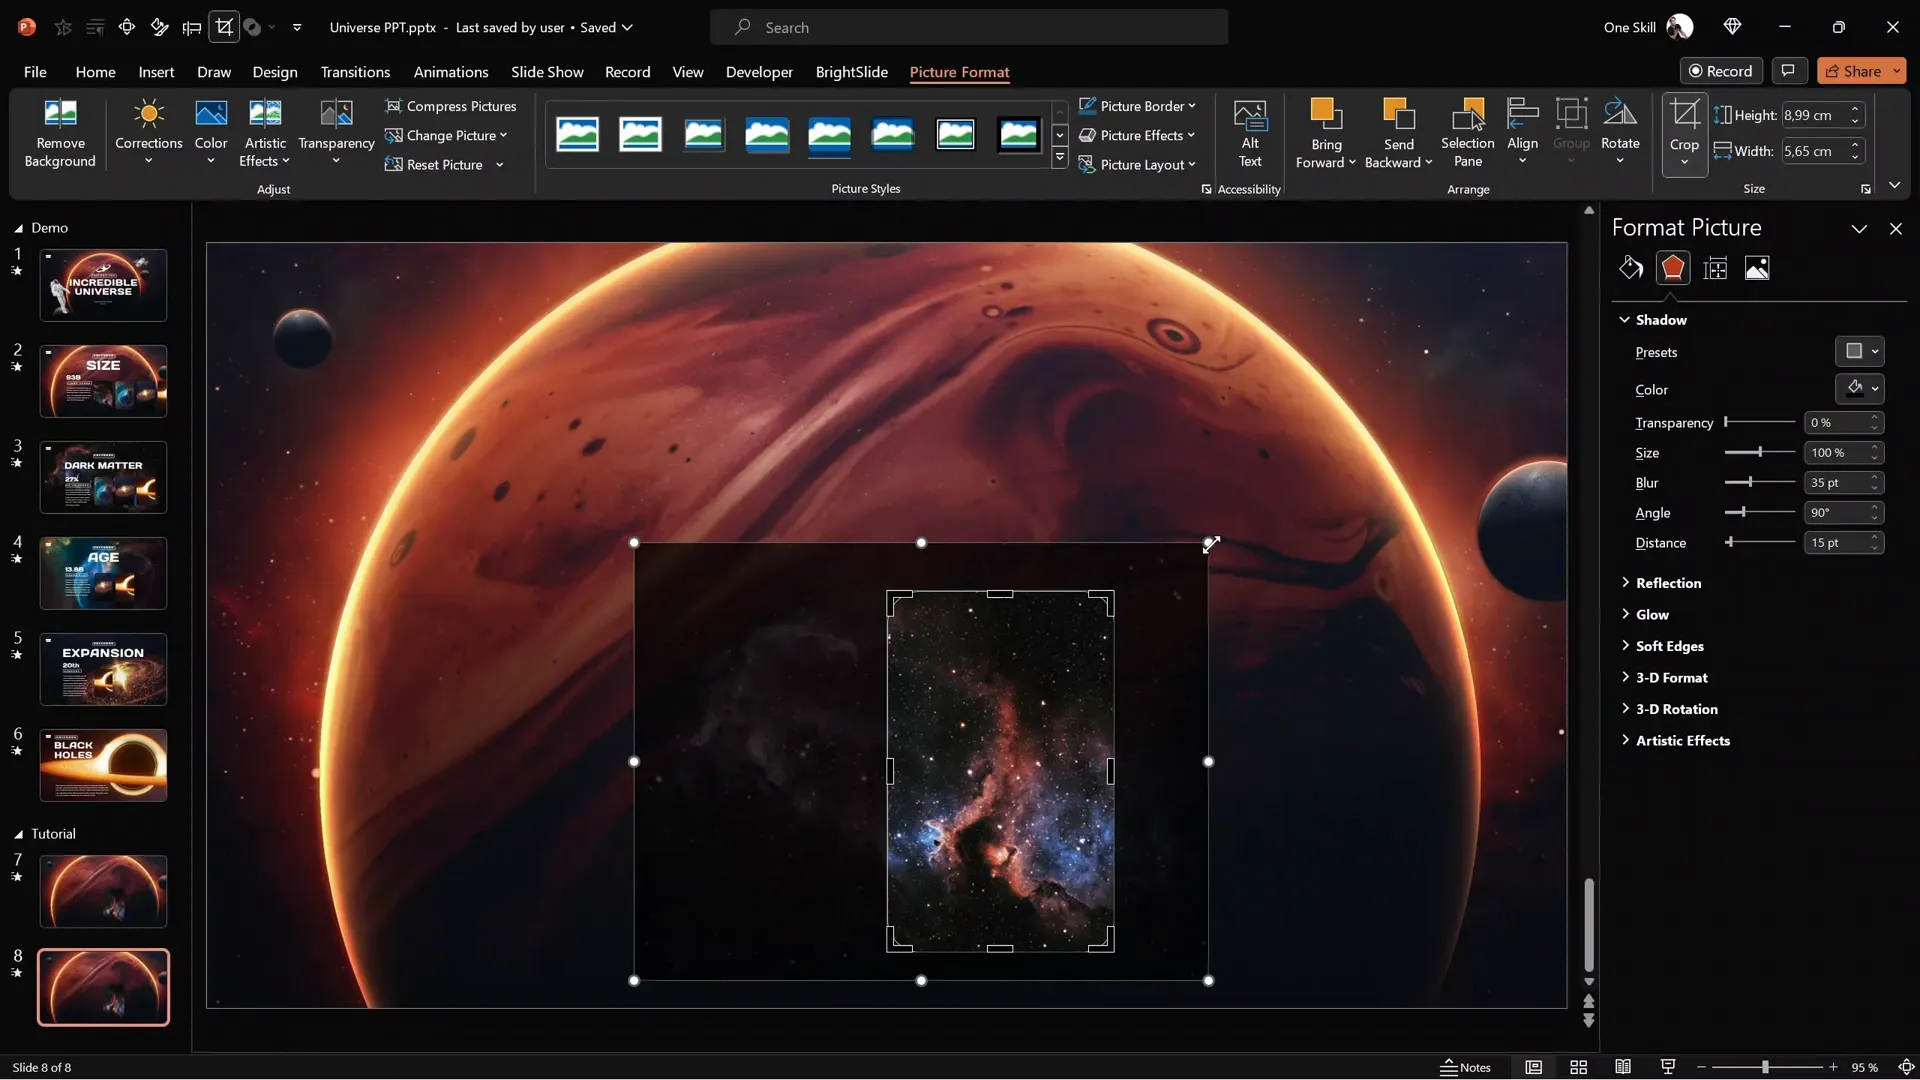
8. Expanding the Photo Card to Full Screen
On the second slide, select the photo card and click Crop. Use the white handles to resize the photo so it covers the entire slide width. Then, grab the black crop handles to expand the cropping area to the full slide size, both height and width.
Adjust the photo position within the crop area to ensure the most important part is centered.
Click outside the crop area to apply changes.
9. Previewing the Animation
Go into Slide Show mode and transition from the first slide to the second. Watch as the small photo card smoothly expands to fill the entire screen.

This cinematic effect is both professional and engaging, perfect for highlighting images in your presentation.

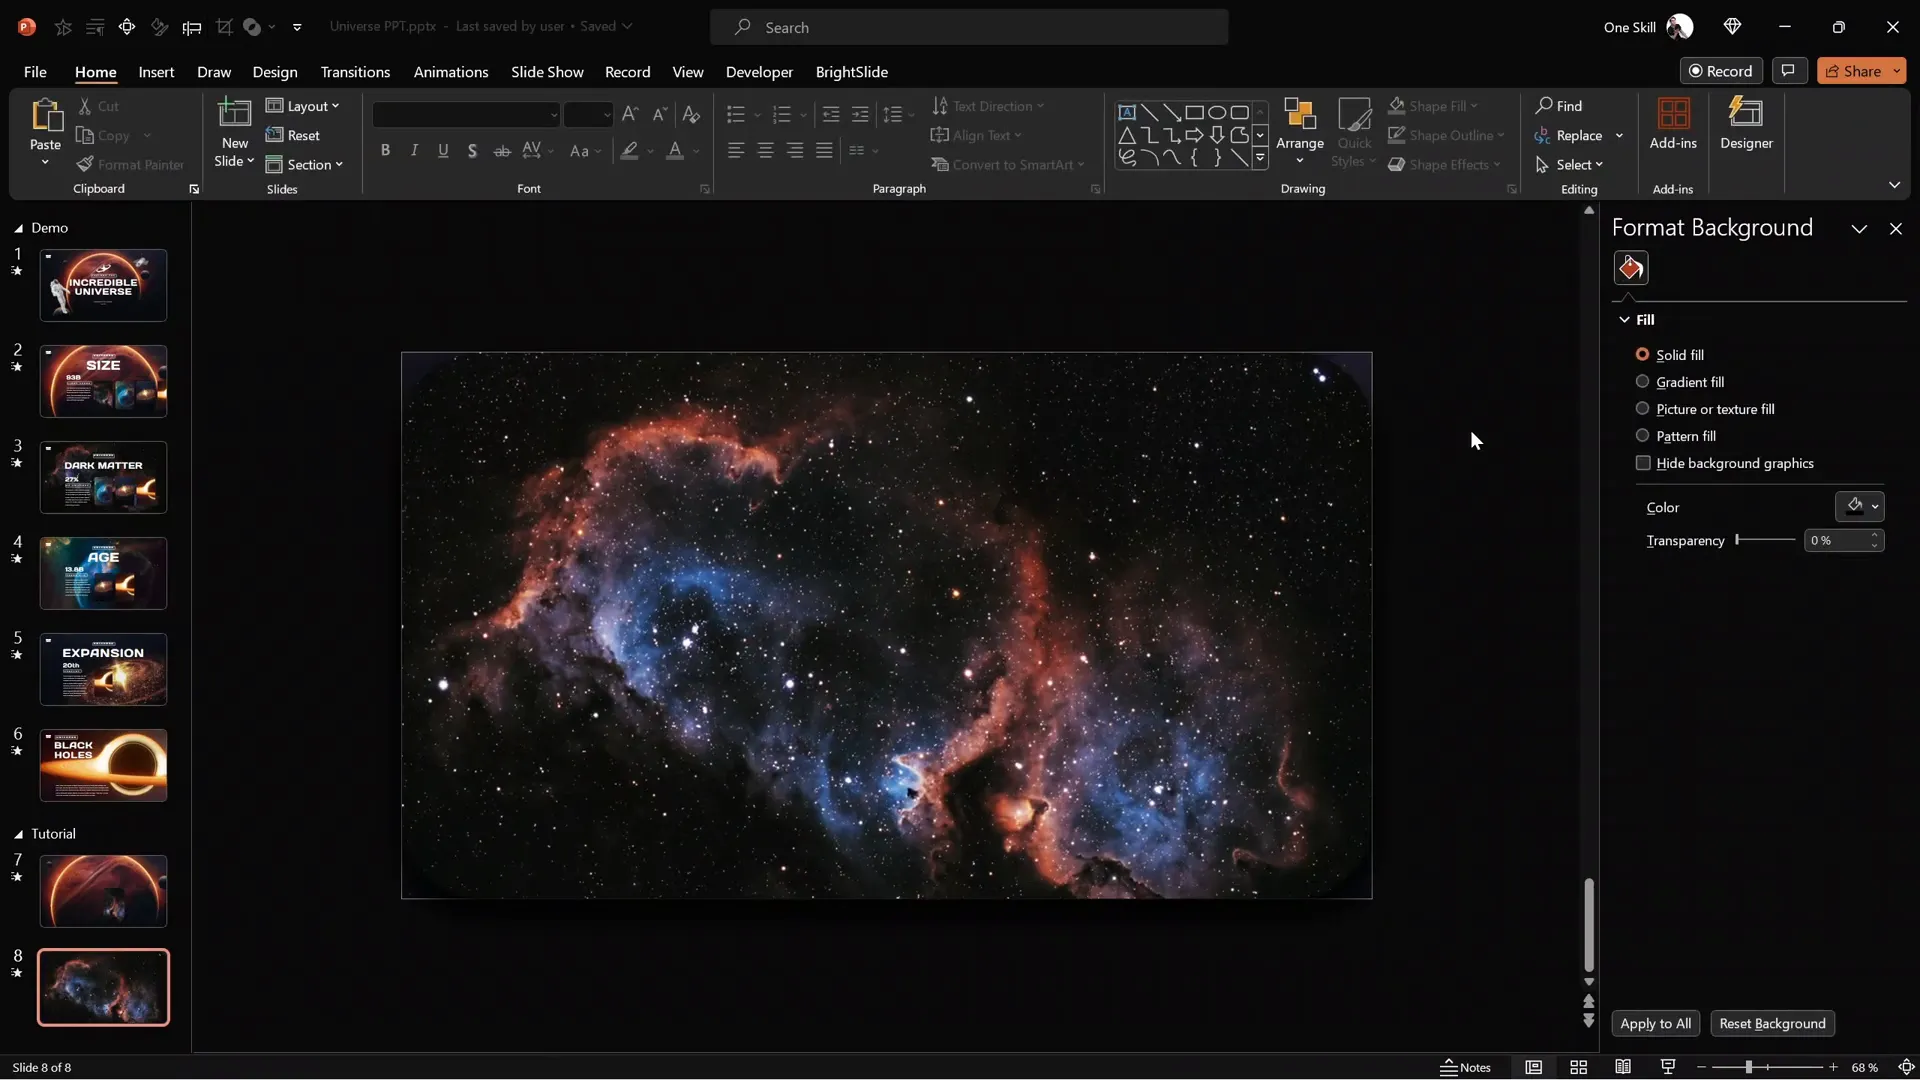
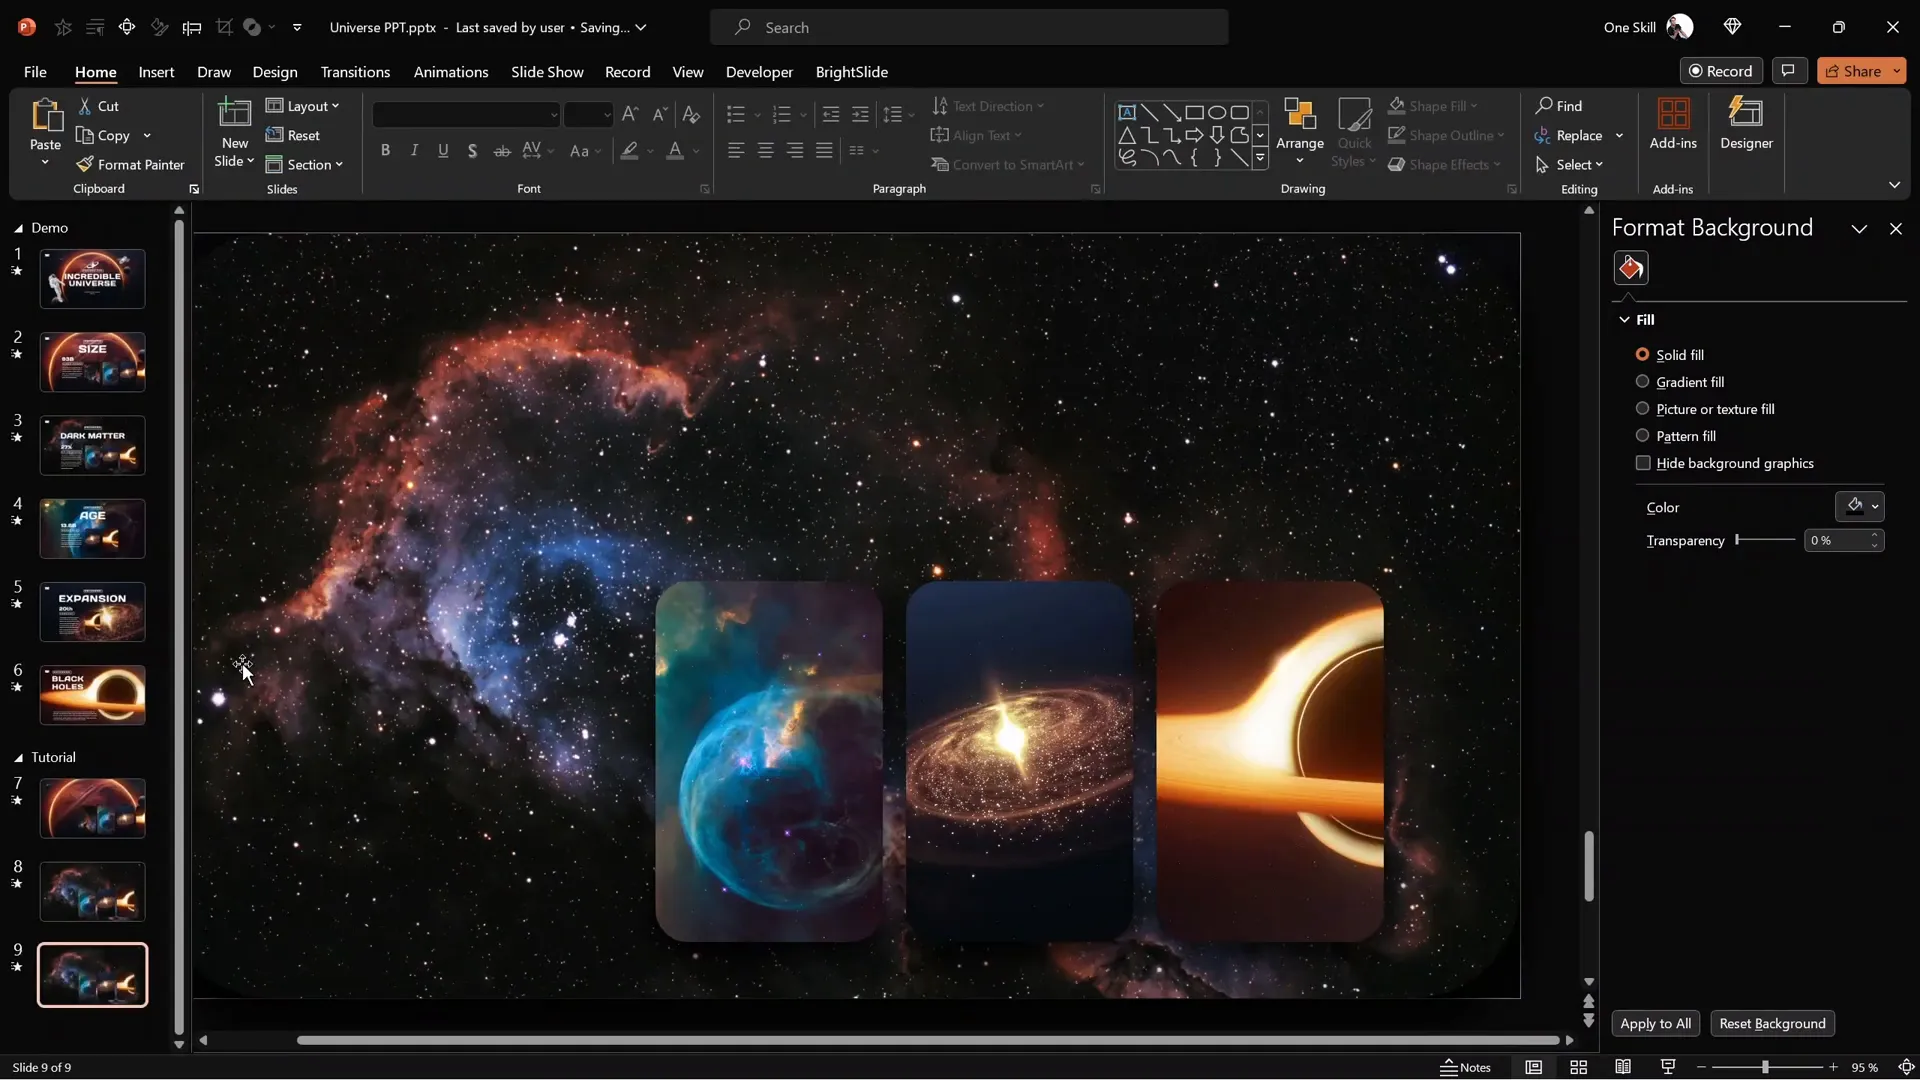
10. Enhancing the Cinematic Look
To add more drama, darken the background photo on the second slide:
- Select the background photo.
- Adjust the brightness setting to around -60%.
This makes the expanded photo pop even more and adds depth to the slide.
11. Creating Multiple Photo Cards
You can create several photo cards on your slide to showcase multiple images. Use Ctrl + Shift to duplicate your first card and drag the copies in a straight line.
Change the photos inside each card to diversify your content.
12. Using Guides for Precise Alignment
Activate light guides in PowerPoint to help align your cards perfectly. Move a vertical guide to the left edge of the first card; this will be a reference point for positioning cards on subsequent slides.
13. Preparing the Second Slide with Multiple Cards
Copy all the photo cards and paste them onto the second slide. Since the first card will be expanded to full screen on this slide, delete the original background photo and the first card thumbnail.
Move the remaining cards so their left edges align with the vertical guide you set earlier.
14. Viewing the Multi-Card Animation
Preview the transition from the first slide to the second. Notice how the first card expands to full screen, while the other cards move smoothly into its original position. This creates a dynamic, engaging effect that looks polished and professional.
15. Extending the Animation to Additional Slides
Repeat the same steps to create additional slides where other cards expand in turn. Remember to delete unnecessary background images on subsequent slides and replace them with the expanded photo as the new background. Darken the background again to maintain the cinematic look.
Putting It All Together: The Final Presentation
Once you’ve built multiple slides with these animated photo cards, you have a dynamic and visually impressive presentation. The Morph transition handles all the animation smoothly, and the consistent use of shadows, rounded corners, and darkened backgrounds creates a cohesive style.
Here’s a quick recap of the workflow:
- Create a slide with multiple photo cards.
- Duplicate the slide.
- On the duplicated slide, expand the selected card to full screen using cropping tools.
- Adjust the background photo’s brightness for cinematic effect.
- Align remaining cards using guides.
- Apply Morph transition.
- Repeat for each card/photo you want to expand.

How to Get the Free Template
To help you get started quickly, I offer a free PowerPoint template featuring this animated slide design. Here’s how to access it:
- Visit pptskill.com.
- Sign up for the free PowerPoint Animation Mastery lessons—you can use your Google account for easy registration.
- Navigate to the Morph Animation section.
- Download the lesson called “Bonus Slides Universe Template.”
- Make sure to install all required fonts to ensure the template looks as intended.
This template will save you time and help you understand how to implement these techniques in your own work.
Additional Resources
- Fonts Used: Days One, Darker Grotesque
- Photos:
- Music: Music Source
Frequently Asked Questions (FAQ)
What version of PowerPoint do I need to use the Morph transition?
The Morph transition is available in PowerPoint 2019, PowerPoint for Microsoft 365, and PowerPoint 2021. Make sure your version supports Morph to use these animation techniques.
Can I use my own photos for the expandable cards?
Absolutely! You can replace the photos in the cards with any images you like. Just make sure they are high quality and fit well within the card’s shape.
How do I adjust the roundness of the photo card corners?
After cropping your photo to a rounded rectangle, use the yellow handle on the crop tool to adjust the roundness to your preference.
Is the Morph transition compatible with older PowerPoint versions?
No, Morph is not available in versions prior to PowerPoint 2019. If you have an older version, consider upgrading or exploring alternative animation methods.
Can I customize the animation speed?
Yes, you can adjust the duration of the Morph transition in the Transitions tab by changing the timing settings.
How do I add shadows to my photo cards?
Select the photo card, go to the Picture Effects menu, and choose Shadow. Experiment with different shadow presets for the best effect.
Where can I find the free template mentioned?
Visit pptskill.com, sign up for the free PowerPoint Animation Mastery lessons, and download the “Bonus Slides Universe Template” from the Morph animation section.
Final Thoughts
Creating dynamic, animated slides in PowerPoint is easier than you might think. By mastering the Morph transition and combining it with smart photo cropping and layering, you can produce presentations that look professional and engaging.
These animated expandable photo cards not only add visual interest but also help you present multiple images compactly and stylishly. Whether you’re presenting in a business meeting, a conference, or a classroom, these techniques will help you stand out.
Remember, practice makes perfect. Experiment with different images, shapes, and transition timings to develop your unique style. And don’t forget to download the free template to jumpstart your creative process.
Stay curious, keep creating, and make your next presentation a visual masterpiece!
Check out the full video: Create DYNAMIC Animated PowerPoint Slides Like a PRO! 🔥


