PowerPoint morph is one of the most powerful animation tools available in Microsoft PowerPoint, allowing you to create smooth, dynamic transitions and interactive slide designs that captivate your audience. In this tutorial, we’ll dive deep into how to build an impressive interactive morph animated slide design using PowerPoint, inspired by the sleek interface of Filmora 14’s website. Plus, you’ll get access to a free template so you can start creating your own professional presentations right away.
Whether you’re a PowerPoint beginner or an experienced user looking to level up your slide design skills, this step-by-step guide covers everything from setting up your slide background, working with fonts and shapes, to adding clickable buttons that navigate through your presentation with morph transitions. Along the way, you’ll also discover how Filmora’s AI-powered video editor can help you convert audio files to engaging videos — a handy tip if you want to combine multimedia in your presentations.
Let’s get started mastering PowerPoint morph to create stunning, interactive presentations that keep your audience engaged.
Table of Contents
- Exploring Filmora 14’s AI Audio to Video Feature
- Setting Up the Slide Background and Basic Layout
- Choosing Fonts and Adding Text Effects
- Designing Interactive Buttons with Icons
- Creating a Masked Background Image for Photos
- Arranging and Grouping Photos for Scrolling
- Adding a Glowing Outline Around the Mask
- Making Buttons Clickable with Hyperlinks
- Duplicating Slides and Applying Morph Transitions
- Final Testing and Tips for Your Interactive Morph Slide
- Frequently Asked Questions (FAQ)
Exploring Filmora 14’s AI Audio to Video Feature
Before diving into PowerPoint, the tutorial introduces an exciting AI-powered feature from Filmora 14, a popular video editor. Filmora recently added an AI Audio to Video tool that allows you to quickly convert audio files into engaging videos. This is especially useful if you’re a podcaster, storyteller, or content creator who wants to add visual elements to audio clips without spending hours in video editing.
Here’s how you can use Filmora’s AI Audio to Video:
- Open Filmora and locate the Audio to Video button, either directly or under the toolbox menu.
- Upload an audio file, ranging from as short as 10 seconds to as long as 120 minutes. You can even upload audio directly from your YouTube account.
- Choose the language of the audio (e.g., English, United States).
- Select the type of content (e.g., history) and video aspect ratio (e.g., 16:9).
- Pick a video style such as flat illustration or watercolor sketch, or leave it on auto to see what is generated.
- Choose a material template that controls how captions and transitions appear.
- Click generate and preview your video.
This tool automatically creates a visually appealing video from your audio, complete with captions and thematic visuals. You can export the video immediately or continue editing clips and transitions within Filmora.
If you want to try Filmora 14 for yourself, check the link in the video description for a free start.
Setting Up the Slide Background and Basic Layout
Now, let’s jump back into PowerPoint and start designing the interactive morph slide.
The first step is setting up your slide background and layout:
- Background color: Set your slide background color to black for a sleek, modern look. Right-click on the slide, choose Format Background, then select Solid fill and pick black.
- Background photo: Add a striking background image sourced from Freepik. Center this photo on your slide for maximum effect.
By combining a dark background with a vibrant photo, you create a futuristic canvas perfect for your interactive slide design.
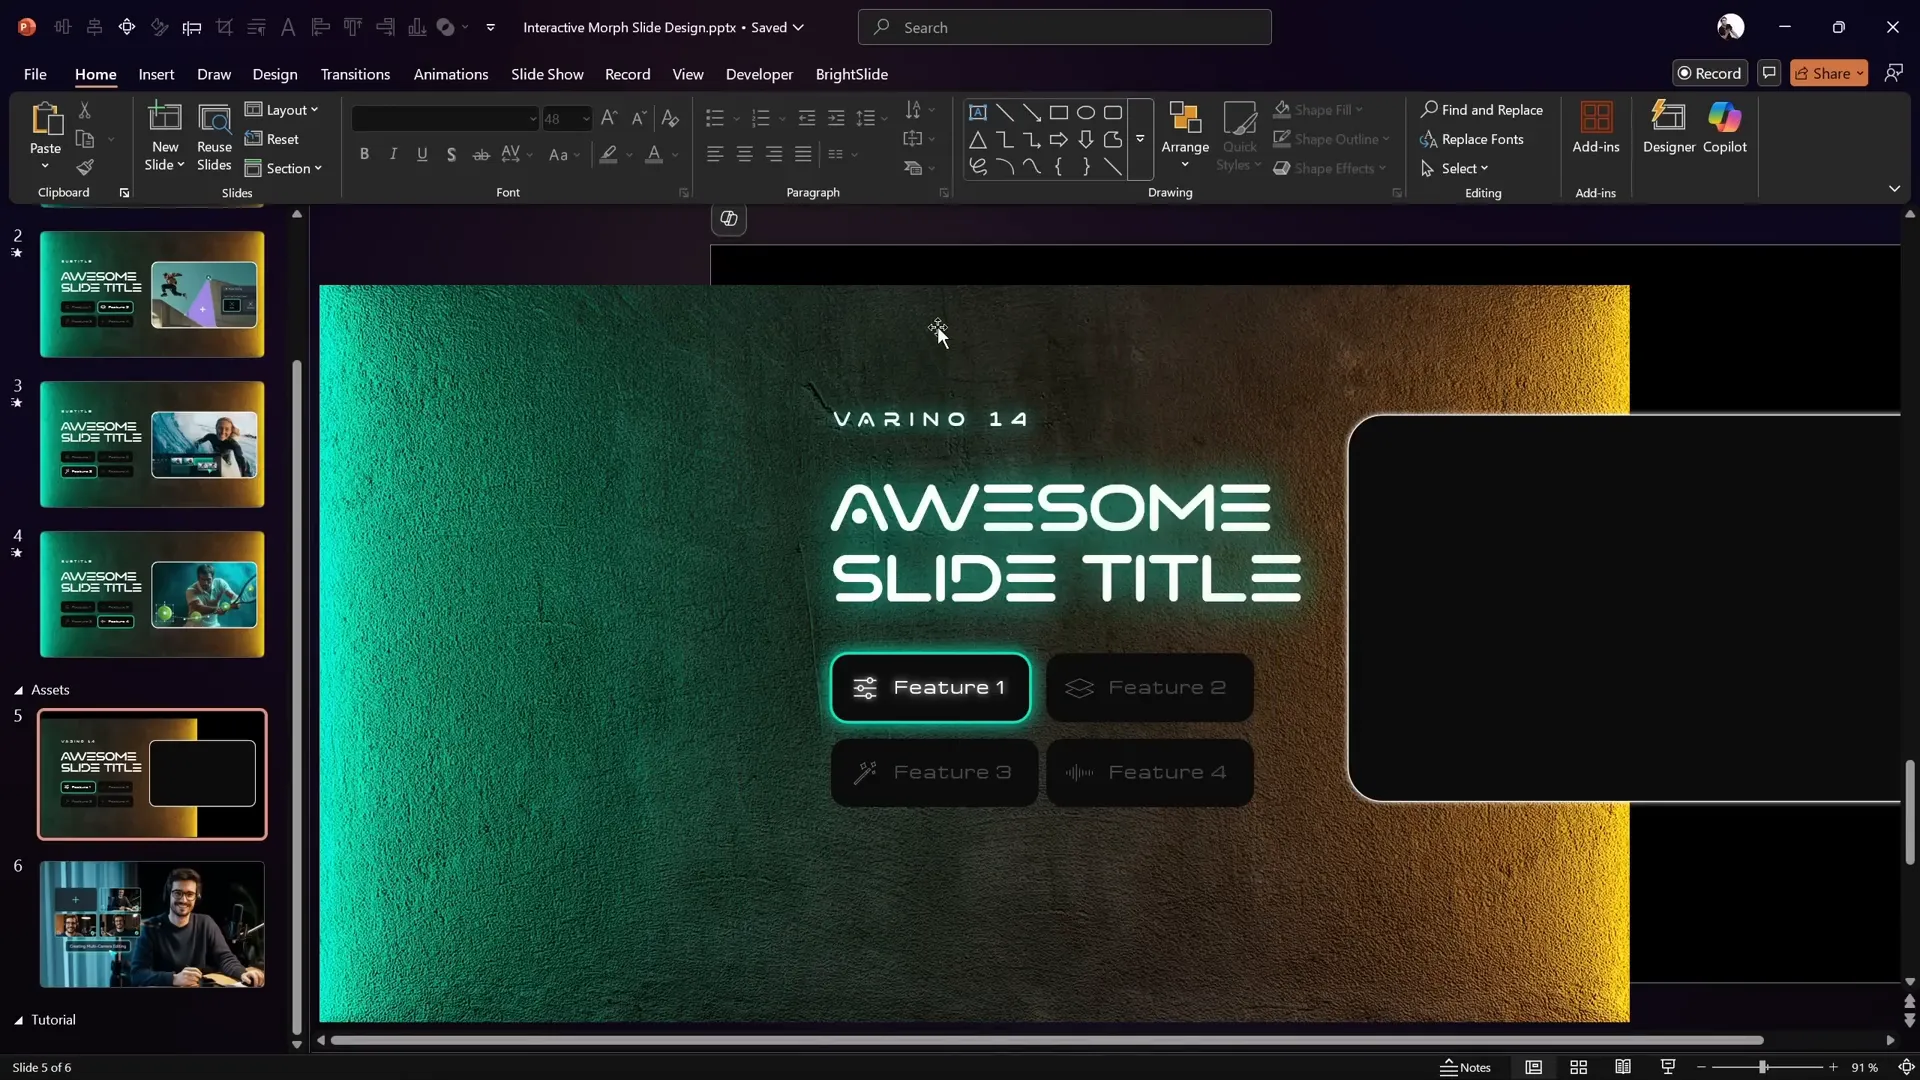
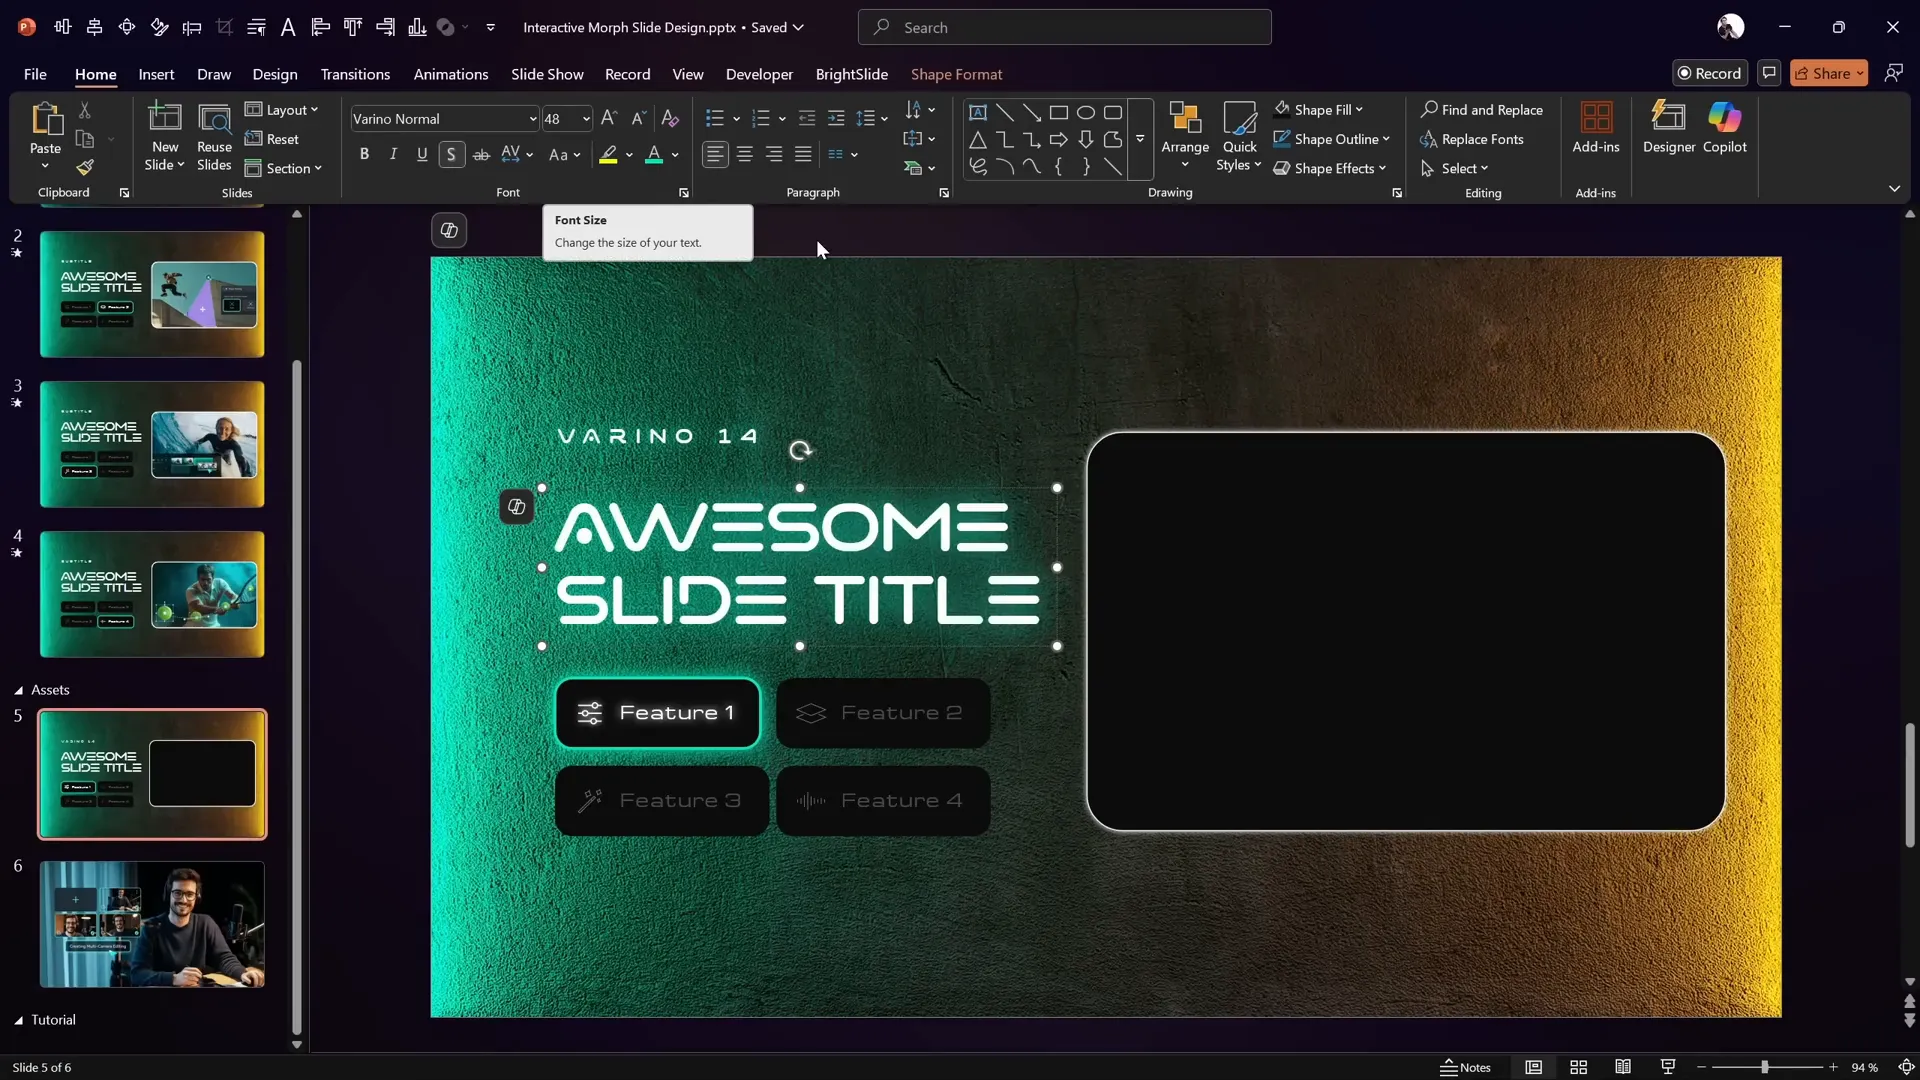
Choosing Fonts and Adding Text Effects
Next, add your slide title and subtitle using the Varino font, available for free online (link in the video description). This font adds a modern, clean look to your text.
Here are the details for text formatting:
| Text Element | Font | Font Size | Additional Styling |
|---|---|---|---|
| Subtitle | Varino | 14 pt | Loose letter spacing |
| Slide Title | Varino | 48 pt | Text shadow glow with custom greenish color |
To add a glowing shadow effect on your text:
- Right-click the text box and choose Format Shape.
- Go to Text Options and select Shadow.
- Use a greenish shadow color picked from the background image using the eyedropper tool.
- Set shadow transparency to 0%, size to 100%, and blur to 45 points.
This gives your text a subtle glowing effect that complements the neon background.
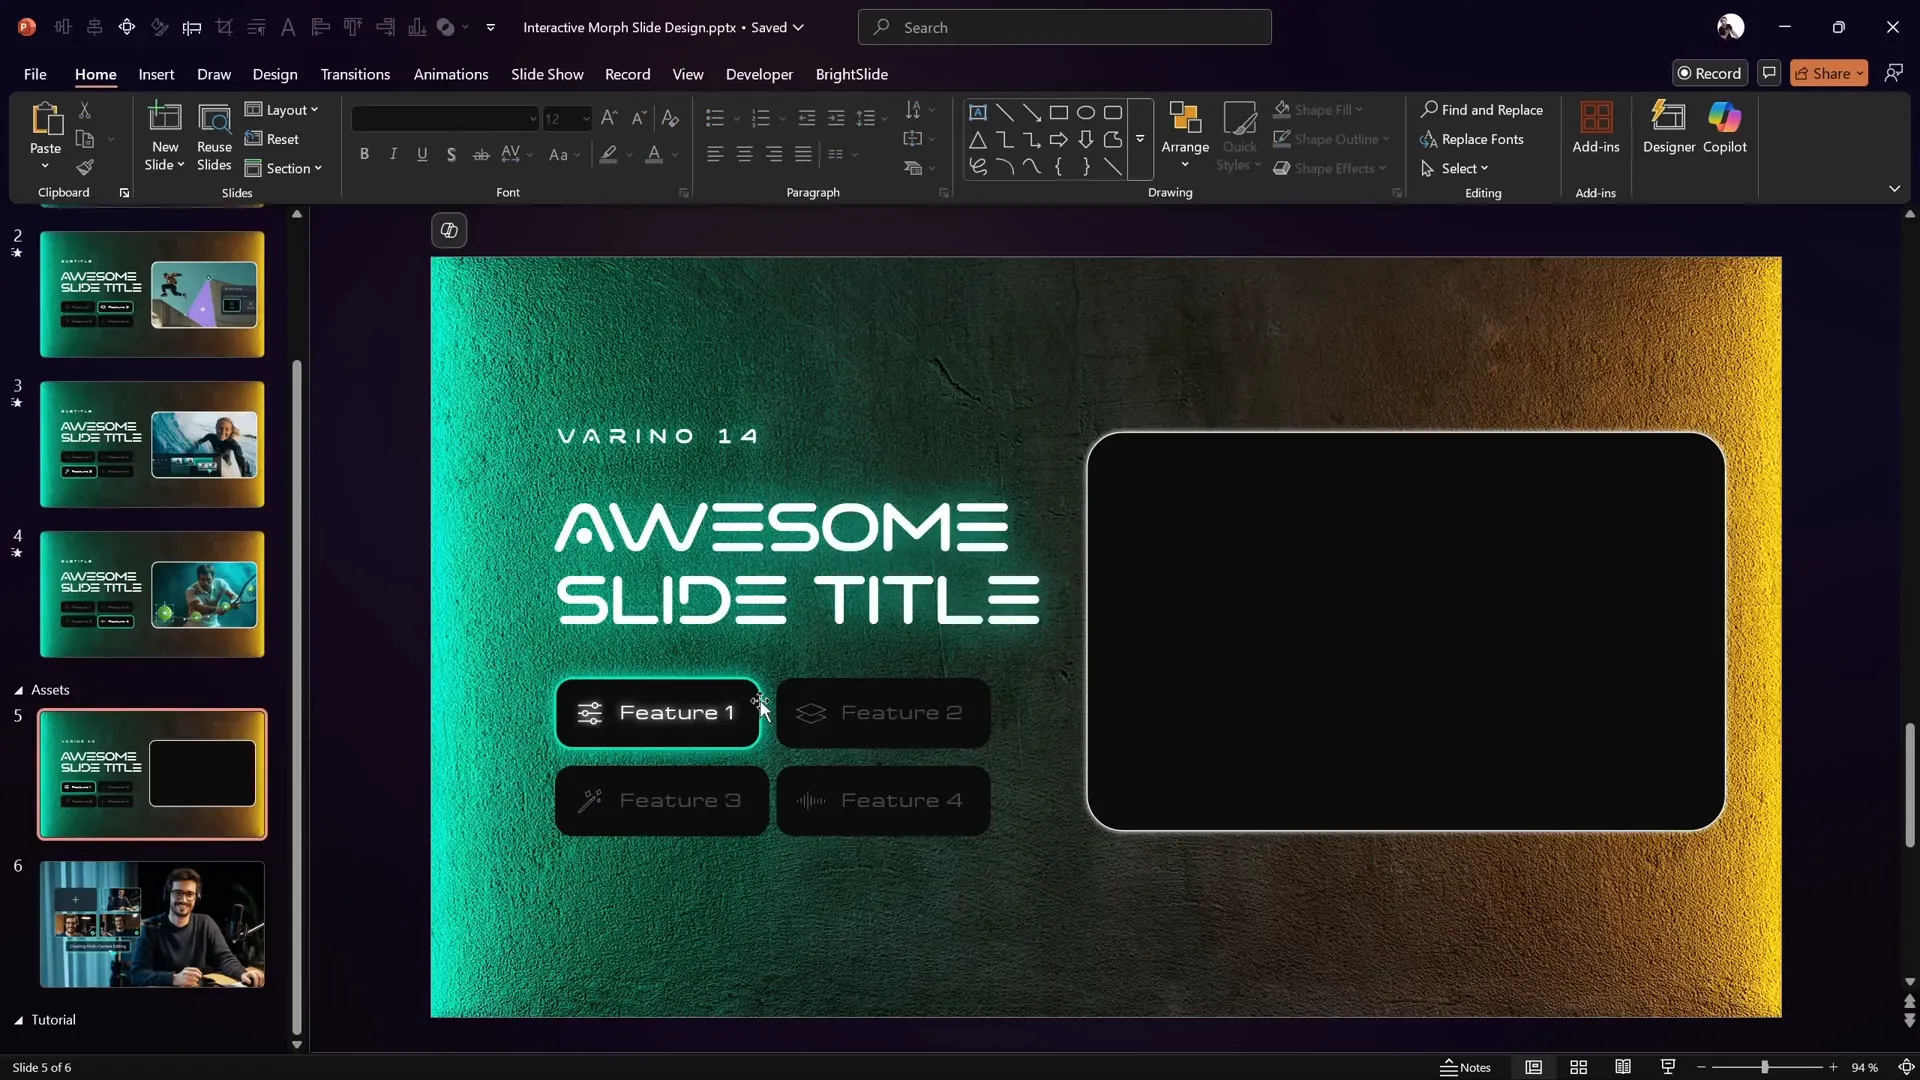
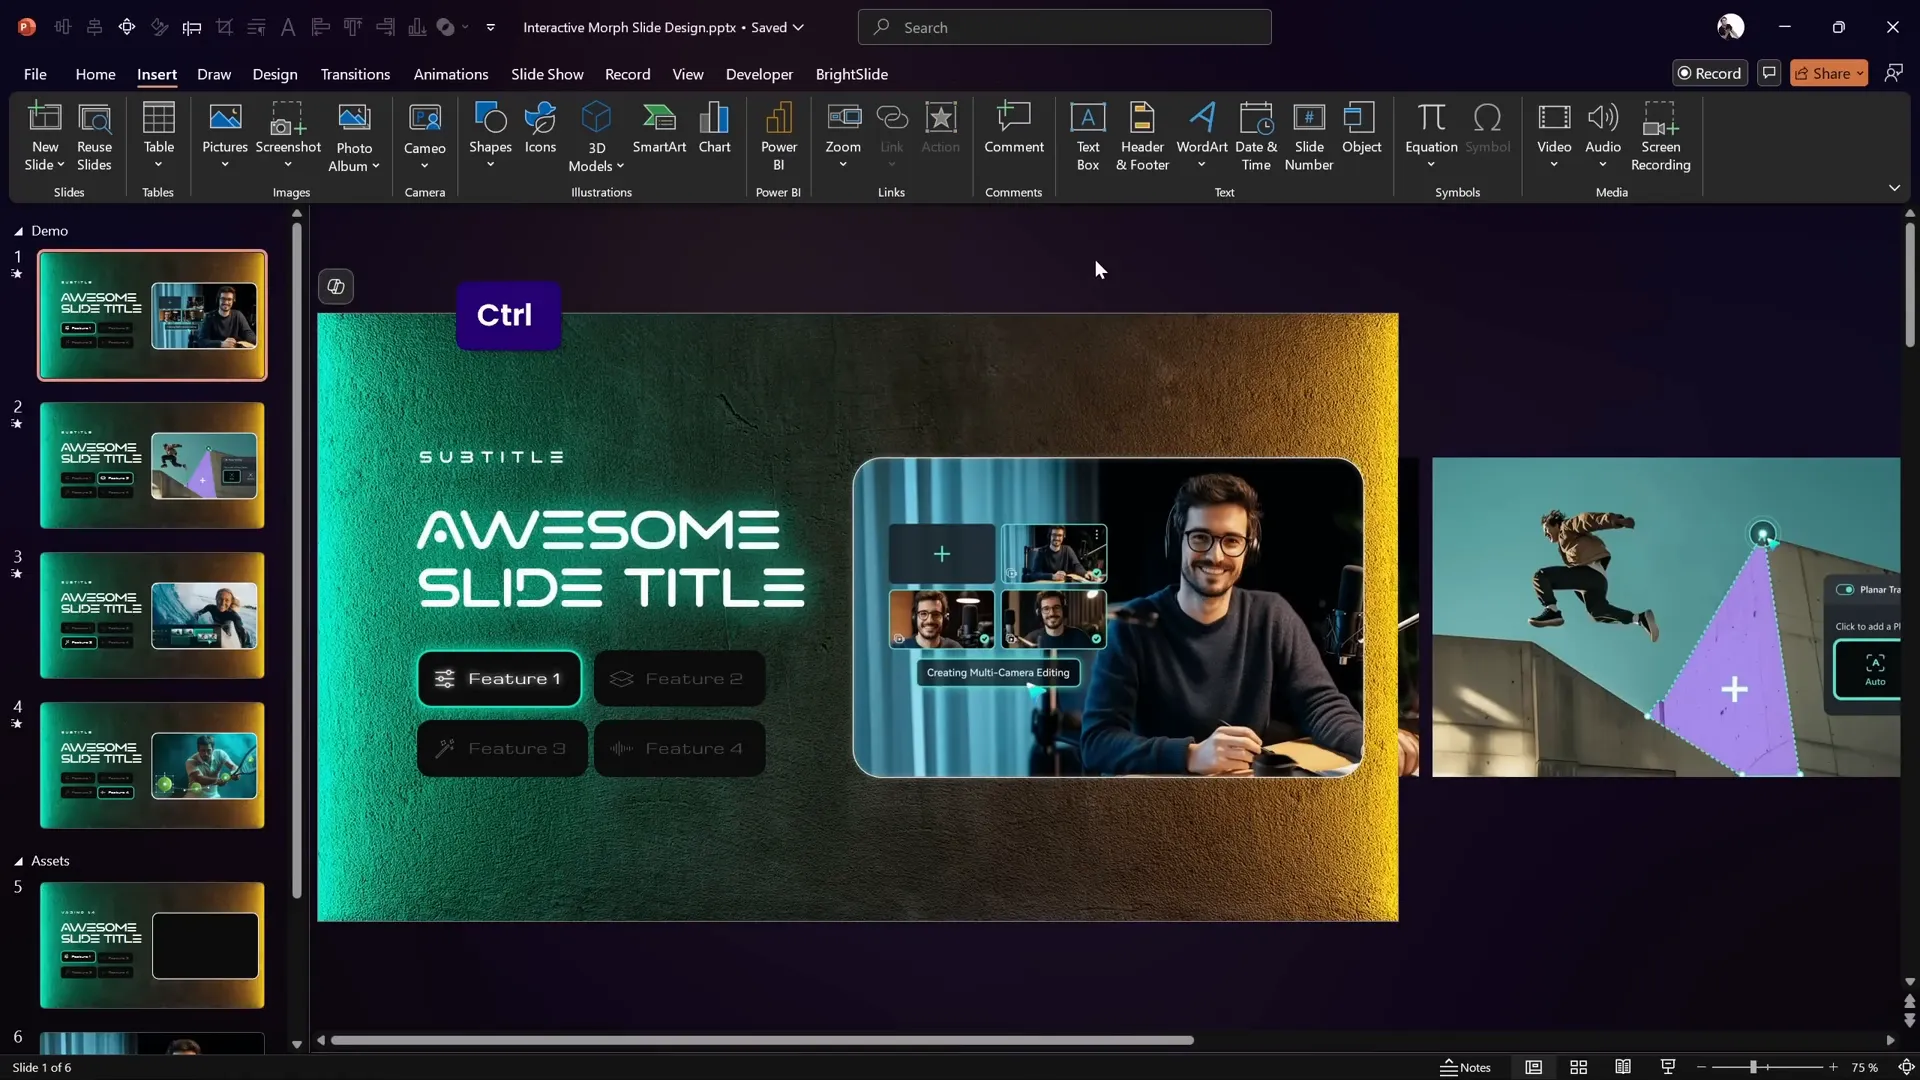
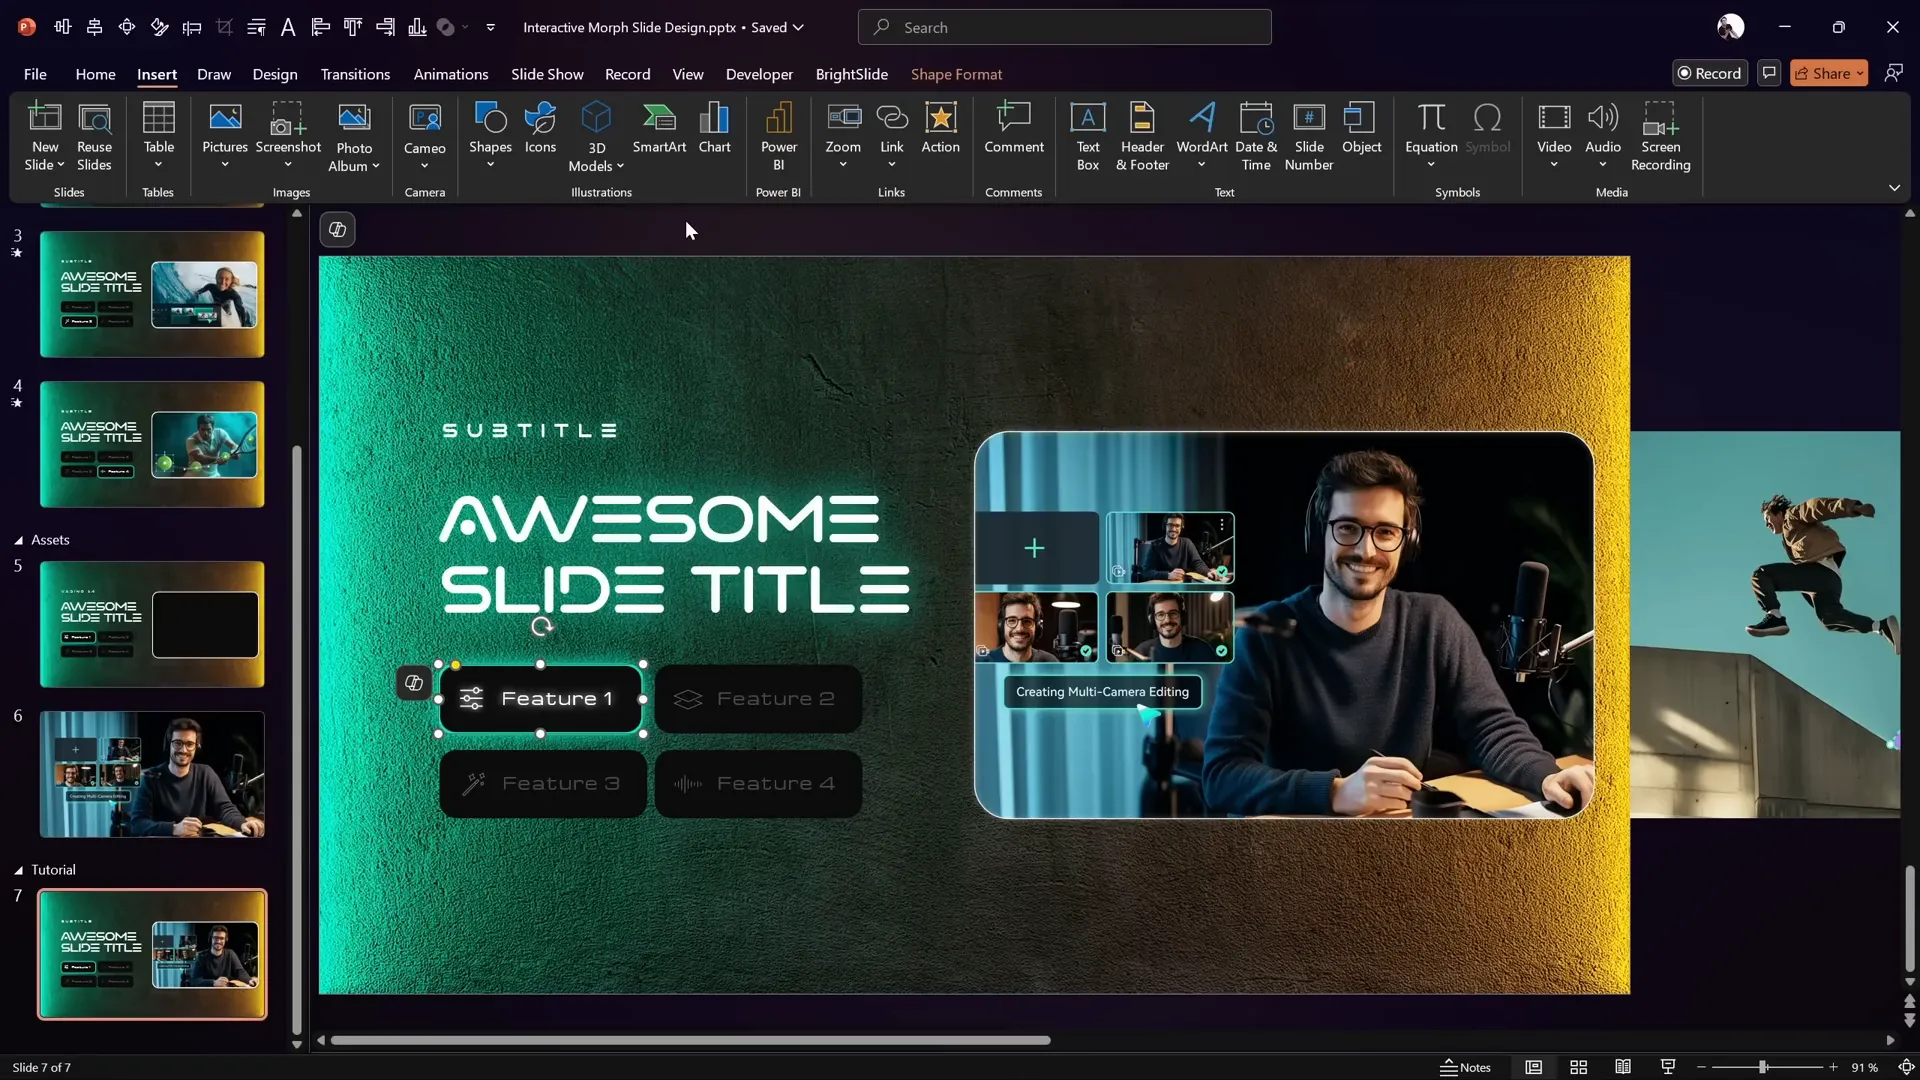
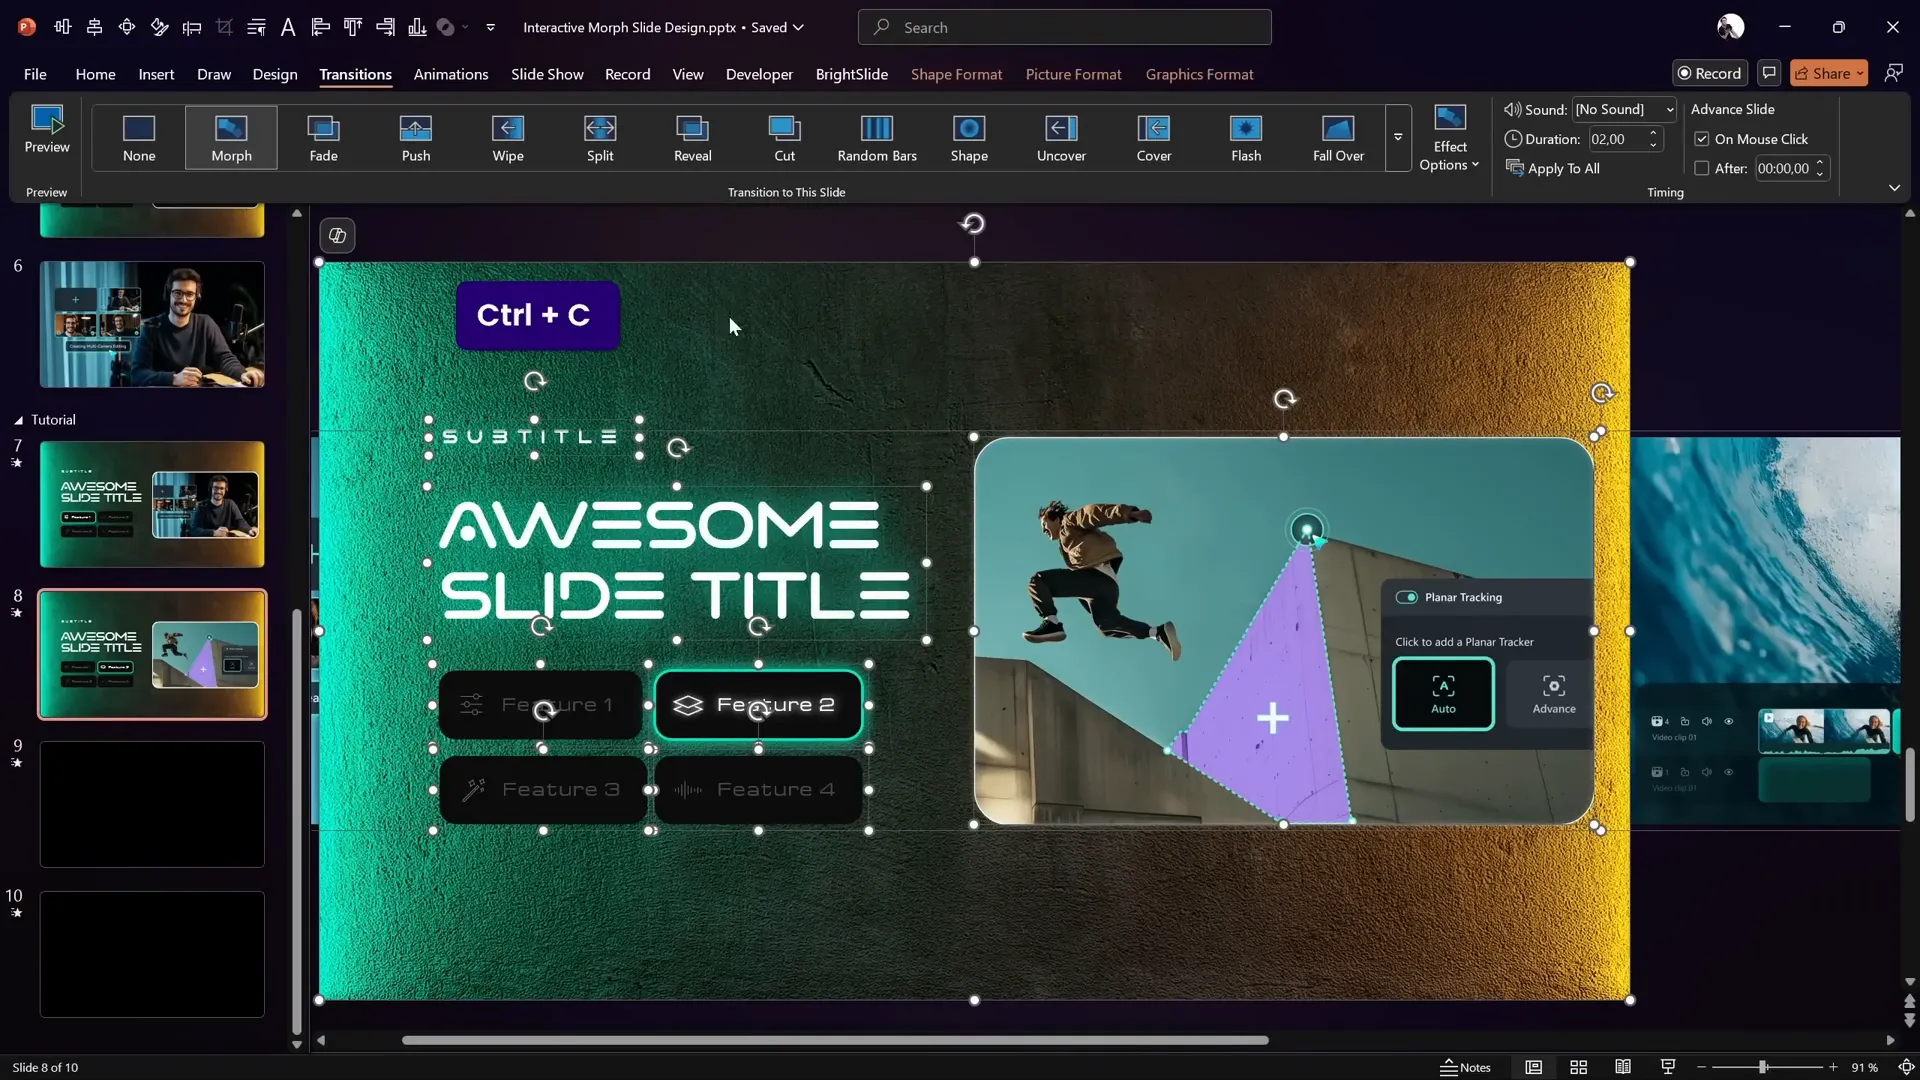
Designing Interactive Buttons with Icons
Below your text, create four interactive buttons using simple rounded rectangles. These buttons will serve as navigation controls for your interactive slide design.
Key design tips for buttons:
- Shape: Use rounded rectangles for a friendly, modern look.
- Text and icons: Add labels inside the buttons along with icons. PowerPoint now includes built-in icons, but if your version lacks them, you can download SVG icons online and import them.
- Text margins: Adjust the left margin inside the button to 1.5 cm to create space for the icon, and 0.5 cm for other margins.
- Active vs. inactive states: The active button shows full font brightness (0% transparency), while inactive buttons have font transparency reduced to 75% to visually indicate inactivity.
Grouping the icon and button together later ensures smooth transitions when morphing.
Creating a Masked Background Image for Photos
On the right side of your slide, create a simple rounded rectangle shape that will act as a mask to punch a hole in your background image. This gives the illusion of a window through which photos can scroll.
Steps to punch a hole:
- Select the background photo.
- Hold down Shift and select the rounded rectangle mask shape.
- Go to Shape Format > Merge Shapes > Subtract.
Now the background photo will have a transparent hole where the mask was, allowing you to display photos underneath in that area.
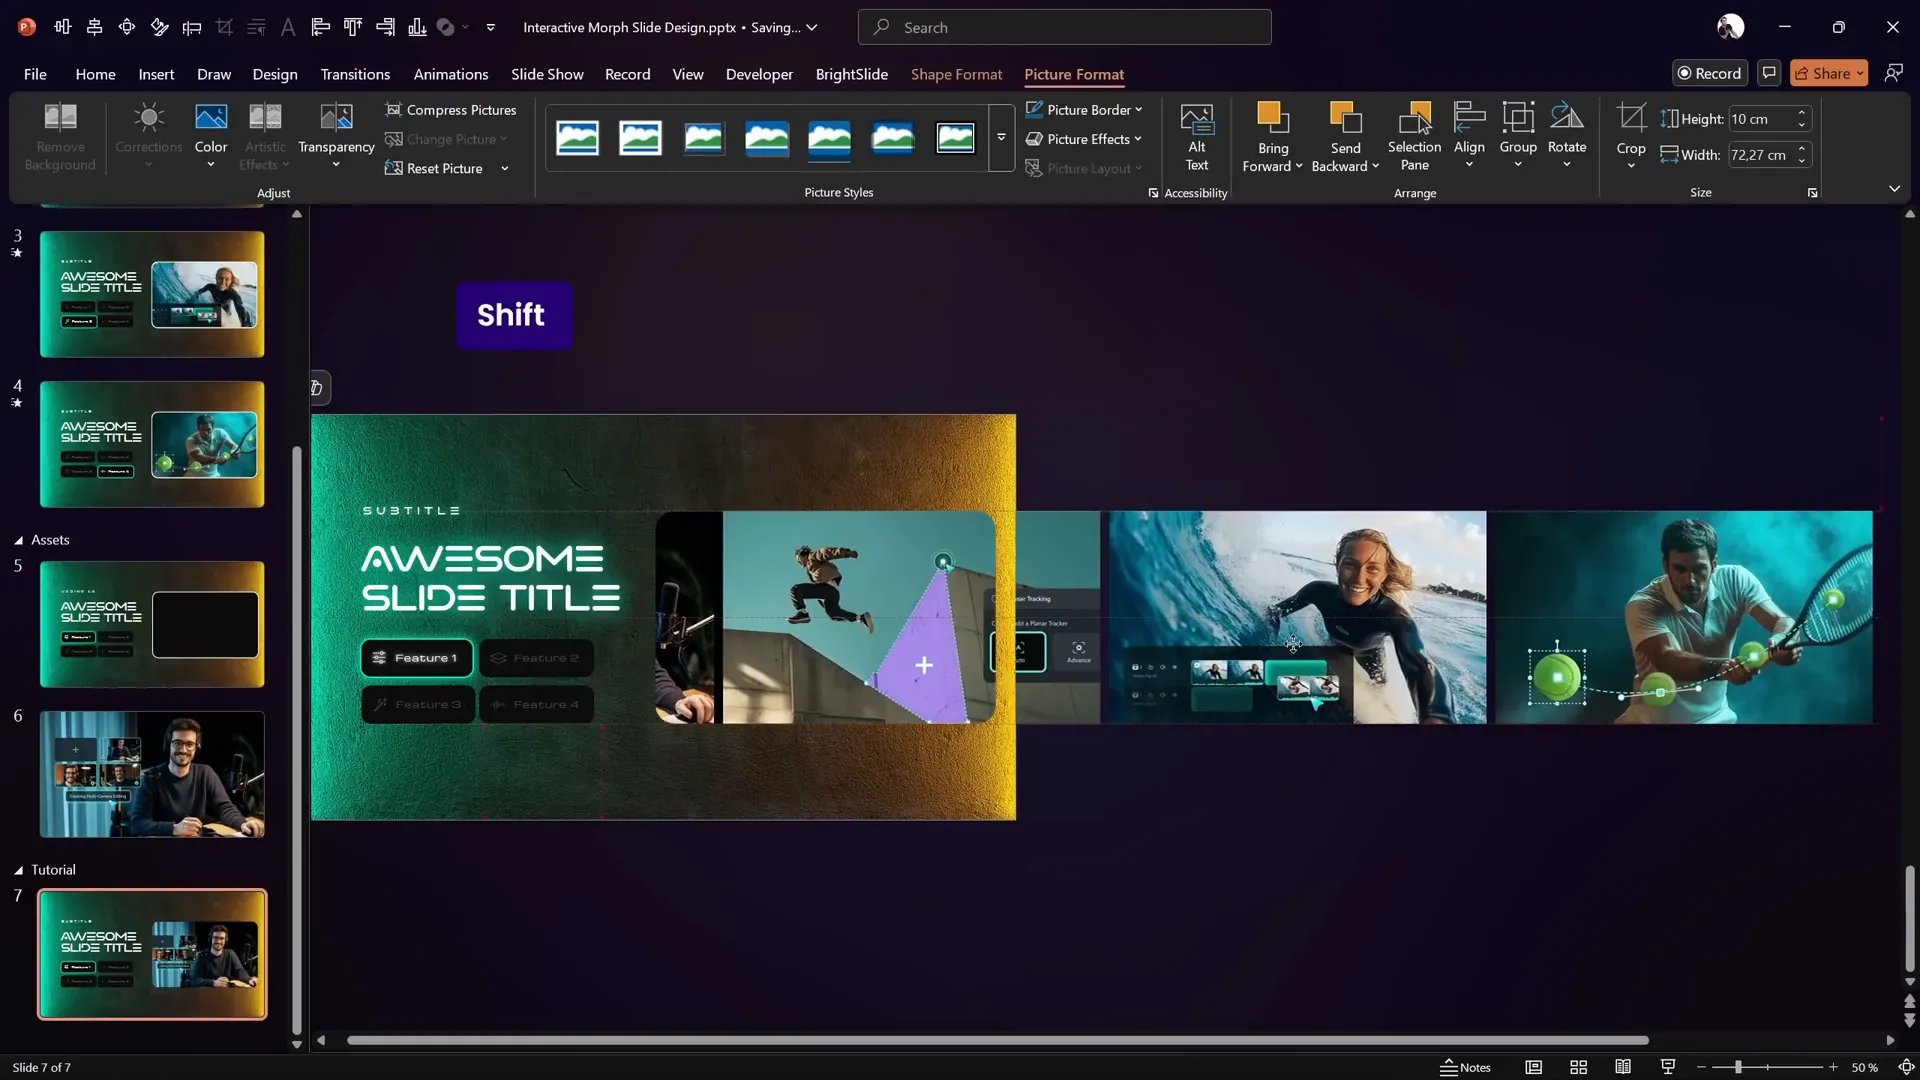
Arranging and Grouping Photos for Scrolling
Next, prepare the photos that will scroll under the mask:
- Gather your photos (sourced from Filmora’s website) and paste them onto the slide.
- Resize all photos to a uniform height matching the mask height (e.g., 10 cm), locking aspect ratio to keep proportions intact.
- Arrange the photos horizontally in a row, leaving small equal gaps between each photo.
- Select all photos and align them to the top to ensure a clean horizontal line.
- Group all photos into a single object.
- Send this group to the back so it appears behind the masked background photo.
Now, when you move this photo group left or right, the photos will scroll within the hole in your background.
Adding a Glowing Outline Around the Mask
To enhance the look of your photo window, add a glowing outline around the mask shape:
- Copy the rounded rectangle mask shape used to punch the hole.
- Paste it on top of the mask area.
- Remove the fill color, leaving only the outline.
- Add a subtle white shadow or glow effect to the outline.
This glowing edge adds polish and makes the mask visually distinct.
Making Buttons Clickable with Hyperlinks
To make your buttons interactive, you’ll add hyperlinks that jump to specific slides in your presentation:
- Before linking, add the necessary slides that correspond to each button’s content. For example, add three more slides after your main slide so you have four total slides to link to.
- Select a button, go to Insert > Link or press Ctrl+K.
- Choose Place in This Document and select the slide number to link to (e.g., slide 7 for button 1).
- Repeat for all buttons, linking each to its respective slide.
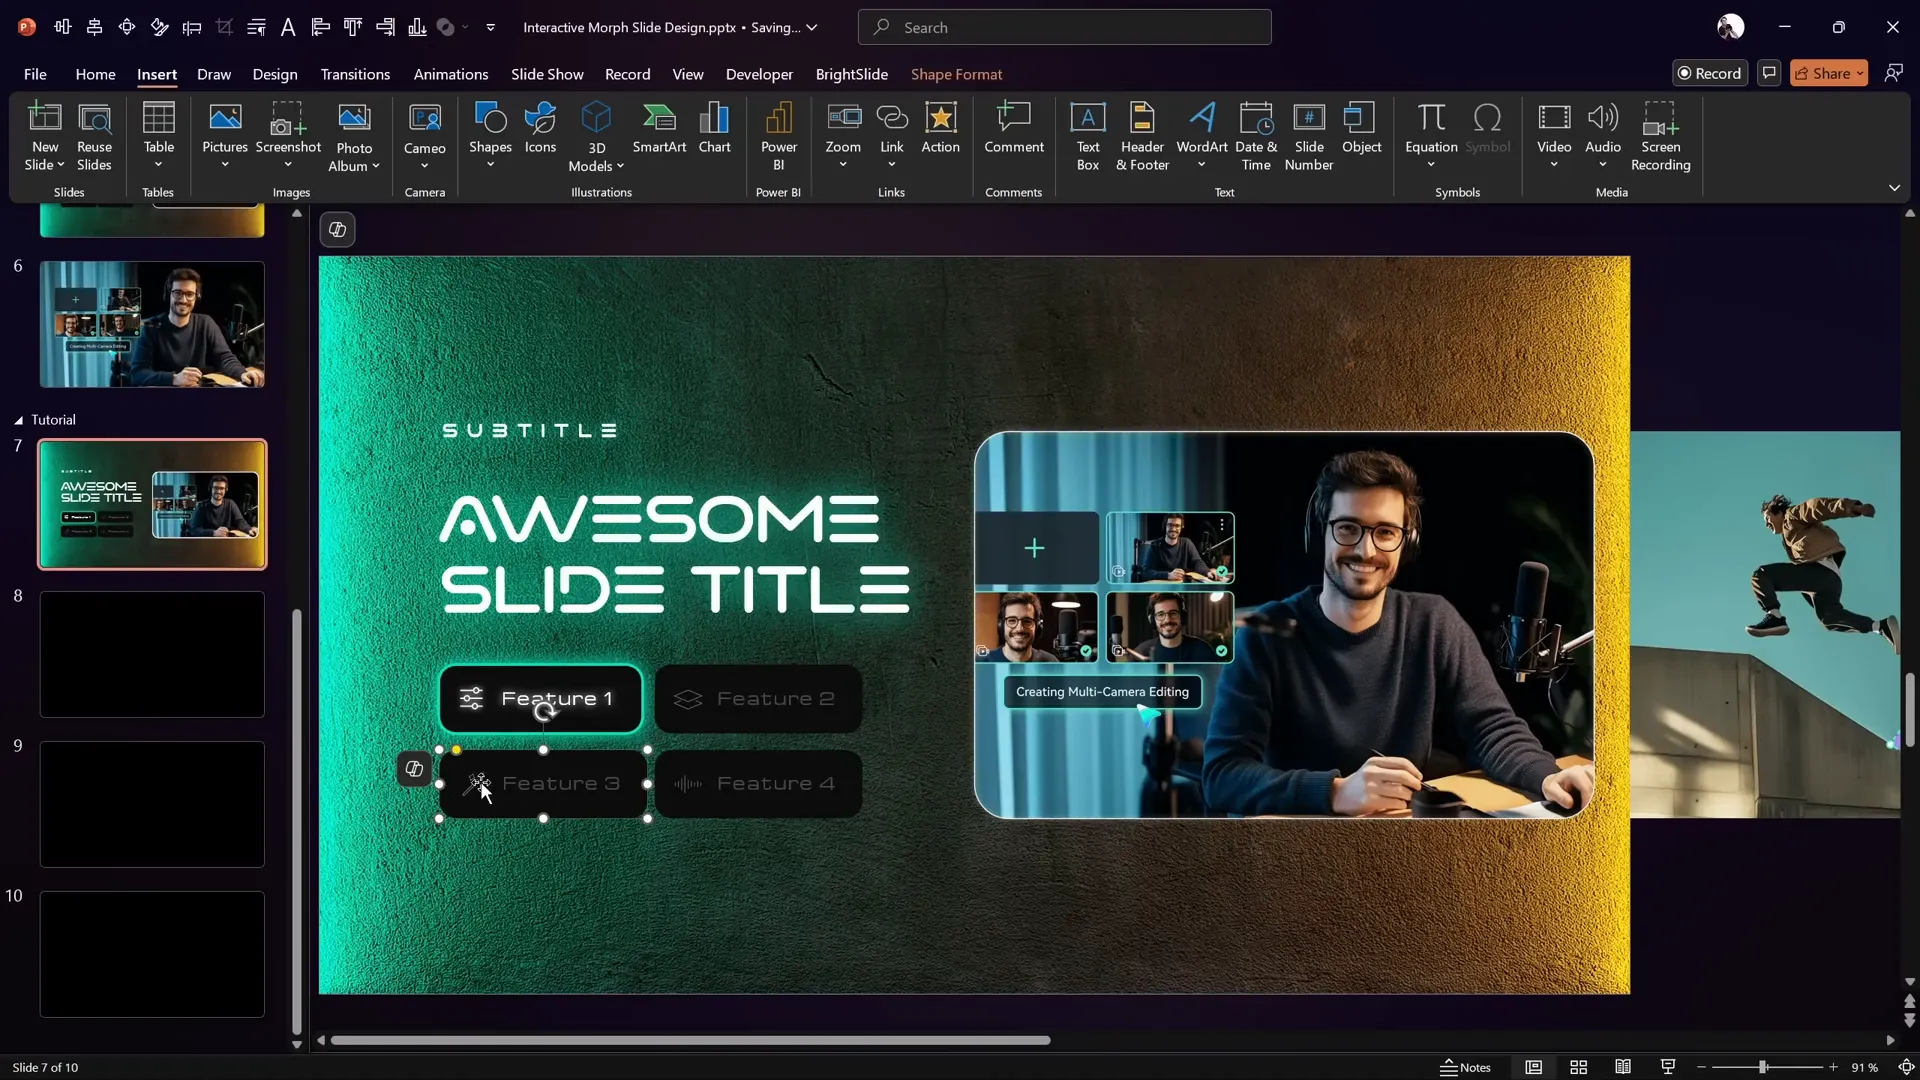
- Group each button with its icon to avoid morph transition issues.
Grouping ensures the morph animation treats the button and icon as a single object for smooth transitions.
Duplicating Slides and Applying Morph Transitions
Once you have your buttons and photos set up on the first slide, duplicate the slide for each button state:
- Copy the entire slide and paste it multiple times to create additional slides for each button/feature.
- On each duplicated slide, shift the photo group horizontally to show the corresponding photo for that button.
- Use the Format Painter to toggle which button is active and which are inactive by copying and pasting styles between buttons.
- Set the Morph transition on all these slides for smooth animated transitions. Adjust the duration (e.g., 2 seconds) to your liking.
This setup allows you to click buttons and smoothly scroll through photos with the mask effect, making your PowerPoint slide highly interactive.
Final Testing and Tips for Your Interactive Morph Slide
After creating all slides and linking buttons:
- Run your presentation in full-screen mode and test clicking each button to ensure it navigates correctly and the morph animation plays smoothly.
- Check that the active button style updates correctly on each slide.
- Make sure photos align perfectly inside the mask and scroll without glitches.
- Adjust timings or animations as needed for the best user experience.
With these steps, you have a professional, interactive, and visually stunning morph-powered slide design ready to impress your audience.
Remember, you can download the free template from the video description to explore and customize this design yourself.

Frequently Asked Questions (FAQ)
What is PowerPoint morph and why is it useful?
PowerPoint morph is a transition effect that animates smooth movement between slides, objects, and shapes. It’s useful for creating dynamic presentations with fluid animations that engage viewers without complex animation setups.
Can I use morph transitions with clickable buttons?
Yes! Morph works well with interactive buttons as long as you keep buttons and icons grouped together. This prevents objects from “jumping” during transitions and creates seamless navigation.
Do I need advanced design skills to create this interactive morph slide?
No, this tutorial breaks down each step clearly. Basic knowledge of PowerPoint shapes, formatting, and hyperlinks is sufficient. The free template also provides a great starting point.
Where can I find the fonts and images used in the tutorial?
The font Varino is linked in the video description, and background images are from Freepik. Icons can be found within PowerPoint or downloaded as SVG files online.
Can I use this technique for other presentation topics?
Absolutely! The interactive morph slide design is versatile and can be customized with your own images, colors, and text to fit any presentation theme.
Is Filmora 14’s AI Audio to Video feature free to use?
Filmora 14 offers a free trial, and you can try the AI audio to video feature with limitations. Check the official Filmora site for the latest pricing and plans.
How do I ensure my morph transitions work smoothly?
Make sure objects that morph share the same names or are grouped consistently across slides. Avoid ungrouping objects mid-transition and keep slide layouts consistent.
Can I export the morph animated slides as video?
Yes, PowerPoint allows you to export your presentation as a video file retaining morph animations, making it easy to share interactive content outside of PowerPoint.
What version of PowerPoint do I need for morph transitions?
Morph transitions are available in PowerPoint 2019, PowerPoint for Microsoft 365, and later versions. Older versions do not support morph.
How can I customize the button styles further?
You can use PowerPoint’s Format Shape options to change colors, shadows, transparency, and add animations to buttons to better fit your branding or aesthetic preferences.
Conclusion
Mastering PowerPoint morph opens up exciting possibilities for creating interactive, animated slides that elevate your presentations from static to stunning. By following this comprehensive tutorial, you now know how to build a futuristic morph-powered slide design complete with clickable buttons, photo masks, and glowing effects.
Don’t forget to explore Filmora 14’s AI Audio to Video feature for enhancing your multimedia content and download the free template to jumpstart your own projects. With these tools and techniques, you’ll deliver professional, engaging presentations that captivate your audience every time.
Thank you for reading! Stay creative, and happy presenting.


