
Welcome to this comprehensive guide on mastering the Morph transition in PowerPoint, brought to you by One Skill PowerPoint. If you’re looking to elevate your presentations with smooth, professional animations without the hassle of complex motion paths, the Morph transition is your go-to tool. Whether you have PowerPoint 2019, Microsoft 365, or later versions, this feature will open up a world of creative possibilities.
In this article, we’ll dive deep into everything you need to know about the Morph transition—from the basics of moving, resizing, rotating, and flipping objects, to advanced tips like color changes, transparency effects, and photo cropping animations. We’ll also cover troubleshooting tips to ensure your morph animations always work perfectly. By the end, you’ll have a solid understanding and practical knowledge to create stunning animated slides that captivate your audience.
Table of Contents
- What is Morph Transition and Why is it So Powerful?
- Getting Started: Basic Morph Animations
- Animating Color and Transparency Changes
- Advanced Photo Cropping and Zoom Effects
- Tips to Ensure Morph Works Perfectly Every Time
- Summary: What You Can Achieve with Morph Transition
- Frequently Asked Questions (FAQ)
- Final Thoughts
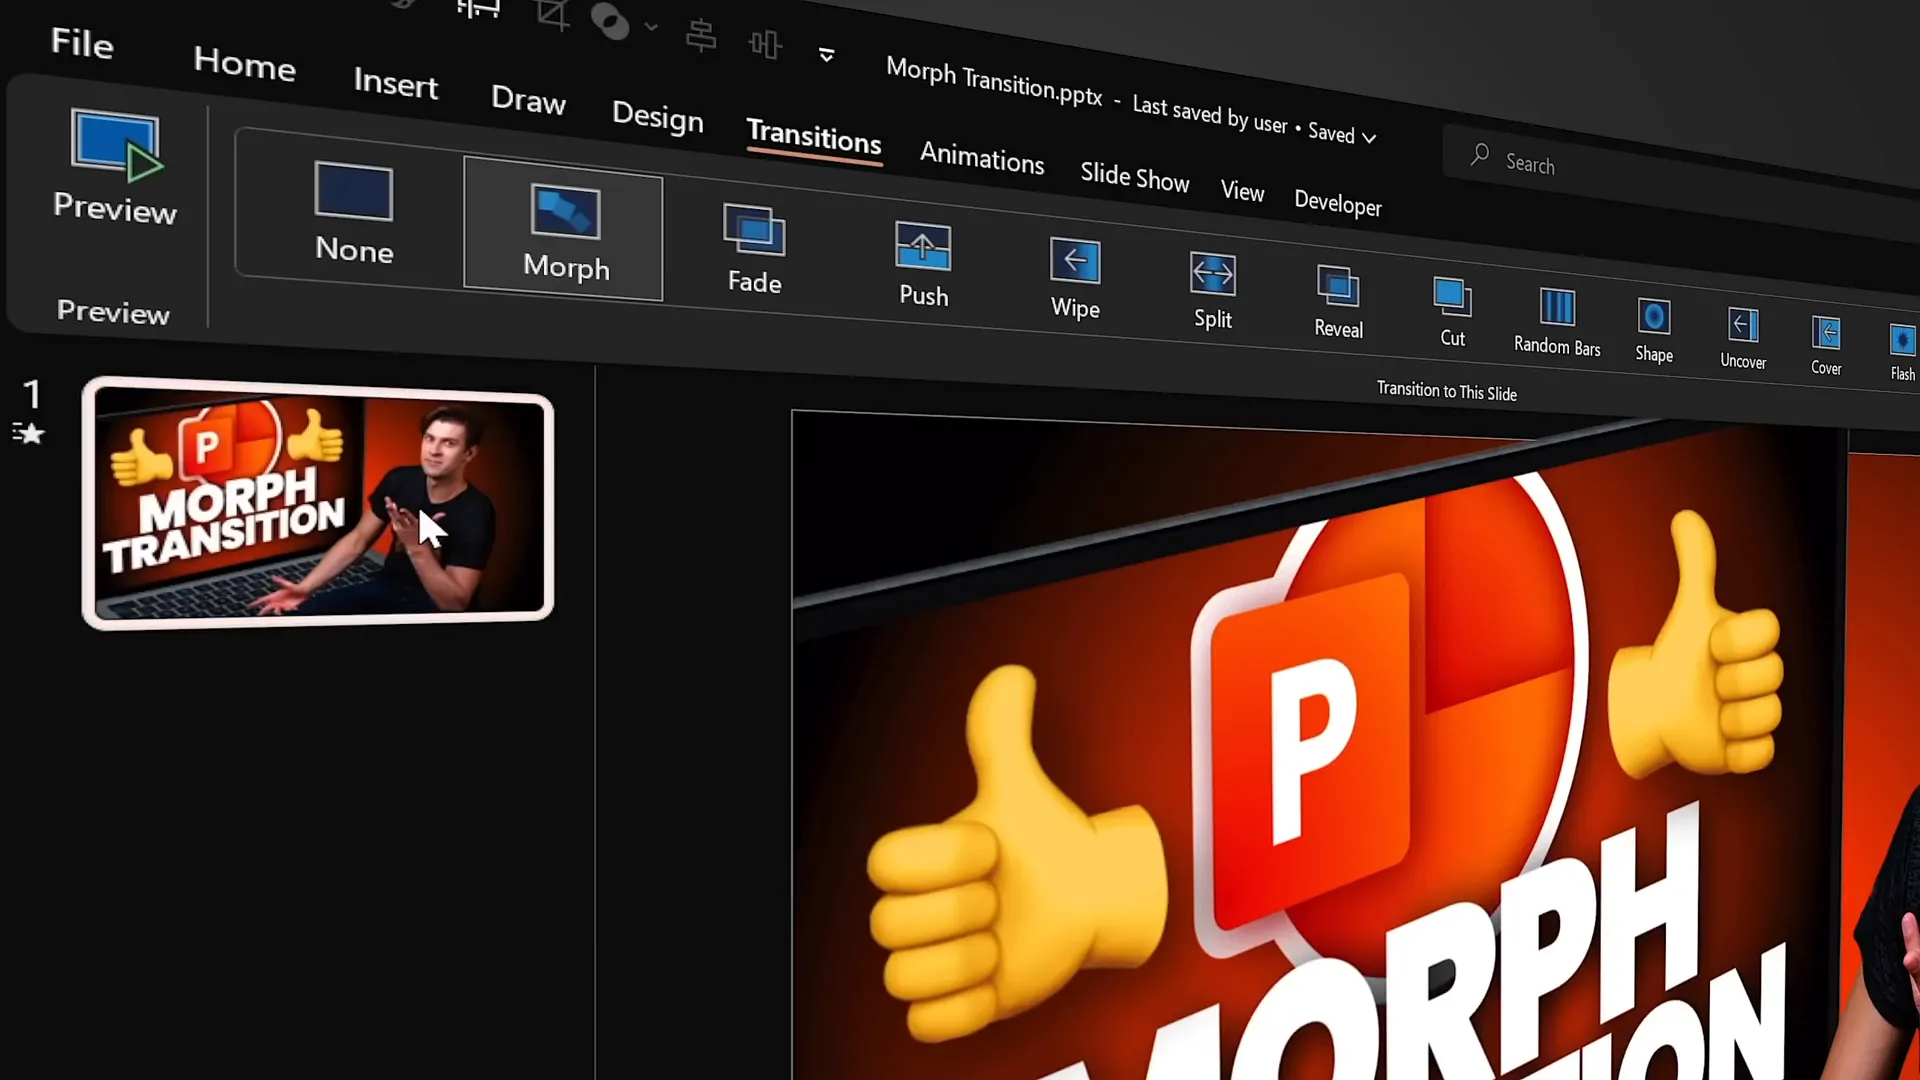
What is Morph Transition and Why is it So Powerful?
The Morph transition in PowerPoint is a powerful animation tool that creates seamless movement and transformation between two slides. Unlike traditional animations that require setting individual motion paths or complex triggers, Morph automates the process by analyzing the differences between two slides and animating the objects accordingly.
PowerPoint explains that to get the best results with Morph, you should duplicate a slide, make changes to objects on the duplicate, and then apply the Morph transition to the second slide. Morph then automatically animates the movement, resizing, rotation, color changes, and much more, creating a smooth visual effect that feels like magic.
Getting Started: Basic Morph Animations
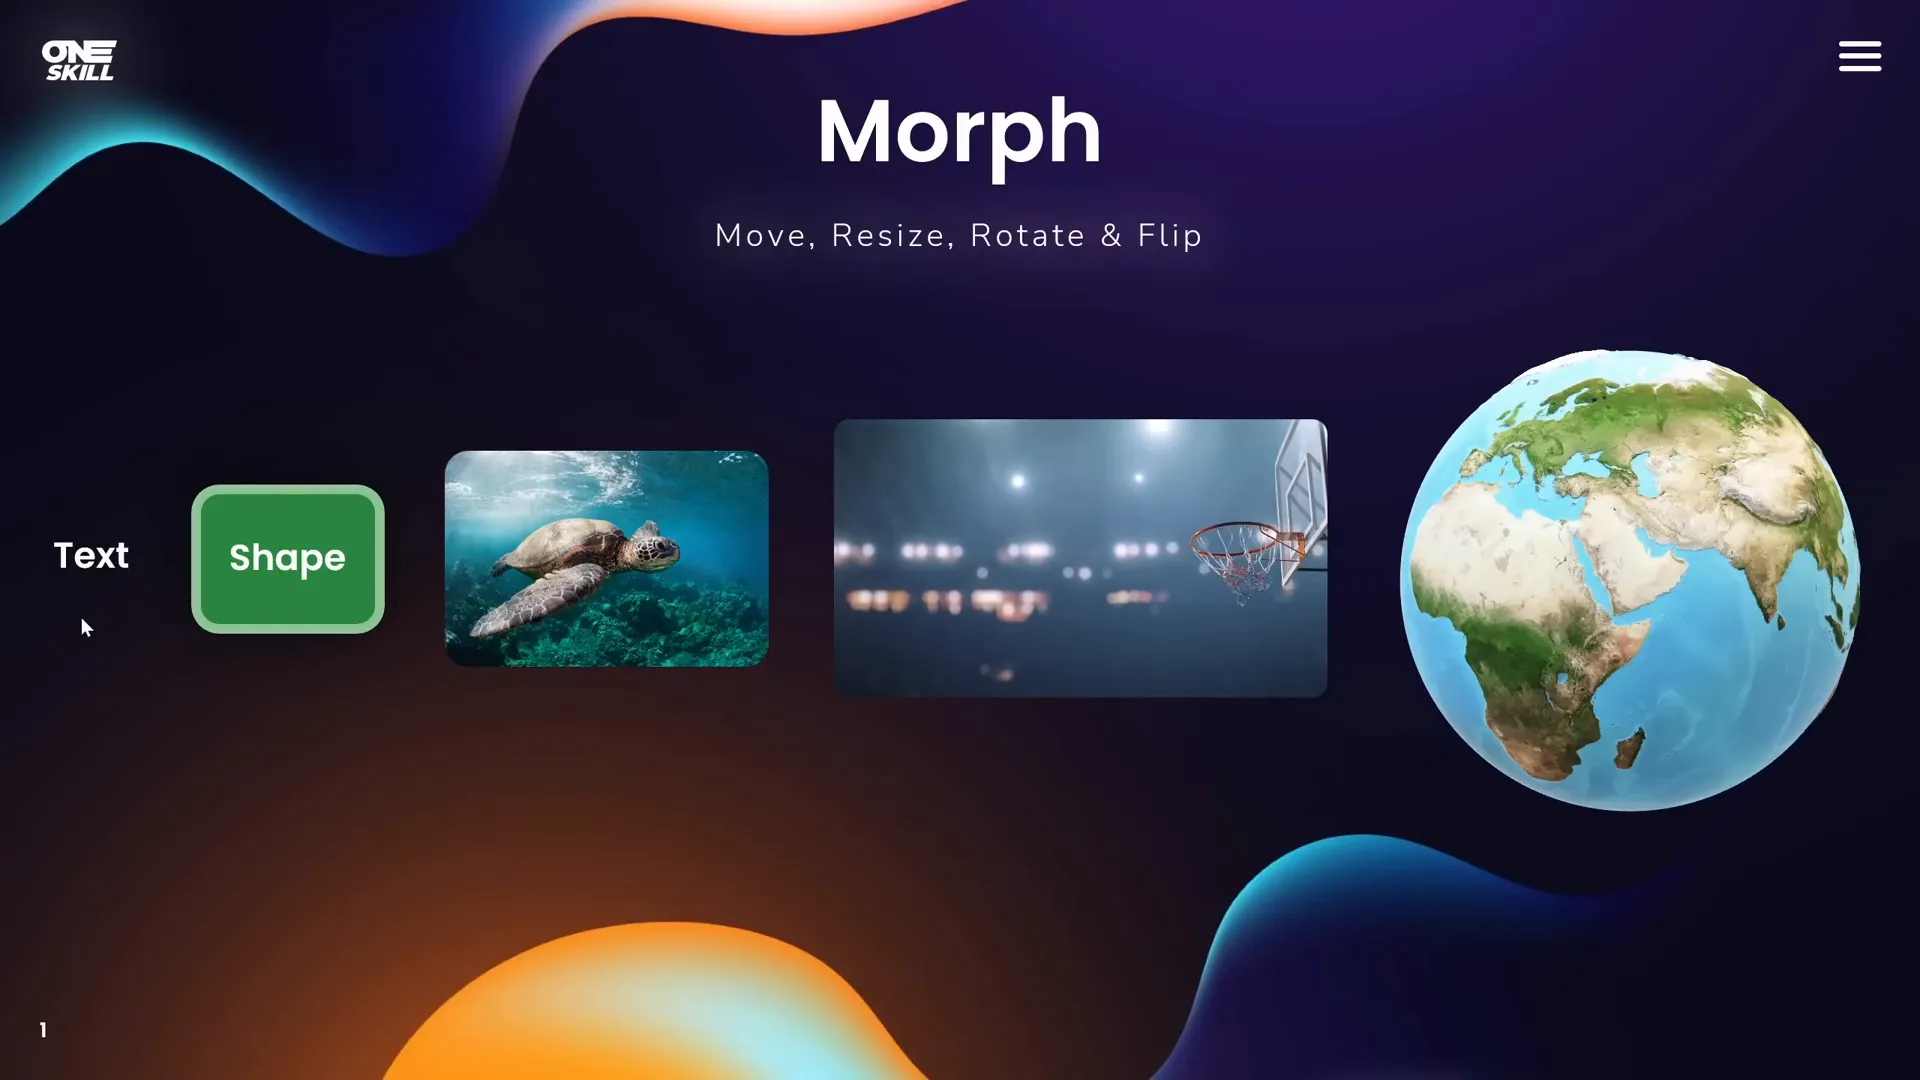
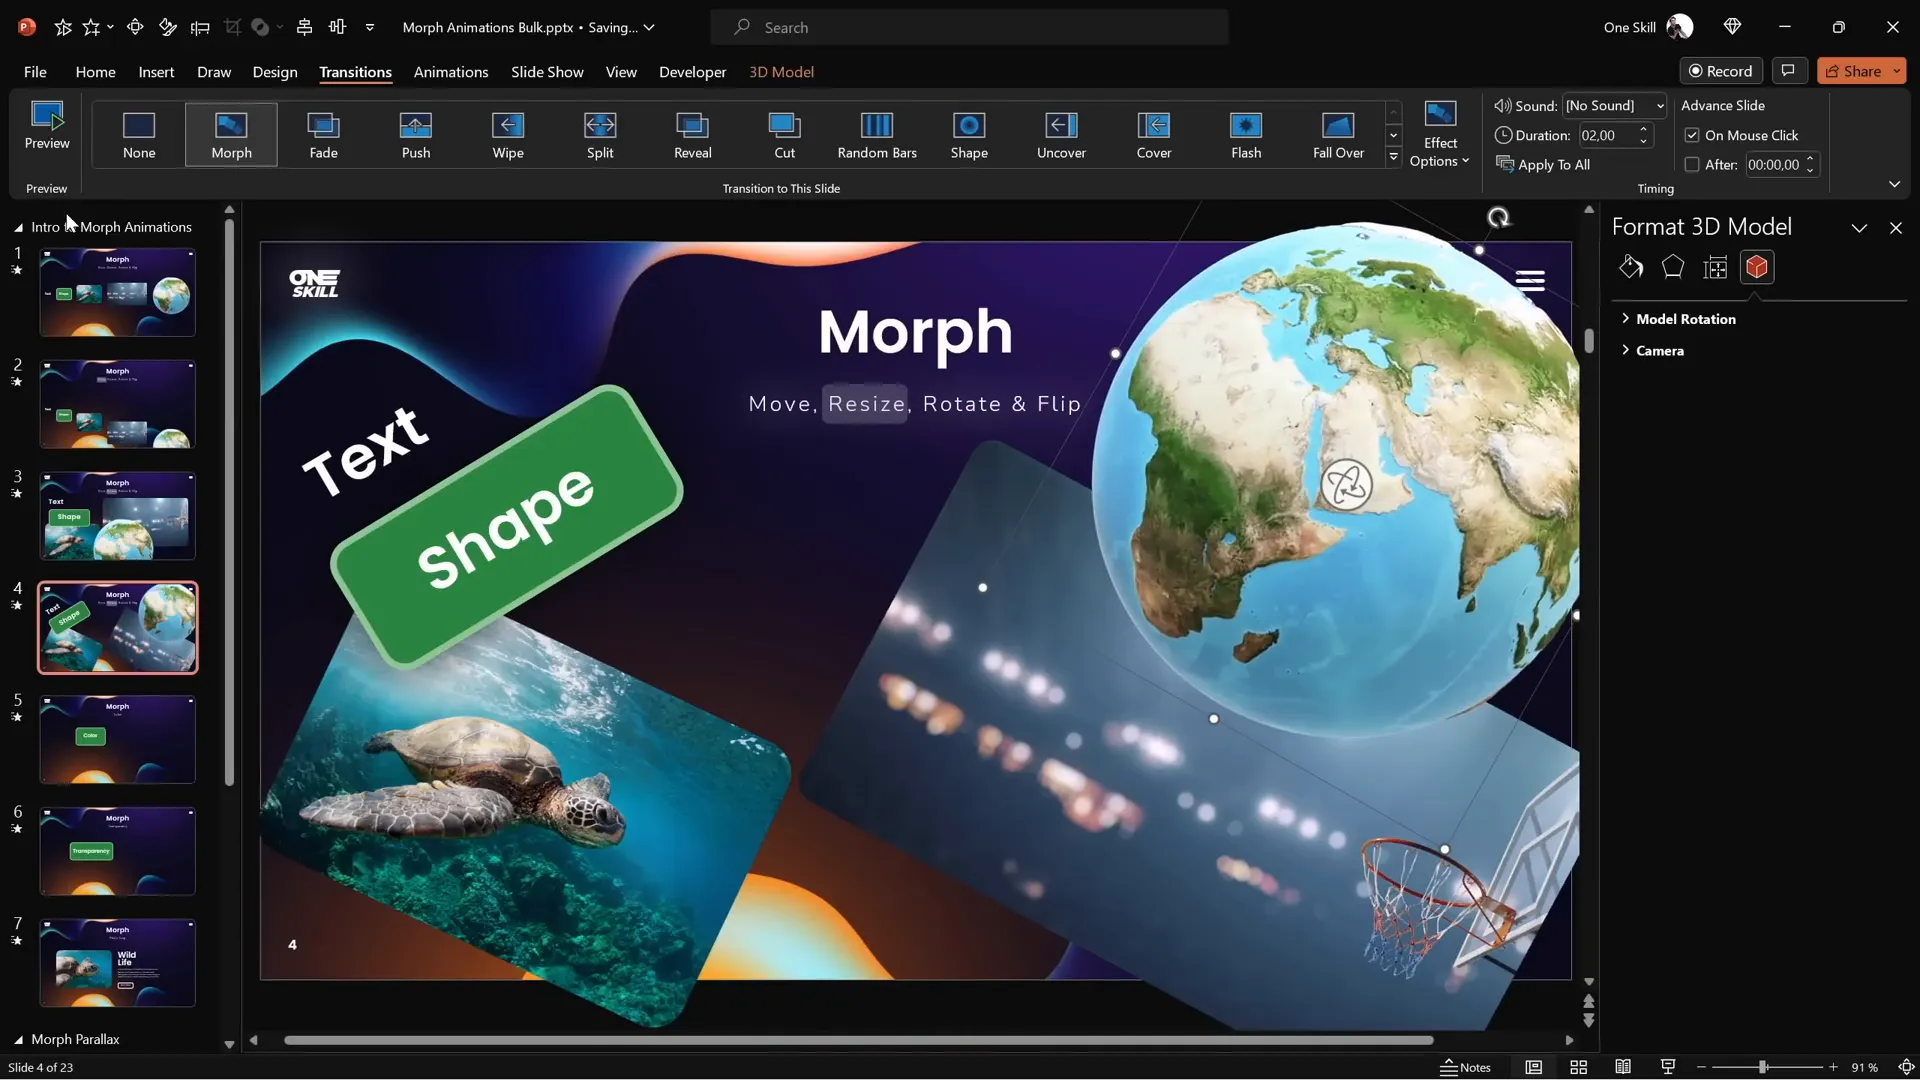
Let’s start with the fundamentals. To demonstrate, imagine a slide containing multiple objects: a text box, a shape, a picture, a video, and a 3D model of planet Earth. The goal is to see how Morph handles these different types of objects when they are moved, resized, rotated, or flipped.
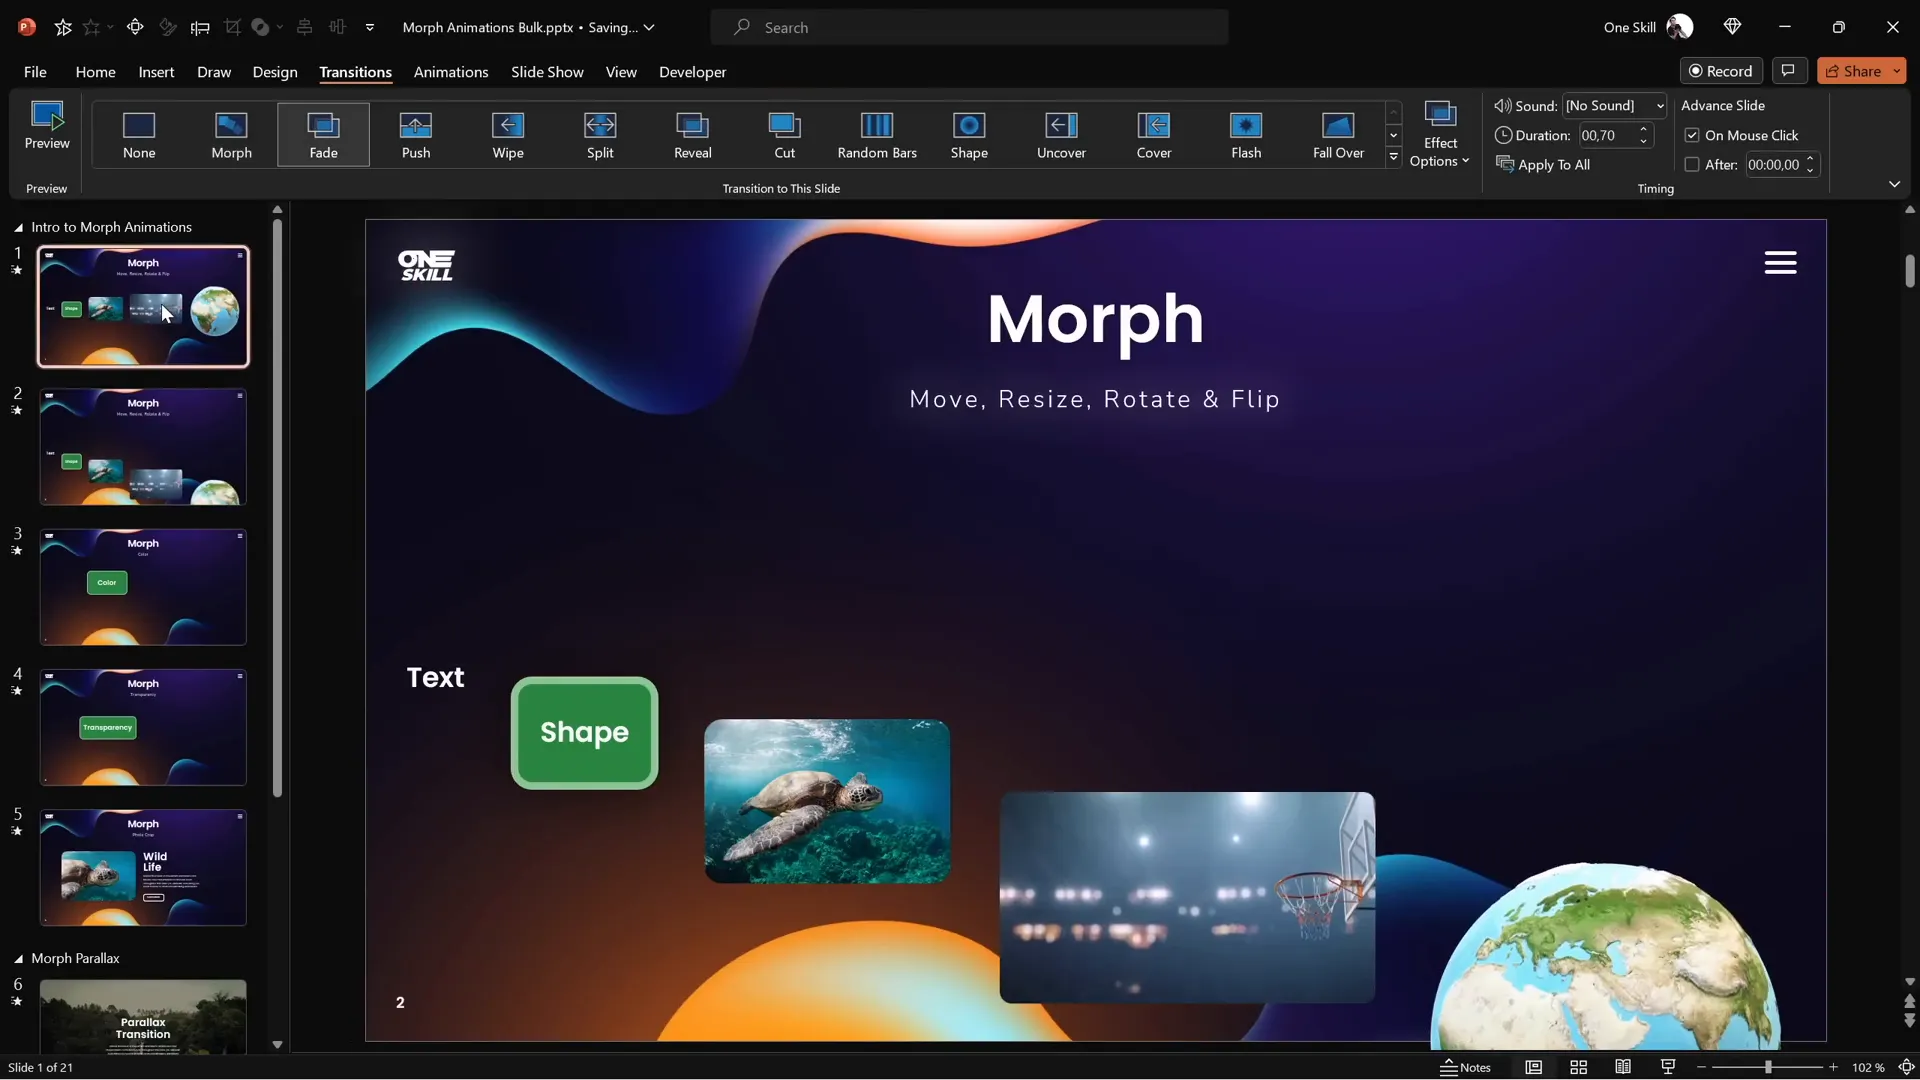
Here’s the step-by-step process to apply Morph:
- Start with your initial slide containing all objects.
- Duplicate this slide.
- On the second slide, make your desired changes to the objects (move, resize, rotate, etc.).
- Apply the Morph transition to the second slide.
- Adjust the transition duration if needed (default is 2 seconds).
When you preview the transition, you’ll see that Morph automatically animates all the changes you made, creating a smooth and professional effect.
Moving Objects
Moving objects is the simplest use of Morph. For example, if you move all objects slightly downwards on the second slide, Morph will animate them sliding down smoothly without the need for manual motion paths.
This makes it incredibly easy to create dynamic layouts where elements shift position elegantly.
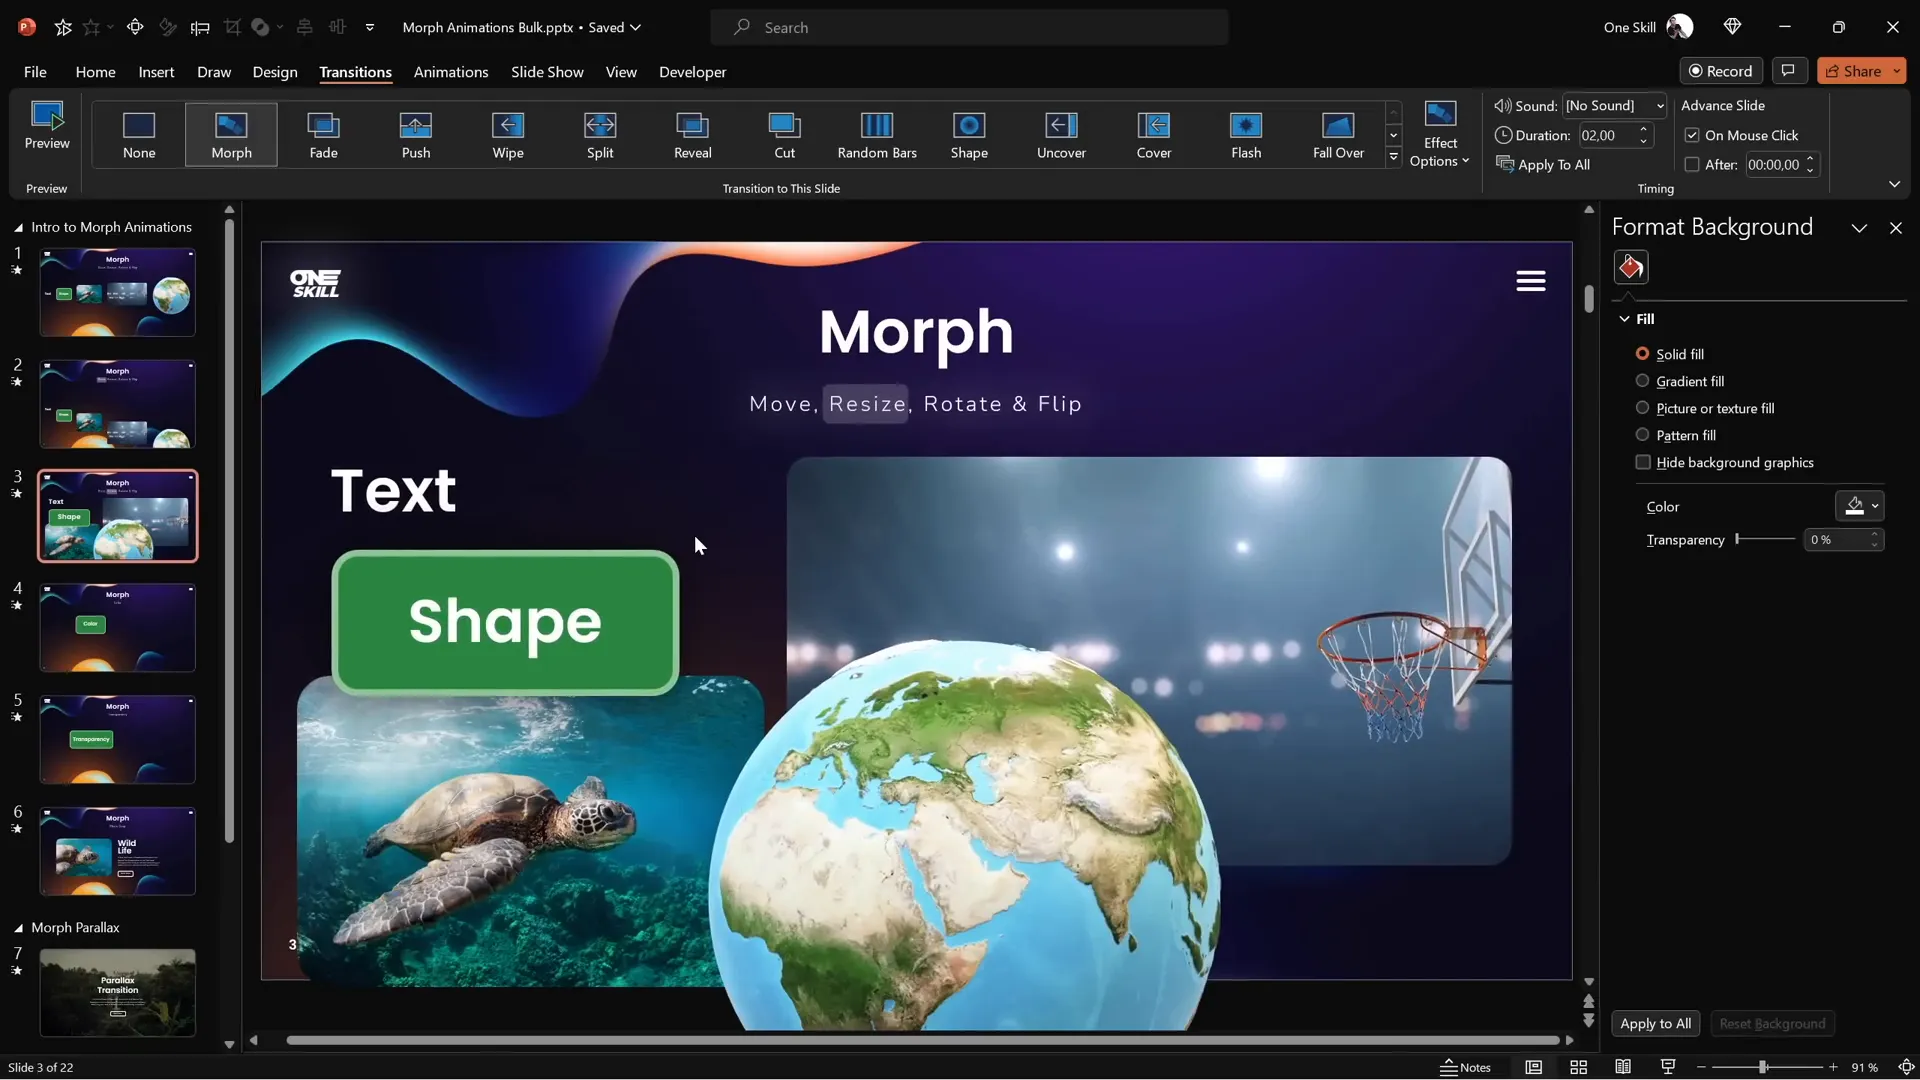
Resizing Objects
Beyond moving, Morph also handles resizing beautifully. You can increase or decrease the size of any object—text boxes, shapes, pictures, videos, or even 3D models—and Morph will animate the size change seamlessly during the transition.
This opens up creative possibilities for emphasizing key points by enlarging objects or de-emphasizing by shrinking them, all with smooth animations.
Rotating Objects
Morph also supports rotation. You can rotate any object by dragging the rotation handle. Morph will then animate the rotation between the two slides during the transition.
For 3D models, there is even a special handle that allows you to rotate the model in three dimensions, adding more depth to your animations.
Flipping Objects
Flipping is another transformation Morph can animate. You can flip objects horizontally or vertically. Most shapes, pictures, videos, and 3D models will flip smoothly. However, text boxes behave a bit differently—they tend to rotate rather than flip.
A useful workaround for flipping text is to convert the text box into a picture (copy and paste as an image), which will then flip correctly with Morph.
Animating Color and Transparency Changes
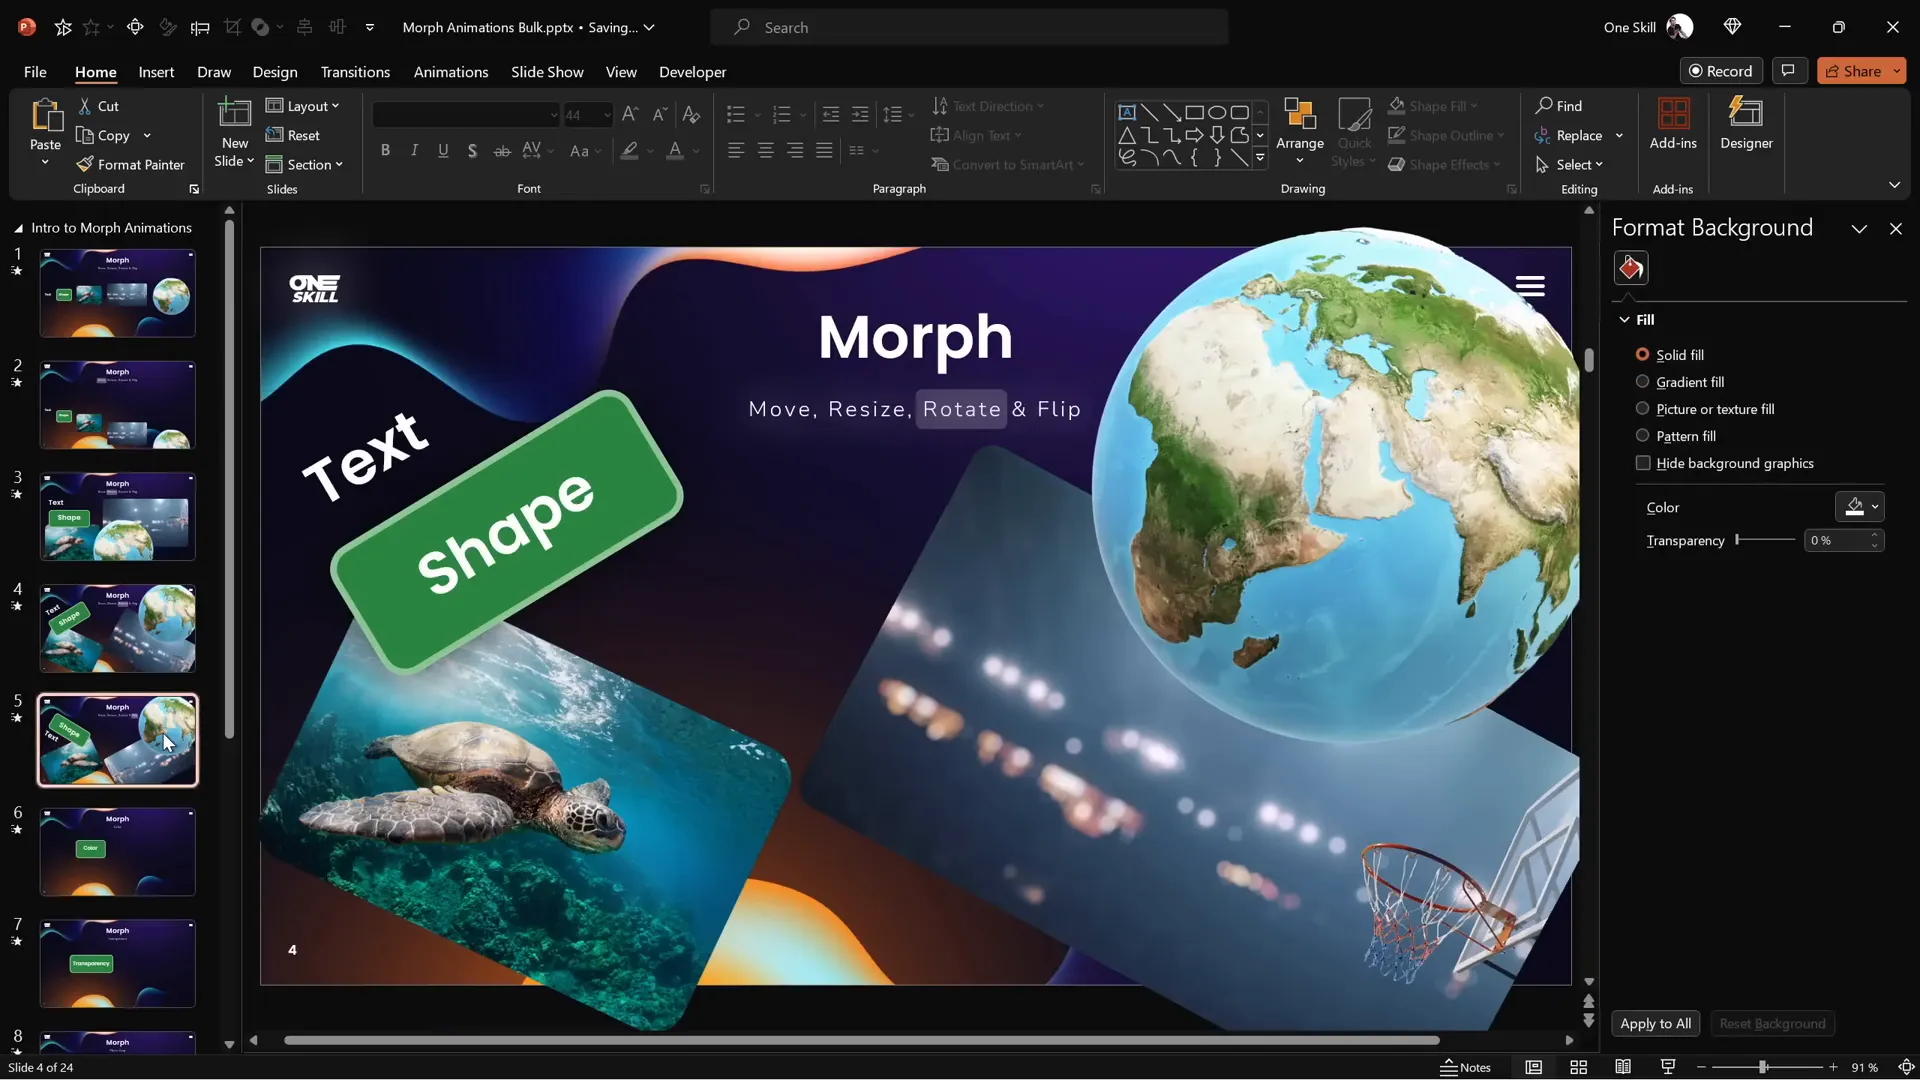
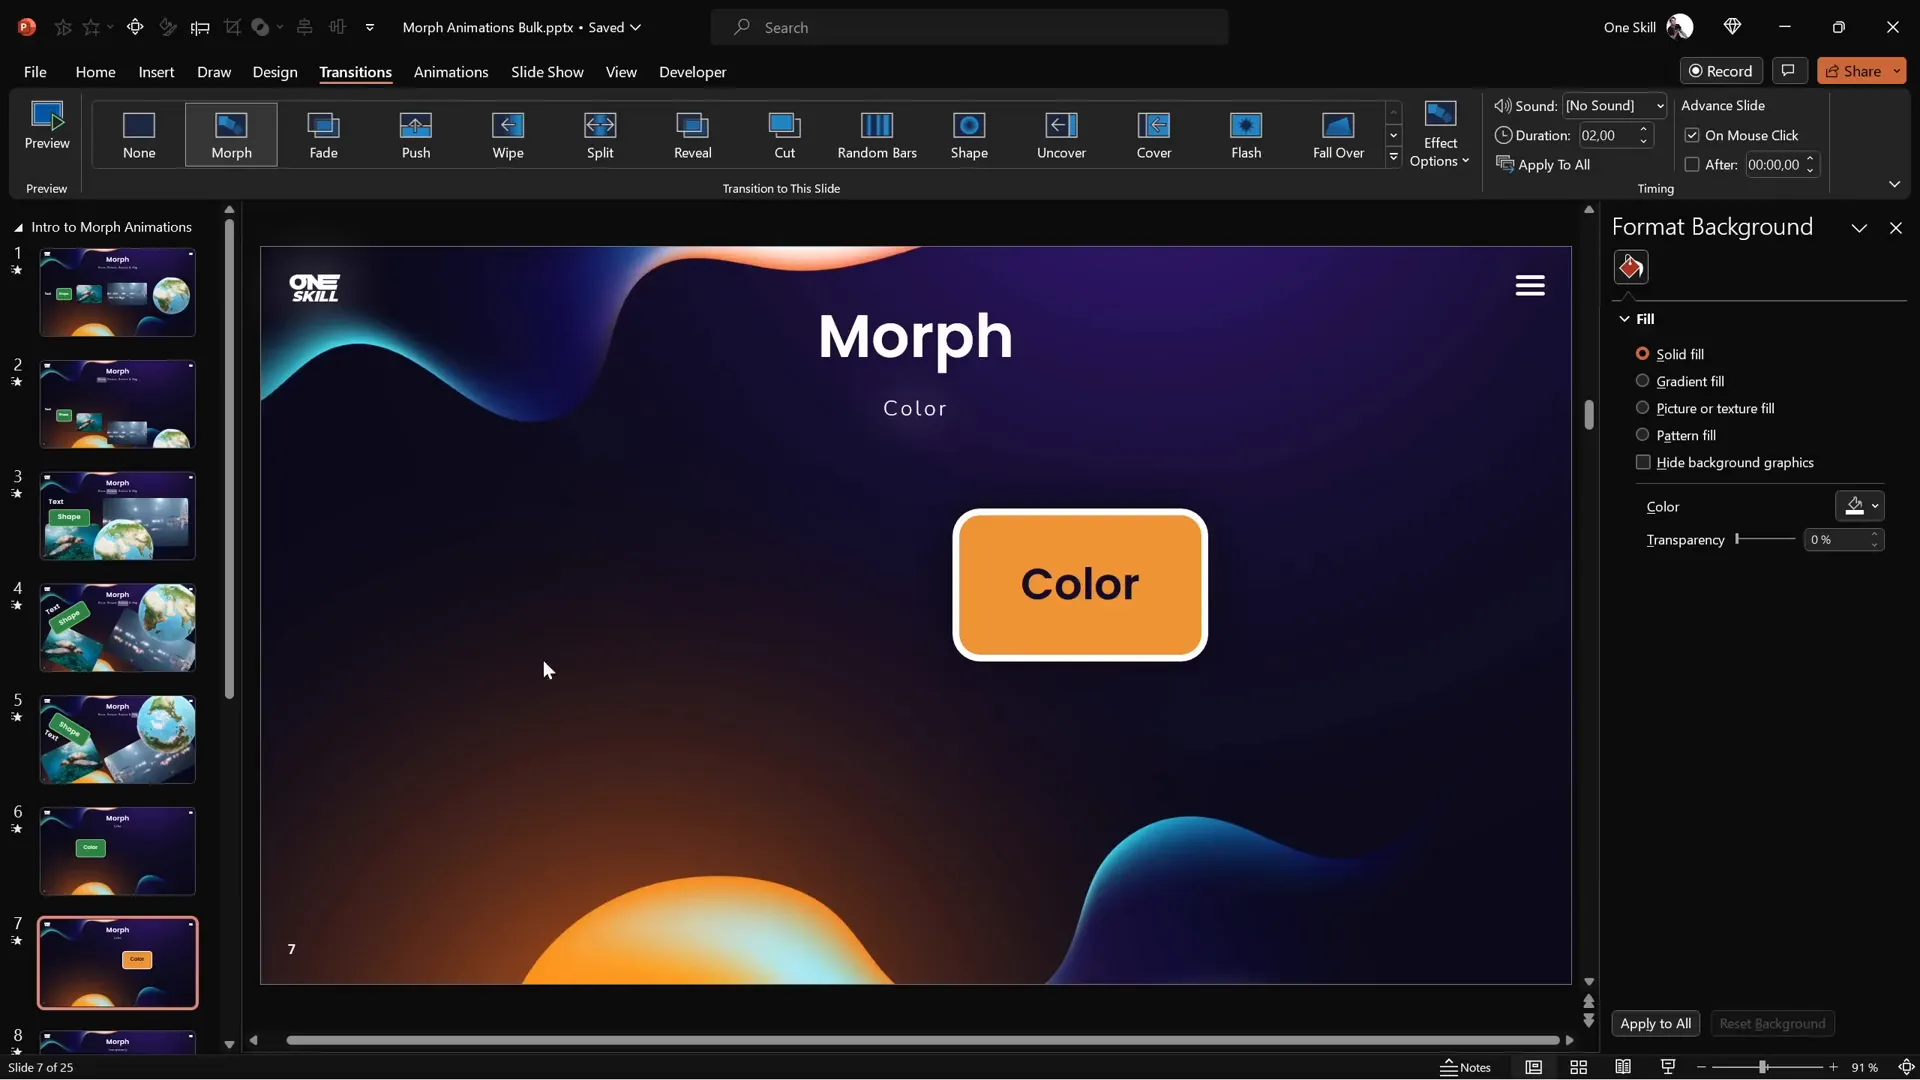
Morph doesn’t just animate position and size; it also animates color changes. For example, if you change the fill color of a shape from green to a bright yellow-orange on the second slide, Morph will smoothly transition the color during the animation.
The same applies to text color changes, outline colors, and even transparency. You can animate an object fading away by increasing its transparency to 100% on the second slide. Morph will animate the fade effect along with any movement, creating a combined animation.
Advanced Photo Cropping and Zoom Effects
One of the most powerful yet lesser-known uses of Morph is animating photo cropping and zooming effects.
PowerPoint offers two types of cropping handles:
- Black handles: Adjust the cropping area itself (the visible portion of the photo).
- White handles: Adjust the position and zoom level of the photo within the cropping area.
By duplicating a slide and adjusting the crop area or zoom on the second slide, you can create smooth photo crop animations with Morph.
For example, cropping a photo tighter on the second slide creates a zoom-in effect. Similarly, moving the photo completely outside the cropping area on the first slide and bringing it back inside on the second slide creates a sliding-in effect.

Combining these photo effects with text movement (moving text off-slide and sliding it in) can create sophisticated animations that enhance storytelling in presentations.

Tips to Ensure Morph Works Perfectly Every Time
Morph is powerful but requires some attention to detail to function correctly, especially when morphing between different objects.
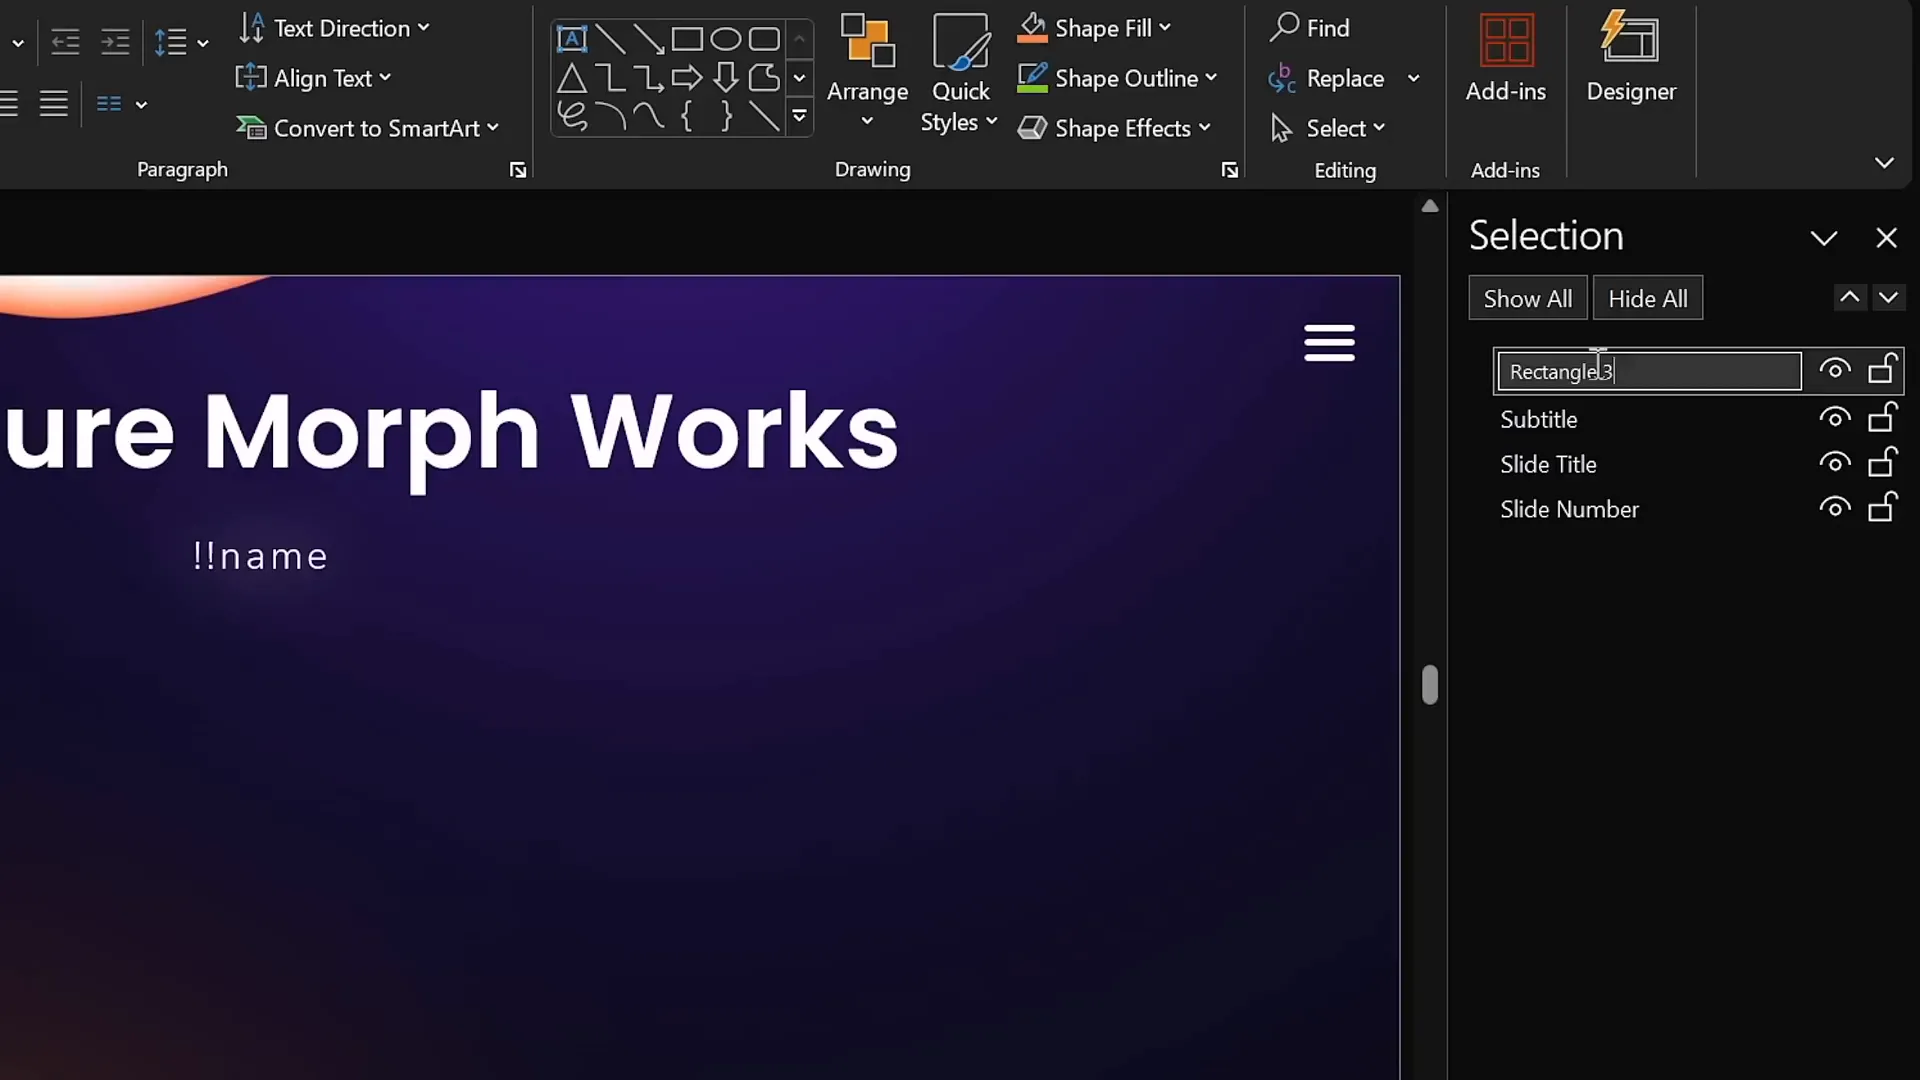
Using Consistent Object Names
If you want Morph to morph one object into another (e.g., morph a green rectangle into a yellow circle or morph one photo into another), the objects must have the exact same name in PowerPoint’s Selection Pane.
To do this:
- Open the Selection Pane (Home > Select > Selection Pane).
- Rename the object on the first slide with a name starting with double exclamation marks (e.g.,
!!shape). - Rename the corresponding object on the second slide with the same exact name.
This naming convention forces Morph to recognize the objects as the same and animate the transformation smoothly rather than fading one out and the other in.
Morphing Different Photos
The same naming trick applies to photos. If you want to morph a picture of a cat into a picture of a lion, name both photos identically with the double exclamation prefix (e.g., !!photo).
This will make Morph animate the transition between the two images rather than just fading between them.

Summary: What You Can Achieve with Morph Transition
Let’s recap everything you’ve learned about using the Morph transition in PowerPoint:
- Move objects smoothly between positions on slides without motion paths.
- Resize objects to create zoom-in or zoom-out effects.
- Rotate objects including 3D models for dynamic presentations.
- Flip objects horizontally or vertically, with a workaround for flipping text.
- Animate color changes for fills, outlines, and text.
- Animate transparency for fade in/out effects.
- Create advanced photo crop animations for zoom and slide-in effects.
- Use consistent naming for objects to morph between different shapes or pictures.
By mastering these techniques, you can create professional, engaging, and visually stunning presentations that captivate your audience and elevate your storytelling.
Frequently Asked Questions (FAQ)
Q1: Which versions of PowerPoint support the Morph transition?
The Morph transition is available in PowerPoint 2019, Microsoft 365, and later versions. If you have one of these versions, you can use Morph without any additional add-ons.
Q2: Can Morph animate videos?
Yes, Morph can animate videos, including moving, resizing, and flipping them. However, there is a limitation: if a video is playing during the Morph transition, it will stop and resume only after the transition finishes. Looping and autoplay settings still work but are paused during the animation.
Q3: Why does Morph sometimes just fade between objects instead of morphing?
This usually happens when two objects on consecutive slides have different names or are considered different by PowerPoint. To fix this, rename the objects in the Selection Pane with identical names starting with double exclamation marks (e.g., !!shape).
Q4: How can I flip text with Morph?
Text boxes do not flip directly with Morph; they rotate instead. To flip text, convert your text box to a picture by copying and pasting it as an image. Then apply Morph to the image to achieve a proper flip effect.
Q5: Can I control the speed of the Morph animation?
Yes, you can adjust the Morph transition duration in the transitions tab. The default is 2 seconds, but you can make it faster or slower depending on your needs.
Q6: Is it possible to animate multiple objects at once with Morph?
Absolutely! Morph can animate multiple objects simultaneously, making it perfect for complex slides with various elements moving, resizing, and transforming in unison.
Q7: Can Morph animate 3D models?
Yes, Morph supports animating 3D models, including moving, resizing, rotating, and flipping them, adding depth and sophistication to your presentations.
Final Thoughts
The Morph transition is a game-changer for PowerPoint users who want to create dynamic, engaging presentations without the complexity of traditional animations. From simple movements to advanced photo cropping and 3D model animations, Morph offers a versatile and intuitive way to bring your slides to life.
Experiment with the techniques outlined in this guide, and you’ll quickly discover how easy and fun it is to create animations that impress your audience and communicate your message effectively.
For those eager to dive deeper, consider exploring more advanced animation techniques and courses such as the PowerPoint Animation Mastery course by One Skill PowerPoint, where Morph and other animation tools are covered in detail.
Happy animating, and may your presentations always captivate and inspire!
Check out the full video: PowerPoint Presentation Skills: Master Morph Transition! ✨


