
If you want to master PowerPoint presentation skills and create dynamic, interactive presentations, then understanding how to use the Slide Zoom feature effectively is a game changer. Slide Zooms allow you to break free from the traditional linear slide flow and add an engaging zoom dimension that captivates your audience.
In this comprehensive guide, I will walk you through five essential tips to unleash the full potential of PowerPoint Slide Zooms. Plus, stick around until the end, where I’ll share a bonus tip that takes your Slide Zoom skills to the next level. Whether you’re a beginner or looking to polish your presentation style, these tips will help you become a PowerPoint pro in no time.
Let’s dive in and transform your presentations with these powerful Slide Zoom techniques!
Table of Contents
- How to Insert Slide Zooms
- Understanding Slide Zoom, Section Zoom, and Summary Zoom
- Making Slide Zoom Backgrounds Transparent
- Creating Custom Thumbnails for Slide Zooms
- Using Animation Triggers with Slide Zooms (Bonus Tip)
- Conclusion
- Frequently Asked Questions (FAQ)
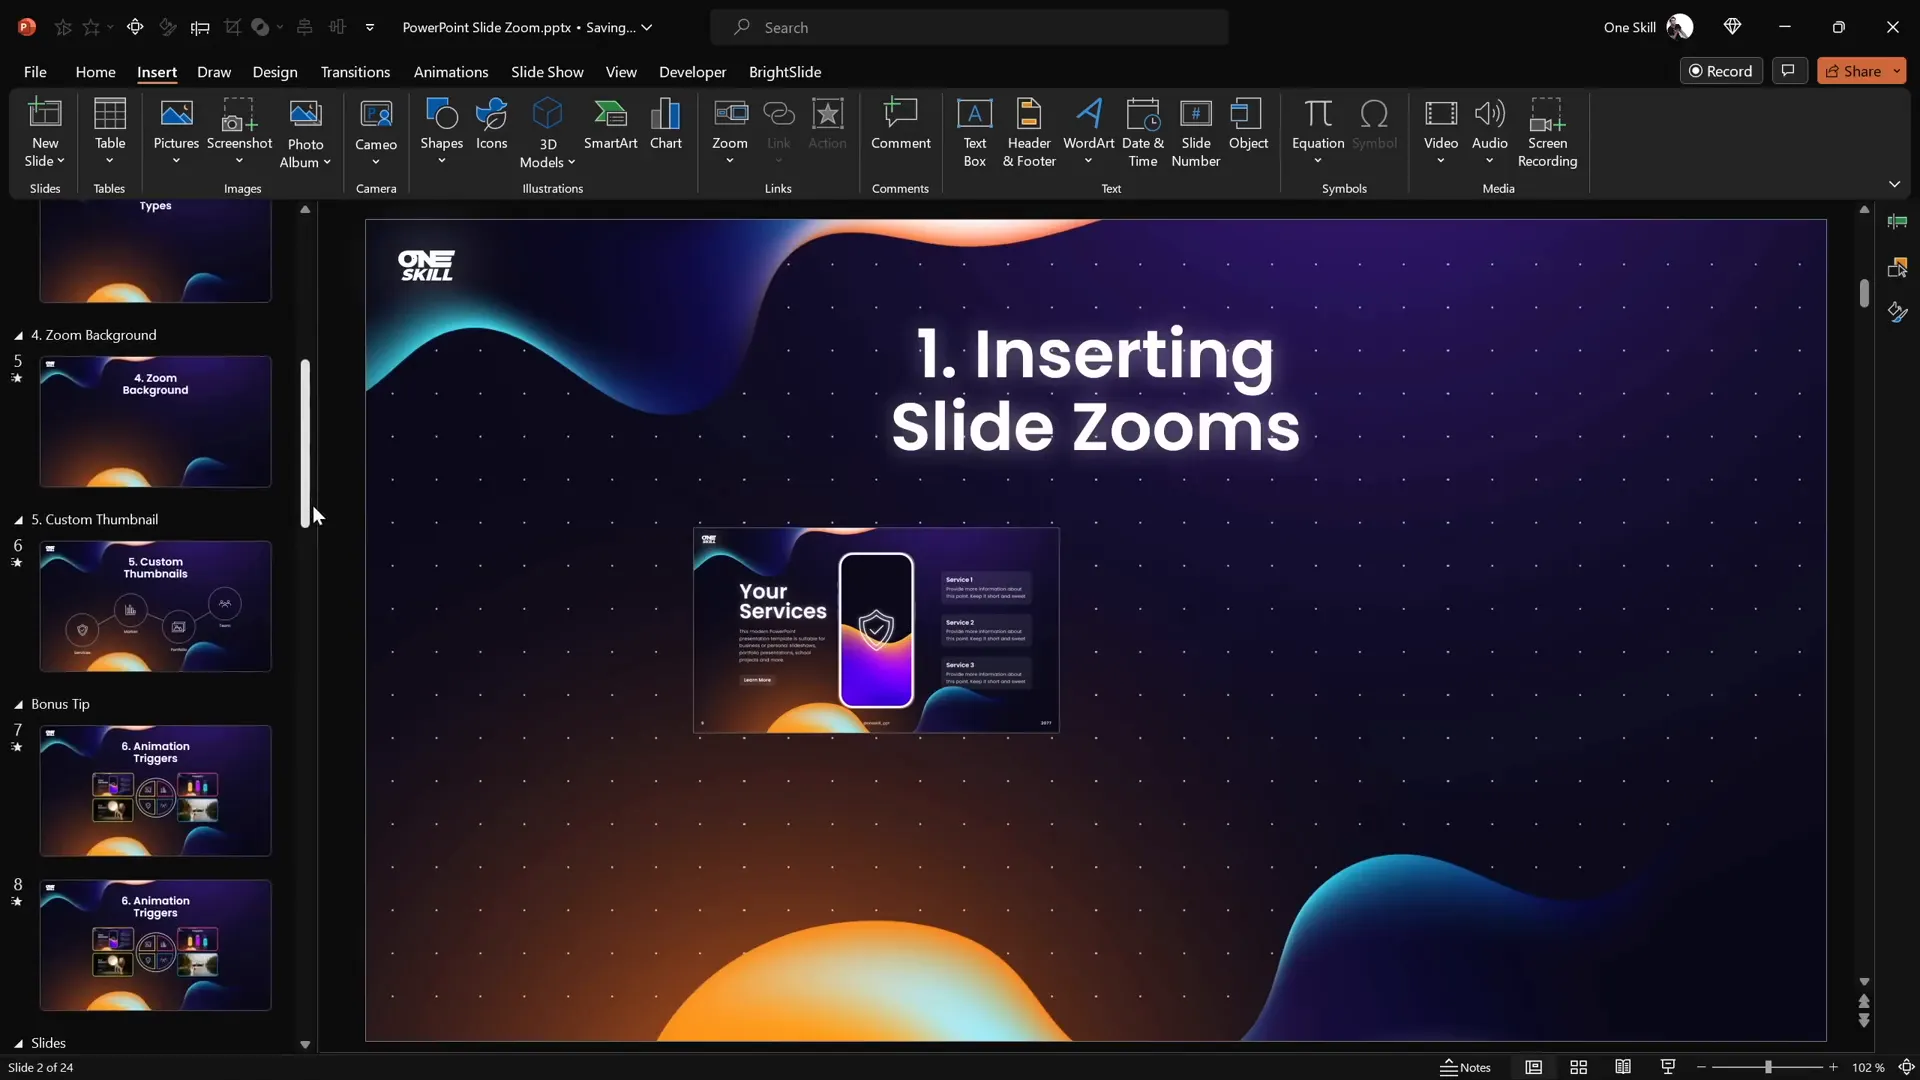
How to Insert Slide Zooms
To begin mastering Slide Zooms, the first step is knowing how to insert them into your presentation. There are two straightforward methods to do this:
- Using the Insert Tab:
- Go to the Insert tab on the PowerPoint ribbon.
- Click on the Zoom button and select Slide Zoom.
- A window will pop up showing all the slides in your presentation. Simply select the slide you want to zoom into and click Insert.
- Dragging from Slide Thumbnails:
- On the left-hand side, where your slide thumbnails are displayed, click and drag any slide you want to use as a zoom target directly onto your current slide.
- Drop it where you want the Slide Zoom to appear.
Once inserted, you might notice a thin outline around your Slide Zoom. By default, PowerPoint adds this border, but you can remove it for a cleaner look:
- Select the Slide Zoom object(s).
- Go to the Zoom tab, select Zoom Border, and choose No Outline.
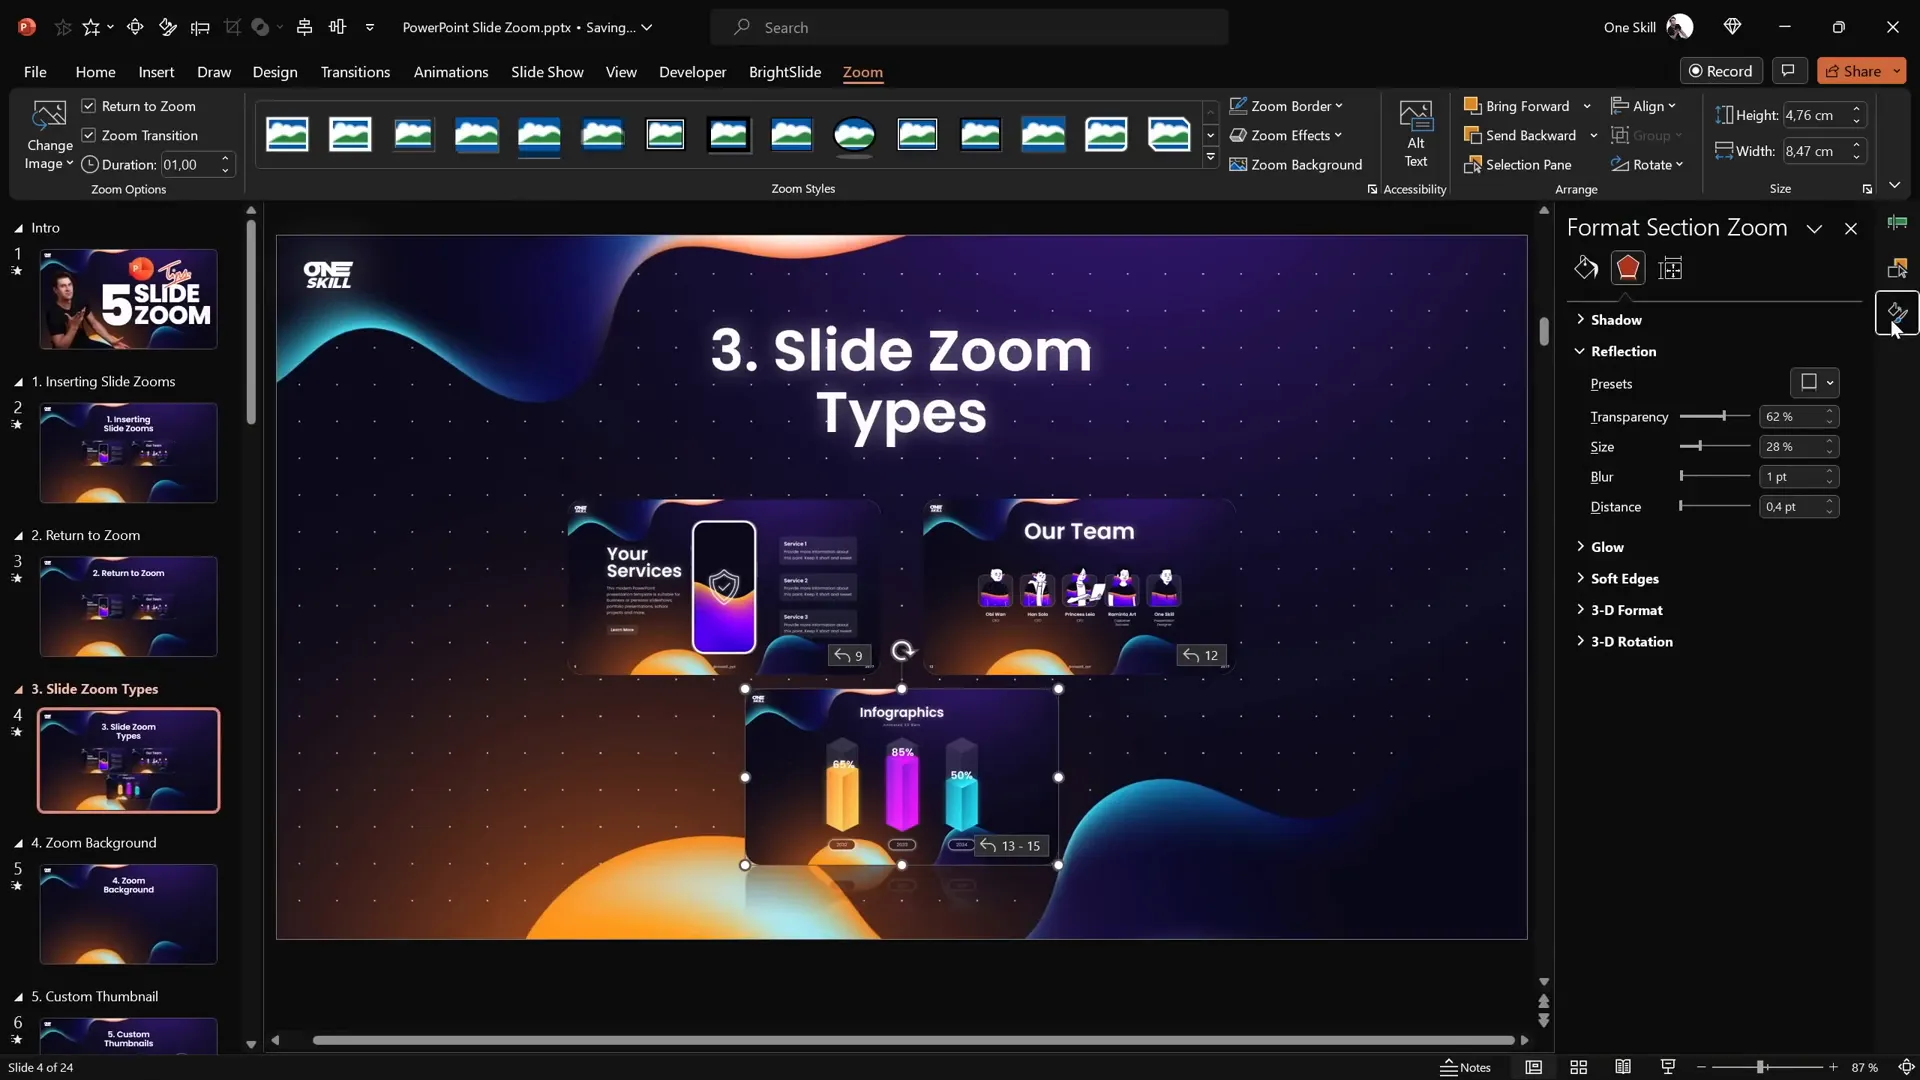
To add a touch of polish, you can also apply styles like rounded corners with reflections:
- With the Slide Zoom(s) selected, go to the Format tab.
- Choose a style such as Reflected Rounded Rectangle to soften the edges.
- If you prefer, you can disable reflections in the Format Pane under Reflections by selecting None.
Try playing your presentation and clicking on the Slide Zoom – you’ll zoom into the selected slide, creating an engaging, interactive effect. However, by default, clicking again takes you forward through the slides instead of returning to your starting point.
To fix this, enable the Return to Zoom feature:
- Select the Slide Zoom.
- Go to the Zoom tab and check the box next to Return to Zoom.
- Do this for all Slide Zooms where you want to be able to zoom back.
Now, when you zoom into a slide and click again, PowerPoint will take you back to the home slide or the previous slide, making your presentation feel seamless and professional.
Understanding Slide Zoom, Section Zoom, and Summary Zoom
PowerPoint offers three types of zooms—each designed for different navigation needs within your presentation:
| Zoom Type | Purpose | Behavior | Use Case |
|---|---|---|---|
| Slide Zoom | Zoom into a single slide | Zooms into one slide and returns on second click | Perfect for highlighting a specific slide |
| Section Zoom | Zoom into and navigate through multiple slides in a section | Zooms into a section, plays slides sequentially, then returns | Great for grouped content or mini-segments |
| Summary Zoom | Creates a dashboard of section zooms | Acts as a navigation hub for sections, returning to summary slide | Ideal for bird’s eye view and non-linear navigation |
Section Zooms
Before inserting a Section Zoom, ensure your presentation is divided into sections. You can collapse or expand these sections in the slide thumbnail pane. Then:
- Go to Insert > Zoom > Section Zoom.
- Select the section you want to zoom into and click Insert.
- Remove the zoom border and apply rounded corners for a polished look.
- Enable Return to Zoom to allow navigation back to the home slide.
Section Zooms allow you to navigate through multiple slides in a section before returning, perfect for mini-presentations or grouped content.
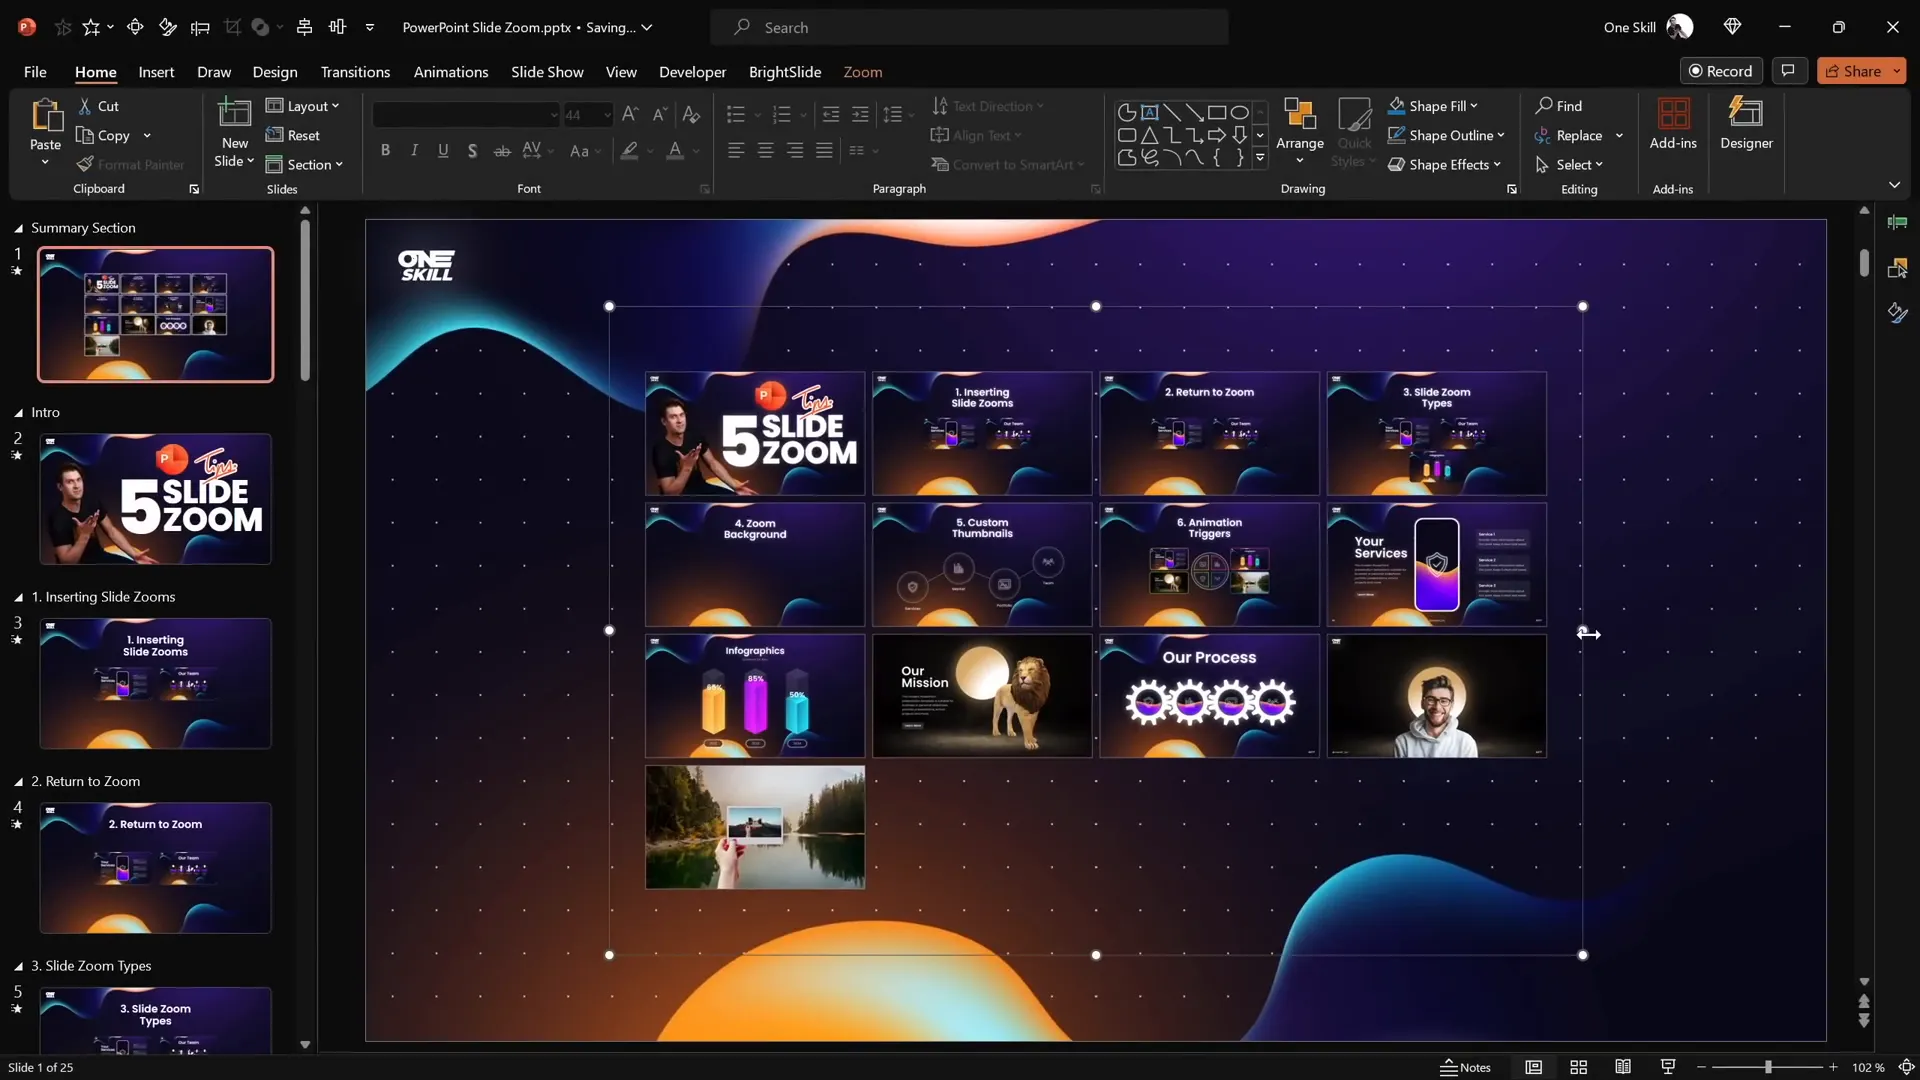
Summary Zooms
Summary Zooms are the ultimate navigation tool, creating a dashboard of all your sections. They automatically create a new section called “Summary Section” and insert all your section zooms there.
To insert a Summary Zoom:
- Go to Insert > Zoom > Summary Zoom.
- Select the sections you want to include (usually all sections) and click Insert.
- PowerPoint creates a summary slide with a grid of section zooms.
- You can resize zoom thumbnails and arrange them in multiple columns for better aesthetics.
- Add a slide title like “Summary Zoom” for clarity.
- Remove borders, add rounded corners, and disable reflections for a consistent style.
This zoom type is fantastic when you want to give your audience a bird’s eye view and let them navigate non-linearly through your presentation.
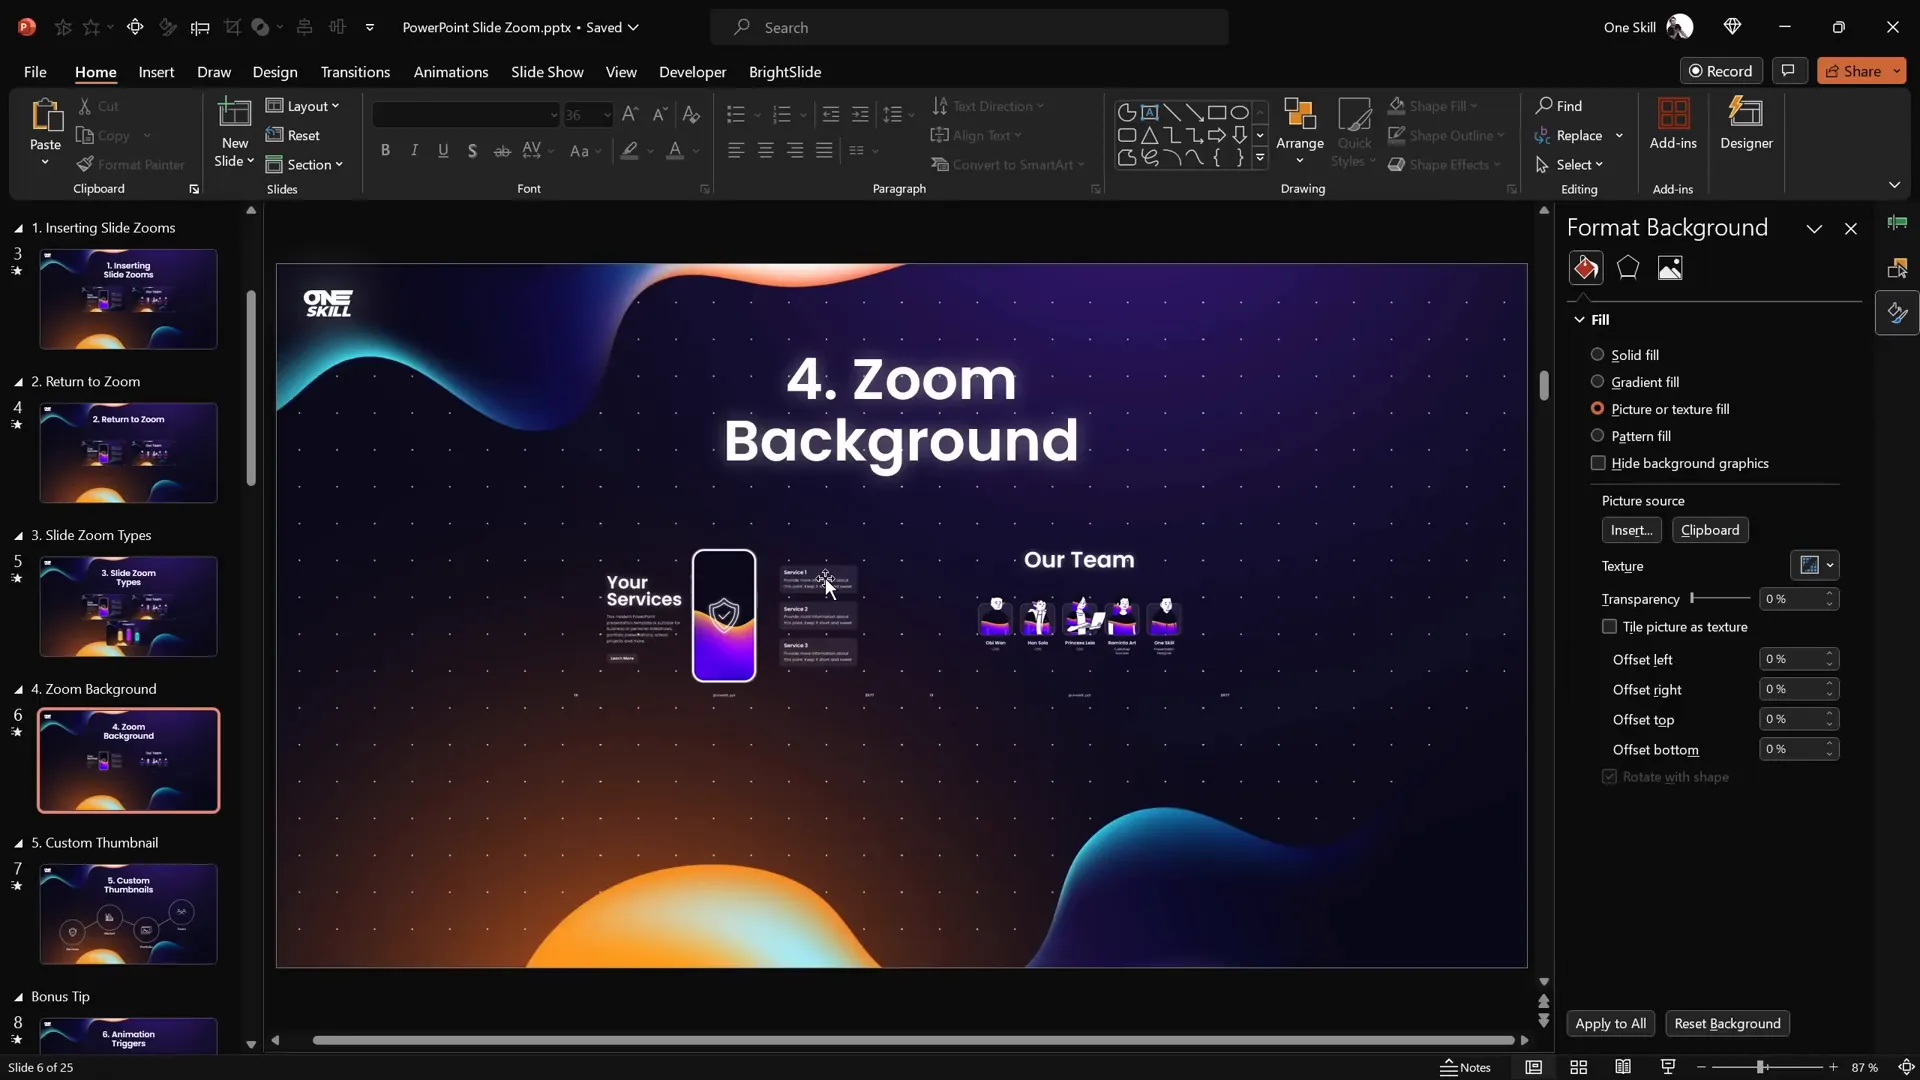
Making Slide Zoom Backgrounds Transparent
One of the coolest visual tricks you can use with Slide Zooms is making their backgrounds transparent. This creates a beautiful depth effect, making it seem like everything happens on the same canvas but at different zoom levels.
To enable transparent backgrounds for Slide Zooms:
- Select the Slide Zoom.
- Go to the Zoom tab and click Zoom Background.
- Repeat for all Slide Zooms where you want transparency.
If you see a white background instead of transparency, make sure the slide itself uses a picture, solid, or gradient fill for its background. This ensures the transparency effect works properly.
When you run your presentation, transparent Slide Zooms blend seamlessly with the home slide background, enhancing the visual flow.
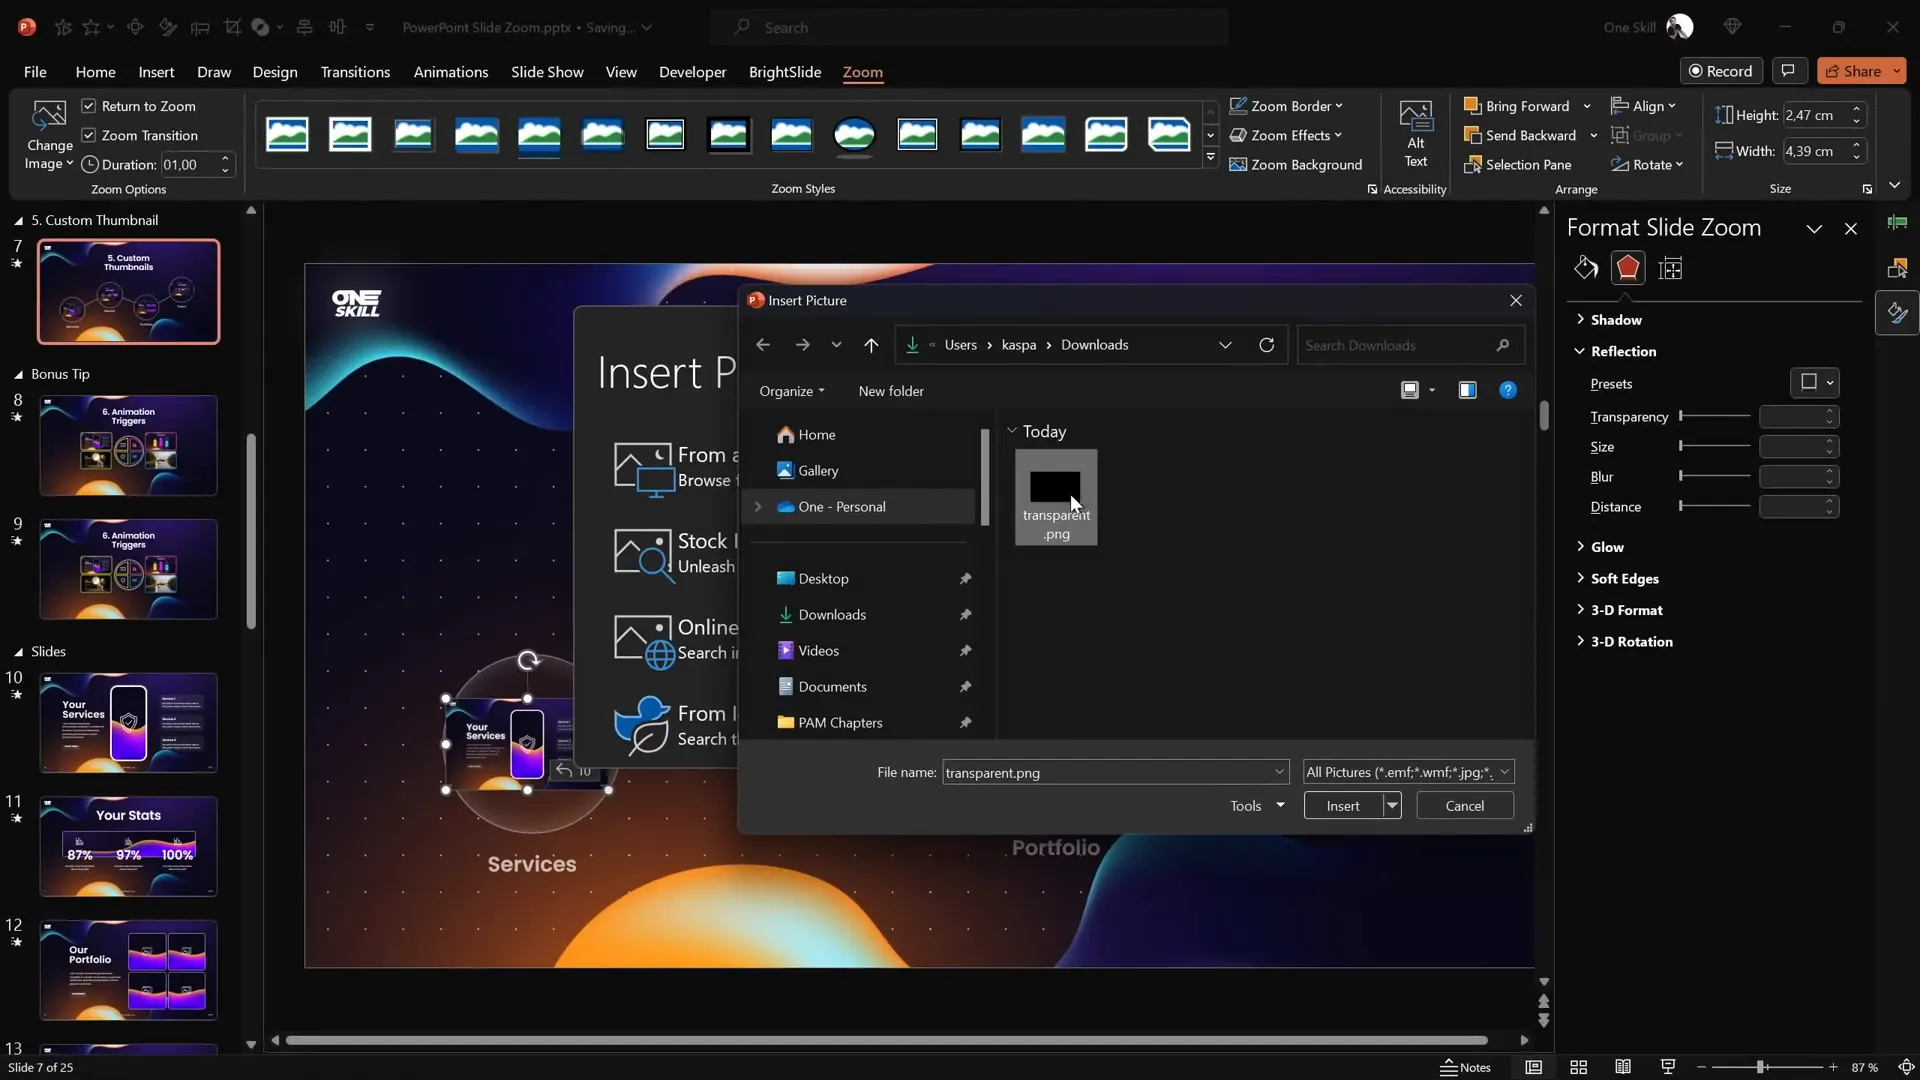
Creating Custom Thumbnails for Slide Zooms
By default, a Slide Zoom shows the entire content of the slide it links to, which can reveal animations or information prematurely. To control what your audience sees before zooming in, you can set custom thumbnails (images) for your Slide Zooms.
Here’s how to create and apply custom thumbnails:

- Select the Slide Zoom object.
- Go to the Zoom tab and click Change Image.
- Choose an image file from your computer that you want to display as the thumbnail.
One clever trick is to create fully transparent thumbnails so that the Slide Zoom doesn’t cover important elements underneath, such as icons or shapes.
To create a transparent thumbnail:
- Insert a rectangle shape on a blank slide.
- Fill it with a solid color and set the transparency to 100%.
- Right-click the rectangle and select Save as Picture. Save as a PNG to preserve transparency.
- Delete the rectangle from the slide.
- Use this transparent PNG as the custom thumbnail for your Slide Zoom.
Using transparent thumbnails lets you maintain the visual design of your slide while keeping the Slide Zoom fully functional and interactive.
Using Animation Triggers with Slide Zooms (Bonus Tip)
Ready to take your PowerPoint presentation skills to the next level? Combining Slide Zooms with animation triggers creates highly interactive presentations that respond to user clicks in sophisticated ways.
Here’s a practical example of how to use animation triggers with Section Zooms:
- Insert multiple Section Zooms on a slide.
- Add buttons or shapes that will act as controls to open or close these zooms.
- Use the Animation Pane to add entrance and exit animations to your Section Zooms.
- Apply motion path animations to simulate zooming from and back to the buttons.
- Use the Trigger feature in the Animation Pane to tie animations to specific button clicks.
- Add grow/shrink animations to buttons to create a pressing effect when clicked.
By setting up triggers, you allow your audience to click buttons to open zoomed sections and click again to close them, making your presentation feel like an interactive app.
Here’s a high-level step-by-step of the process:
- Select the Section Zoom and add a Basic Zoom entrance animation.
- Add a Motion Path animation, reversed, so the zoom moves from the button to its position.
- Group these animations under a trigger linked to the button.
- Add a grow/shrink animation to the button for a click effect.
- Add exit animations to the Section Zoom with motion path moving back to the button.
- Group exit animations under the same button trigger.
Once set up, clicking the button opens the zoomed section with animations, and clicking again closes it, returning to the home slide.

This technique adds a professional polish to your presentations and immerses your audience in a seamless, interactive experience.
Conclusion
Mastering the Slide Zoom feature is a fantastic way to boost your PowerPoint presentation skills and deliver presentations that are anything but boring. By incorporating Slide Zooms, Section Zooms, and Summary Zooms, you give your audience control over the flow and create dynamic navigation paths.
Remember these key takeaways:
- Insert Slide Zooms easily via the Insert tab or drag from the slide thumbnails.
- Use Section Zooms to zoom into multiple slides grouped in sections.
- Leverage Summary Zooms as a dashboard for navigating your entire presentation.
- Make backgrounds transparent for stunning depth effects.
- Create custom thumbnails to control what your audience sees before zooming in.
- Employ animation triggers to add interactivity and control animations with clicks.
With these tips, your presentations will stand out, keeping your audience engaged and impressed. Practice these techniques and watch your PowerPoint skills soar!
Frequently Asked Questions (FAQ)
What is the difference between Slide Zoom, Section Zoom, and Summary Zoom?
Slide Zoom zooms into a single slide, Section Zoom zooms into a group of slides within a section, and Summary Zoom creates a navigation dashboard of multiple sections for non-linear presentation flow.
Can I customize the appearance of Slide Zoom thumbnails?
Yes! You can change the thumbnail image for any Slide Zoom to a custom image, including fully transparent images, allowing you to control what is visible before zooming in.
How do I enable returning to the original slide after zooming in?
Select your Slide or Section Zoom, go to the Zoom tab, and check the box labeled Return to Zoom. This lets you zoom back to the starting slide after viewing the zoomed content.
Can Slide Zooms work with animations?
While Slide Zooms show the full slide content immediately, you can use custom thumbnails to hide animations initially. Additionally, combining Slide Zooms with animation triggers can create advanced interactive effects.
What are animation triggers and how do they enhance Slide Zooms?
Animation triggers allow animations to start based on user actions, like clicking a button. When applied to Slide or Section Zooms, they enable interactive buttons that open and close zooms with smooth animations, enhancing engagement.
Are these Slide Zoom techniques suitable for all types of presentations?
Yes! Whether you’re giving a corporate report, educational session, or creative pitch, Slide Zooms add interactivity and flexibility to your presentation flow, making them suitable for various contexts.
Check out the full video: PowerPoint Presentation Skills: Best Slide Zoom Tips! ✨


