
PowerPoint is an incredible tool for crafting visually stunning presentations that captivate your audience. If you’re looking to elevate your presentation design game, learning to create trendy and eye-catching effects is essential. One such effect that has gained popularity for its sleek, modern aesthetic is the glassmorphic effect. This effect mimics frosted glass, adding a translucent, blurred look combined with subtle shadows and highlights—perfect for making your slides pop.
In this comprehensive guide, you will learn how to create an animated glassmorphic effect in PowerPoint using simple shapes, gradient fills, picture effects, and the powerful morph transition. Whether you’re a beginner or an experienced user, mastering this technique will significantly boost your Powerpoint presentation skills and help you produce professional-quality slides that stand out.
Let’s dive into the step-by-step process to build this captivating effect, understand the design principles behind it, and explore how you can customize it for your own presentations.
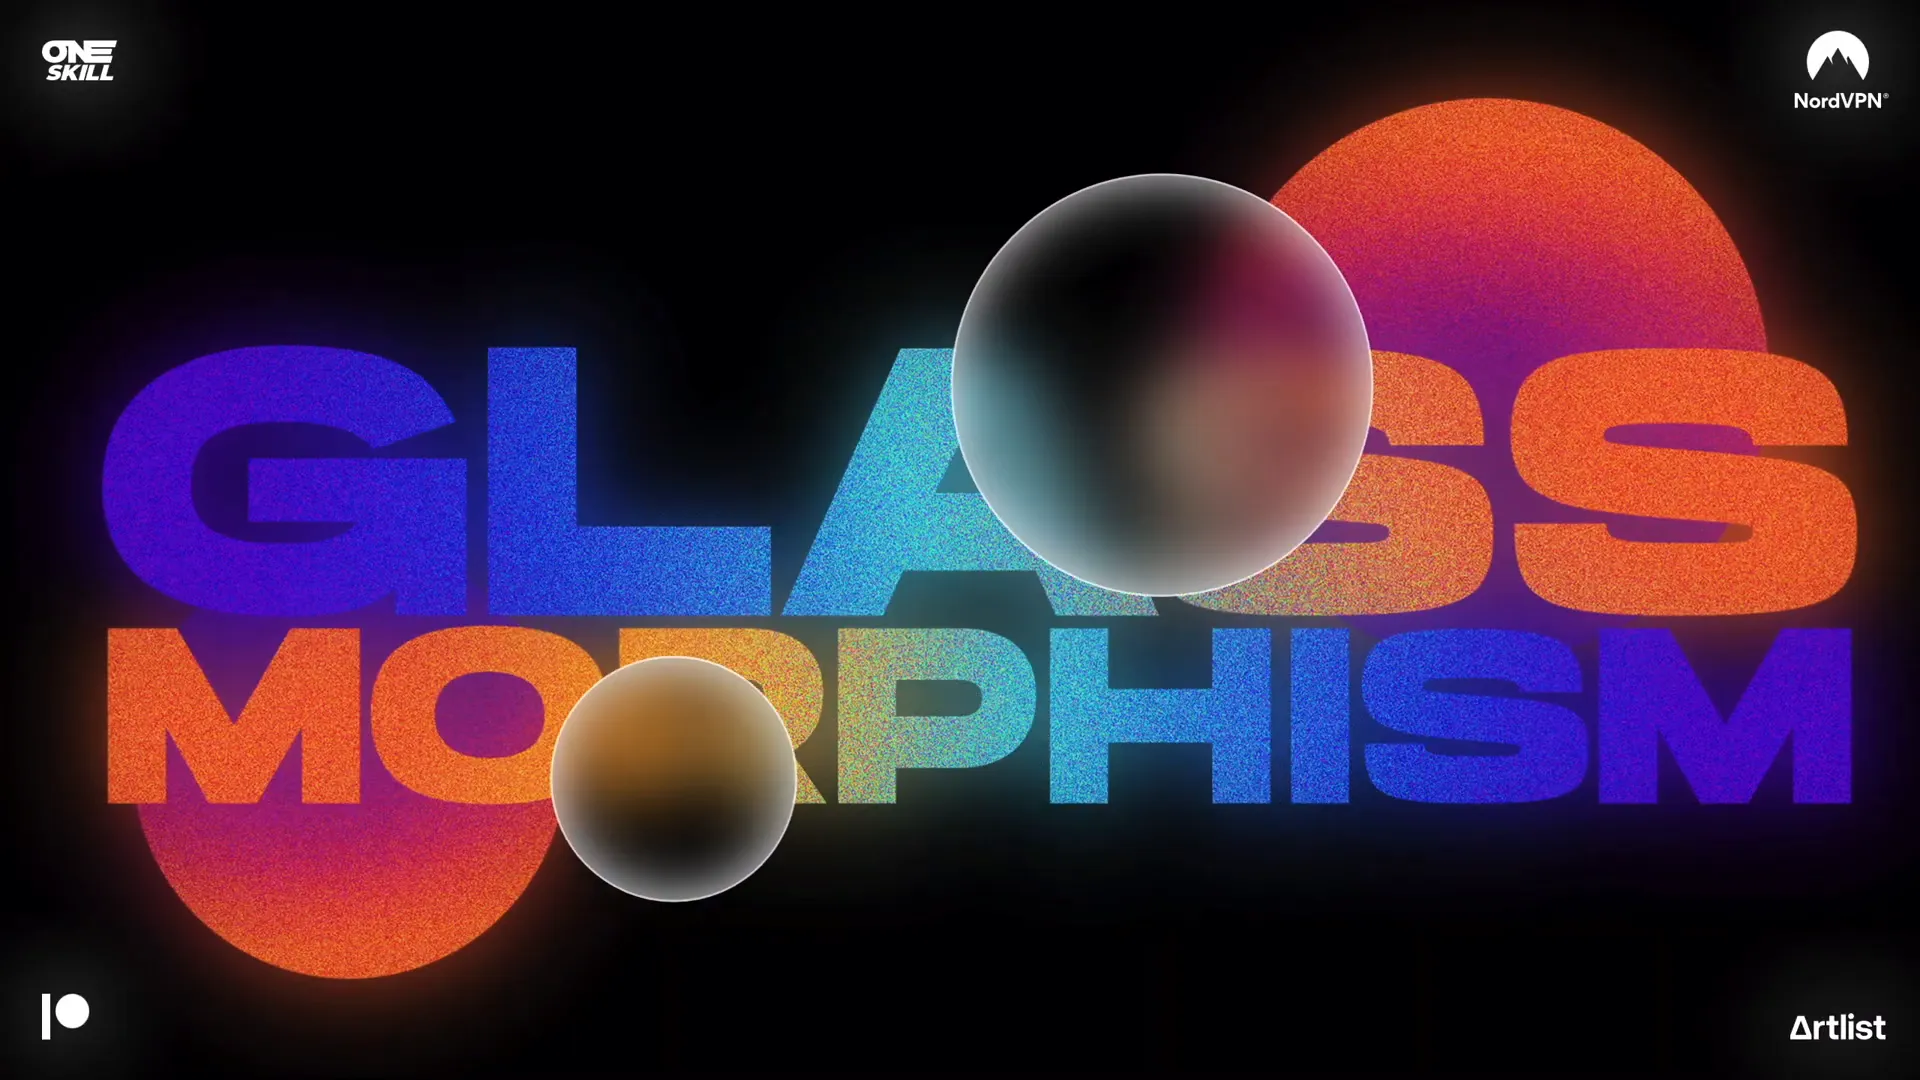
Table of Contents
- Understanding the Glassmorphic Effect
- Preparing Your Slide Design
- Creating Gradient-Filled Text Boxes
- Adding Radial Gradient Circles
- Converting Slide Design to Picture for Effects
- Applying Picture Effects for Texture and Color
- Cropping and Blurring for the Glass Look
- Animating with the Morph Transition
- Adding a Glow Effect for Extra Impact
- Tips, Customization, and Advanced Techniques
- Frequently Asked Questions
- Conclusion
Understanding the Glassmorphic Effect
The glassmorphic design trend has become a staple in modern UI/UX design and presentation aesthetics. It’s characterized by:
- Translucency: Elements appear semi-transparent, mimicking frosted glass.
- Blurred background: The background behind the object is softly blurred, enhancing the glass illusion.
- Light shadows and highlights: Subtle inner shadows and white outlines simulate light refraction on glass edges.
- Color gradients: Smooth gradients add depth and vibrancy.
Recreating this effect in PowerPoint might sound intimidating, but with the right approach, you can achieve it with just shapes, fills, and effects available in Microsoft 365 PowerPoint.
Animated versions of this effect add an extra layer of sophistication by dynamically moving the glass-like elements—perfect for slide transitions, tech presentations, and modern branding visuals.
Preparing Your Slide Design
Before diving into effects, you need a solid base slide design. Here’s how to start:
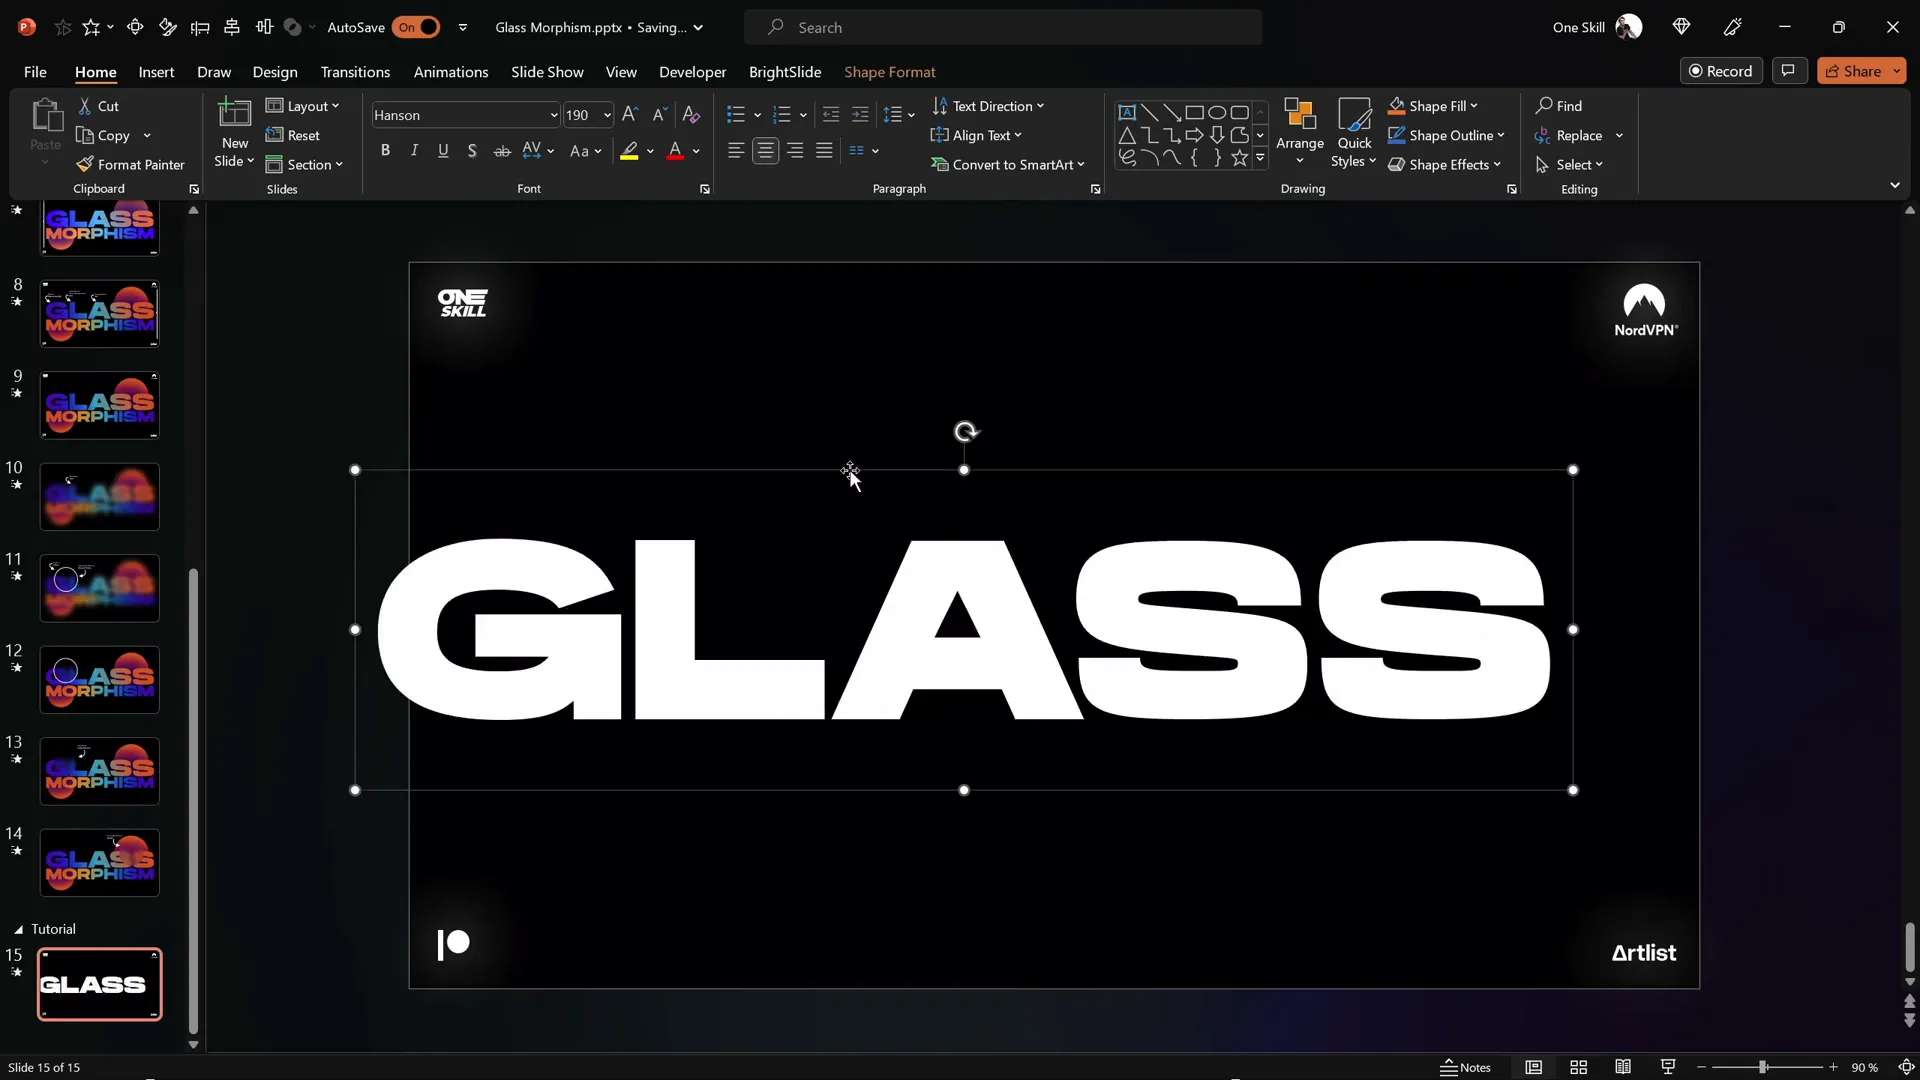
1. Insert Text Boxes
Open your PowerPoint slide, and insert two text boxes. These will hold the main and subtitle text for your design.
Font choice: The font used for this effect is Hanson, a free and stylish font that complements the glassmorphic aesthetic perfectly. You can download it from here.
Font sizes:
- First text box: 190 pt
- Second text box: 125 pt
Use these sizes as a starting point; you can adjust depending on your slide layout.
2. Position Text Boxes
Place the text boxes where you want them on the slide. For a clean, balanced look, center-align both text boxes horizontally on the slide.
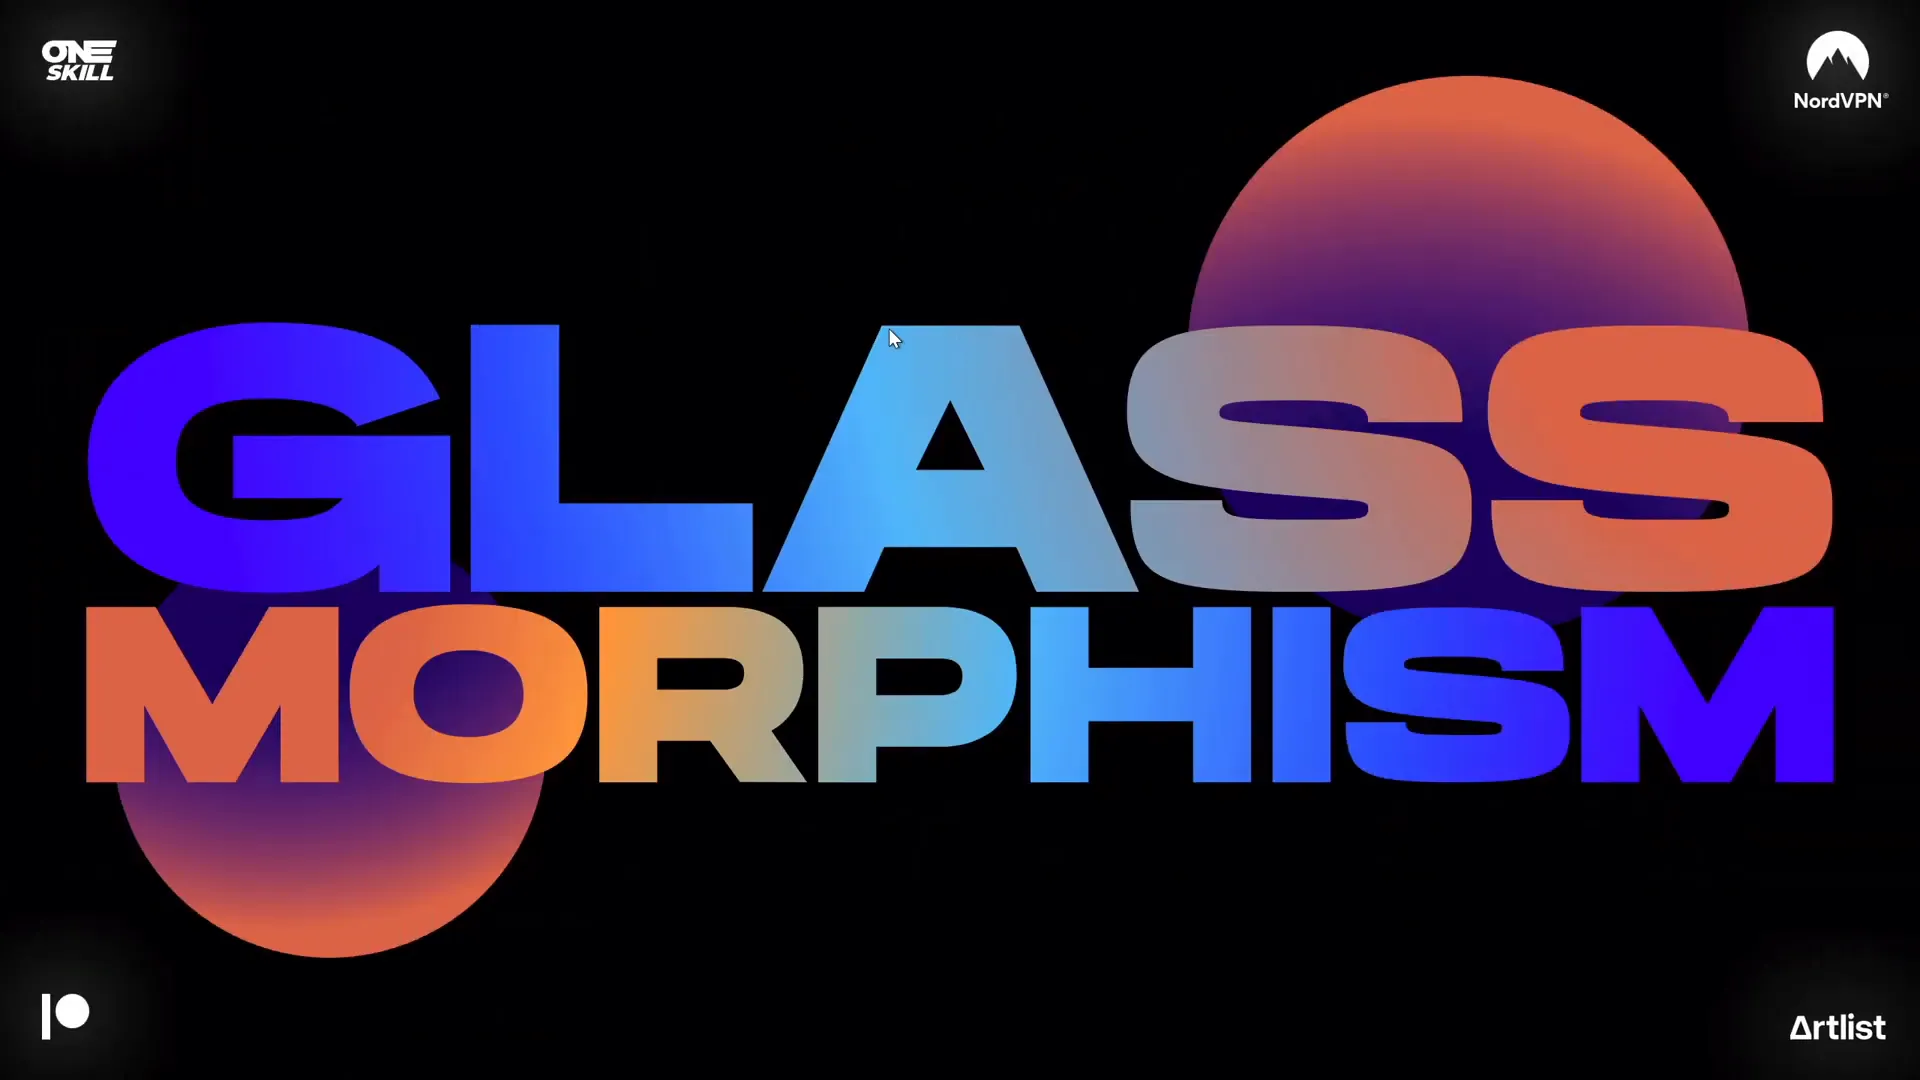
Creating Gradient-Filled Text Boxes
The magic of the glassmorphic look partly lies in the beautiful gradient fills applied to the text.
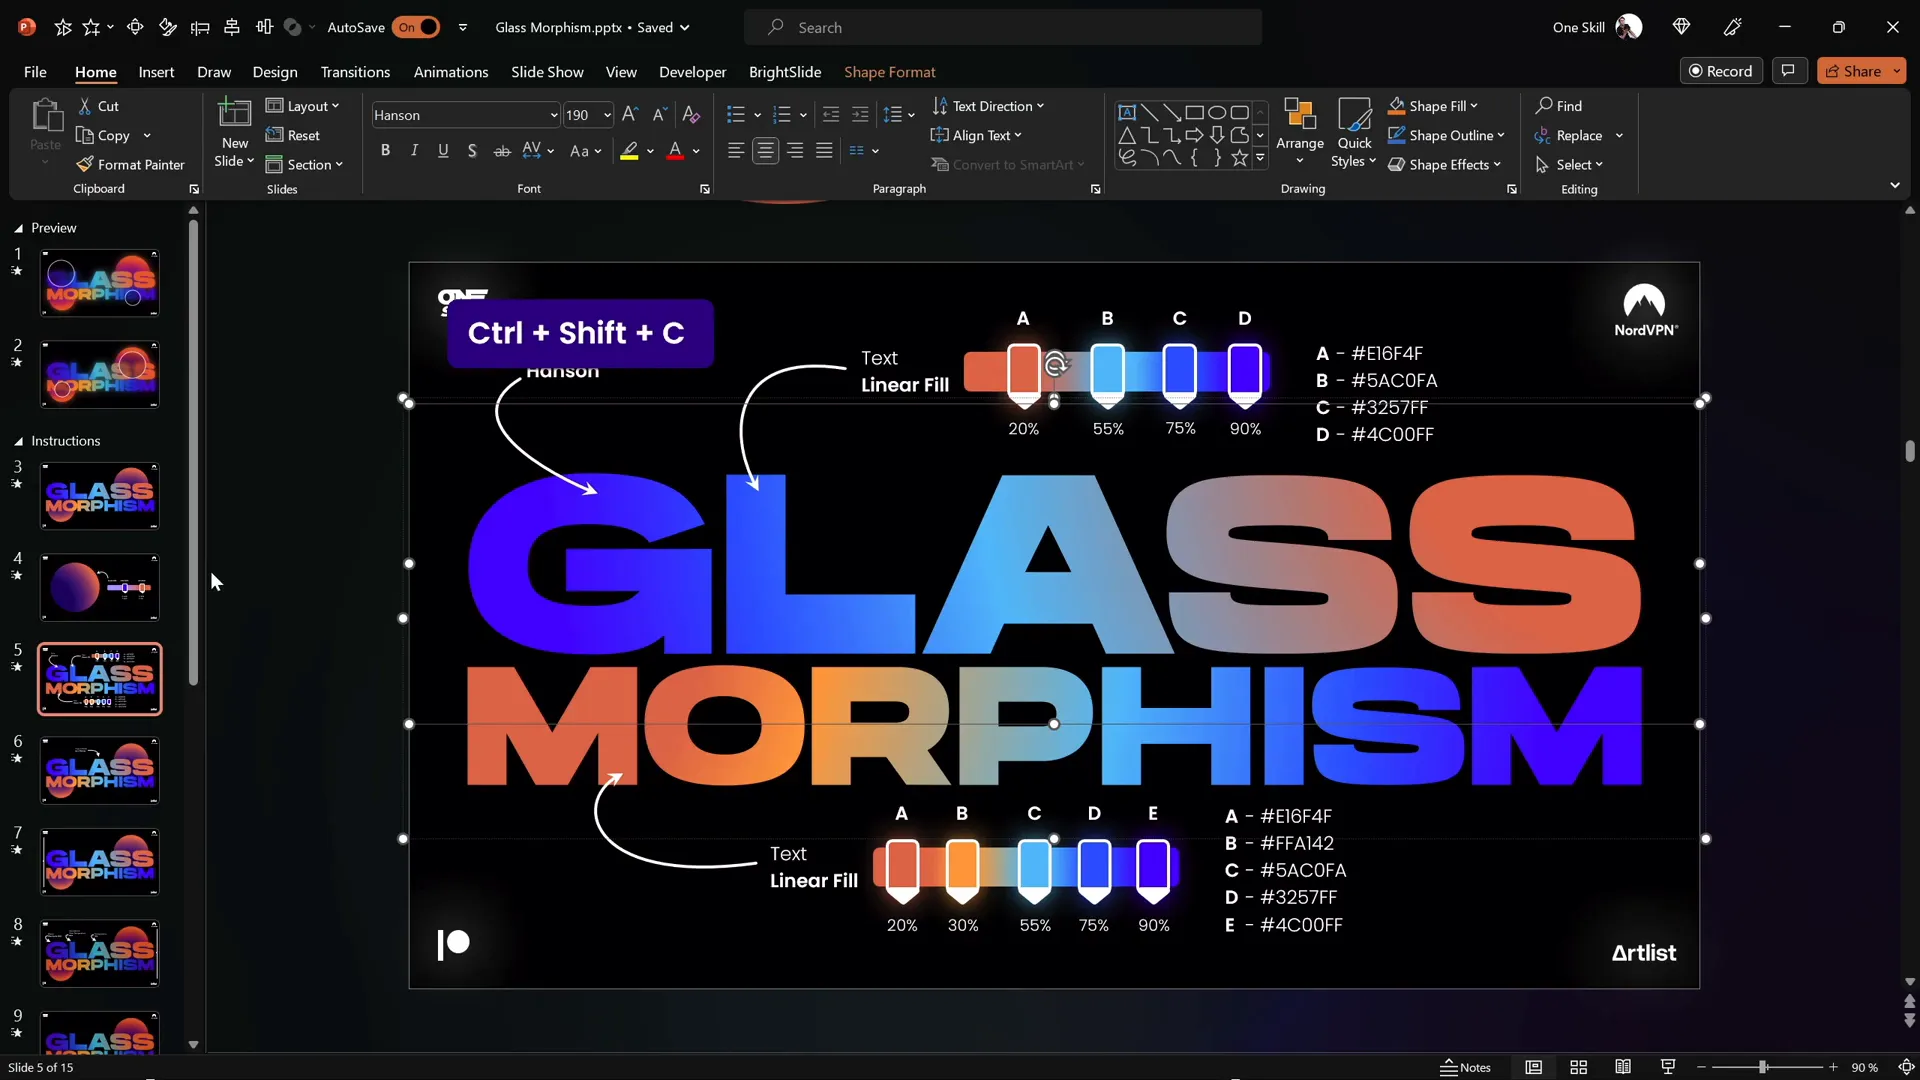
How to apply gradient fills to text:
- Select the first text box.
- Open the Format Text Effects pane.
- Choose Text Fill & Outline, then select Gradient Fill.
- Create a linear gradient fill with four color stops. The colors should blend smoothly to create a vibrant, delicious look.
For the second (bottom) text box, add one more color stop to have five colors in total, enriching the gradient complexity.
To speed up the process, you can use the shortcut Ctrl + Shift + C to copy the style from one text box, then Ctrl + Shift + V to paste the gradient fill style onto another text box.
Tip: Group the two text boxes together (select both, right-click, and choose Group) to easily move and center-align them as a single unit.
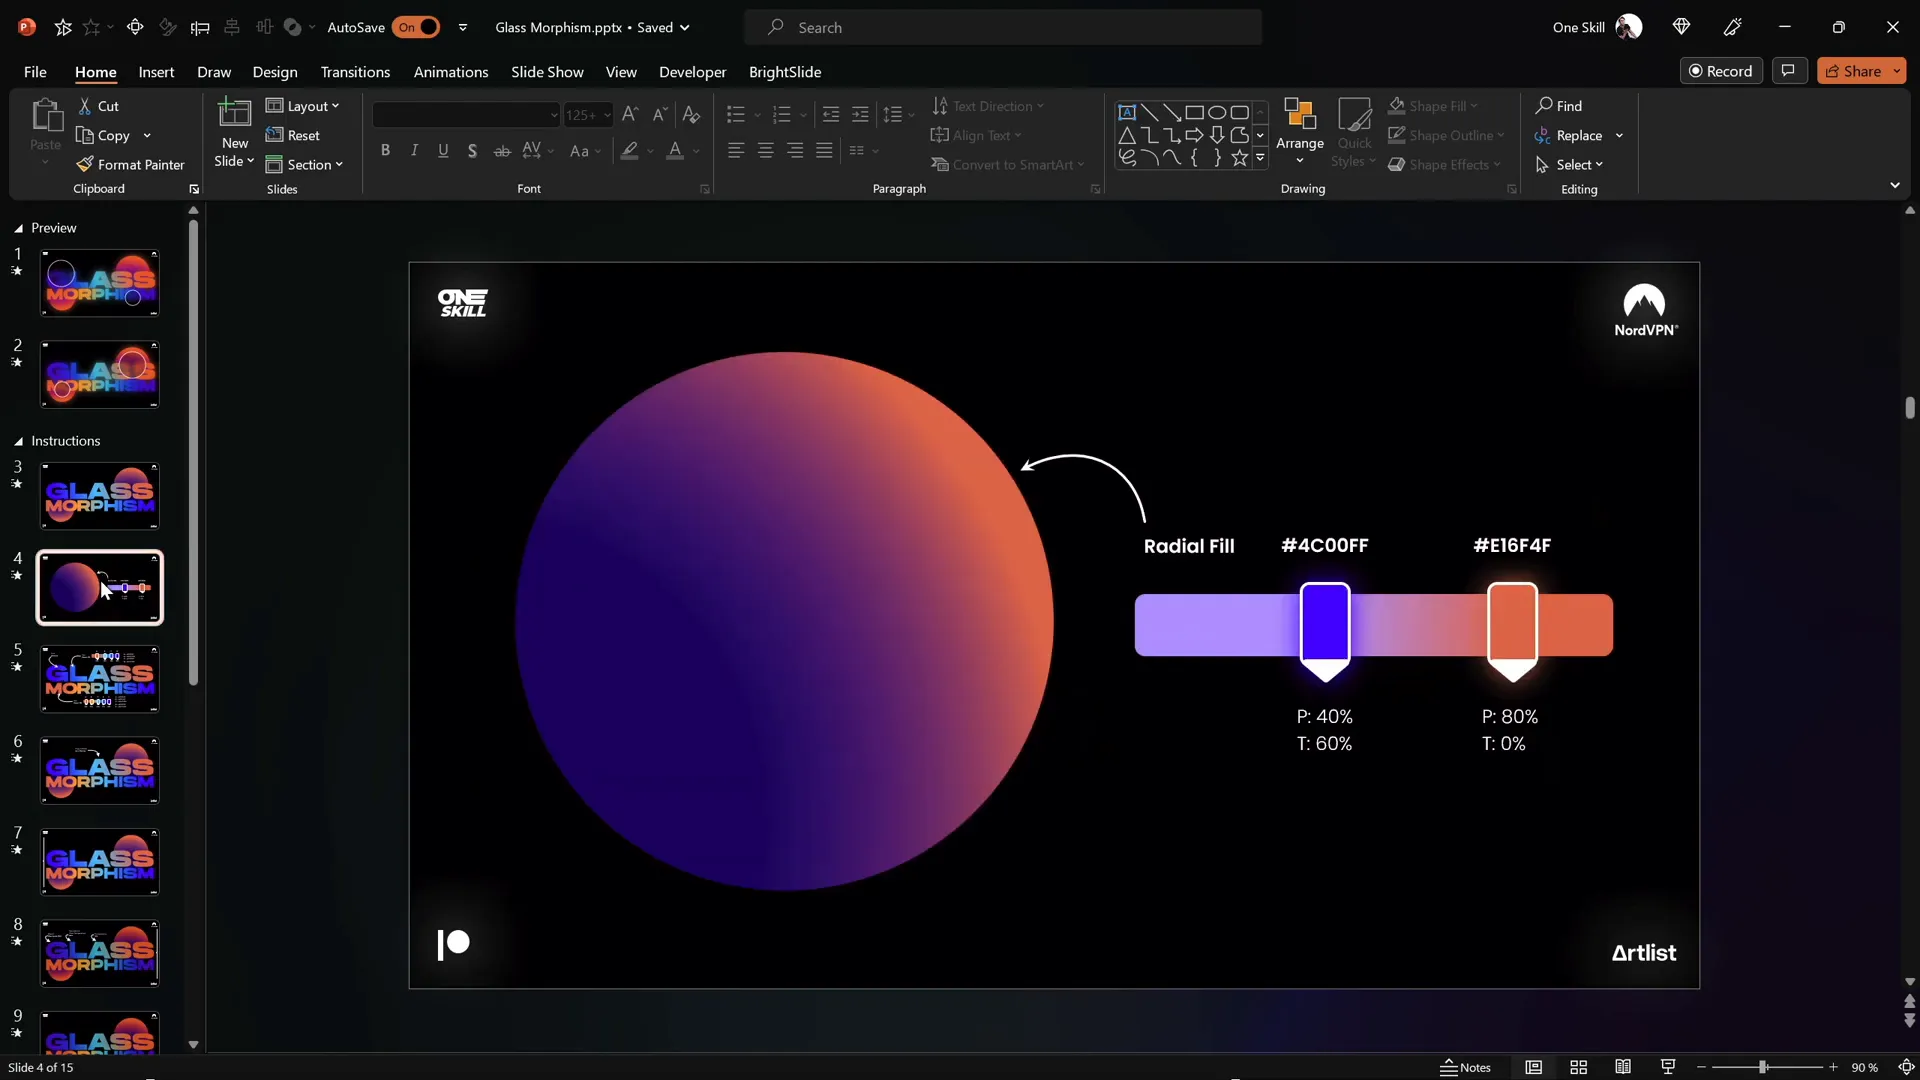
Adding Radial Gradient Circles
Circles with radial gradient fills form the background elements that enhance the glassmorphic vibe.
Steps to create the circles:
- Insert two perfect circles by holding the Shift key while drawing.
- Apply a radial gradient fill to each circle using two color stops.
- Set the first color stop with a bit of transparency to give the circles a soft glow.
- Adjust the gradient position and transparency precisely to match the desired look. Use the exact hex codes and transparency values for consistency.
- Send the circles behind the text boxes using the Send to Back option.
- Rotate the circles slightly to add dynamism.
Duplicate the first circle and reposition the second to create a balanced composition.
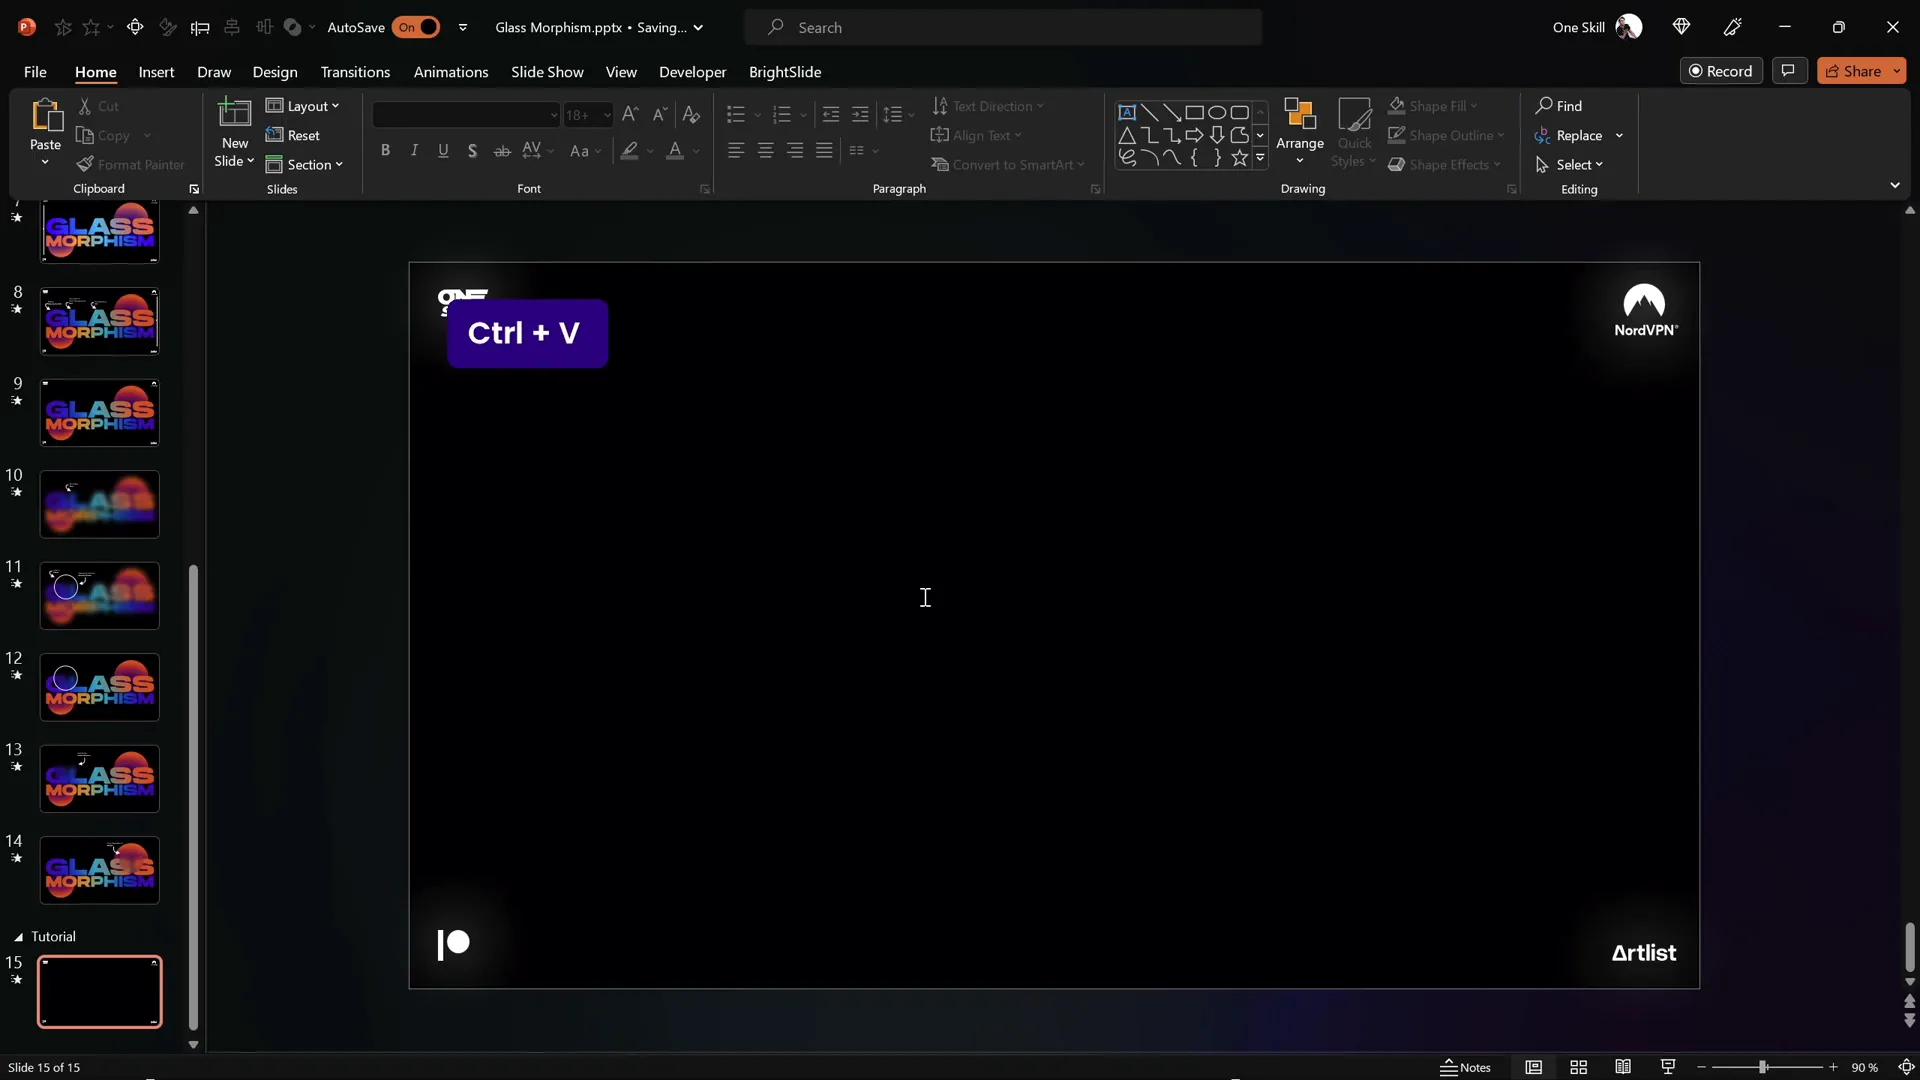
Converting Slide Design to Picture for Effects
Now that your slide design is ready with text and circles, the next step is to convert the entire design into a picture.
Why convert to a picture? This allows you to apply picture effects such as grain, saturation, temperature adjustments, and blur—effects that cannot be directly applied to grouped shapes or text.
How to convert the slide design into a picture:
- Select all elements on the slide (text boxes and circles).
- Cut the selection using Ctrl + X.
- Paste it back as a picture using Ctrl + V. Ensure you paste as a picture, not as shapes.
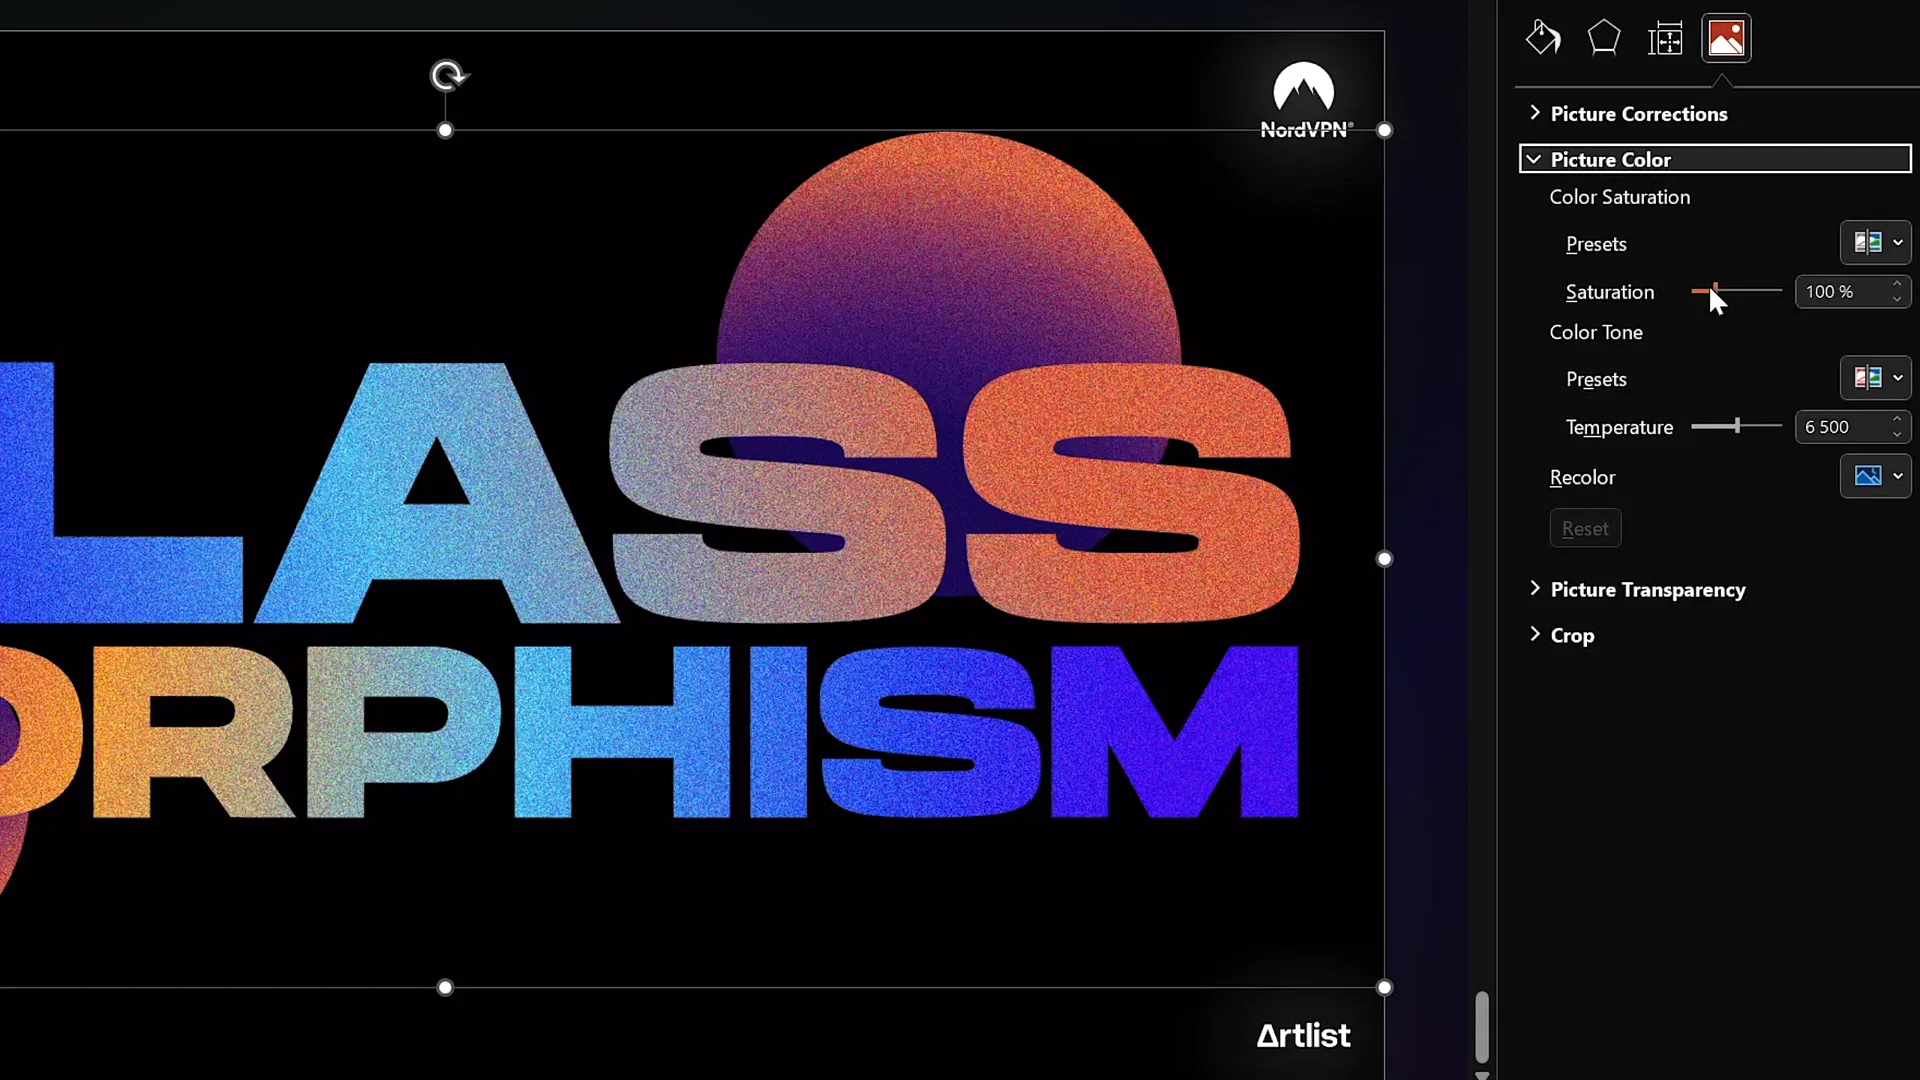
Applying Picture Effects for Texture and Color
With your slide design now a picture, it’s time to enhance it with artistic effects.
Steps to enhance the picture:
- Go to the Picture Format tab.
- Click on Artistic Effects and select Film Grain.
- Adjust the grain size to 50 for a subtle textured look.
- Open the Picture Color options.
- Maximize the saturation and color temperature to make colors pop.
- Reduce the picture’s transparency slightly to tone down the intensity of effects.
This combination creates a vibrant, grainy, and warm appearance that enhances the glassmorphic feel.
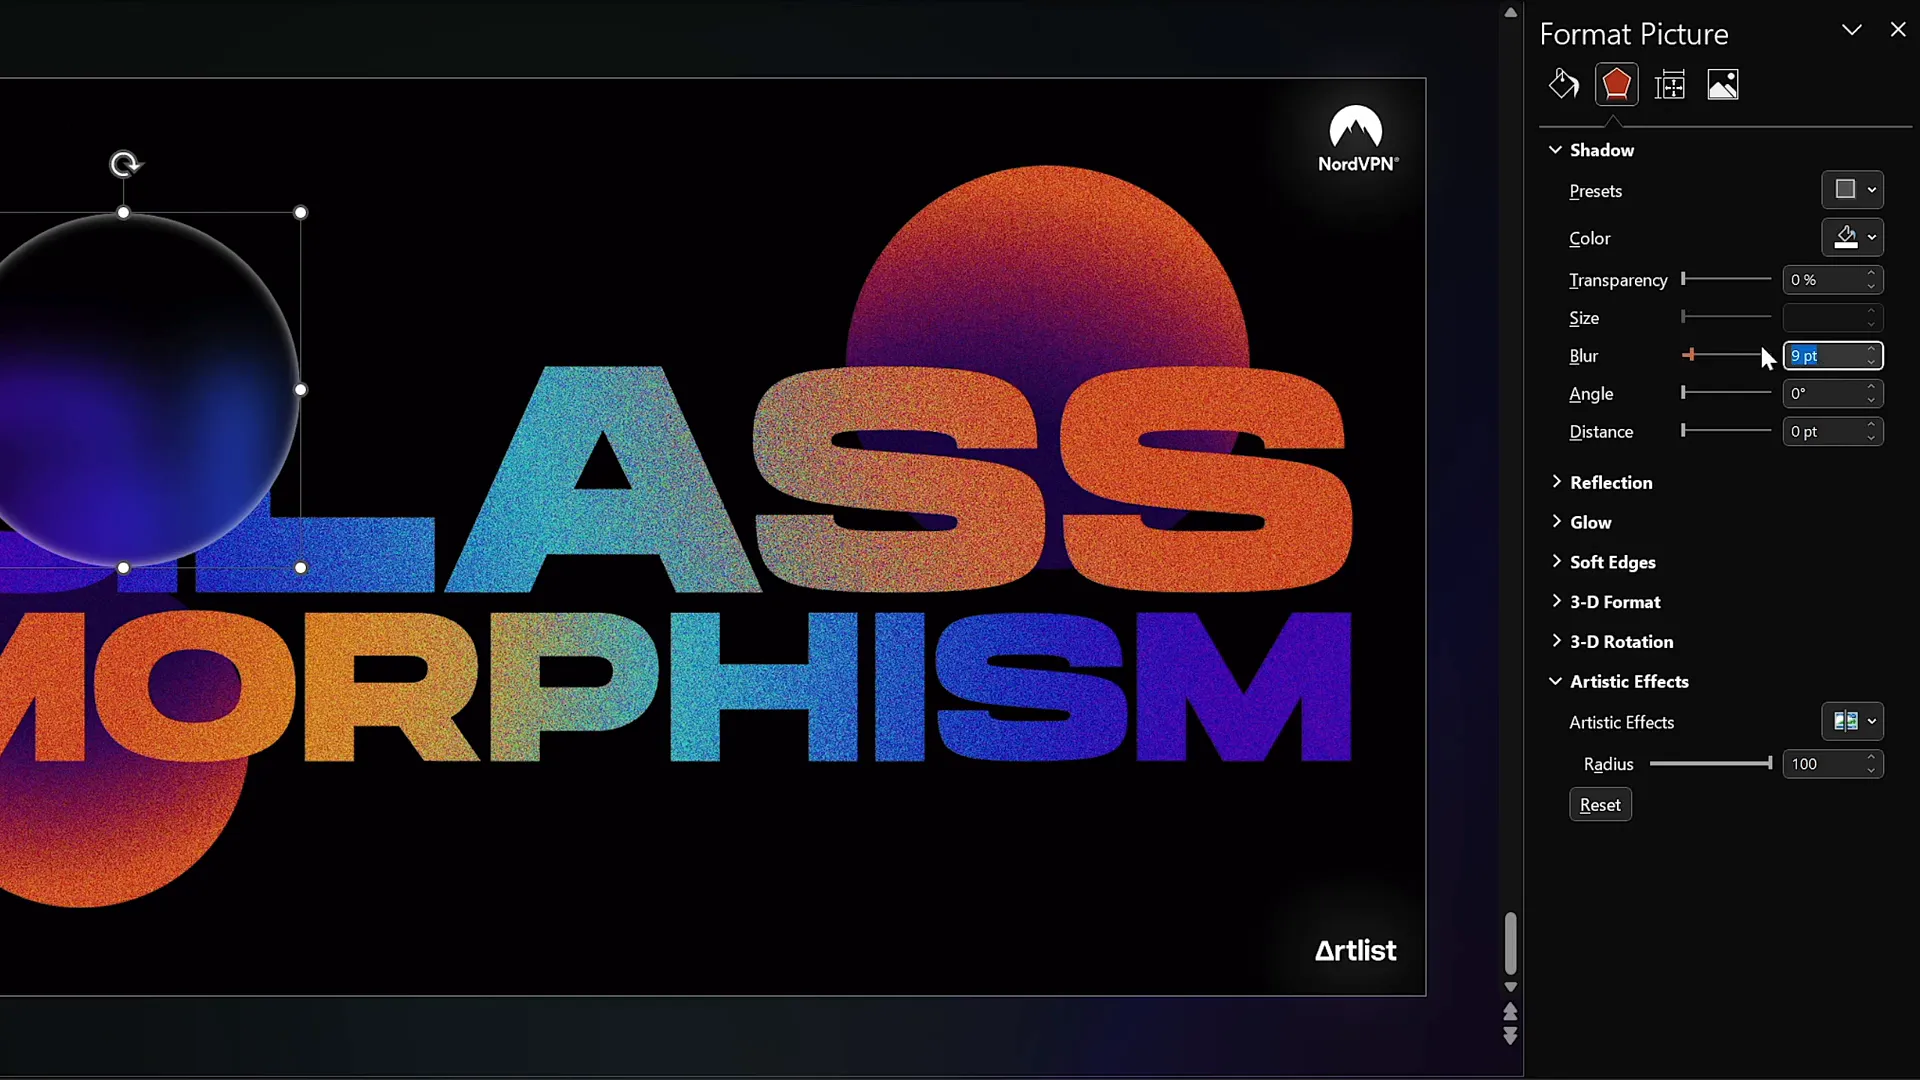
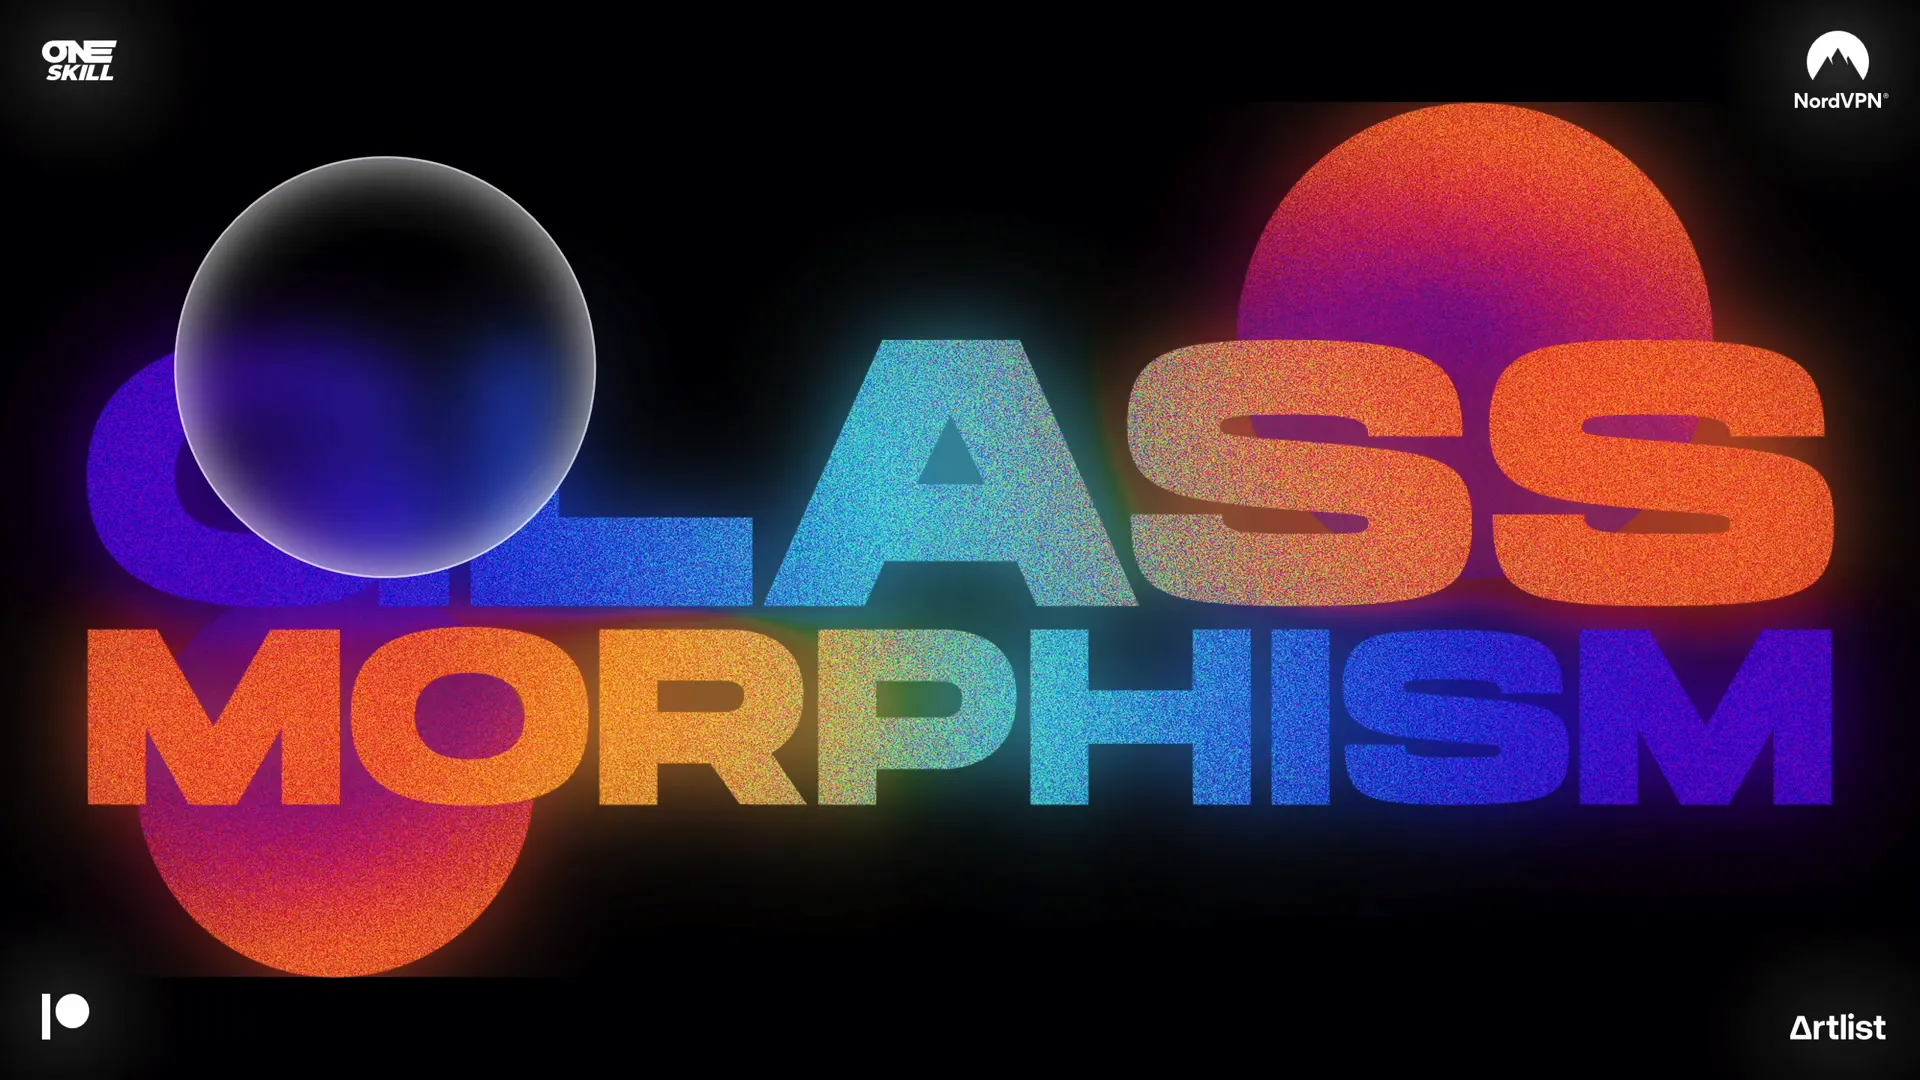
Cropping and Blurring for the Glass Look
To simulate frosted glass, you need a blurred version of your slide design cropped into a circle.
Steps to create the blurred glass circle:
- Save your entire slide as an image. A quick way is to put the presentation in full-screen mode and press Print Screen or use Shift + Windows Key + S to capture the screen.
- Paste the screenshot back onto your slide (Ctrl + V).
- Center the pasted image exactly over the original slide.
- Apply a maximum blur effect to this screenshot.
- Insert a new circle shape anywhere on the slide.
- Select the blurred screenshot first, hold Shift, then select the circle.
- Use Merge Shapes > Intersect to crop the blurred image to the shape of the circle.
- Add a white inside shadow to the circle to simulate frostiness.
- Add a subtle white outline with 1 pt width and 20% transparency for a delicate highlight.
This creates a frosted, translucent circle that looks like glass.
Animating with the Morph Transition
To add animation and bring your glassmorphic design to life, use PowerPoint’s Morph transition.

Steps to animate:
- Duplicate your slide (Ctrl + D or right-click > Duplicate Slide).
- On the duplicate slide, select the glassmorphic circle.
- Use the Crop tool to reposition the circle to a new location on the slide.
- Apply the Morph transition to the duplicated slide.
The morph transition will smoothly animate the circle moving from its original position to the new one, simulating a floating glass effect.
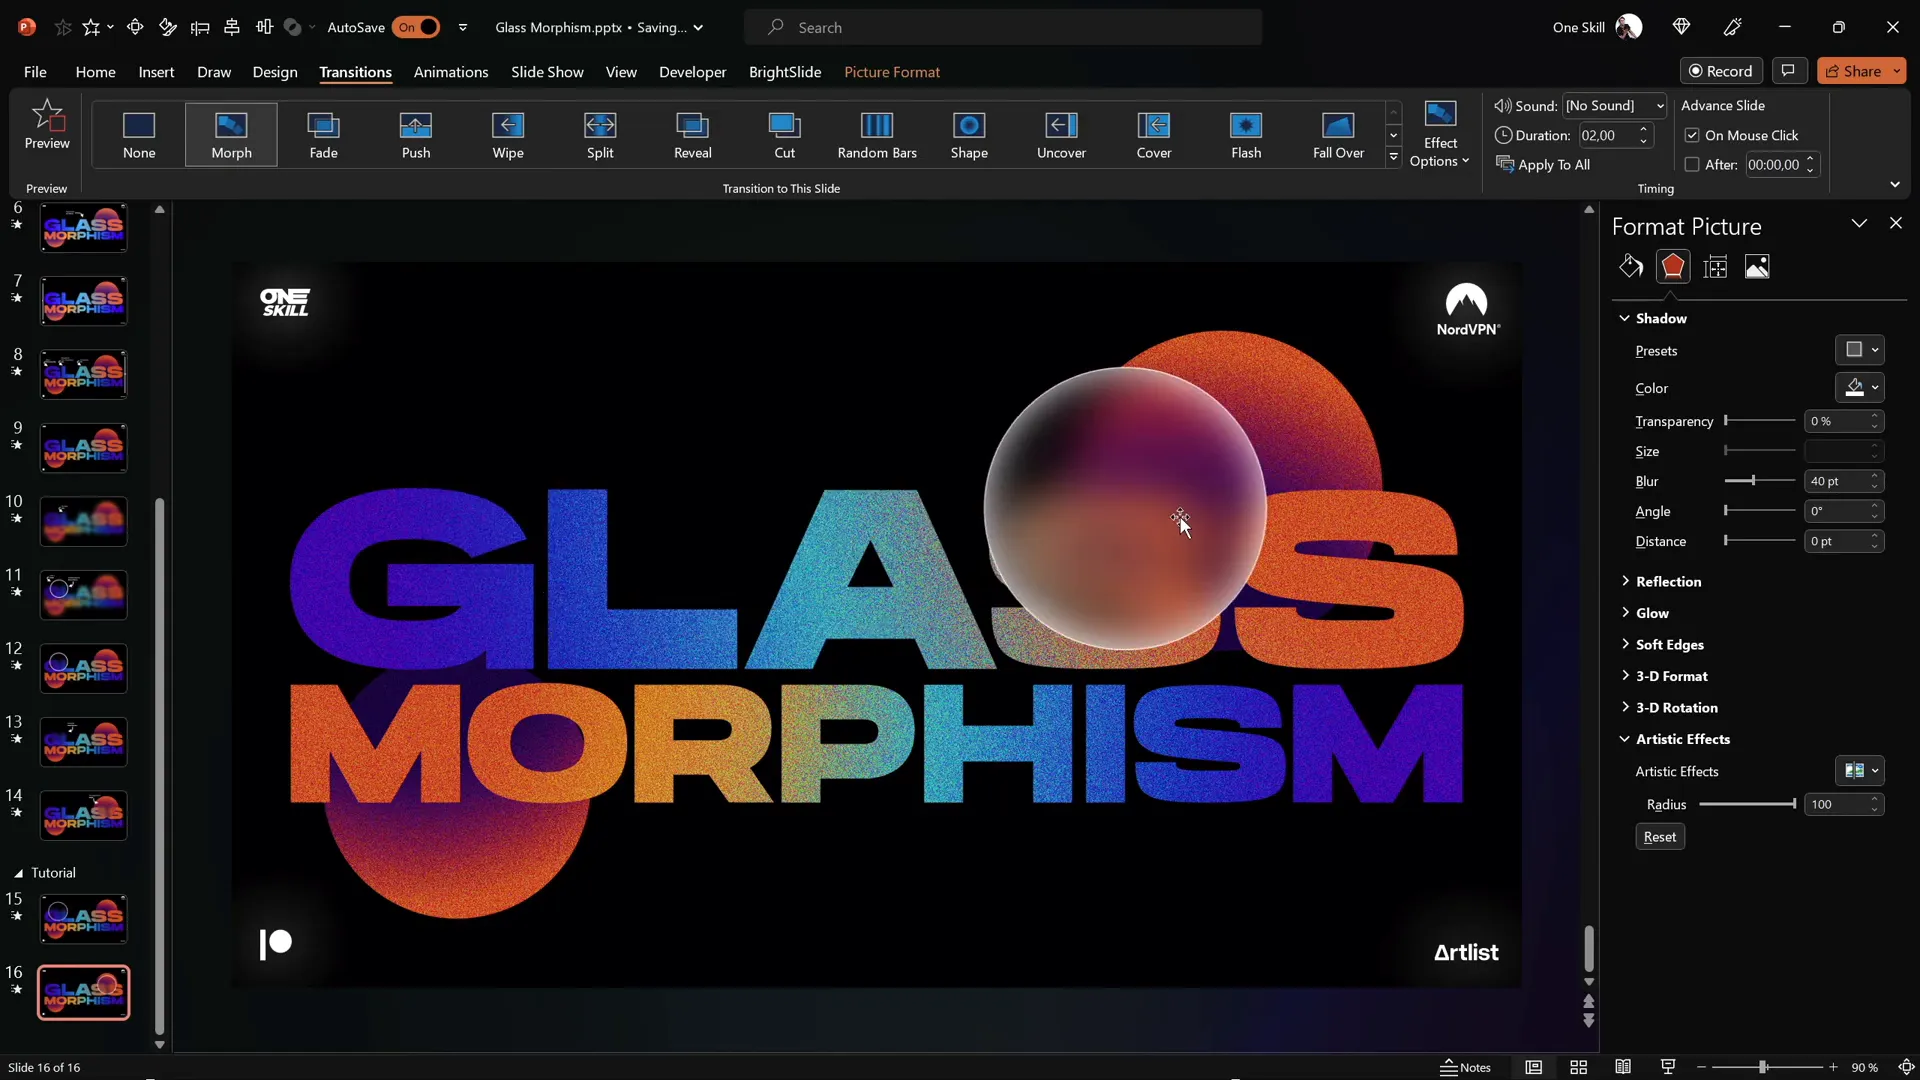
Adding a Glow Effect for Extra Impact
To make your glassmorphic design glow, apply an additional blur effect on a duplicate of your slide design picture.
How to add the glow:
- Duplicate your slide design picture and place the copy directly on top of the original.
- Apply the Blur artistic effect to the top copy at maximum intensity.
- Send the blurred copy behind the grainy picture to create a subtle glowing aura.
- Copy and paste this blurred glow element to the duplicate slide as well, centering and sending it to back.
This layered effect adds depth and an ethereal glow, making your glassmorphic elements truly stand out.
Tips, Customization, and Advanced Techniques
Now that you’ve mastered the core process, here are some tips to customize and enhance your glassmorphic slides:
1. Add Multiple Glass Circles
Feel free to insert as many translucent circles as you like to create complex, layered glassmorphic compositions. Use the selection pane to manage overlapping elements efficiently.
2. Experiment with Colors and Gradients
Change the gradient fill colors on text and circles to match your brand palette or the mood of your presentation.
3. Use Different Shapes
While circles are classic, you can also try rectangles or custom shapes with rounded corners for unique glass effects.
4. Adjust Transparency and Blur
Tweak the transparency levels and blur intensity to get the perfect balance between clarity and frosted effect.
5. Utilize PowerPoint’s Selection Pane
When working with many layered objects, the selection pane helps you hide, reorder, or lock elements to streamline your workflow.
6. Use High-Resolution Screenshots
For best results when capturing your slide as a picture, use high-resolution monitors or export your slide as an image directly from PowerPoint.
7. Practice Morph Transitions
The morph effect is powerful for animating smooth movements and transformations. Experiment with morphing different shapes and images to create dynamic presentations.
8. Save Your Work
Remember to frequently save your presentation to avoid losing progress, especially when working with complex effects.
Summary Table: Key Steps to Create Animated Glassmorphic Effect
| Step | Action | Tip |
|---|---|---|
| 1 | Insert text boxes and circles | Use the free Hanson font and hold Shift to draw perfect circles |
| 2 | Apply gradient fills to text and radial gradient to circles | Copy and paste styles using Ctrl+Shift+C and Ctrl+Shift+V |
| 3 | Group and convert slide design to picture | Allows applying picture effects |
| 4 | Apply film grain, saturation, and temperature effects | Boost saturation/temperature to max, reduce transparency |
| 5 | Save slide as image and apply maximum blur | Use Print Screen or Shift+Windows+S for screenshots |
| 6 | Crop blurred image to circle using Merge Shapes > Intersect | Add white inside shadow and subtle white outline |
| 7 | Duplicate slide, reposition circle and apply Morph transition | Morph creates smooth animation |
| 8 | Duplicate slide design picture and apply max blur for glow | Send blurred version behind grainy picture |
Frequently Asked Questions
What version of PowerPoint do I need to create this effect?
This tutorial uses PowerPoint Microsoft 365 on Windows, which supports advanced picture effects and the Morph transition. While some earlier versions have similar features, Microsoft 365 ensures the smoothest experience.
Can I use other fonts besides Hanson?
Absolutely! While Hanson is recommended for its modern look, you can experiment with any font that fits your presentation’s tone. Just ensure the font is bold or thick enough to display gradient fills effectively.
Is the glassmorphic effect suitable for all types of presentations?
This effect is ideal for tech, creative, and modern business presentations. For more formal or minimalist presentations, use it sparingly or adapt the colors and blur to suit your style.
How can I add multiple glassmorphic elements?
Simply duplicate the blurred and cropped circles, reposition them, and use the Morph transition to animate each element’s movement for a layered look.
Can I export the final presentation as a video with the animation?
Yes! Once your morph transitions and animations are set, you can export your PowerPoint as a video file to share or upload.
How do I manage layering and object selection?
Use the Selection Pane in PowerPoint (found under Home > Select > Selection Pane) to easily manage the visibility and order of your objects, especially when working with many overlapping elements.
Conclusion
Mastering Powerpoint presentation skills means knowing how to leverage the software’s design and animation tools to create engaging, professional slides. The animated glassmorphic effect is a fantastic technique to add a modern and sophisticated touch to your presentations.
By following this step-by-step guide, you can create stunning frosted glass circles with gradient-filled text, enhanced by picture effects and smooth morph animations. This effect will wow your audience and elevate your presentation style.
Remember, the key to great PowerPoint design is experimenting with gradients, transparencies, and layering while keeping your slides clean and focused. Practice these techniques, customize them to your needs, and soon you’ll be crafting presentations that truly shine.
Stay creative, and happy presenting!
Check out the full video: PowerPoint Presentation Skills: Creating the Glassmorphic Effect! ✨


