If you’ve ever marveled at intricate animations and wondered if they were crafted with complex software, think again. PowerPoint, a tool many consider basic, is a powerhouse for creating captivating animations—like a 3D laptop opening animation that’s fully customizable. In this comprehensive guide, you’ll learn how to create this animation using simple shapes, clever 3D effects, and the Morph transition. This tutorial will elevate your PowerPoint presentation skills and open doors to engaging visual storytelling.
From inserting your own text, pictures, or even videos inside the laptop screen, to mastering perspective rotations and 3D depth effects, this tutorial covers everything step-by-step. Let’s dive into the magical world of PowerPoint animation and design mastery.
Table of Contents
- Introduction to the 3D Laptop Animation Concept
- Creating the Basic Laptop Shapes
- Customizing the Rotation Axis for Realistic Movement
- Adding 3D Depth and Bevel Effects
- Aligning Elements and Closing the Laptop
- Applying the Morph Transition for Smooth Animation
- Building a Realistic Laptop Using Photos
- Inserting Custom Text into the Laptop Screen
- Embedding Pictures Inside the Laptop Screen
- Embedding Videos for Dynamic Presentations
- Conclusion and Further Learning
- Frequently Asked Questions (FAQ)
Introduction to the 3D Laptop Animation Concept
Creating animations that look professional and polished often requires advanced design software, but with the right techniques, PowerPoint can accomplish impressive feats. The 3D laptop animation we’re about to build isn’t a real 3D model; rather, it’s a clever assembly of simple shapes and photos enhanced with 3D depth effects and perspective rotations. This approach makes the animation fully customizable — you can add your own text, photos, or videos to personalize it for any presentation needs.
The key to making this animation work lies in understanding PowerPoint’s 3D rotation options and the Morph transition. By mastering these, you can create smooth, realistic animations that impress your audience every time.
Before we start, a huge thanks to the inspiration from “PowerPoint Skills” for their awesome flipping phone animation, which sparked the idea behind this tutorial. Let’s build on that and create something uniquely yours.
Creating the Basic Laptop Shapes
We begin by designing the laptop’s core components: the keyboard and screen. Here’s a step-by-step walkthrough to build these from scratch using PowerPoint shapes.
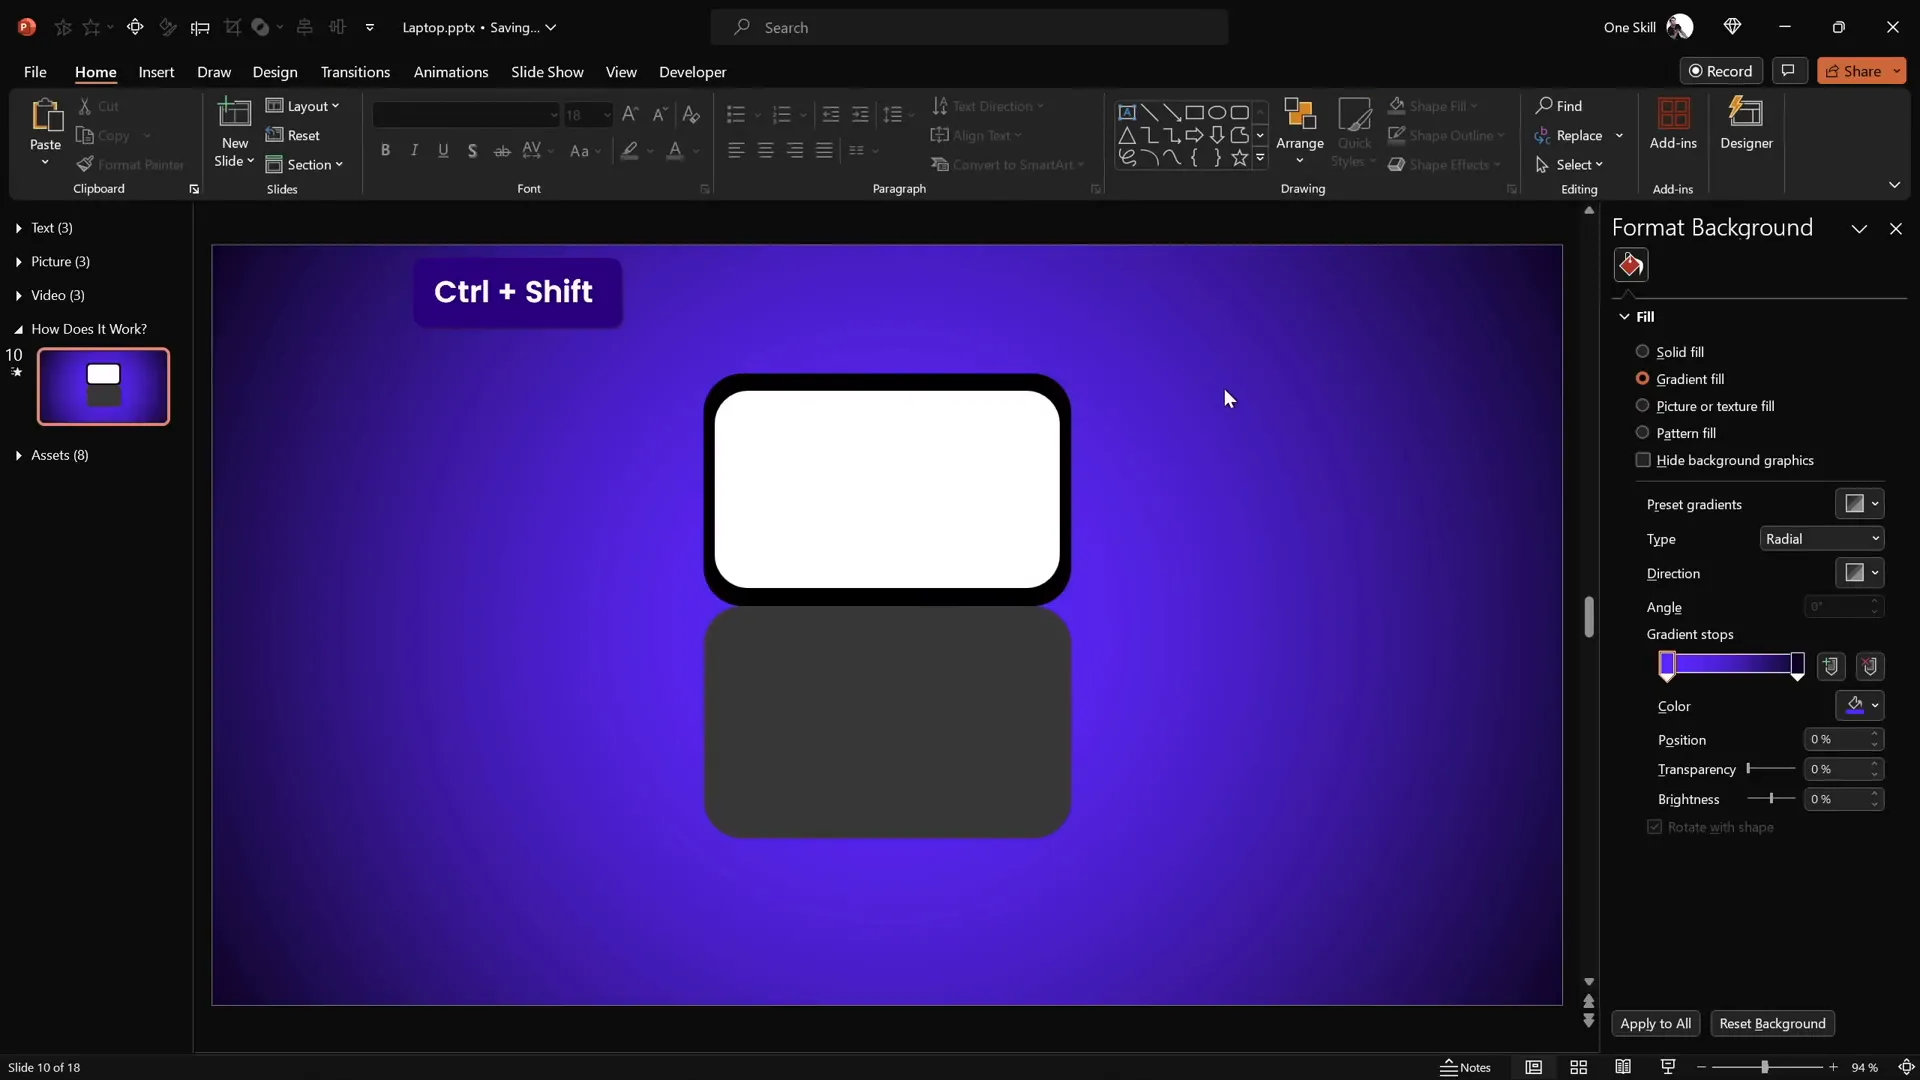
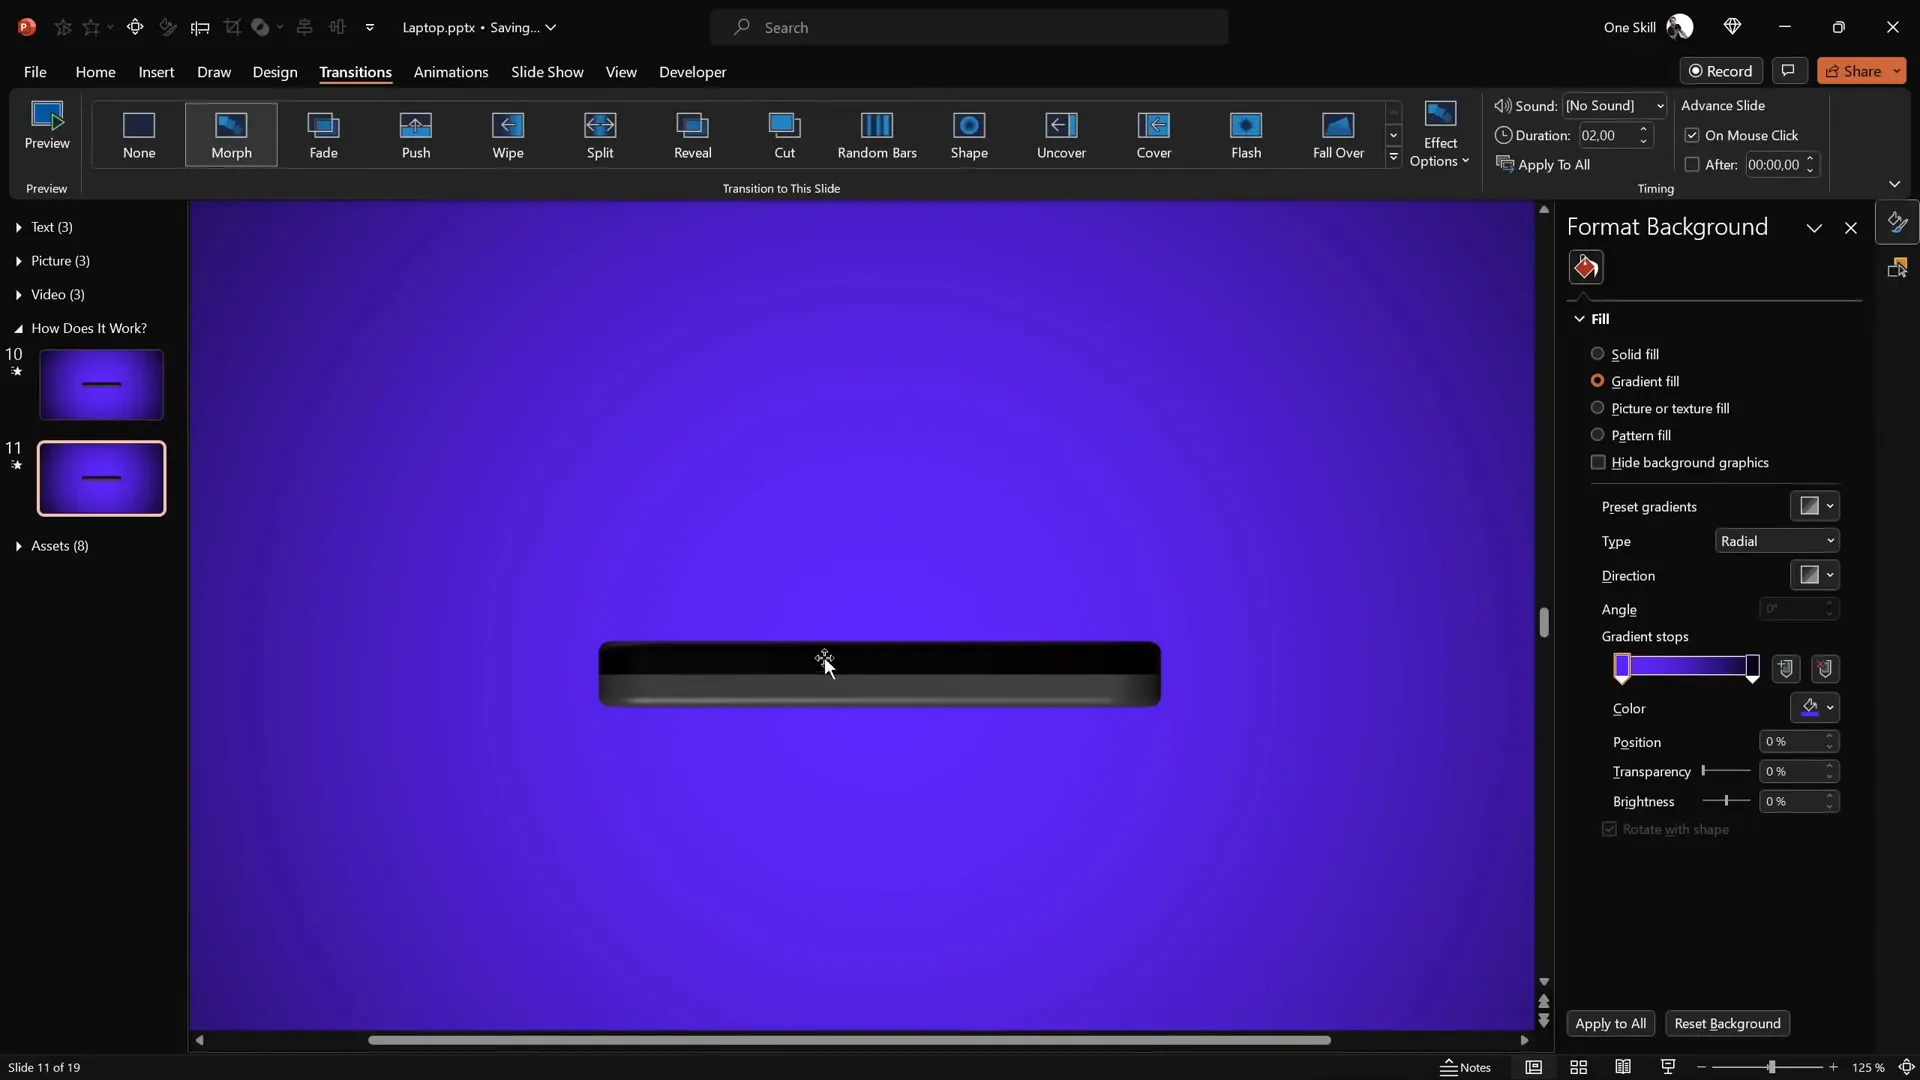
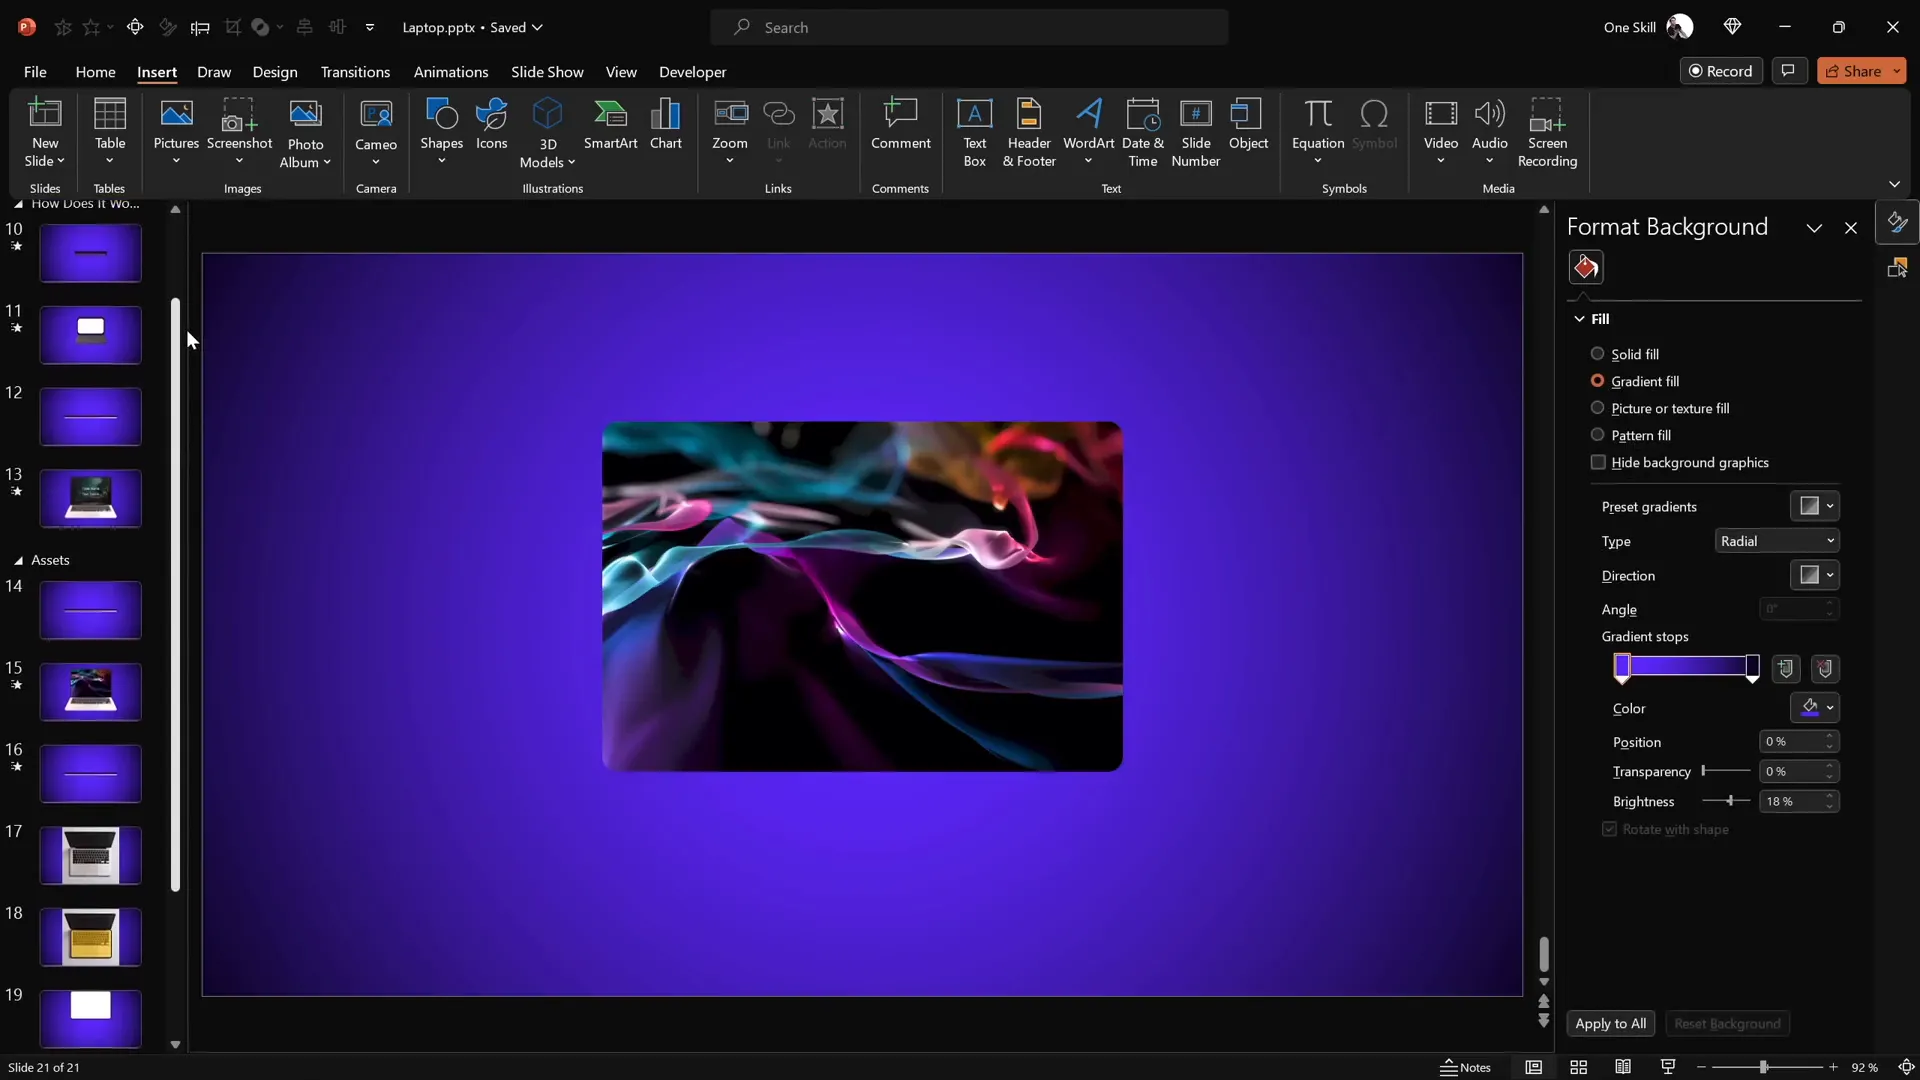
Step 1: Set a Background Gradient
For a polished look, start with a gradient background:
- Right-click on the slide and select Format Background.
- Choose Gradient fill.
- Use the following hex colors for your gradient stops:
- First color:
#692DFF(a vibrant purple-blue) - Second color:
#0D0002C(a deep navy)
- First color:
This is optional but adds a beautiful ambiance to your slide.
Step 2: Draw the Keyboard
- Go to Insert > Shapes and select the Rounded Rectangle tool.
- Draw a rounded rectangle in the middle of the slide to represent the keyboard.
- Format the shape:
- Fill color: Dark gray (choose a shade that looks realistic for a keyboard).
- No outline.
- No transparency.
Step 3: Create the Screen
- Duplicate the keyboard shape by holding Ctrl + Shift and dragging it upwards.
- Change the fill color of this duplicate to black to represent the laptop’s outer screen frame.
- Attach this black rectangle closely to the keyboard shape.
- Duplicate the black screen once more (hold Ctrl and drag), then change its fill to white.
- Resize and align the white rectangle inside the black screen shape to simulate the laptop’s display.
- Select both the black and white rectangles and group them (Ctrl + G).
Now you have two main groups: the keyboard and the screen.
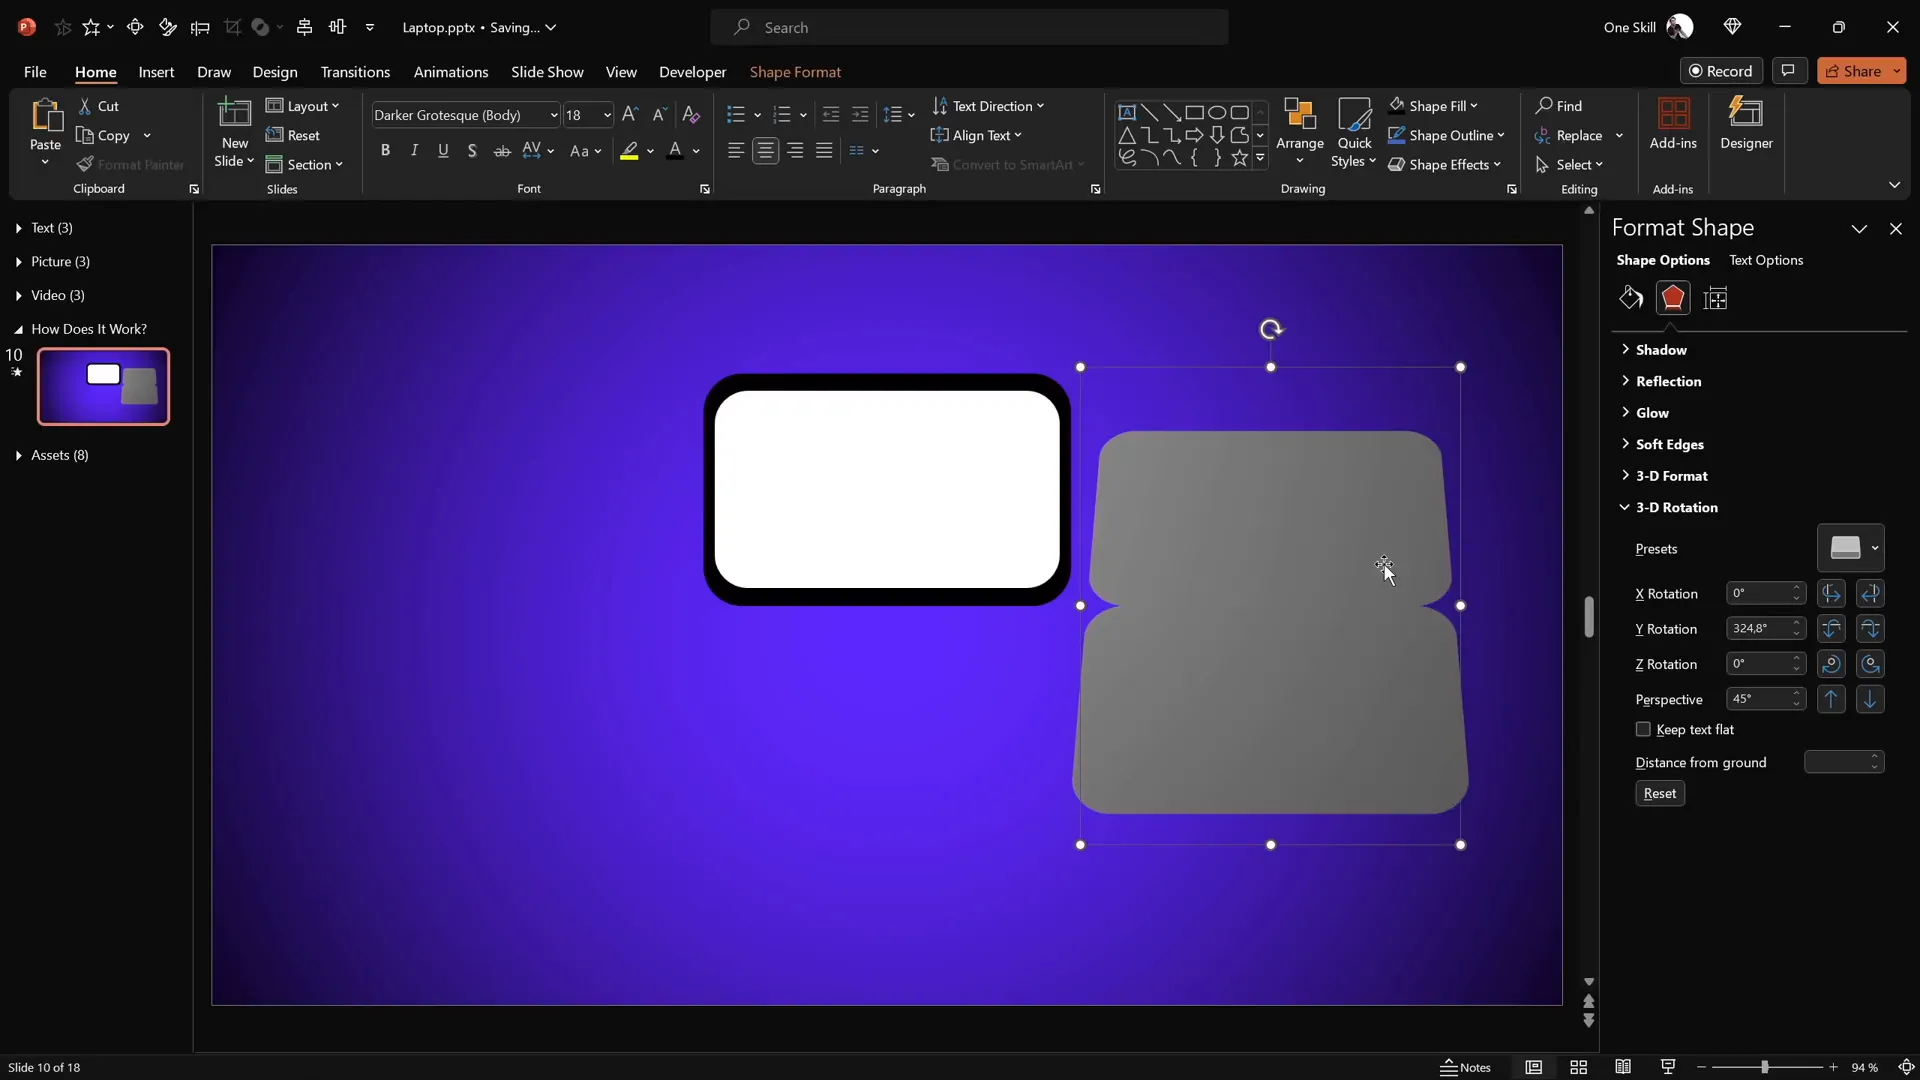
Customizing the Rotation Axis for Realistic Movement
When you apply 3D rotation presets in PowerPoint, shapes rotate around their center by default. For a laptop animation, the keyboard should rotate around the edge where it meets the screen — just like a real laptop hinge.
Step 1: Apply Basic 3D Rotation
- Select the keyboard shape.
- Go to Format Shape > 3D Rotation.
- Choose any Perspective preset (e.g., “Perspective Relaxed and Moderately”).
- Use the Y rotation handle to flip the keyboard; notice it rotates around its center.
Step 2: Create a New Rotation Center
- Reset the keyboard rotation.
- Duplicate the keyboard shape and position the duplicate directly beneath the original keyboard shape.
- Select both keyboard shapes and group them.
- Now, the rotation center shifts to the edge where the two shapes meet, mimicking a hinge.
Step 3: Hide the Duplicate Keyboard
- Select the bottom keyboard shape (the duplicate).
- Set its fill to No Fill and remove its outline.
- This makes the bottom shape invisible while preserving the new rotation axis.
Now when you rotate the grouped keyboard, it flips realistically around the hinge edge.
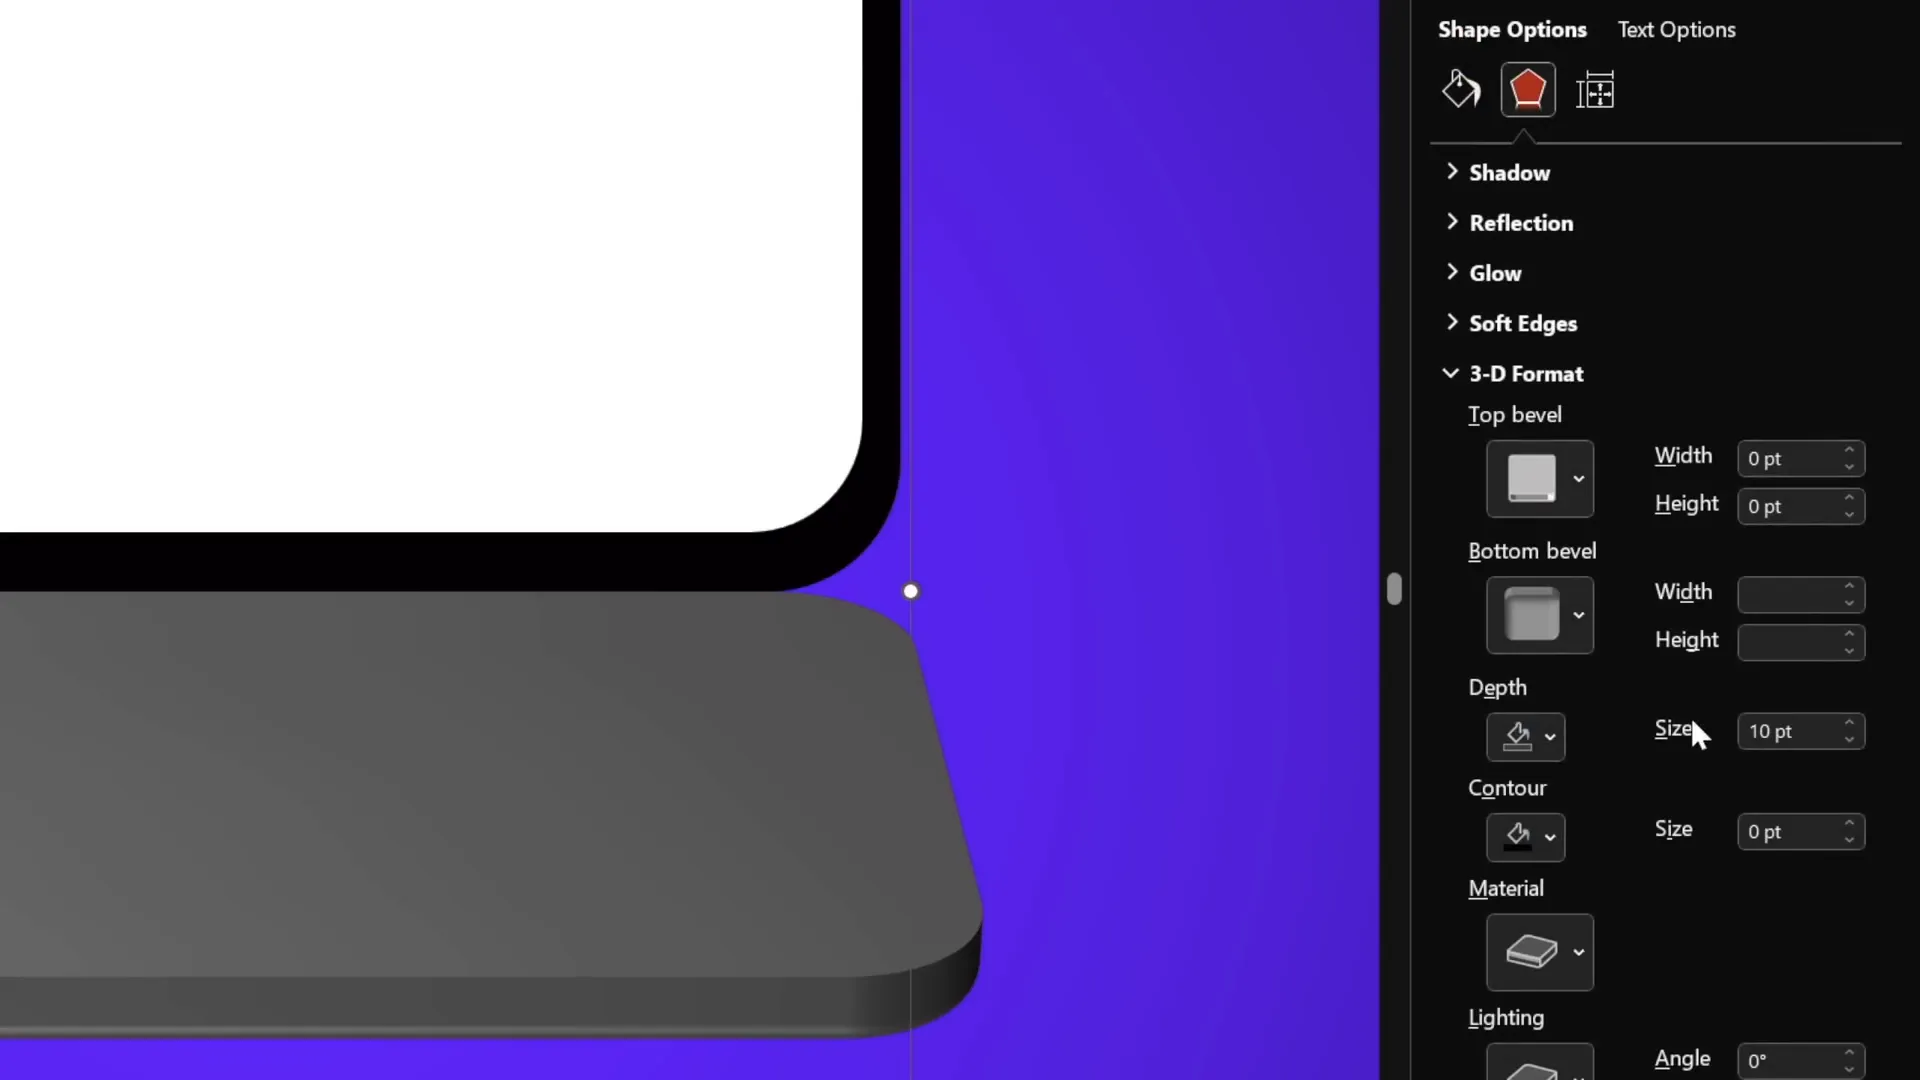
Adding 3D Depth and Bevel Effects
To make the shapes appear more three-dimensional and realistic, add depth and bevel effects.
Step 1: Add 3D Depth
- Select the grouped keyboard shape.
- Go to Format Shape > 3D Format.
- Set the Depth to 10 points.
Step 2: Soften Edges with Bevels
- In the same 3D Format menu, under Bottom Bevel, set:
- Width: 5 points
- Height: 5 points
- This rounds the edges, giving a smooth, polished look.
Step 3: Apply the Same to the Screen
- Duplicate the screen group to create a new rotation center for the screen, similar to the keyboard.
- Attach the duplicate to the bottom of the original screen group.
- Group both screen shapes.
- Set the fill of the bottom screen shapes to No Fill so only the top screen is visible.
- Apply the same perspective rotation preset and 3D depth (10 points) with bevels (5 points width and height) to the screen.

Aligning Elements and Closing the Laptop
Before animating, ensure your laptop parts are perfectly aligned and set to the closed position.
Step 1: Align Keyboard and Screen
- Turn on slide guides to help align.
- Select the screen group and align it to the center of the slide.
- Select the keyboard group and align it to the center as well.
Step 2: Set Closed Laptop Rotation
- Select the screen group and set its Y rotation to 90 degrees, making it appear fully closed.
- Select the keyboard group and set its Y rotation to 270 degrees to complement the screen position.
Applying the Morph Transition for Smooth Animation
The Morph transition in PowerPoint is a game-changer for smooth animations. Here’s how to use it to animate your laptop opening.
Step 1: Duplicate the Slide
- Duplicate the slide with the closed laptop.
- On the duplicate slide, select the screen group and set Y rotation to 0 degrees (fully open).
- Select the keyboard group and adjust Y rotation to around 290 degrees (slightly lowered for natural opening).
Step 2: Apply Morph Transition
- Go to the Transitions tab.
- Select Morph as the transition effect.
- Set the duration to 2 seconds for a smooth opening effect.
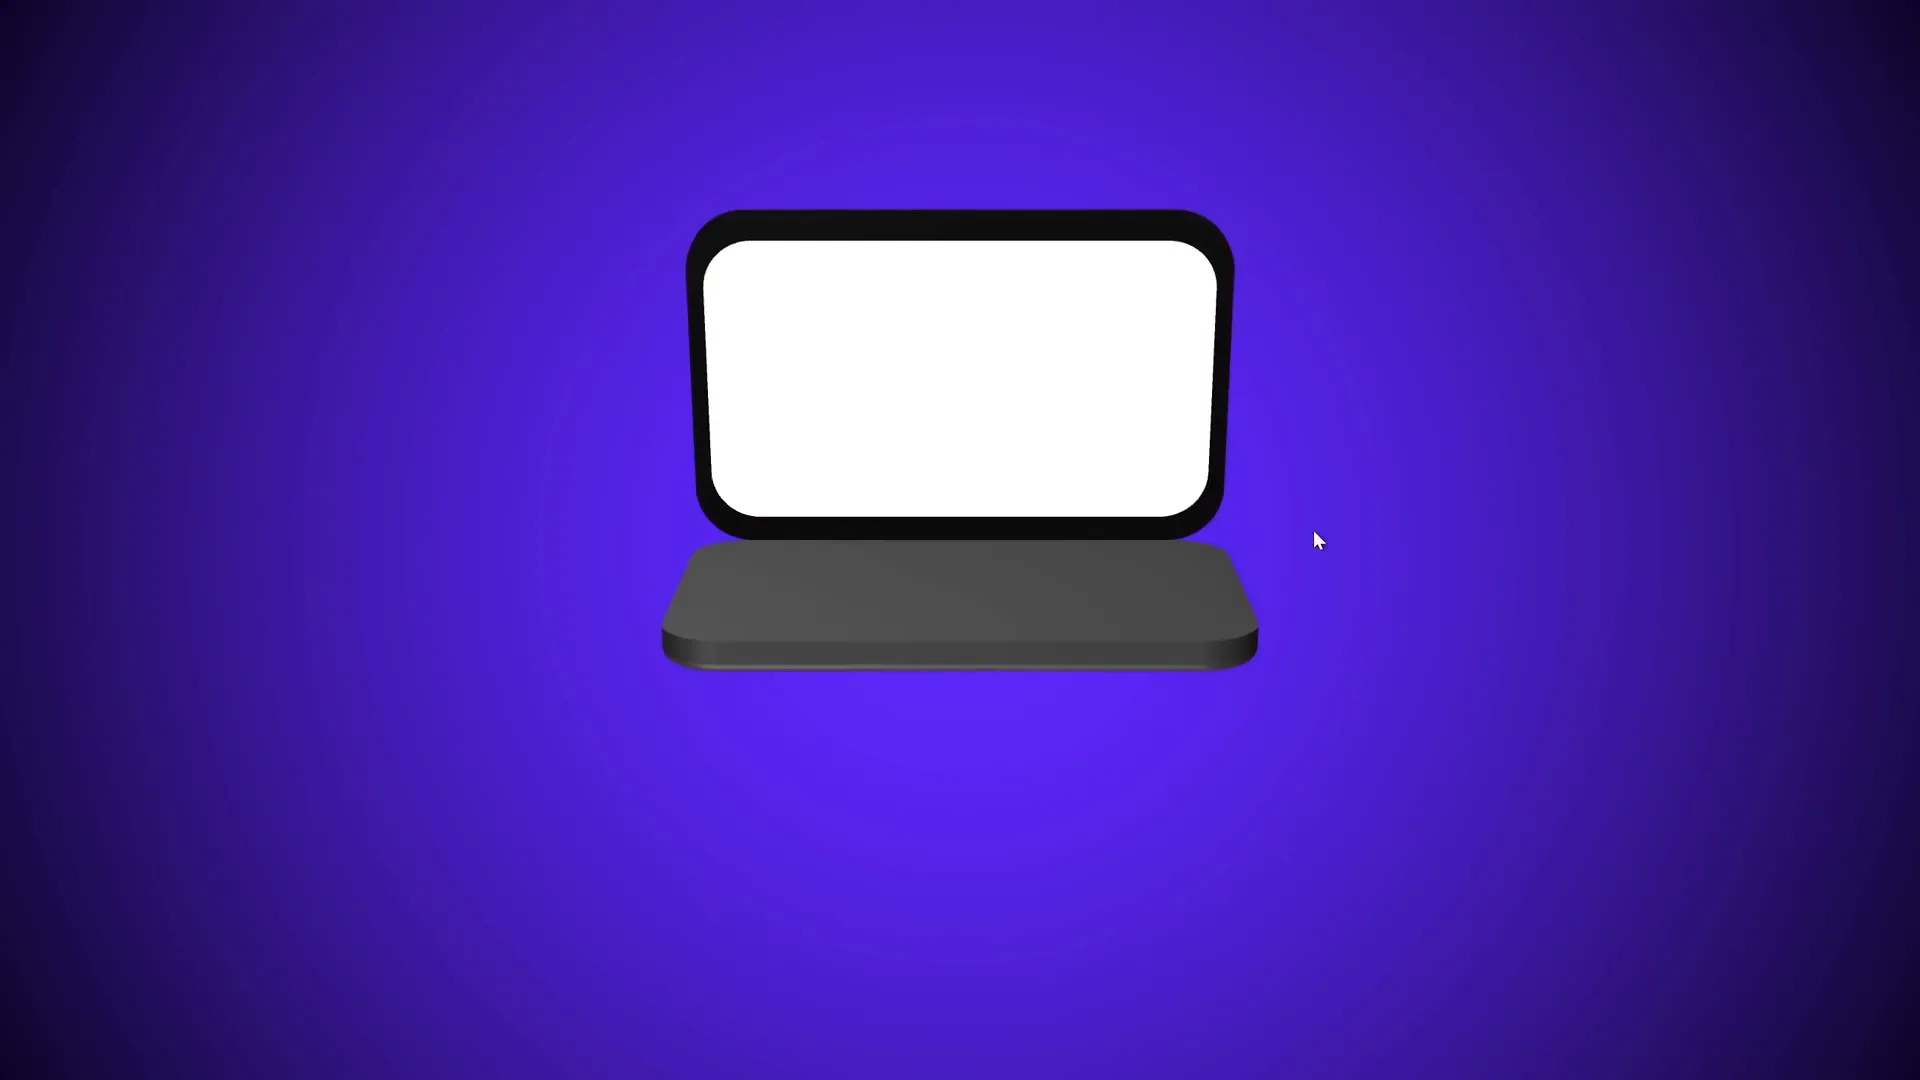
When you play the slide show, the laptop will open smoothly from the closed position to open, thanks to the Morph transition.
Building a Realistic Laptop Using Photos
For a more lifelike appearance, you can incorporate real laptop photos into your animation.
Step 1: Insert a Laptop Photo
- Find a top-view photo of a laptop (free resources like Freepik are great).
- Copy and paste the photo onto your slide.
Step 2: Cut Out the Keyboard
- Use the Rounded Rectangle shape to cover the keyboard area of the photo.
- Select both the photo and the shape.
- Go to Shape Format > Merge Shapes > Intersect to cut out just the keyboard part.
Step 3: Create the Rotation Axis
- Insert a rectangle with the same dimensions as the keyboard shape.
- Align it precisely with the keyboard cutout.
- Group both shapes and set the rectangle to no fill and no outline.
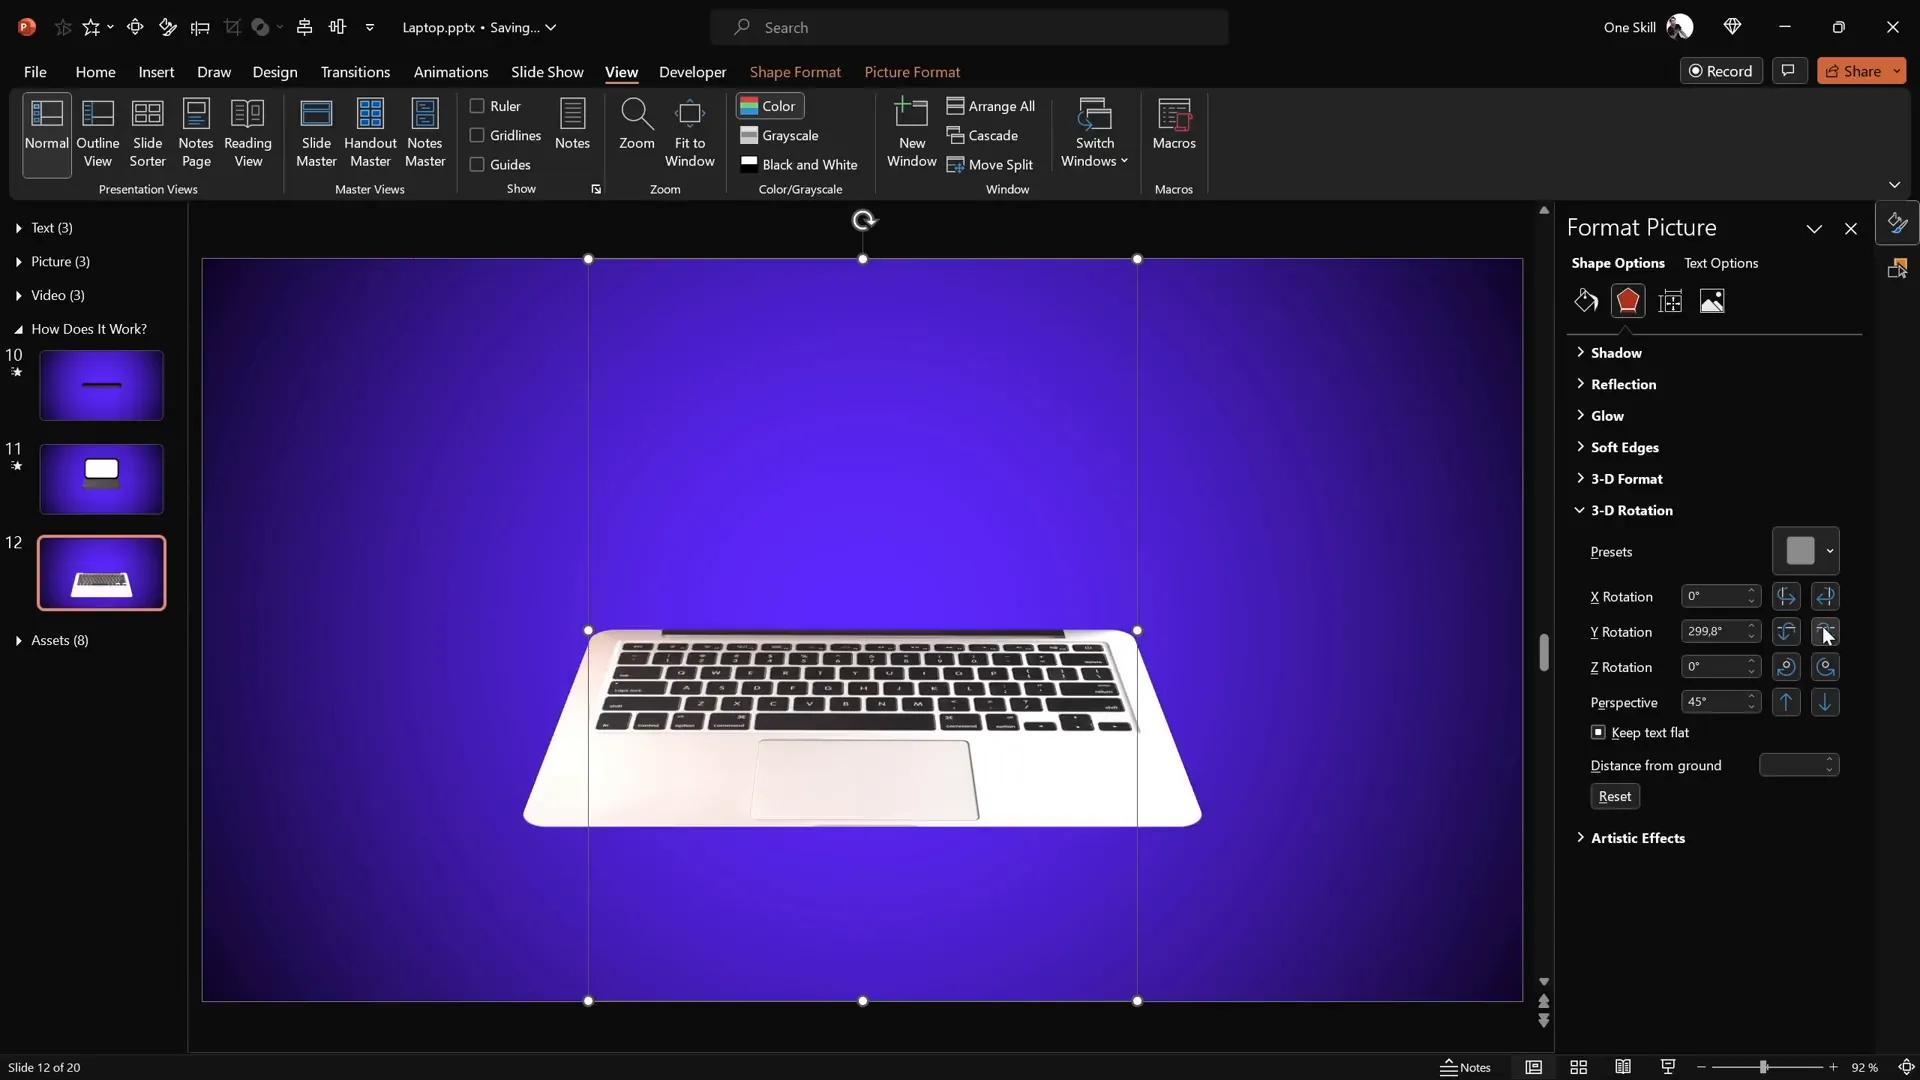
Step 4: Apply Perspective Rotation and 3D Effects
- Apply the same perspective rotation preset used earlier.
- Add 3D depth (3 points) and bevel (5 points width and height) for subtle depth.
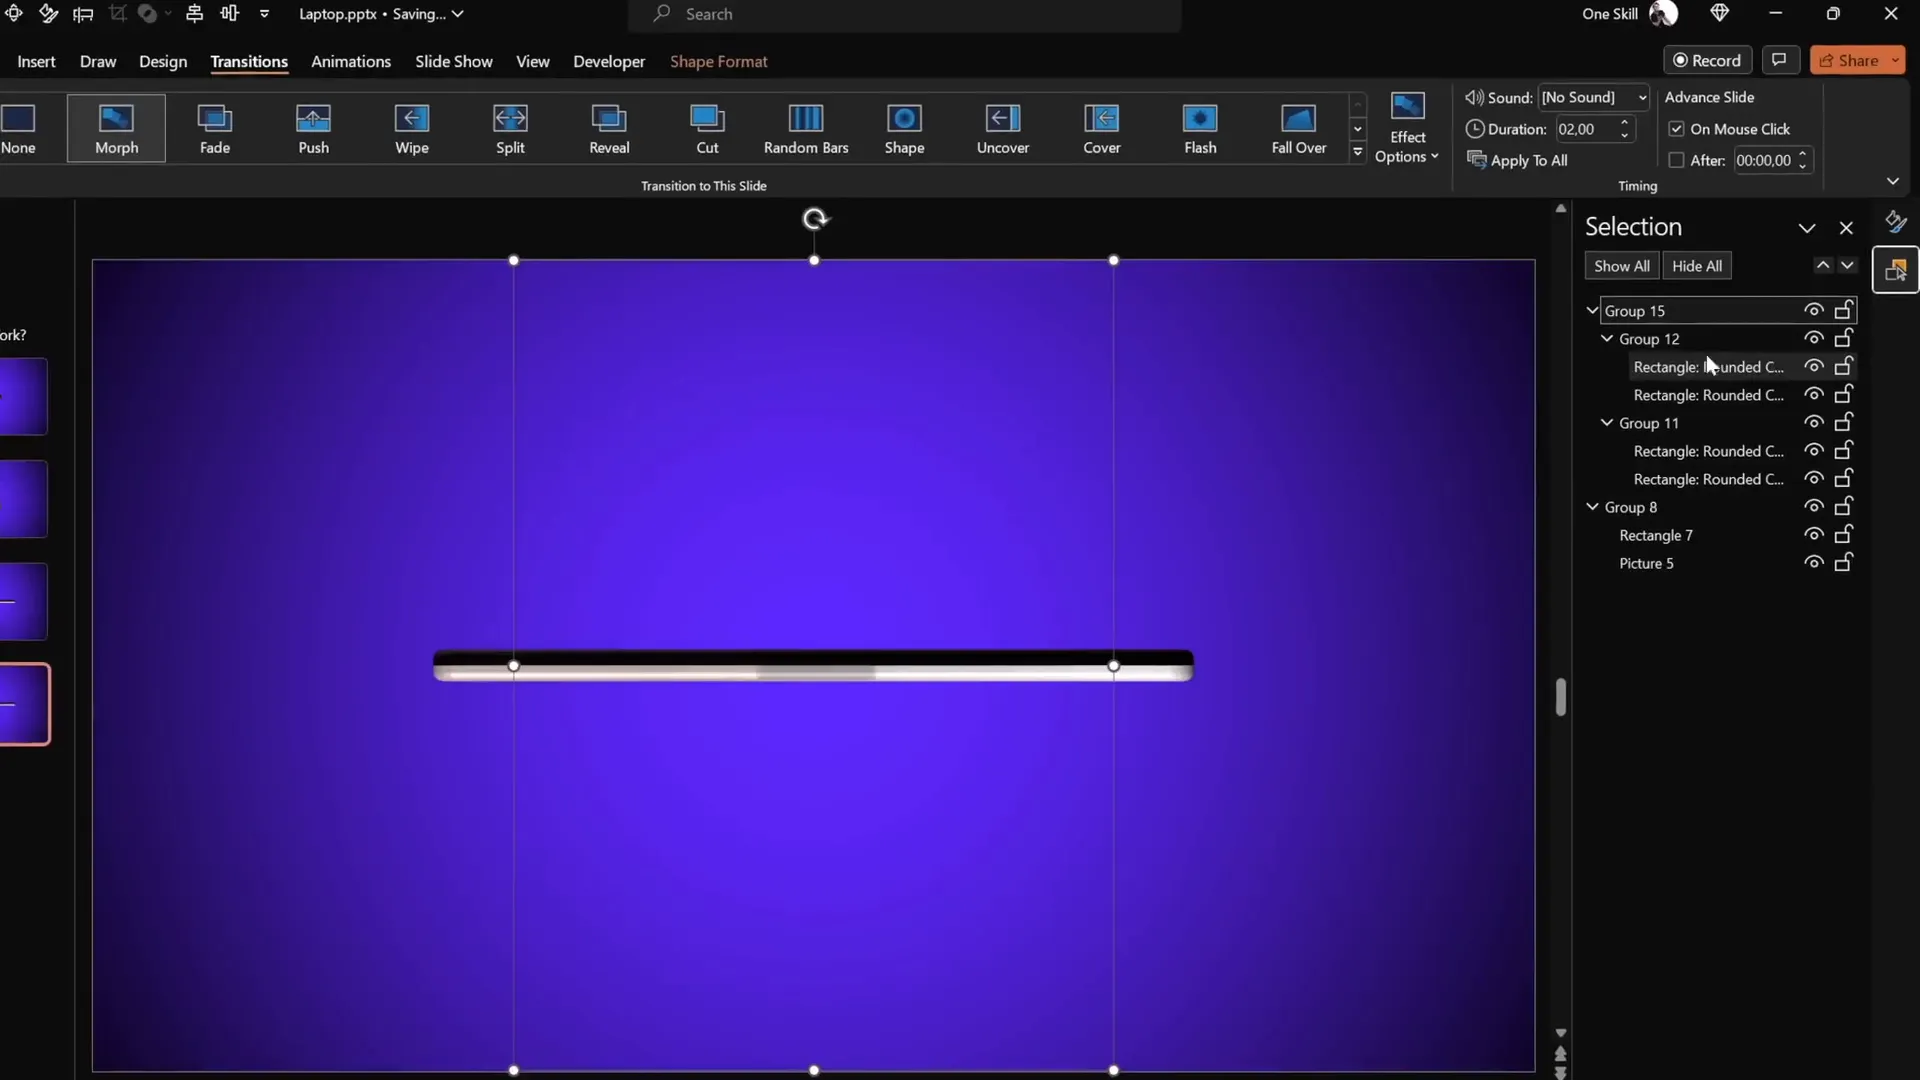
Step 5: Prepare the Screen
- Create the screen using rounded rectangles (black and white layers) matching the keyboard’s width.
- Group the screen shapes and create a new rotation axis by duplicating and grouping.
- Set bottom shapes to no fill and apply perspective rotation and 3D effects.
Step 6: Set Closed and Open Positions
- Set the screen Y rotation to 90 degrees and keyboard Y rotation to 270 degrees for the closed laptop.
- Duplicate the slide and set the screen Y rotation to 0 degrees and keyboard to 290 degrees for the open position.
- Apply the Morph transition for smooth animation.
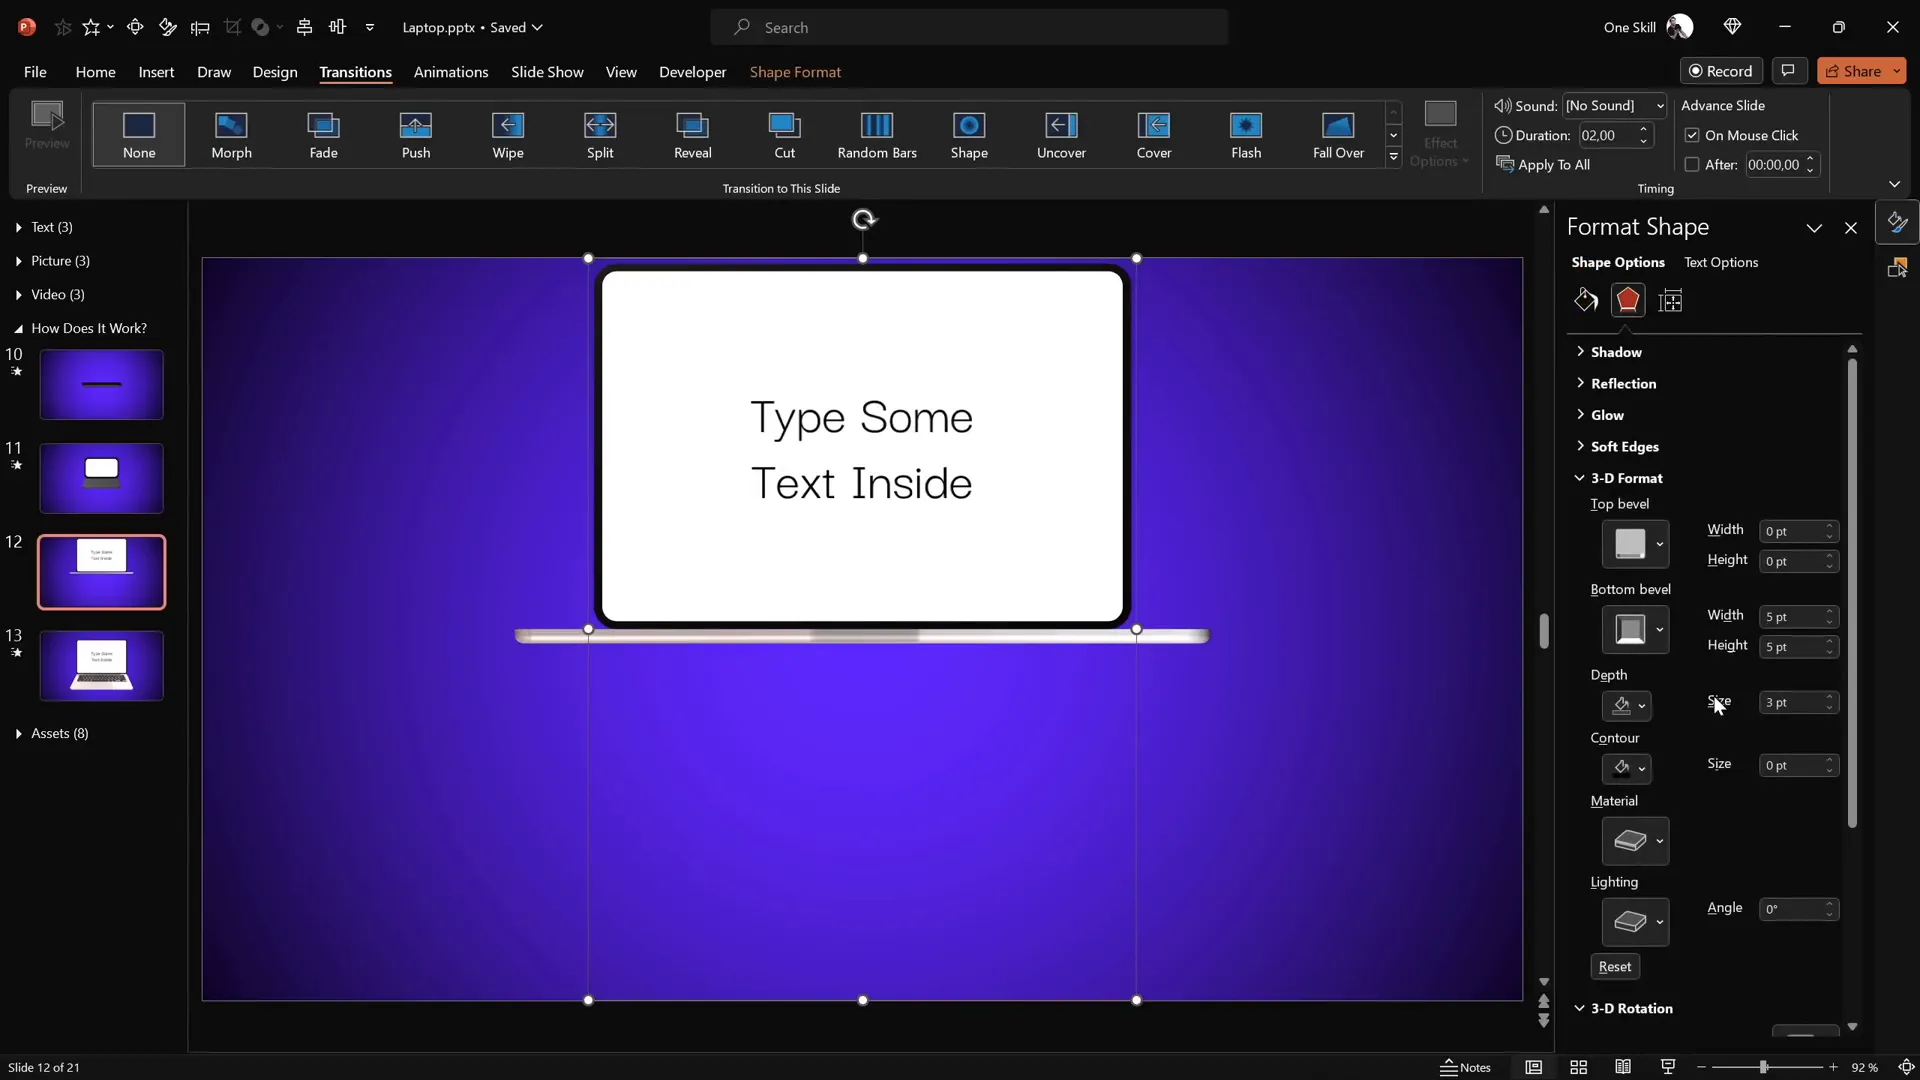
Inserting Custom Text into the Laptop Screen
The laptop screen is essentially a shape, which means you can insert text directly into it to customize your presentation.

How to Add Text:
- Double-click the white screen shape.
- Type your desired text inside.
- Format the font style, size, and color to fit your design.
- Copy the text box and paste it onto the corresponding screen shape on the other slide to maintain consistency.
Make sure the text is legible by setting the font color to white or another contrasting color depending on your background.
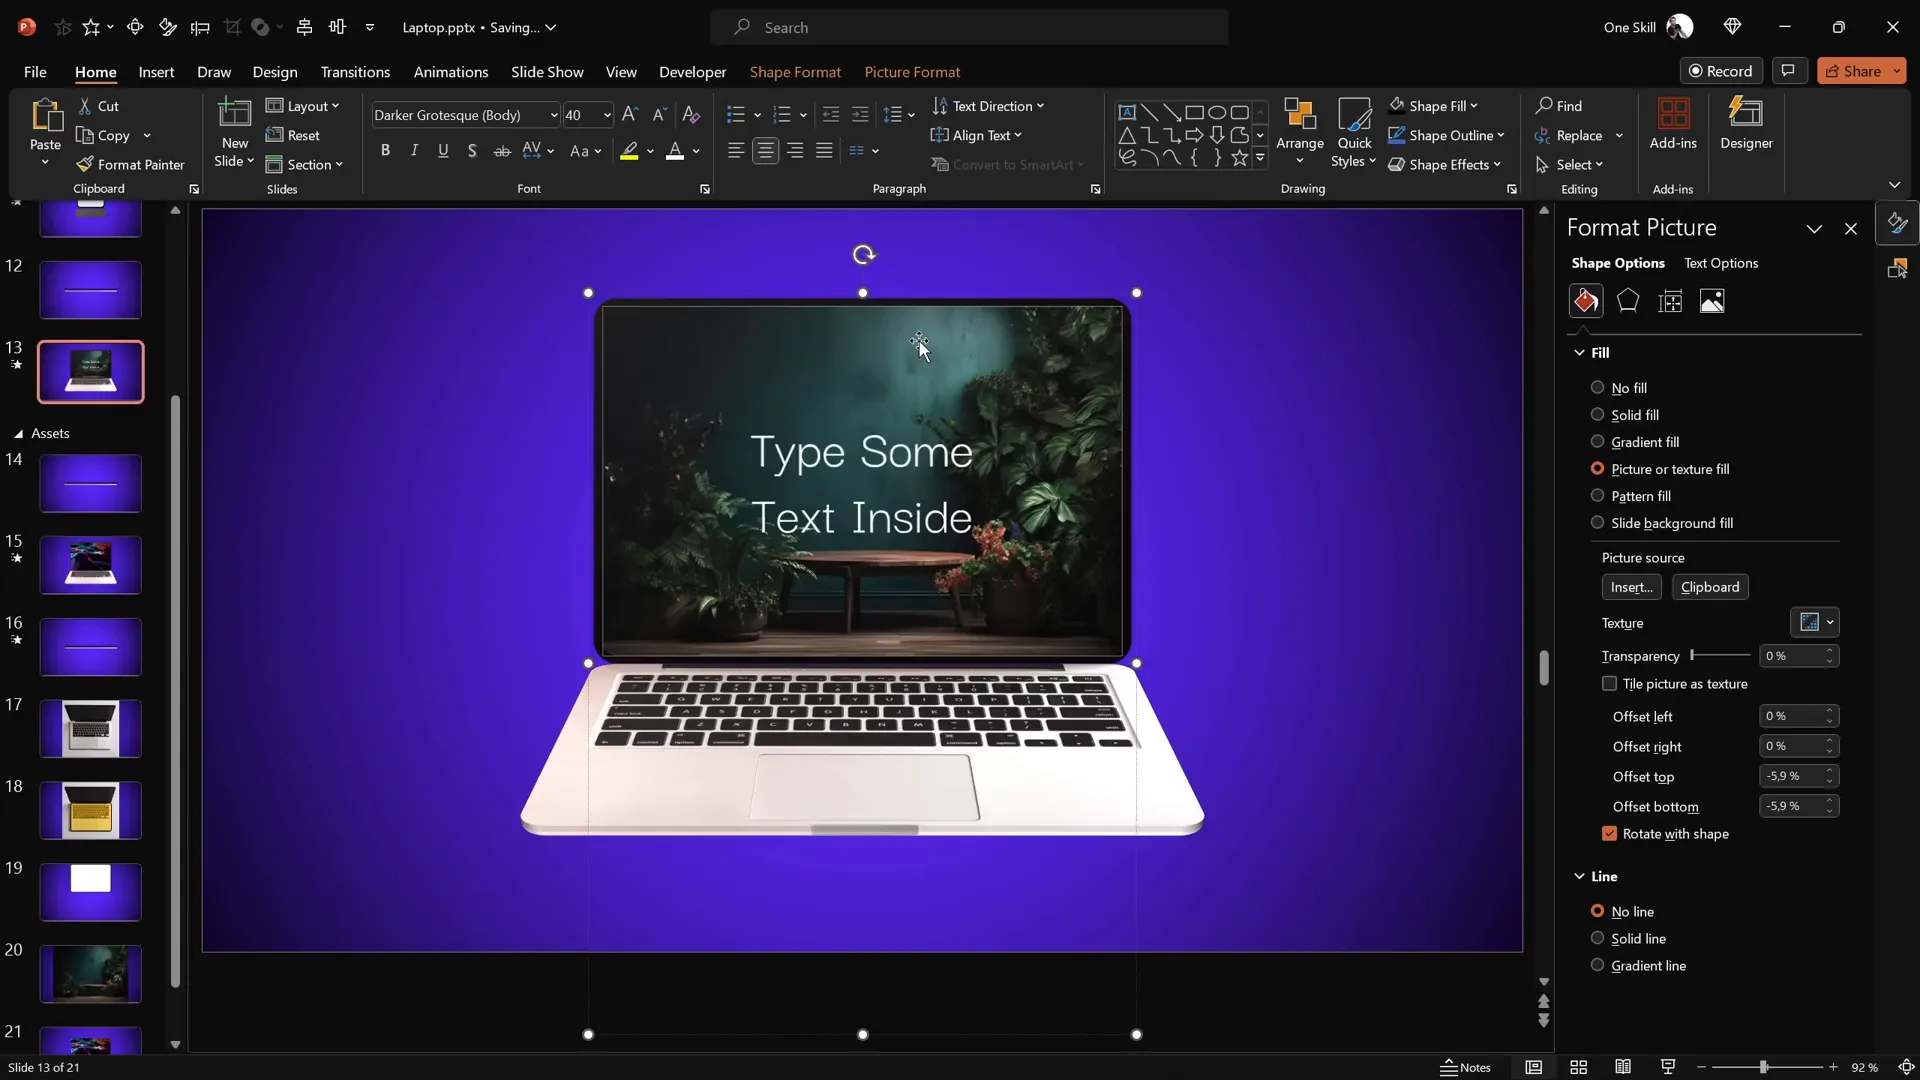
Embedding Pictures Inside the Laptop Screen
To make your animation even more dynamic, you can embed pictures inside the laptop screen.
Steps to Embed a Picture:
- Copy your desired image to the clipboard.
- Select the white screen shape and go to Format Shape > Fill > Picture or texture fill.
- Choose Clipboard to fill the shape with your copied image.
- Adjust the image positioning if necessary.
- Copy the style of the screen with the image (Ctrl + Shift + C) and paste it onto the screen in the other slide (Ctrl + Shift + V) for consistency.
Embedding Videos for Dynamic Presentations
Embedding videos inside the laptop screen adds an impressive multimedia element to your presentation.
How to Embed Video:
- Go to Insert > Video > Stock Videos (available in PowerPoint 365).
- Select a video and insert it onto the slide.
- Copy the white screen shape and paste it over the video.
- Align the video and the screen shape perfectly using Align Center and Align Middle.
- Select both the video and the screen shape, then go to Shape Format > Merge Shapes > Intersect to crop the video to the laptop screen shape.
- Copy the video and paste it as a picture fill inside the screen shape for the closed position.
- Paste the actual video onto the slide for the open position.
- Add animations to the video:
- Fade In animation that starts With Previous, duration 1 second.
- Set the video to start playing automatically With Previous.
When you play your presentation, the video will fade in and play seamlessly within the laptop screen as it opens.
Conclusion and Further Learning
With these techniques, you can create a fully customizable and visually stunning 3D laptop animation using nothing but PowerPoint. This animation can be a powerful storytelling tool, helping you present your ideas in an engaging and professional way.
By mastering PowerPoint presentation skills such as 3D rotations, Morph transitions, shape merging, and multimedia embedding, you unlock endless possibilities for your presentations.
If you are eager to take your PowerPoint animation skills to the next level, consider exploring structured courses like PowerPoint Animation Mastery, which guides you through animation secrets step-by-step to become a true PowerPoint animation pro.
Now, it’s your turn to create the animations you’ve always dreamed of — let’s go!
Frequently Asked Questions (FAQ)
Can I create 3D animations in PowerPoint without using external 3D models?
Absolutely! By using simple shapes, 3D rotation presets, and Morph transitions, you can create convincing 3D animations directly in PowerPoint without importing any 3D models.
How do I change the rotation pivot point of a shape in PowerPoint?
PowerPoint rotates shapes around their center by default. To change the rotation axis, duplicate the shape, position the duplicate at the desired pivot edge, group them, and set the duplicate’s fill to no fill and no outline. This effectively shifts the rotation center.
Is the Morph transition available in all versions of PowerPoint?
The Morph transition is available in PowerPoint 2019, PowerPoint for Microsoft 365, and PowerPoint Online. If you have an older version, you might not have access to this feature.
Can I insert videos inside shapes in PowerPoint?
Yes, you can crop videos using shapes by selecting the video and shape, then using the Merge Shapes > Intersect option. This crops the video to the shape’s outline, allowing for creative embedding.
How do I keep the text or picture consistent between slides when using Morph?
To maintain consistency, copy the text or picture formatting from one slide’s shape and paste it onto the corresponding shape in the next slide. This ensures the content looks identical and transitions smoothly.
Can I customize the colors used in the animation?
Yes, all shapes and fills are customizable. You can adjust fill colors, gradients, and transparency to fit your presentation’s style and branding.
What are some best practices for creating animations in PowerPoint?
- Keep animations smooth and purposeful; avoid overusing effects.
- Align and group shapes carefully to maintain consistency.
- Use the Morph transition for natural, fluid movements.
- Test your animations in Slide Show mode to ensure timing and effects work as expected.
Where can I find high-quality images and videos for my presentations?
Free resources like Freepik offer excellent photos and videos. PowerPoint 365 also provides stock videos accessible via the Insert tab.
Check out the full video: PowerPoint Presentation Skills: Creating 3D Laptop Animation ✨


