
If you’re looking to elevate your Powerpoint presentation skills and create stunning animations effortlessly, mastering the Morph transition is a game-changer. Morph is one of the most powerful tools available in PowerPoint, enabling smooth, professional-looking animations without the need for complex motion paths or third-party software. In this comprehensive guide, you’ll learn how to harness Morph to move, resize, rotate, flip objects, and even create amazing photo crop effects that will captivate your audience.
This article breaks down everything you need to know about using Morph transition effectively, with practical tips, troubleshooting advice, and creative examples to inspire your next presentation. Whether you use PowerPoint 2019, Microsoft 365, or later versions, this tutorial will help you unlock the full potential of Morph and significantly improve your presentation design and delivery.

Table of Contents
- Introduction to Morph Transition
- How to Move Objects with Morph Transition
- Animating Slide Titles with Morph
- Resizing Objects Seamlessly
- Rotating Objects Smoothly
- Flipping Objects in PowerPoint
- Using Color Changes with Morph
- Adding Transparency Effects
- Creating Photo Crop Animations
- Troubleshooting Morph: Ensuring It Works Perfectly
- Frequently Asked Questions
- Conclusion and Next Steps
Introduction to Morph Transition
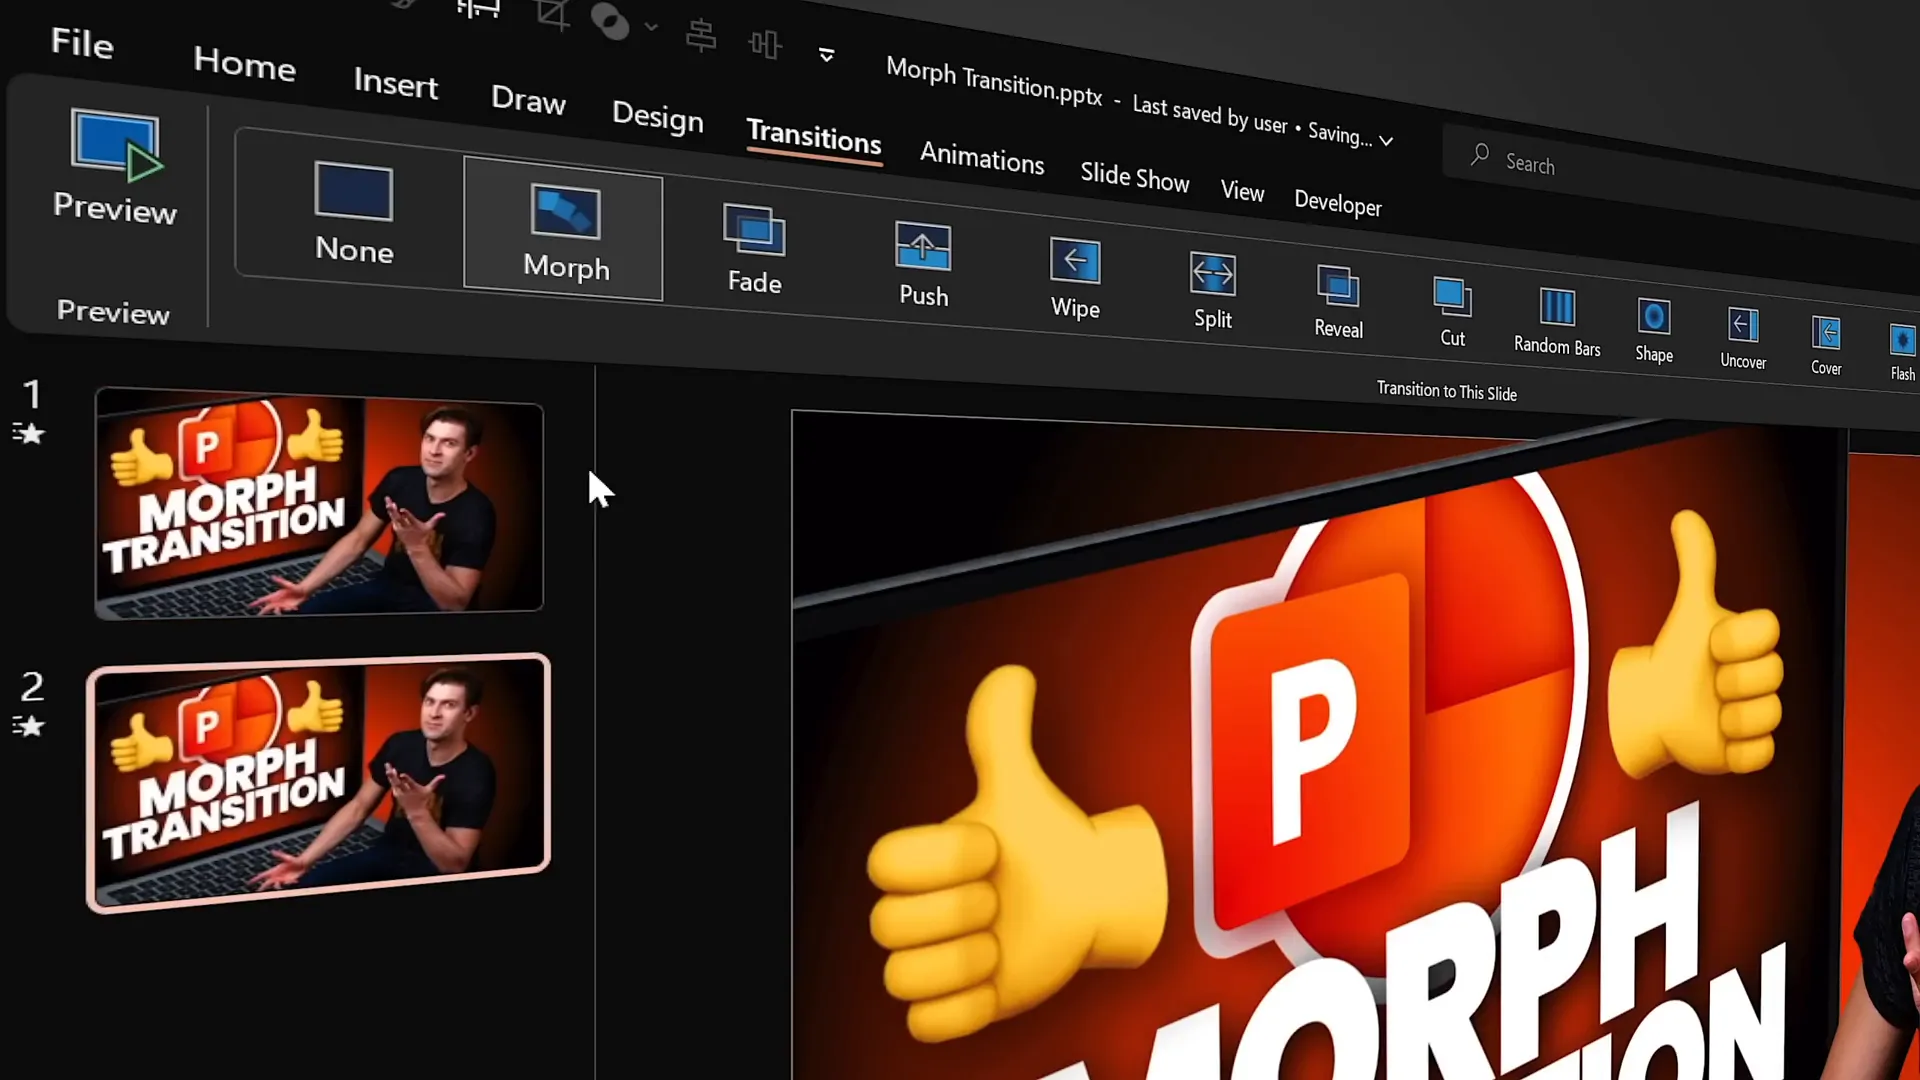
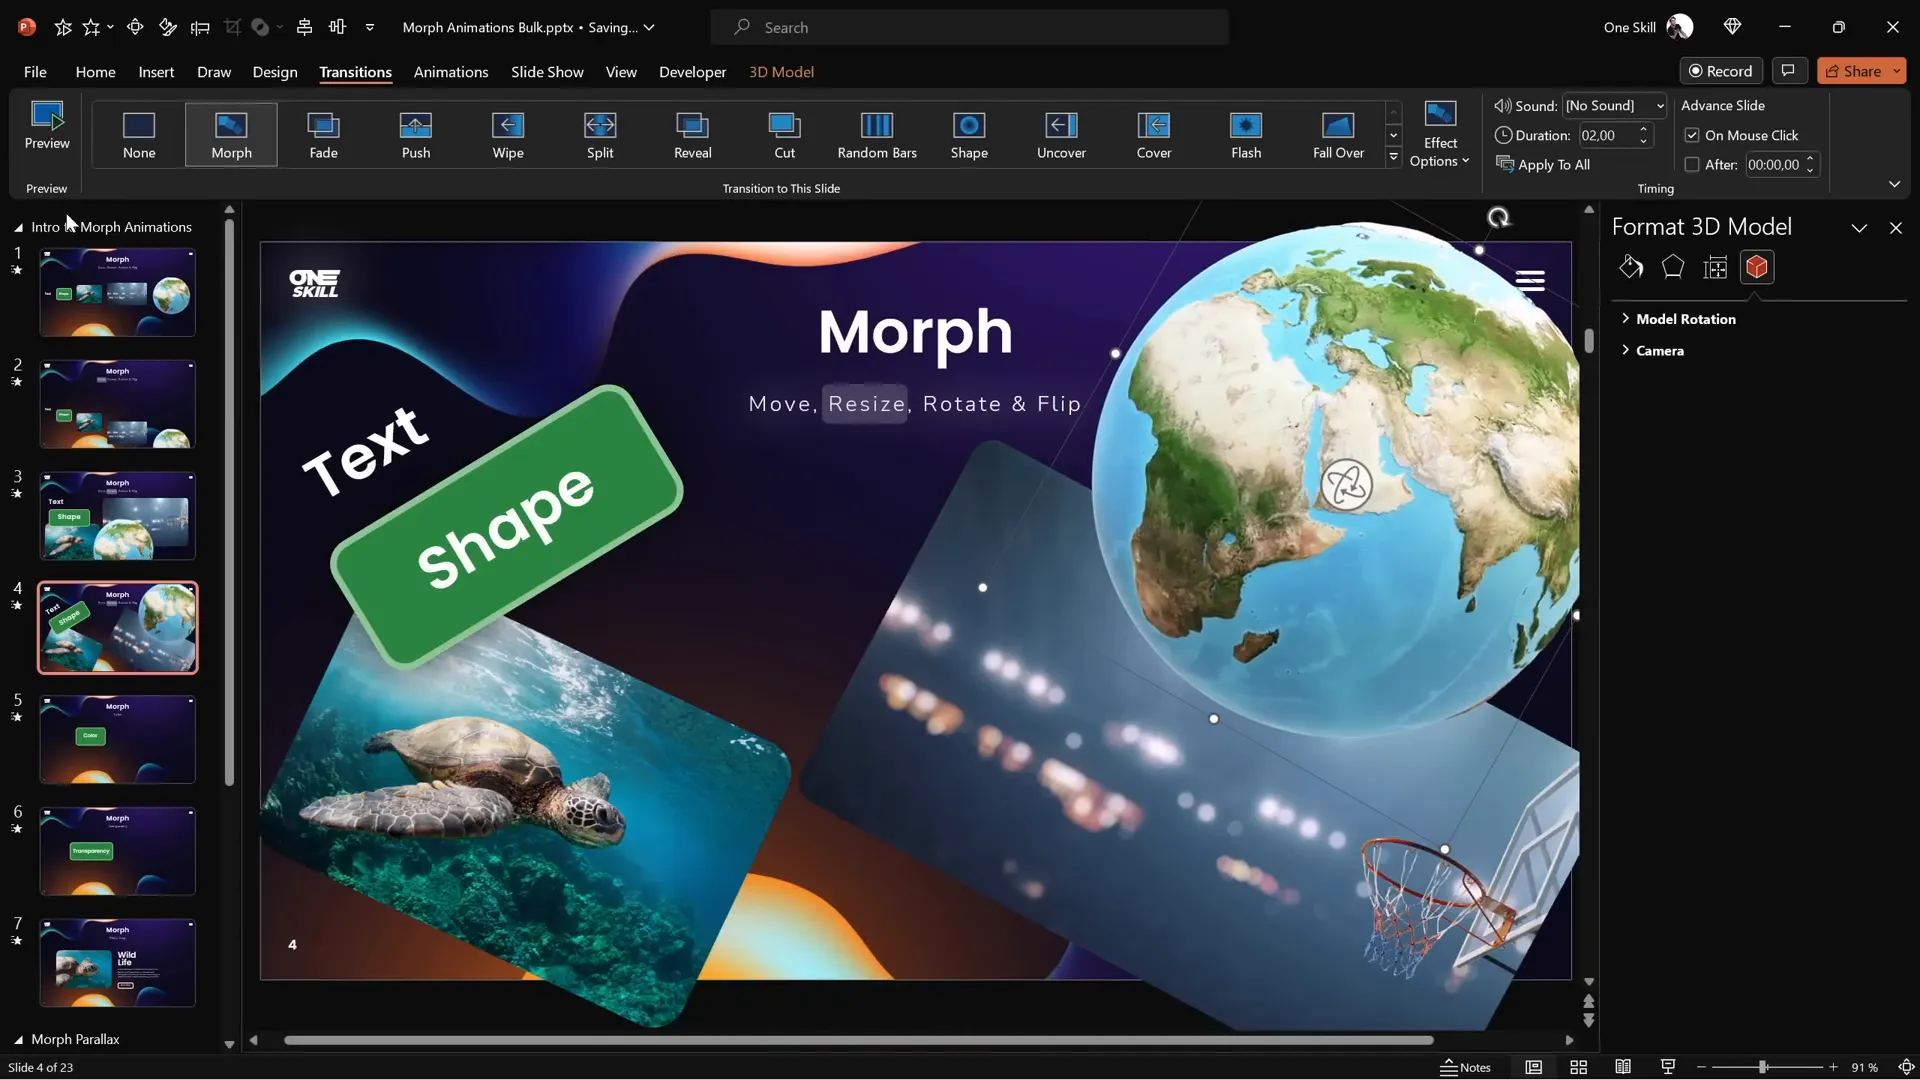
Morph transition is a powerful feature in PowerPoint that creates smooth animations between slides by intelligently moving and transforming objects. Unlike traditional animations that require painstakingly setting motion paths or keyframes, Morph does the heavy lifting for you. By duplicating a slide, making changes to the objects on the new slide, and applying the Morph transition, PowerPoint animates the transformation automatically.
To start using Morph, you need PowerPoint 2019 or later, including Microsoft 365 versions. The process is straightforward:
- Duplicate your slide.
- Move, resize, rotate, flip, or change objects on the duplicated slide.
- Apply the Morph transition to the new slide.
- Adjust the transition duration if desired.
- Preview the animation and fine-tune as needed.
Why use Morph? Because it lets you create professional-quality animations quickly and easily without complex setup. Morph can animate multiple objects simultaneously, plays animations both forward and backward when navigating slides, and supports a wide variety of object types including text, shapes, pictures, videos, and even 3D models.
How to Move Objects with Morph Transition
One of the simplest and most common uses of Morph is moving objects smoothly across your slide. Here’s how to do it:
- Start with a slide containing the objects you want to animate — text boxes, shapes, pictures, videos, or 3D models.
- Duplicate the slide.
- On the duplicated slide, select all objects and move them to new positions. For example, drag them downward or to the side.
- Ensure the Morph transition is applied on the second slide.
- Preview the slide show to see the objects glide smoothly from their original to new positions.
This method requires no motion paths or manual animation settings. Morph detects the objects and animates their position changes seamlessly.
Important note on videos: If your slide contains a video set to loop or start automatically, be aware that the video will pause during the Morph transition and resume afterward. This is a minor limitation to keep in mind when animating multimedia.
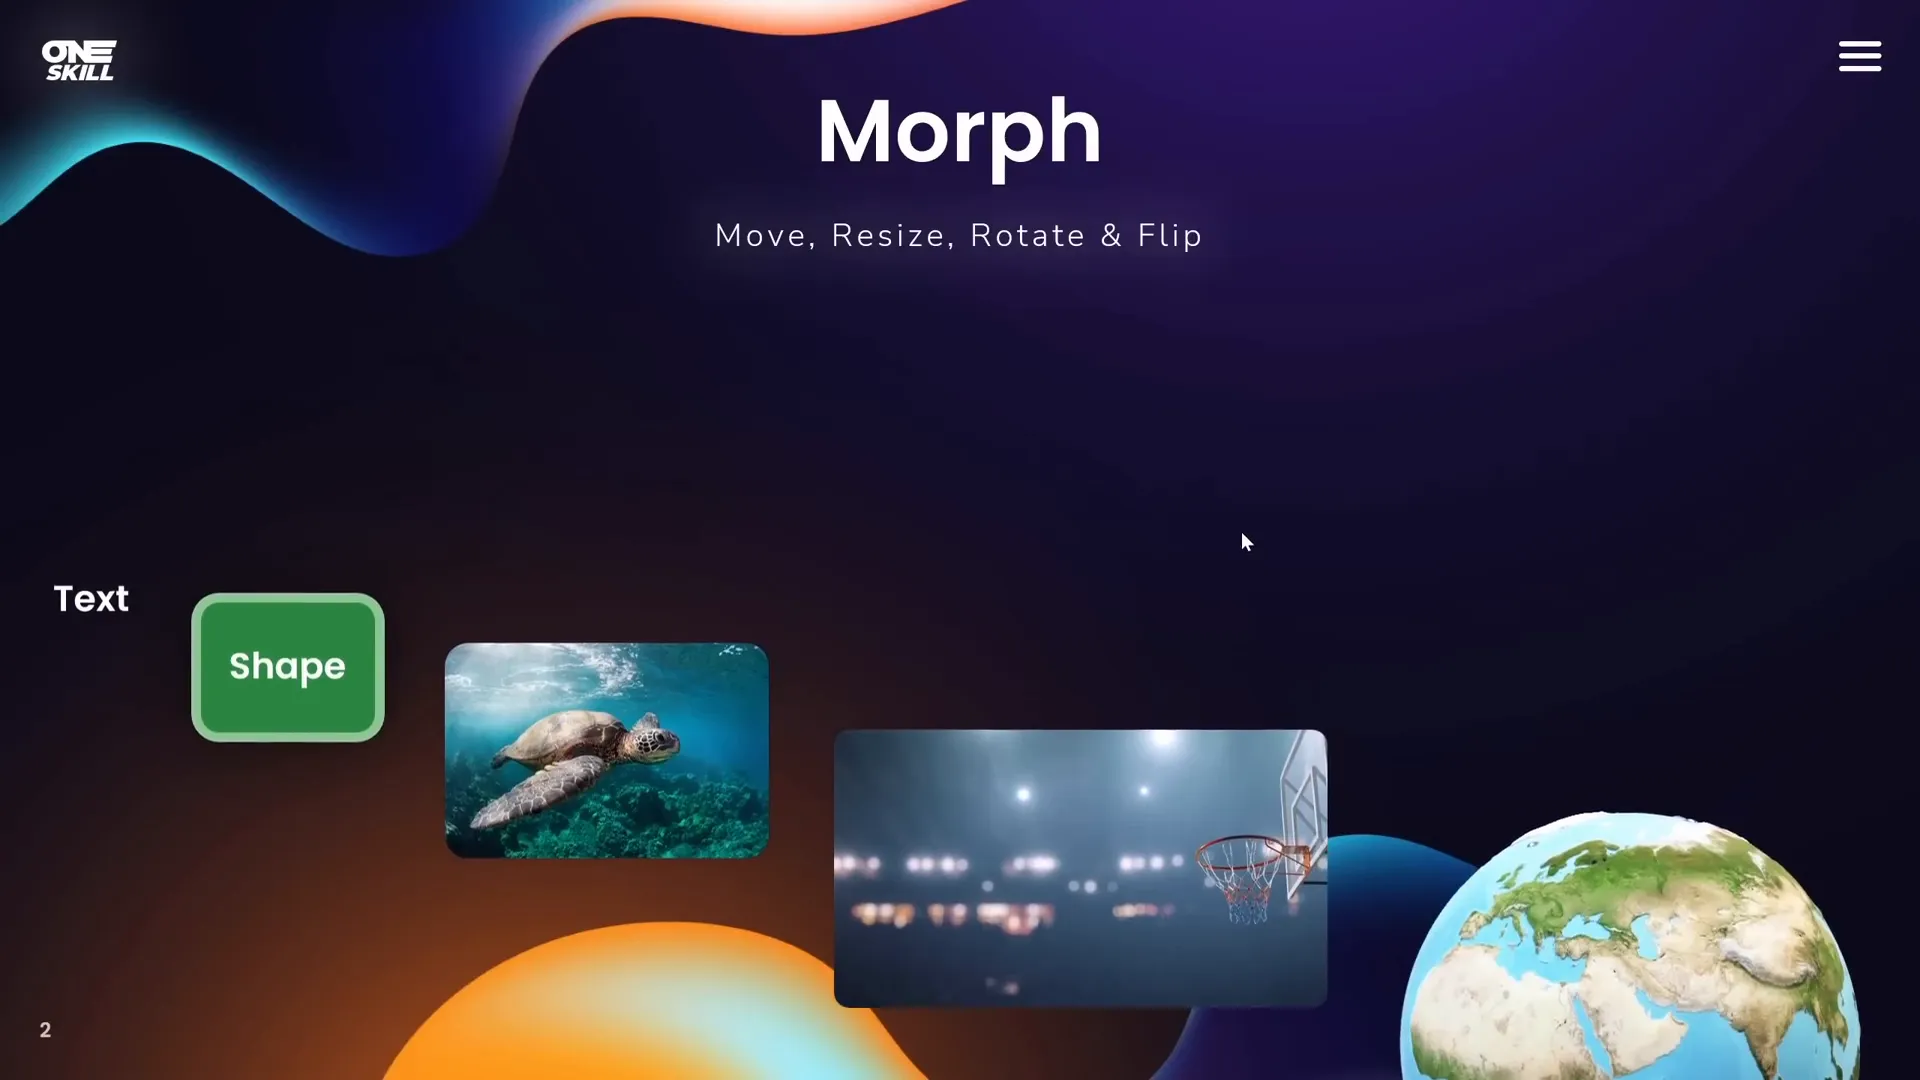
Animating Slide Titles with Morph
Animating slide titles or subtitles can add a professional touch to your presentation. One neat trick is to highlight parts of your title using a semi-transparent rounded rectangle that moves across the text as you transition slides.
Here’s a step-by-step guide:
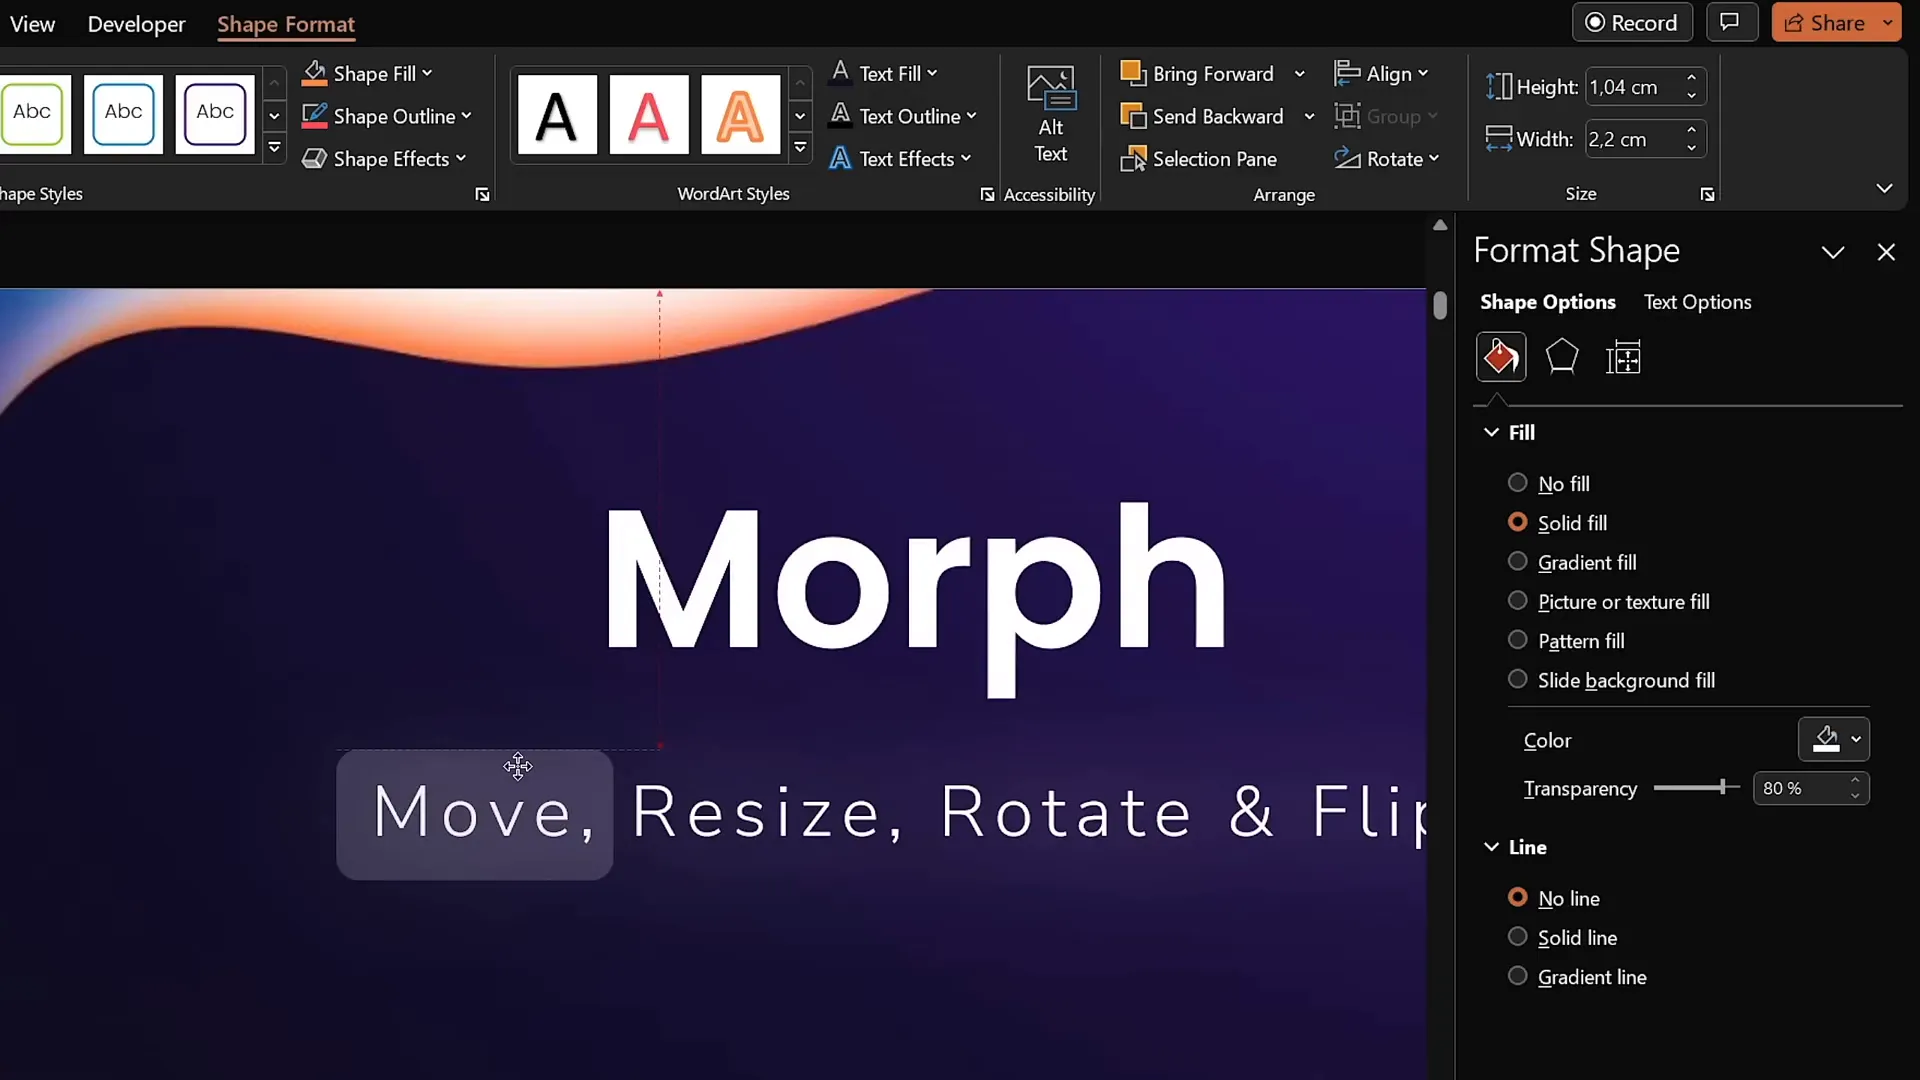
- Insert a rounded rectangle shape and resize it to cover a word or phrase in your subtitle.
- Format the shape with a white fill and increase its transparency to around 80% for a subtle highlight effect.
- Remove the shape’s outline for a clean look.
- On the next slide, duplicate the slide and move this rounded rectangle to highlight the next word or phrase.
- Apply Morph transition to the second slide.
- When transitioning, the rectangle will smoothly slide and fade to the new position, creating a dynamic highlight effect.
Note: If an object appears on one slide but not the next, Morph will apply a fade animation to that object. To avoid unwanted fades, ensure the same object exists on both slides when animating it.
Resizing Objects Seamlessly
Morph also allows you to animate resizing objects. Whether you want to emphasize a photo, enlarge a shape, or increase the font size of text, Morph will smoothly transition the object’s size between slides.
Here’s how to do it:
- Duplicate your slide with the objects you want to resize.
- On the duplicated slide, select the objects and resize them as desired.
- For text boxes, increase the font size as well as the box size.
- Apply Morph transition on the duplicated slide.
- Preview the transition to watch the objects grow or shrink smoothly.
This technique works for all object types including shapes, photos, videos, and 3D models, making your presentations dynamic and engaging.

Rotating Objects Smoothly
Rotation is another animation that Morph handles beautifully. You can rotate any object on your slide and Morph will animate the rotation between slides.
Steps to animate rotation:
- Duplicate your slide.
- On the duplicated slide, select objects and rotate them using the rotation handle. For 3D models, use the special 3D rotation handle in the middle.
- Apply Morph transition to the second slide.
- Preview to see the smooth rotation animation.
This works well for text, shapes, images, videos, and 3D models. The rotation animation adds a dynamic feel to your presentation elements.
Flipping Objects in PowerPoint
Flipping objects horizontally or vertically can create interesting visual effects. Morph can animate these flips smoothly, though with some nuances for text.
How to flip objects with Morph:
- Duplicate your slide.
- On the duplicated slide, select all objects except 3D models and flip them horizontally or vertically via the rotation options.
- For 3D models, use the special rotation handle inside the model to flip it to any desired position.
- Apply Morph transition to the second slide.
- Preview the animation to see the flip effect.
Note on text flipping: Text objects flip by rotating rather than flipping like shapes or images. To achieve proper flipping animation for text, cut the text box and paste it as a picture — then Morph will flip it correctly.

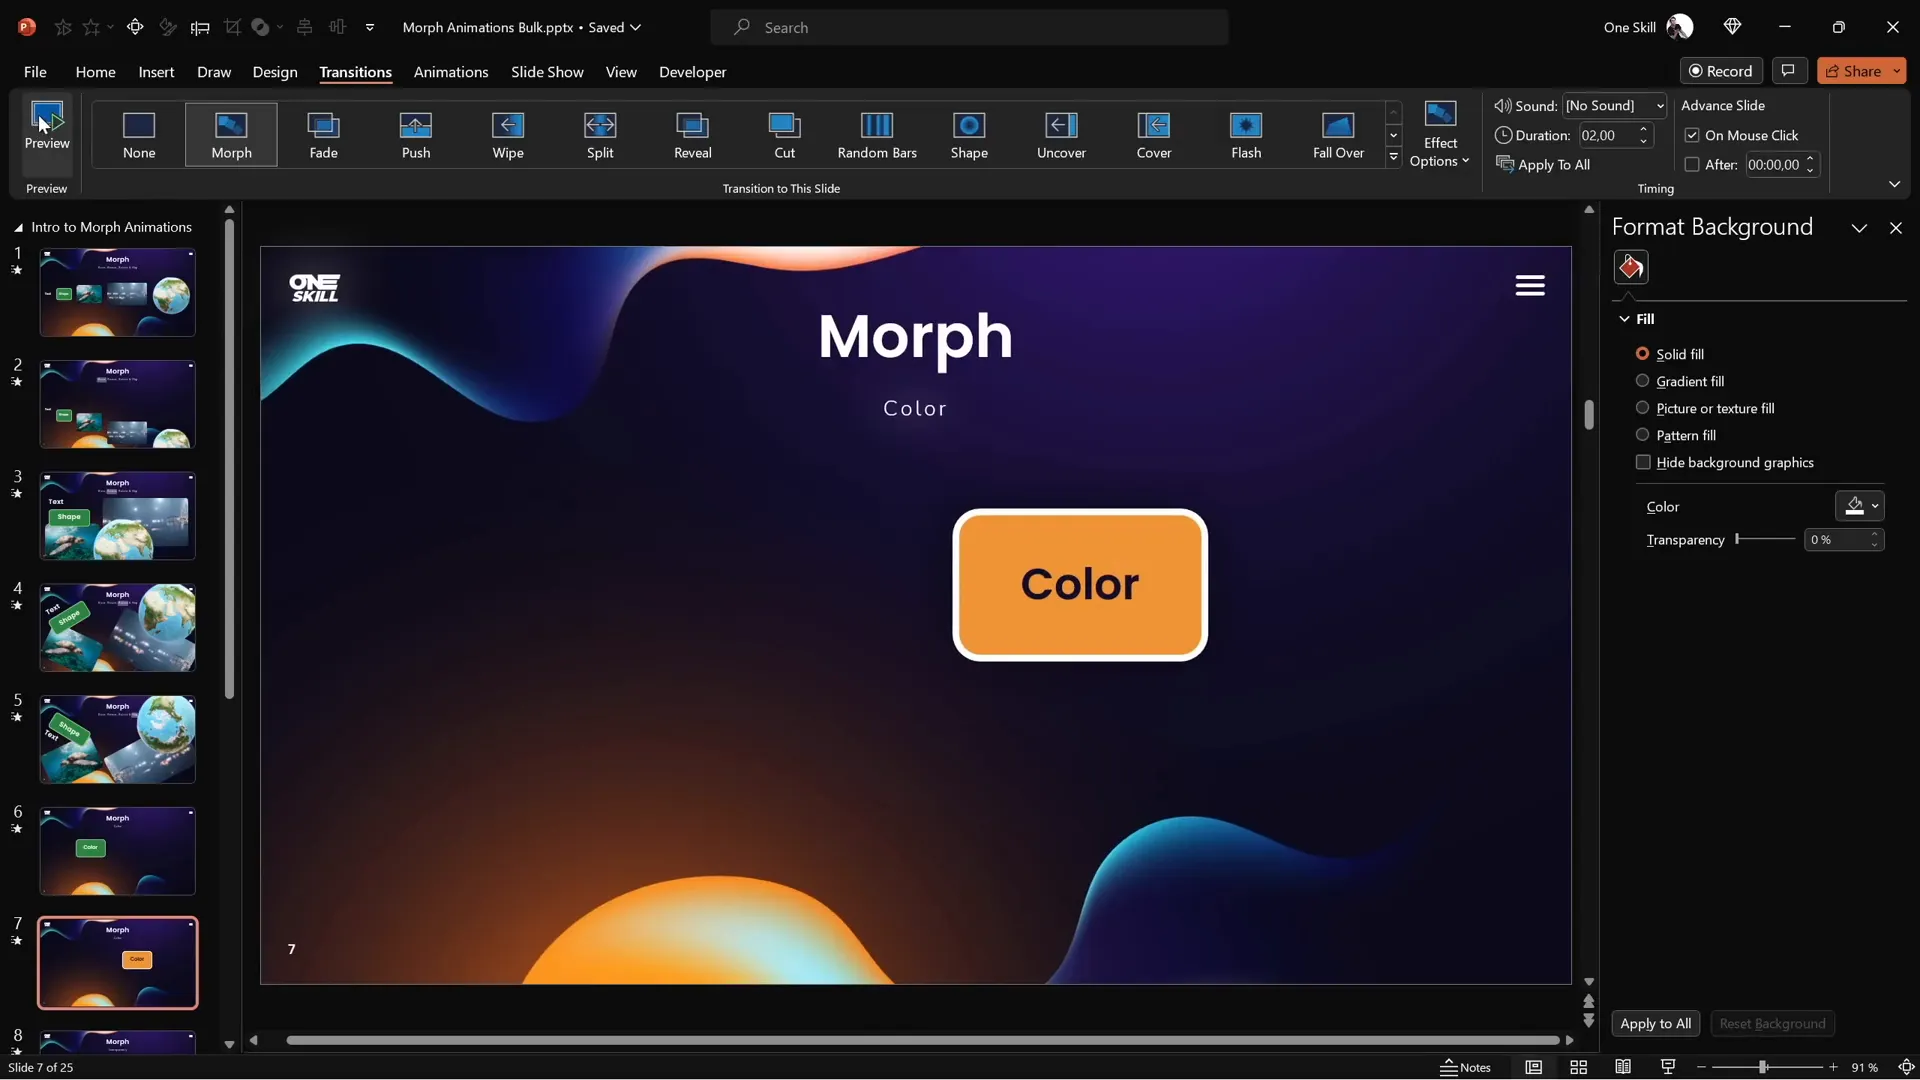
Using Color Changes with Morph
Morph can also animate color changes on shapes and objects, transforming one color smoothly into another during the transition.
To create color change animations:
- Duplicate your slide.
- On the duplicated slide, select the shape or object whose color you want to change.
- Change the fill color and outline color as desired.
- Apply Morph transition to the second slide.
- Preview to see the color smoothly morph from the original to the new color.
This technique works well for highlighting changes or emphasizing specific points in your presentation.
Adding Transparency Effects
Transparency changes can add subtlety and sophistication to your animations. Morph can animate the transparency of fills, outlines, and text colors.

Steps to animate transparency:
- Duplicate your slide.
- On the duplicated slide, select the shape or object.
- Adjust the fill transparency to 100% to make it invisible.
- Do the same for the outline and text colors if applicable.
- Apply Morph transition to the second slide.
- Preview to see the object fade away while moving or transforming.
While you can achieve fade effects using traditional PowerPoint animations, using Morph for transparency changes allows you to combine movement and fading into a single smooth animation.

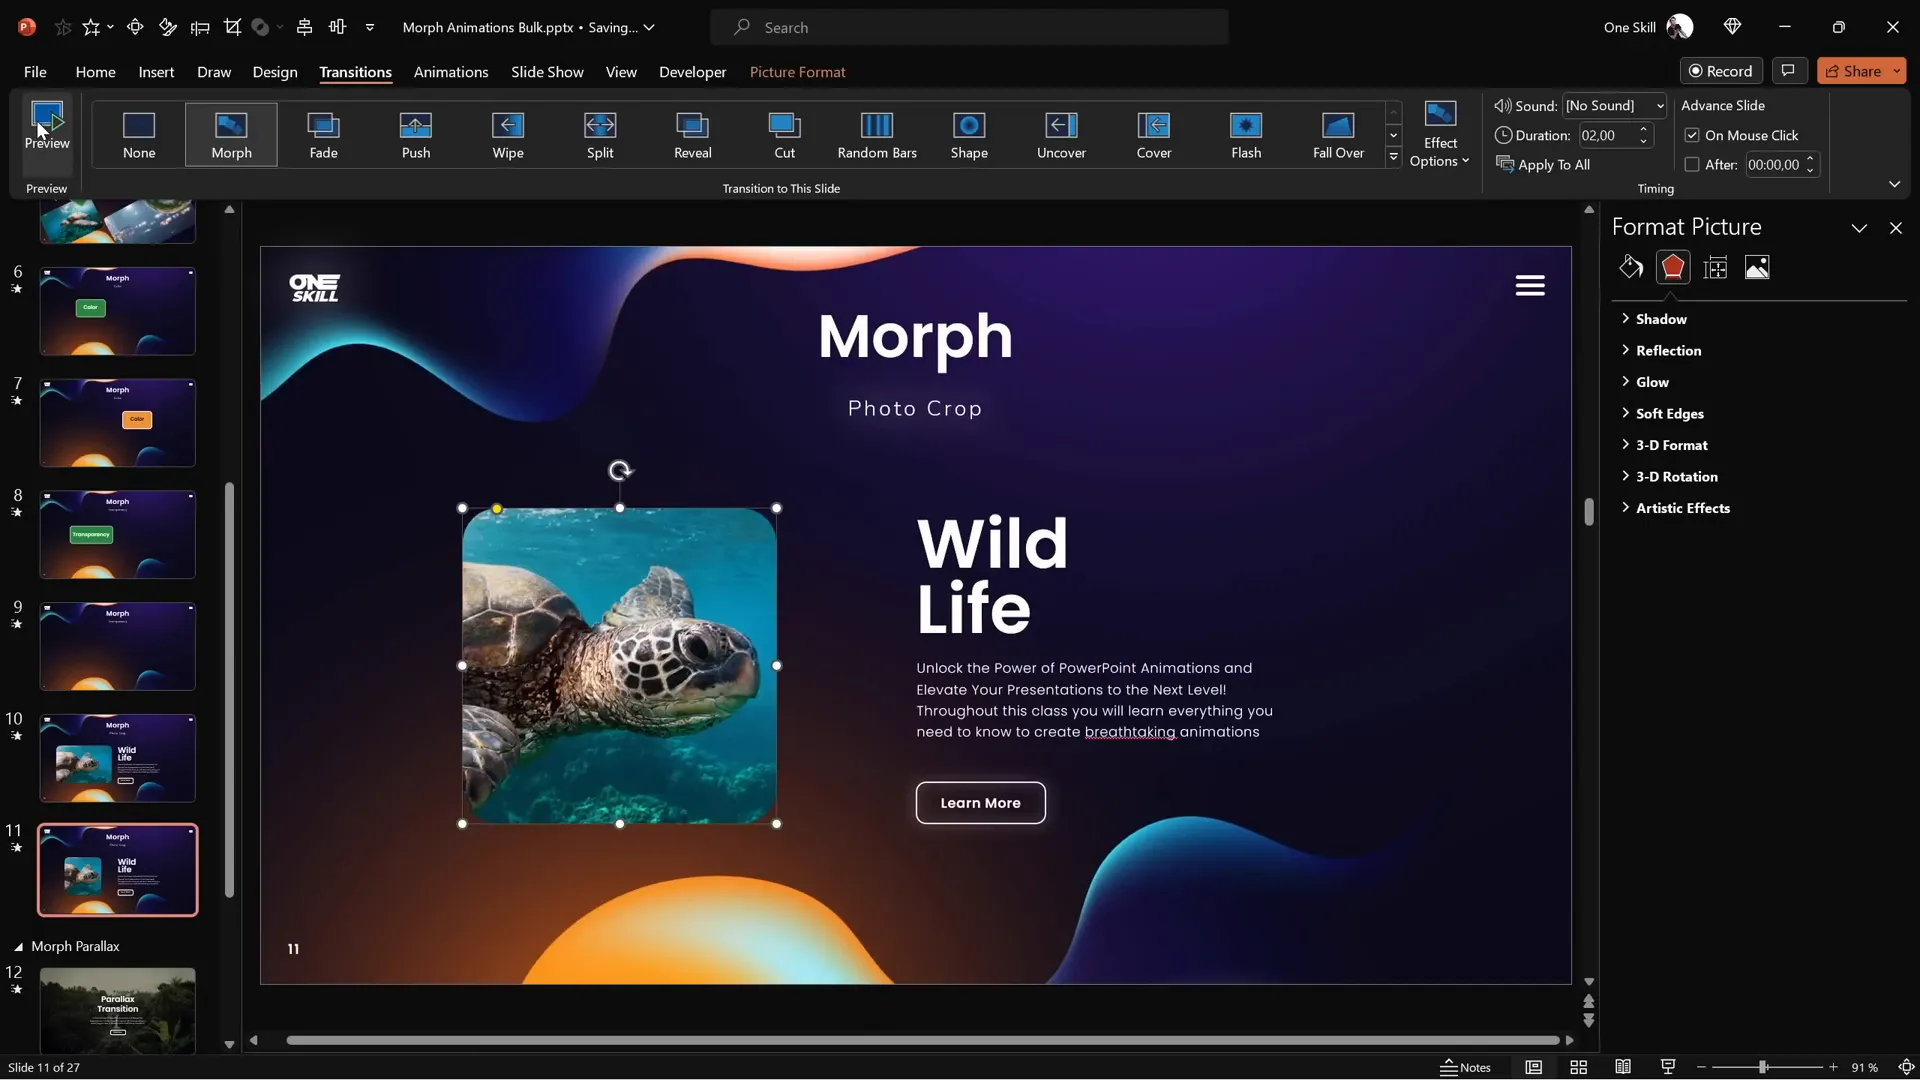
Creating Photo Crop Animations
One of the most powerful features of Morph is animating photo cropping. By changing the crop area between slides, you can create zoom, slide-in, or reveal effects that look professional and engaging.
Understanding cropping handles:
- Black handles: Adjust the size of the cropping area itself.
- White handles: Adjust the position of the photo inside the cropping area.
How to create crop animations:
- Duplicate your slide with the photo.
- On the duplicated slide, select the photo and click Crop.
- Use black handles to resize the cropping area for zoom or reveal effects.
- Alternatively, use white handles to reposition the photo inside the crop area for zoom-in or panning effects.
- Apply Morph transition to the second slide.
- Preview the animation to see the photo crop effect.
Additional creative idea: Move the photo completely out of the cropping area on the first slide, then slide it back into place on the second slide for a smooth slide-in effect. Combine this with moving text boxes outside the slide window to create coordinated slide-in animations.
Troubleshooting Morph: Ensuring It Works Perfectly
Sometimes Morph may not animate as expected, especially when morphing between different shapes or photos. Instead of morphing, you might see a simple fade animation. This usually happens because Morph cannot identify the objects as the same.
Here’s how to fix it:
| Issue | Cause | Fix |
|---|---|---|
| Objects fade instead of morph | Objects have different names or no matching names | Rename objects to the exact same name starting with double exclamation marks (e.g., !!shape) on both slides |
| Photos fade instead of morph | Photos are different images without matching names | Rename both photos with the same name starting with double exclamation marks (e.g., !!photo) |
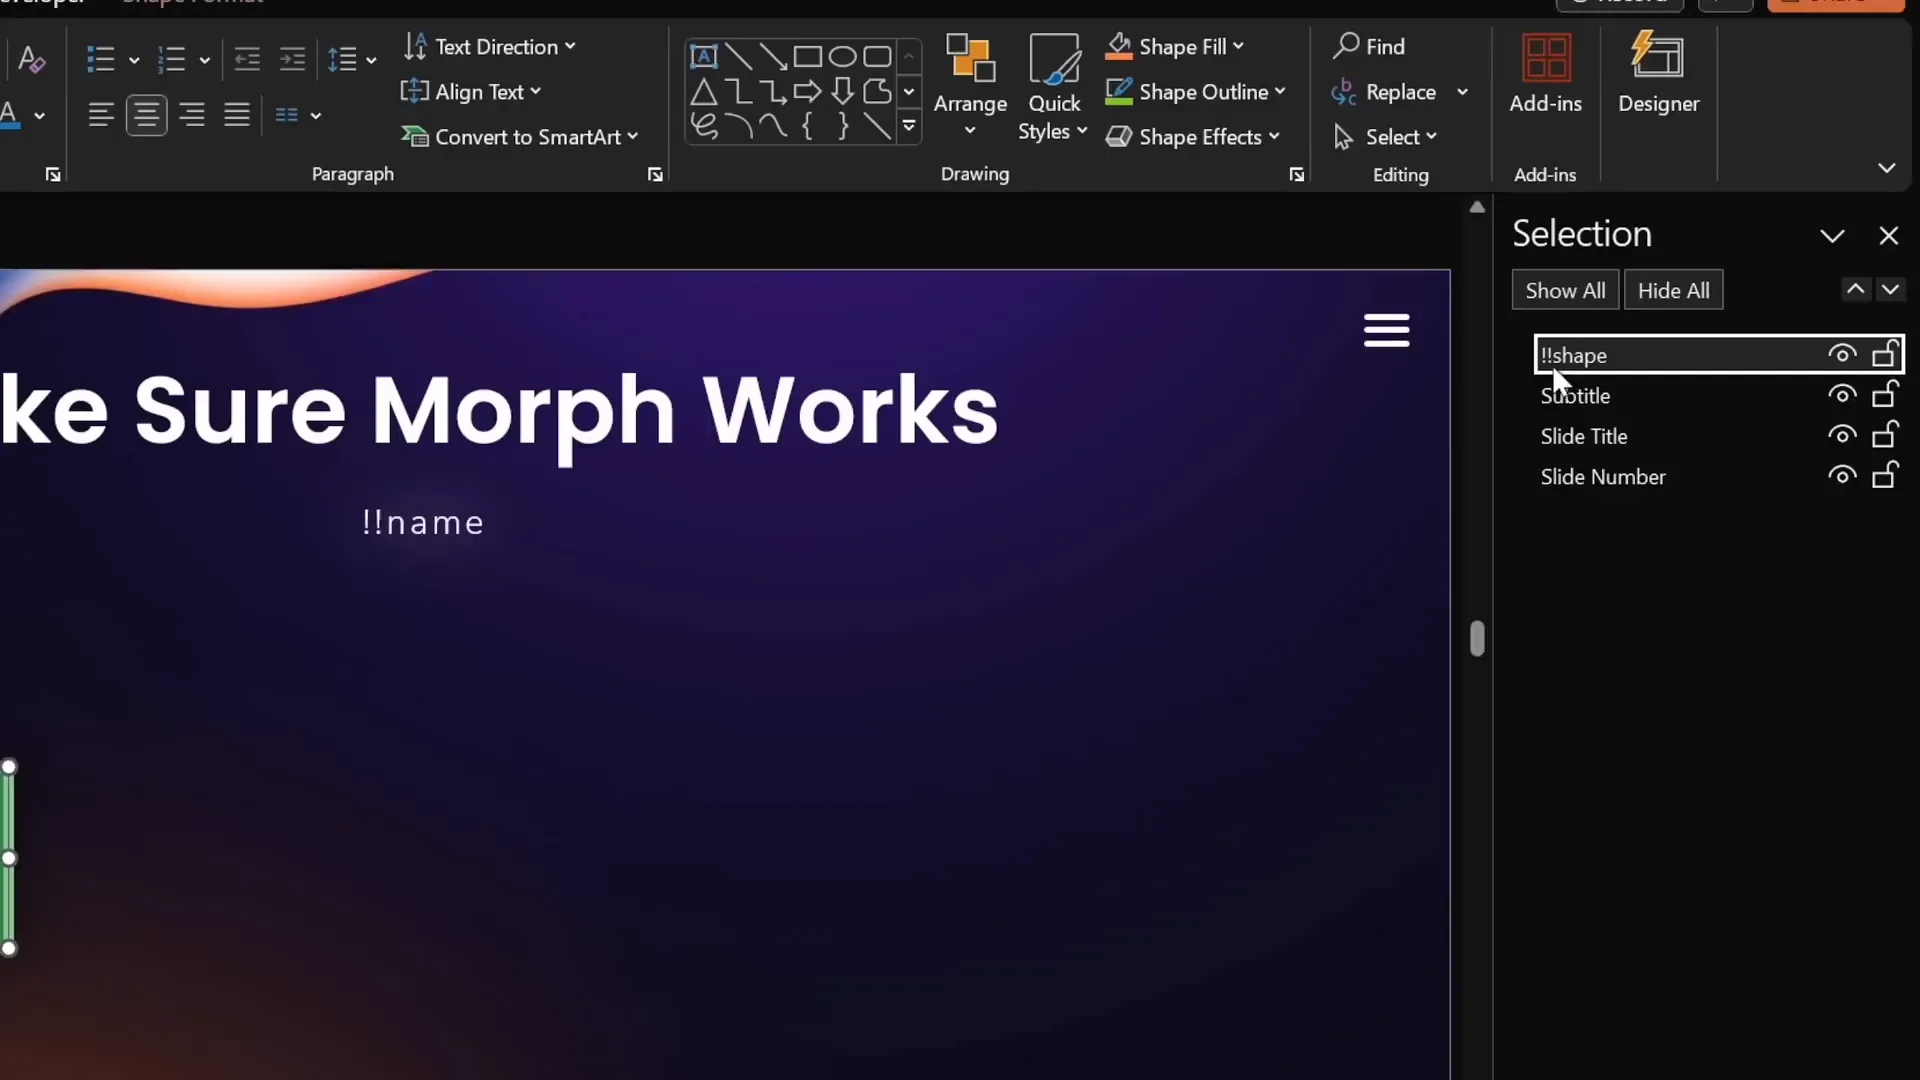
How to rename objects:
- Open the Selection Pane (Home tab > Select > Selection Pane).
- Find the object name (e.g., Rectangle, Oval, Picture 1).
- Rename it by double-clicking and typing a new name starting with
!!, such as!!shapeor!!photo. - Repeat the same exact name on the corresponding object on the second slide.
Once both objects have identical names starting with double exclamation marks, Morph will correctly animate the transformation instead of fading.
Frequently Asked Questions
1. Which versions of PowerPoint support the Morph transition?
Morph transition is available in PowerPoint 2019, PowerPoint for Microsoft 365, and later versions. If you have an older version, you won’t see the Morph option in the Transitions tab.
2. Can I morph between completely different objects?
Yes, but you need to give the objects the same name starting with double exclamation marks in the Selection Pane. Morph will then animate the transformation between those objects.
3. Does Morph work with videos and 3D models?
Morph supports videos and 3D models for movement, resizing, rotation, and flipping. However, videos pause during the transition and resume afterward. 3D models can be rotated and flipped using their special handles.
4. Can Morph animate text color or font changes?
Morph can animate color changes for shapes and text color changes. However, Morph does not animate font changes such as style or typeface changes.
5. How do I create a zoom effect on photos using Morph?
Use the Crop tool to resize the cropping area or reposition the photo inside the crop area between slides. Morph will animate the changes, creating a smooth zoom or pan effect.
6. What should I do if Morph is only fading objects?
Ensure the objects have the same name in the Selection Pane starting with double exclamation marks. Also, make sure the object exists on both slides. Morph animates only matching objects.
Conclusion and Next Steps
Mastering Powerpoint presentation skills with Morph transition opens up a world of creative possibilities. From simple movement to complex photo crop animations, Morph lets you create dynamic, engaging presentations effortlessly. By duplicating slides and tweaking object positions, sizes, rotations, flips, colors, and transparencies, you can deliver professional animations that impress your audience.
Remember these key points:
- Duplicate your slide before making changes.
- Apply Morph transition on the new slide.
- Use the Selection Pane to rename objects with
!!prefixes when morphing different objects. - Experiment with photo cropping for powerful zoom and reveal effects.
- Combine Morph with other PowerPoint features to build polished presentations.
Keep practicing these techniques to build your confidence and presentation prowess. Morph is a powerful tool that can transform your slides from static to spectacular with minimal effort.
If you want to dive deeper and learn advanced PowerPoint animation techniques, consider exploring dedicated courses that cover Morph and other animation tools in detail. These resources can help you save time, avoid common pitfalls, and create professional presentations that stand out.
Happy presenting!
Check out the full video: PowerPoint Presentation Skills: Master Morph Transition! ✨


