
If you want to elevate your PowerPoint presentation skills and create seamless, professional animations without complicated setups, mastering the Morph transition is a game changer. This powerful tool in PowerPoint allows you to animate objects moving, resizing, rotating, flipping, changing colors, and even cropping photos—all with minimal effort and maximum impact.
In this detailed guide, we’ll explore everything you need to know about using the Morph transition effectively. Whether you’re a beginner or looking to polish your animation skills, this article will walk you through practical techniques, tips, and tricks to make your presentations visually captivating and smooth.
Table of Contents
- Introduction to Morph Transition
- Basics: Moving, Resizing, Rotating, and Flipping Objects
- Animating Text, Shapes, and 3D Models
- Color and Transparency Effects with Morph
- Photo Cropping and Zoom Effects
- Tips for Ensuring Perfect Morph Transitions
- Advanced Morph Techniques: Morphing Different Objects
- Frequently Asked Questions (FAQ)
- Conclusion
Introduction to Morph Transition
The Morph transition is one of the most powerful animation tools available in Microsoft PowerPoint (version 2019 and later, including Microsoft 365). It lets you create smooth animations that move objects naturally from one slide to the next without the need to manually set motion paths or complex animation sequences.
How does it work? The key to getting the best results with Morph is to duplicate a slide, then move, resize, or modify the objects on the duplicate slide. PowerPoint automatically animates the changes between the two slides, creating a seamless transition effect.
Let’s start with a simple example. Imagine you have a slide with a laptop image and a scale icon. By duplicating the slide and increasing the size of these objects on the second slide, then applying the Morph transition, PowerPoint will animate the scaling effect smoothly during the slide transition.
This simple process makes Morph extremely accessible and fun to use, even for beginners. It opens up a world of creative possibilities for enhancing your presentations with professional-looking animations.
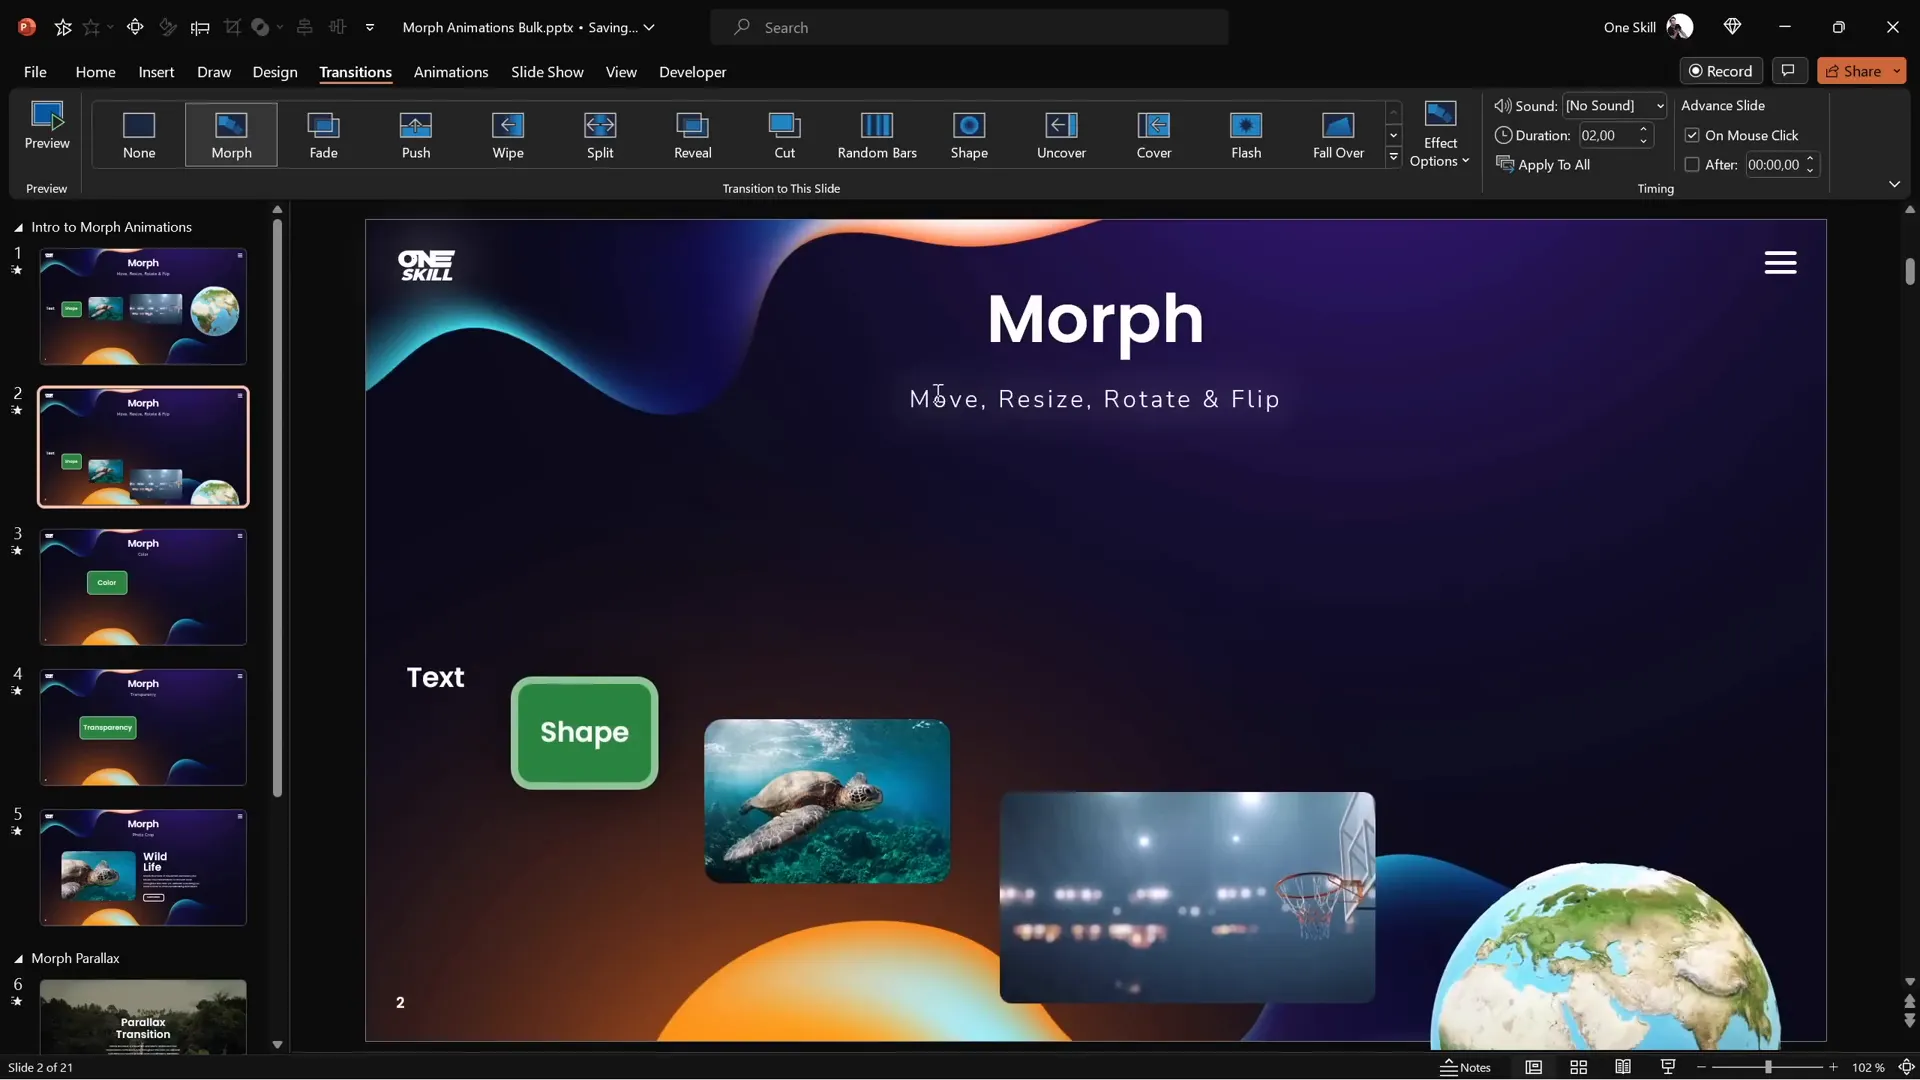
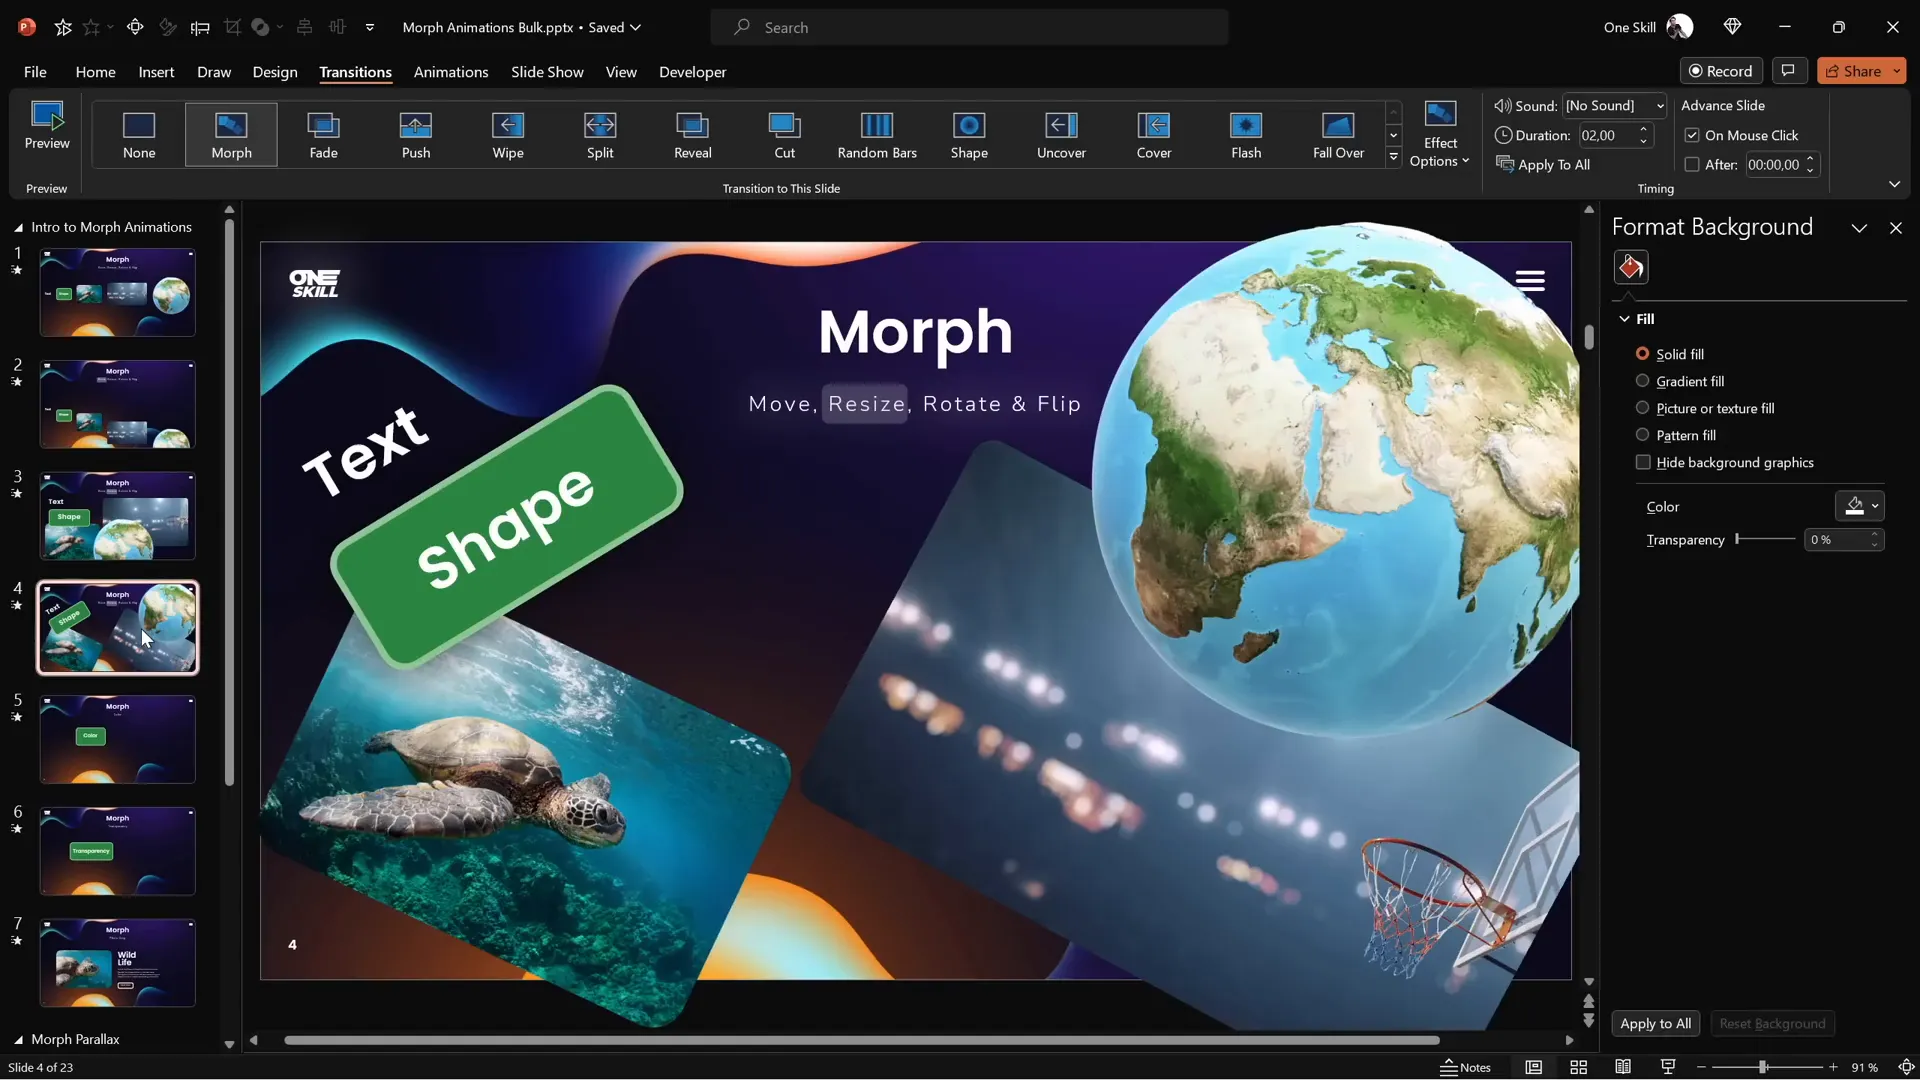
Basics: Moving, Resizing, Rotating, and Flipping Objects
Let’s dive into the core capabilities of the Morph transition by exploring how you can:
- Move objects smoothly across slides
- Resize shapes, images, and other elements
- Rotate objects with fluid animation
- Flip items horizontally or vertically
Moving Objects
To animate the movement of objects, start with a slide containing your objects (text boxes, shapes, images, videos, or 3D models). Duplicate the slide, then move the objects to new positions on the duplicate. Apply the Morph transition to the second slide, and PowerPoint will animate the objects moving to their new locations.
For example, if you move all objects slightly downwards on the duplicate slide, Morph will animate all of them sliding down smoothly during the transition.
This technique requires no motion paths or manual animation; just duplicate and reposition.
Resizing Objects
Resizing is just as straightforward. Duplicate your slide, then increase or decrease the size of objects on the duplicate slide. Morph will animate the objects growing or shrinking naturally during the transition.
For instance, increasing the font size of a text box, resizing a shape, or enlarging a photo will all animate beautifully with Morph.

Rotating Objects
Rotation is another animation effect Morph handles well. After duplicating your slide, rotate your objects on the second slide using PowerPoint’s rotation handles. Morph will animate the rotation between slides.
Even 3D models like a rotating Earth can be smoothly animated using Morph by manipulating their rotation handles.
Flipping Objects
Flipping objects horizontally or vertically is also supported. You can select your shapes and use the rotate menu to flip them. Morph will animate the flip during the transition.
Note that flipping text objects will result in a rotation rather than a flip, but you can convert text to images to achieve flipping animation for text.
Animating Text, Shapes, and 3D Models
The Morph transition supports a variety of object types, including:
- Text boxes
- Shapes (rectangles, circles, rounded rectangles, etc.)
- Pictures and photos
- Videos
- 3D models
By duplicating slides and making changes across these objects, you can animate them in many creative ways.
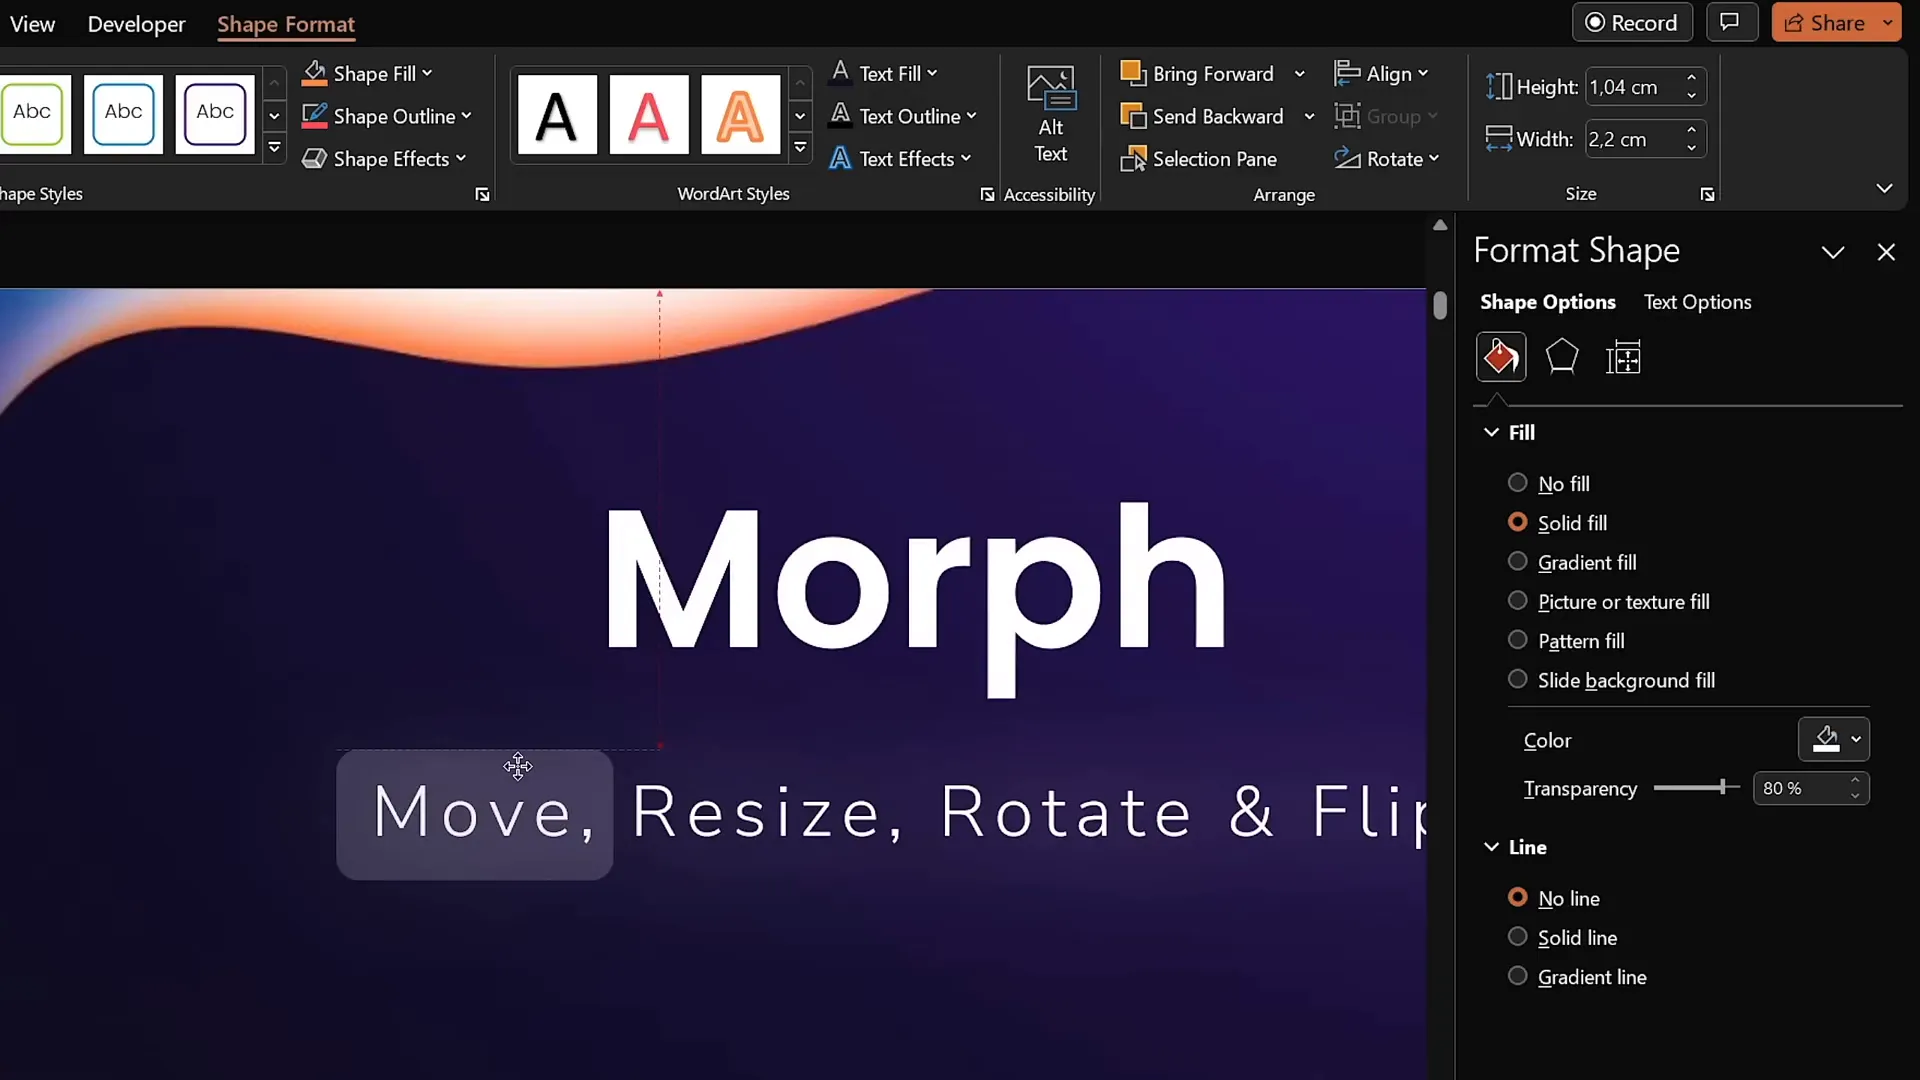
Highlighting Text with Semi-Transparent Shapes
One useful technique is to add a semi-transparent rounded rectangle to highlight parts of text. Create this shape with white fill and 80% transparency, no outline, and position it over the text you want to emphasize.
On the duplicate slide, move this shape to highlight different words. Morph will animate this shape moving smoothly, creating an elegant highlighting effect.
Animating Videos
Morph can animate videos moving or resizing, but note a limitation: if a video is playing during a transition, it pauses during the Morph animation and resumes afterward.
This is important to keep in mind when designing video animations with Morph.
Animating 3D Models
3D models can be rotated and flipped using Morph by manipulating their rotation handles inside the object. This opens up exciting possibilities for animated 3D presentations.
Color and Transparency Effects with Morph
Morph also animates changes in color and transparency smoothly. This means you can:
- Change the fill color of shapes and have Morph animate the color transition
- Adjust transparency levels to fade objects in or out
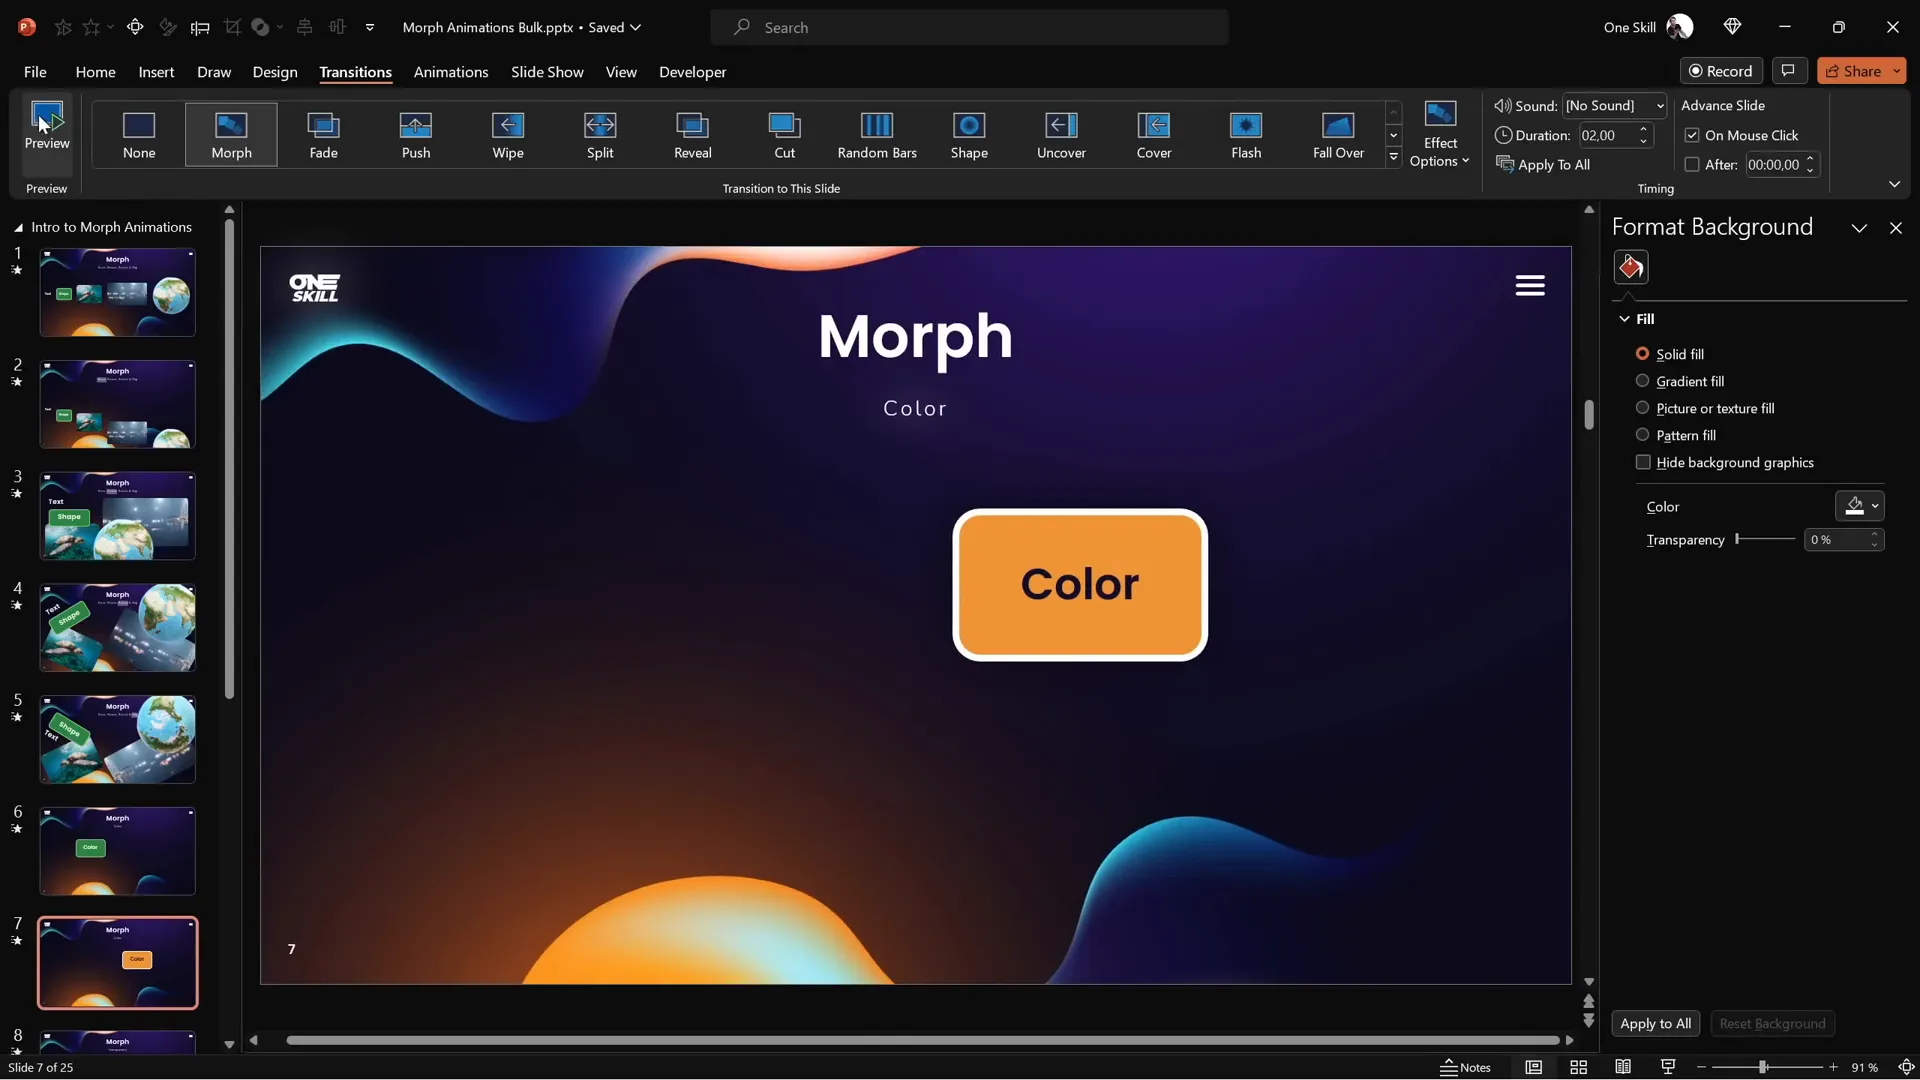
Animating Color Changes
Duplicate your slide, then change the fill color of a shape on the second slide. Morph will animate the shape changing color during the transition.
For example, a green rounded rectangle can morph into an orange one seamlessly.
Animating Transparency
By adjusting transparency, you can create fade effects with Morph. Setting a shape’s fill, line, and text color to 100% transparency on the second slide will cause it to fade out during the transition.
This technique can replace traditional fade animations with a more integrated Morph effect.
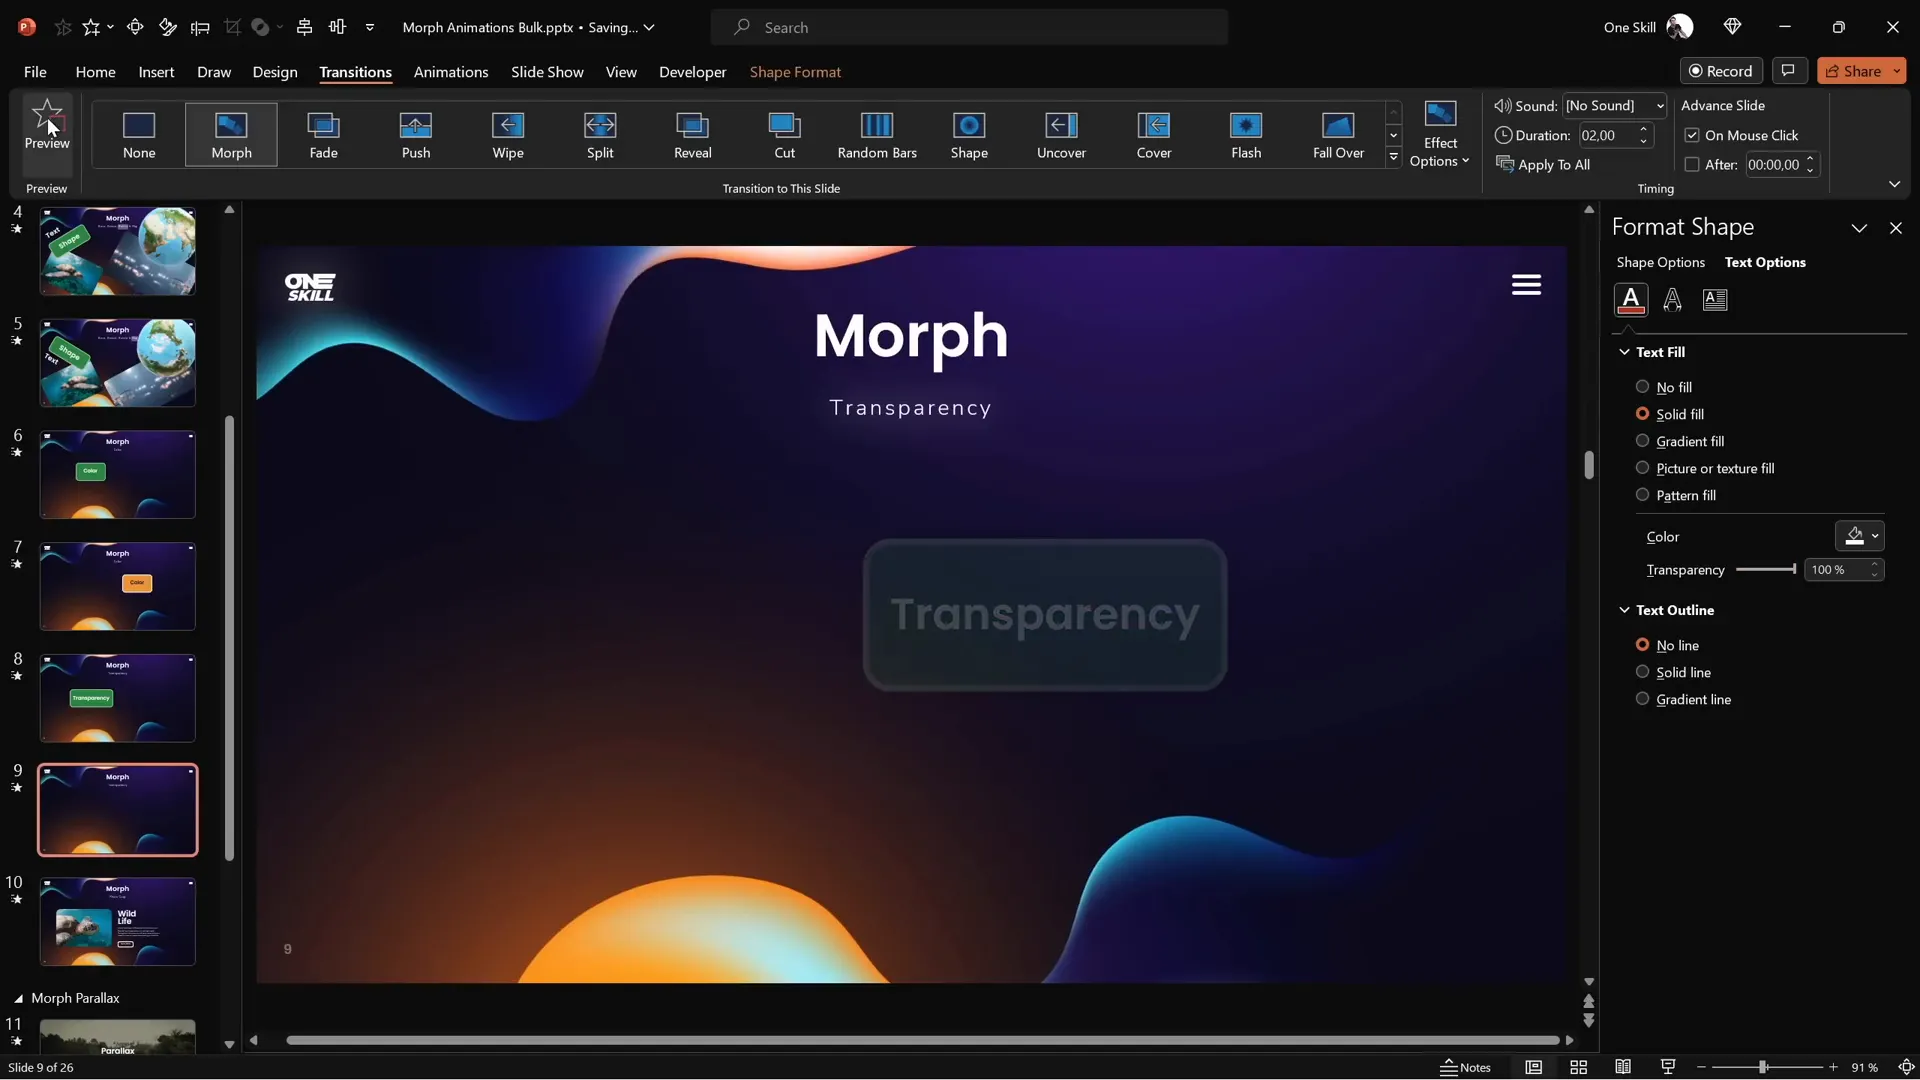
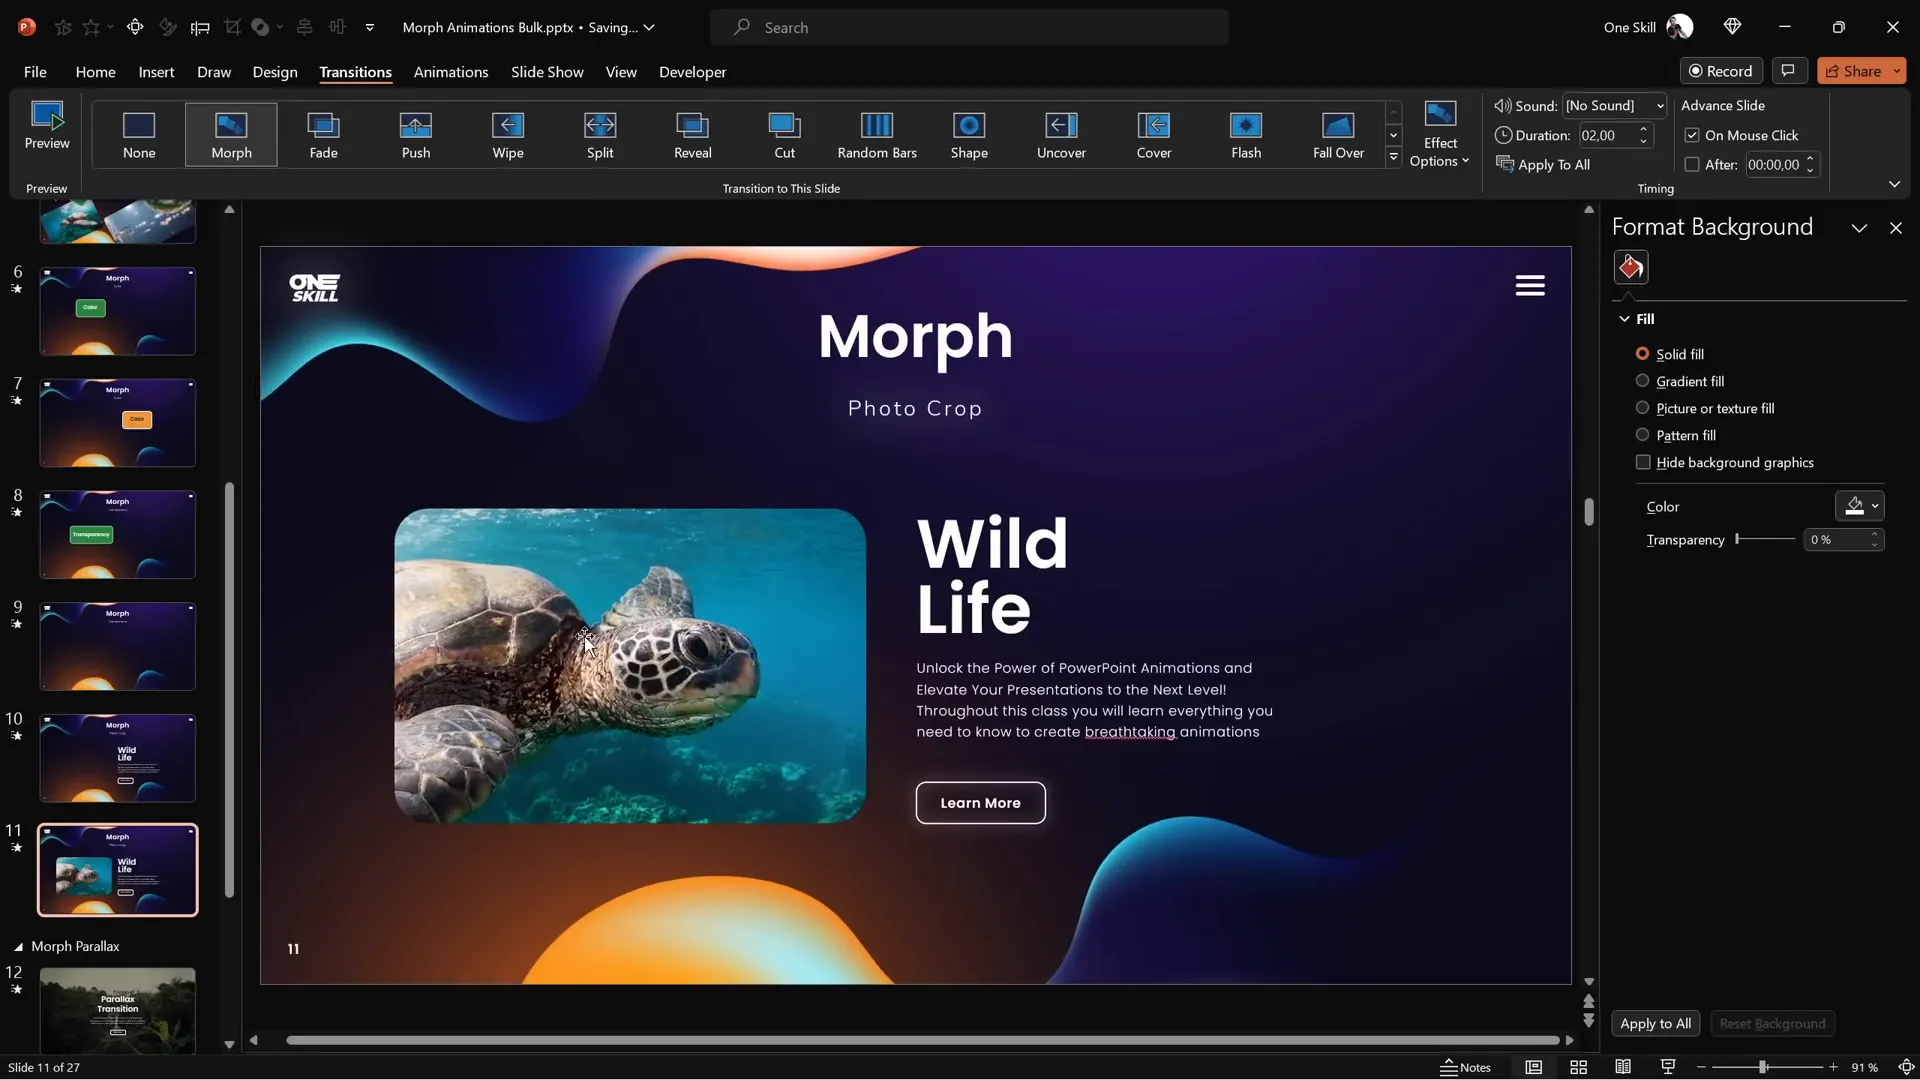
Photo Cropping and Zoom Effects
One of Morph’s most impressive features is its ability to animate photo cropping and zooming effects.
Animating Crop Adjustments
PowerPoint allows you to crop photos using two types of handles:
- Black handles: Change the cropping area size
- White handles: Adjust the position or zoom inside the cropping area
By duplicating a slide and adjusting the crop on the duplicate, Morph will animate the photo cropping.
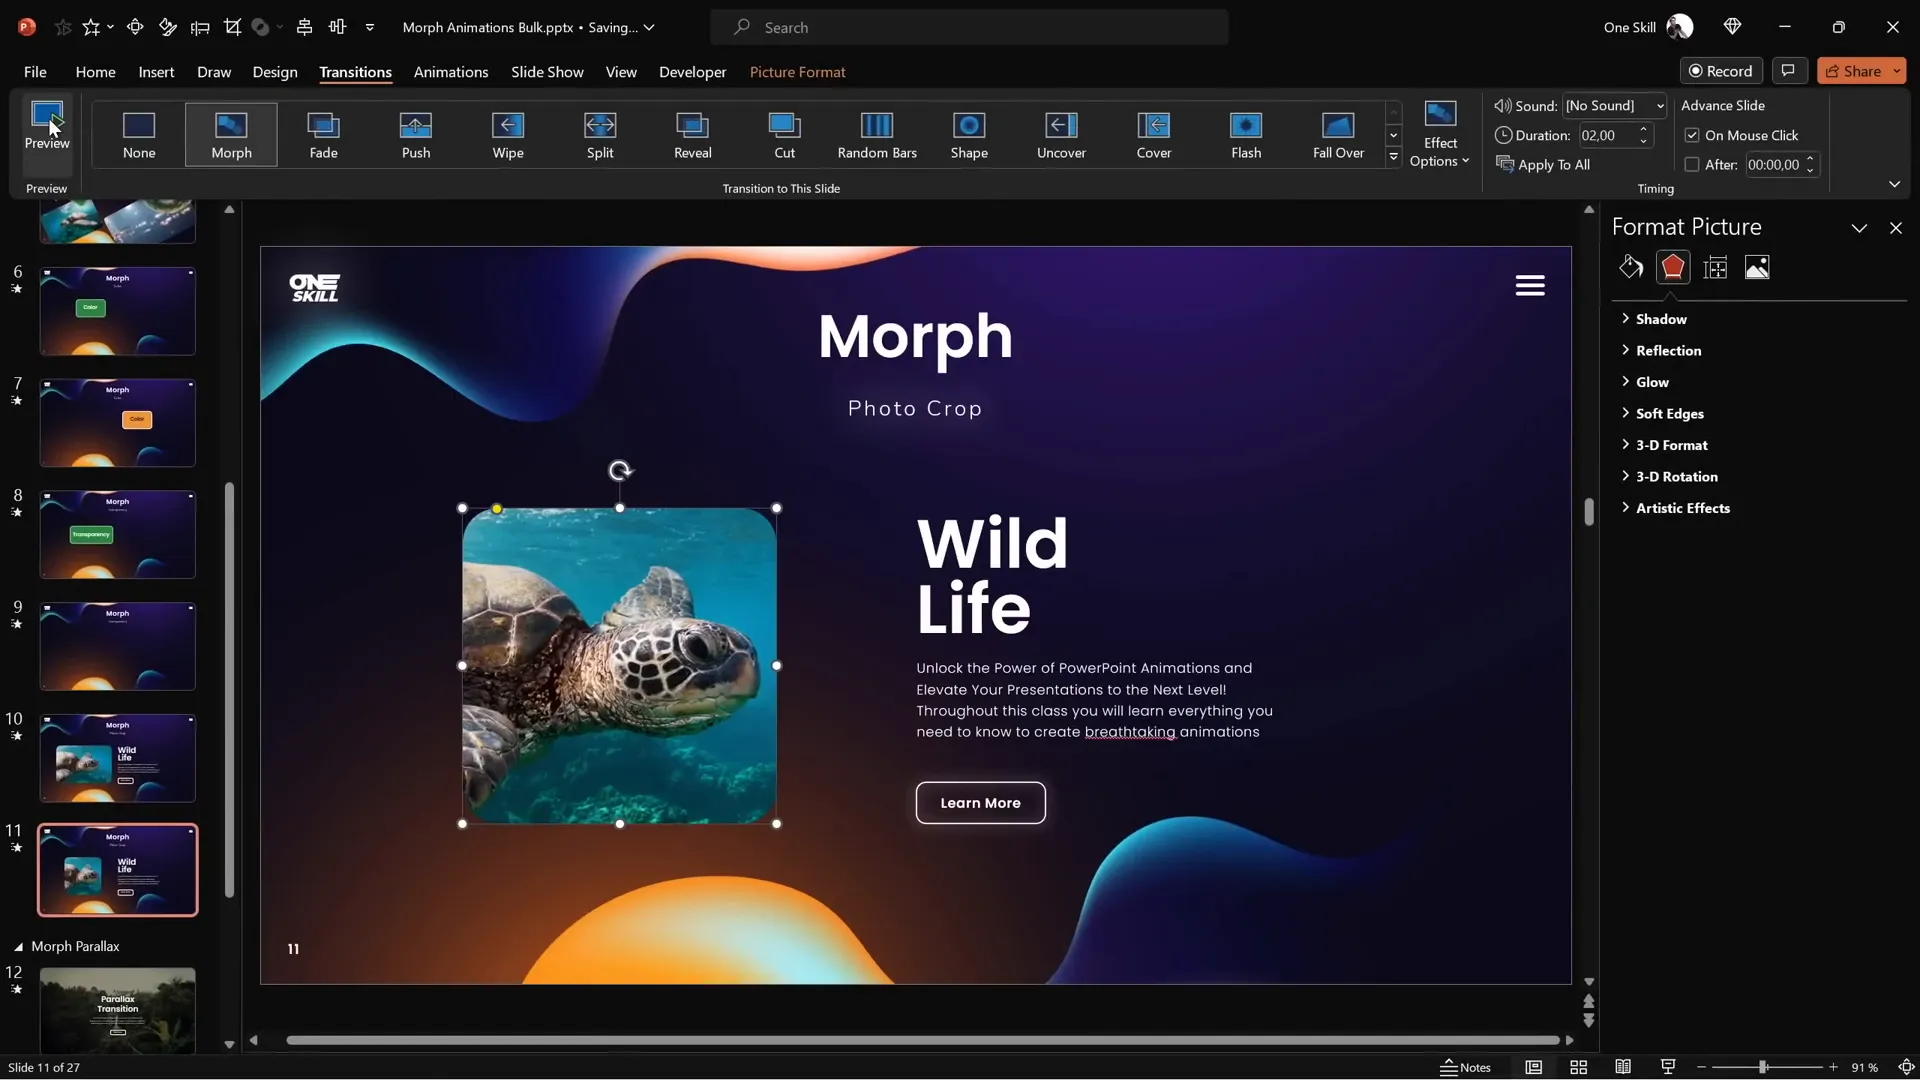
Photo Zoom Effect
You can create a zoom effect by cropping the photo tightly on the second slide using the white handles while leaving it zoomed out on the first slide. Morph will animate the photo zooming in during the transition.

Sliding Photo Into Cropping Area
Another creative use is to move the photo completely outside the cropping area on the first slide, then bring it into view on the second slide. Morph animates the photo sliding into place.
Combine this with moving text from outside the slide window to inside for a smooth slide-in animation of both photo and text.
Tips for Ensuring Perfect Morph Transitions
While Morph is powerful, it’s important to follow some best practices to avoid common pitfalls and ensure your animations work flawlessly.
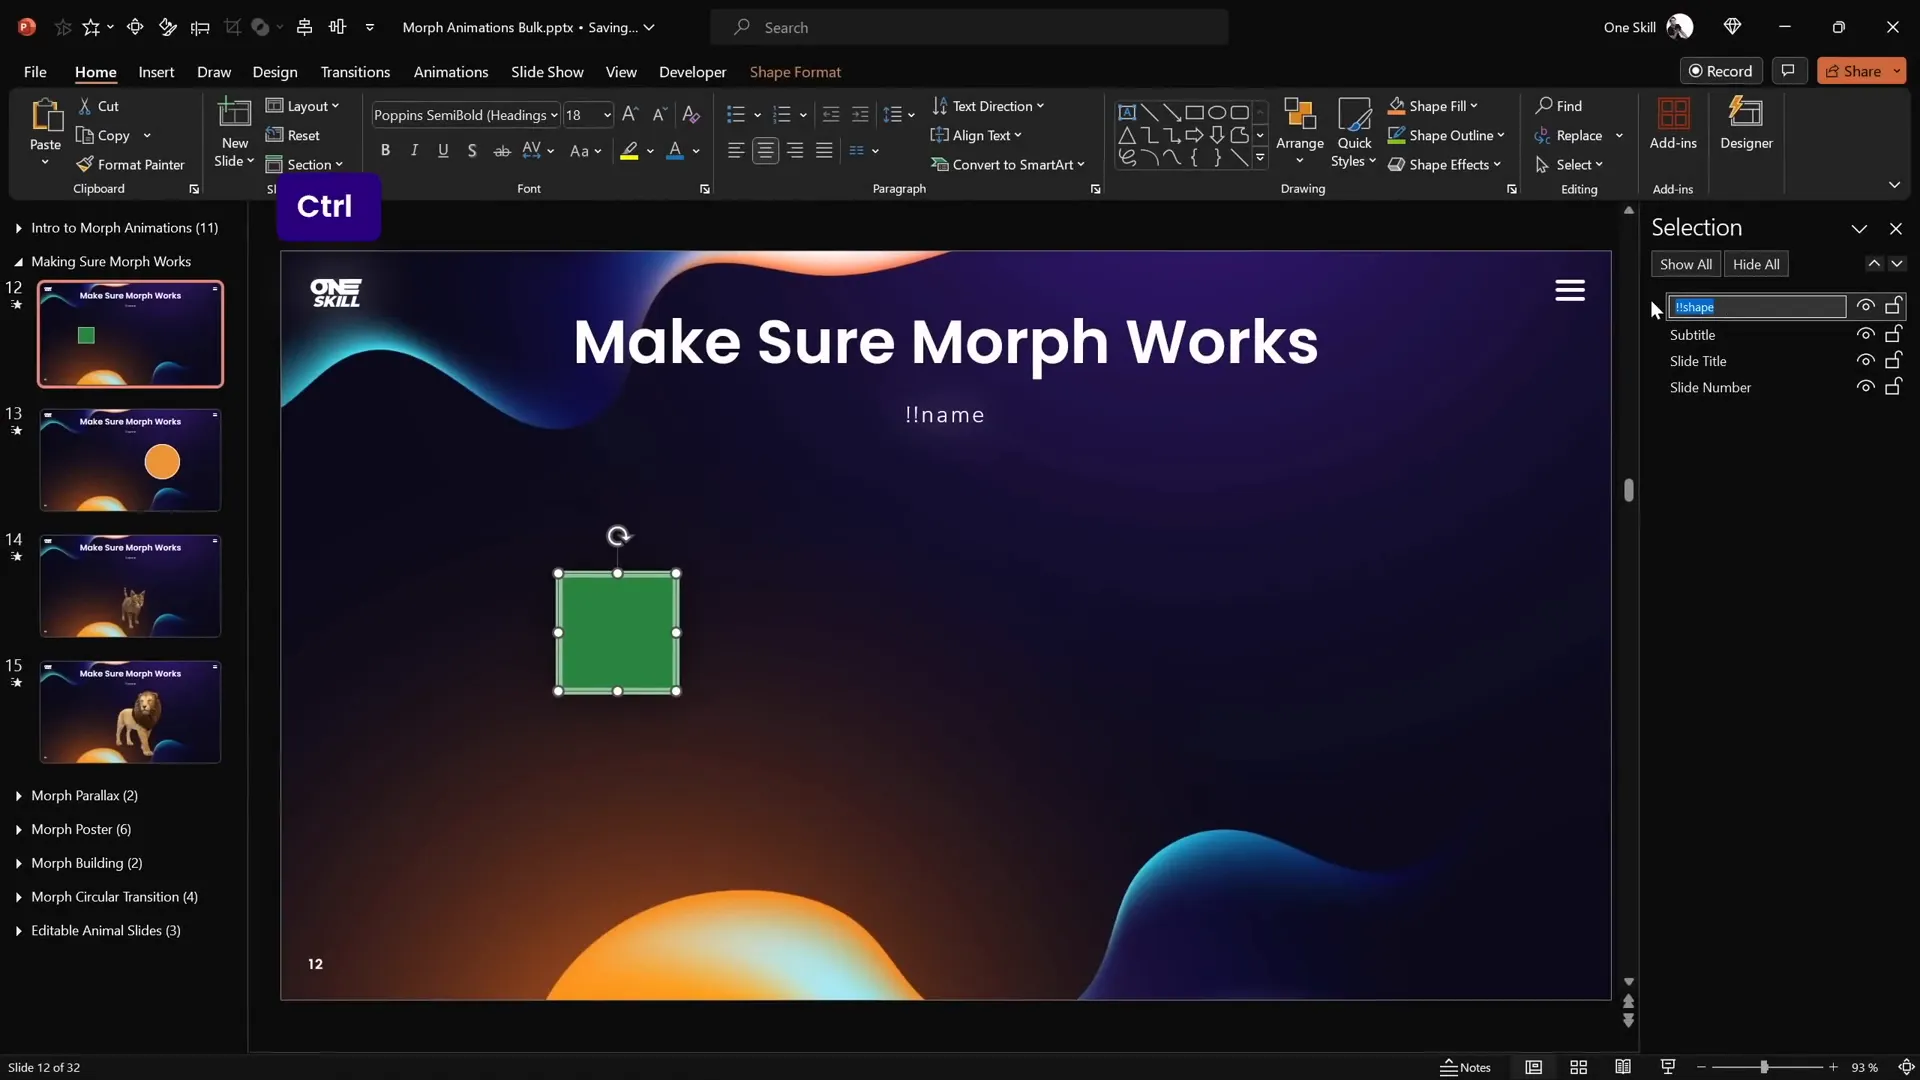
Use Consistent Object Names
Morph links objects across slides by matching their names. If you want to morph one object into another (like a rectangle into a circle), you must give both objects the same name starting with double exclamation marks (!!).
For example:
- On Slide 1: Name the rectangle !!shape
- On Slide 2: Name the circle !!shape
This tells PowerPoint to morph the rectangle into the circle instead of fading one out and the other in.
Matching Names for Different Photos
The same naming rule applies when morphing between two different photos. Name both photos identically with the !! prefix to enable smooth morphing.

Objects Must Appear on Both Slides
If an object is missing on one slide, Morph will fade it in or out rather than morph it. Ensure the object exists on both slides if you want a morph animation.
Advanced Morph Techniques: Morphing Different Objects
By combining the basic techniques and naming conventions, you can create advanced animations such as parallax effects, complex shape transformations, and more.
For example, morphing a rectangle into a circle with color and size changes, or flipping and rotating multiple objects simultaneously, can create eye-catching transitions without manual animation paths.
With practice, you can build entire animated sequences using Morph alone, saving time and increasing presentation polish.
Frequently Asked Questions (FAQ)
Q1: Which versions of PowerPoint support Morph transition?
A1: Morph transition is available in PowerPoint 2019 and later, including Microsoft 365 subscriptions.
Q2: Can I morph different types of objects like shapes and photos?
A2: Yes, Morph can animate shapes, text boxes, photos, videos, and 3D models, but ensure matching names for morphing between different objects.
Q3: How do I make Morph work when morphing between different shapes?
A3: Assign the same object name starting with double exclamation marks (!!) to the shapes on both slides using the Selection Pane.
Q4: Can Morph animate videos?
A4: Morph can animate the position and size of videos, but video playback pauses during the transition and resumes afterward.
Q5: How can I create a photo zoom effect with Morph?
A5: Use cropping white handles to zoom into a photo on the second slide while keeping it zoomed out on the first slide, then apply Morph.
Q6: What happens if an object appears only on one slide?
A6: Morph will fade the object in or out rather than morphing it. For morph animation, the object must exist on both slides.
Q7: Can I flip text with Morph?
A7: Morph flips text by rotating it instead. To flip text properly, convert the text to an image and then apply Morph.
Conclusion
Mastering the Morph transition is a must for anyone looking to boost their Powerpoint presentation skills. It empowers you to create smooth, professional animations with ease—whether you want to move, resize, rotate, flip, recolor, or crop objects on your slides.
The key takeaway is to duplicate slides and make changes on the duplicate, then apply the Morph transition to let PowerPoint animate the transformations. By following best practices like consistent object naming and ensuring objects appear on both slides, you can unlock virtually unlimited animation possibilities with Morph.
Practice these techniques, experiment with different objects, and soon you’ll be crafting presentations that not only inform but also captivate your audience with dynamic visual storytelling.
For those looking to dive deeper, consider exploring comprehensive courses like the PowerPoint Animation Mastery course by One Skill PPT, which offers in-depth lessons on Morph and other animation techniques.
Ready to take your presentations to the next level? Start experimenting with Morph today and watch your slides come alive!


