PowerPoint presentations are a staple in business, education, and professional communication. But how do you make your slides stand out and captivate your audience? The answer lies in mastering Powerpoint presentation skills, particularly animation techniques that bring your content to life. In this comprehensive guide, you will learn how to create engaging scrolling bar animations, add pulsing buttons, and vibrant scribble effects — all designed to level up your presentations with simple yet effective animations.
Whether you’re preparing a company pitch deck, a report, or any business presentation, these animation tricks will help you deliver dynamic and memorable slides. Let’s dive in and explore how you can transform static slides into visually appealing storytelling tools.
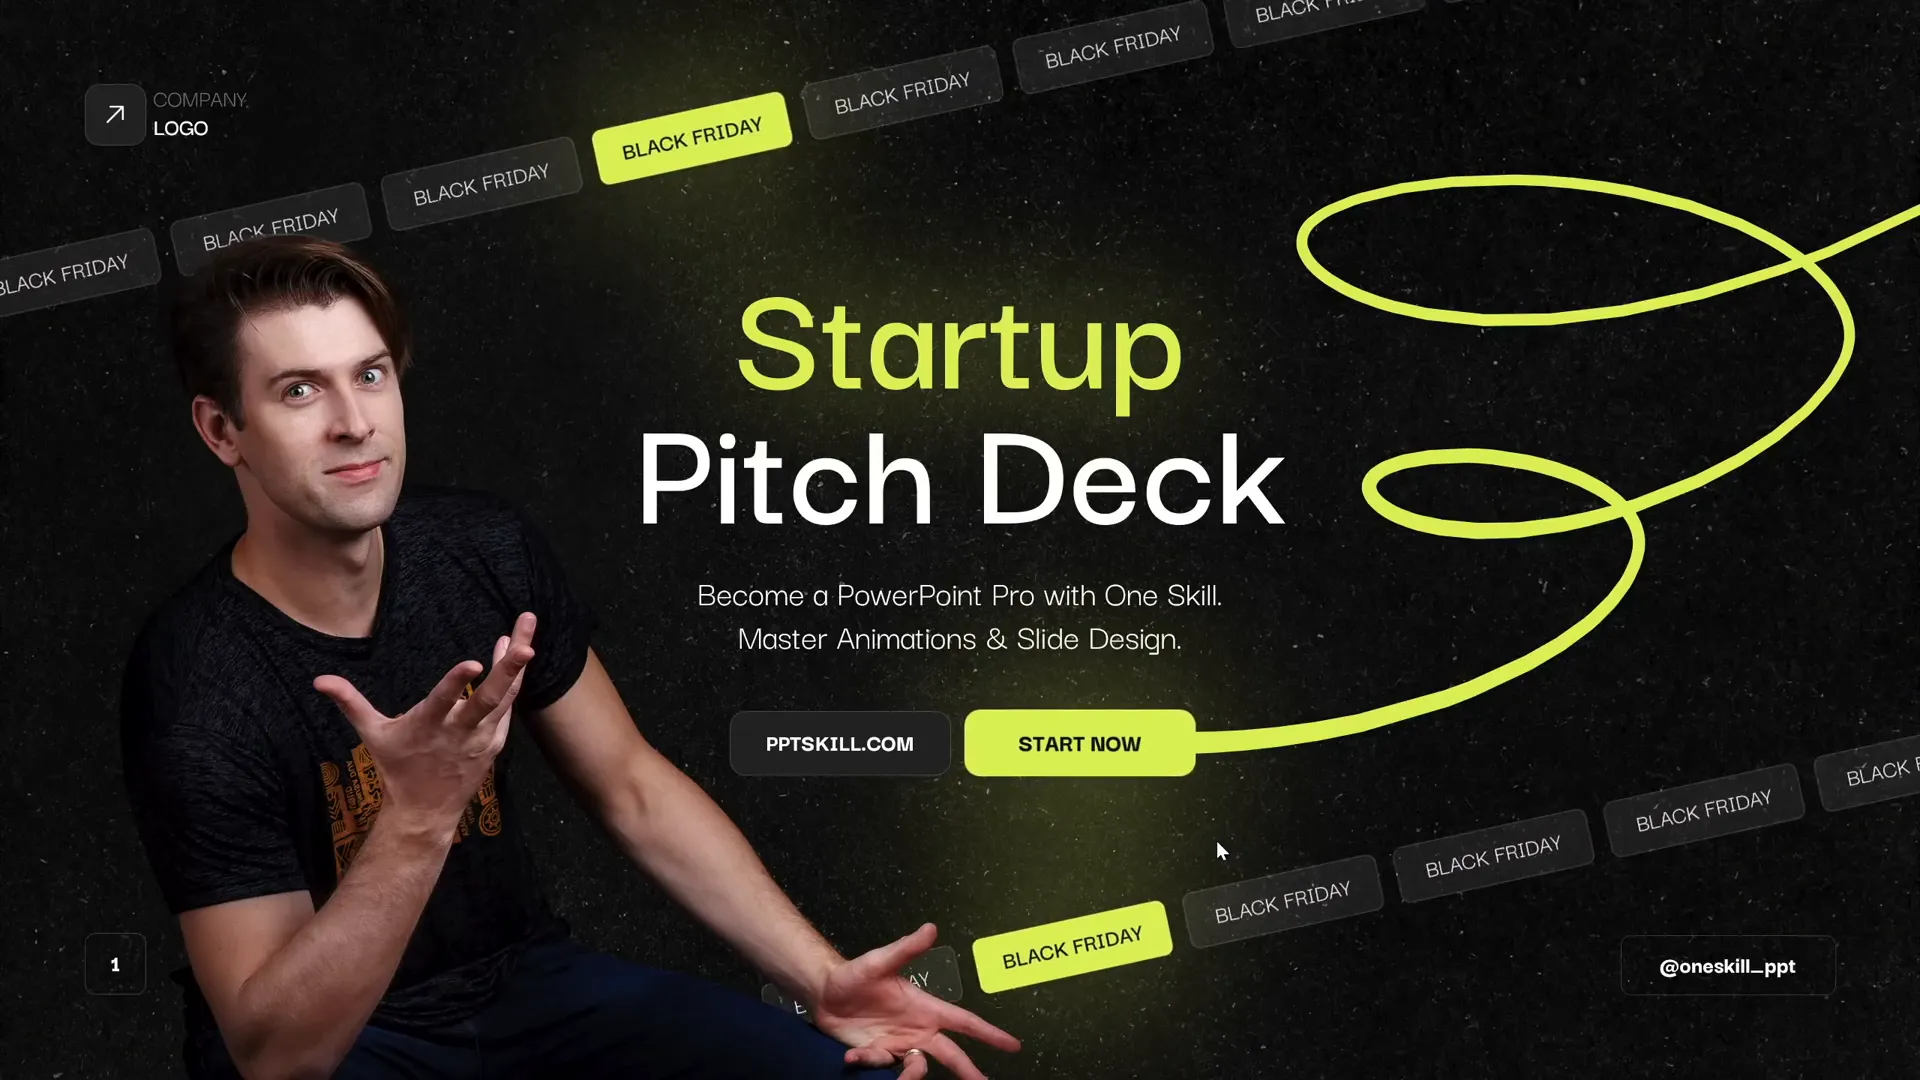
Table of Contents
- Why Animations Matter in PowerPoint Presentations
- Creating the Scrolling Bar Animation: Step-by-Step
- Designing a Custom Slide Layout for Consistency
- Building the Scrolling Bar with Rounded Rectangles
- Applying and Looping Motion Path Animations
- Making Tilted or Rotated Scrolling Bars
- Animating Scrolling Bars in Opposite Directions
- Adding Pulsing Buttons and Scribble Animations
- Fine-Tuning Animation Timing for Smooth Transitions
- Final Tips for Mastering PowerPoint Animation
- Frequently Asked Questions (FAQ)
Why Animations Matter in PowerPoint Presentations
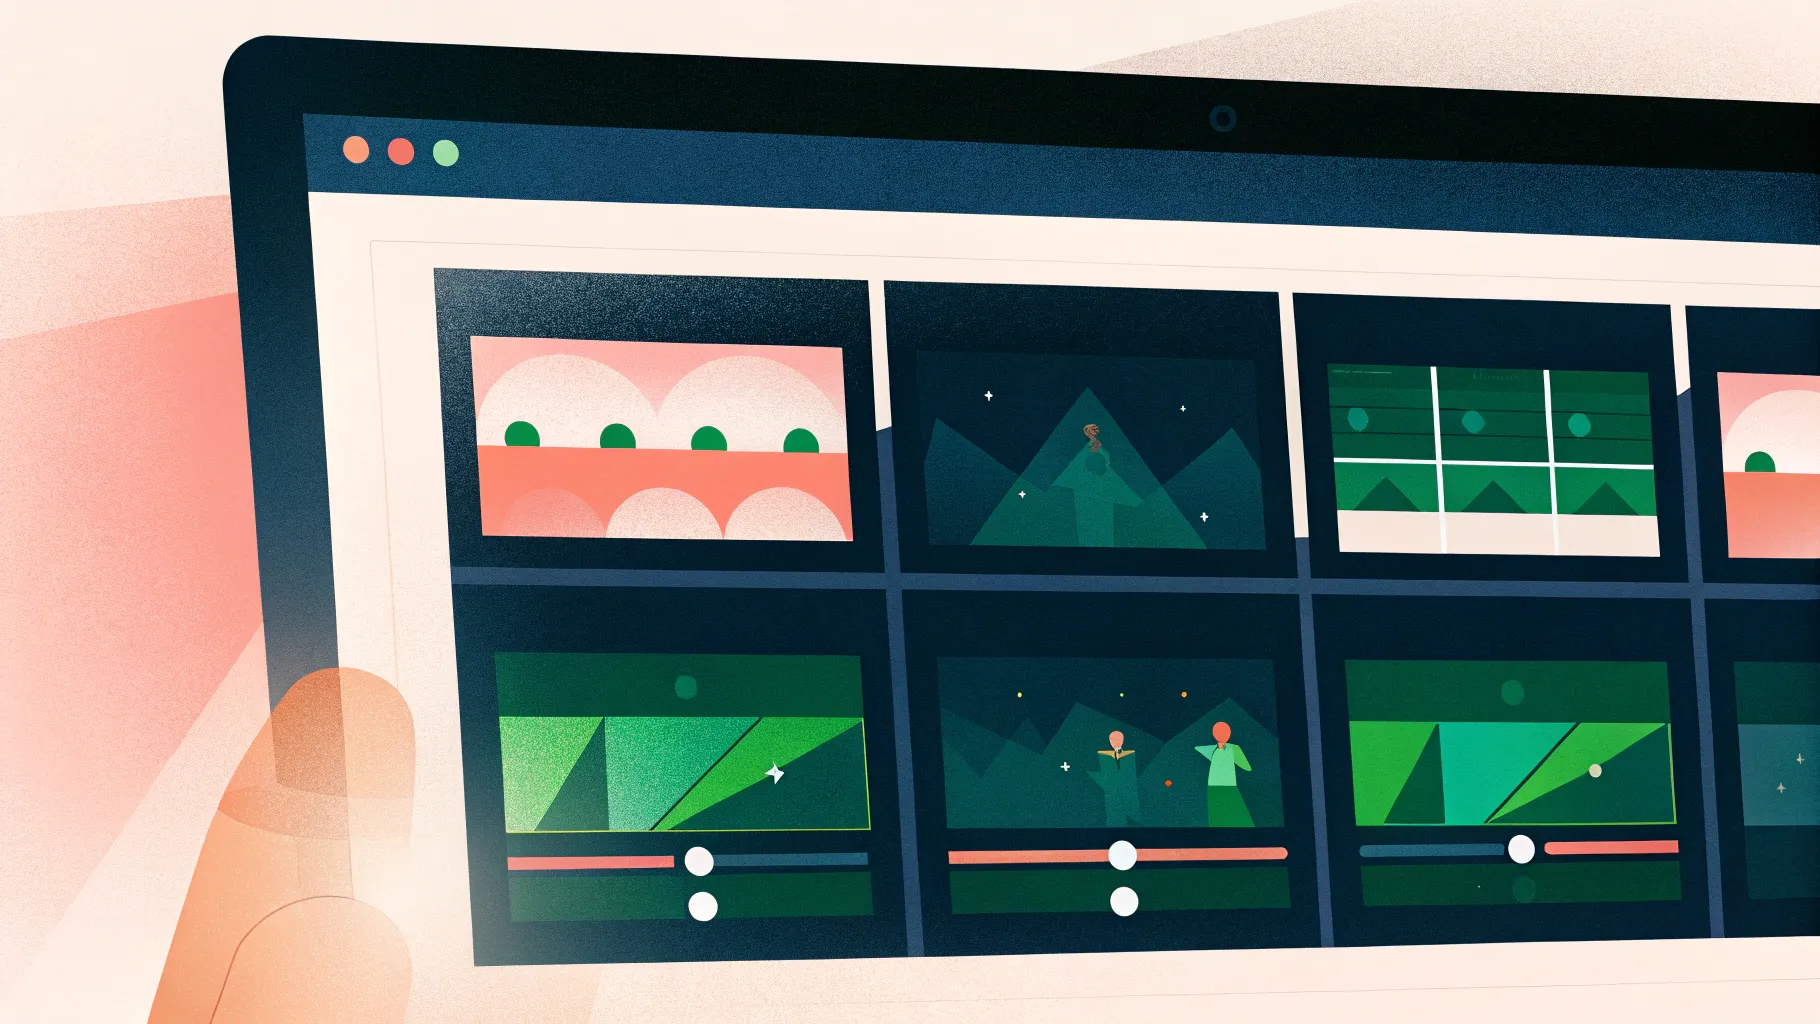
Animations are often misunderstood as flashy gimmicks, but when used thoughtfully, they can enhance your message and keep your audience engaged. A slide filled with static text and images can look dull and lifeless, but adding subtle animations can breathe energy into your content.
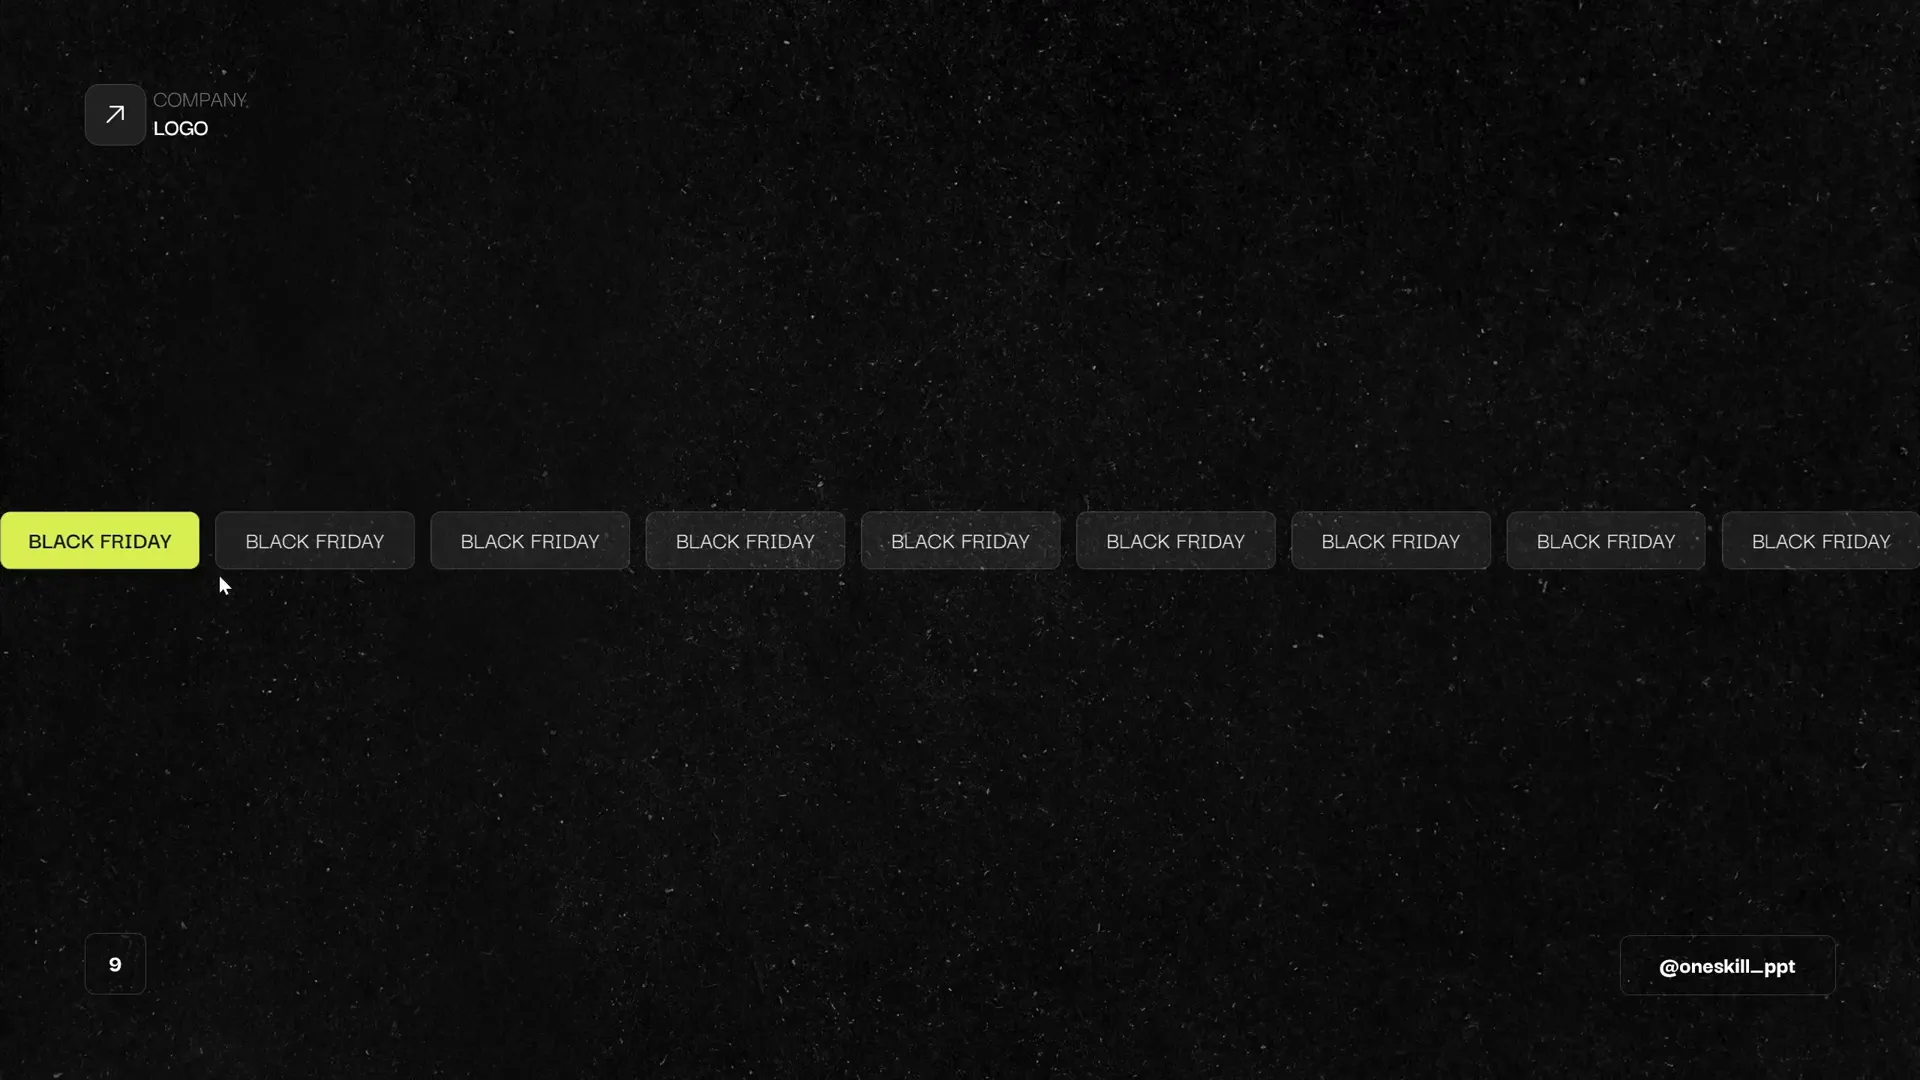
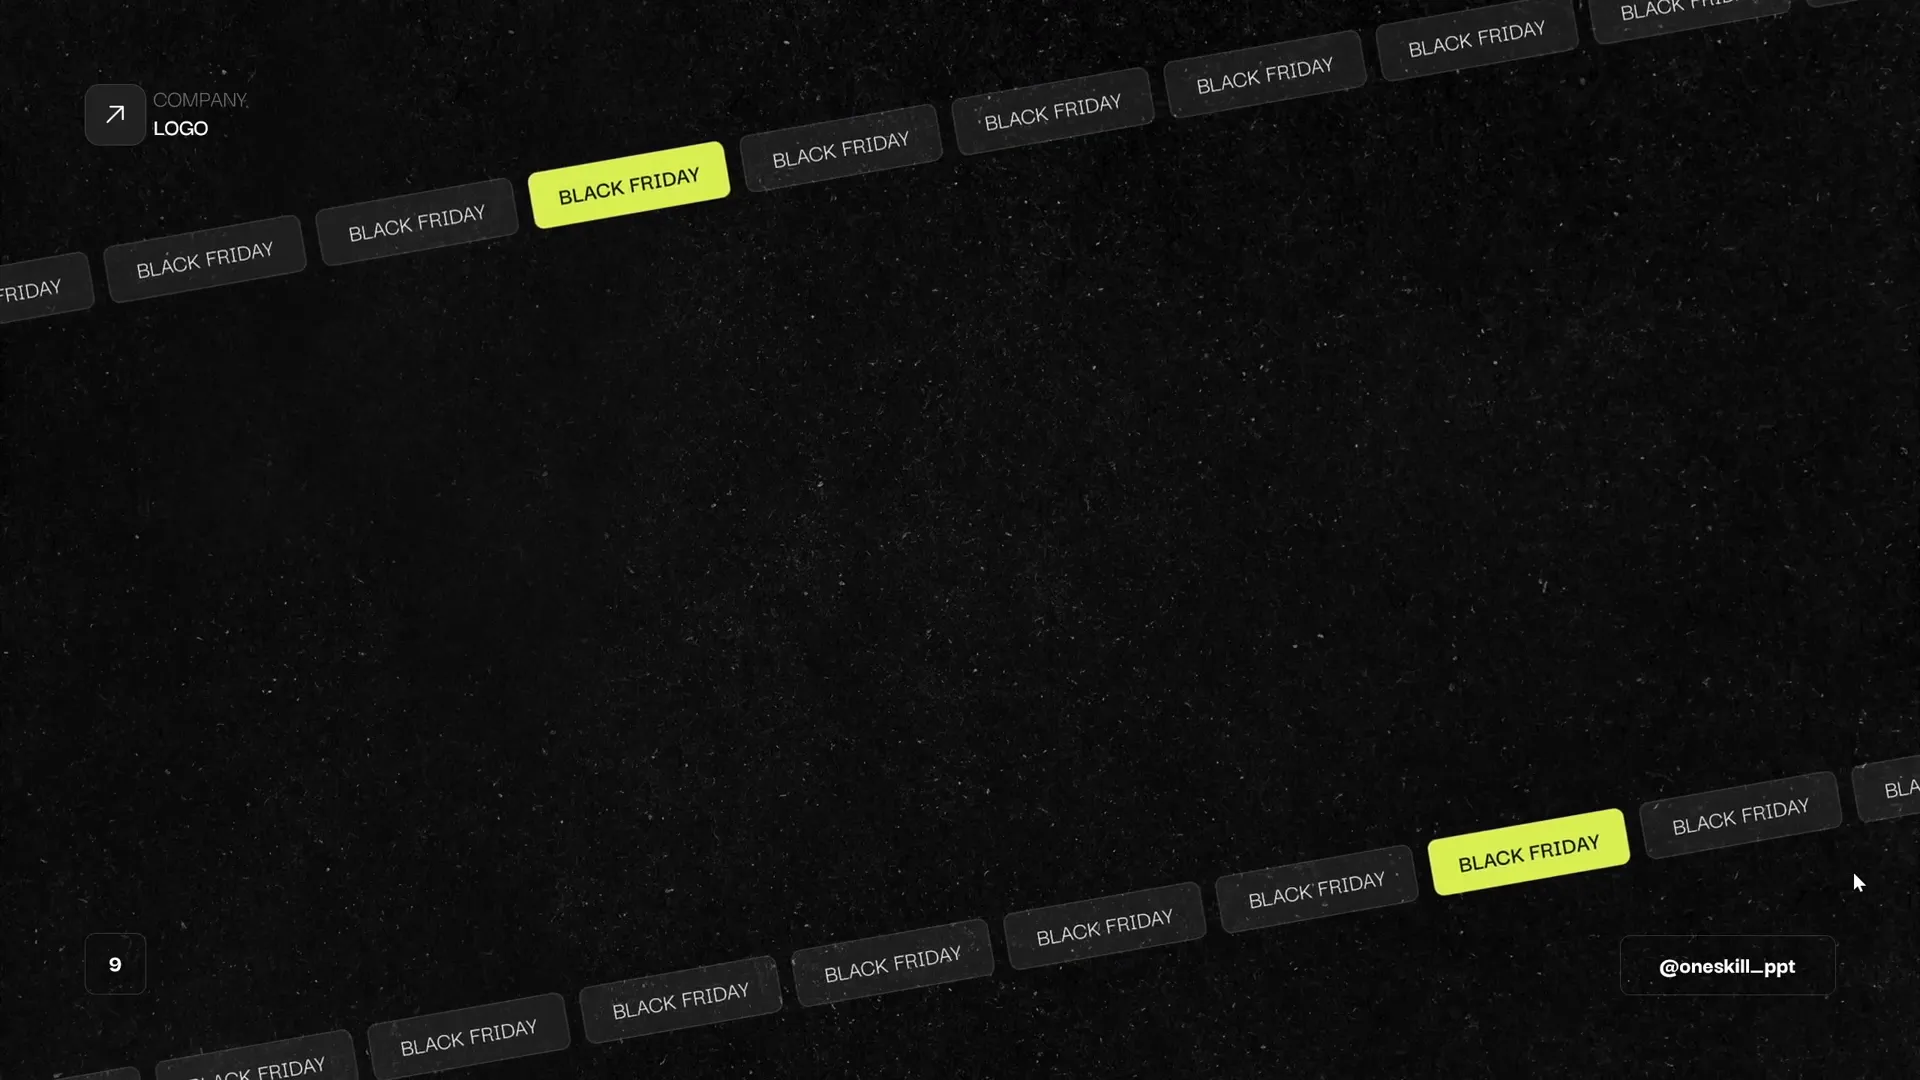
Consider the example of a slide with multiple animated elements:
- A scrolling bar at the top displaying “Black Friday” text moving smoothly from right to left.
- A similar scrolling bar at the bottom moving in the opposite direction.
- A pulsing “Start Now” button that grabs attention.
- A vibrant scribble animation that adds a creative and fun visual element.
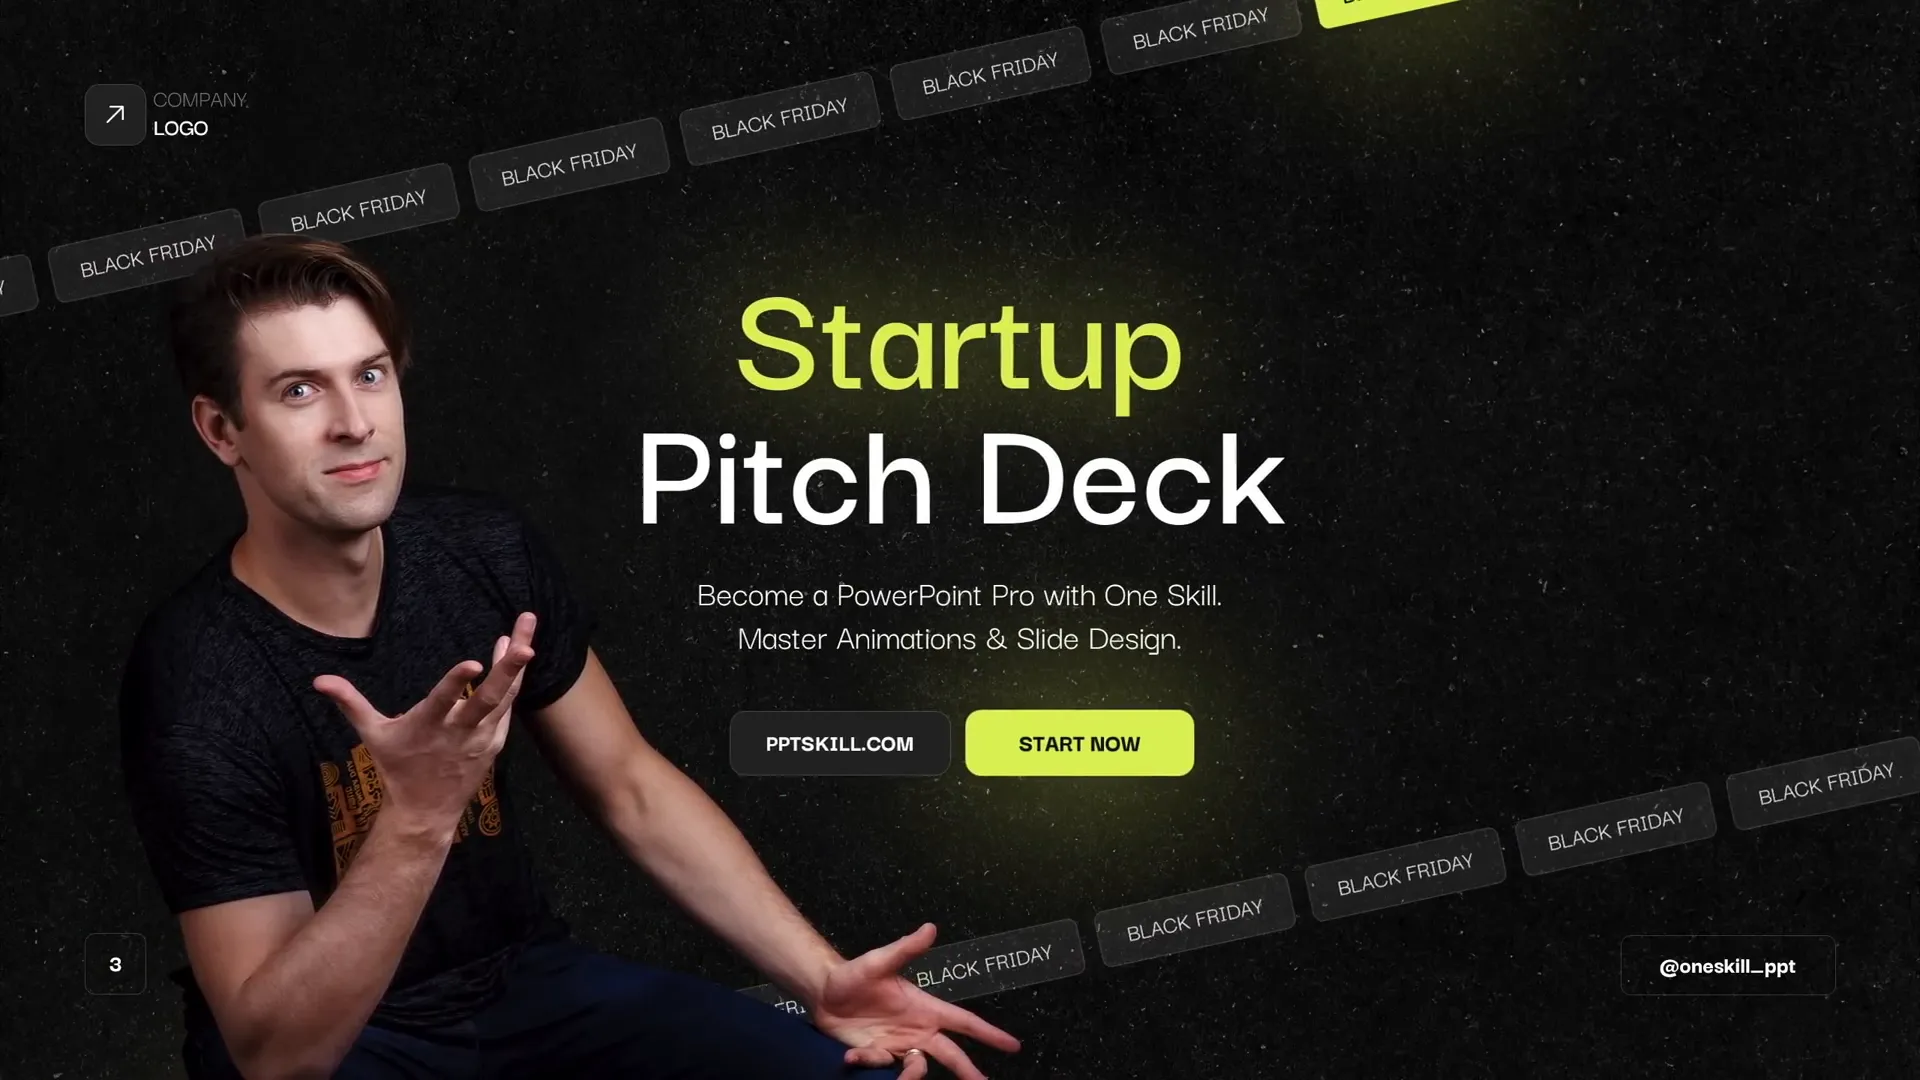
Removing these animations turns the same slide into a static screenshot, lacking dynamism and engagement. Just a few simple animations can elevate your presentation’s professionalism and visual appeal.
Creating the Scrolling Bar Animation: Step-by-Step
Let’s begin by building the core element: the scrolling bar. This animation uses a series of rounded rectangles that scroll continuously across the slide to create a sleek, modern look.
Step 1: Insert a New Blank Slide
Start with a fresh slide. Keep in mind that your slide might look different from others if you haven’t customized your slide master. We will cover customizing the slide master shortly.
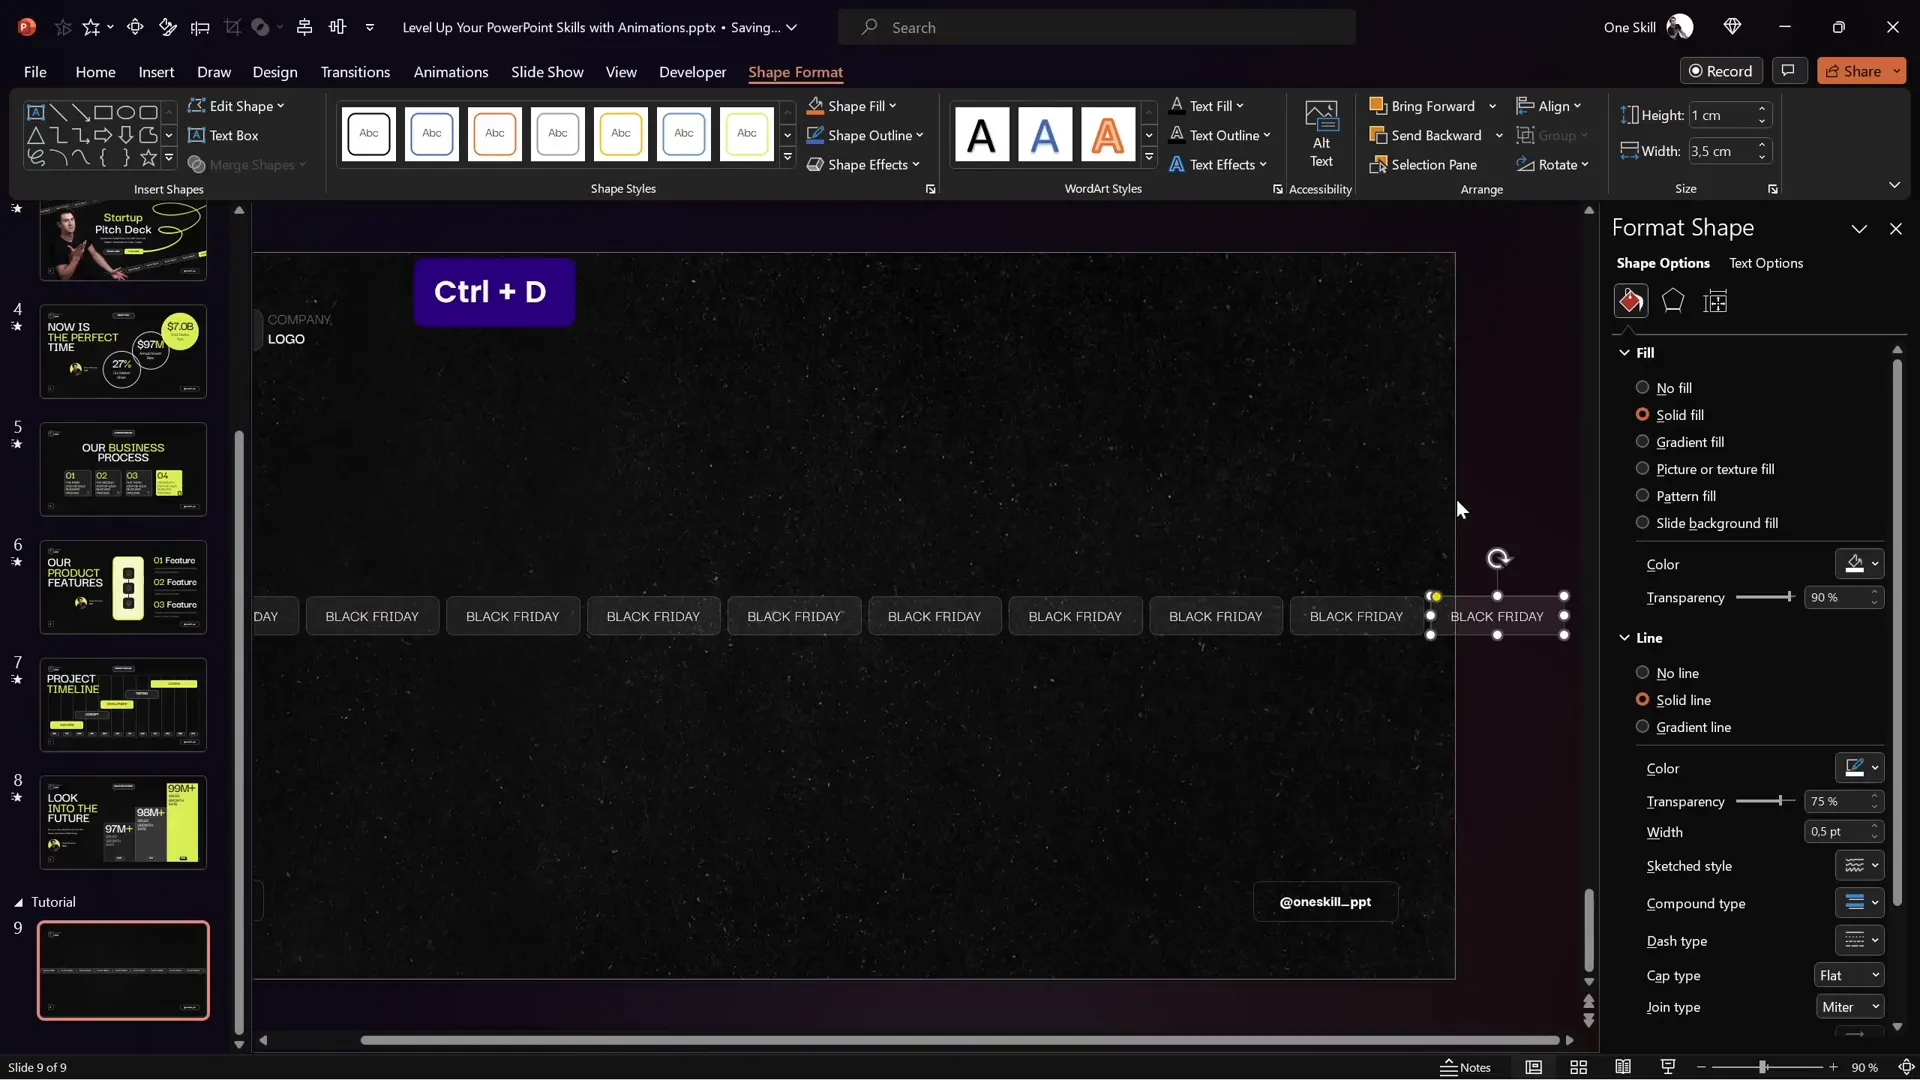
Step 2: Draw Rounded Rectangles
- Go to Insert > Shapes > Rounded Rectangle.
- Draw a rounded rectangle on the slide.
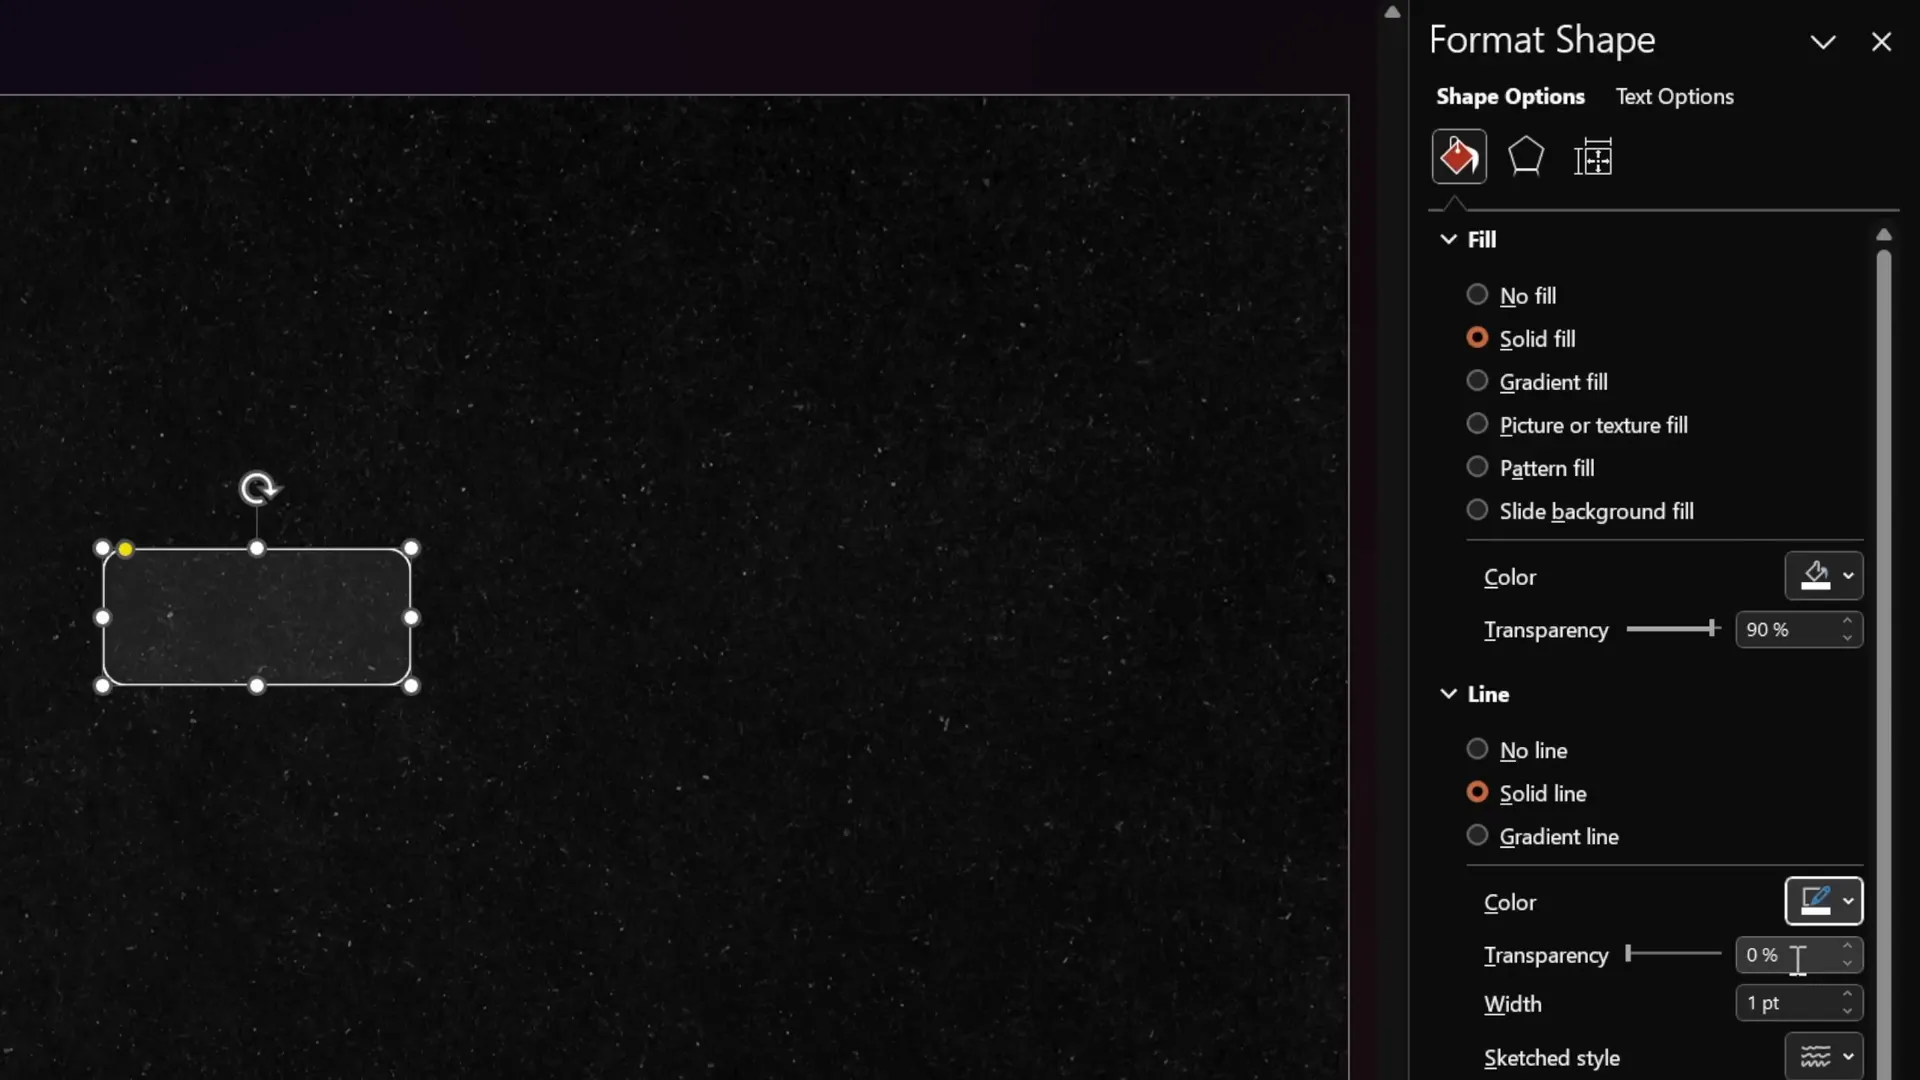
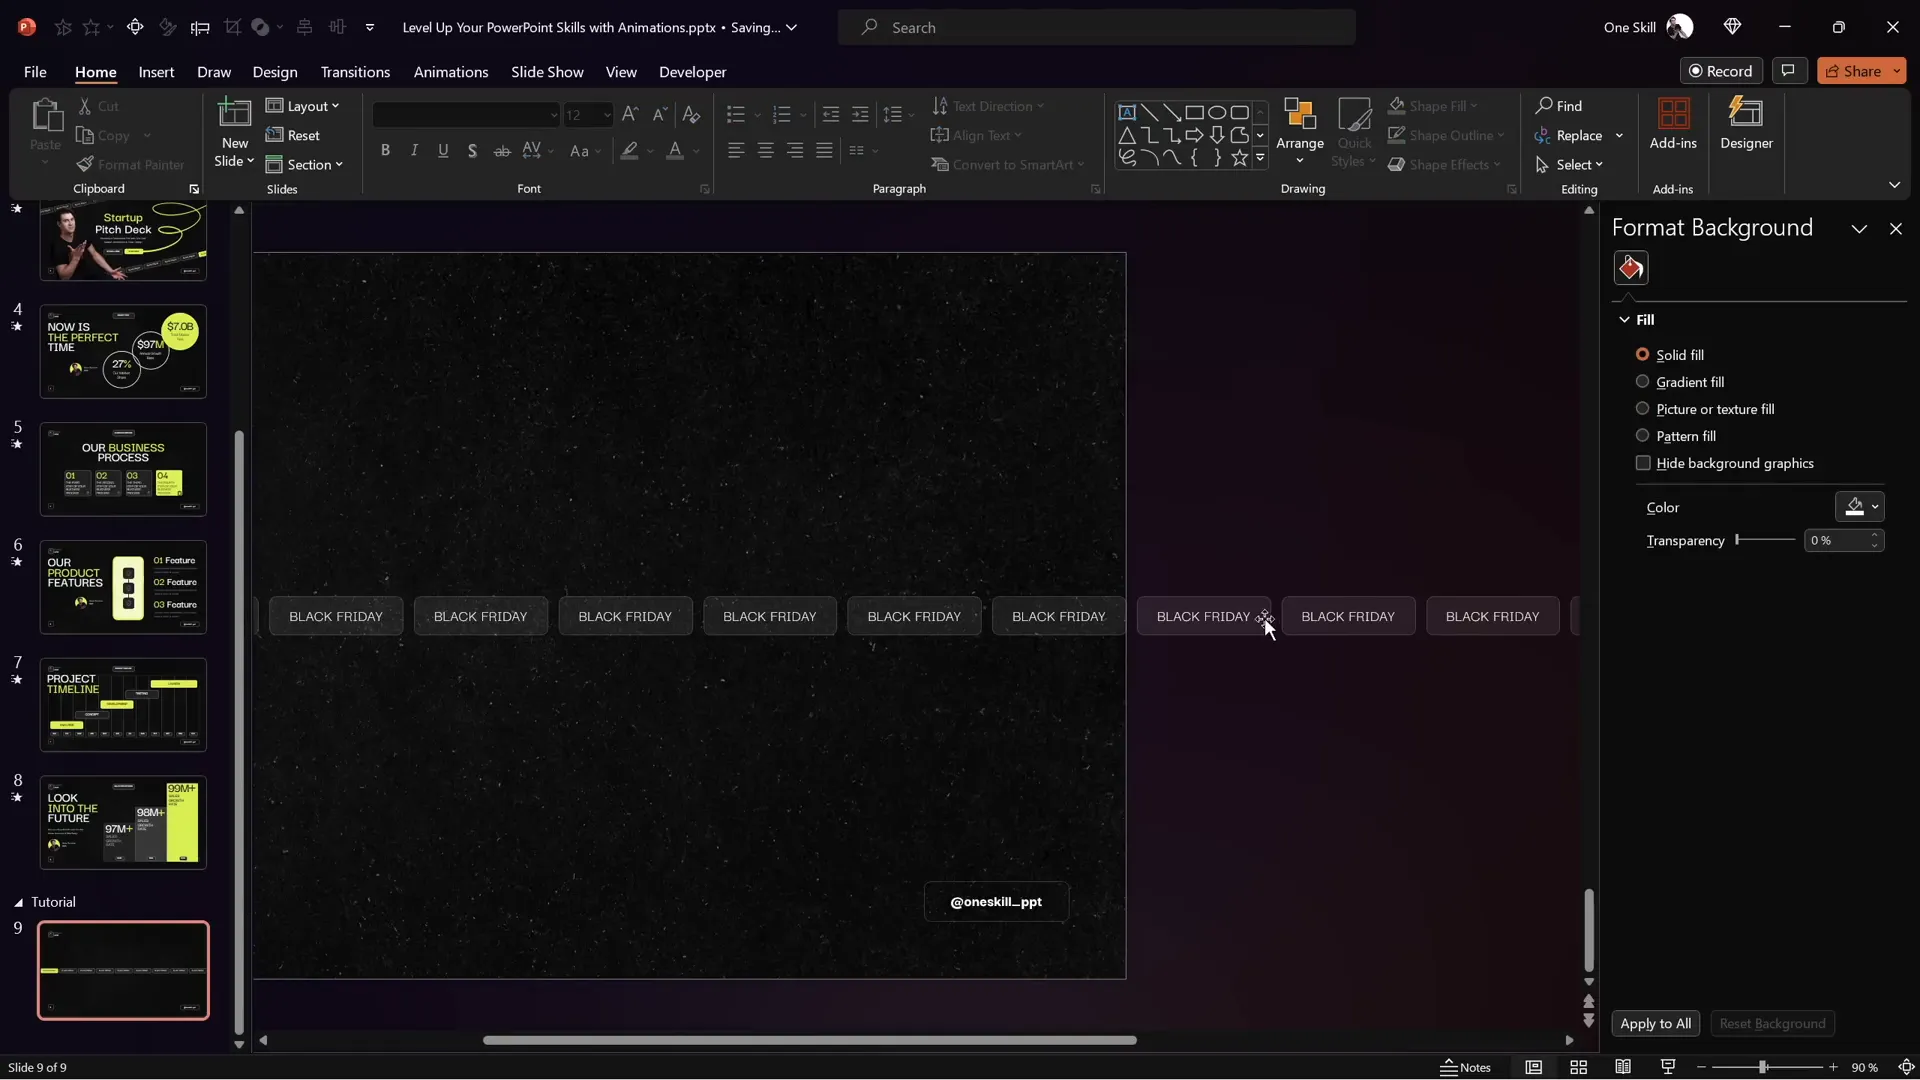
- Format the shape: set the fill color to white with 90% transparency for a semi-transparent look.
- Set the outline color to white with 75% transparency and a thickness of 0.5 points.
- Adjust the size to 1 cm height and 3.5 cm width.
Step 3: Add Text and Style
Choose a modern font like Darker Grotesque with size 12 and white color. Type your desired text inside the rectangle, for example, “Black Friday.”
Step 4: Duplicate and Arrange Rectangles
- Duplicate the rounded rectangle multiple times using Ctrl + D.
- Position the rectangles side by side until they fill the slide width.
- Delete any rectangle that extends beyond the slide boundary.
- Distribute the rectangles evenly using the Distribute Horizontally option.
- Group all rectangles into one group (Ctrl + G).
Step 5: Create a Seamless Loop
To avoid gaps when scrolling, duplicate the entire group of rectangles and position it adjacent to the first group, creating a continuous sequence. Change the leftmost rectangle in each group to a brighter style to help with animation alignment.
Designing a Custom Slide Layout for Consistency
Before adding animations, it’s a good idea to customize your slide layout to maintain consistency across your presentation:
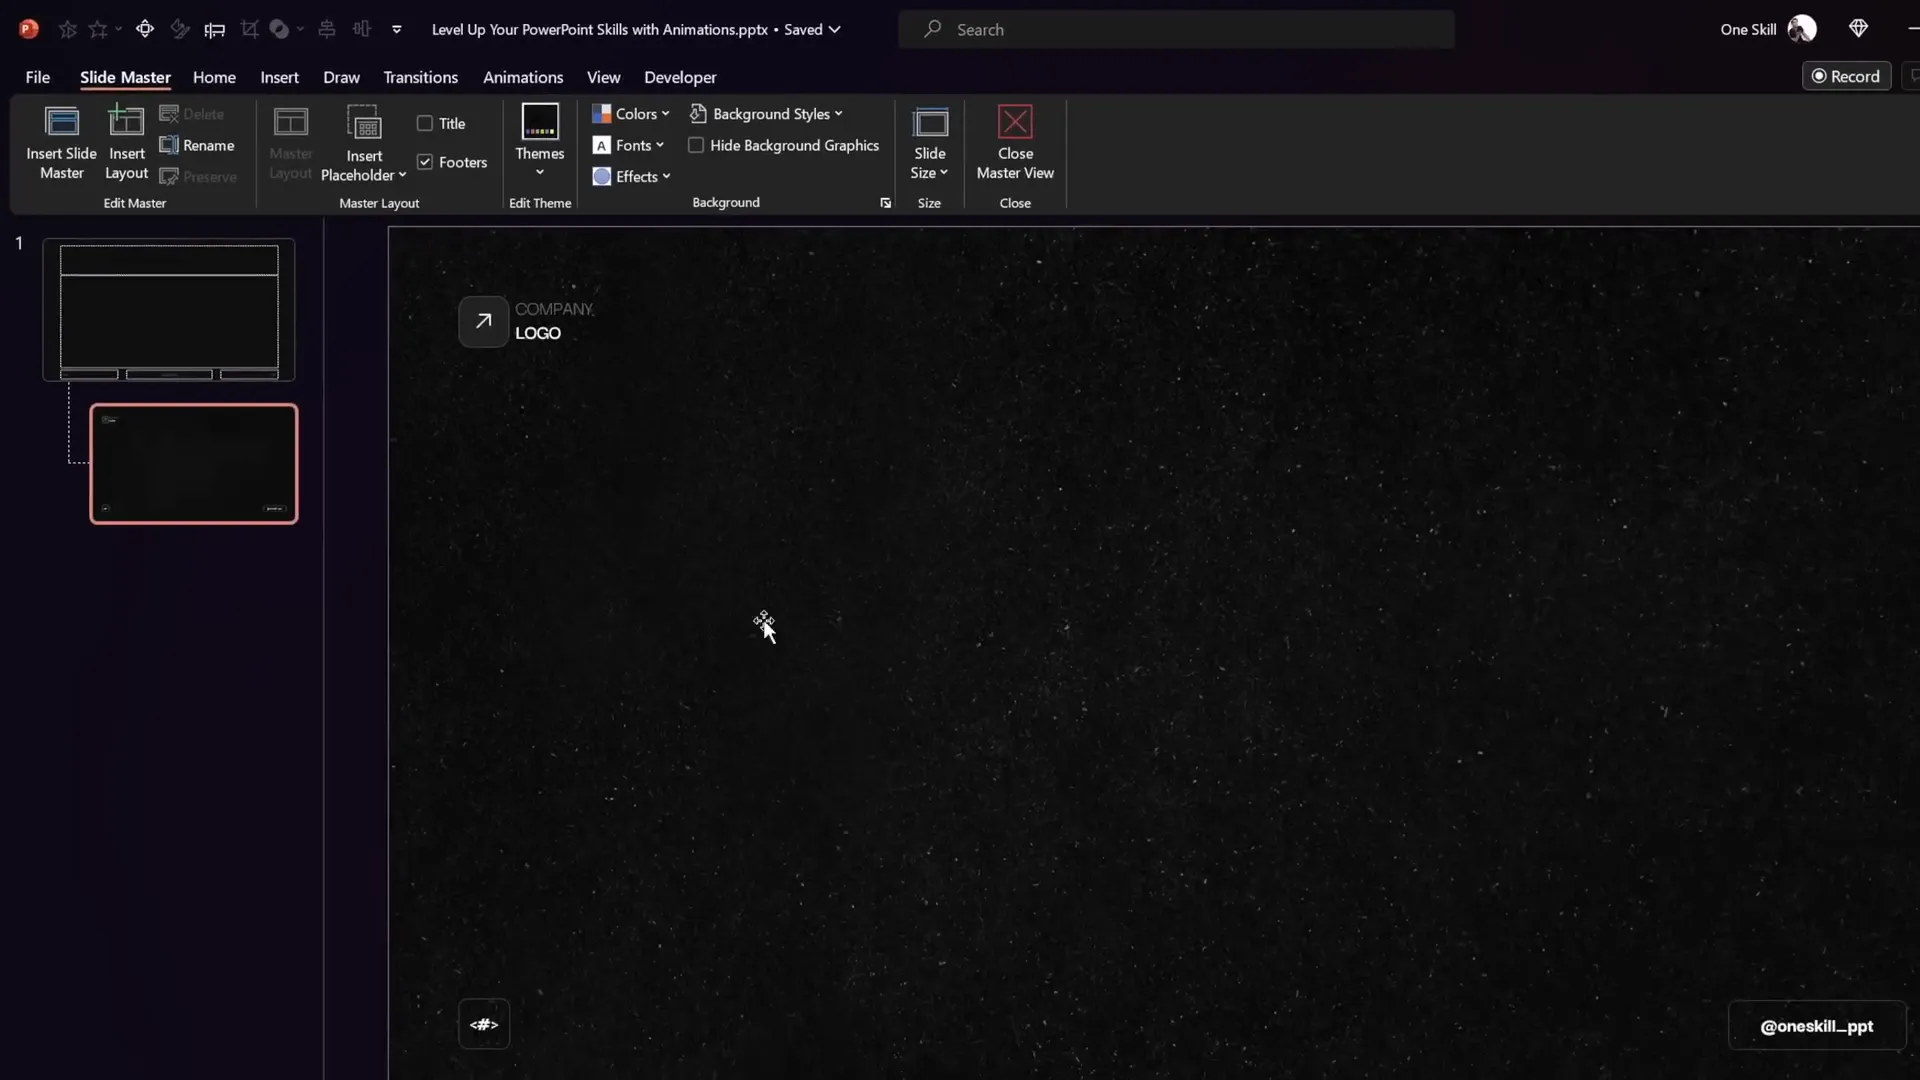
- Go to View > Slide Master.
- Insert a dark textured background photo or any background that fits your brand.
- Add elements like slide numbers, footers, and your company logo in fixed positions.
- Customize the footer text via Insert > Header and Footer and apply it to all slides for uniformity.
- Close the Slide Master view to return to your presentation.
This approach ensures your animations and content appear on a polished, branded canvas.
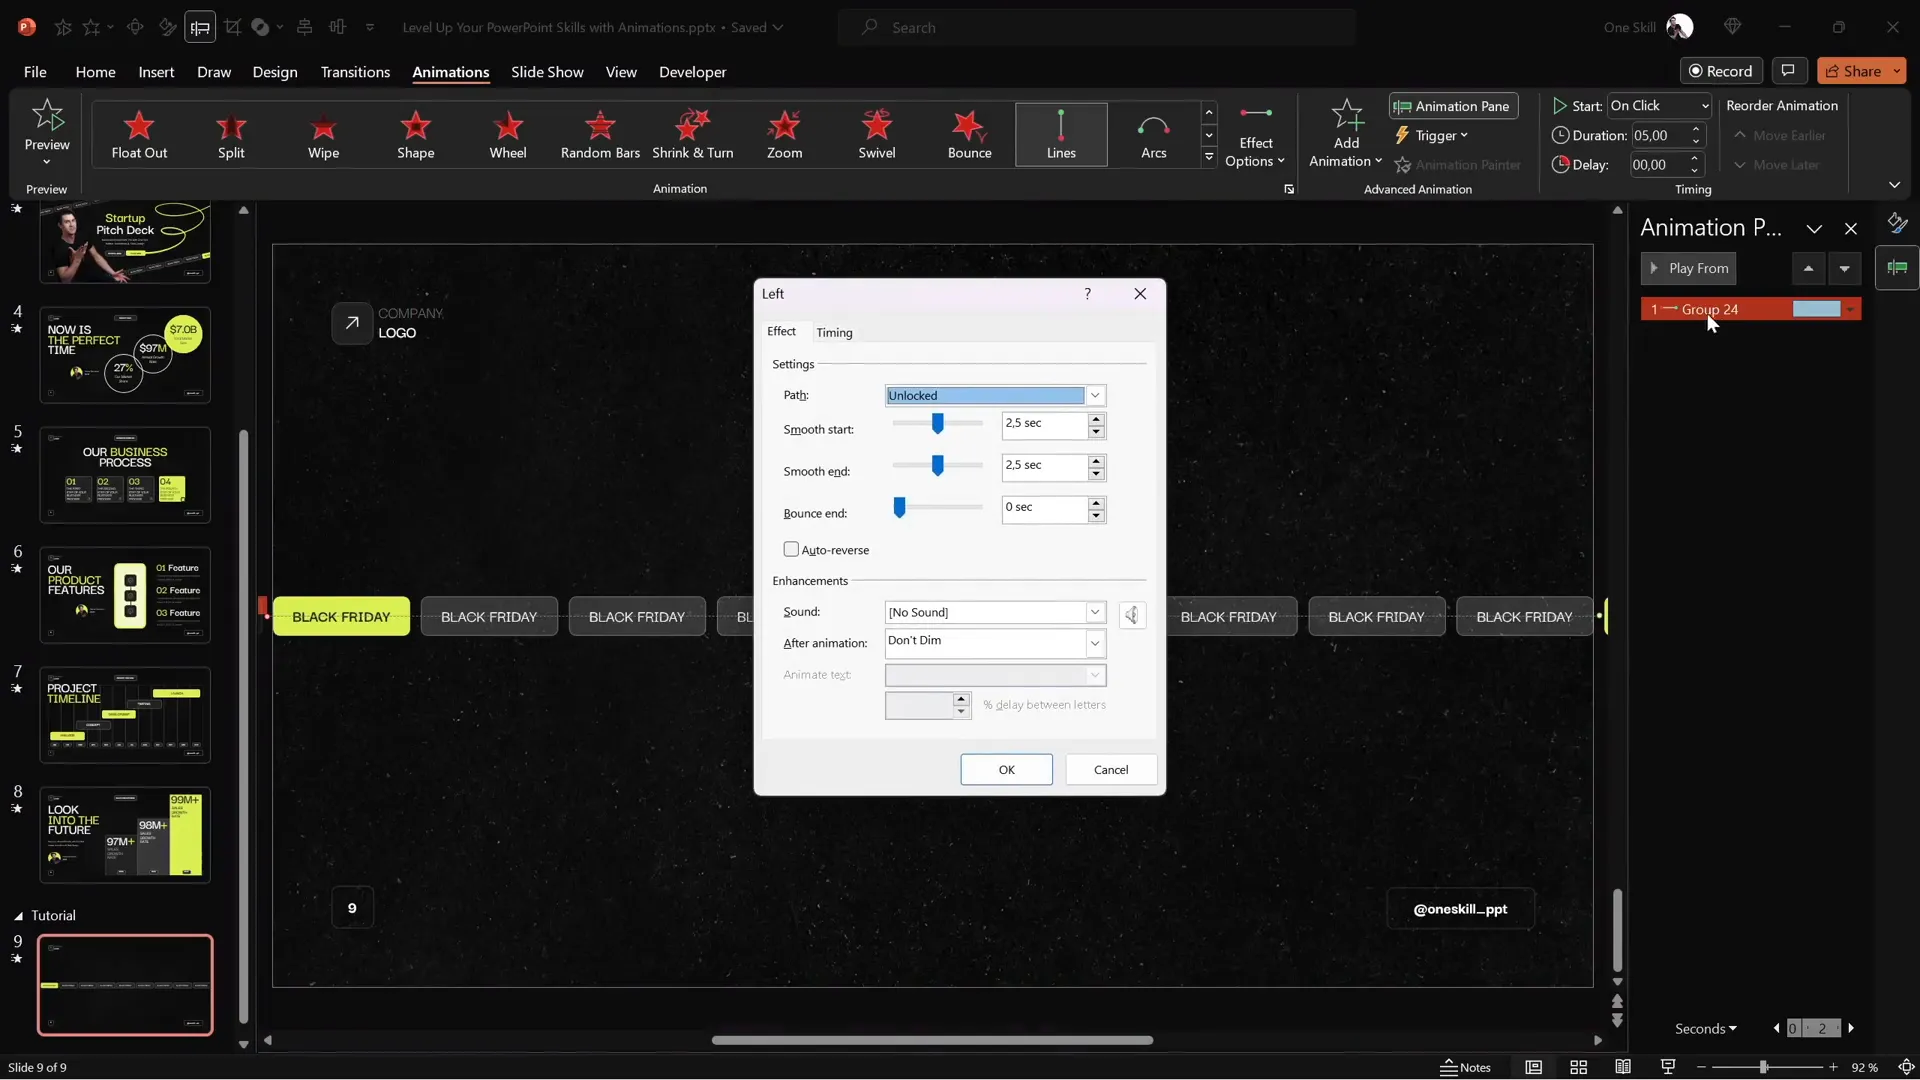
Applying and Looping Motion Path Animations
Step 1: Add Motion Path Animation
- Select the entire grouped set of rounded rectangles.
- Go to Animations > Add Animation > Motion Path > Left (or Right, depending on desired direction).
- Adjust the red endpoint of the motion path so that the second bright rectangle overlaps perfectly with the first bright rectangle, ensuring a seamless loop.
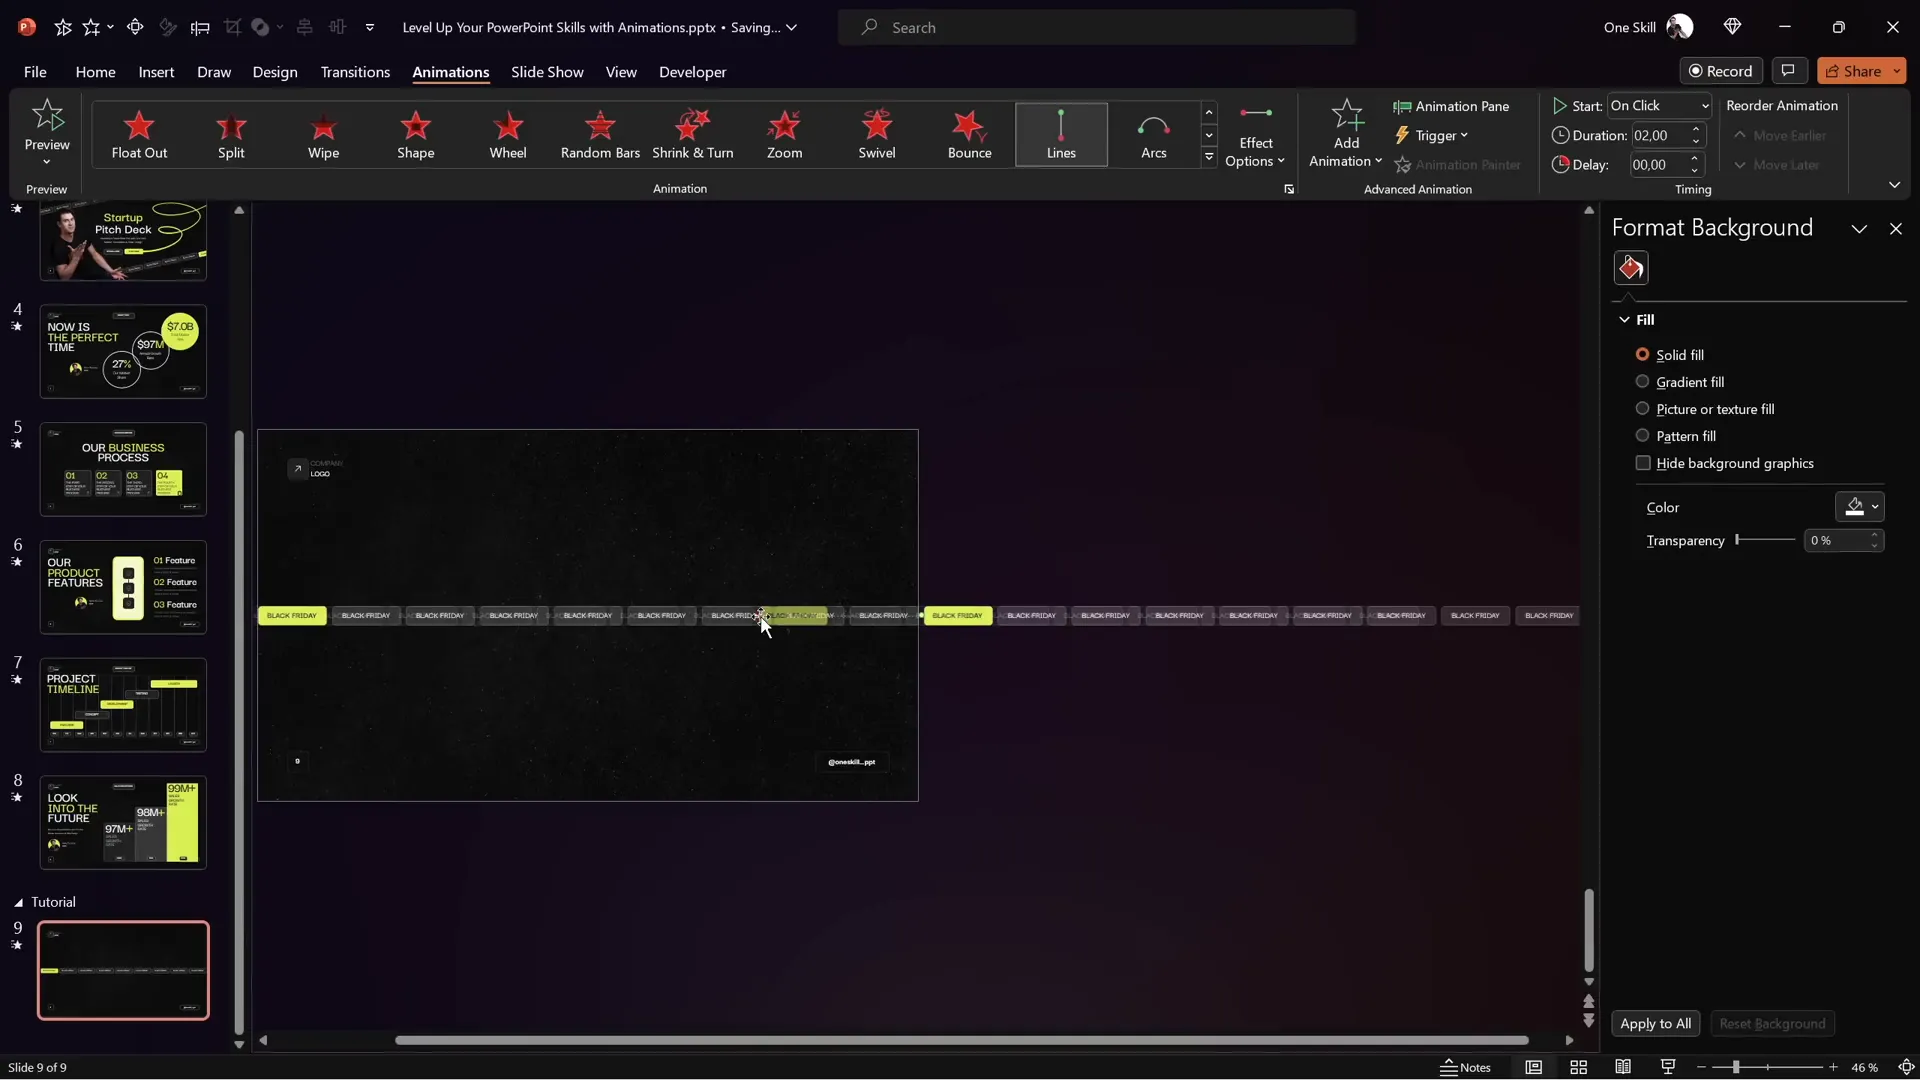
Step 2: Set Animation Timing
- Set the animation to start on click or with previous, depending on your slide sequence.
- Adjust the duration to control scrolling speed (e.g., 5 seconds for moderate speed, 10 seconds for slower scrolling).
- Remove smooth start and smooth end options for a consistent motion.
- Set the repetition to “Until End of Slide” to create an infinite loop.
Step 3: Test the Animation
Run your slide in full-screen presentation mode and observe the rectangles scrolling smoothly and seamlessly from right to left (or vice versa). The bright rectangles help visually confirm the loop’s seamless transition.
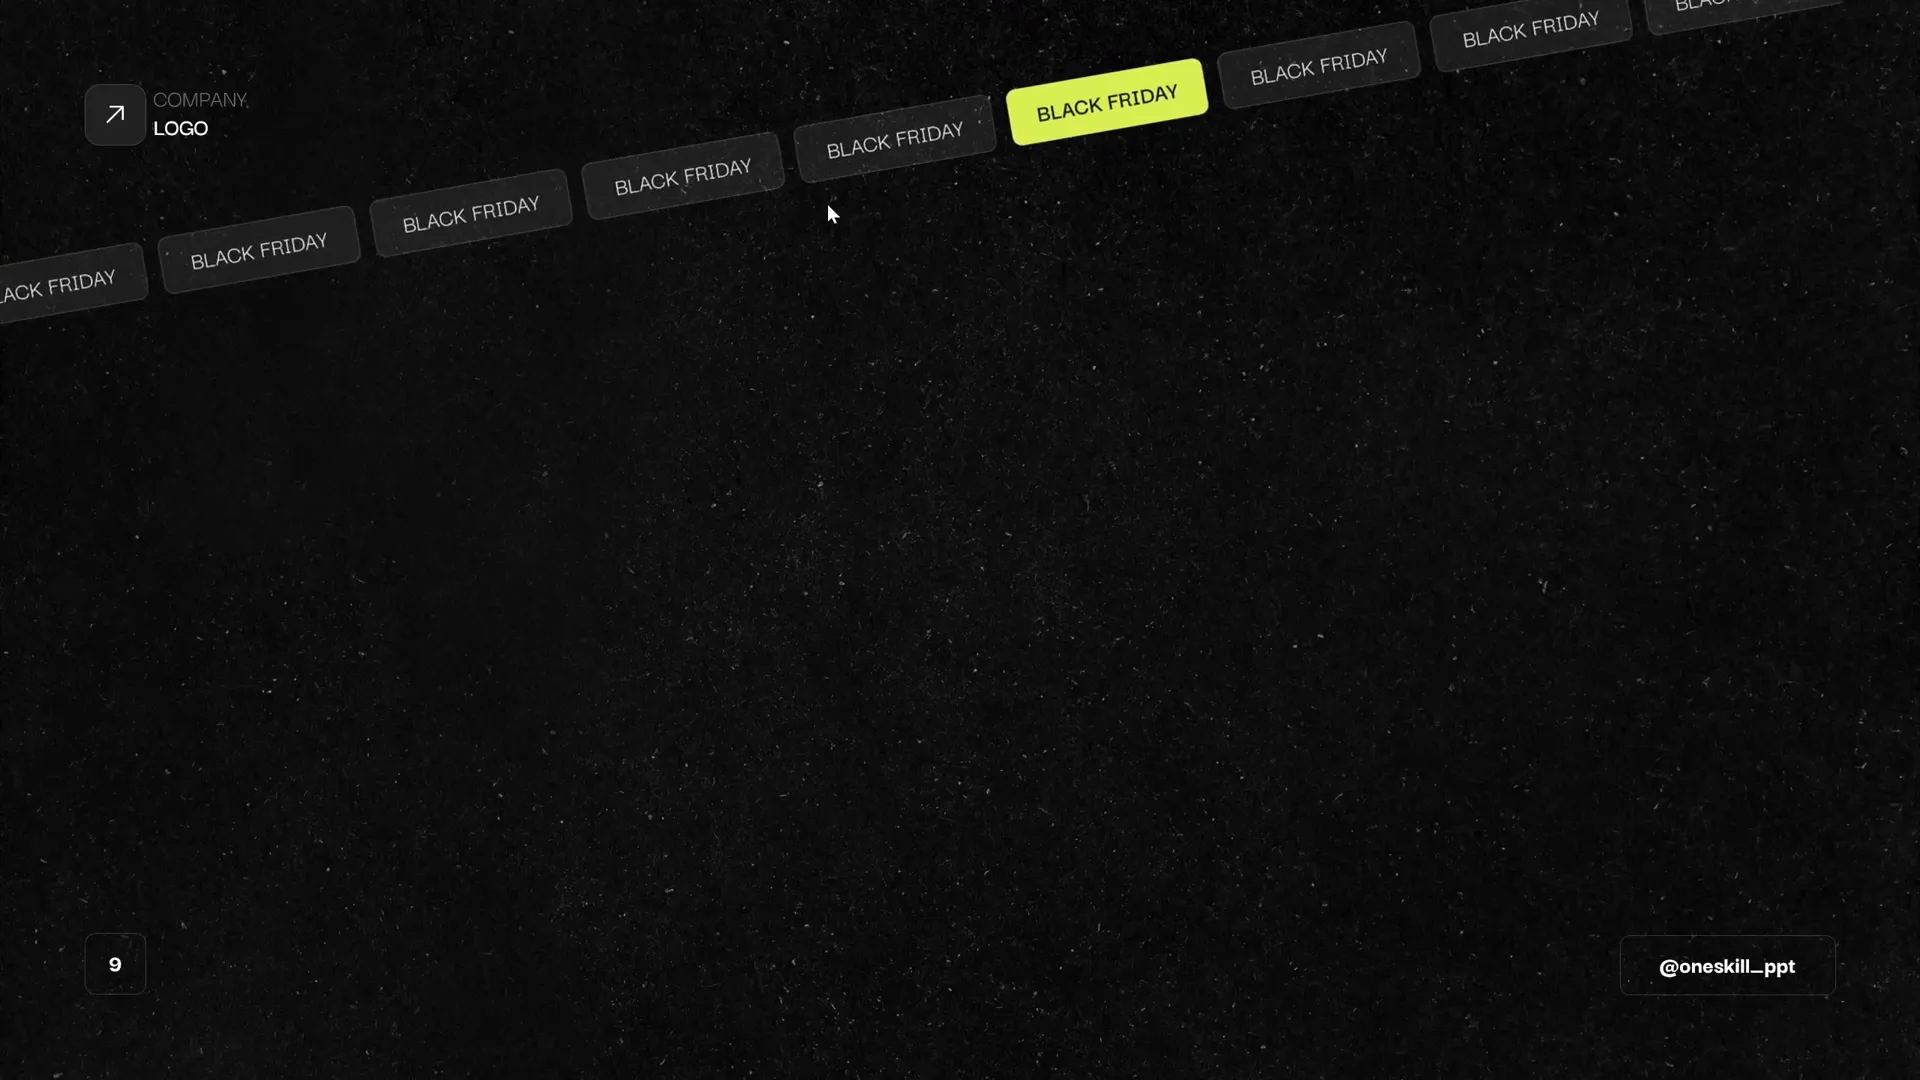
Making Tilted or Rotated Scrolling Bars
Want to add a dynamic twist? Rotate your scrolling bar for a more stylish effect:
- Select the grouped set of rectangles.
- Use the rotation handle to tilt the entire group at your desired angle.
- Ensure only the first nine rectangles from the initial group are visible on the slide to avoid showing the duplicated set during rotation.
- Re-align the motion path animation endpoint to maintain the seamless loop despite rotation.
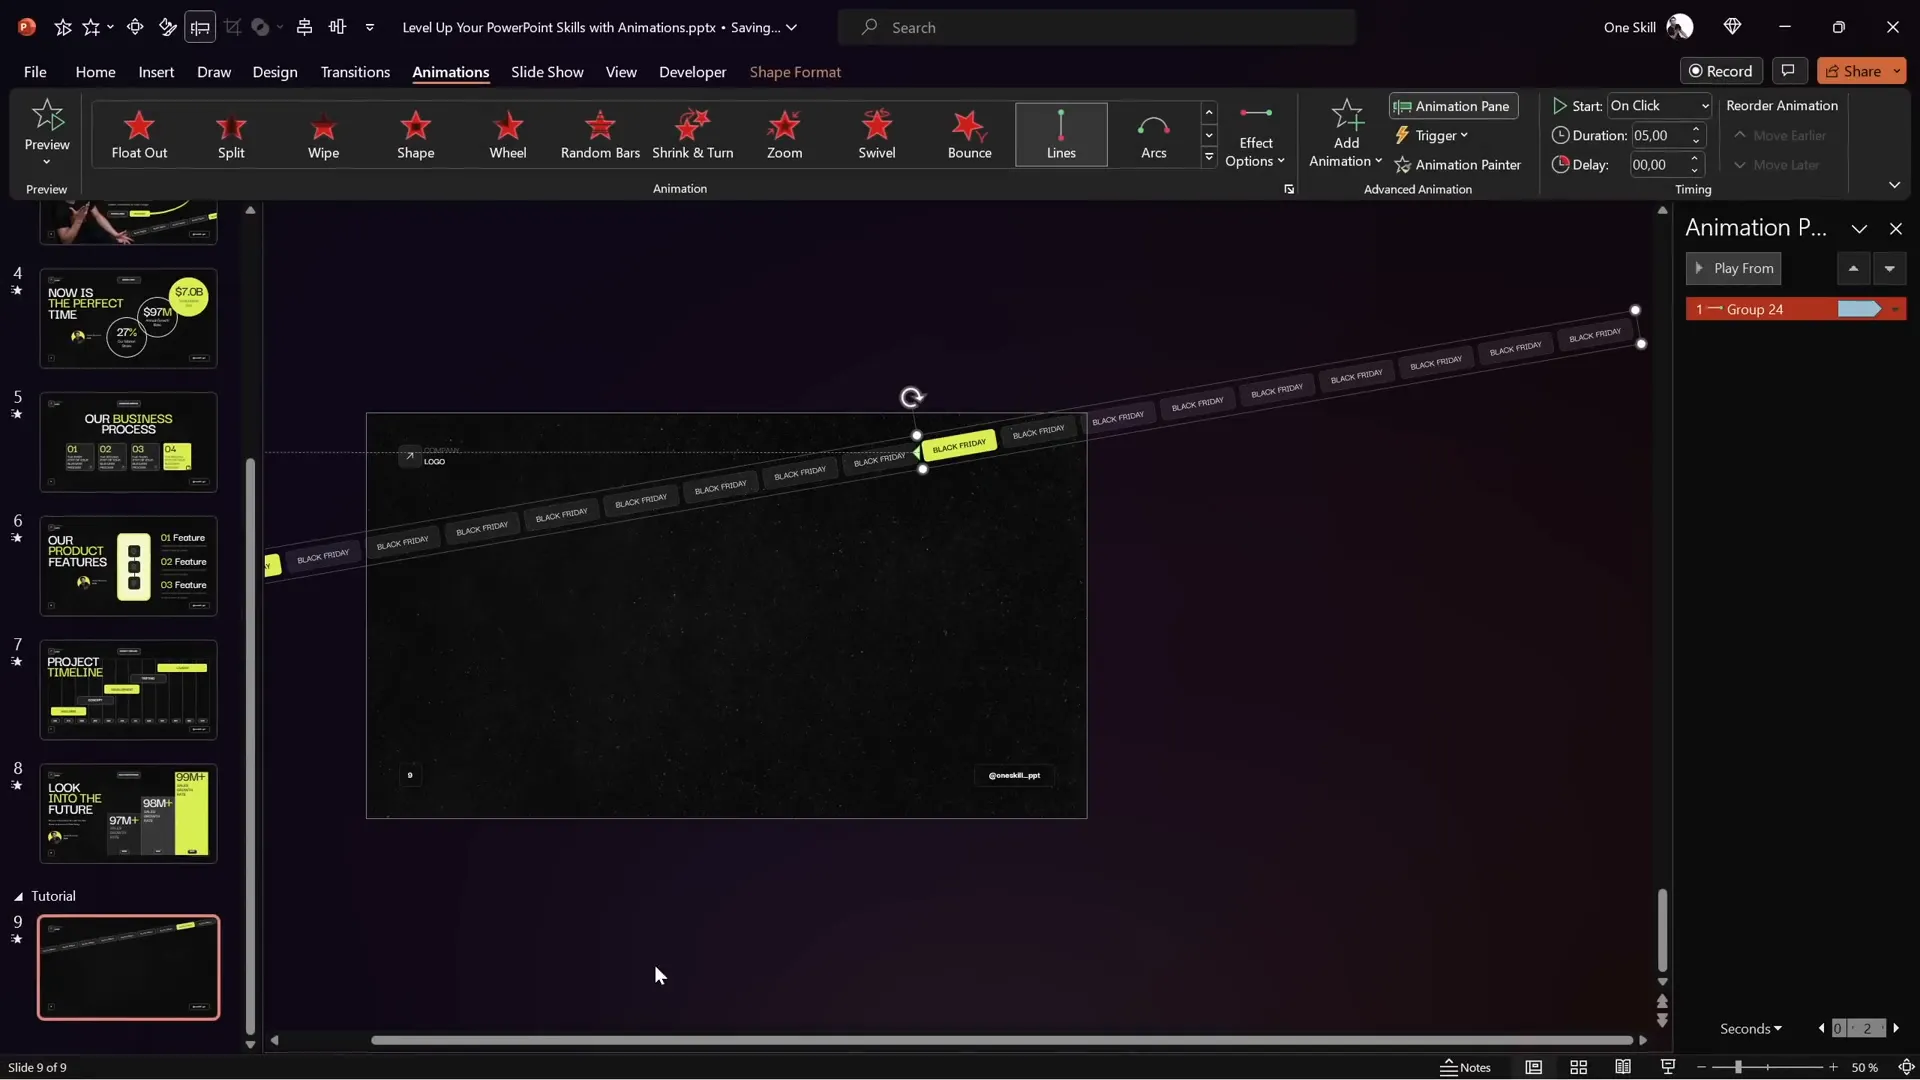
Turning off snapping (smart guides) can help you precisely align the rectangles when adjusting the motion path.
Animating Scrolling Bars in Opposite Directions
To create a more balanced and visually interesting slide, add a second scrolling bar moving in the opposite direction:
- Duplicate the entire group of rectangles (Ctrl + Shift + Drag) to create a copy.
- Move the duplicated group slightly to the left to avoid gaps.
- Make sure only nine rectangles from the second group are visible.
- Change the motion path direction to right for this new group.
- Adjust the endpoint of the motion path so the bright rectangles overlap perfectly.
- Set the animation to start “With Previous” so both scrolling bars animate simultaneously.
Adding a subtle fade-in animation to both bars can improve the overall effect and make the transition smoother when the slide appears.
Adding Pulsing Buttons and Scribble Animations
Beyond scrolling bars, additional animations can make your slide even more engaging:
Pulsing “Start Now” Button
- Select your button and add a Grow/Shrink animation.
- Set the growth size to about 105% for a subtle pulse effect.
- Adjust the timing: start “With Previous,” duration 0.5 seconds, enable auto-reverse, and set repetition “Until End of Slide.”
- Add smooth start and smooth end (each about 0.25 seconds) to soften the pulsing effect.

Vibrant Scribble Animation
Adding a fun and creative scribble animation can add character to your slide:
- Go to the Draw tab and select a pen color — for example, a bright neon lime.
- Choose the thickest pen thickness for smooth lines.
- Draw a scribble shape you like on the slide.
- Apply the Replay animation to the scribble shape.
- Set the animation to start “With Previous” and adjust the duration (e.g., 1.5 seconds).
- Use a delay to time the scribble animation to start right after your button animation finishes (e.g., delay of 2 seconds if the button animation lasts 2 seconds).
Fine-Tuning Animation Timing for Smooth Transitions
Timing is everything when it comes to animations. Here are some tips to ensure your animations flow smoothly:
| Animation Element | Start Option | Duration | Additional Settings |
|---|---|---|---|
| Scrolling Bars | With Previous | 5-10 seconds | Repeat until end of slide, no smooth start/end |
| Pulsing Button | With Previous | 0.5 seconds | Auto reverse, repeat until end, smooth start/end 0.25s |
| Scribble Animation | With Previous (with delay) | 1.5 seconds | Delay equal to previous animation duration |
Adjusting delays and start triggers ensures your animations do not overlap awkwardly and create a polished presentation flow.
Final Tips for Mastering PowerPoint Animation
- Always preview your animations in full-screen mode to catch timing or alignment issues.
- Group objects to simplify animation application and management.
- Use bright or distinctive elements as visual anchors to assist with precise animation alignment.
- Customize slide masters early to maintain consistent branding and layout.
- Leverage the Animation Pane to organize and fine-tune all animations on a slide.
- Experiment with easing options like smooth start/end to refine animation feel.
- Keep animations purposeful and avoid overwhelming your audience with too many effects.
Mastering these skills will elevate your Powerpoint presentation skills and ensure your presentations are engaging, professional, and memorable.
Frequently Asked Questions (FAQ)
What is the benefit of using scrolling bar animations in PowerPoint?
Scrolling bar animations add dynamic movement to your slides, making them visually appealing and helping to emphasize important text or messages without overwhelming the viewer.
Can I customize the colors and text of the scrolling bars?
Absolutely! You can change the fill and outline colors of the rounded rectangles and update the text inside each rectangle to match your branding and messaging.
How do I make the scrolling animation loop continuously?
Set the animation’s Repeat option to “Until End of Slide” in the timing settings, and carefully align the motion path so the last element seamlessly transitions back to the first.
Is it possible to have multiple animations play simultaneously?
Yes, by setting animations to start “With Previous,” you can have several animations trigger at the same time, such as two scrolling bars moving in opposite directions.
What if my animations don’t look smooth or have gaps?
Ensure precise alignment of motion path endpoints and the duplicated groups of shapes. Turning off snapping temporarily can help with pixel-perfect positioning.
Can I use these animation techniques for other types of presentations?
Definitely. These techniques are versatile and can enhance sales decks, reports, proposals, educational presentations, and more.
Where can I learn more advanced PowerPoint animation skills?
Consider enrolling in dedicated courses like the PowerPoint Animation Mastery Course, which provides step-by-step guidance from beginner to pro level.
By mastering these animations and timing techniques, you will significantly improve your Powerpoint presentation skills, creating engaging and polished presentations that leave a lasting impression.
Check out the full video: PowerPoint Presentation Skills: Scrolling Bar Animation! ✨


