If you’re looking to enhance your PowerPoint presentation skills and create impressive, dynamic slides, you’ve come to the right place. In today’s guide, we’ll dive deep into how to craft a stunning looping animation slide using Microsoft PowerPoint 365. This tutorial will walk you through integrating video backgrounds, animated text effects, and looping illustrated stickers that bring your slides to life.
Whether you’re designing a summer-themed presentation or want to adapt these techniques for any topic—from travel destinations to country profiles—this article will equip you with the know-how to captivate your audience with engaging animations.
Table of Contents
- Getting Started: Preparing Your Assets
- Adding and Configuring a Video Background
- Creating Animated Wavy Text Titles
- Inserting and Looping Animated Illustrations
- Tips for Smooth Animation and Layering
- Frequently Asked Questions (FAQ)
- Conclusion: Elevate Your PowerPoint Presentation Skills
Getting Started: Preparing Your Assets
Before diving into PowerPoint, it’s important to gather all the visual assets you plan to use. For this tutorial, we’ll focus on a summer-themed slide, but the techniques apply universally.
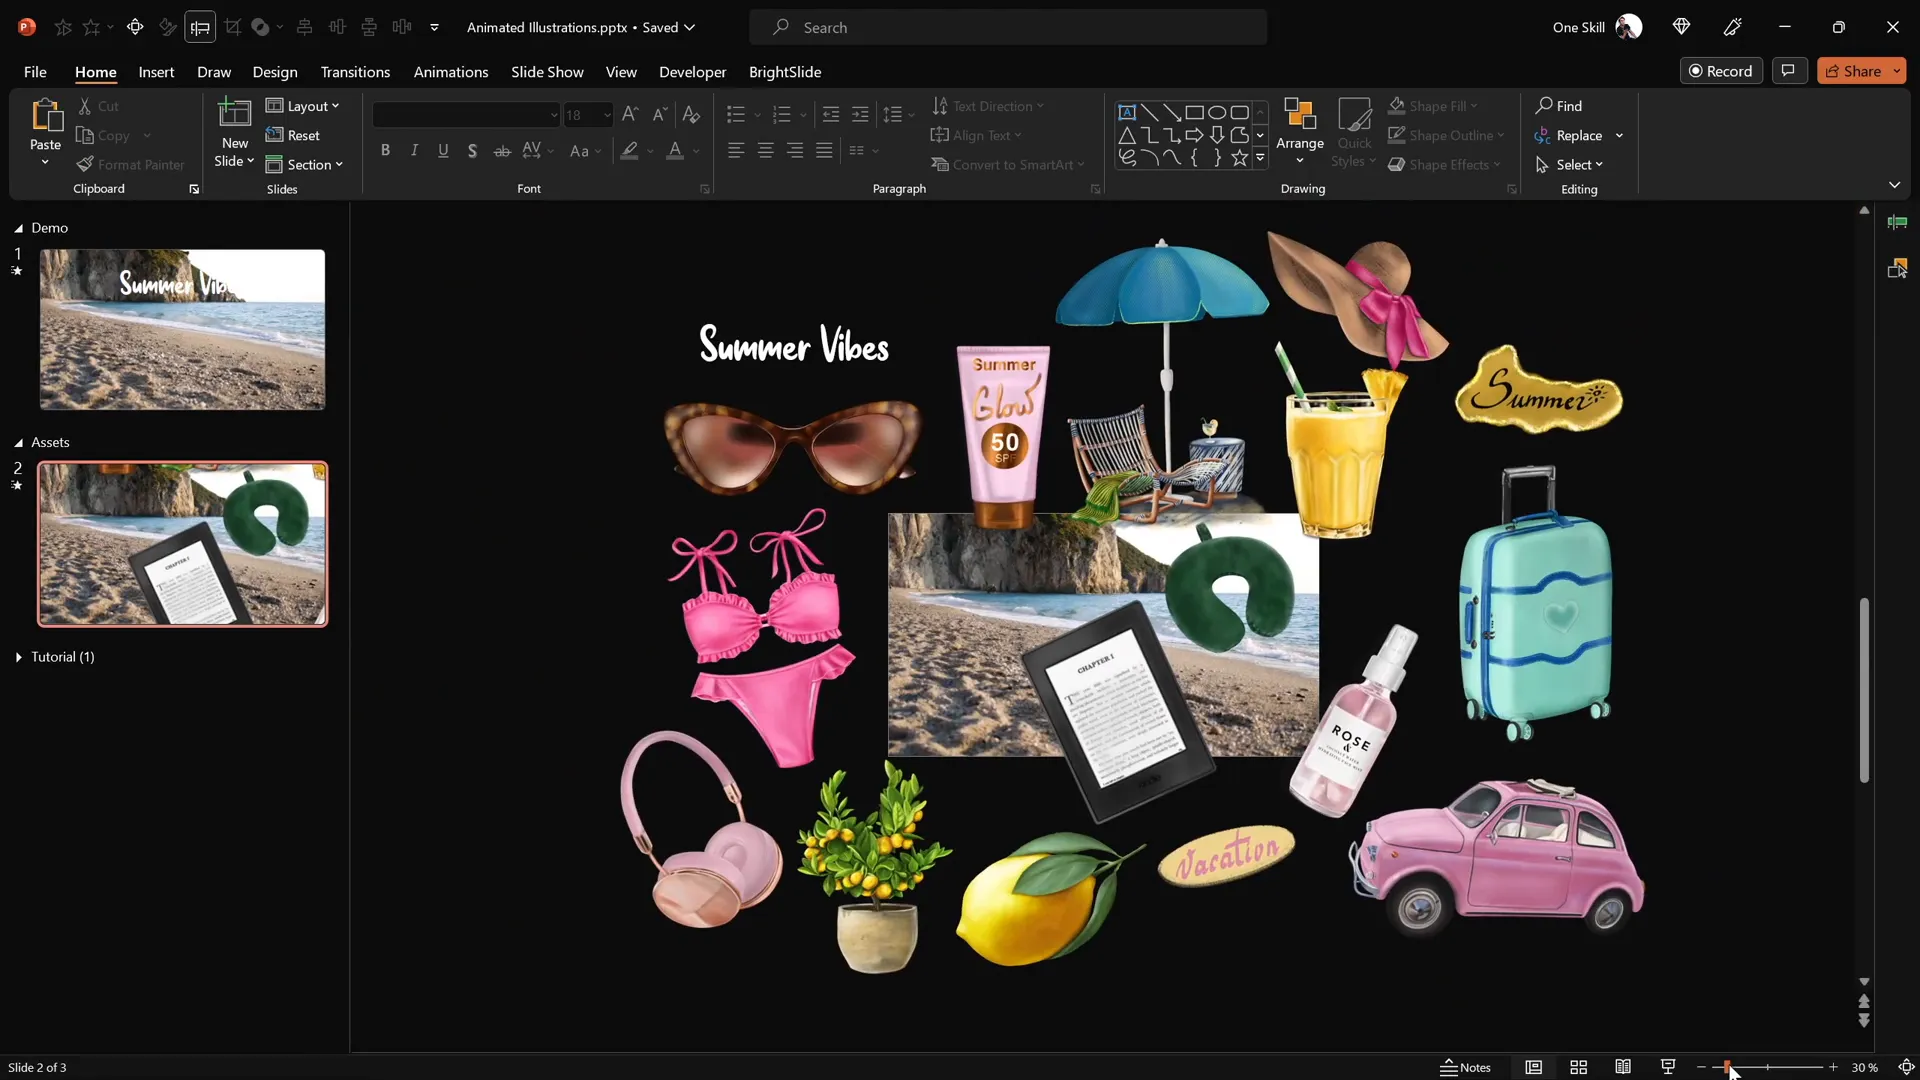
Summer Illustrations
The slide uses a collection of hand-drawn summer illustrations, including:
- Sunglasses
- Headphones
- Lemons
- Stickers
- Luggage and cars
- Kindle reader
- Cocktail glass
- Sunscreen bottle
- Umbrella
These assets come in PNG format with transparent backgrounds, making them easy to layer and animate in PowerPoint.
Pro Tip: All these illustrations were created by the talented digital artist Raminta. You can find these assets and more at her Etsy store. (Link in the video description.)
Video Background
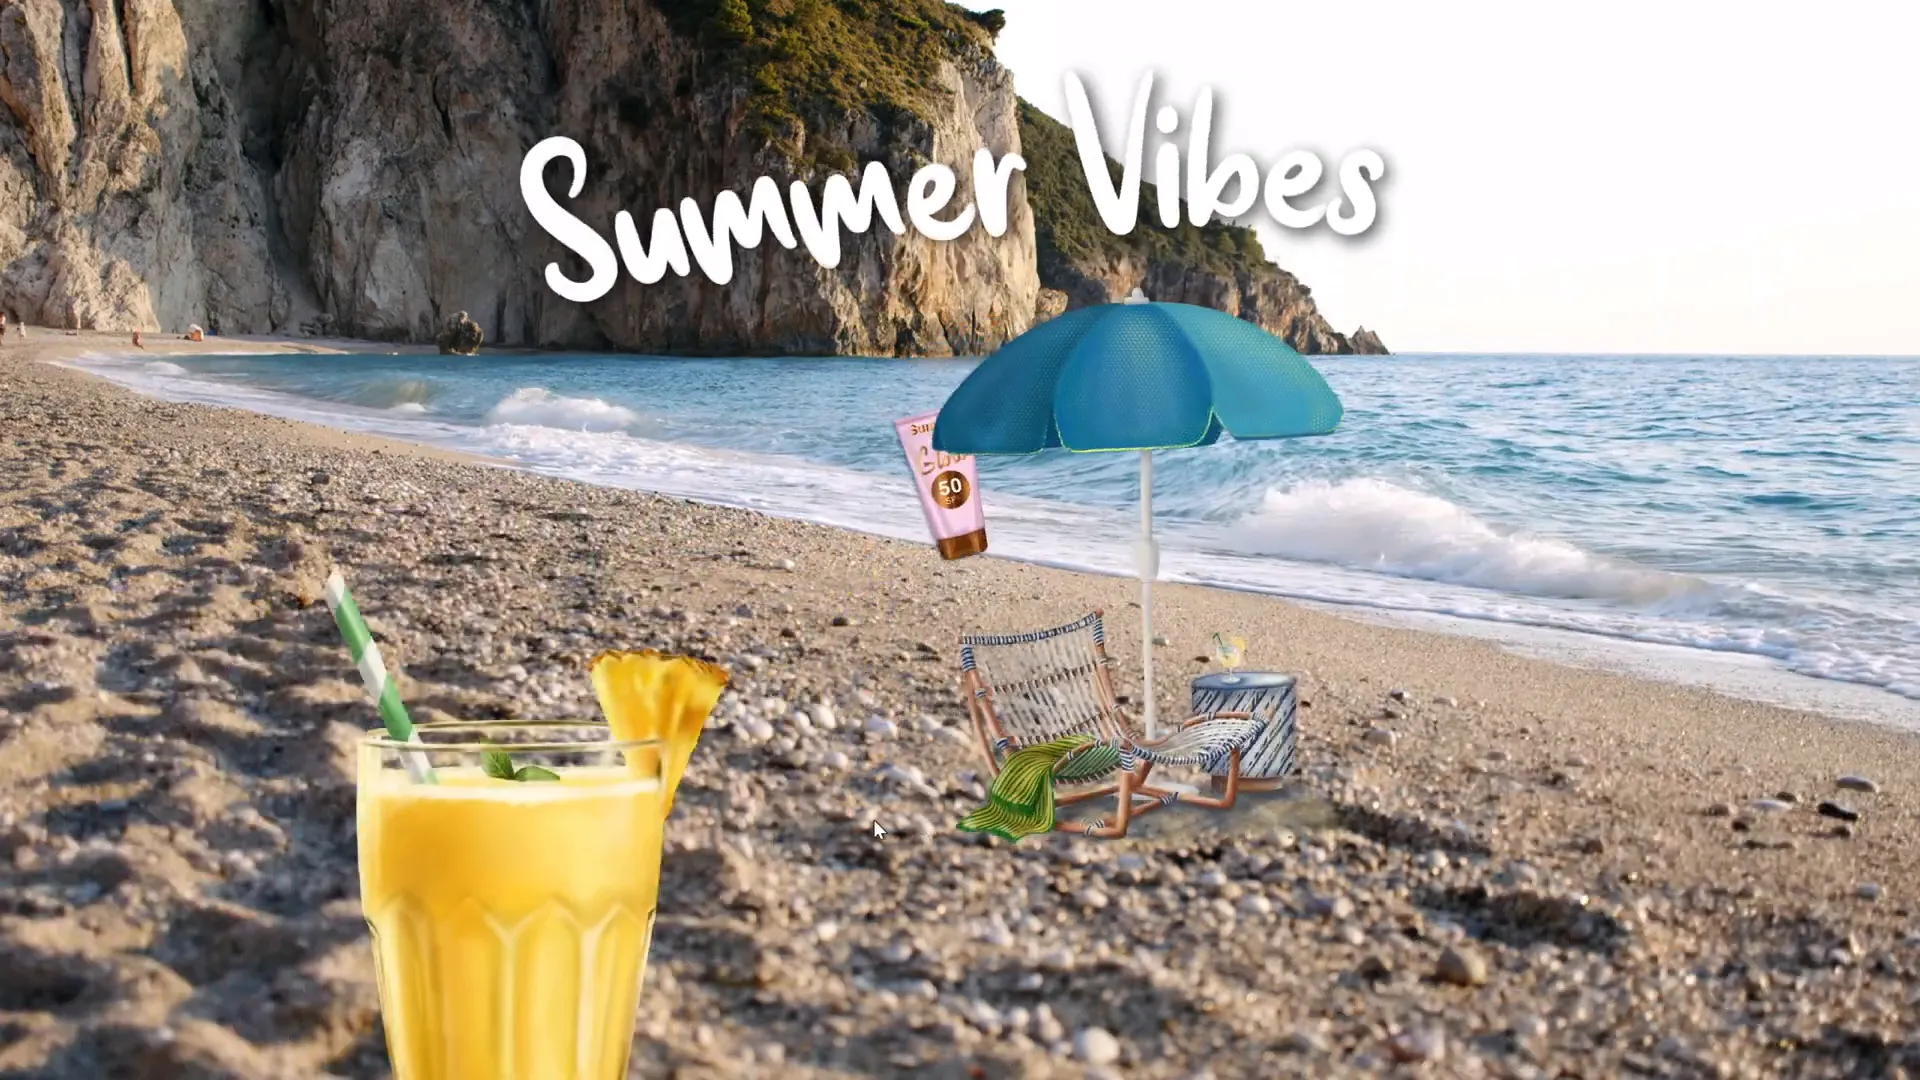
Additionally, a looping video of a beach shoreline creates a dynamic and visually appealing background for the slide. This video was sourced from Artlist.io and will serve as the foundation for the animation.
Adding and Configuring a Video Background
Let’s start by placing a video background on a fresh PowerPoint slide and configuring it to play seamlessly.
- Insert the Video: Copy your downloaded video file and paste it onto a new blank slide.
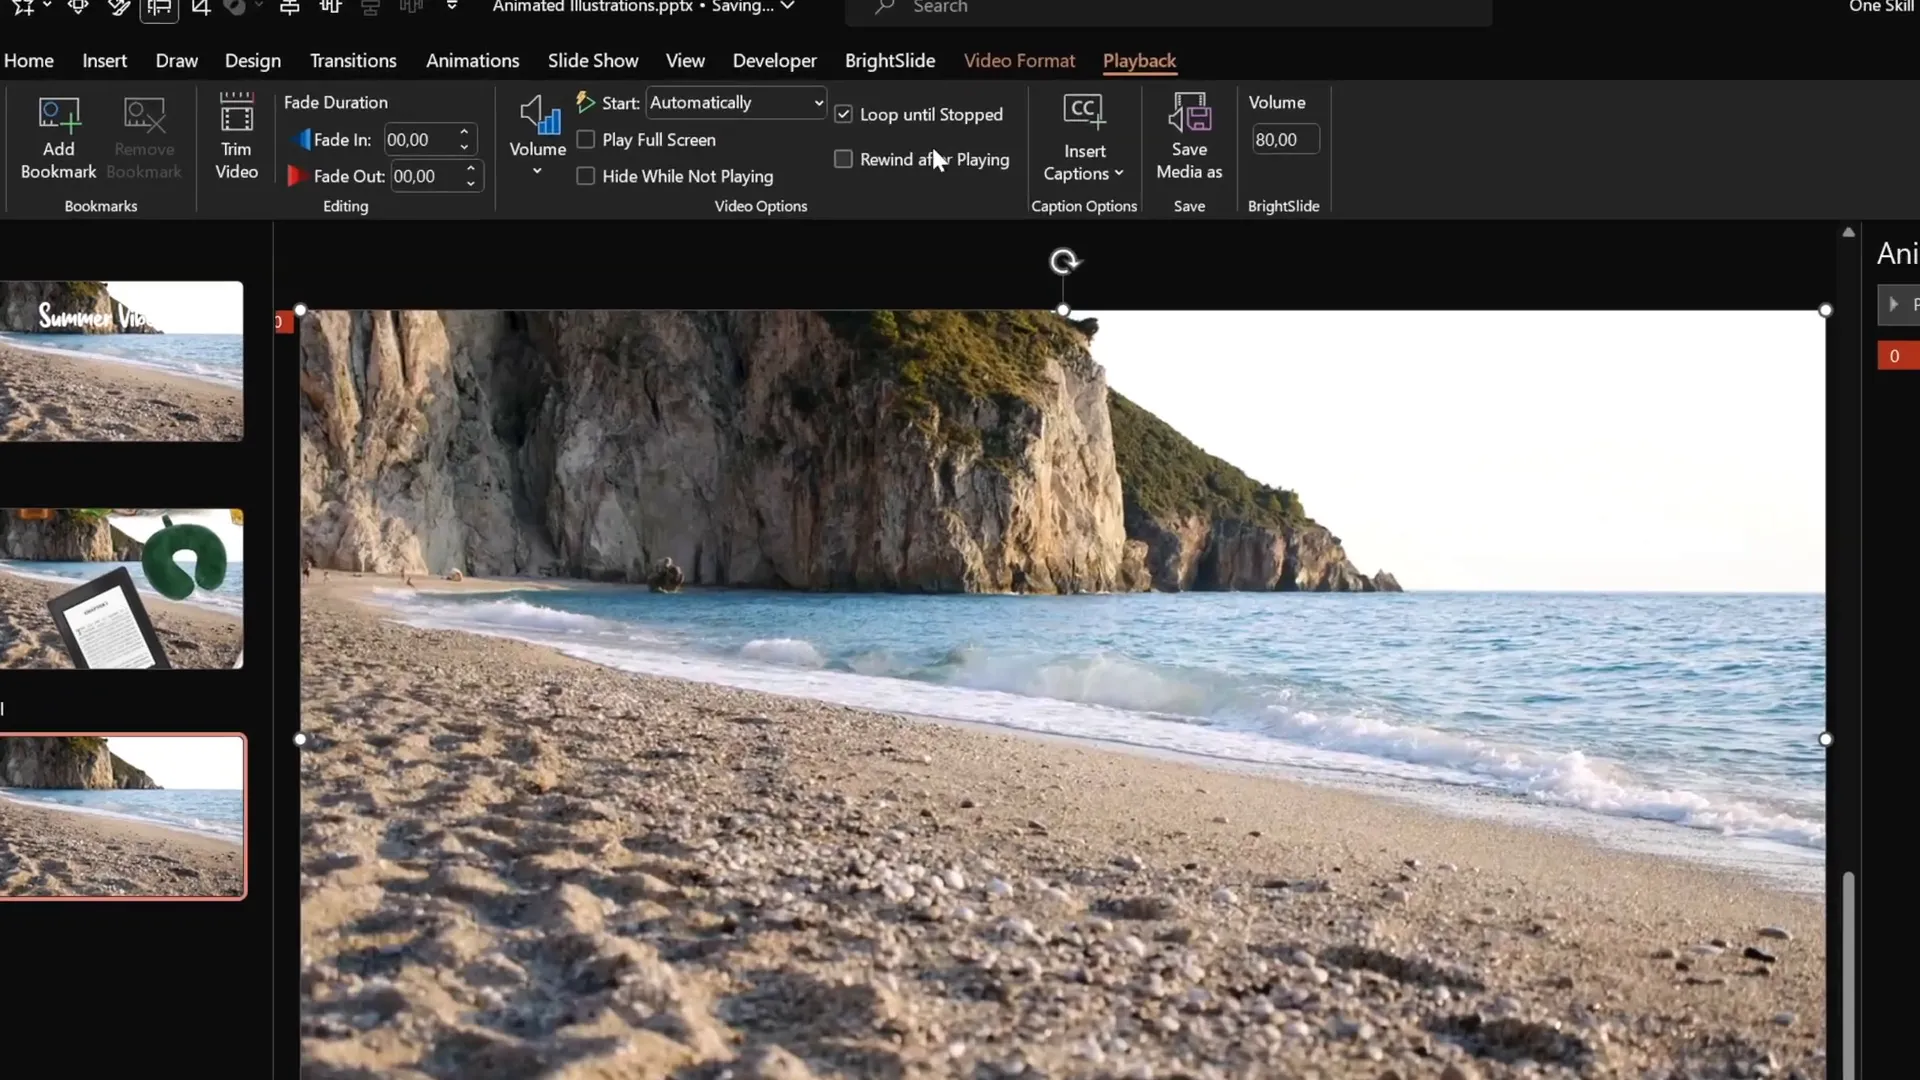
- Set Automatic Playback: Select the video, then go to the Animations tab and add a Play animation.
- Configure Playback Timing: Set the play animation to Start With Previous so the video begins automatically when the slide loads.
- Loop the Video: Under Playback options, enable Loop until Stopped to ensure continuous play.
Once set up, preview the slide in full screen to verify the video plays automatically and loops smoothly.
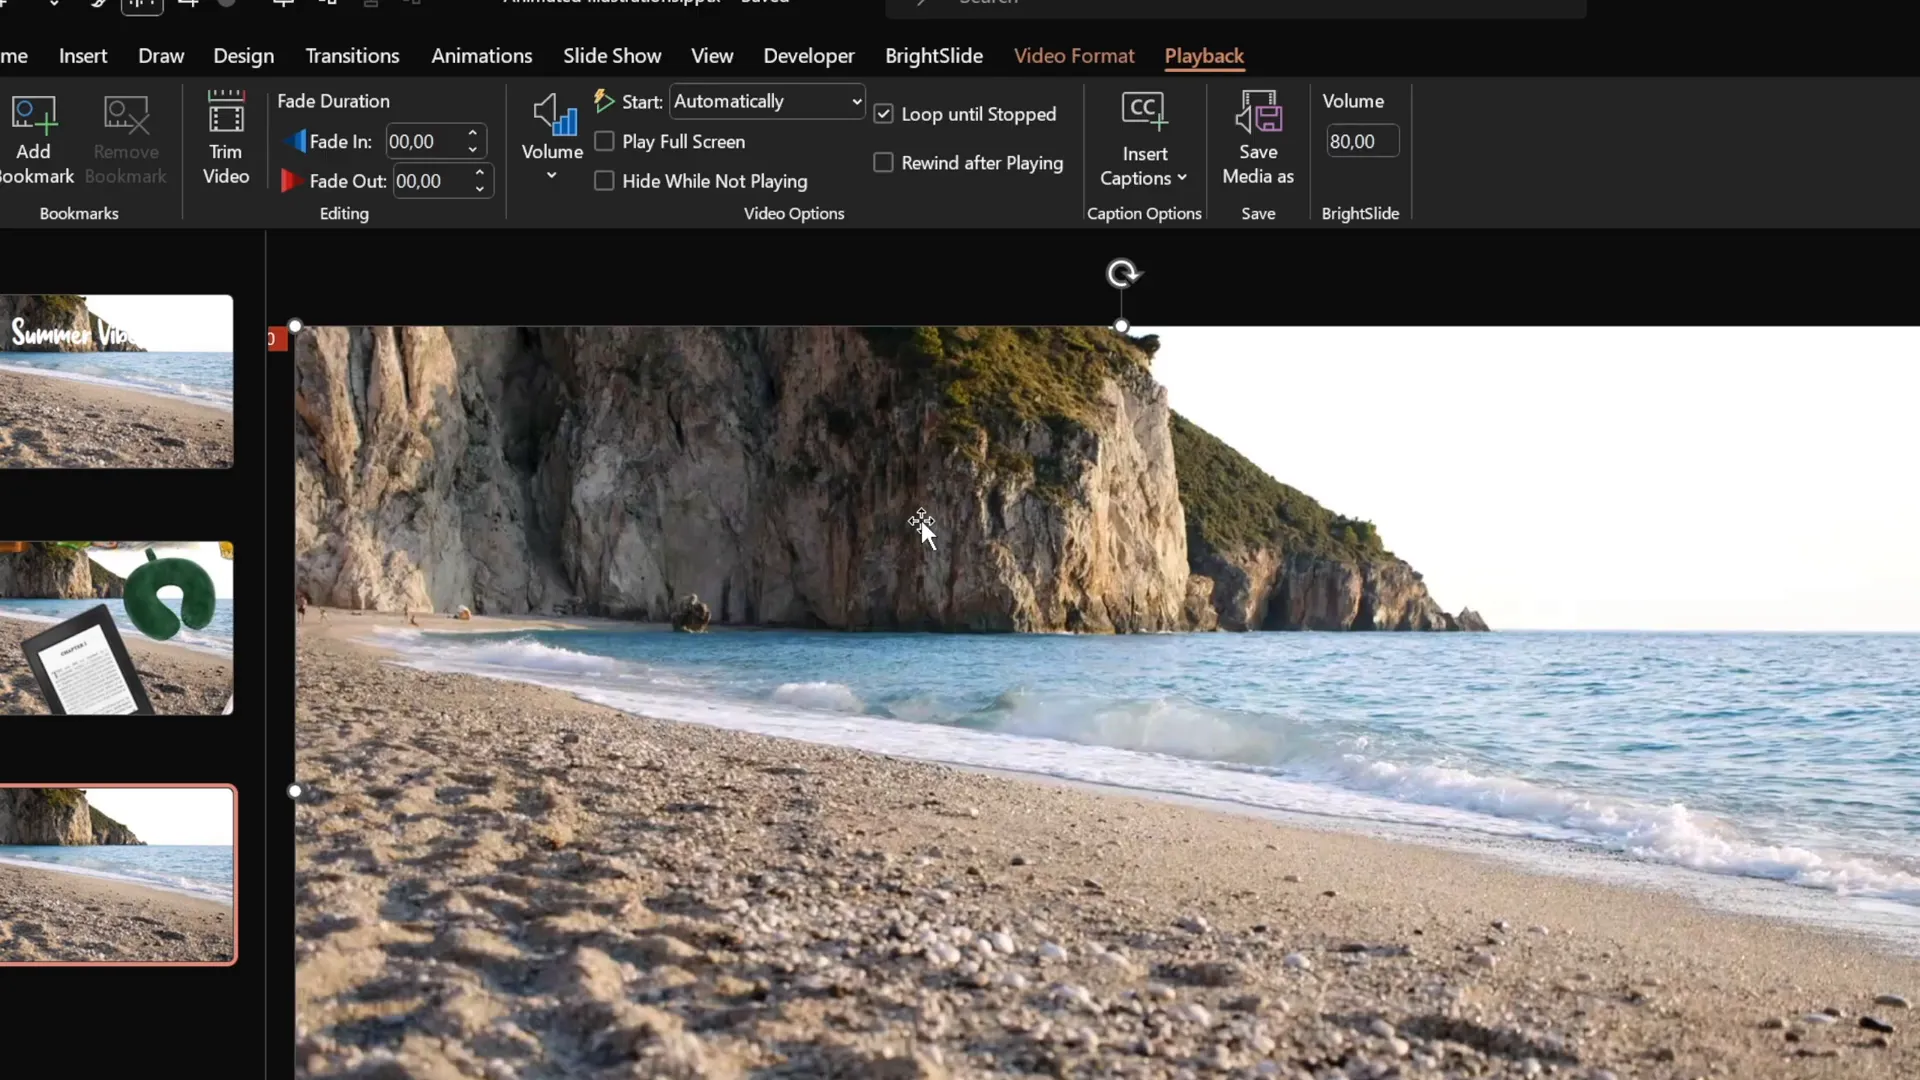
Hiding Video Controls and Disabling Click Reset
By default, PowerPoint shows video player controls at the bottom of the video, and clicking the video resets playback. To create a cleaner, more professional look:
- Go to the Slide Show tab and uncheck Show Media Controls to hide the video player UI.
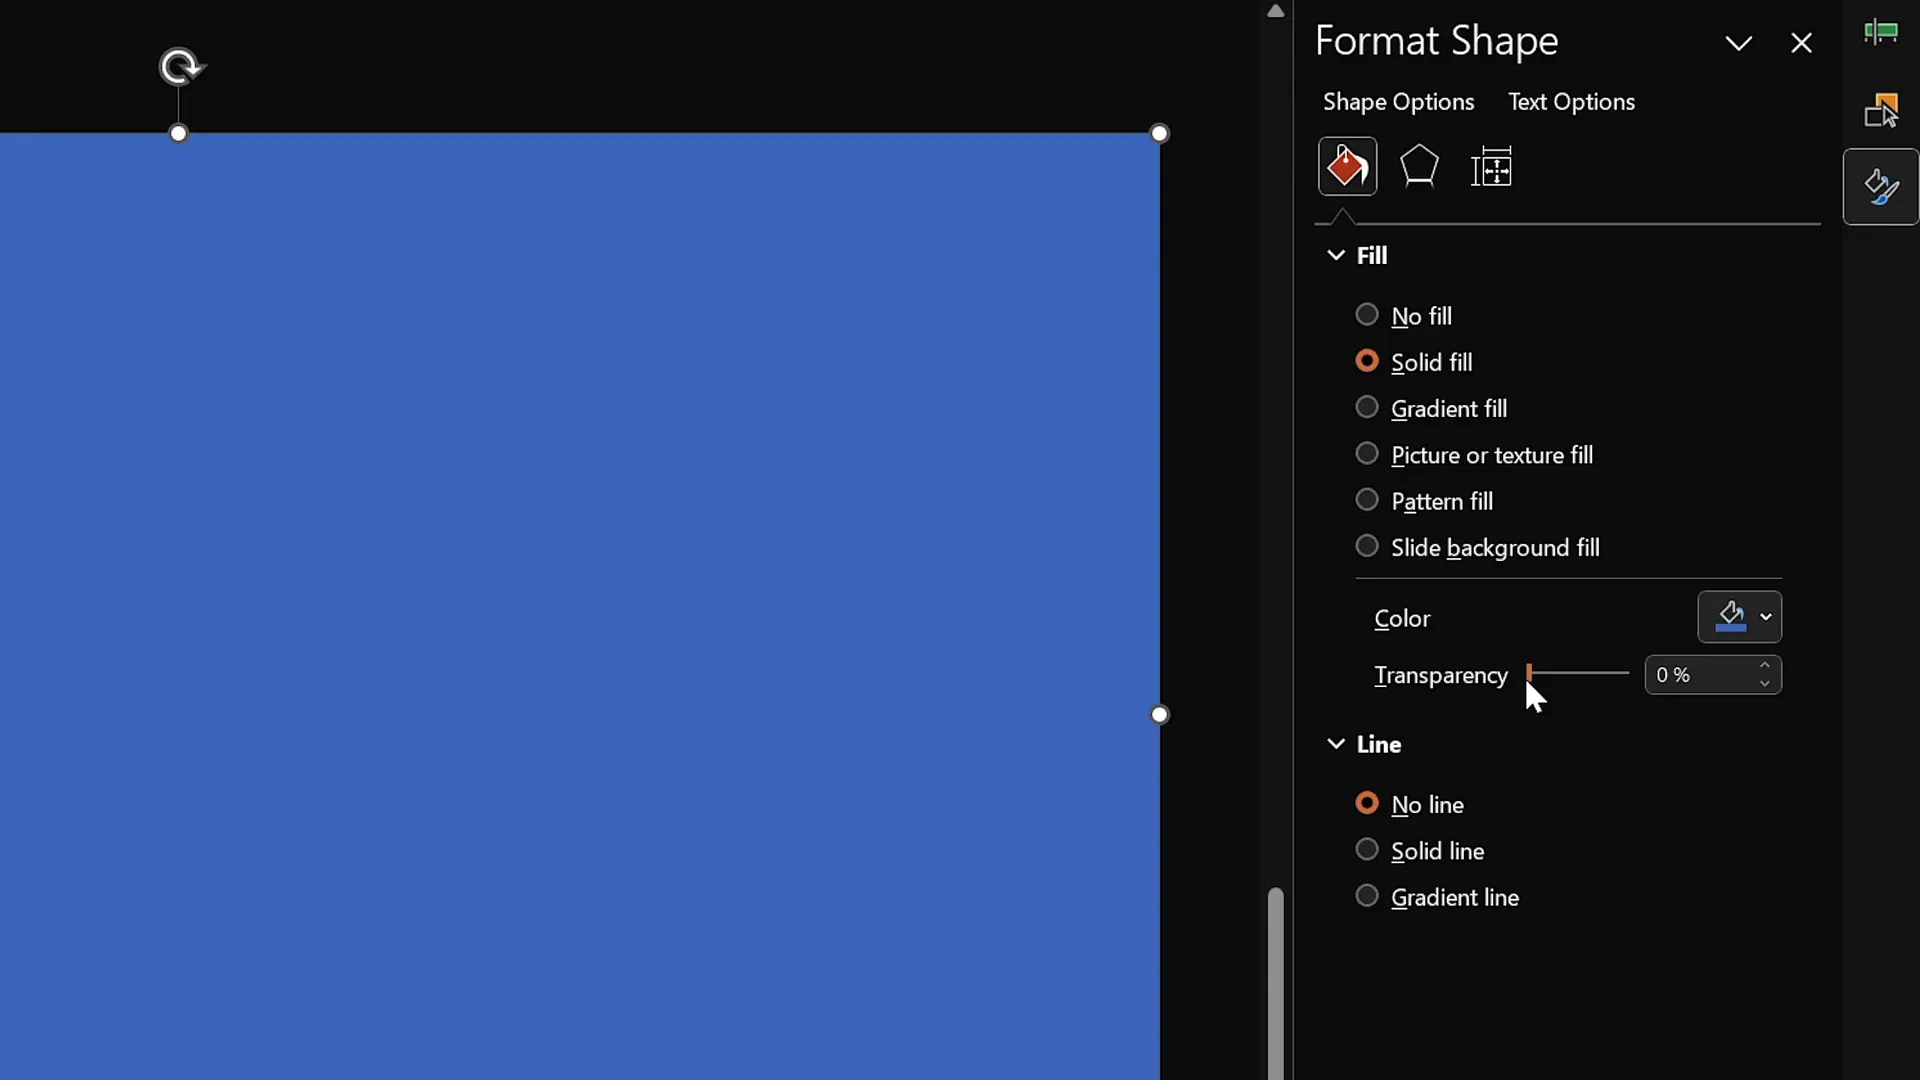
- Insert a transparent rectangle shape that covers the entire slide to disable clicks on the video. Format this shape with no outline and 100% transparency.
- Rename the shape in the Selection Pane for easier management.
This approach prevents accidental clicks from resetting the video and keeps your animation smooth.
Creating Animated Wavy Text Titles
Next, create an engaging animated slide title with a wavy text effect that loops continuously.
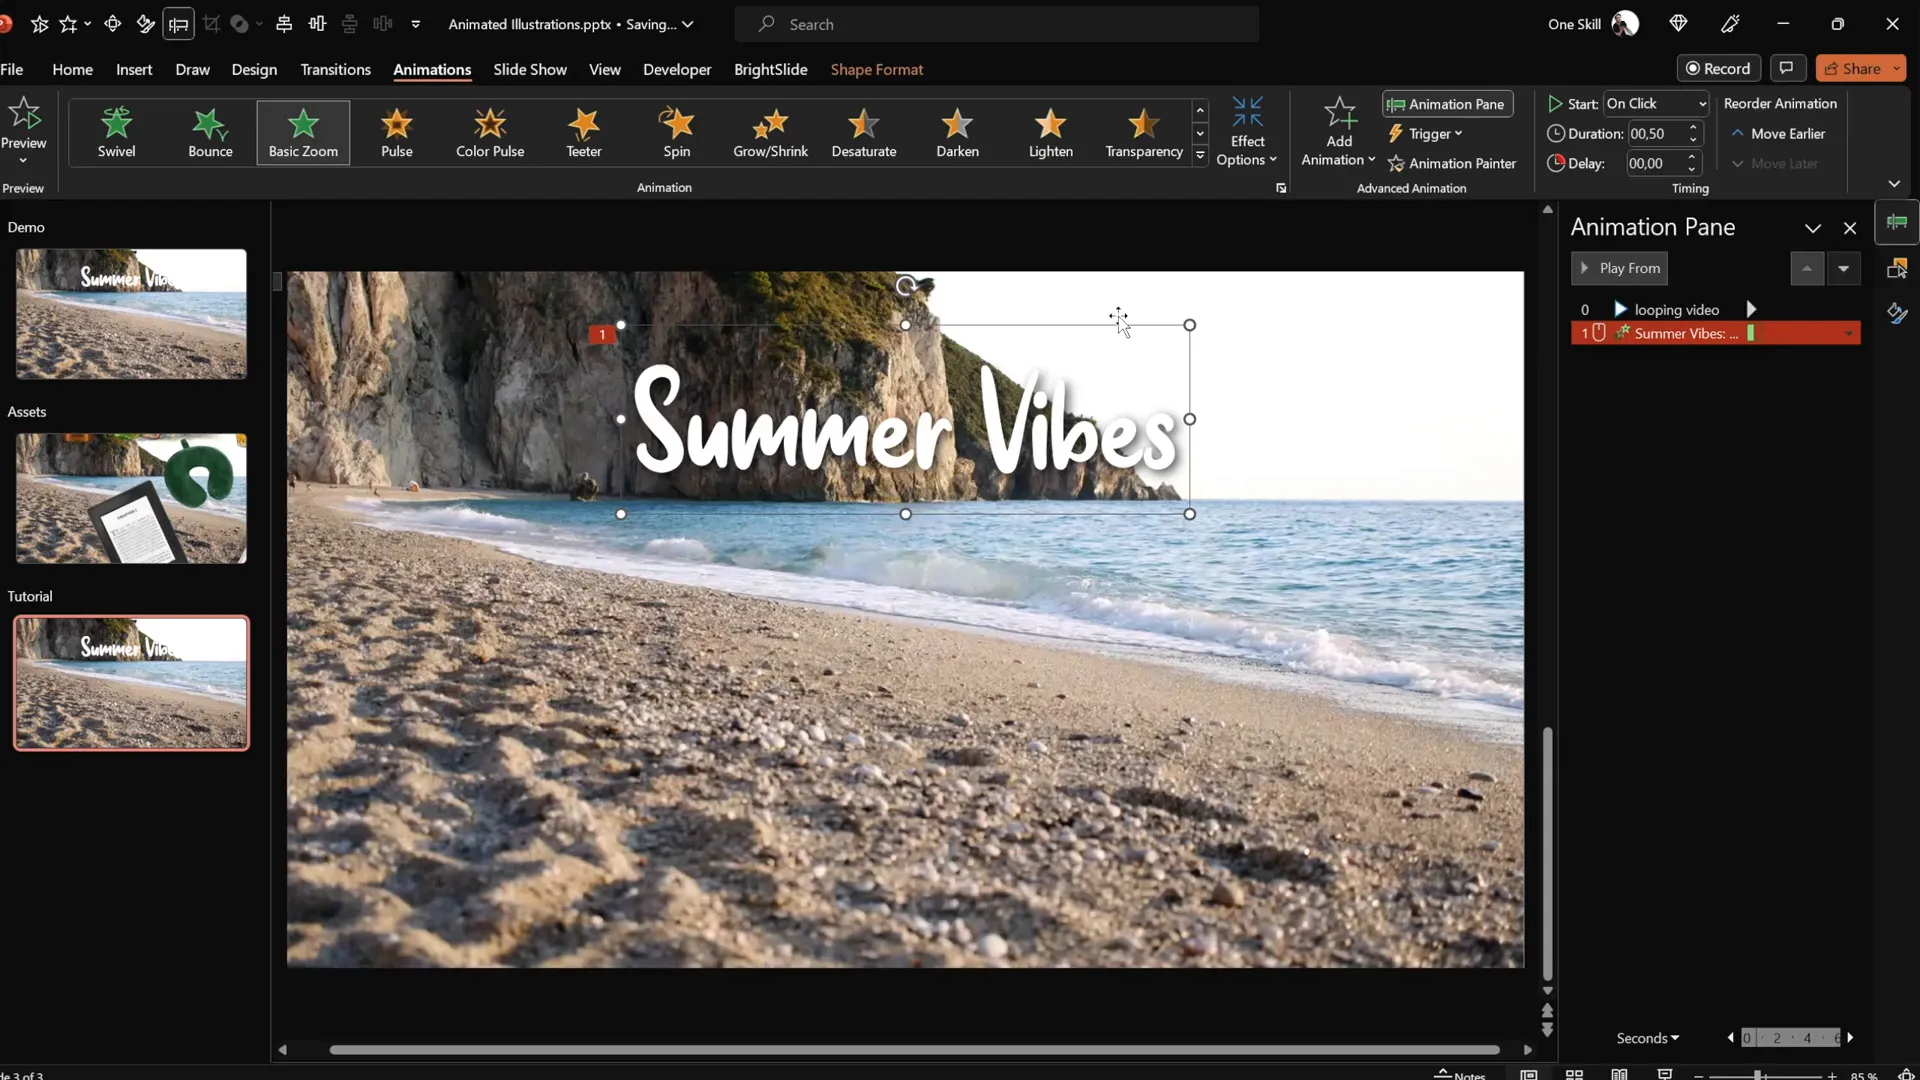
- Insert Text Box: Use a stylish font like Sweet Purple at a large size (e.g., 115 pt). Position the text above your video background, centered near the top of the slide.
- Add Basic Zoom Animation: Select the text box, go to Animations, add the Basic Zoom entrance animation, and set it to animate by letter with a 10% delay between letters.
- Add Wave Animation: Add a second animation, Text Wave, set to start with the previous animation and animate by letter with a 5% delay.
- Loop the Wave: In the animation’s Timing options, set the wave animation to repeat until the end of the slide.
This combination creates a visually appealing effect where the title zooms in letter by letter, then gently waves continuously.
Inserting and Looping Animated Illustrations
Now, let’s bring your slide to life by inserting animated summer-themed illustrations that move along motion paths and loop indefinitely.
Step-by-Step Illustration Animation
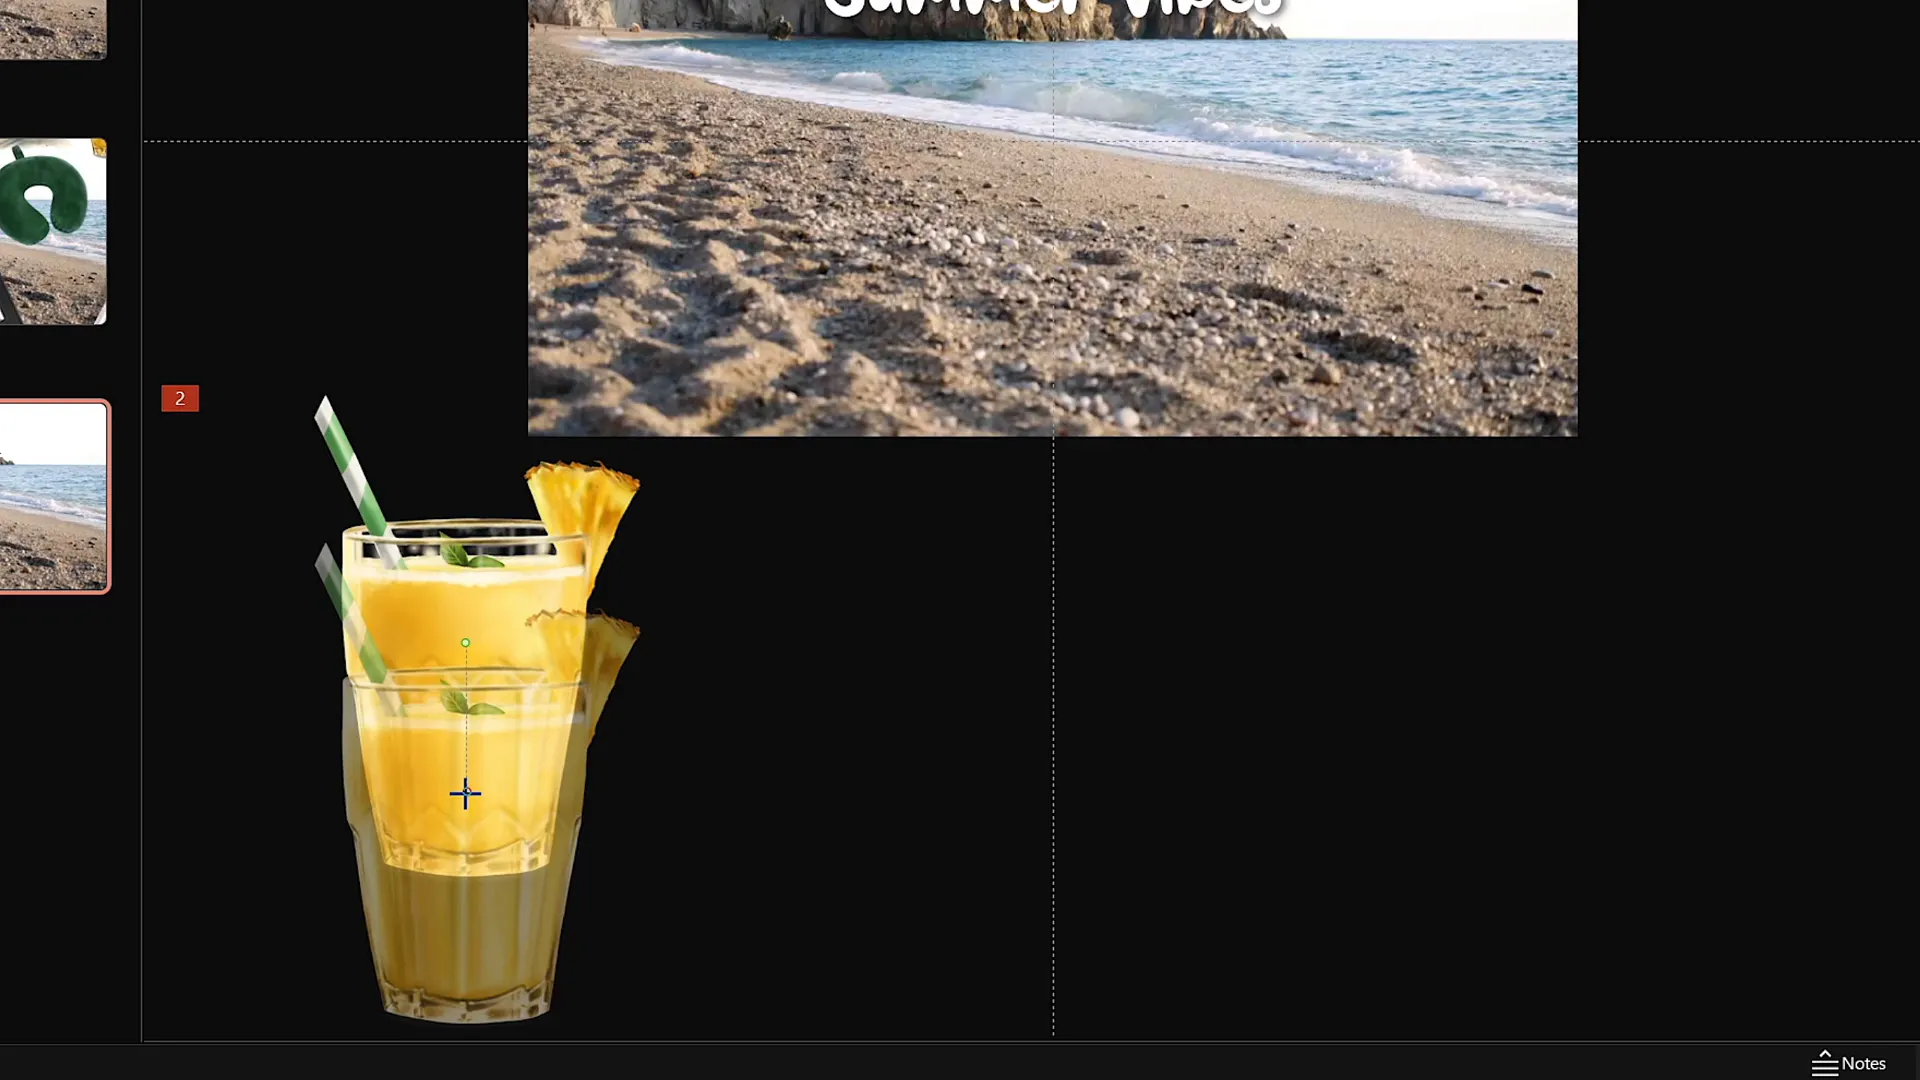
- Insert an Illustration: Copy and paste an illustration (e.g., a cocktail glass) onto the slide, positioning it near the bottom left corner.
- Activate Slide Guides: Enable slide guides for precise alignment and to locate the slide’s center.
- Add Motion Path Animation: Select the illustration, add a Motion Path Line animation, and adjust the end point to above the slide center.
- Reverse Motion Path: Reverse the path so the animation starts at the slide center and moves to the illustration’s position.
- Configure Animation Timing: Set the motion path to start with previous, duration 4 seconds, and add a smooth start effect.
- Loop Animation: Set the animation to repeat until the end of the slide.
- Add Zoom Entrance Animation: To avoid the illustration appearing too large, add a Basic Zoom entrance animation that grows the illustration gradually. Set it before the motion path and loop it as well.
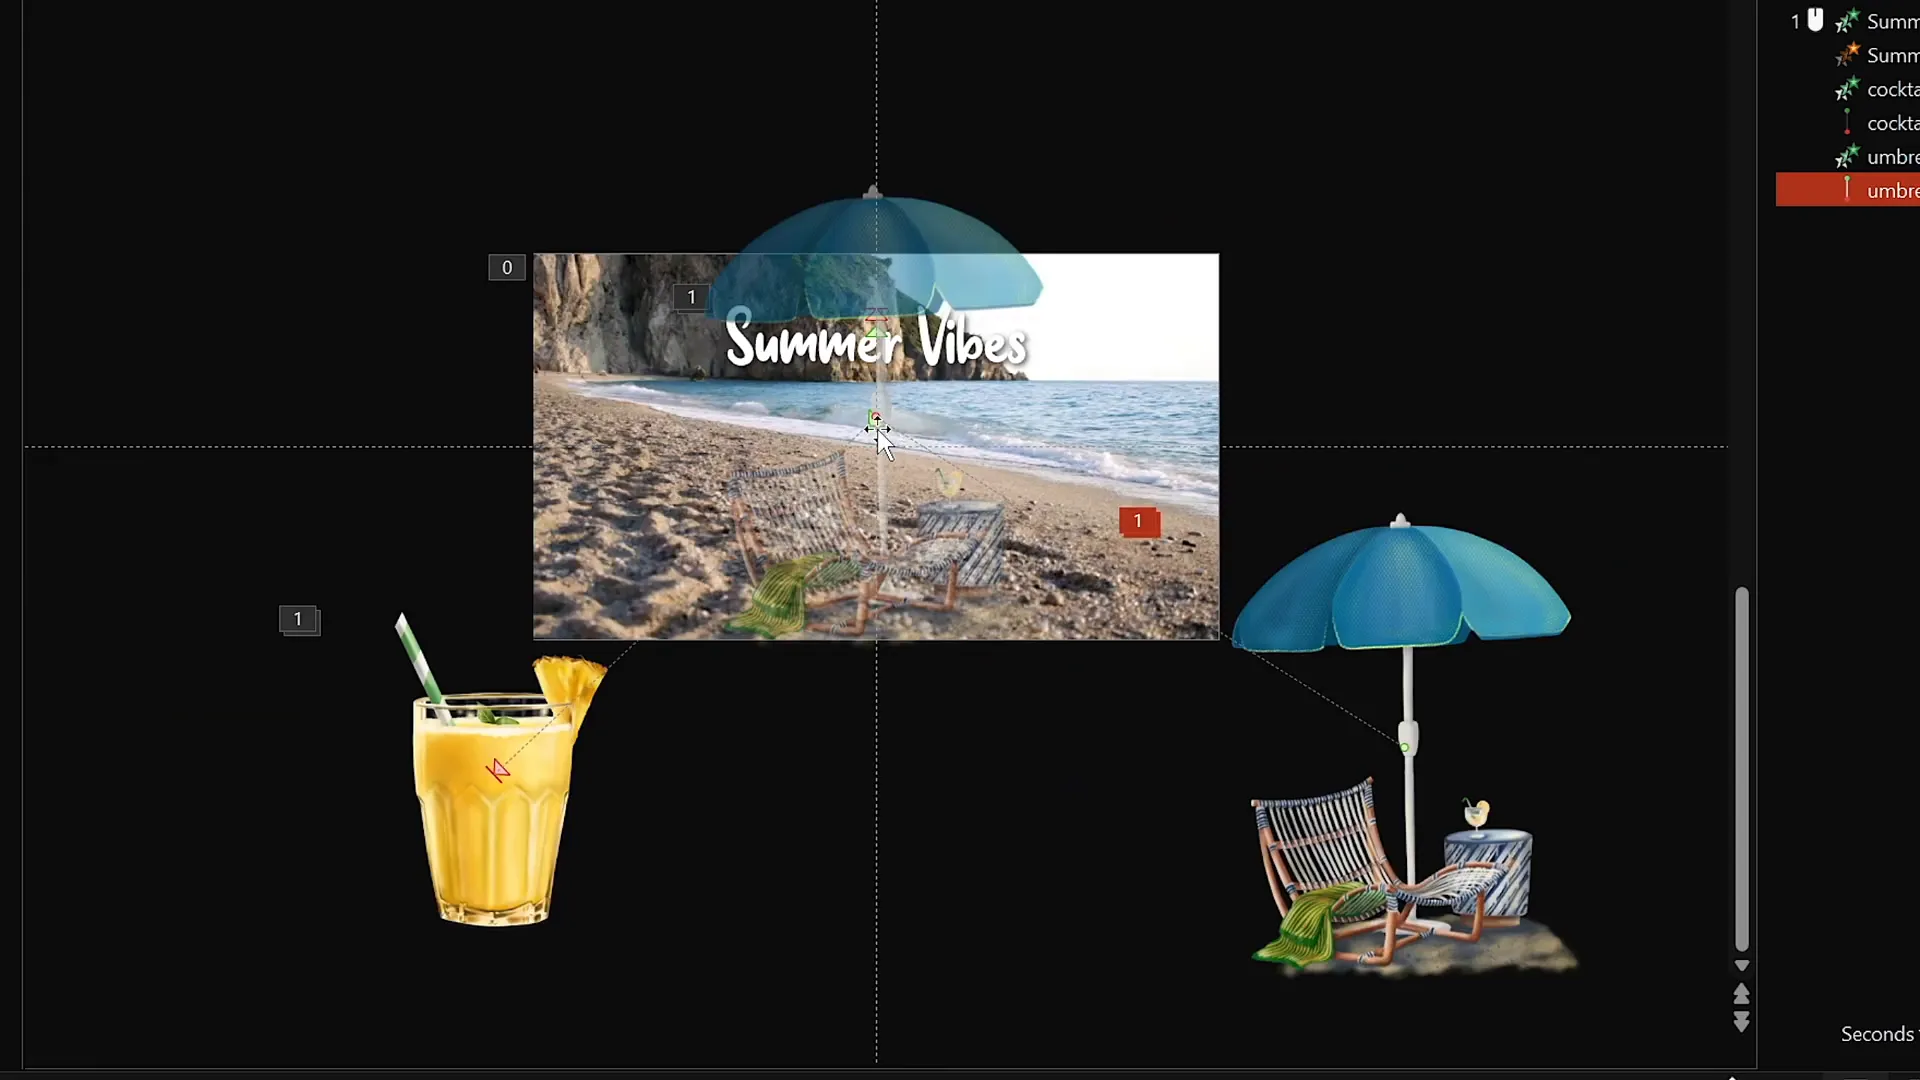
Animating Multiple Illustrations with Delays
Repeat the process with other illustrations like umbrellas, sunscreen bottles, and hats. Use the Animation Painter tool to copy the animations and adjust the motion path starting points accordingly.
- Place each illustration in different corners of the slide for balance.
- Add delays (e.g., 1 second, 2 seconds, 3 seconds) to stagger animations and create variety.
- Manage layering in the Selection Pane to ensure proper illustration overlap (e.g., cocktail glass above umbrella).
This technique creates a harmonious, looping animation sequence where each illustration smoothly moves from the center to its position, growing in size.
Tips for Smooth Animation and Layering
To polish your looping animation slide, consider these helpful tips:
| Tip | Description | Benefit |
|---|---|---|
| Use Animation Painter | Copy animations from one object to another easily. | Saves time and ensures consistency. |
| Adjust Animation Delays | Stagger start times for animations to avoid simultaneous movements. | Creates variety and a more natural flow. |
| Manage Layering | Use the Selection Pane to order objects properly. | Prevents visual clutter and overlapping issues. |
| Loop Animations | Set animations to repeat until the end of the slide. | Ensures continuous movement without manual restart. |
| Use Transparent Shapes | Cover videos with transparent shapes to disable clicks. | Avoids accidental video restarts during presentations. |
Following these tips will help your animations run seamlessly and look professional.
Frequently Asked Questions (FAQ)
Q1: Can I use these animation techniques for topics other than summer?
Absolutely! The methods demonstrated here are versatile and can be adapted to any theme or subject. Just replace the summer illustrations with assets that fit your topic, such as travel icons, country flags, or business graphics.
Q2: What version of PowerPoint is required?
This tutorial uses Microsoft PowerPoint 365, which supports advanced animations and video features. While some features may work in earlier versions, PowerPoint 365 offers the smoothest experience.
Q3: Where can I find the summer illustrations used in this tutorial?
The illustrations were created by digital artist Raminta and are available in her Etsy store. They come as PNG files with transparent backgrounds, perfect for PowerPoint presentations. You can find the link in the video description accompanying this tutorial.
Q4: How do I prevent the video background from being clickable?
Insert a transparent rectangle shape over the entire slide and set its transparency to 100%. This disables clicks on the video, preventing accidental resets during your presentation.
Q5: Can I customize the waving effect of the animated text?
Yes, you can adjust the height and speed of the text wave animation in the animation settings. Experiment with these values to achieve the desired visual effect.
Conclusion: Elevate Your PowerPoint Presentation Skills
Mastering these looping sticker animations, video backgrounds, and animated text effects can significantly enhance your PowerPoint presentation skills. By integrating dynamic visuals, your slides become more engaging and memorable, helping you impress any audience.
This tutorial demonstrated how to:
- Insert and loop a video background seamlessly.
- Create animated, wavy slide titles that capture attention.
- Animate hand-drawn illustrations using motion paths and zoom effects.
- Loop animations continuously for a polished presentation.
- Use animation tools like the Animation Painter and Selection Pane to manage complexity.
With these skills, you can customize presentations for marketing, education, travel, or any other field. Remember to keep animations smooth, cohesive, and aligned with your message for maximum impact.
Special thanks to Raminta for the beautiful illustrations that made this tutorial possible. Be sure to check out her work to elevate your own presentation visuals.
Keep practicing, stay creative, and watch your presentations come alive!
Happy presenting!