
If you’re looking to elevate your PowerPoint presentation skills and create truly engaging, interactive slides, then mastering the Slide Zoom feature is a game-changer. Slide Zooms allow you to break away from the traditional linear slide flow and add a dynamic, zoomable navigation style that captures and maintains your audience’s attention. Whether you’re presenting a business pitch, educational content, or creative visuals, Slide Zooms bring a new dimension to your presentation toolkit.
In this comprehensive guide, we’ll walk you through five essential tips to unlock the full potential of PowerPoint’s Slide Zoom feature, plus a bonus tip that will take your presentations to the next level. These tips come from expert insights by One Skill PPT, a trusted PowerPoint pro, ensuring you get practical, actionable advice.
Table of Contents
- How to Insert Slide Zooms in PowerPoint
- Understanding Different Types of Zooms: Slide, Section, and Summary
- Customizing Slide Zooms: Borders, Rounded Corners, and Transparent Backgrounds
- Creating Custom Thumbnails for Slide Zooms
- Bonus Tip: Using Animation Triggers with Slide Zooms
- Frequently Asked Questions (FAQs)
- Conclusion
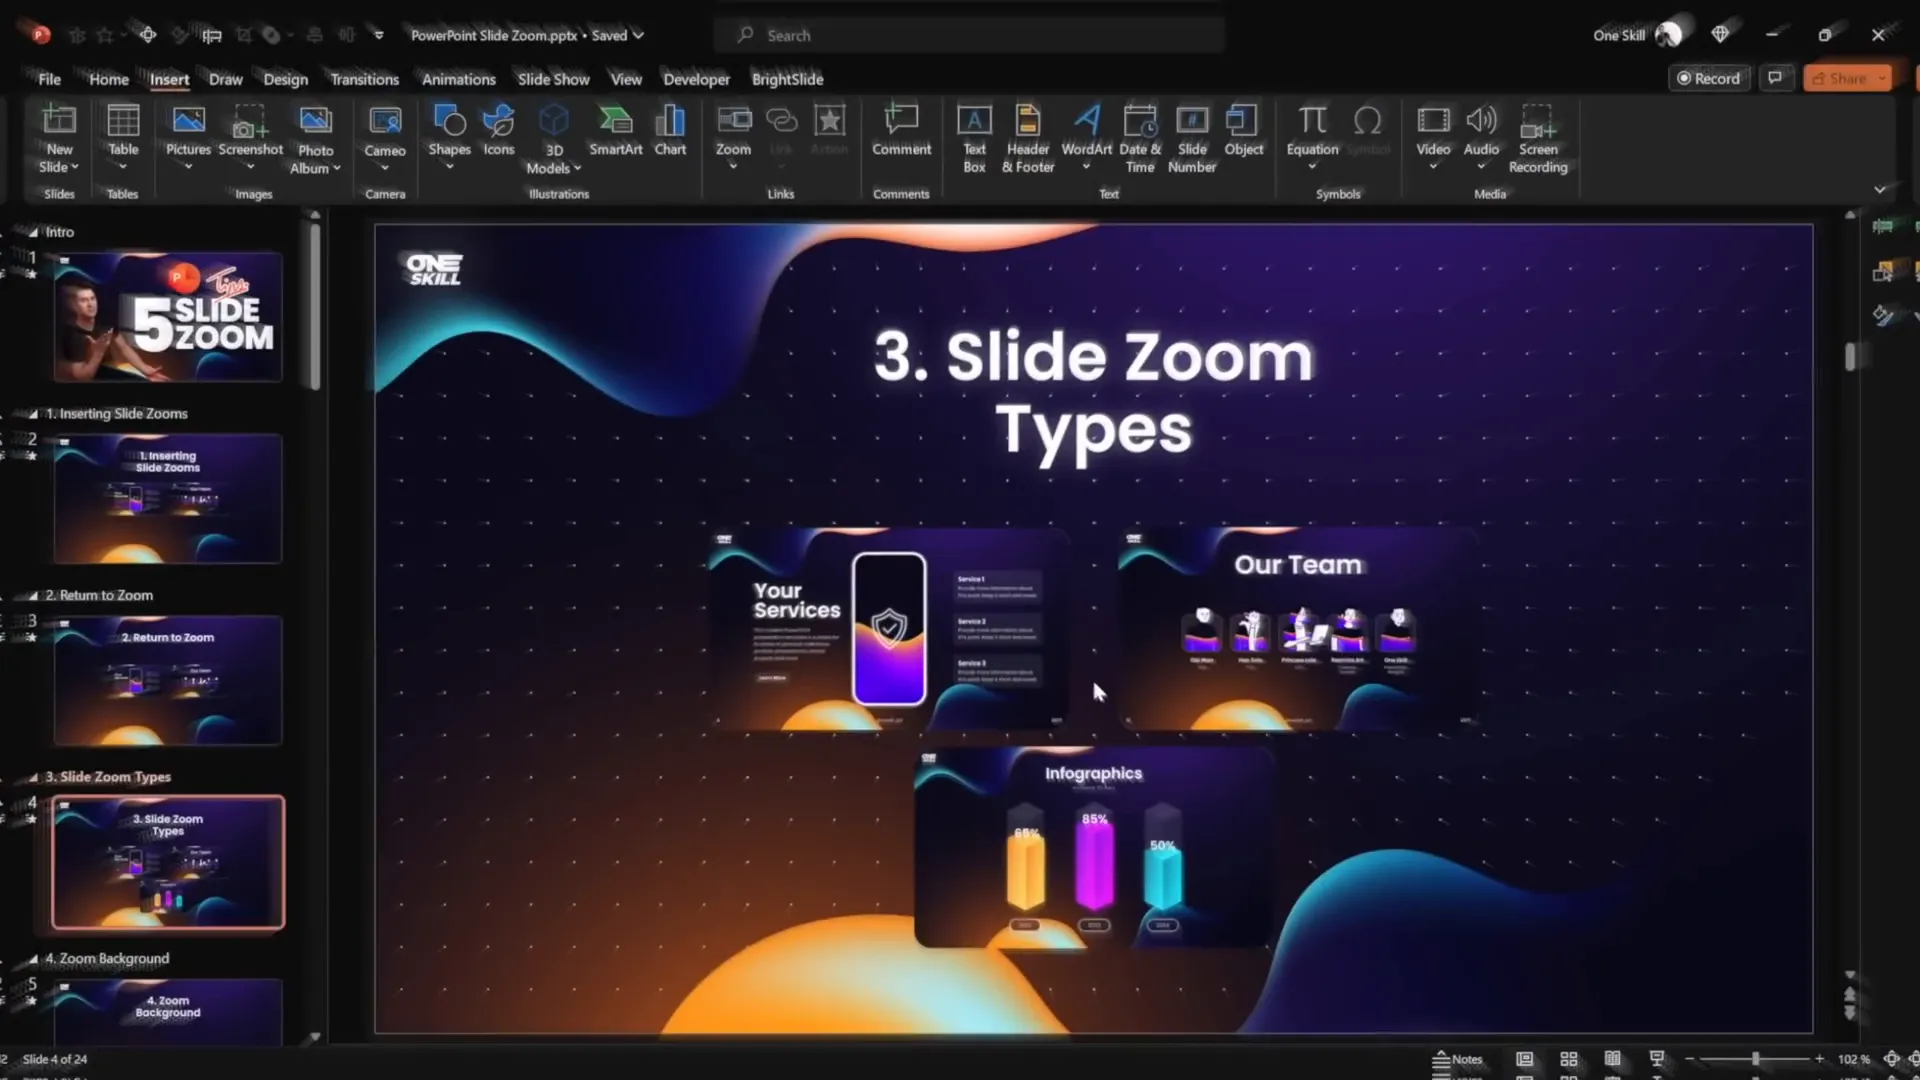
How to Insert Slide Zooms in PowerPoint
Slide Zooms are a powerful feature in PowerPoint that enable you to zoom into specific slides or sections within your presentation, creating a non-linear, interactive experience. Let’s start with how to insert Slide Zooms using two easy methods.
Method 1: Using the Insert Tab
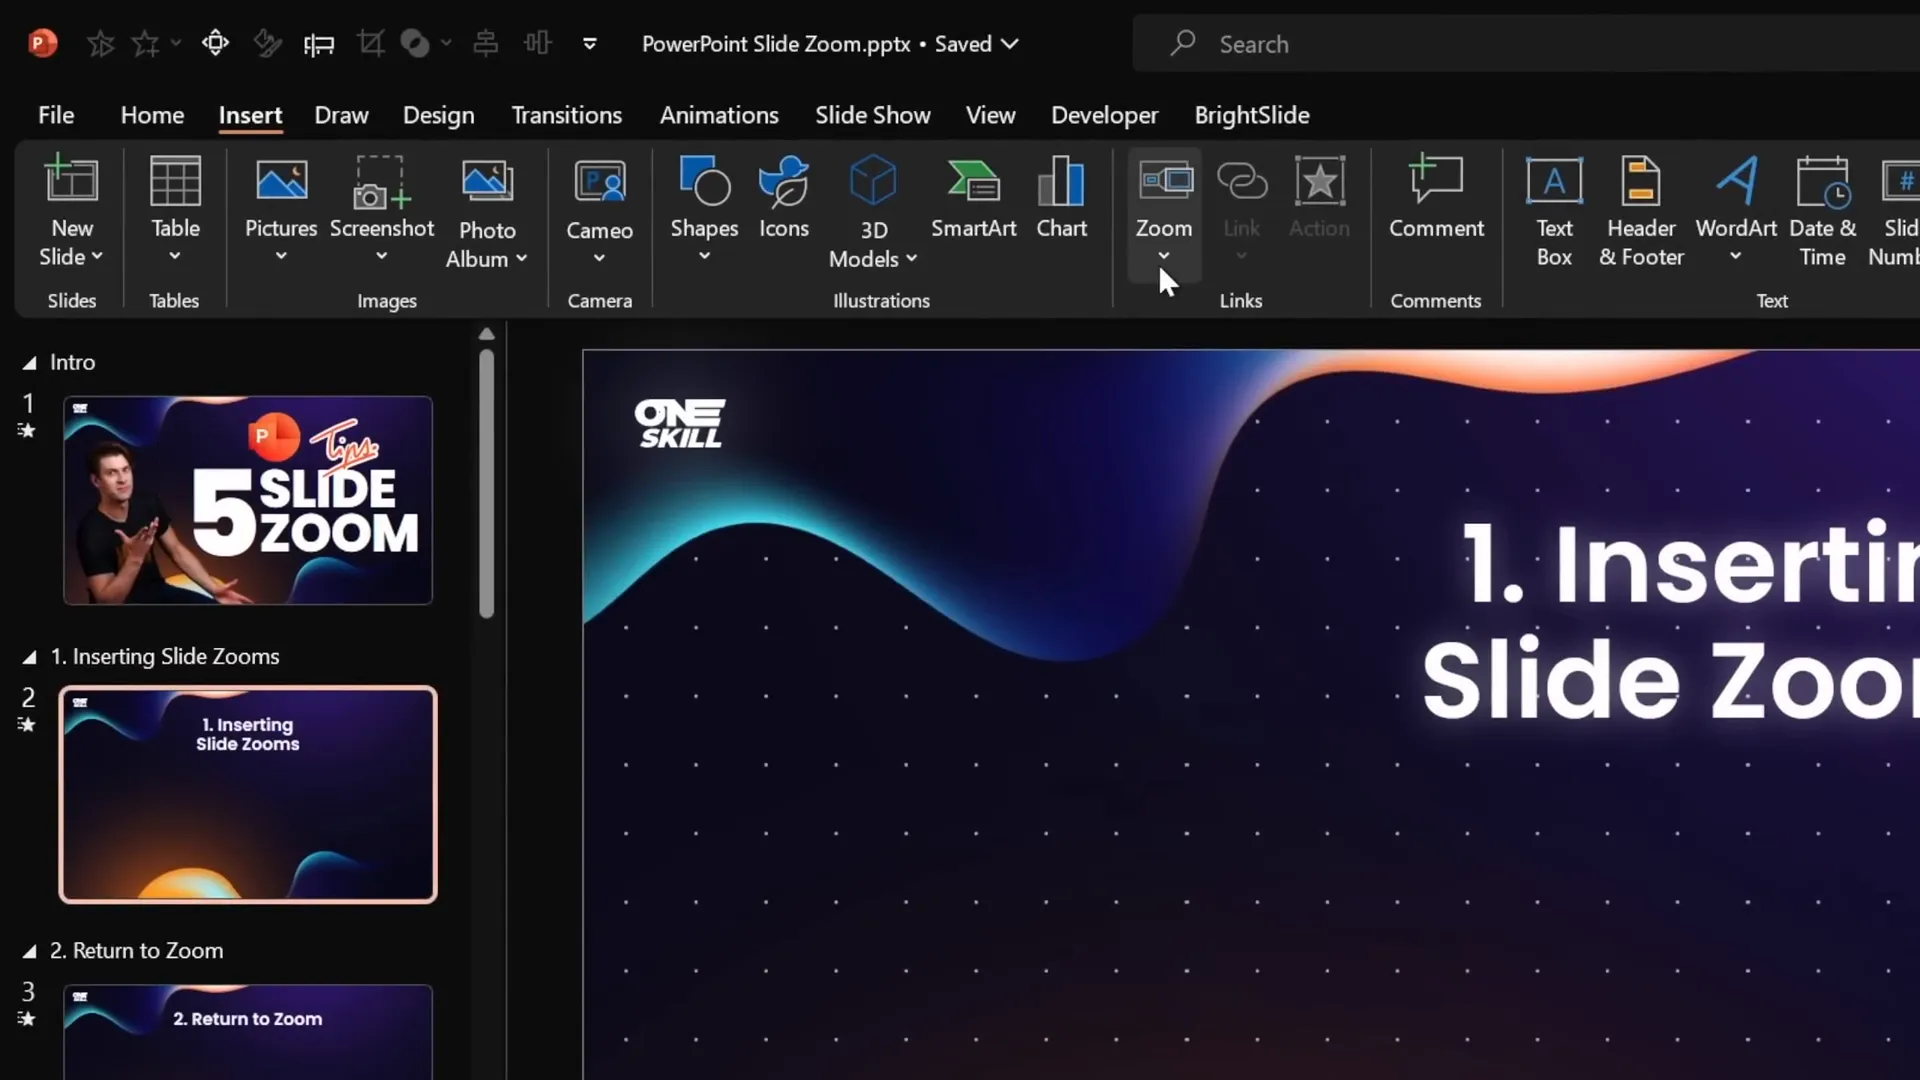
- Go to the Insert tab on the PowerPoint ribbon.
- Click on the Zoom button, then select Slide Zoom from the dropdown menu.
- A window will appear showing all slides in your presentation. Choose the slide you want to zoom into and click Insert.
- Congratulations! Your Slide Zoom is now inserted into your slide.
Method 2: Drag and Drop from the Slide Pane
- Locate the slide thumbnail pane on the left side of PowerPoint.
- Click and drag the desired slide thumbnail directly onto your current slide.
- This action automatically creates a Slide Zoom object.
This second method is especially handy when you want to quickly create Slide Zooms without navigating through menus.

Aligning and Styling Your Slide Zooms
Once inserted, you’ll notice that Slide Zooms have a thin border by default. You might want to customize this to fit your presentation style:
- Turn on slide guides to help center and align your Slide Zooms perfectly.
- Select your Slide Zoom(s), go to the Zoom tab, click Zoom Border, and select No Outline to remove the default border.
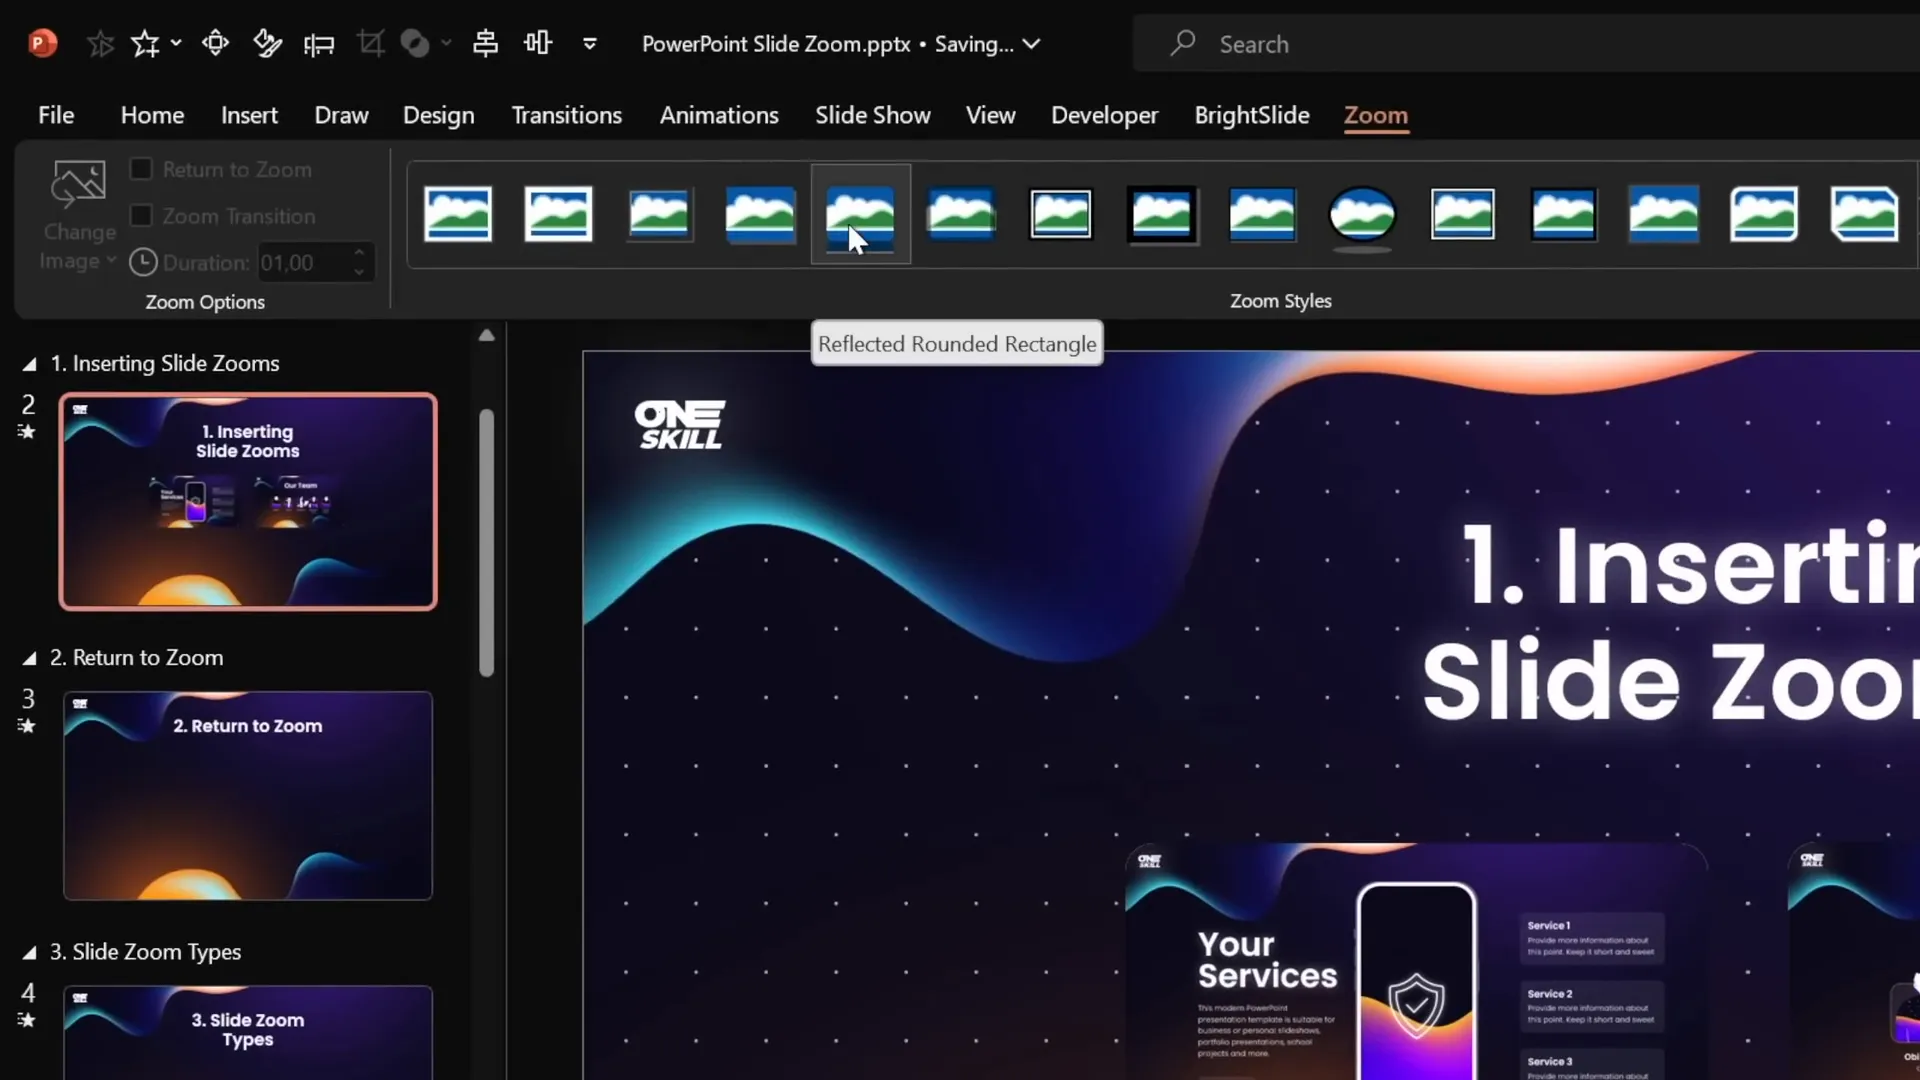
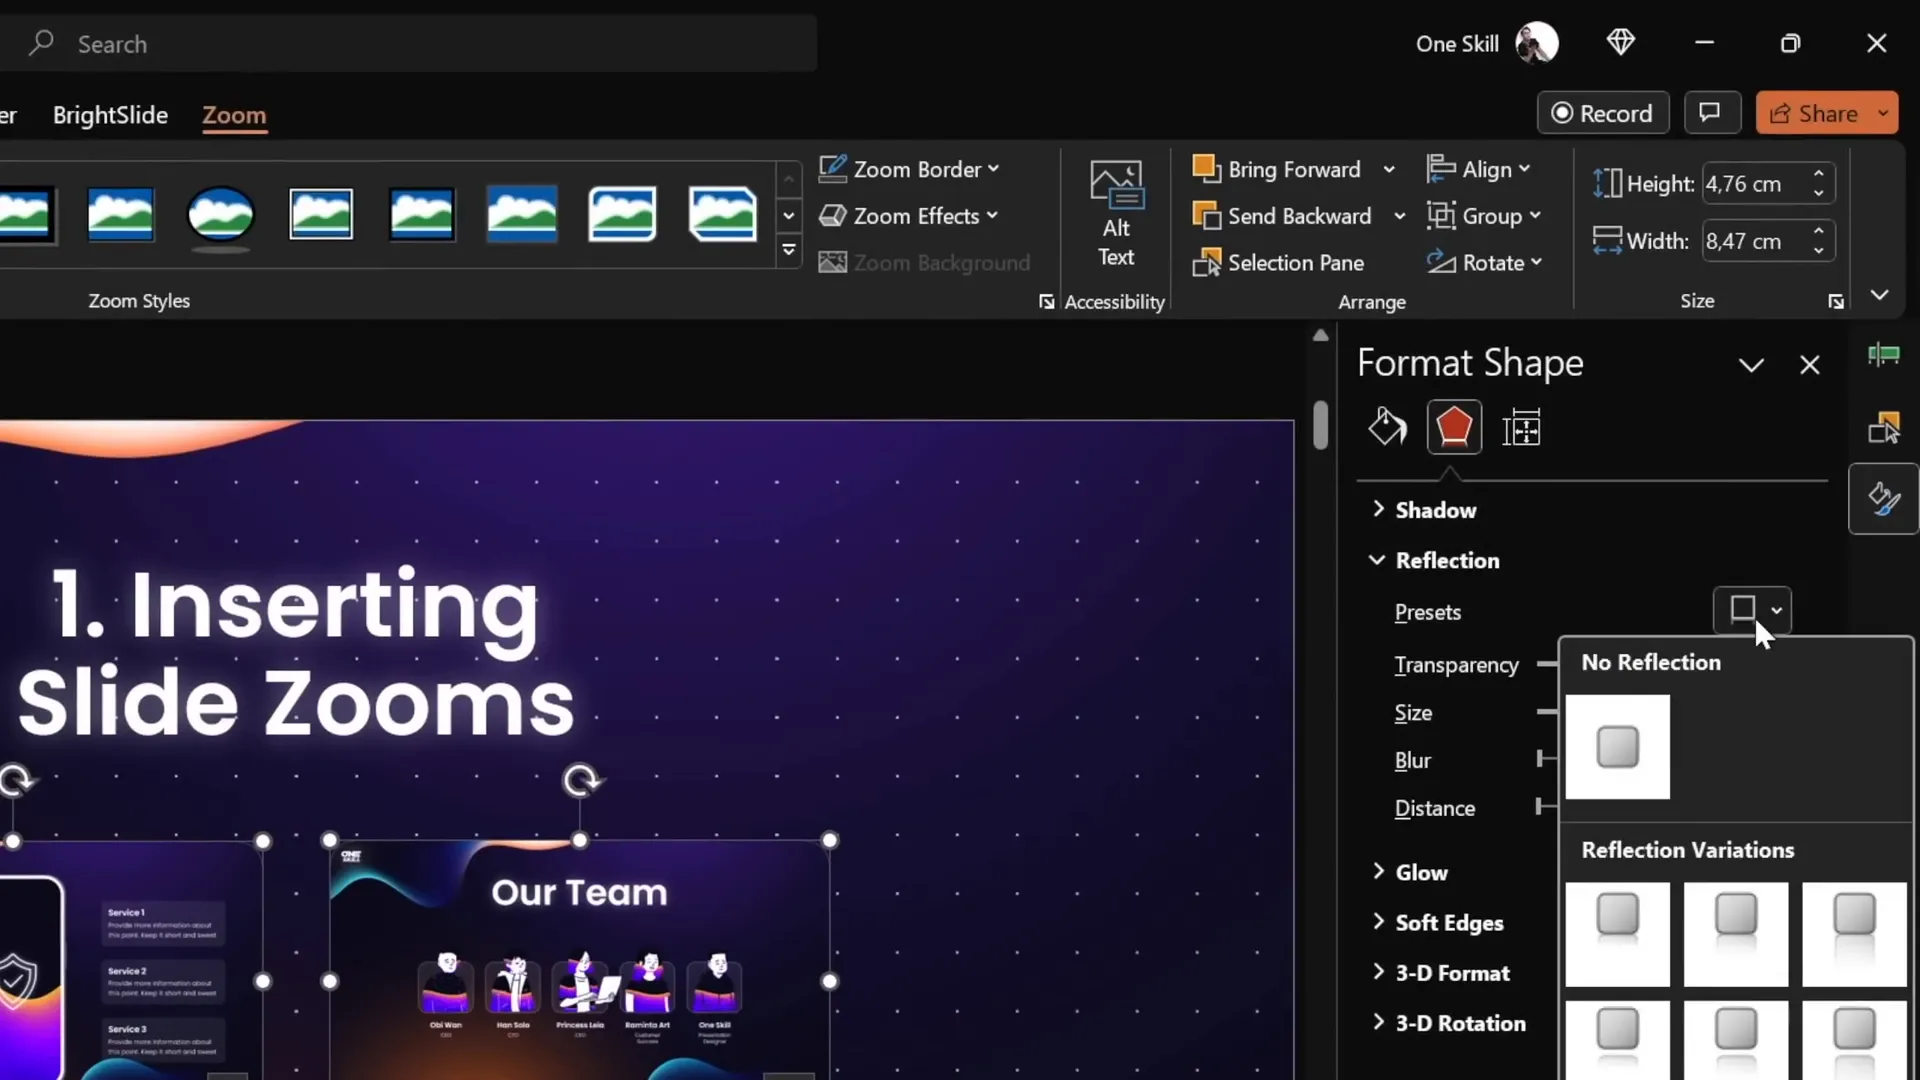
- Add rounded corners by applying a style such as Reflected Rounded Rectangle for a polished look.
- If you prefer no reflections on the corners, disable them via the Format Pane under reflections.
Testing Your Slide Zooms
To see your Slide Zooms in action, play your presentation and click on any Slide Zoom object:
- Clicking once zooms into the selected slide.
- Clicking again advances to the next slide in sequence.

Using the Return to Zoom Feature
By default, after zooming into a slide, clicking again moves to the next slide, but doesn’t return you to the original slide with the Slide Zoom. To enable returning to your starting slide:
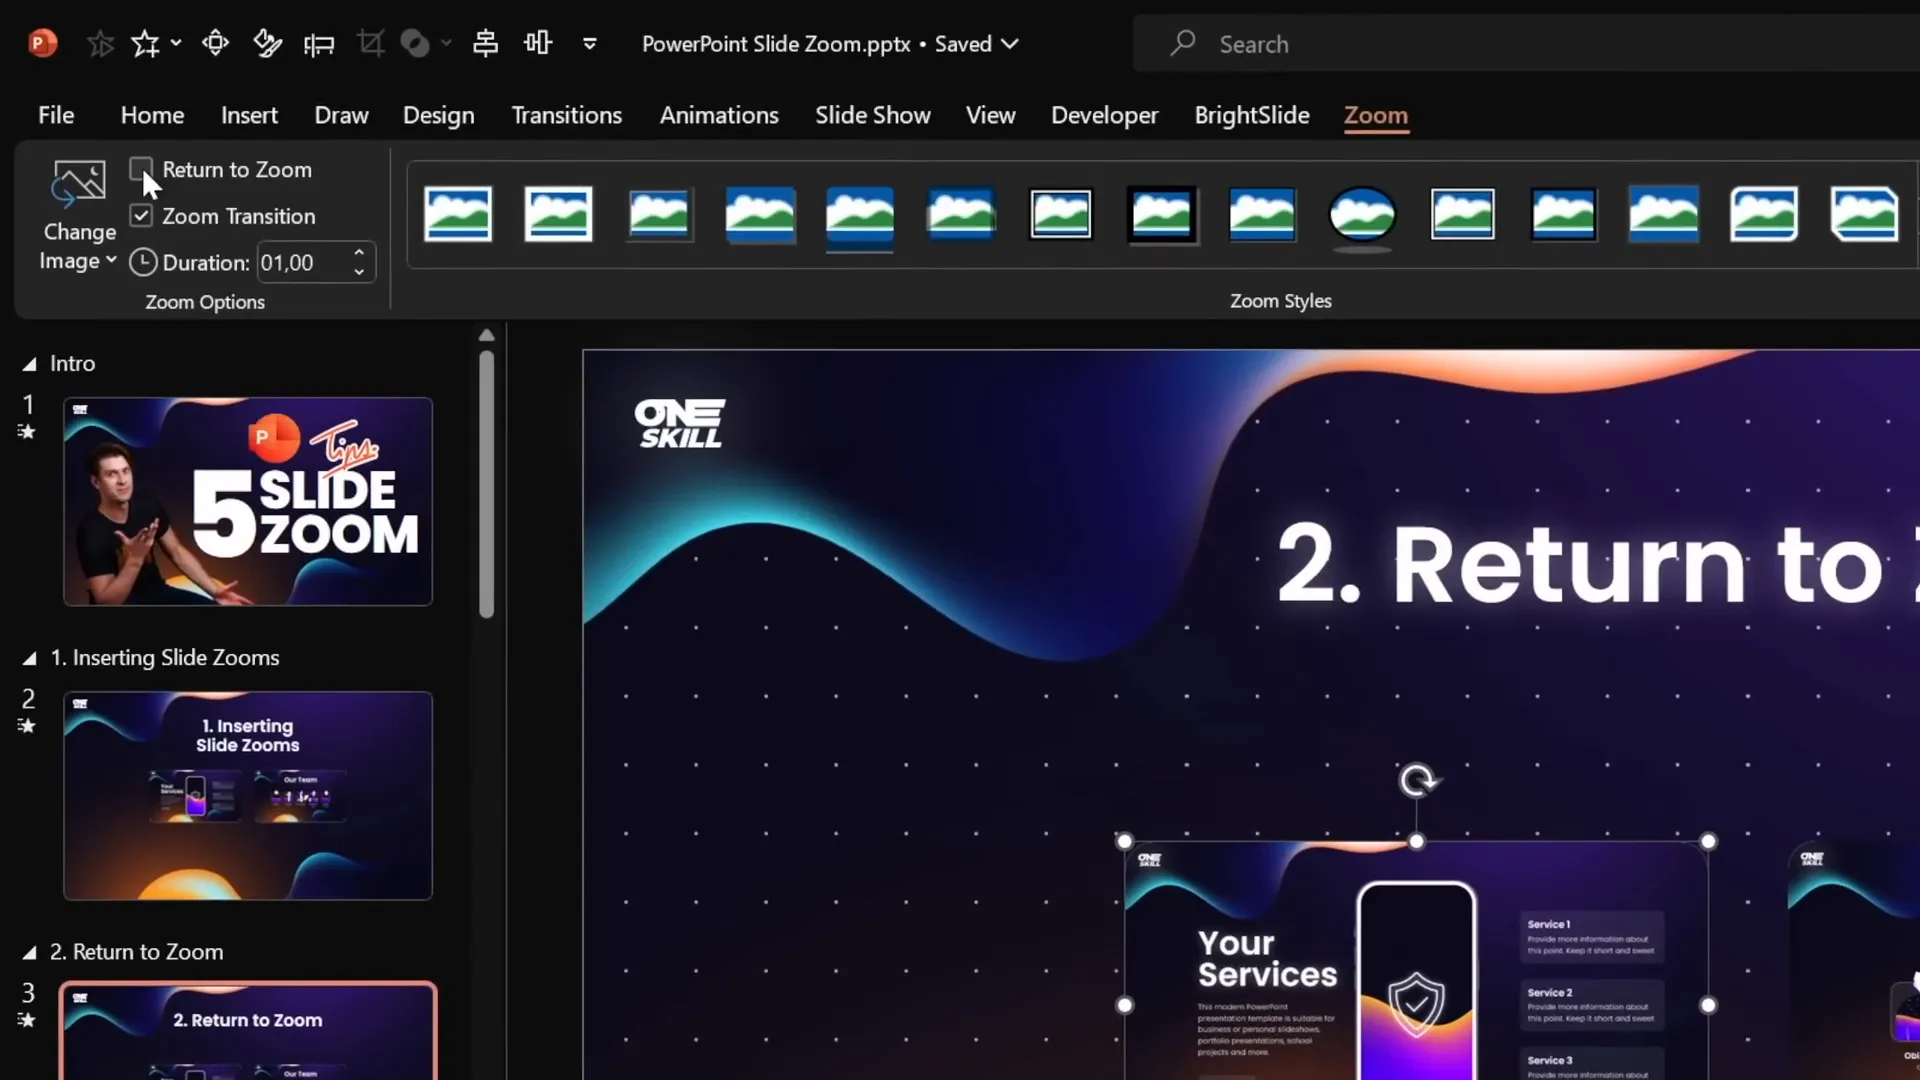
- Select your Slide Zoom object(s).
- Go to the Zoom tab.
- Check the box for Return to Zoom.
This feature allows your presentation to zoom back to the original slide when you click after exploring a zoomed slide.
Understanding Different Types of Zooms: Slide, Section, and Summary
PowerPoint offers three main types of zooms, each serving different purposes in presentations:
| Zoom Type | Description | Use Case | Visual Cue |
|---|---|---|---|
| Slide Zoom | Zooms into a single slide and then returns. | When you want to highlight or explore one specific slide. | Number in bottom right corner shows slide number (e.g., 9, 12). |
| Section Zoom | Zooms into a section containing multiple slides, navigates through them, then returns. | When you want to present a group of related slides in sequence. | Number range indicating slides in section (e.g., 13-15). |
| Summary Zoom | A navigational dashboard that links to multiple sections via Section Zooms. | When you want an overview or menu to navigate your presentation non-linearly. | Grid of section zoom thumbnails on a summary slide. |
Inserting Section Zooms
Before inserting a Section Zoom, ensure your presentation has at least one section (you can add sections in the slide pane). To insert a Section Zoom:
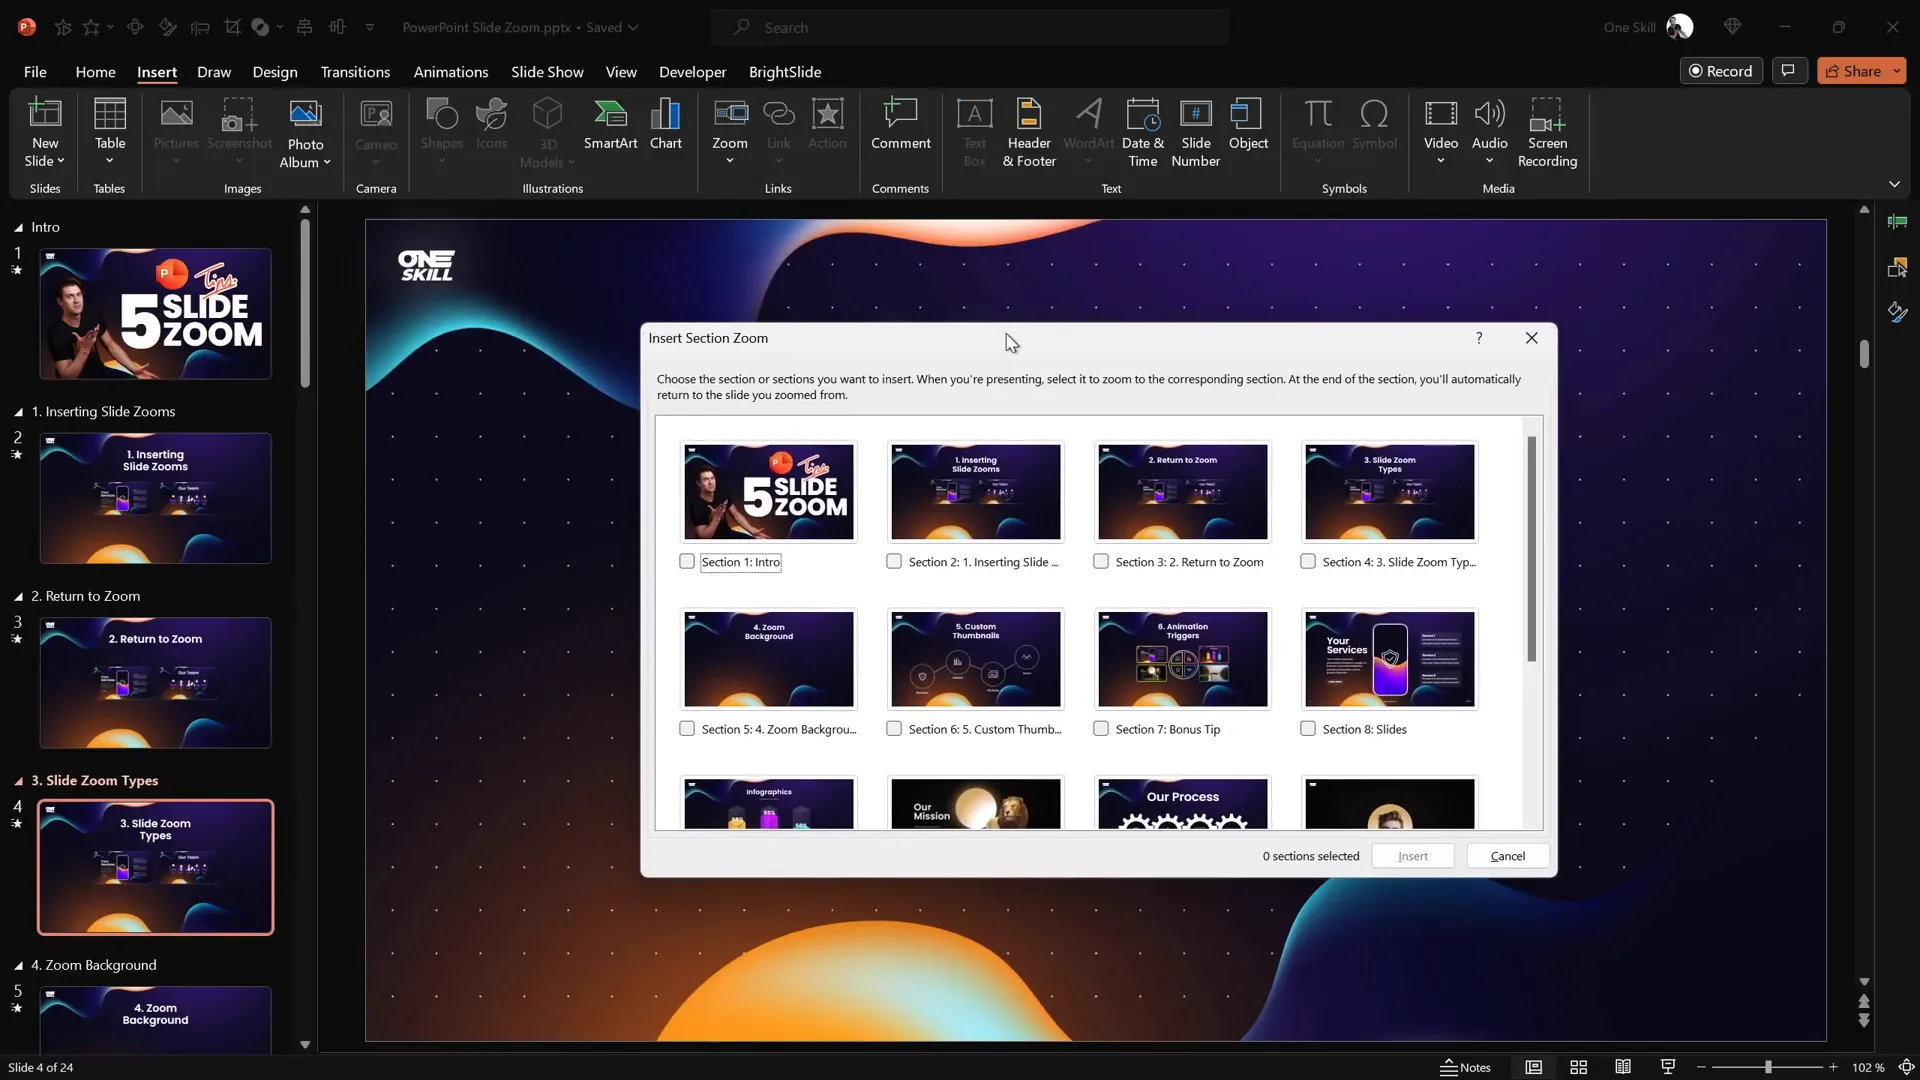
- Go to Insert > Zoom > Section Zoom.
- Select the section you want to zoom into.
- Click Insert.
- Customize the section zoom with borders, rounded corners, and reflections as needed.
Using Section Zooms in Presentations
When presenting, clicking a Section Zoom will:
- Zoom into the first slide of the section.
- Advance through the slides in the section sequentially.
- Return to the original slide after the last slide in the section.
This is perfect for grouping related content without breaking the interactive flow.
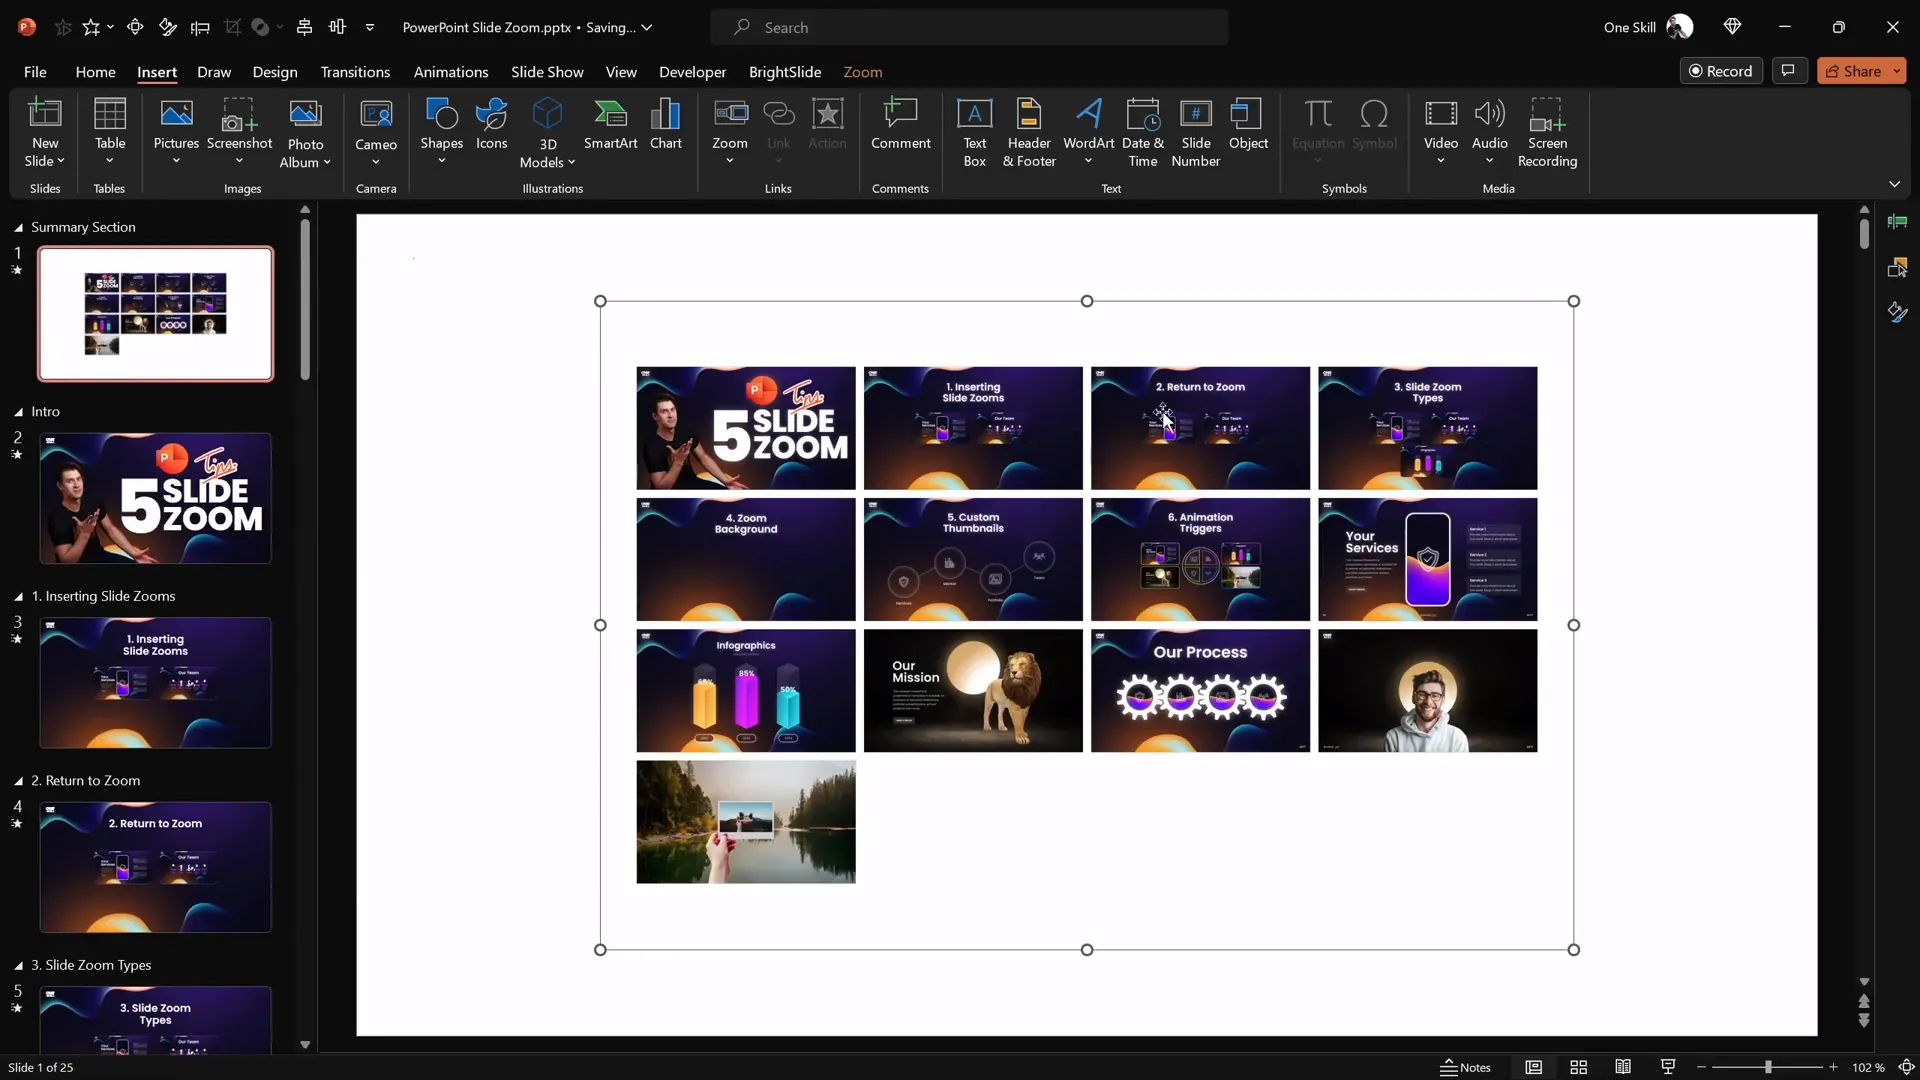
Inserting Summary Zooms
A Summary Zoom aggregates all your sections into one slide that acts like a dashboard for navigation:
- Go to Insert > Zoom > Summary Zoom.
- PowerPoint will create a new summary slide with Section Zooms to each section.
- Customize the layout, resize zoom thumbnails, and style the slide to match your presentation.
Why Use Summary Zooms?
Summary Zooms provide a bird’s-eye view of your entire presentation, making them perfect for:
- Interactive presentations where you want to choose different paths.
- Training sessions or workshops with multiple topics.
- Large presentations where navigation flexibility is key.

Customizing Slide Zooms: Borders, Rounded Corners, and Transparent Backgrounds
Removing Default Borders
By default, Slide Zooms have thin borders that may not fit your design. To remove borders:
- Select the Slide Zoom(s).
- Go to the Zoom tab.
- Click Zoom Border and choose No Outline.
Adding Rounded Corners and Reflections
Rounded corners soften the look of Slide Zoom thumbnails:
- Select the Slide Zooms.
- Apply a style such as Reflected Rounded Rectangle.
- Disable reflections in the Format pane if you prefer a cleaner look.
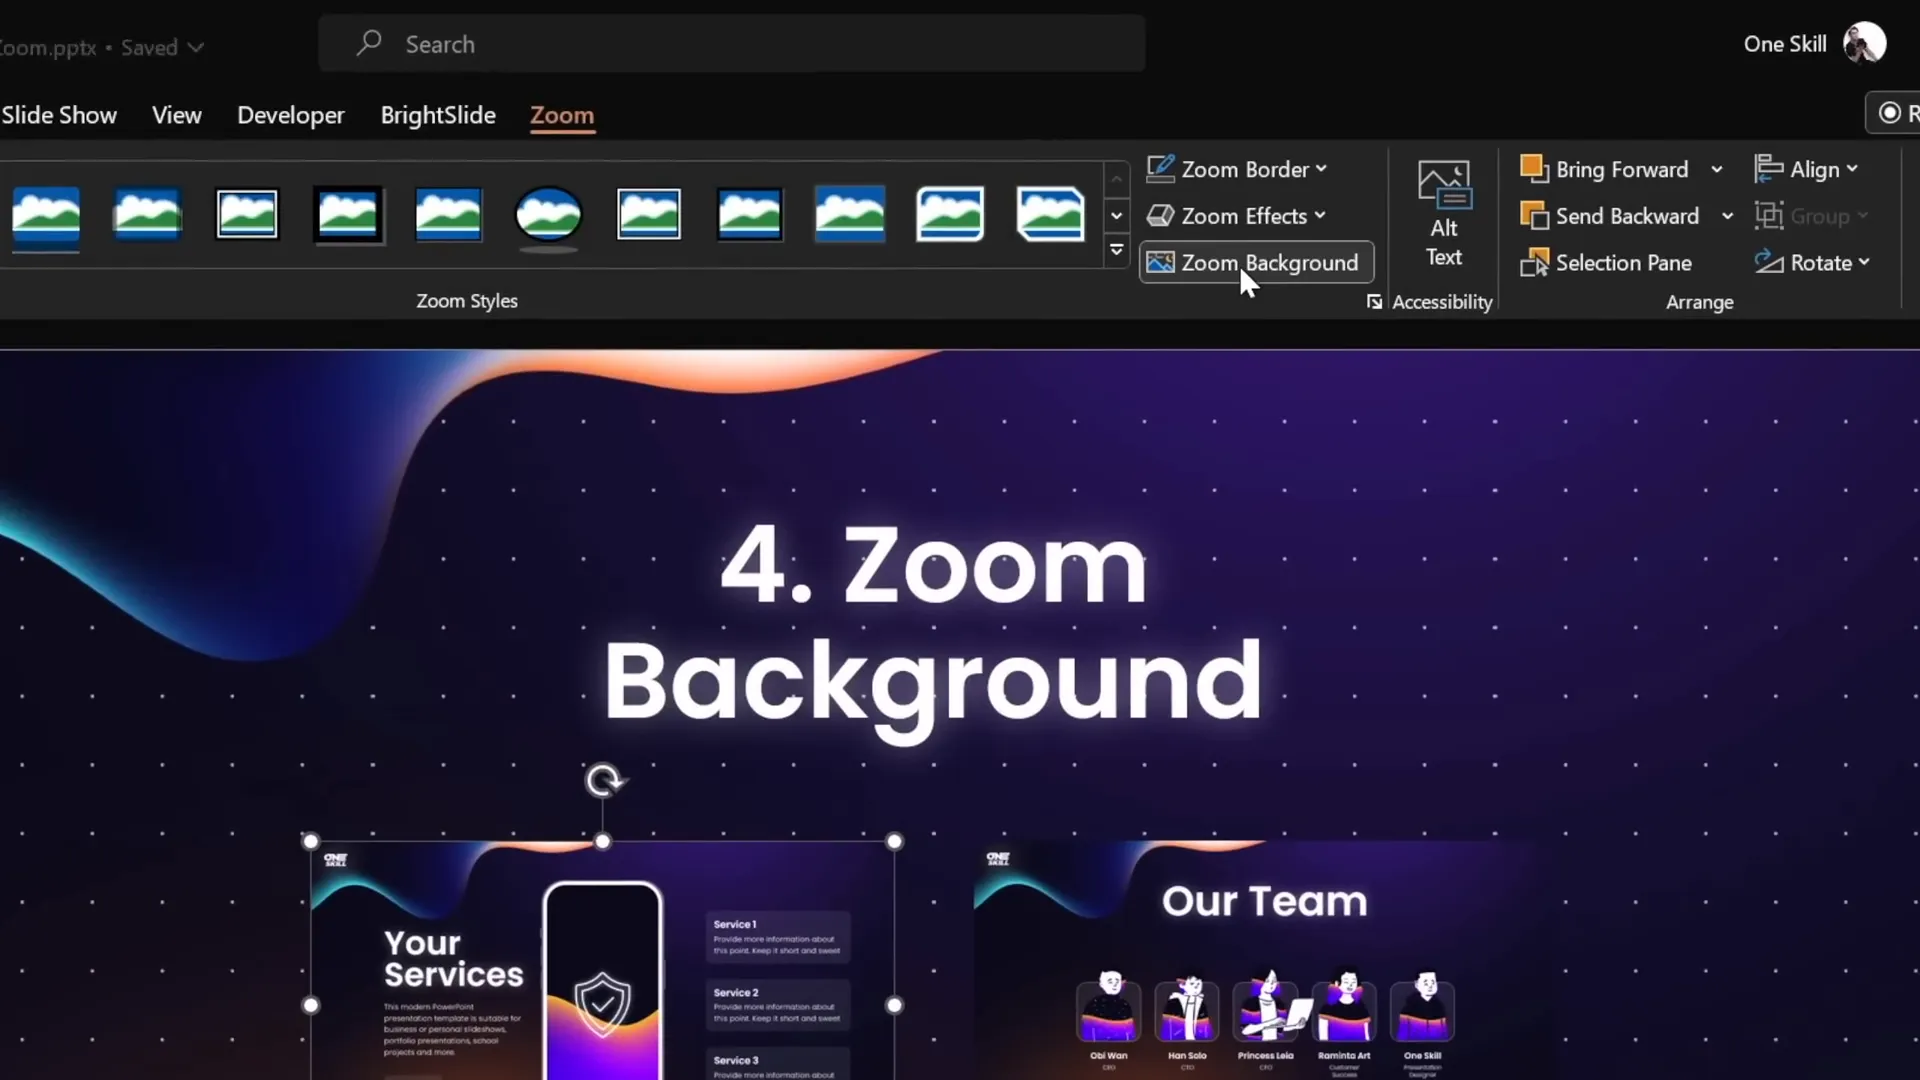
Making Slide Zoom Backgrounds Transparent
One underused feature is making the Slide Zoom’s background transparent, which creates a seamless depth effect in your presentation:
- Select the Slide Zoom.
- Go to the Zoom tab.
- Click Zoom Background to toggle transparency.
Note: If you see a white background instead of transparency, ensure that the slide uses a picture, solid, or gradient fill as its background.
This effect makes the zoomed slide feel like it’s layered on the same canvas, enhancing visual flow.
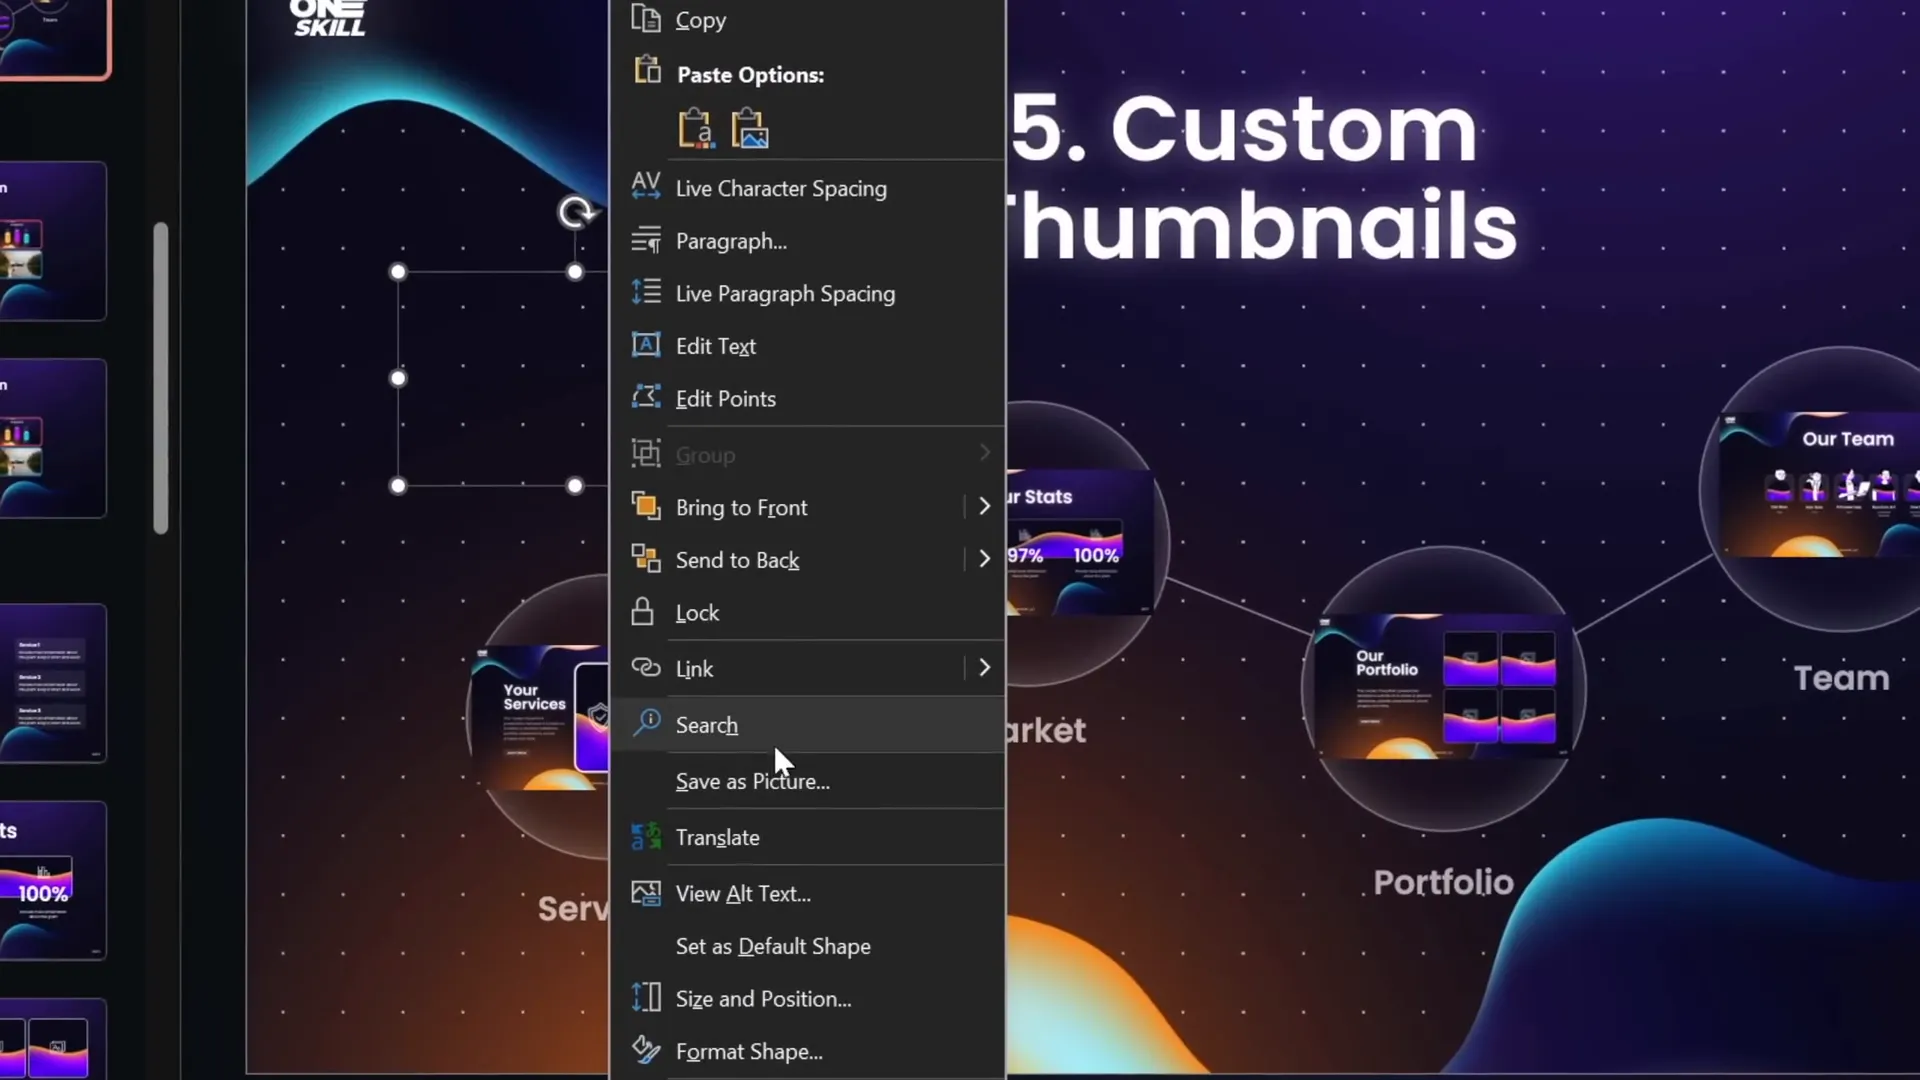
Creating Custom Thumbnails for Slide Zooms
By default, Slide Zoom thumbnails show the entire slide content, regardless of any animations you have set. This can reveal information prematurely. To control what your audience sees upfront, you can set custom thumbnails for your Slide Zooms.
Steps to Create Custom Thumbnails
- Select the Slide Zoom object.
- Click Change Image in the Zoom tab.
- Insert any image you want as the thumbnail.
This is especially useful when your slide has layered content, animations, or icons that you want to keep visible without being covered by the Slide Zoom.
Creating Transparent Thumbnails
To create an invisible clickable Slide Zoom that doesn’t hide content underneath:
- Insert a rectangle shape with a solid fill on a blank slide.
- Set the fill transparency to 100% so it becomes fully transparent.
- Right-click the rectangle and choose Save as Picture, saving it as a PNG format (PNG supports transparency).
- Delete the rectangle from the slide.
- Use this transparent PNG as the custom thumbnail for your Slide Zoom.
This trick allows you to place Slide Zooms over icons or graphics, keeping your design clean and interactive.
Additional Tips
- Ensure the Return to Zoom option is activated for all Slide Zooms to maintain smooth navigation.
- You can also adjust the zoom transition duration to control the speed of zoom animations.
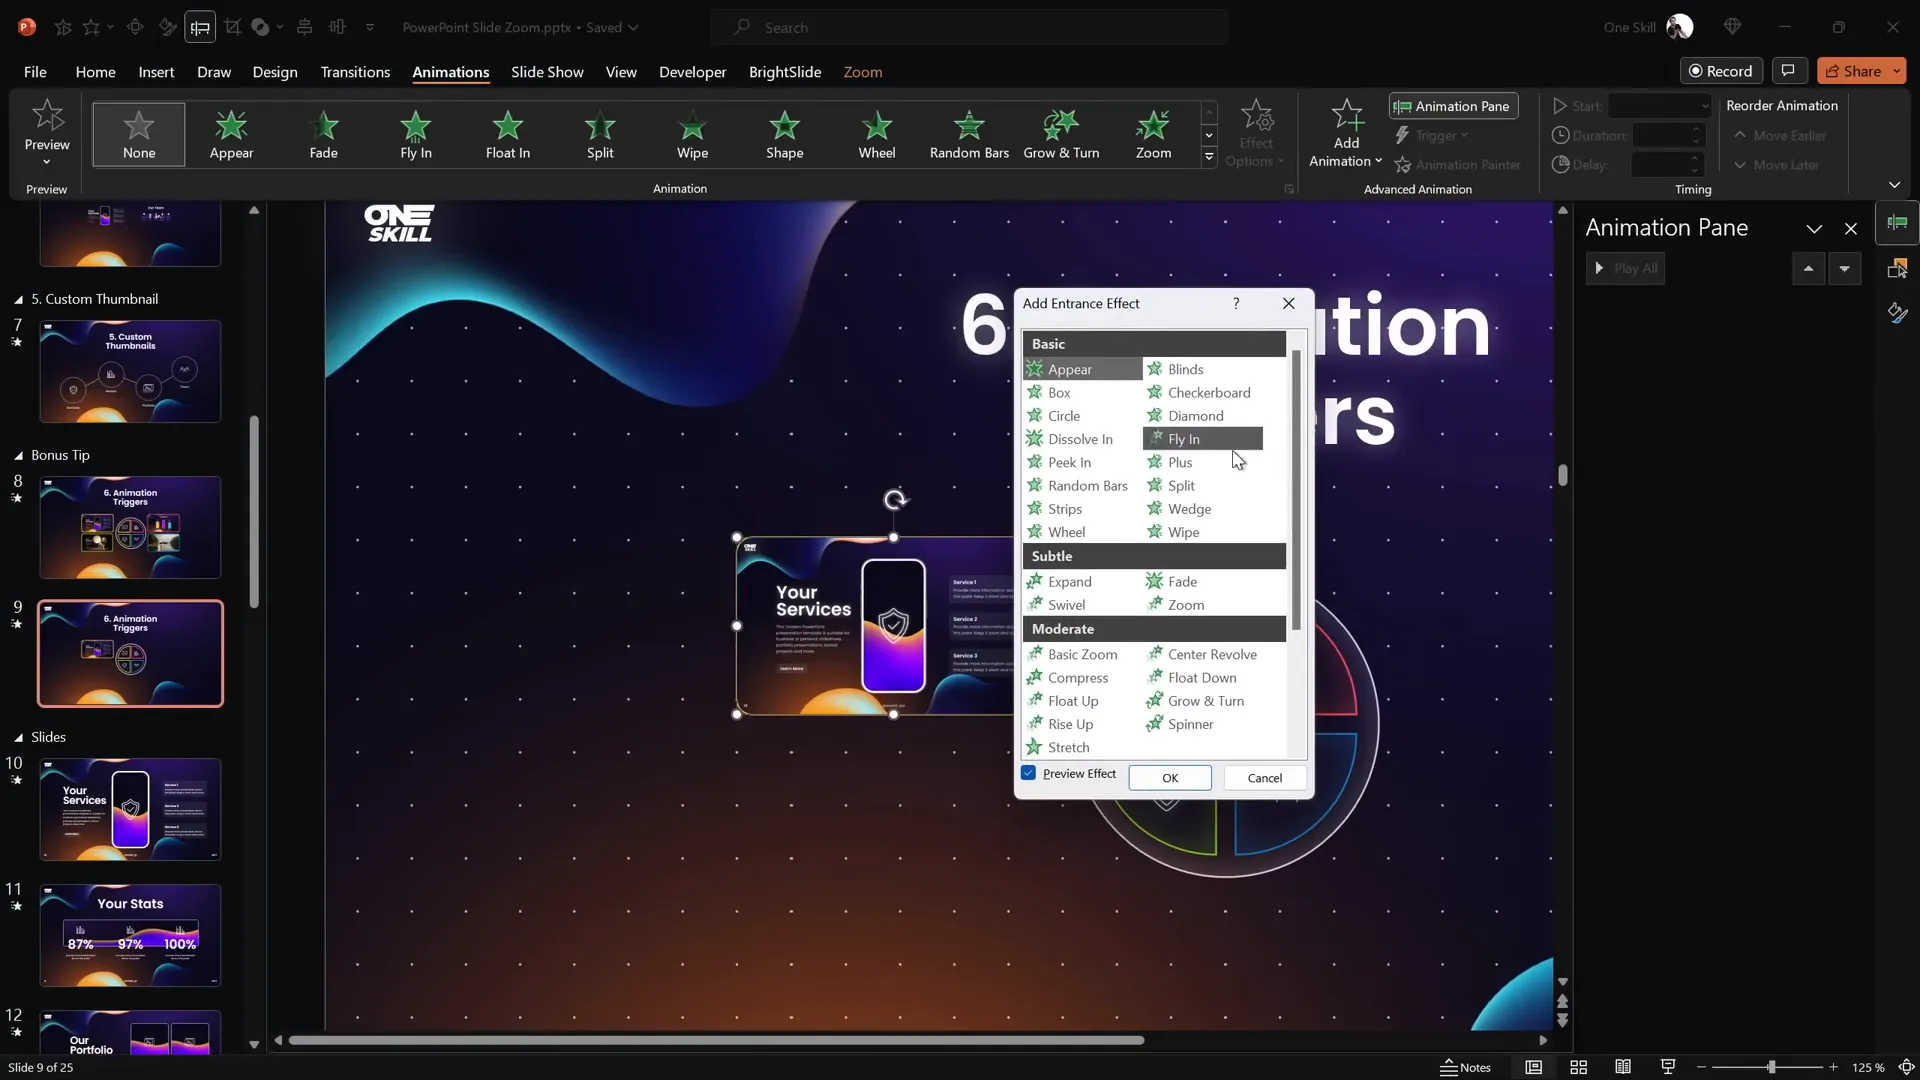
Bonus Tip: Using Animation Triggers with Slide Zooms
For those wanting to push PowerPoint presentation skills even further, pairing Slide Zooms (especially Section Zooms) with animation triggers can create highly interactive and polished presentations.
What are Animation Triggers?
Animation triggers allow you to start animations not just on click, but linked to specific objects like buttons, enabling complex interactivity.
How to Set Up Animation Triggers with Section Zooms
- Insert Section Zooms for different parts of your presentation.
- Create buttons that will control opening and closing these Section Zooms.
- Open the Animation Pane and add entrance animations (like Basic Zoom) to your Section Zooms.
- Add a motion path animation that moves the zoom from the button to its final position, reversing the path to start at the button.
- Set the animations to trigger on the button click by selecting the animations and choosing Trigger > On Click of [Button Name].
- Add a Grow/Shrink animation to the button itself to simulate a pressing effect.
- Repeat the process adding exit animations to close the zoom on the same button click.
This setup allows a single button to open and close a Section Zoom with smooth animated transitions, giving your presentation a professional, app-like feel.
Additional Resources
If you find these animation concepts complex, consider exploring dedicated courses like the PowerPoint Animation Mastery course by One Skill PPT, which covers fundamentals to advanced techniques.
Frequently Asked Questions (FAQs)
1. What is the difference between Slide Zoom, Section Zoom, and Summary Zoom?
Slide Zoom zooms into a single slide, Section Zoom zooms into multiple slides grouped in a section, and Summary Zoom creates a dashboard of Section Zooms for easy navigation.
2. Can I use Slide Zooms with animations on my slides?
Yes, but by default, all content on the zoomed slide is visible immediately. To control visibility, use custom thumbnails or animation triggers.
3. How do I make the zoom background transparent?
Select the Slide Zoom, go to the Zoom tab, and click the Zoom Background button to toggle transparency. Ensure your slide background is a picture or gradient fill for best results.
4. Can I customize the look of Slide Zooms?
Absolutely. You can remove borders, add rounded corners, reflections, and set custom images as thumbnails.
5. How do I return to the original slide after zooming in?
Enable the Return to Zoom option in the Zoom tab for your Slide or Section Zoom to allow returning after zooming in.
6. Are animation triggers difficult to set up?
They can be complex for beginners, but with practice and the right tutorials or courses, you can master them to create highly interactive presentations.
Conclusion
Mastering the Slide Zoom feature in PowerPoint is a fantastic way to boost your PowerPoint presentation skills and create presentations that are engaging, dynamic, and memorable. By learning how to insert and customize Slide Zooms, understand the different zoom types, create transparent backgrounds, use custom thumbnails, and leverage animation triggers, you can transform your slides into interactive storytelling tools.
Remember, the key to great presentations is not only in the content but also in how you present it. Slide Zooms offer you the freedom to break away from linear slideshows and truly captivate your audience.
For those ready to dive deeper, One Skill PPT offers extensive tutorials and courses, including animation mastery that covers advanced Slide Zoom animations like spinning gears, morph transitions, and infinite zooms.
Start experimenting with these tips today and watch your presentations come alive!
Happy presenting!
— Powered by One Skill PPT


