
Creating compelling PowerPoint presentations is an essential skill whether you’re preparing for a business meeting, pitching a new idea, or delivering a lecture. As the creator behind POWERPOINT UNIVERSITY, I’m excited to guide you through a step-by-step process to build a dynamic presentation deck using PowerPoint that not only looks professional but also engages your audience effectively.
In this comprehensive tutorial, we’ll explore how to design a presentation deck with interactive tabs such as Home, About Us, Growth, and Location. This method leverages PowerPoint’s shapes, images, icons, and transitions to create a visually appealing and smoothly animated slide deck. Whether you’re a beginner or looking to enhance your PowerPoint skills, this guide will walk you through every detail to help you craft presentations that stand out.
PowerPoint Presentations are much more than just slides with text. They are storytelling tools that combine design, structure, and content to communicate your message clearly and memorably. Let’s dive in!
Table of Contents
- Understanding the Presentation Deck Concept
- Setting Up Your Slide Background
- Creating Tabs Using Shapes and Icons
- Inserting and Adjusting Images
- Adding Text and Details
- Using Slide Duplication and Morph Transitions
- Customizing Colors and Layouts
- Tips for Enhancing Your PowerPoint Presentations
- Frequently Asked Questions
- Conclusion
Understanding the Presentation Deck Concept
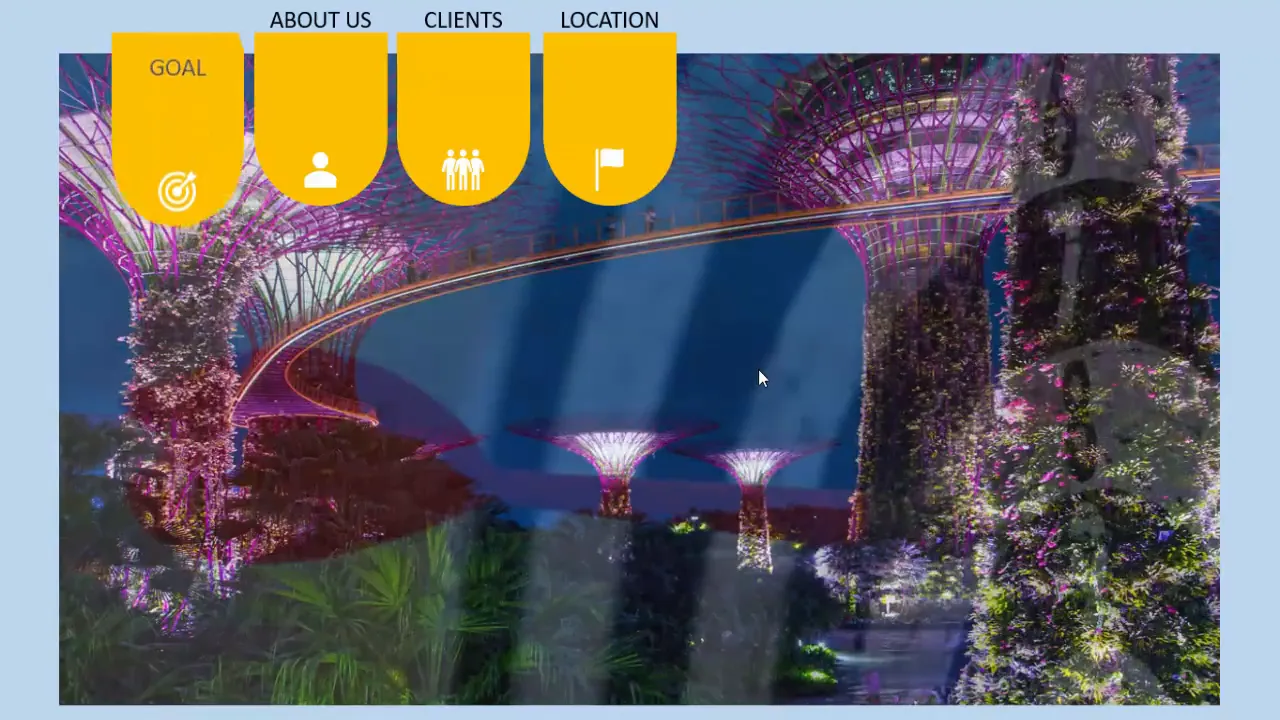
Before jumping into the technical steps, it’s important to grasp the idea behind this presentation deck. The deck consists of interactive tabs that represent different sections of your presentation:
- Home
- About Us
- Growth
- Location
When you click on each tab, the slide changes dynamically to reveal detailed content related to that section. This effect is achieved by altering the background image, expanding the selected tab, and displaying corresponding text and icons. The interaction is smooth and visually appealing, giving your audience a better experience than static slides.
This approach not only organizes your content clearly but also adds an element of engagement that can hold your audience’s attention throughout the presentation.
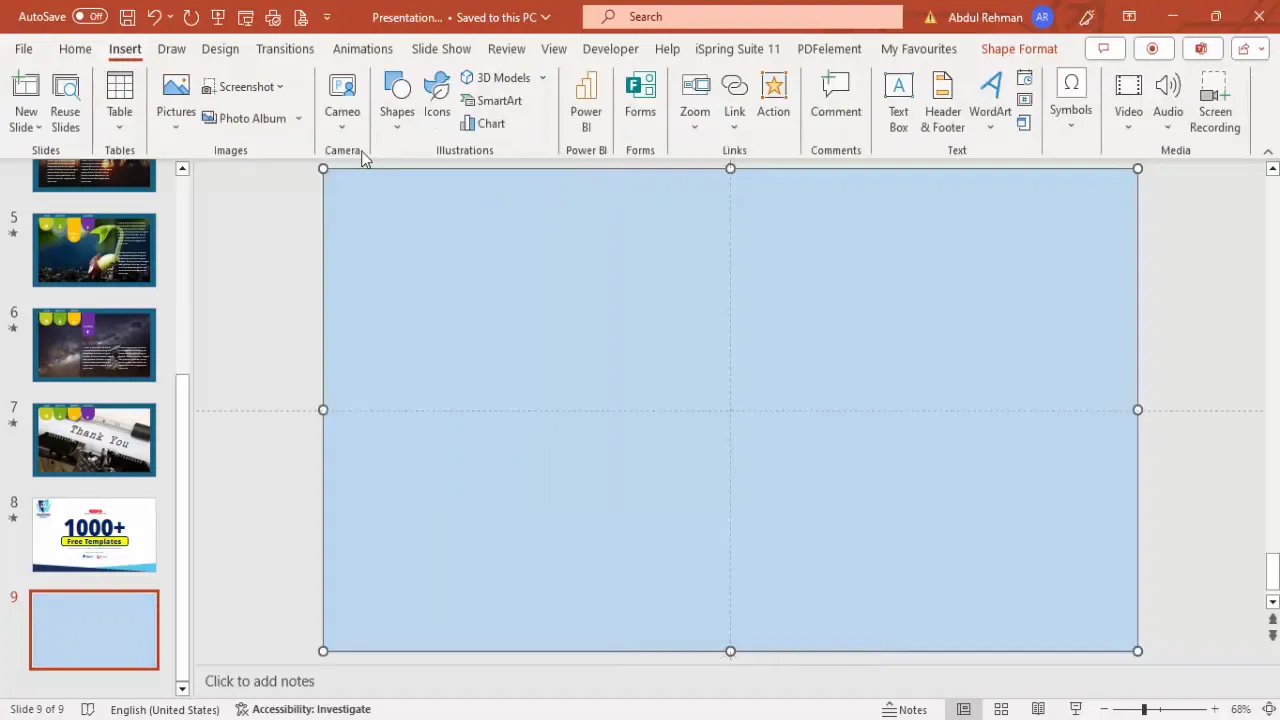
Setting Up Your Slide Background
The foundation of your presentation deck is the slide background. Here’s how to set it up:
- Add a new slide: Start by opening PowerPoint and adding a blank slide where your deck will begin.
- Insert a rectangle shape: Go to Insert > Shapes and select the rectangle shape.
- Cover the whole slide with the rectangle: Draw the rectangle across the entire slide to form the background layer.
- Remove the outline: Select the rectangle, go to Shape Outline and select No Outline.
- Fill with a light color: Choose a light fill color that complements your presentation’s theme.
This technique provides a clean canvas on which you can build the rest of your presentation deck elements.
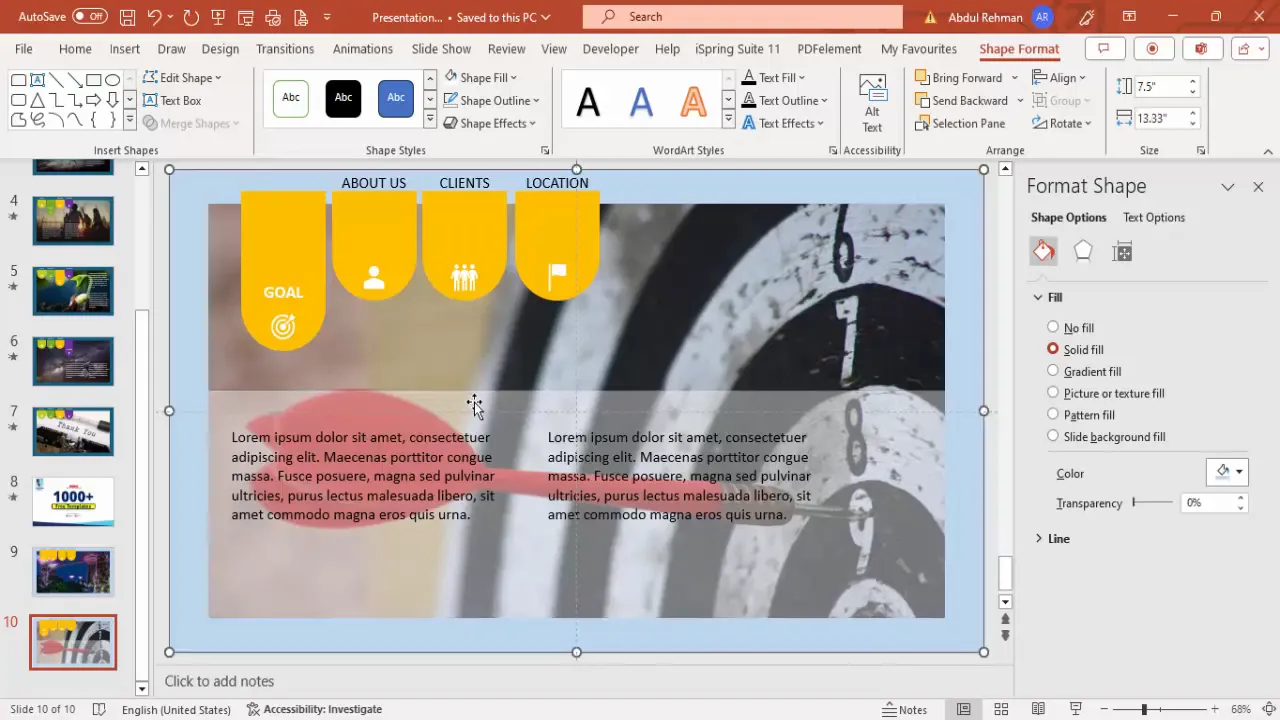
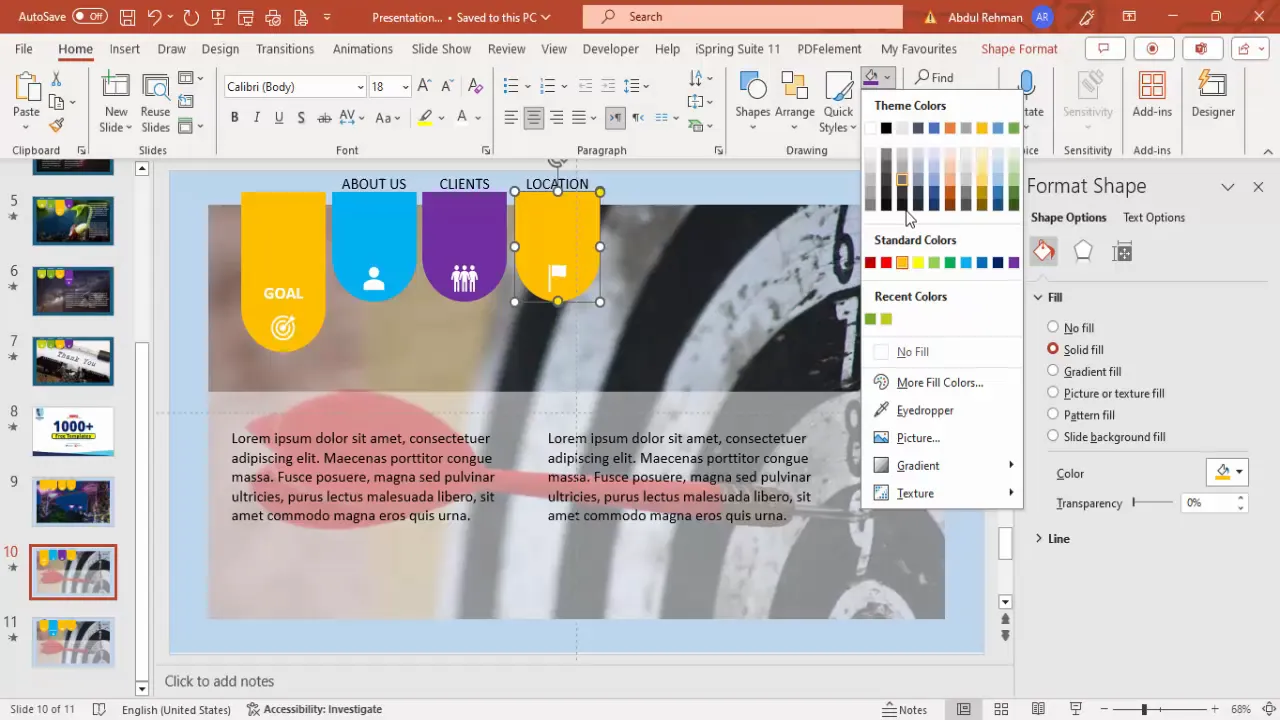
Creating Tabs Using Shapes and Icons
Tabs are the interactive buttons that users click to navigate between sections. Here’s how to create them:
- Insert smaller rectangles for tabs: Using the rectangle shape again, draw smaller rectangles where you want your tabs to be placed.
- Adjust tab shape corners: Choose the rectangle with rounded top corners and drag the orange points to customize the shape — flatten the top corners and curve the bottom ones for a modern look.
- Remove outlines and fill with color: Remove the outline and fill each tab with a color that fits your palette (e.g., orange).
- Insert icons: Go to Insert > Icons and select icons that are relevant to each tab’s content (e.g., people icons for About Us, location pins for Location).
- Resize and align icons: Set the icon size to about 0.5 inches in height and width, fill with white color, and center align within the tab shape.
- Add text labels: Insert text boxes on each tab and type labels such as “Goal,” “About Us,” “Clients,” and “Location.”
- Format text: Use bold fonts for emphasis or keep it regular depending on your design preference.
- Duplicate tabs: Use Ctrl + Shift + drag to copy tabs horizontally, maintaining uniform spacing and size.
Ensuring the icons are relevant to the subject matter is crucial to avoid confusion and keep the presentation professional.
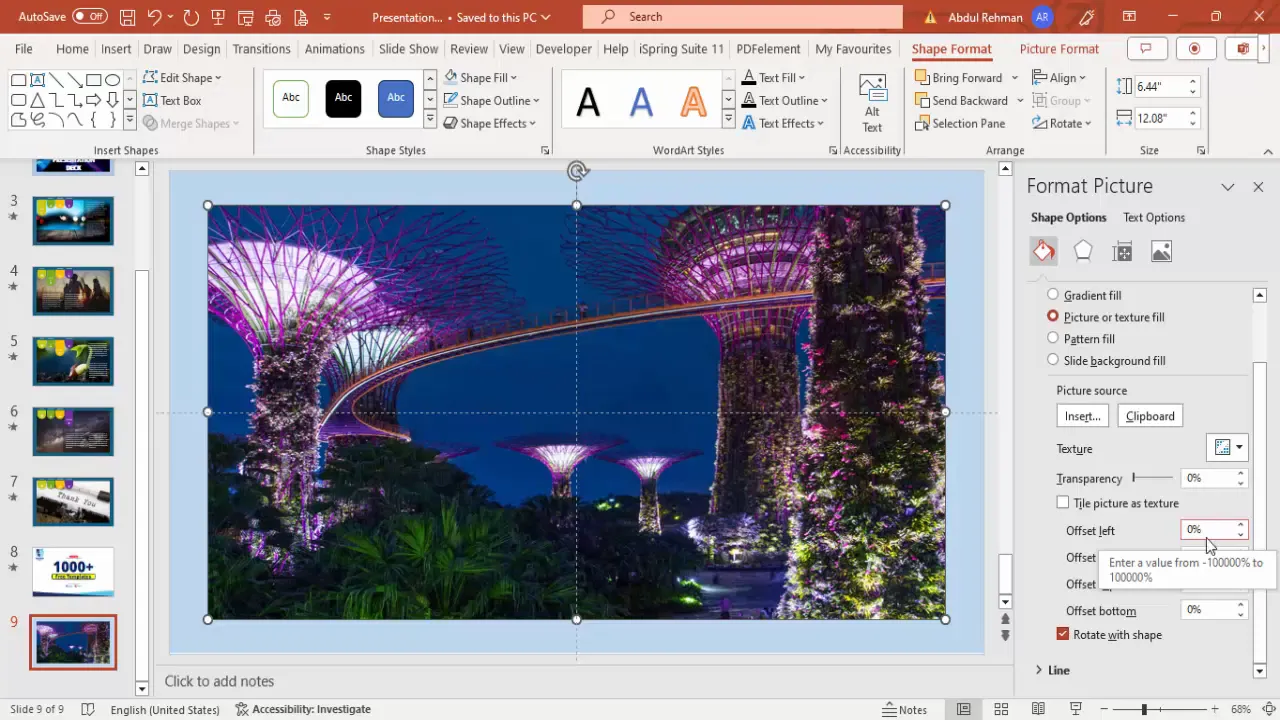
Inserting and Adjusting Images
Images add visual interest and reinforce your message. Here’s how to insert and adjust images within your slides:
- Select the rectangular shape where the image will appear.
- Right-click and choose Format Shape: In the Format Shape pane, select Picture or texture fill.
- Insert image: Click Insert and choose to add images from your local PC, stock images, or online pictures.
- Search for relevant images: Use keywords that match your presentation topic (e.g., “purple building” or “Marina Bay Singapore”).
- Insert chosen image: Once selected, the image fills the rectangle shape.
- Adjust image positioning: Use the offset properties (top, bottom, left, right) to fine-tune the image placement within the shape.
Images should support your content and enhance visual storytelling without overwhelming the slide.
Adding Text and Details
Once the structure and images are in place, it’s time to add the textual content and details to your slides:
- Insert text boxes: Use Insert > Text Box to add areas for detailed text.
- Add placeholder text: For example, use placeholder text such as “Lorem ipsum” to mark where your content will go.
- Enhance text visibility: If the background image makes the text hard to read, insert a semi-transparent rectangle behind the text.
- Format the transparency: Fill the rectangle with white and adjust transparency between 50% to 60% to make text stand out while keeping the image visible.
- Send the rectangle to back: Use the Send to Back option so the text box appears on top.
- Adjust text font and color: Use bold and white font for headings, and black or dark colors for body text depending on the background.
- Align text: Ensure text boxes and elements are properly aligned for a clean, professional look.
Clear, readable text is vital for communicating your message effectively in PowerPoint presentations.
Using Slide Duplication and Morph Transitions
PowerPoint’s Duplicate Slide and Morph Transition features are powerful tools to create smooth animations and maintain consistency across multiple slides.
- Duplicate slides: Right-click on a slide thumbnail and choose Duplicate Slide to create a copy that you can modify without starting from scratch.
- Modify duplicated slide: Adjust shapes, images, and text in the duplicated slide to show details for the selected tab (e.g., expand the “Goal” tab, change the background image, add detailed text).
- Apply Morph transition: Select the duplicated slide, go to the Transitions tab, and choose Morph. This creates a smooth animation between slides.
- Set transition duration: Adjust the morph duration to about 1 second for a quick yet smooth effect.
- Repeat for other tabs: Duplicate and modify slides for each tab (About Us, Clients, Location), ensuring consistent formatting and smooth transitions.
- Test slideshow: Run the presentation and click through the tabs to see the morph transitions and interactive effects in action.
This technique significantly enhances the user experience by making the presentation interactive and visually engaging without complex coding or add-ins.

Customizing Colors and Layouts
To make your presentation deck visually appealing and aligned with your brand, customizing colors and layouts is essential. Here’s how you can do it:
- Experiment with tab colors: Try different colors for tabs to find combinations that pop and complement your theme.
- Adjust text colors: Use white or black text depending on the background for maximum readability.
- Change layout directions: For example, you can move tabs or text boxes from bottom to top or side positions to better suit your content flow.
- Maintain alignment: Use PowerPoint’s alignment tools to ensure uniform spacing and consistent layout across slides.
- Add titles: Insert a title text box (e.g., “Presentation Deck”) at the top or bottom of slides for branding or context.
- Duplicate titles: Copy the title text box to other slides to maintain consistency.
Customizing colors and layouts helps your presentation stand out and provides a polished, professional look.
Tips for Enhancing Your PowerPoint Presentations
Beyond building your presentation deck, here are some important tips to keep in mind for creating effective PowerPoint presentations:
- Keep it simple: Avoid cluttering slides with too much text or too many images.
- Use consistent fonts and colors: Stick to a set of fonts and a color palette that aligns with your brand or presentation theme.
- Limit text length: Use concise bullet points or short paragraphs, ideally under 6-8 lines per slide.
- Make use of white space: Balanced slides are easier to read and look more professional.
- Use high-quality images and icons: Ensure visuals are crisp and relevant to your content.
- Test your presentation: Run through your slides multiple times to check animations, transitions, and overall flow.
- Use the “Presenter View”: This view helps you keep track of your notes and upcoming slides during your presentation.
- Save your work often: PowerPoint can crash unexpectedly, so save your file regularly.
- Consider your audience: Tailor your presentation style and content to the needs and expectations of your audience.
These tips will help you create PowerPoint presentations that are clear, engaging, and professional.
Frequently Asked Questions
How can I make my PowerPoint presentation more interactive?
Using interactive tabs with hyperlinks or morph transitions, like in this tutorial, allows you to simulate navigation within your slides. You can also add clickable buttons, animations, and embedded multimedia to increase interactivity.
What is the Morph transition in PowerPoint and how is it useful?
The Morph transition creates smooth animations between slides by automatically animating the movement, resizing, and reformatting of objects. It’s useful for creating dynamic effects without manual animation setups.
Can I use online images within PowerPoint without copyright issues?
Always use images labeled for reuse or royalty-free stock images. PowerPoint’s online pictures feature often offers licensed images, but verify image rights before using them in commercial or public presentations.
How do I ensure text is readable over background images?
Use semi-transparent shapes behind text, adjust text color for contrast, or blur/darken the background image. This improves readability without sacrificing visual appeal.
What are best practices for using icons in PowerPoint?
Choose icons that are relevant to your content, maintain consistent style and size, and avoid overusing them. Icons should support your message, not distract from it.
How do I duplicate slides efficiently in PowerPoint?
Right-click the slide thumbnail and select “Duplicate Slide” to create an exact copy. This saves time when creating multiple slides with similar layouts.
Conclusion
Mastering the art of creating presentation decks in PowerPoint empowers you to deliver your message with clarity and style. By combining interactive tabs, engaging images, thoughtful layouts, and smooth transitions like Morph, your presentations will captivate your audience and convey professionalism.
Remember, PowerPoint presentations are not just about filling slides with information but about crafting an experience. Use the techniques shared here to build decks that are not only visually attractive but also easy to navigate and understand.
Keep practicing, experimenting with design elements, and tailoring your content to your audience’s needs. With these skills, your next PowerPoint presentation will undoubtedly leave a lasting impact.
For those interested, free animated PowerPoint templates and further tutorials are available to help you get started and explore advanced techniques. Happy presenting!
Check out the full video: Presentation Deck in PowerPoint


