
If you’ve ever wanted to create a professional and eye-catching infographic slide in PowerPoint that clearly conveys multiple points or processes, you’re in the right place. This comprehensive step-by-step guide will walk you through the process of designing a beautiful four-arrow infographic slide, perfect for presentations, business reports, or educational materials. Using simple PowerPoint tools and techniques, you’ll learn how to build and customize arrows with different color shades, add titles and descriptive text, and enhance your slide with animated icons to make your message stand out.
PowerPoint slide design is all about combining clarity, creativity, and visual appeal. With this tutorial, you’ll gain practical skills that elevate your slide decks and impress your audience. Let’s dive into the process and transform your presentation slides!
Table of Contents
- Why Use Arrow Infographics in PowerPoint Slide Design?
- Preparing Your PowerPoint Slide for Design
- Creating the Arrow Shapes Step-by-Step
- Customizing Colors for Visual Impact
- Adding Titles and Descriptive Text
- Enhancing with Icons and Animations
- Finalizing Your Slide and Export Tips
- Frequently Asked Questions
Why Use Arrow Infographics in PowerPoint Slide Design?
Infographics are powerful tools that help communicate complex information quickly and clearly. Arrows, in particular, are excellent for showing direction, flow, or progression, making them ideal for process diagrams, timelines, or feature comparisons.
- Visual Clarity: Arrows guide the viewer’s eye and organize content logically.
- Engagement: Colorful arrows with text and icons attract attention and make slides more dynamic.
- Flexibility: Arrow infographics can represent multiple concepts such as steps, options, or categories.
By mastering the creation of arrow infographic slides, you enhance your ability to deliver presentations that are both informative and visually appealing.
Preparing Your PowerPoint Slide for Design
Before diving into shape creation, it’s important to set up your workspace for precision and ease of use. Follow these steps:
- Add a New Slide: Open your PowerPoint presentation and insert a new blank slide to start fresh.
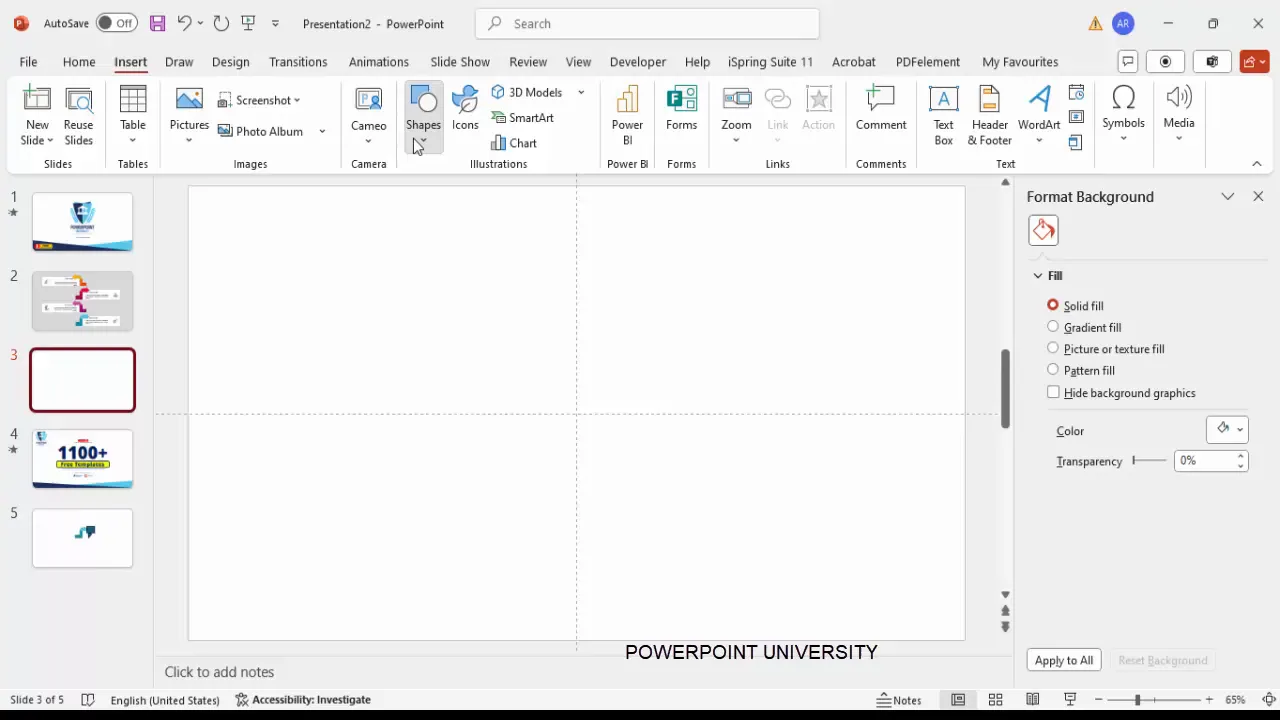
- Enable Guides: Go to the View tab and enable Guides. This helps align shapes accurately and maintain consistent spacing.
- Set Background: Consider changing the slide background color to a neutral shade like gray to make your shapes pop. This can be done via Format Background in the Design tab.
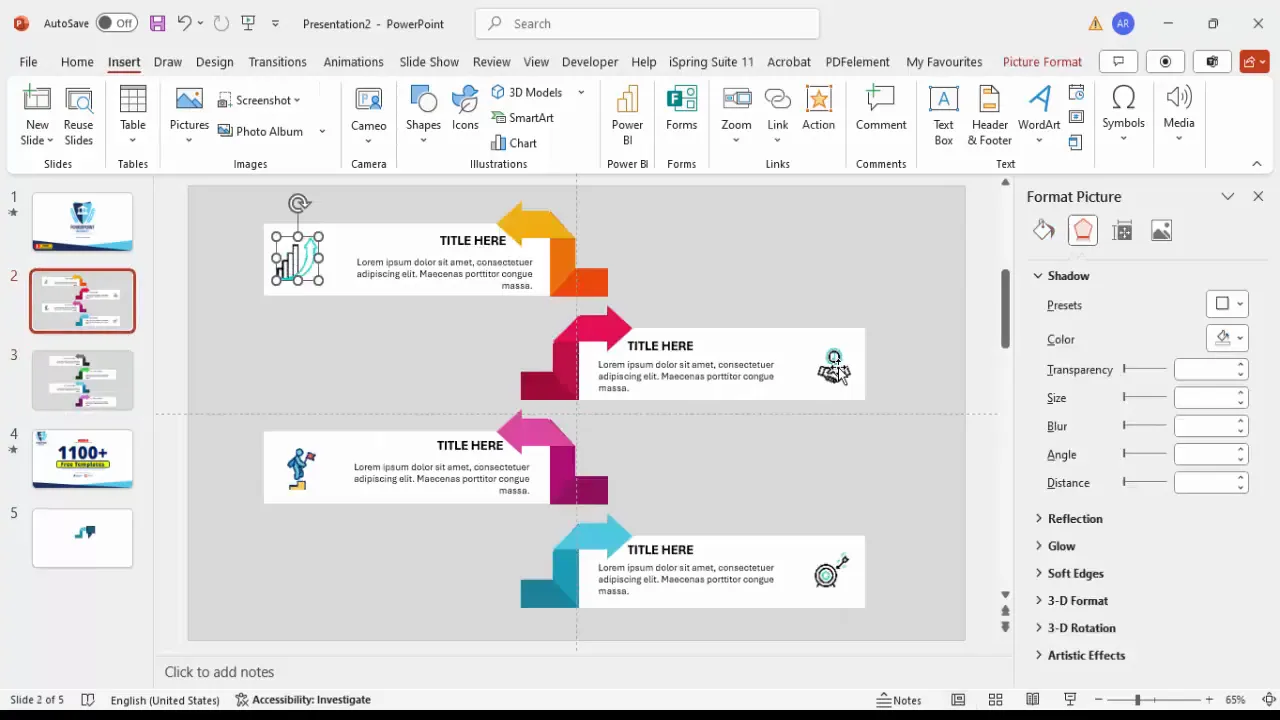
Creating the Arrow Shapes Step-by-Step
This section will guide you through constructing the four-arrow infographic using basic PowerPoint shapes such as rectangles, trapezoids, and triangles. The key is layering and combining these shapes to form seamless arrows.
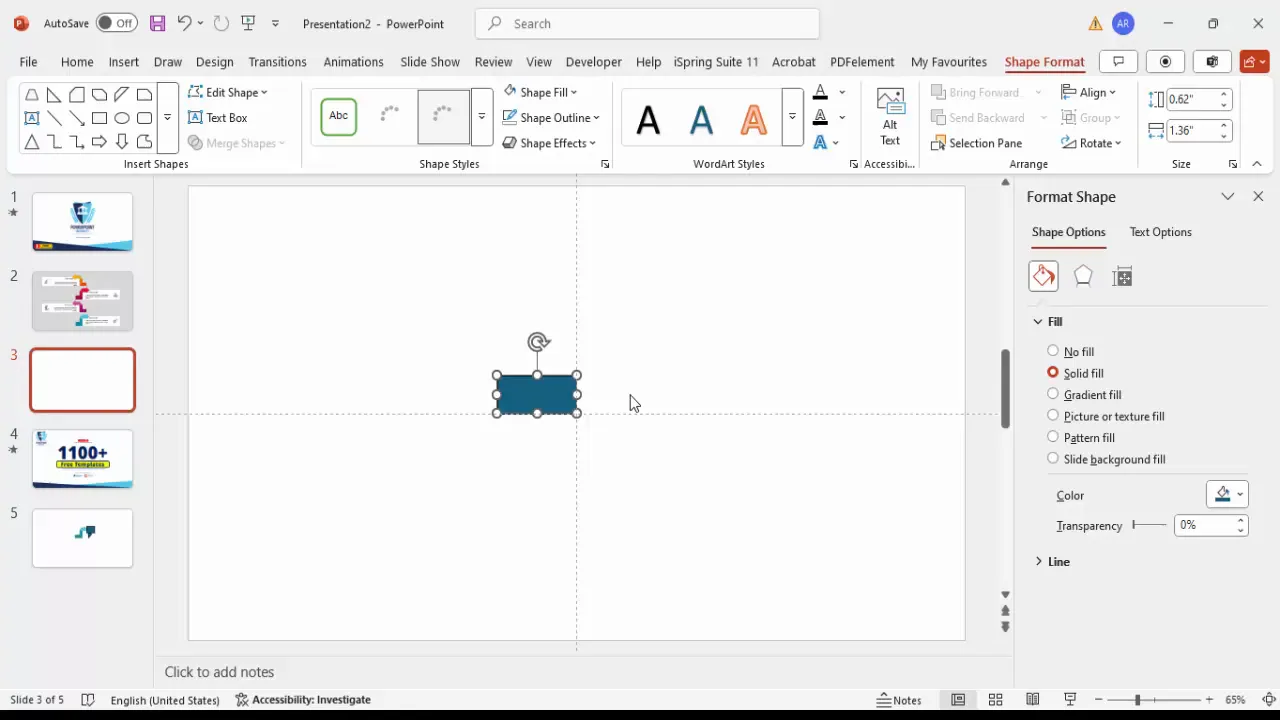
Step 1: Draw the Base Rectangle
Start by inserting a small rectangle that will form the shaft of your arrow:
- Go to Insert > Shapes > Rectangle.
- Draw a small rectangle approximately the size you want your arrow shaft to be.
- Remove the outline by selecting No Outline under Shape Outline.
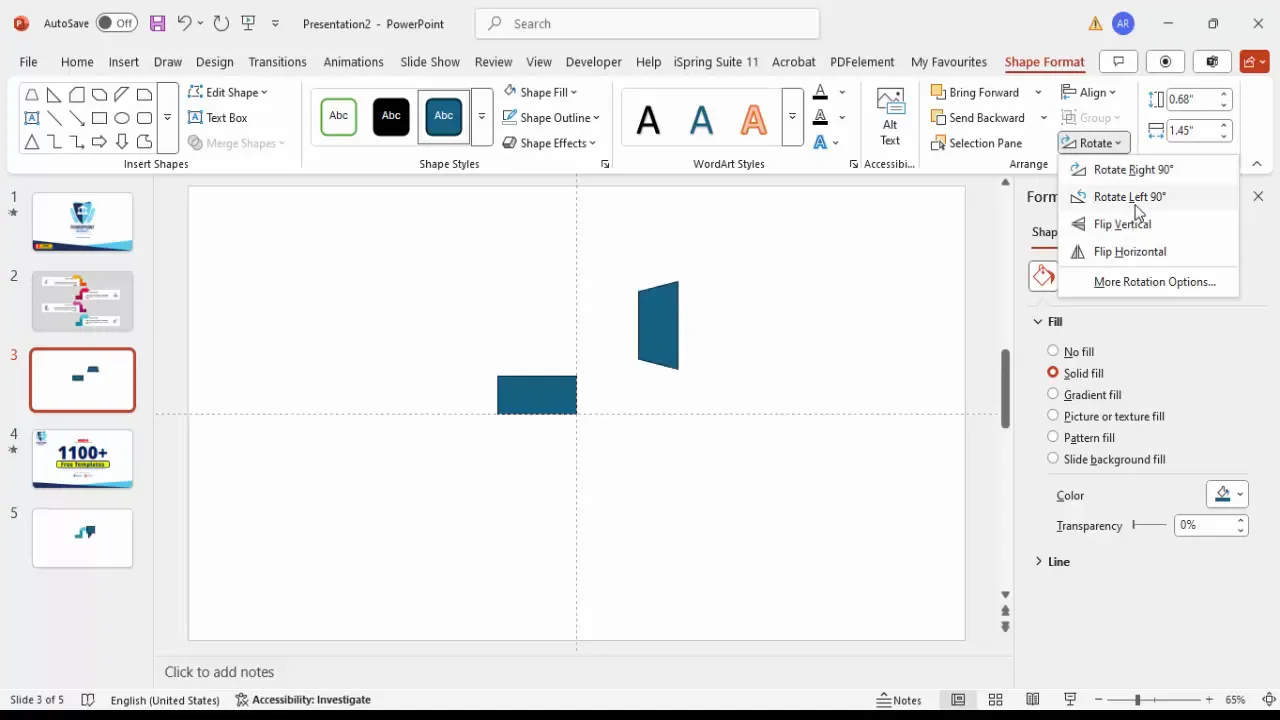
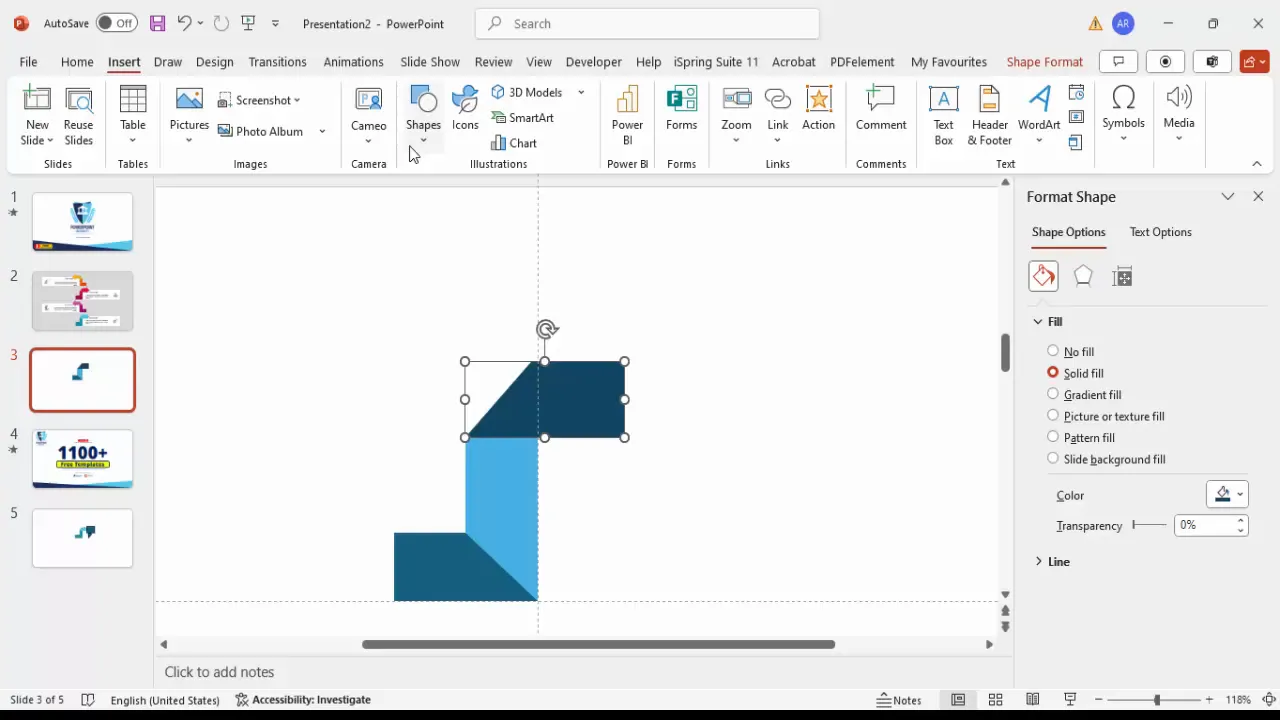
Step 2: Create the Arrowhead Using a Trapezoid
- Insert a trapezoid shape via Insert > Shapes > Trapezoid.
- Draw the trapezoid next to your rectangle, then rotate it 90 degrees to the left (Rotate > Rotate Left 90°).
- Position the trapezoid exactly on top of the rectangle’s right edge, ensuring no gaps.
- Remove the outline for consistency.
- Adjust the trapezoid’s yellow adjustment handle to widen or narrow the arrowhead.
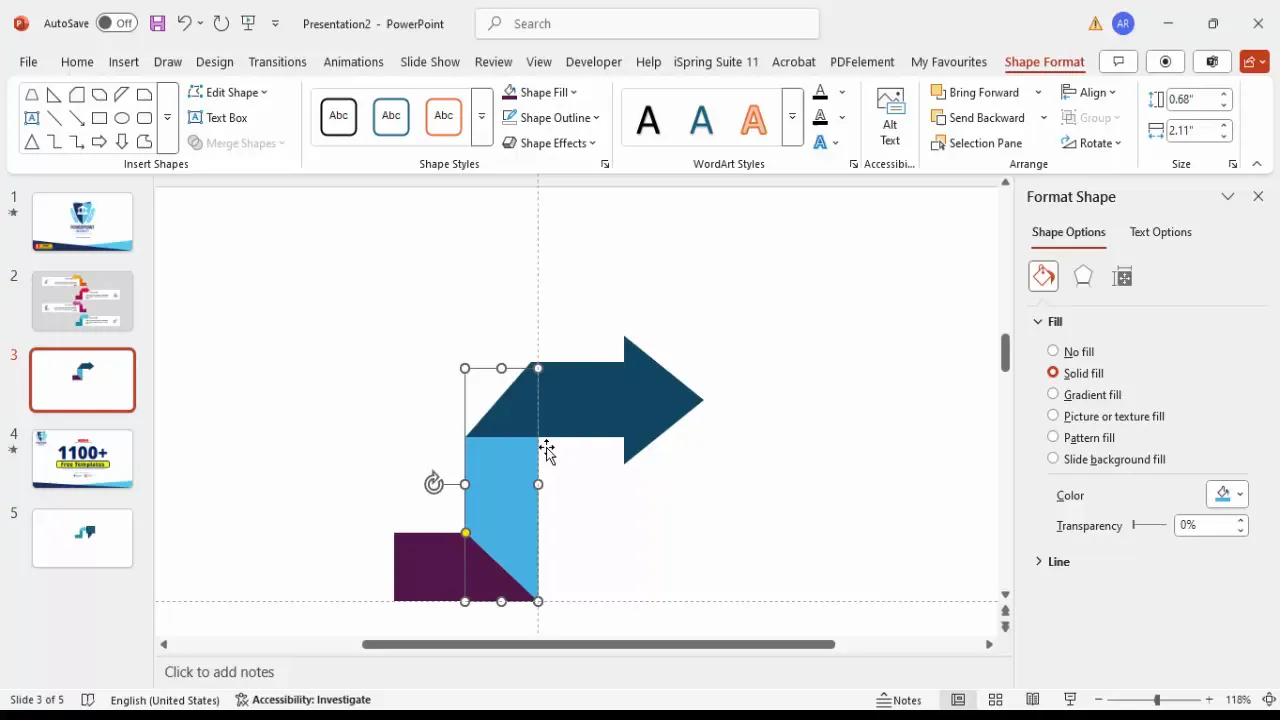
Step 3: Duplicate and Modify the Arrow for Layering
To add depth and a multi-shade effect, duplicate the arrow and adjust colors:
- Select the entire arrow shape (rectangle + trapezoid) and press Ctrl + D to duplicate.
- Change the duplicate’s fill color to a darker shade.
- Use the rotate handle or press Alt + Right Arrow to slightly rotate the duplicate if desired.
- Stack the duplicate precisely on top of the original to create a layered arrow effect.
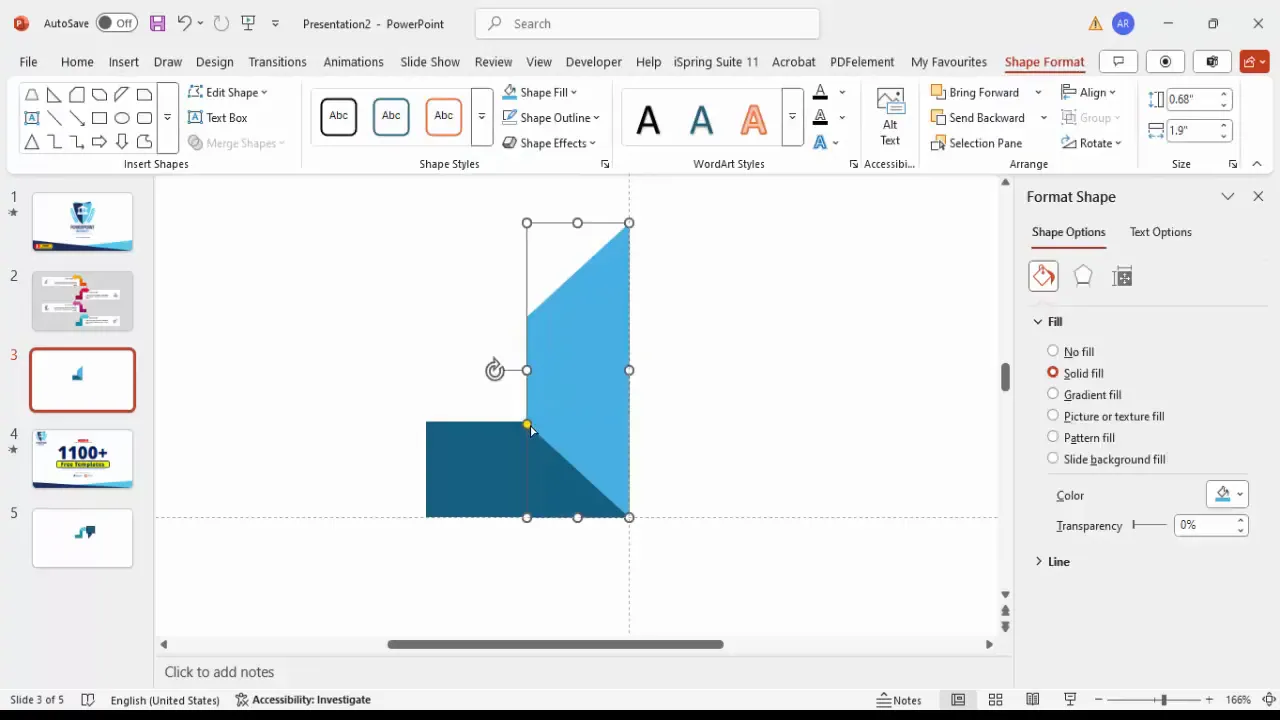
Step 4: Trim the Arrow Using Shape Subtraction
To create clean edges and remove unwanted parts, use the Merge Shapes tool:
- Insert a rectangle covering the part you want to cut.
- Select the rectangle, then hold Shift and select the arrow shape.
- Go to Shape Format > Merge Shapes and select Subtract.
- This will trim the arrow shape neatly.
Step 5: Add Decorative Triangles for Arrow Tail
To complete the arrow look, add small triangles at the tail end:
- Insert a triangle shape.
- Duplicate it multiple times (Alt + Right Arrow to rotate as needed).
- Align the triangles at the tail end of the arrow shaft.
- Apply the same fill color as the arrow and remove outlines.
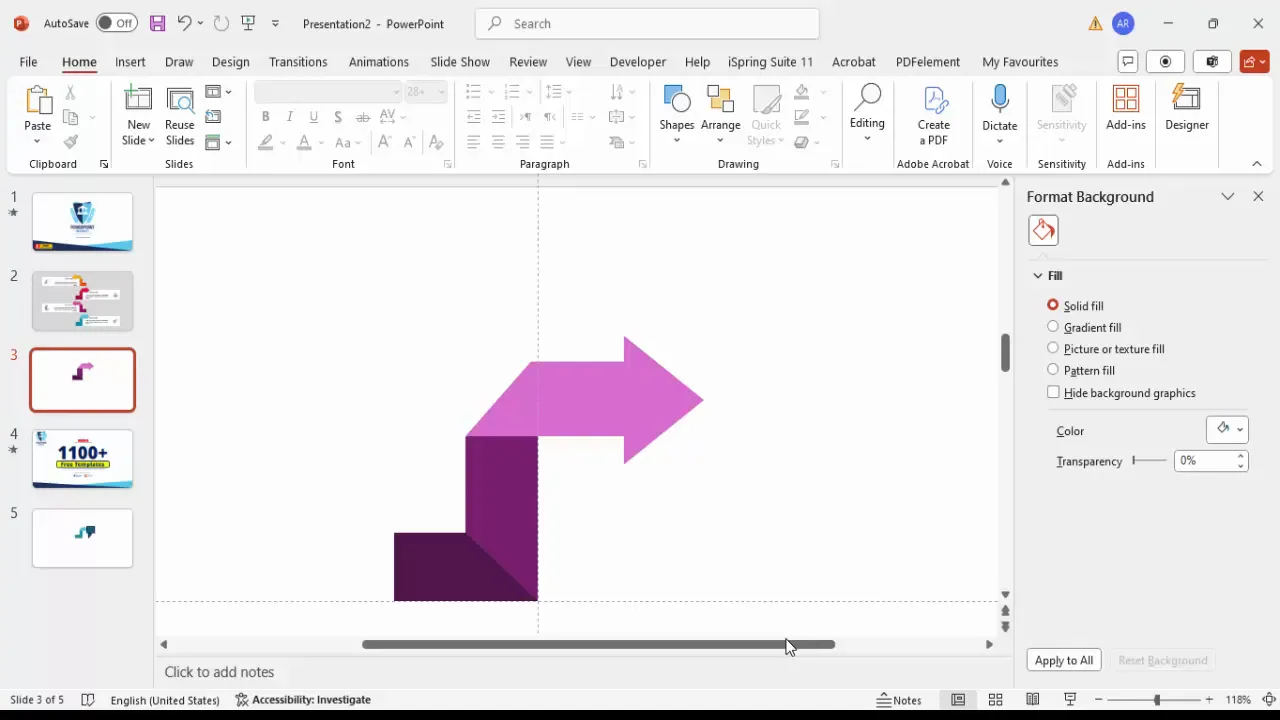
Customizing Colors for Visual Impact
Color plays a crucial role in distinguishing each arrow and making your infographic visually appealing. Here’s how to customize your arrow colors effectively:
Using Theme Colors and Custom Shades
- Select each arrow segment and apply fill colors from the Shape Format tab.
- Use a combination of dark, medium, and light shades of the same color to create a gradient effect for depth.
- For example, you can choose a dark purple for the base, a medium purple for the middle, and a light purple for the top segment.
- Repeat this process for each of the four arrows using different color schemes to differentiate them (e.g., turquoise, green, gray).
Grouping and Resizing
- Group individual arrow parts (Ctrl + G) for easy manipulation.
- Resize the grouped arrows proportionally by holding the Shift key while dragging the corners.
- Ensure all arrows are aligned evenly on the slide.
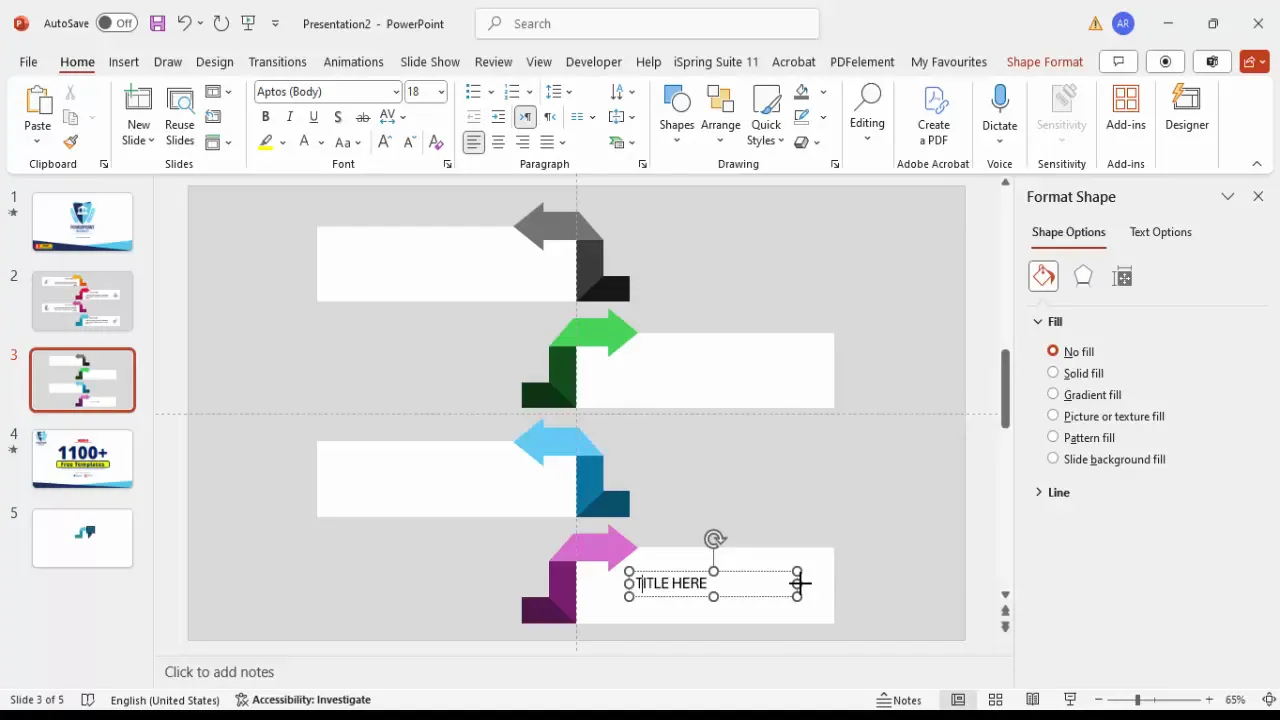
Adding Titles and Descriptive Text
Clear labeling enhances the communication power of your infographic. Here’s how to add and style text:
Step 1: Insert Title Text Boxes
- Go to Insert > Text Box and draw a text box near each arrow.
- Type your title or heading (e.g., “Option 1”, “Step 2”).
- Set the font to bold for emphasis and adjust size appropriately (around 16-18 pt).
- Match the title color to the corresponding arrow color for cohesiveness.
Step 2: Add Descriptive Text
- Insert another text box below each title for detailed descriptions.
- Use placeholder text such as “Lorem ipsum” if you don’t have the final copy yet.
- Keep the font size smaller (around 12 pt) for readability without overpowering the title.
- Align text boxes consistently across all arrows for a neat layout.
Step 3: Duplicate Text Boxes for Consistency
- Select the first set of title and description text boxes.
- Press Ctrl + D to duplicate and move them to the next arrow.
- Adjust alignment and text as needed to maintain uniformity.
Enhancing with Icons and Animations
Icons add a professional touch and help visually represent your points. Animations can bring life to your slide, making it more engaging.

Step 1: Insert Icons
- Go to Insert > Icons in PowerPoint’s ribbon.
- Choose from built-in icon sets or download animated icons from resources such as FlatIcons.com.
- Copy and paste the icons onto your slide, positioning them near the corresponding arrows.
- Resize and align icons to complement the text and shapes without clutter.
Step 2: Apply Basic Animations
- Select an icon or arrow shape.
- Go to the Animations tab and choose simple effects like Fade or Appear.
- Set animation timing to synchronize with your presentation flow.
Finalizing Your Slide and Export Tips
Once your infographic is complete, take these final steps to polish your slide:
- Group All Elements: Select all arrows, text, and icons and group them (Ctrl + G) for easy moving or resizing.
- Align Precisely: Use PowerPoint’s alignment tools to center the infographic on the slide and ensure equal spacing.
- Preview Animations: Run your slide show to check animations and transitions.
- Save Your Work: Save your presentation frequently and consider exporting to PDF for sharing.
With these tips, your four-arrow infographic slide will be ready to impress in any professional setting.
Frequently Asked Questions
1. Can I use this four-arrow infographic slide for any type of presentation?
Yes, this infographic style is versatile and can be adapted for business, education, marketing, or project management presentations where you want to show steps, options, or categories clearly.
2. What if I want to create arrows with different shapes or more than four arrows?
You can customize the shapes by using different basic shapes in PowerPoint or combining multiple shapes. For more arrows, simply duplicate the grouped arrow and adjust spacing accordingly.
3. How do I ensure my arrows are perfectly aligned?
Make sure to enable guides and grids in the View tab. Use the Align options in the Shape Format tab to distribute and align objects precisely.
4. Can I animate the entire infographic as one object?
Yes, after grouping all elements, you can apply animations to the entire group. This simplifies animation control and creates a smooth effect.
5. Are there free resources for icons and templates?
Absolutely! Websites like FlatIcons.com provide free icons, and many YouTube channels and design sites offer free PowerPoint templates to enhance your slide designs.
Conclusion
Mastering PowerPoint slide design with infographic elements like the four-arrow diagram can significantly elevate your presentations. By carefully constructing shapes, customizing colors, adding text, and incorporating icons and animations, you create slides that are not only visually appealing but also highly effective in communicating your message.
This tutorial empowers you with the skills to create such infographics from scratch, giving you full creative control over your presentation style. Keep practicing these techniques, explore different color schemes and layouts, and soon you’ll be designing professional PowerPoint slides that captivate your audience every time.
Happy designing!
Check out the full video: Create 4 Arrow Infographic Slide in PowerPoint


