
PowerPoint is often underestimated as a versatile design tool beyond simple presentations. Yet, with the right techniques, you can build sophisticated, animated slide designs that function almost like interactive user interfaces. In this comprehensive guide, you will learn how to create an eye-catching animated slide design — a virtual planner UI — entirely in PowerPoint. This step-by-step tutorial covers everything from sourcing images, removing backgrounds, to clever use of the Morph transition and slide zoom effects. By the end, you’ll have the skills to design dynamic, modern slides that captivate your audience and elevate your PowerPoint slide design game.
This tutorial was inspired by the creative approach of One Skill PPT, who expertly demonstrates how to combine visuals, animations, and UI elements to craft a professional virtual planner interface. Let’s dive in and explore how you can replicate and customize this design for your own presentations.
Table of Contents
- Getting Started: Setting Up Your PowerPoint Presentation
- Inserting and Adjusting Background Photos
- Removing Photo Backgrounds Using Depositphotos Tool
- Creating Smooth Morph Animations for Transitions
- Designing Glowing Text Boxes with Poppins Font
- Building Modern UI Widgets with Blurred Backgrounds
- Advanced Morph Transitions and Photo Naming Tips
- Inserting Interactive Slide Zooms for Navigation
- Final Review and Presentation Tips
- Frequently Asked Questions (FAQ)
Getting Started: Setting Up Your PowerPoint Presentation
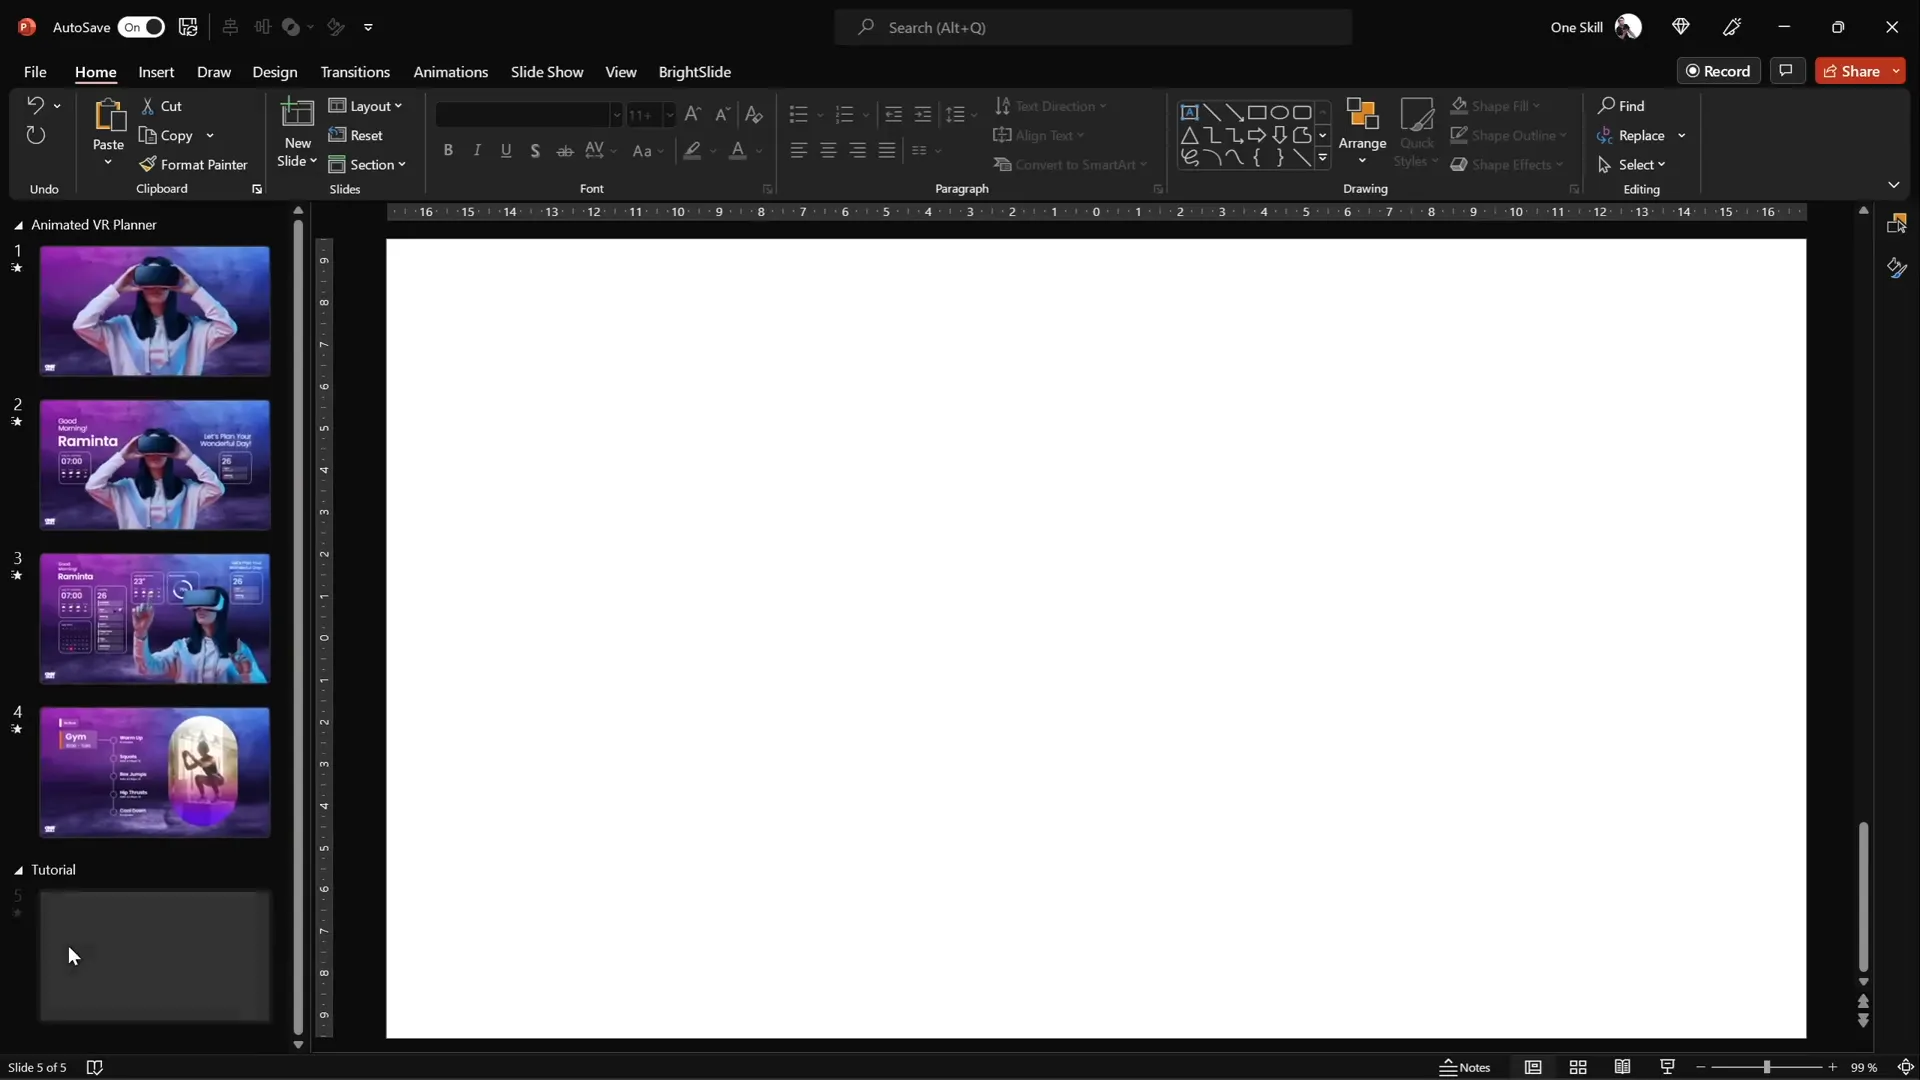
Before diving into complex animations and design elements, it’s important to establish a clear structure for your presentation. For this virtual planner UI, the project consists of four beautifully designed slides that will serve as the foundation of our animated interface.
Start by creating a new blank slide in PowerPoint. This will be the canvas for your design. Familiarize yourself with the overall flow: the slides will feature a background image, a model wearing virtual reality glasses, animated text boxes, and interactive widgets displaying time, weather, and schedule details.
Since this design relies heavily on high-quality photos, it’s recommended to use a stock photo service like Depositphotos. They offer a vast collection of vectors, music, videos, and photos that can enhance your slide design. Plus, you can use promo code ONESKILL20 for a 20% discount on subscription plans.
Once logged into Depositphotos, add your chosen images to a favorites collection for easy access. This will speed up your workflow as you build your slides.
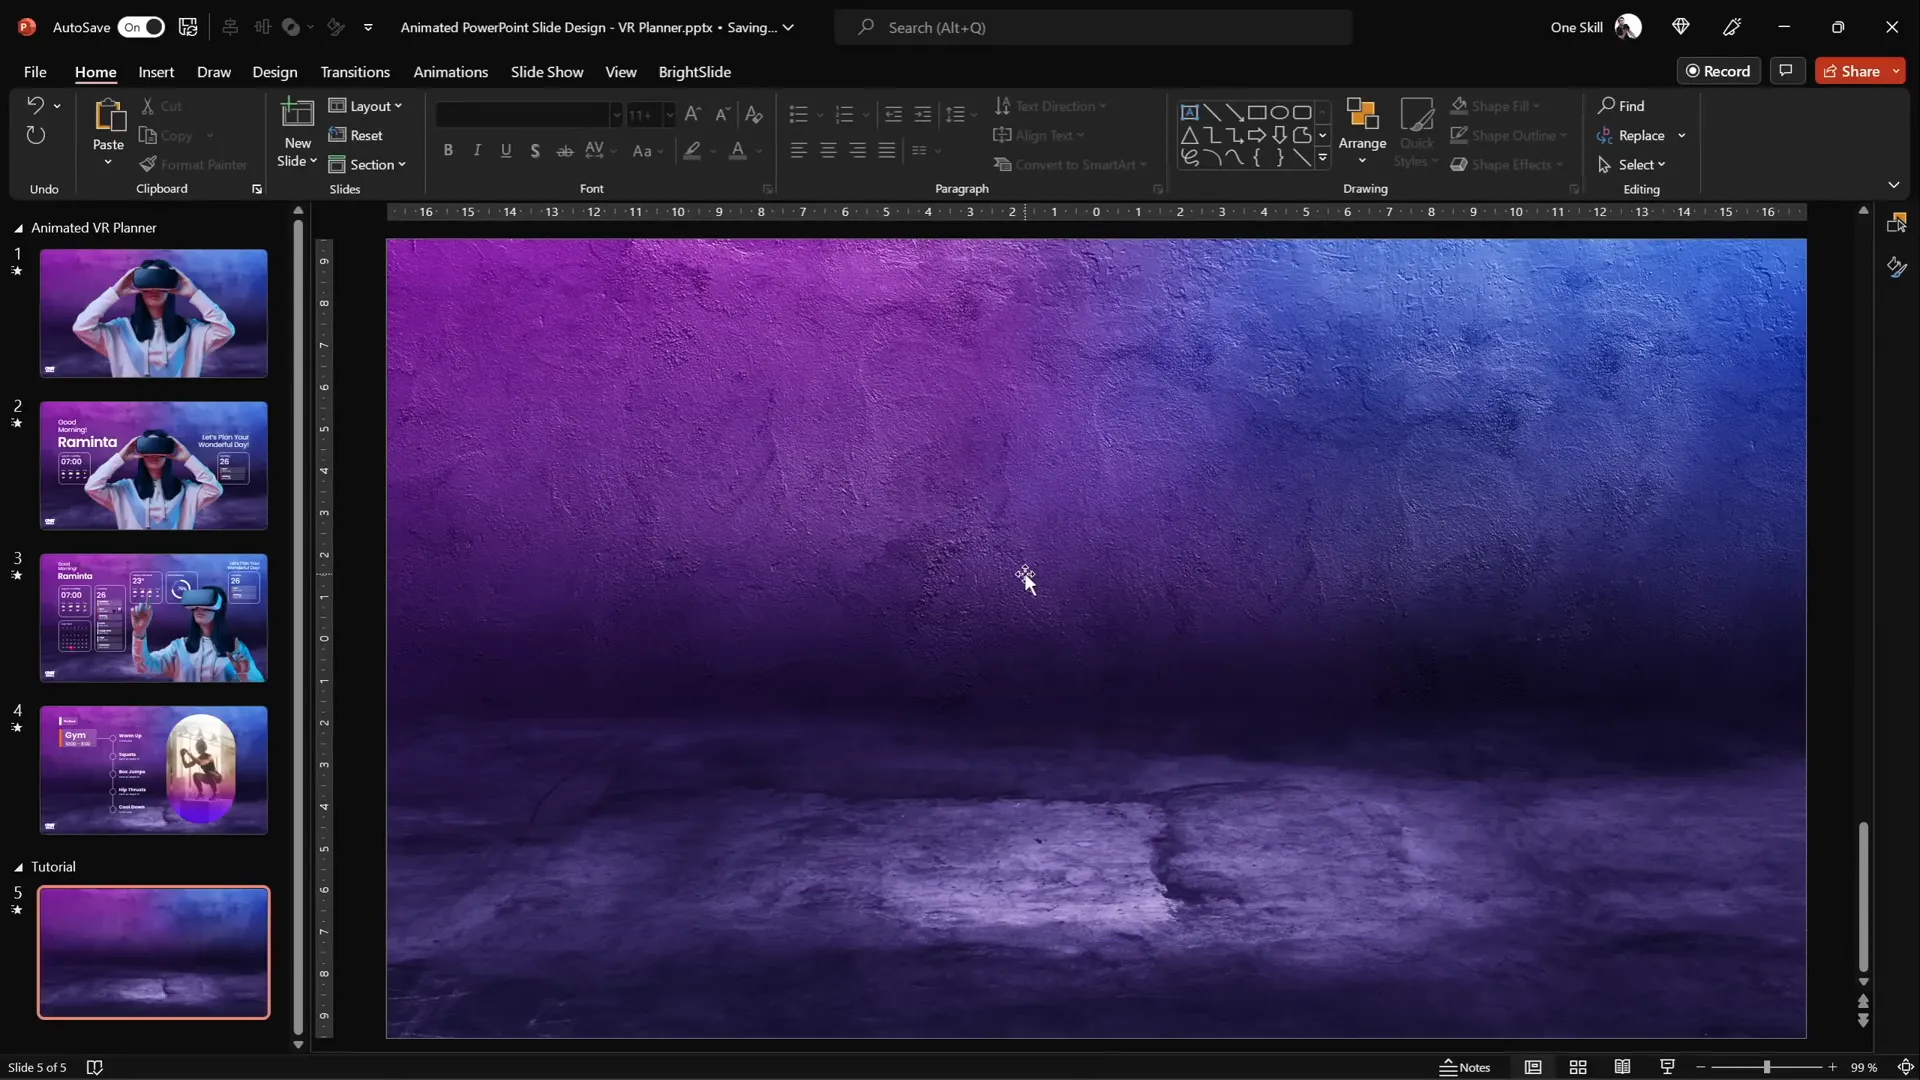
Inserting and Adjusting Background Photos
Choosing the right background photo is crucial to setting the mood for your virtual planner. From Depositphotos, select a high-quality photo that complements the futuristic and clean UI aesthetic.
To insert your background photo:
- Go to Insert > Pictures > This Device in PowerPoint.
- Select the downloaded background image and click Insert.
- If the photo does not cover the full slide, click one of the corners, hold down Ctrl + Shift keys, and drag to resize proportionally until it covers the entire slide.
- Use the Crop tool to set the aspect ratio to 16:9 and adjust the photo position by dragging it slightly upward for better framing.
- Click Crop again to finalize.
This simple yet effective method ensures your background photo fully fills the slide without distortion, creating a professional foundation for your UI.
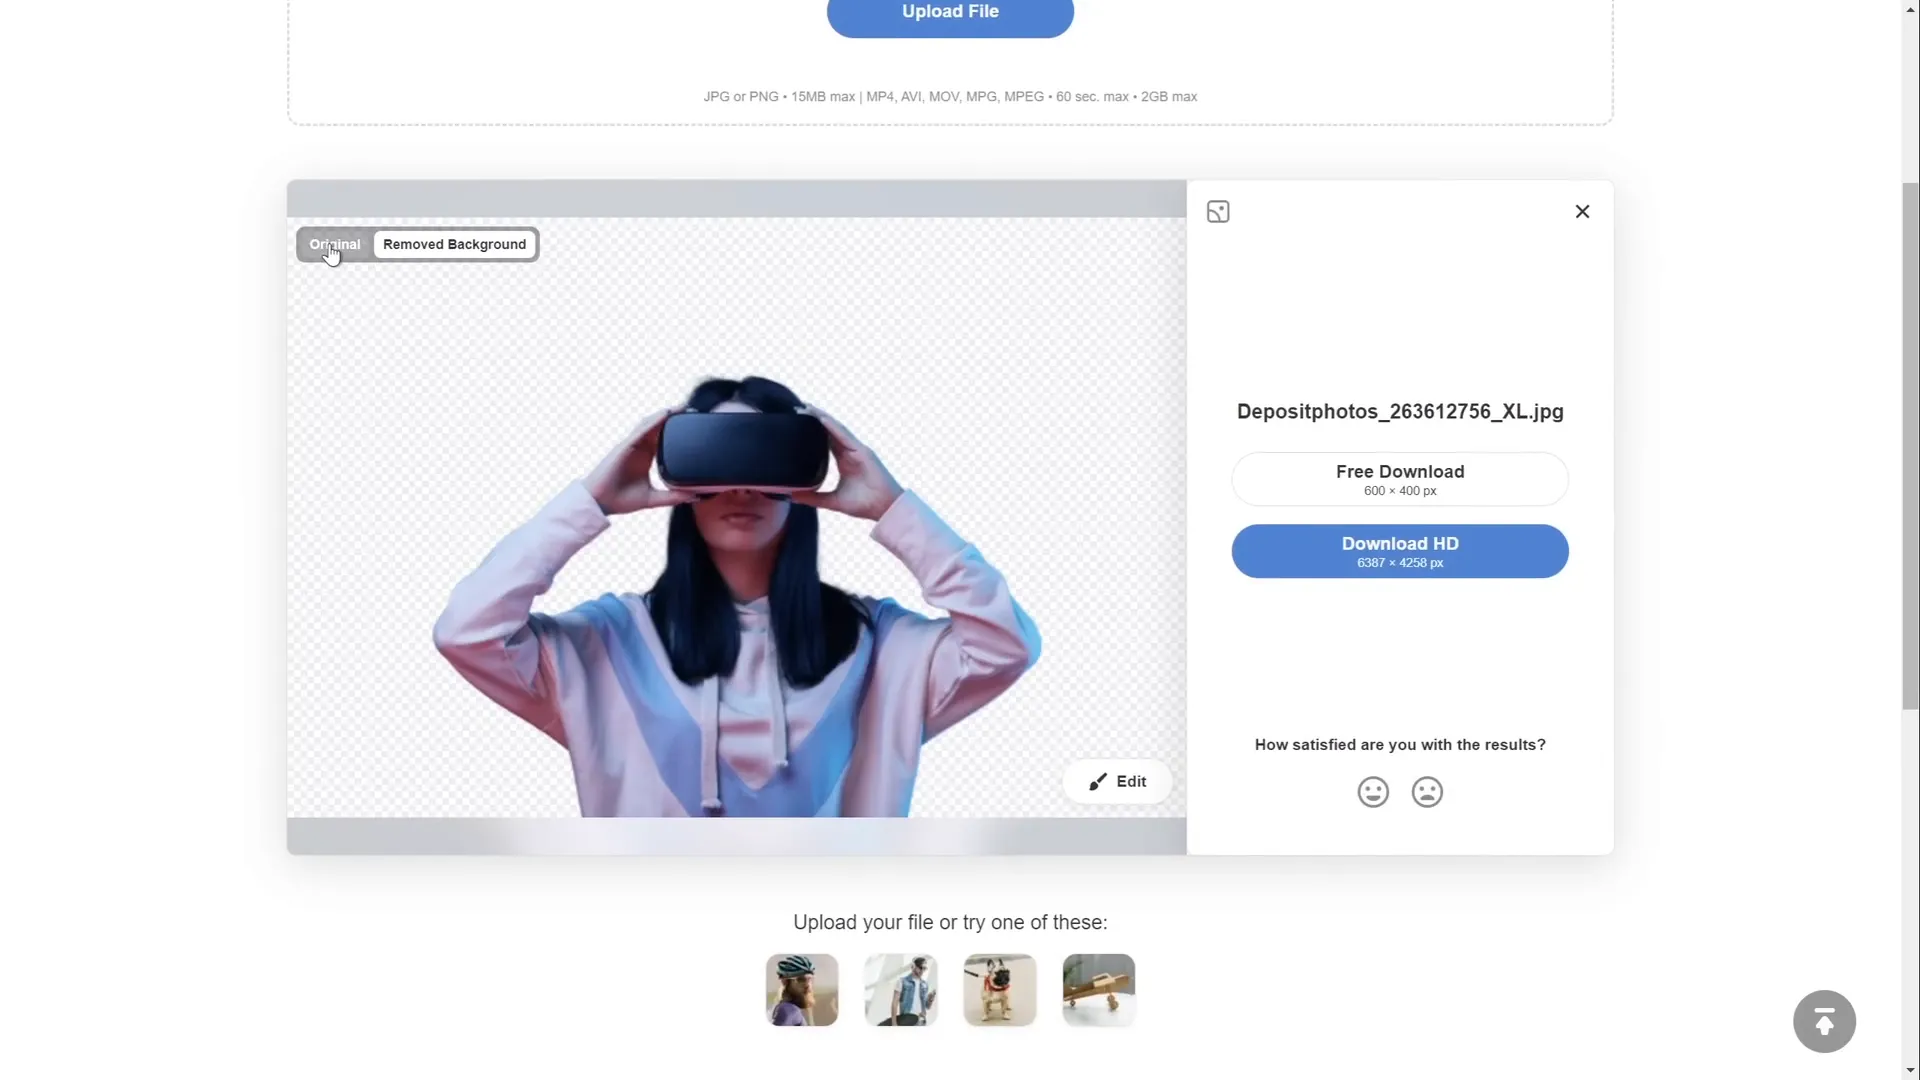
Removing Photo Backgrounds Using Depositphotos Tool
To create a polished UI, you’ll need a model photo without a distracting background. Depositphotos offers a free background remover tool that works like magic.
Here’s how to use it:
- Select your desired model photo wearing virtual reality glasses on Depositphotos.
- Upload the photo to the background remover tool by dragging and dropping it.
- Wait a few seconds as the tool automatically removes the background.
- Download the cutout image — a standard resolution version is free, while HD requires a subscription.
This tool saves hours of manual work and produces clean cutouts perfect for overlaying on your slide background.
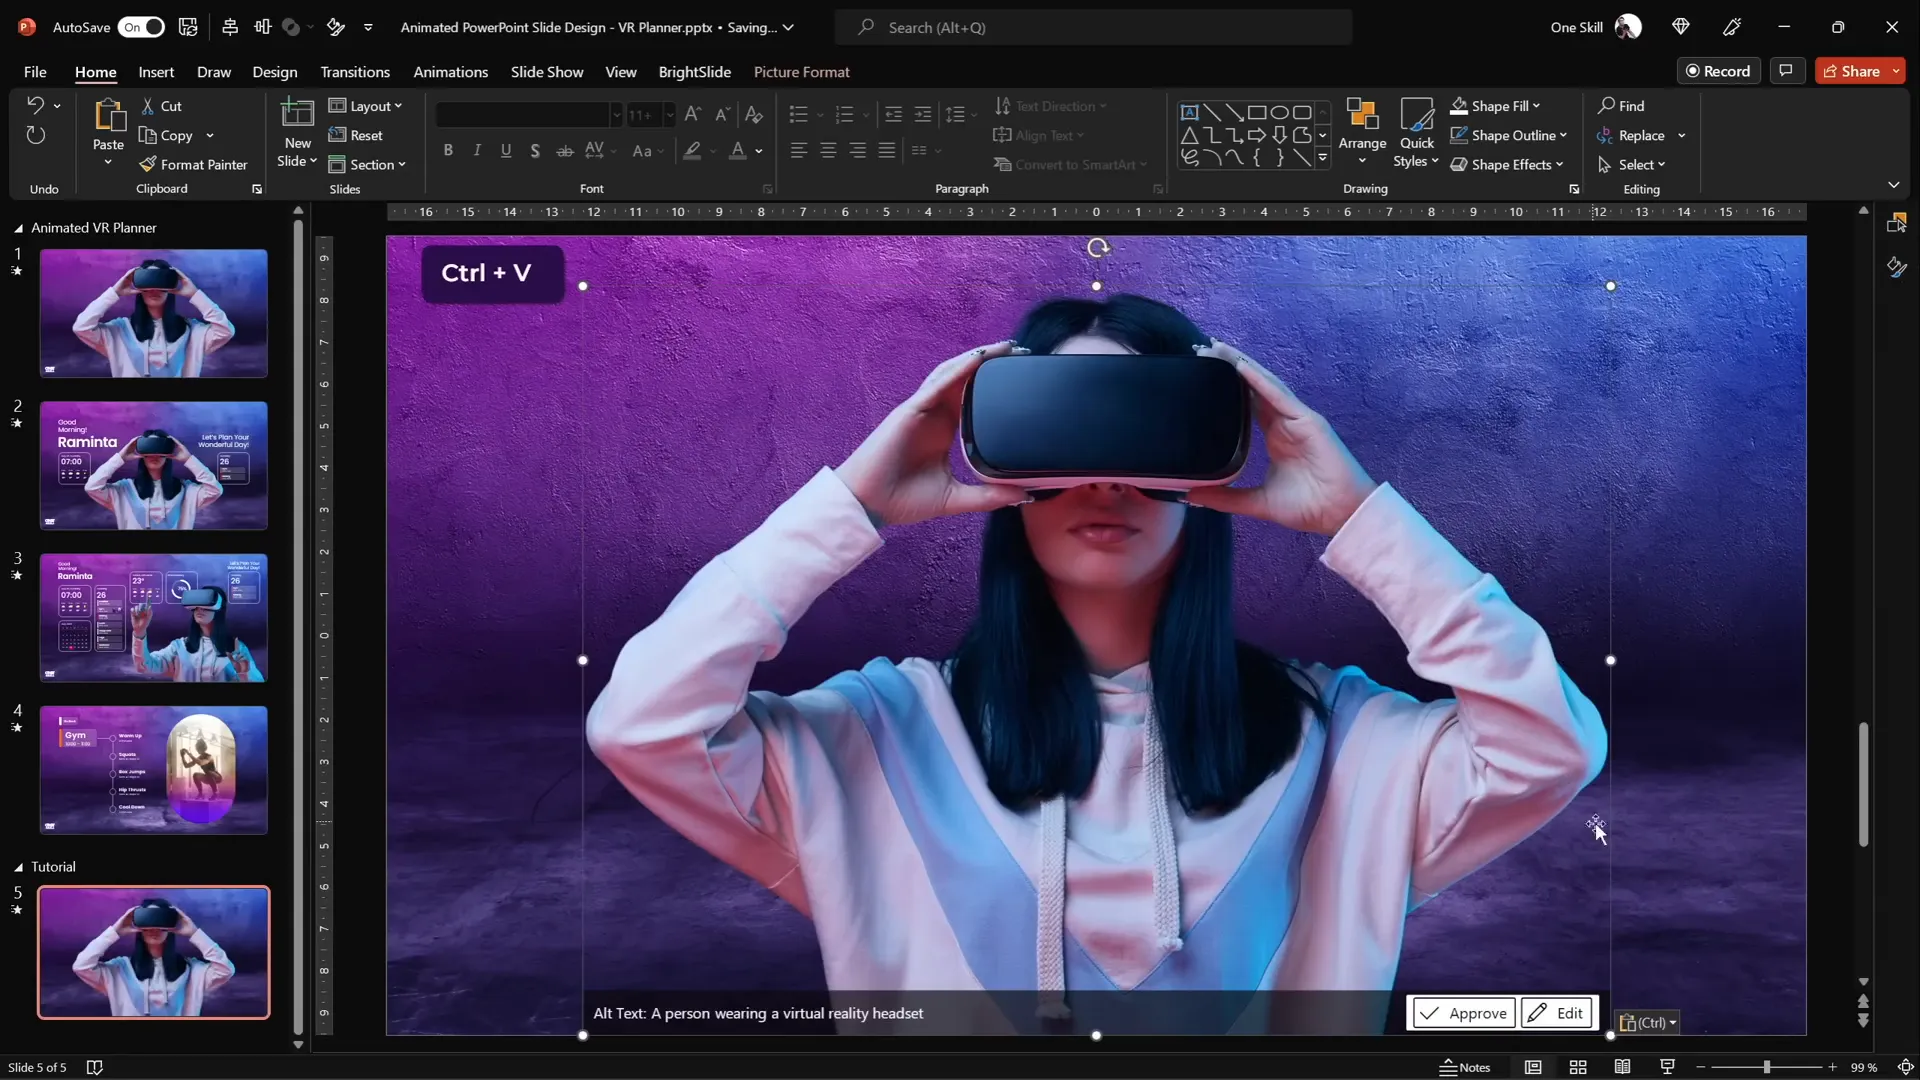
After downloading, insert the transparent model photo into your slide and position it accordingly.
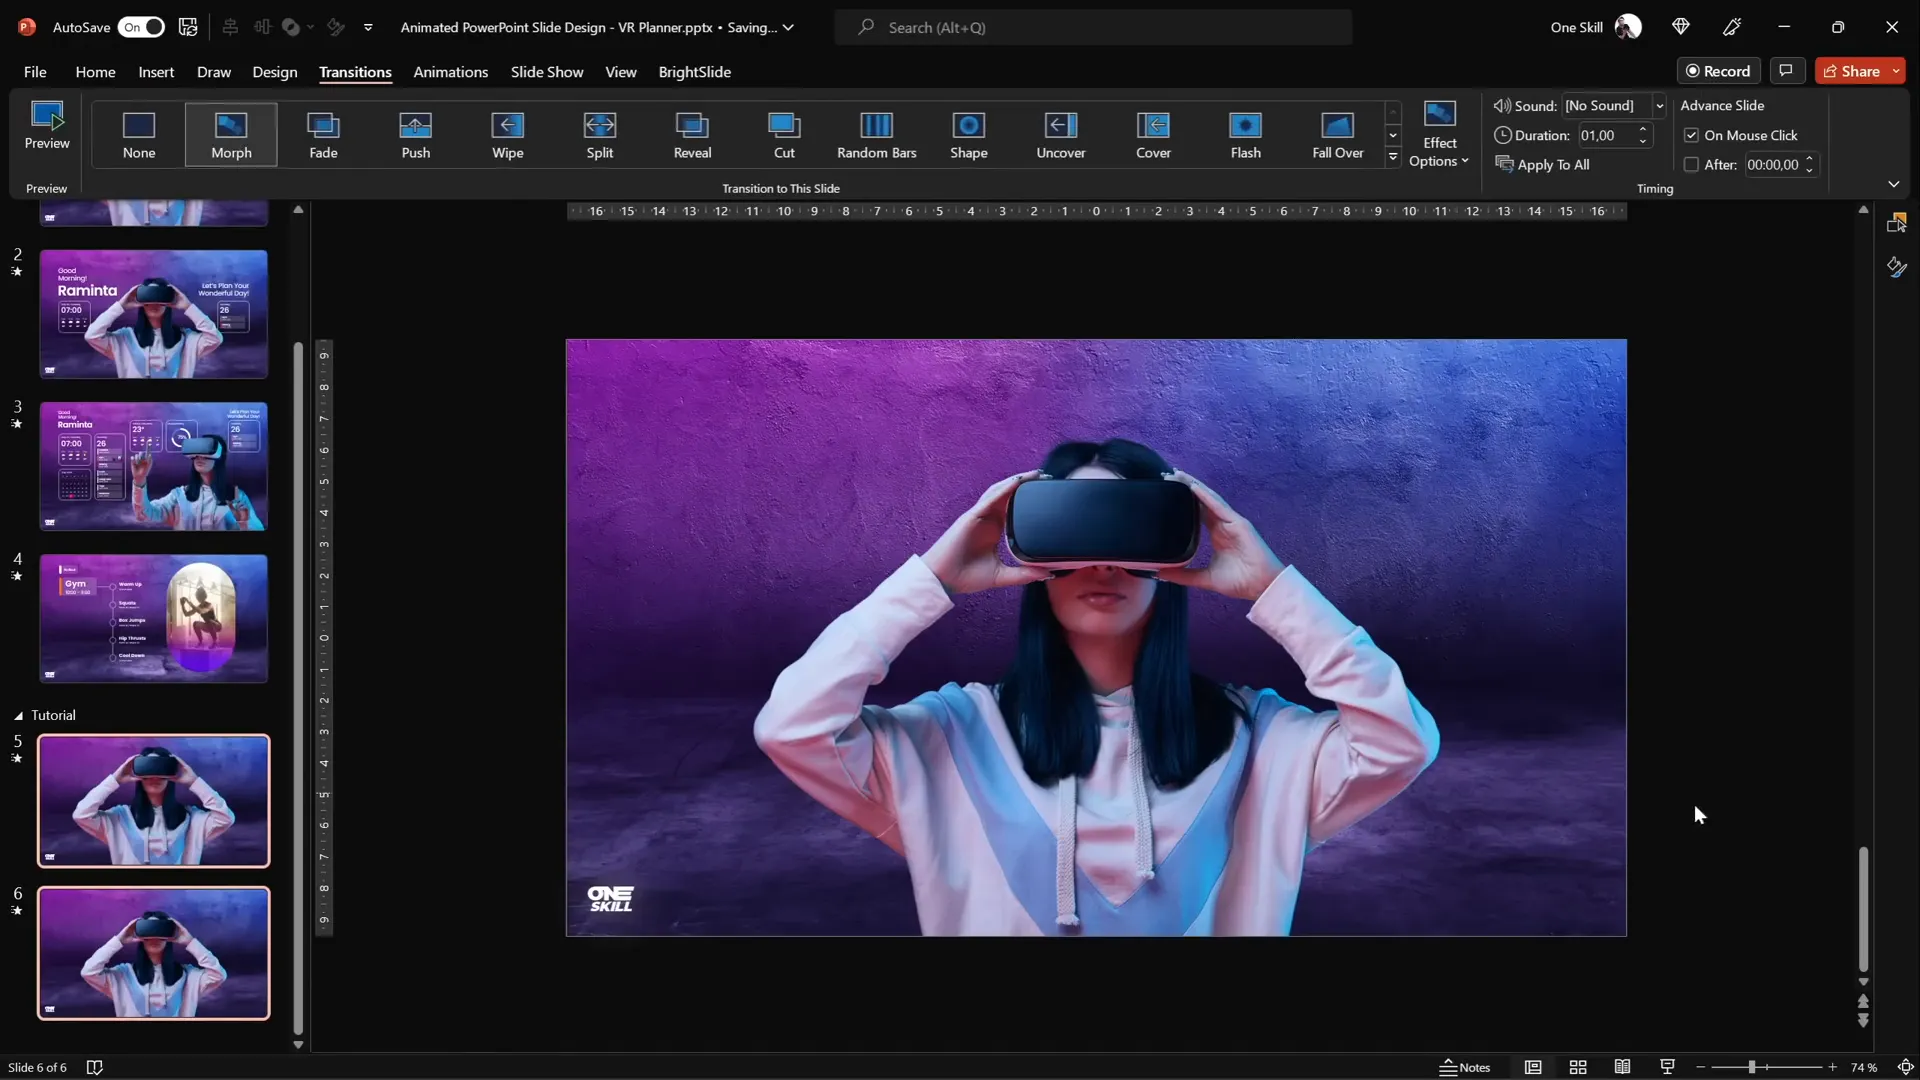
Creating Smooth Morph Animations for Transitions
The Morph transition in PowerPoint is a powerful feature that smoothly animates changes between slides, perfect for UI animations.
For the first transition, the goal is to have the model shrink in size while text boxes and widgets fly in from the sides.
Steps to achieve this:
- Duplicate your slide containing the model photo (Right-click > Duplicate or press Ctrl + D).
- On the duplicate slide, resize the model photo smaller and keep it center-aligned.
- Apply the Morph transition to both slides with a duration of 1 second.
- Test the transition by navigating between the two slides — the model should smoothly shrink and grow.
This simple trick adds a professional animation effect that grabs attention without complicated timelines.
Designing Glowing Text Boxes with Poppins Font
Text is a key element in any UI design. For this virtual planner, glowing text boxes greet the user with a friendly message. Here’s how to craft them:
- Use the Poppins font, available for free on Google Fonts. It has a modern, clean style perfect for UI.
- Mix font weights: regular for some text and semibold for emphasis.
- Add a white shadow effect to each text box with the following settings:
- Shadow color: White
- Blur: 100 points
- Size: 100%
- Position the text boxes so they flank the model photo but leave breathing space.
This glowing effect creates a subtle but attractive highlight that enhances readability and style.
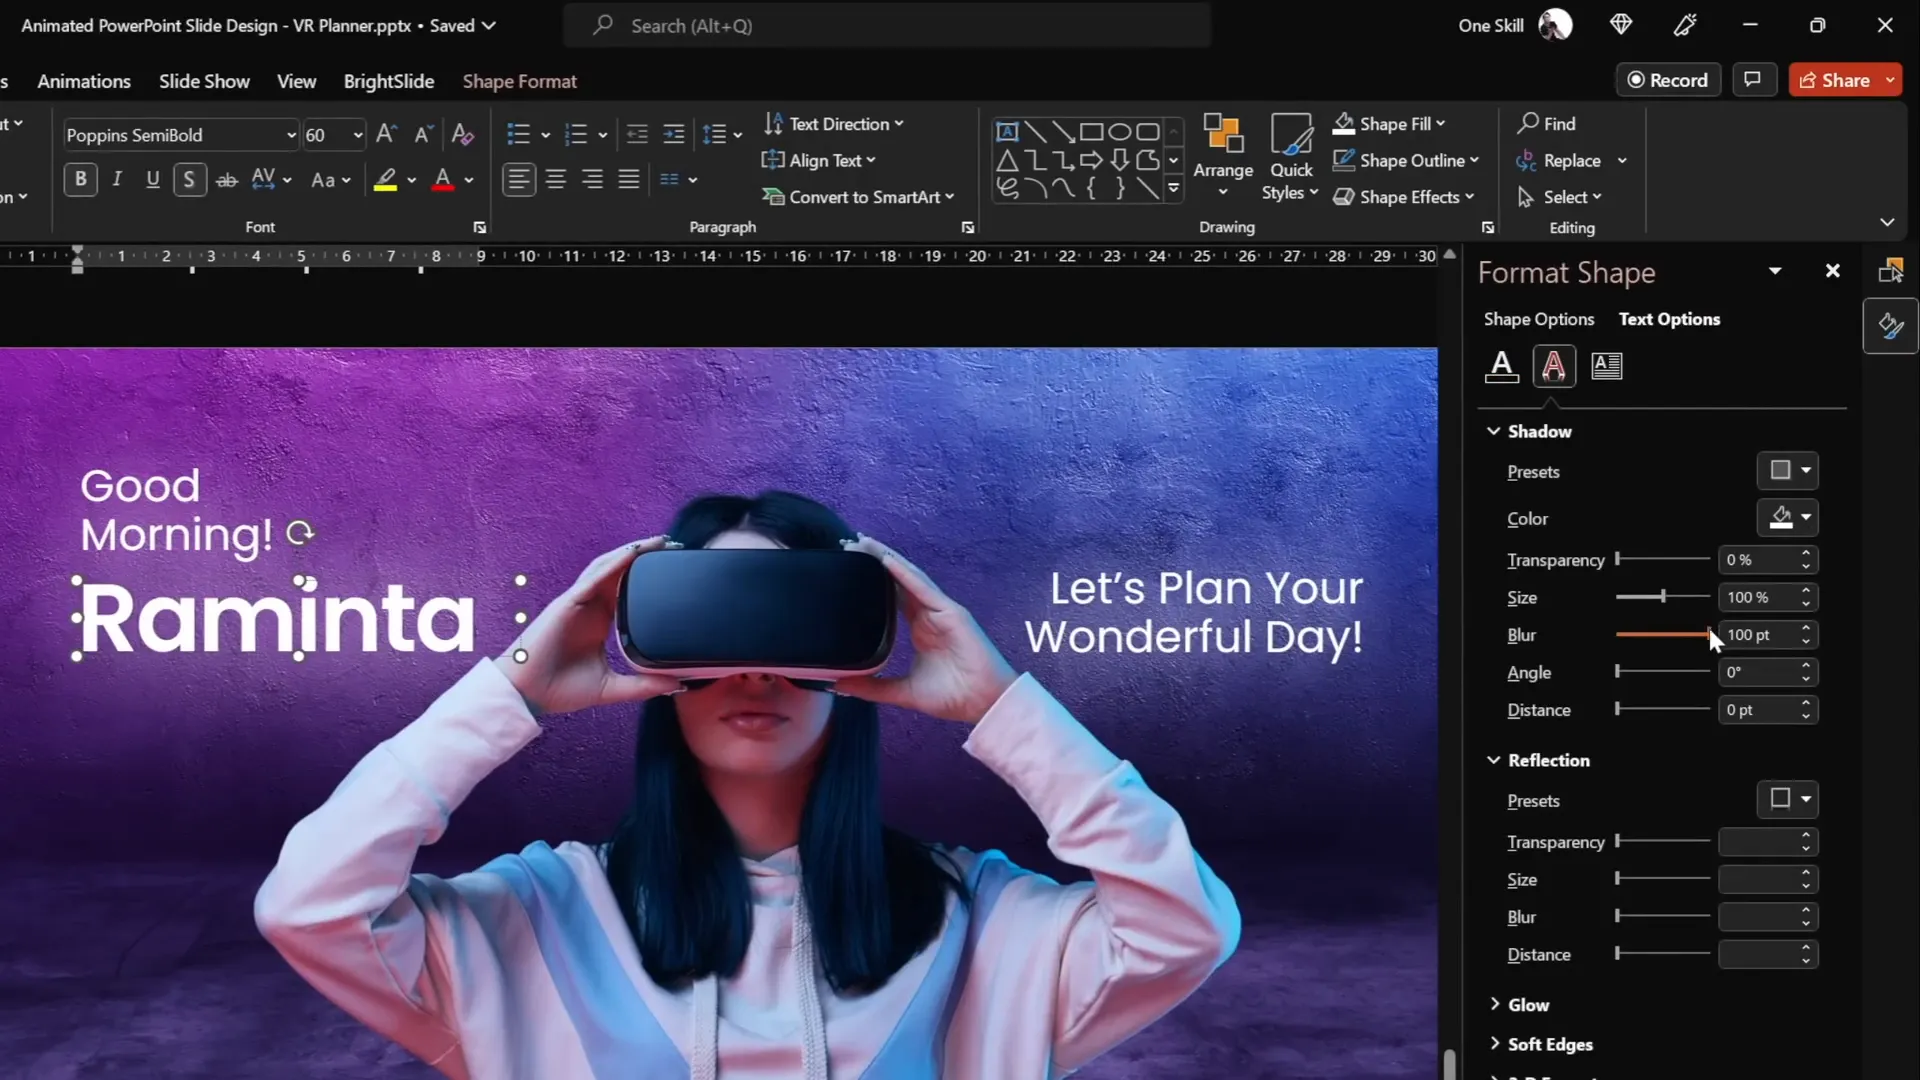
Remember to copy the text boxes back to the original slide but position them outside the slide boundary. Thanks to the Morph transition, this will animate them flying in from the sides, completing your first transition effect.
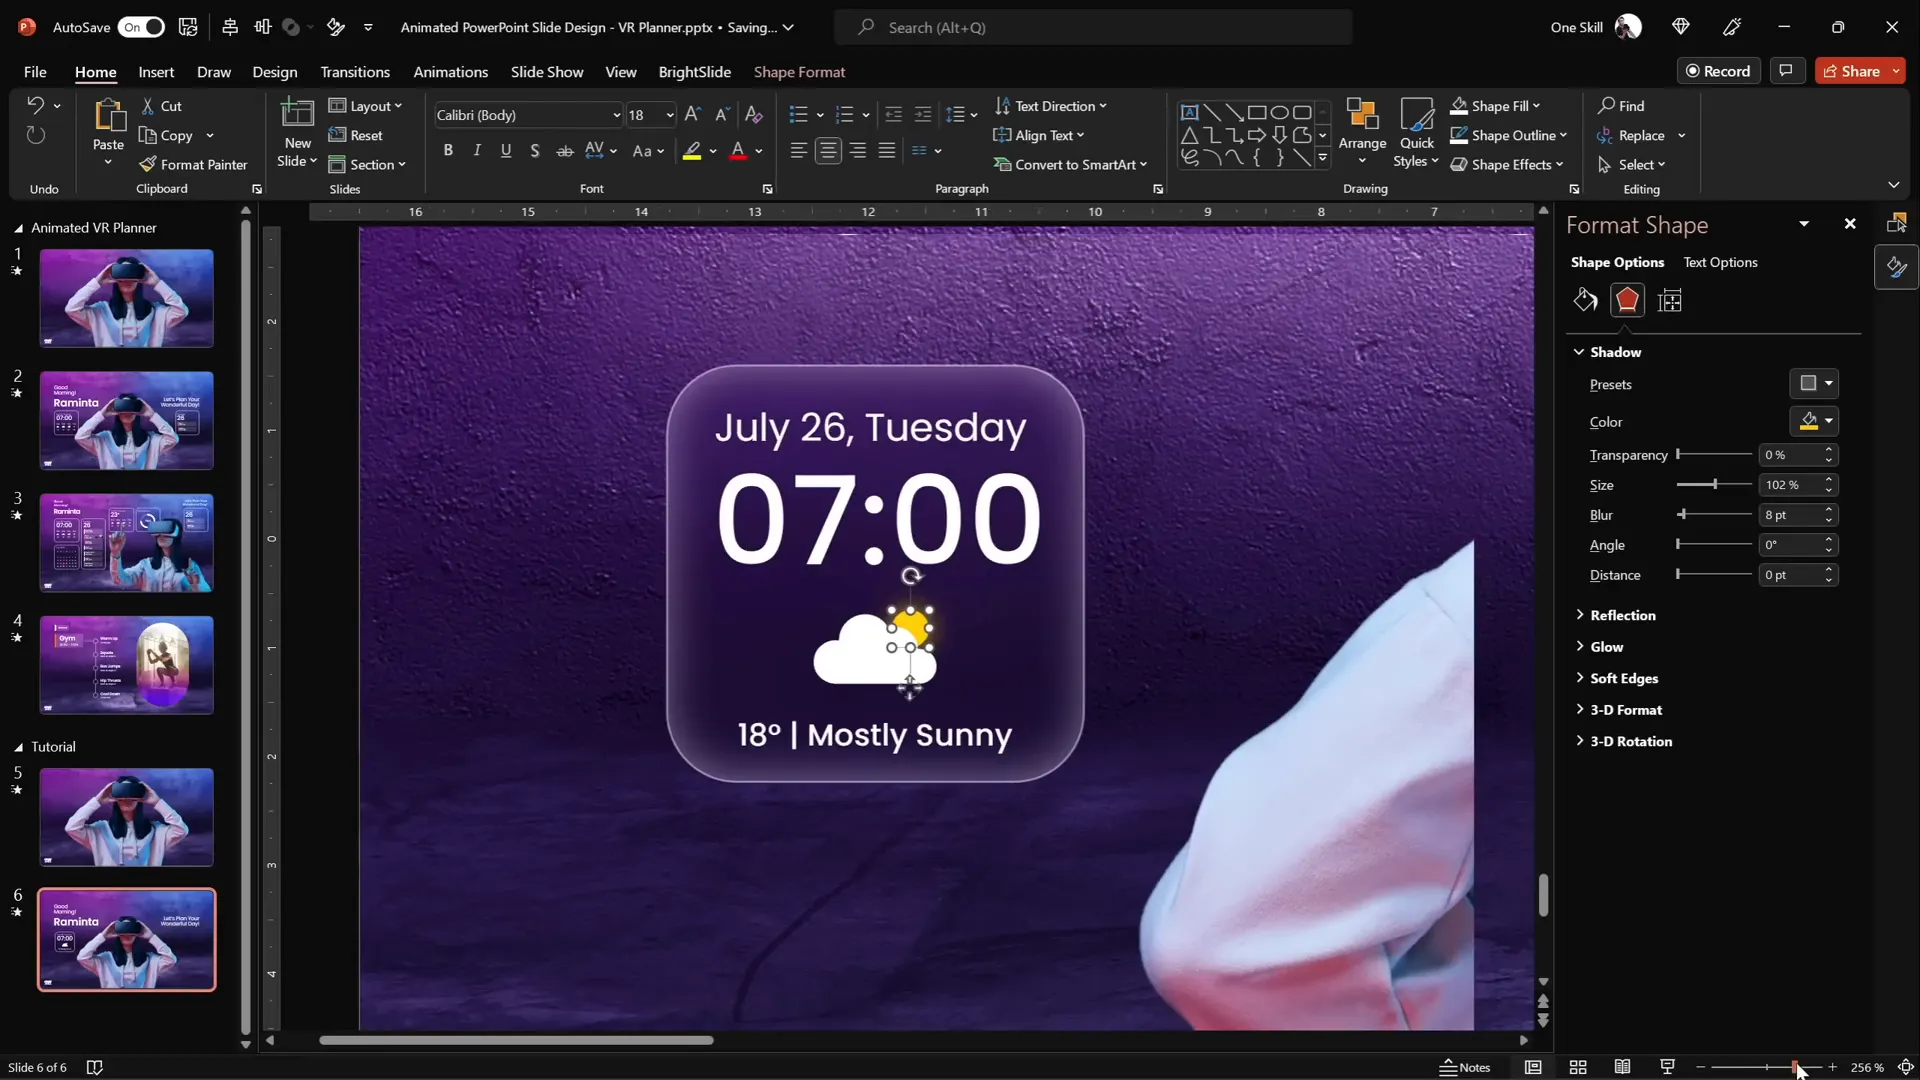
Building Modern UI Widgets with Blurred Backgrounds
Widgets add interactivity and useful information to your virtual planner UI. Let’s create two minimalist widgets:
- Left widget: Shows current time and weather.
- Right widget: Displays the user’s schedule for the day.
Follow this step-by-step process to build a widget with a frosted glass effect:
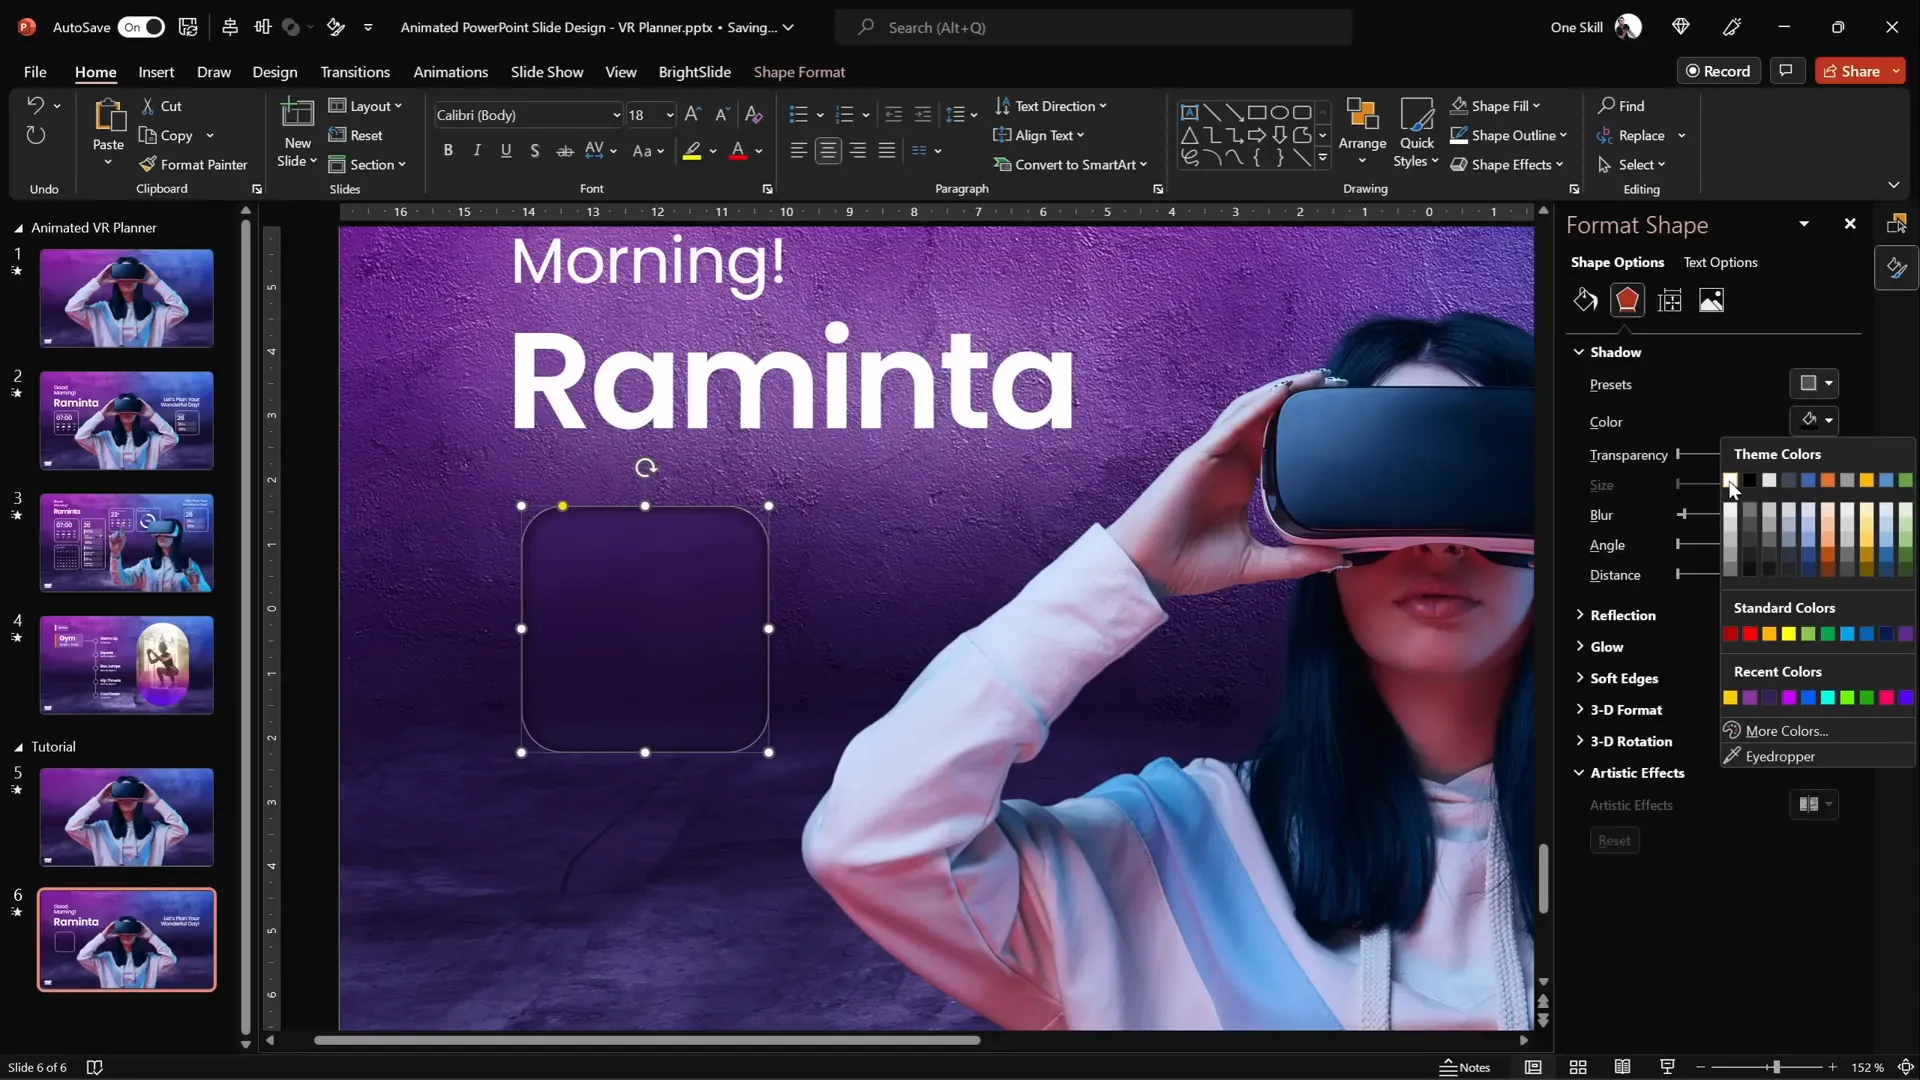
- Insert a rounded rectangle shape.
- Outline: White
- Fill: No fill
- Outline transparency: 50%
- Outline width: 0.5 points
- Make a copy of your slide background by holding Ctrl + Shift and dragging the image.
- Apply the Blur artistic effect to the copied background with a radius of 50 points.
- Copy the blurred background image to the clipboard and delete it from the slide.
- Change the slide background fill to Picture from Clipboard. This sets the blurred background as the slide background.
- Select the rounded rectangle and set its fill to Slide Background Fill. This fills the shape with the blurred background image.
- Add an inside shadow effect with:
- Color: White
- Transparency: 50%
- Blur: 15 points
This technique creates the illusion of a frosted glass panel, a popular UI design trend that adds depth and sophistication.
Next, add text boxes inside the widget aligned centrally with details like time, temperature, and weather conditions. For example:

- Temperature: 18°C
- Condition: Mostly Sunny
To enhance the weather widget, add icons for a cloud and sun:
- Go to Insert > Icons and search for “cloud.”
- Insert the cloud icon, change its color to white, and size it appropriately.
- Create a perfect circle for the sun by inserting an oval and holding Shift while resizing.
- Add an outside shadow to the sun using a warm orange color with blur to simulate sunshine.
- Arrange the sun behind the cloud to create a layered effect.
Group all these elements for easier manipulation and positioning on your slide.
Advanced Morph Transitions and Photo Naming Tips
Continuing with the animation, the second transition involves changing the model photo to a new pose and adjusting the widgets and text boxes to move upward and shrink.
Key points to ensure smooth morph transitions:
- Duplicate your slide before making changes.
- Rename photos consistently with a unique prefix such as double exclamation marks (
!!photo). This signals PowerPoint to morph one image into another seamlessly. - If photo names don’t match, the morph transition will degrade to a simple fade instead of a smooth morph.
To manage the morph animation:
- On the duplicate slide, delete all elements except the background and logo.
- Copy elements from the previous slide (except background and logo) and paste them onto the duplicate.
- Position new widgets that appear only on the second slide below the slide boundary on the first slide. This makes them animate up into view.
- Test the morph transition to confirm all elements animate as expected.

These tips help you manage complex animations without needing external software or complex timelines.
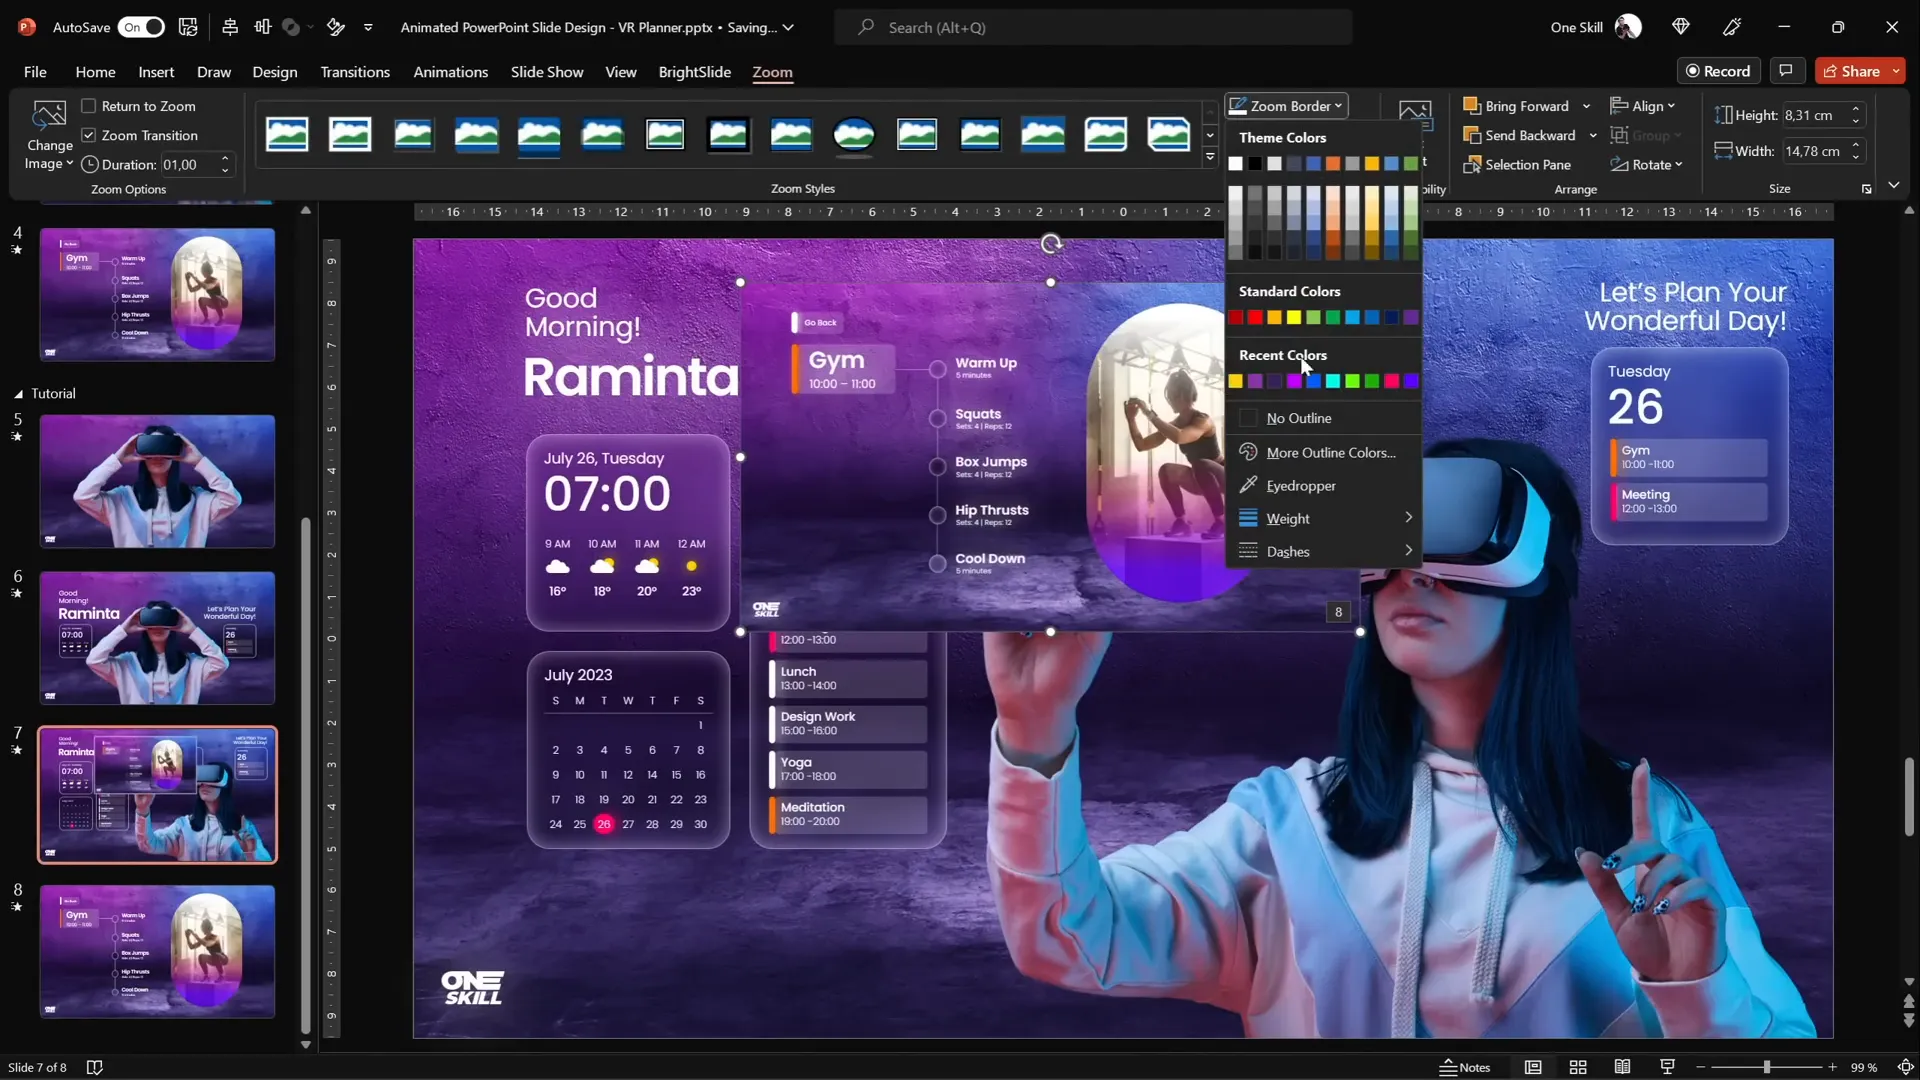
Inserting Interactive Slide Zooms for Navigation
Slide zooms are an excellent way to add interactivity to your presentation, allowing users to navigate between sections or tabs seamlessly.
To insert a slide zoom:
- Copy the slide you want to zoom into (e.g., the “gem” slide) and paste it at the bottom of your slide list.
- Ensure the slide has a blurred background fill using the format painter tool to match other slides.
- Go to Insert > Zoom > Slide Zoom and select the slide to zoom into.
- Resize the zoom object and remove its border for a cleaner look.
- Enable Return to Zoom to allow easy navigation back.
- Adjust the zoom transition duration (e.g., 0.5 seconds) and add rounded corners using presets.
- Remove any unwanted reflection effects by formatting the shape.
With these steps, clicking the zoom object will smoothly enlarge the linked slide, and clicking again returns you to the previous slide, mimicking a tabbed UI.
Final Review and Presentation Tips
Once your slides and animations are set up, run through the presentation in full screen mode to ensure all transitions and animations perform flawlessly.
Use keyboard arrow keys to navigate and observe:
- Model shrinking and growing with Morph transition.
- Text boxes flying in from sides.
- Widgets animating from bottom to top or fading in as designed.
- Slide zooms functioning as interactive tabs.
If any animation doesn’t look right, verify:
- Element positions between slides.
- Photo and object names for morph compatibility.
- Background fills are consistent across slides.
- Slide zoom objects exist on both slides involved in the transition.
With practice, these techniques will become second nature, allowing you to craft stunning PowerPoint slide designs that impress clients, colleagues, or audiences.
Frequently Asked Questions (FAQ)
What is the Morph transition in PowerPoint?
The Morph transition smoothly animates changes between two slides by moving, resizing, and transforming objects with matching names or properties. It is ideal for creating dynamic animations without complex timelines.
How do I remove backgrounds from photos easily?
Depositphotos offers a free background remover tool that automatically detects and removes backgrounds from images or videos. It saves significant time over manual editing.
Can I use any font for my UI text boxes?
While you can use any font, modern, clean fonts like Poppins work best for user interface designs due to their readability and contemporary style.
Why do some morph animations not work?
Morph animations require objects to have the same name across slides. For photos, adding a prefix like double exclamation points (e.g., !!photo) ensures PowerPoint recognizes them as the same object to morph.
How do slide zooms improve presentations?
Slide zooms create an interactive experience by linking slides as clickable thumbnails. They allow smooth navigation between sections, perfect for dashboards, menus, or tabbed interfaces.
Is the blurred background technique difficult to implement?
Not at all! It involves copying the slide background, applying a blur effect, and using the slide background fill on shapes. This simple trick creates a sophisticated frosted glass look.
Can I customize the animations and widgets further?
Absolutely. PowerPoint’s flexibility allows you to customize colors, fonts, sizes, and animation timings to fit your brand or presentation style.
Summary Table: Key Elements and Techniques
| Element | Technique/Tool | Purpose | Tips |
|---|---|---|---|
| Background Photo | Depositphotos + Resize & Crop | Sets visual tone and fills slide | Use 16:9 crop; resize proportionally |
| Model Photo | Depositphotos Background Remover | Clean subject for UI layering | Download transparent PNG; keep naming consistent for morph |
| Morph Transition | PowerPoint Morph effect | Smooth animation of shrinking/growing and flying elements | Duplicate slides; rename objects consistently |
| Text Boxes | Poppins Font + White Shadow | Glowing UI text for greeting and info | Use different font weights; shadow blur 100 pts |
| Widgets | Rounded Rectangles + Blurred Background Fill + Icons | Display time, weather, schedule with frosted glass look | Copy background, apply blur, use slide background fill |
| Slide Zoom | Insert > Zoom > Slide Zoom | Interactive navigation between slides | Remove borders and reflections; enable return to zoom |
By mastering these elements and techniques, you can transform your PowerPoint presentations into visually engaging, interactive experiences that go beyond the traditional slide deck.
Happy designing!
Check out the full video: Animated Slide Design 🔥 Slide Zoom UI 🔥


