
PowerPoint is often underestimated as just a tool for static presentations, but with the right techniques, it can become a powerful platform for creating dynamic, animated slide designs that engage and impress your audience. In this comprehensive guide, you’ll learn how to design a stunning animated virtual planner user interface entirely within PowerPoint. This tutorial covers everything from sourcing beautiful images to applying advanced transitions like Morph and Slide Zoom to create smooth, interactive animations.
Whether you’re a PowerPoint enthusiast or a professional looking to elevate your slide design skills, this step-by-step process will help you master the art of creating a modern, visually appealing slide deck that looks like a professional UI prototype. Let’s dive into the world of PowerPoint slide design and explore how to bring your slides to life with animation and creativity.

Table of Contents
- Introduction to the Project
- Finding and Inserting Beautiful Backgrounds
- Cutting Out Subjects Using Background Removal
- Creating Morph Animations for Smooth Transitions
- Designing Modern UI Widgets in PowerPoint
- Building the Second Transition with Photo Morphing
- Adding Slide Zoom for Interactive Navigation
- Final Tips and Best Practices for PowerPoint Slide Design
- Frequently Asked Questions
Introduction to the Project
In this project, we are going to create a four-slide animated presentation that simulates a virtual planner user interface. The entire UI is built inside PowerPoint without external software, showcasing how versatile PowerPoint can be when used creatively.
The presentation features:
- A visually appealing background image that sets the mood.
- High-quality photos of models wearing virtual reality glasses to emphasize the futuristic theme.
- Animated transitions where elements like text boxes, widgets, and photos dynamically move and resize.
- Custom-designed widgets displaying time, weather, and a schedule — all with a frosted glass effect.
- Interactive slide zooms for smooth navigation between different UI tabs.
The key to success in this project is mastering PowerPoint’s Morph transition, using blurred backgrounds creatively, and understanding how to layer and animate elements for maximum effect.
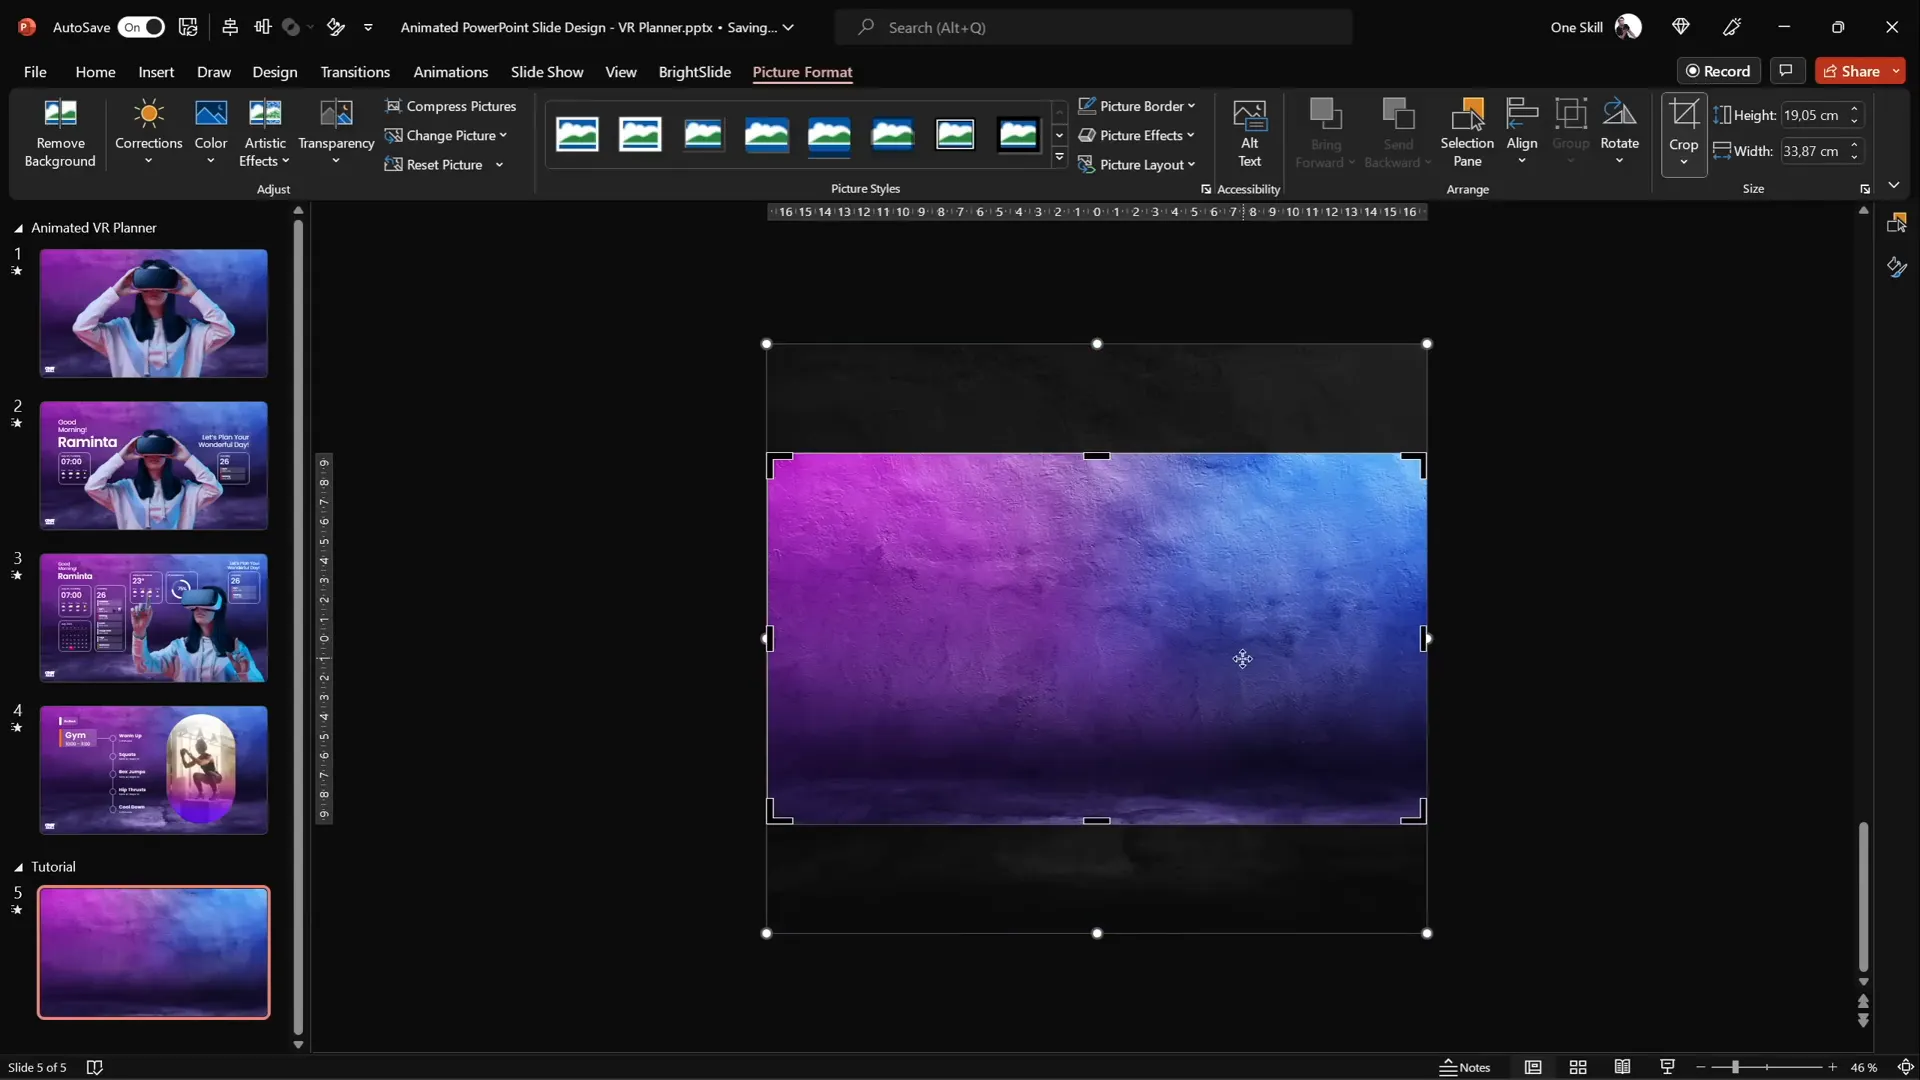
Finding and Inserting Beautiful Backgrounds
Step one is to select a visually stunning background image that complements the theme of your virtual planner. For this project, we use Depositphotos.com, a rich resource for high-quality photos, vectors, music, and videos.
After logging in, you can add your favorite images to a collection for easy access. For our background, we select a large, bright photo that can be resized to cover the entire slide.
Here’s how to insert and adjust your background image in PowerPoint:
- Insert a blank new slide.
- Go to Insert > Pictures > This Device and select your downloaded background photo.
- Once inserted, the photo might not cover the entire slide. Hold down Ctrl + Shift and drag a corner to resize the image proportionally until it covers the slide fully.
- Use the crop tool to crop the photo to a 16:9 aspect ratio and adjust the positioning as needed.
- Finalize the crop to lock in your adjustments.
This method ensures your background is crisp, well-framed, and perfectly sized for your presentation.
Cutting Out Subjects Using Background Removal
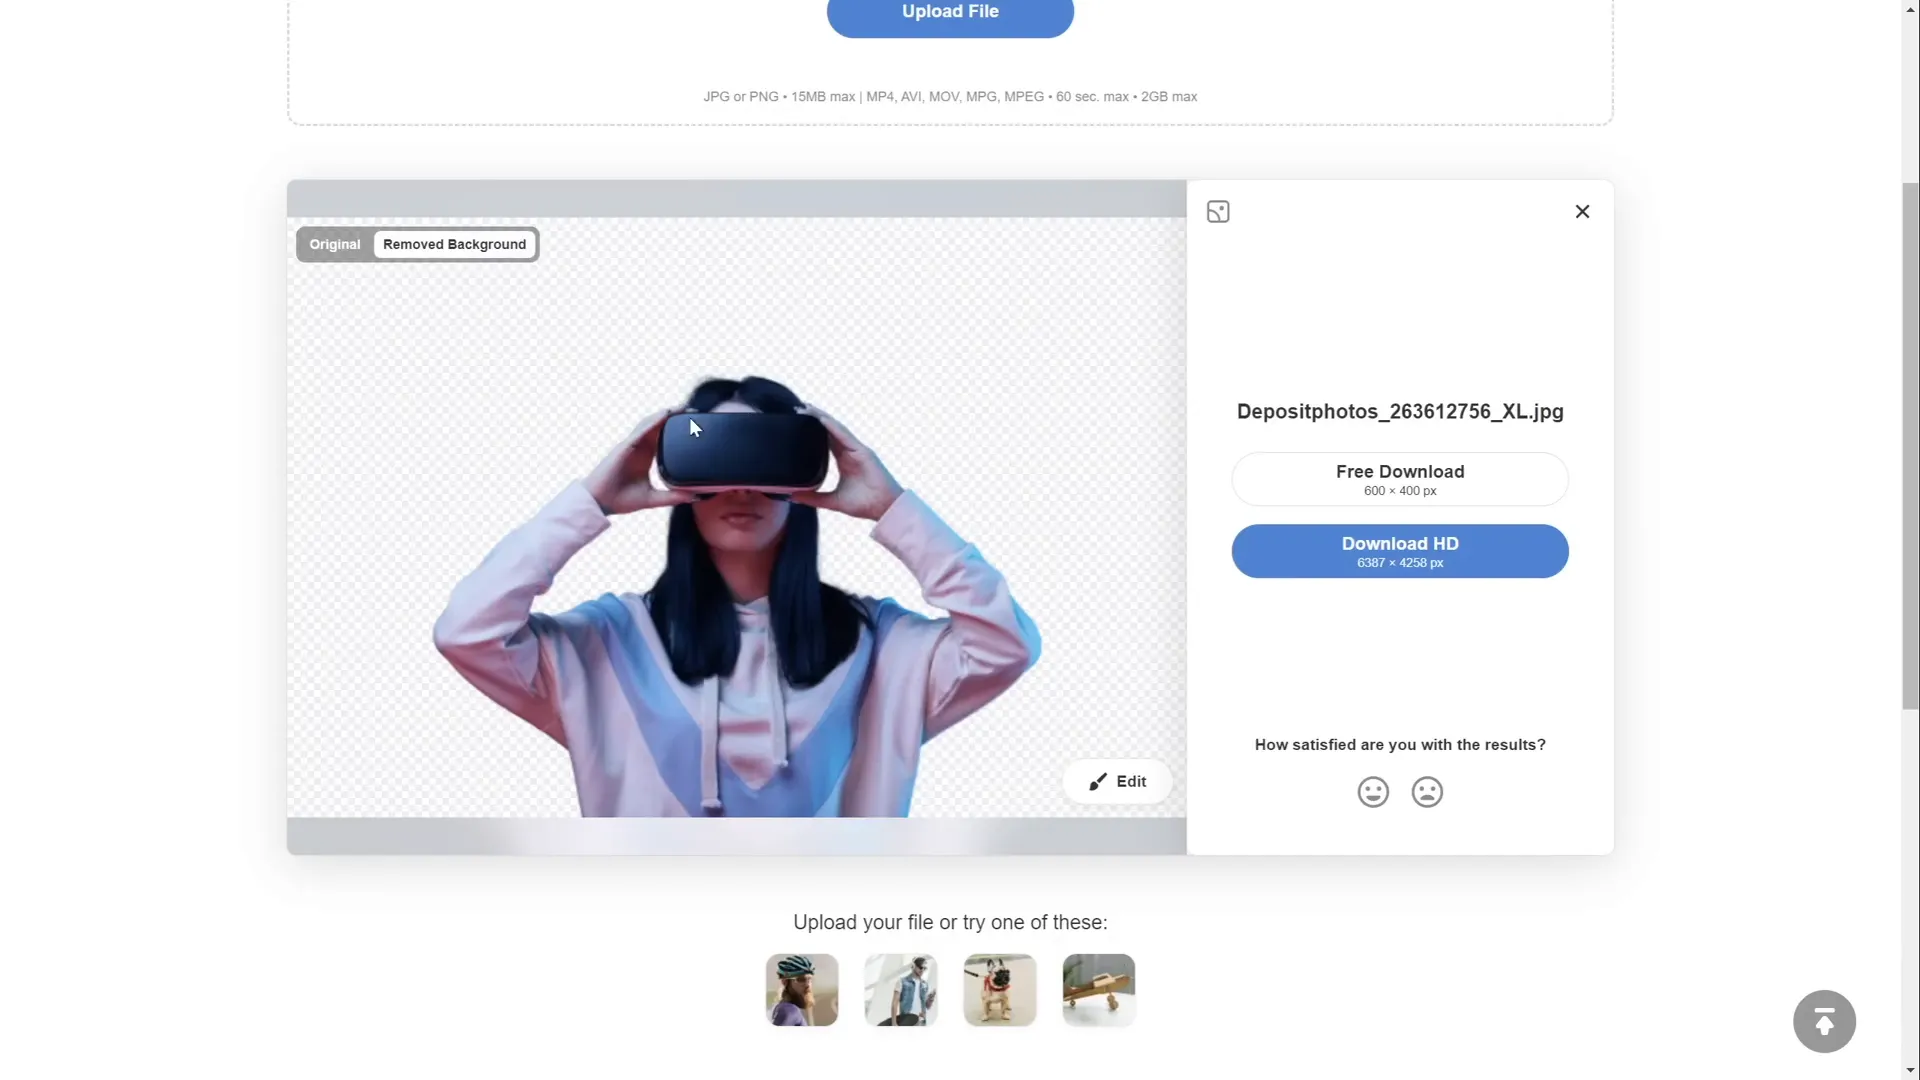
To add more visual interest, we include a photo of a model wearing virtual reality (VR) glasses. However, these photos often come with distracting backgrounds that need to be removed for seamless integration into your slide design.
Luckily, Depositphotos offers a free background remover tool that works like magic. You simply drag and drop your image (or video), and the tool automatically removes the background, leaving you with a clean cut-out.
Here’s the process:
- Upload your photo to the background remover tool on Depositphotos.
- The tool processes the image and displays the photo without its background.
- Download the cutout in standard resolution for free, or choose an HD version with a subscription plan.
- Use promo code ONESKILL20 to get 20% off any subscription plan.
- Insert the cut-out photo into your PowerPoint slide.
This tool saves tons of time and produces professional results that make your slide designs pop.
Creating Morph Animations for Smooth Transitions
One of the most impressive features of PowerPoint is the Morph transition, which allows you to animate smooth transformations between slides. In this project, we use Morph to animate the VR model shrinking while text boxes and widgets fly in from the sides.
Here’s how to create the first transition effect:
- Insert the model photo on your slide and place it centrally.
- Duplicate the slide using Ctrl + D.
- On the duplicate slide, reduce the size of the model photo while keeping it center aligned.
- Add text boxes and widgets on the duplicate slide positioned inside the slide area.
- On the original slide, move the text boxes and widgets outside the slide boundaries (off-canvas).
- Select both slides, then apply the Morph transition with a duration of 1 second.
When you play the slide show, the model shrinks, and the text boxes and widgets animate smoothly from outside the slide area to their positions inside the slide, creating a dynamic and polished effect.

To enhance the design, add a logo or branding element like the One Skill logo in the corner to maintain consistency and professionalism.
Using Text Boxes with Poppins Font and Glowing Effect
The text boxes use the Poppins font, available for free on Google Fonts. Use different font weights like Regular and SemiBold to create hierarchy and interest.
To make the text stand out with a glowing effect:
- Apply a white shadow with 100% size and 100 points of blur to each text box.
- This adds a subtle glow that complements the futuristic theme of the presentation.
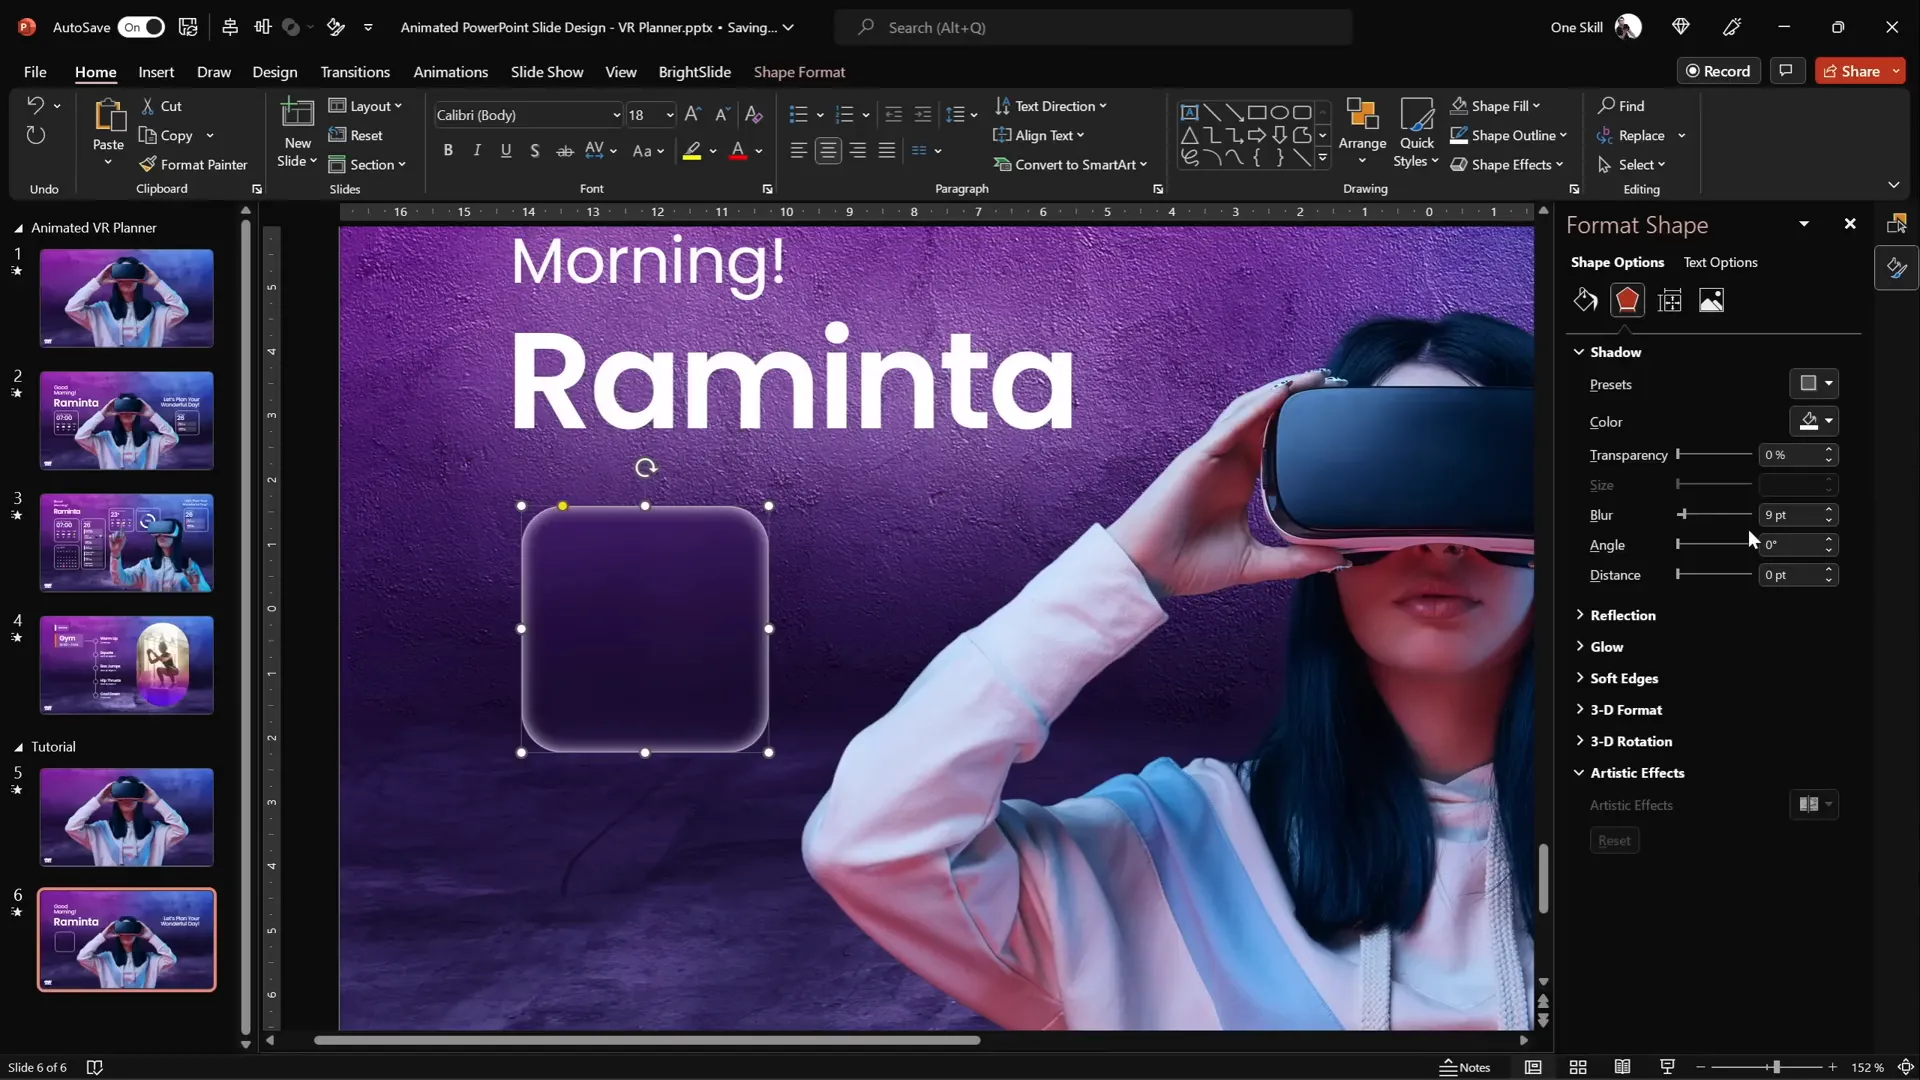
Designing Modern UI Widgets in PowerPoint
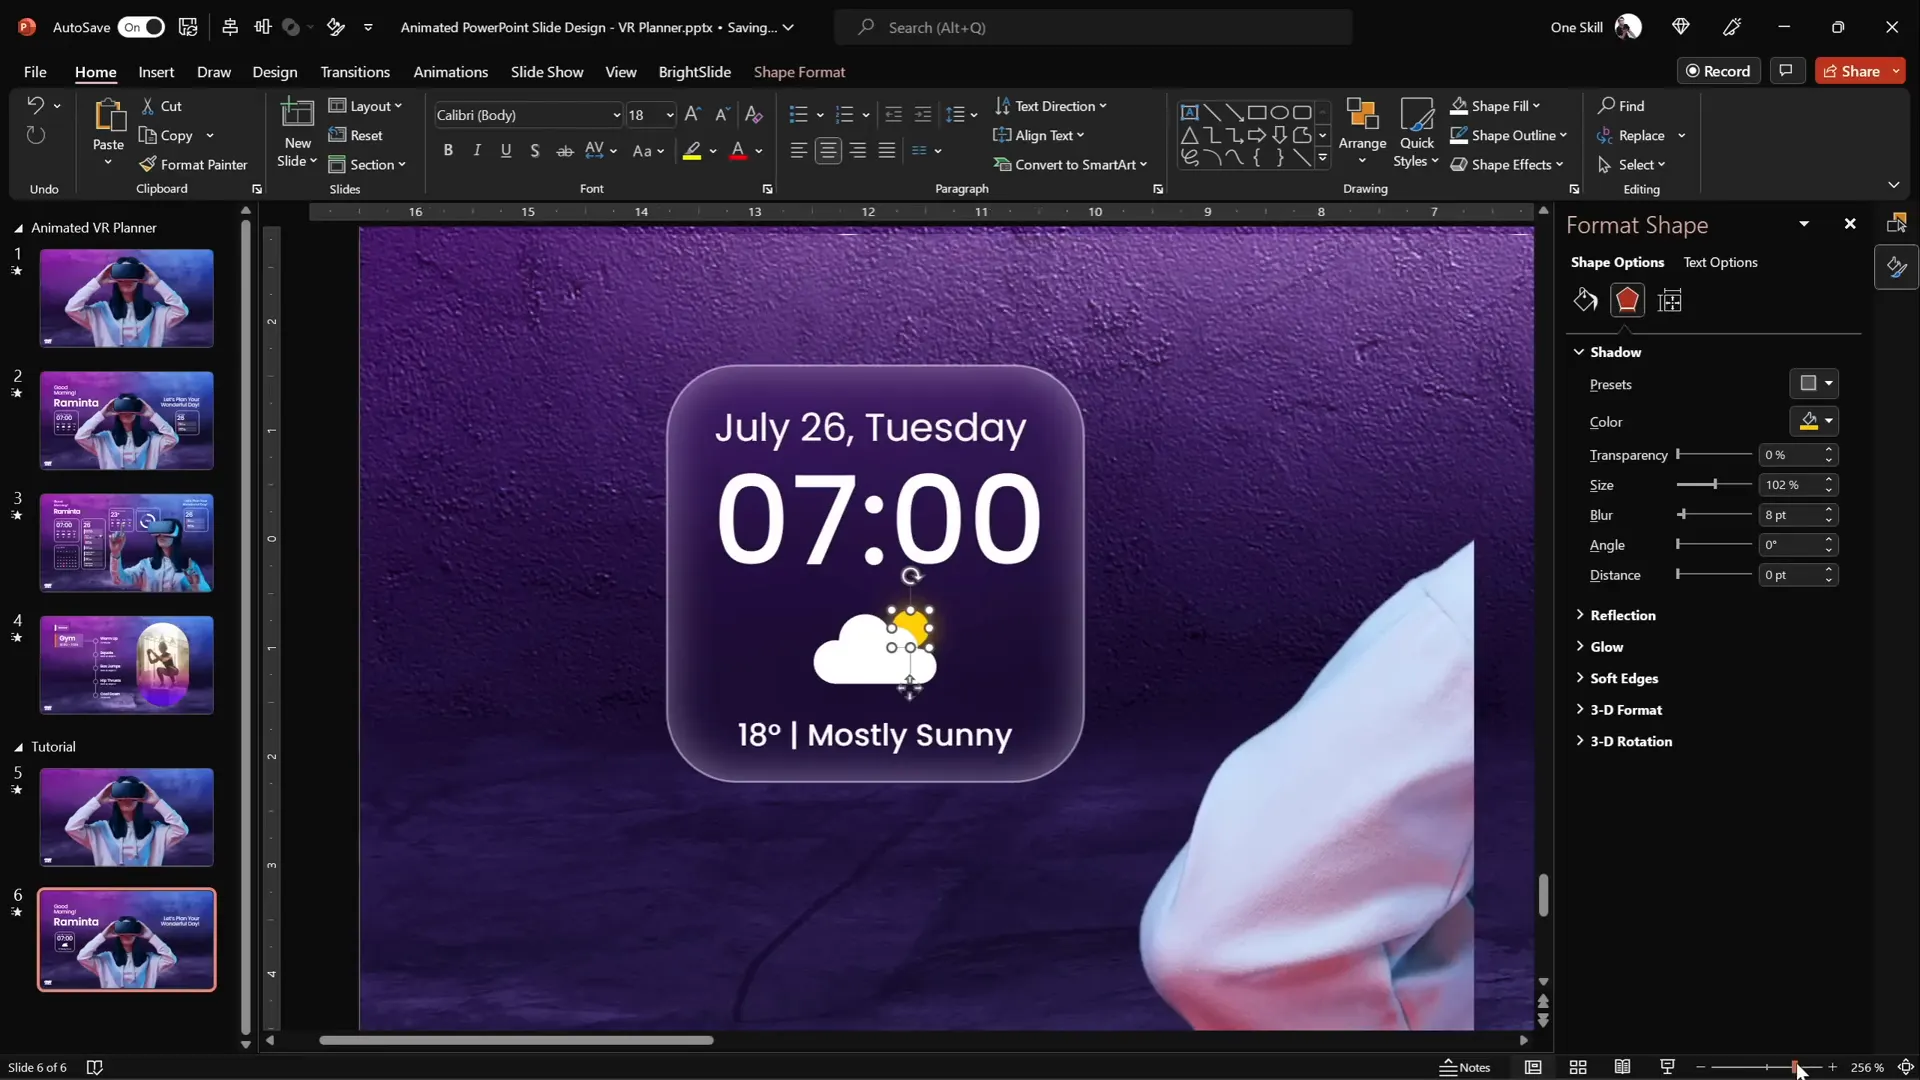
A key part of the virtual planner UI is the inclusion of modern, minimalistic widgets that display useful information like current time, weather, and daily schedule. These widgets have a frosted glass effect that blends beautifully with the blurred background.
Step-by-Step: Creating a Frosted Glass Widget
- Insert a rounded rectangle shape on the slide.
- Set the outline color to white and remove the fill.
- Adjust the outline transparency to 50% and set the line width to 0.5 pt for a subtle border.
- To achieve the frosted glass effect, copy the slide’s background photo.
- Paste the copied background photo onto the slide and apply a Blur artistic effect with a radius of 50 points.
- Set this blurred photo as the slide background fill for the rounded rectangle shape.
- Add an inside white shadow with 50% transparency and 15 points blur to create a frosty edge.
- Insert text boxes inside the widget for time, temperature, or schedule items.
Adding Weather Icons and Effects
To visually enhance the weather widget, add simple icons like clouds and sun using PowerPoint’s built-in icon library.
- Go to Insert > Icons and search for “cloud”.
- Insert the cloud icon and recolor it white.
- Insert a perfect circle (hold Shift while drawing) to represent the sun.
- Add an outside shadow with an orange glow to simulate sunshine.
- Arrange the sun behind the cloud for a layered effect.
Group all these elements to manage them easily as a single widget. This technique creates elegant, reusable UI components that can be placed anywhere on your slides.

Building the Second Transition with Photo Morphing
The second transition involves changing the model photo to a different pose, adding more widgets, and animating text boxes to shrink and move upwards. This creates a dynamic progression in the user interface.
Key points to ensure smooth morphing between two different photos:
- Rename both photos with the exact same name, starting with double exclamation marks (e.g., !!photo).
- This naming convention lets PowerPoint’s Morph transition recognize the images as the same object and morph between them.
- Changing the name breaks the morph effect, so keep this consistent.

To save time, duplicate slides and copy-paste widgets and text boxes between slides, adjusting their positions accordingly to create the animation effect.
Make sure to move widgets that should only appear on the second slide off the canvas on the first slide to animate them flying in from the bottom.
Adding Slide Zoom for Interactive Navigation
To create an interactive user experience, you can add a Slide Zoom that lets users zoom into different sections of your presentation seamlessly.
Here’s how to add and customize a slide zoom:
- Copy the slide you want to zoom into (e.g., the “gem” slide) and paste it at the bottom of your slide list.
- Apply the blurred background technique to this slide using the Format Painter.
- Go to Insert > Zoom > Slide Zoom and select the slide you want to zoom into.
- Resize the slide zoom thumbnail and remove its border for a clean look.
- Enable Return to Zoom so you can easily navigate back.
- Set the zoom transition duration (e.g., 0.5 seconds) and add rounded corners for style.
- Disable the reflection effect in Format Shape to keep the design clean.

You can add multiple slide zooms for different tabs or sections to create a professional, interactive presentation that mimics an app or website interface.
Final Tips and Best Practices for PowerPoint Slide Design
- Use High-Quality Images: Always source high-resolution images like those from Depositphotos to keep your slides crisp and professional.
- Leverage Morph Transition: This transition is powerful for animating objects smoothly without complex motion paths.
- Maintain Consistent Naming: For morphing to work between different objects, use consistent naming, especially for photos.
- Use Blurred Backgrounds Creatively: The blurred background fill technique adds depth and modernity to your widgets and UI elements.
- Group Elements: Group related shapes and text boxes to keep your slide organized and make editing easier.
- Test Your Presentation: Run through your slides in full-screen mode to ensure animations and transitions work as expected.
- Use Fonts Thoughtfully: The Poppins font adds a clean, modern look—download it from Google Fonts for free.
- Keep Elements Aligned: Use PowerPoint’s alignment tools to maintain a balanced and professional layout.
- Duplicate Slides to Save Time: Instead of recreating slides, duplicate and modify them to keep your design consistent and speed up workflow.
Summary Table: Key Steps for Animated PowerPoint Slide Design
| Step | Description | Tools/Techniques |
|---|---|---|
| 1. Background Image | Insert and crop a high-quality photo to cover the slide | Insert Pictures, Crop, Resize with Ctrl+Shift |
| 2. Subject Cutout | Remove background from model photo for clean integration | Depositphotos Background Remover Tool |
| 3. Morph Transition | Create smooth animations between slide elements | Morph transition, consistent object naming |
| 4. UI Widgets | Design frosted glass style widgets with blurred background fill | Rounded rectangles, Artistic Blur effect, Shadow effects |
| 5. Iconography | Add weather and UI icons for visual interest | Insert Icons, Shape tools, Shadows |
| 6. Slide Zoom | Add interactive navigation elements with slide zooms | Insert > Zoom > Slide Zoom, Format Shape |
Frequently Asked Questions
What is the Morph transition in PowerPoint?
The Morph transition is a powerful animation feature that allows smooth movement, resizing, and transformation of objects between two slides. It automatically animates changes in position, size, color, and shape for a polished effect.
How do I remove the background from an image easily?
You can use online tools like the free background remover on Depositphotos. Simply upload your image, and the tool automatically removes the background, providing a clean cut-out you can download and use.
Can I use any font for my PowerPoint UI design?
While you can use any font, it’s best to choose modern, clean fonts like Poppins to maintain readability and a professional look. Poppins is free on Google Fonts and supports multiple weights for design flexibility.
How do I create a frosted glass effect in PowerPoint?
Copy your slide background, apply a blur effect to it, and then use it as a fill for your shapes with some transparency and inner shadows. This creates a frosted glass look that mimics blurred glass panels.
What is a Slide Zoom and why should I use it?
Slide Zoom is an interactive feature that lets you create clickable thumbnails of other slides within your presentation. It enables smooth navigation and adds a modern, app-like feel to your PowerPoint designs.
How important is consistent naming for morphing photos?
Very important. Morph only works correctly when the objects have the same names. For photos, prefixing names with double exclamation marks helps ensure PowerPoint recognizes them as the same object for morphing.
Can I create fully animated UI designs in PowerPoint?
Yes! With creative use of shapes, images, transitions like Morph, and interactive features like Slide Zoom, PowerPoint can be used to prototype and simulate UI designs effectively.
Where can I find high-quality photos for PowerPoint slide design?
Depositphotos is an excellent source for high-quality, royalty-free photos, vectors, and videos. They offer a variety of subscription plans and a free background remover tool to streamline your design workflow.
Conclusion
PowerPoint slide design has evolved far beyond simple bullet points and static images. By harnessing powerful features like Morph transitions and Slide Zooms, combined with creative use of images and shapes, you can create engaging, interactive presentations that captivate your audience.
This tutorial demonstrated how to build a virtual planner user interface with animated elements and modern UI widgets entirely within PowerPoint. By following these steps, you can elevate your presentations, impress stakeholders, and even prototype app interfaces without leaving PowerPoint.
Remember, the key to great PowerPoint slide design is combining professional visuals, thoughtful animations, and smooth interactions—all achievable with the right techniques and tools.
Happy designing!
Check out the full video: Animated Slide Design 🔥 Slide Zoom UI 🔥


