
When it comes to delivering impactful presentations, the design of your PowerPoint slides plays a crucial role. One of the most effective ways to present chronological information clearly and engagingly is by using a timeline slide. In this comprehensive guide, you’ll learn how to create a simple yet powerful timeline slide in PowerPoint that not only looks professional but also enhances your storytelling.
This tutorial walks you through each step with clear instructions and practical tips to help you build a visually appealing timeline with interactive elements. Whether you’re a beginner or an intermediate PowerPoint user, this easy-to-follow guide will empower you to design your own custom timeline slide with animated sections that highlight your data points dynamically.
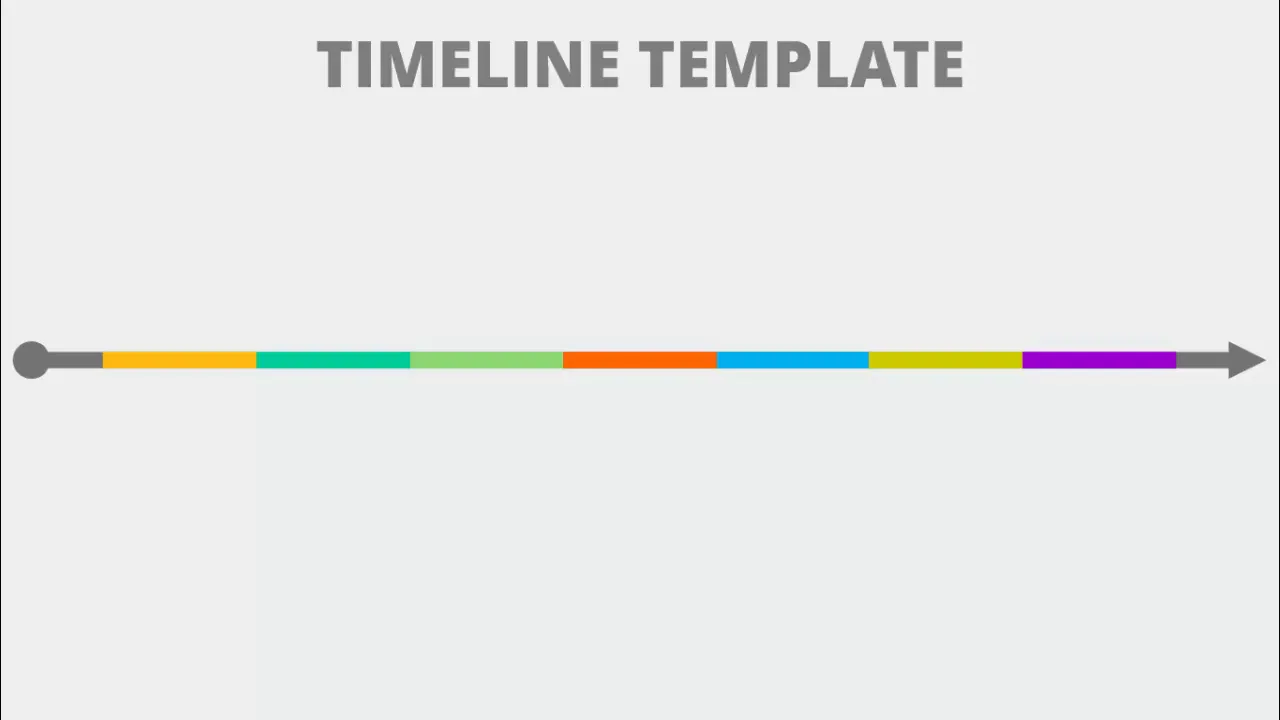
Table of Contents
- Why Use a Timeline Slide in PowerPoint
- Getting Started: Setting Up Your Slide
- Creating the Base Structure of the Timeline
- Adding Shapes and Applying Colors
- Designing Shadows and Visual Effects
- Inserting Text and Grouping Elements
- Duplicating and Arranging Timeline Segments
- Customizing Colors for Timeline Segments
- Adding Arrows and Fine-Tuning the Design
- Applying Animations for Interactivity
- Final Tips for Effective PowerPoint Slide Design
- Frequently Asked Questions (FAQ)
Why Use a Timeline Slide in PowerPoint
Timelines are one of the most versatile and powerful tools in a presenter’s arsenal. They help you:
- Visualize chronological events: Whether you’re displaying project milestones, historical data, or business growth, timelines organize information in a linear, easy-to-follow format.
- Engage your audience: A well-designed timeline keeps your audience focused and helps them better understand the progression of ideas or events.
- Highlight key points: Interactive timelines allow you to reveal information step-by-step, making it easier to emphasize important details without overwhelming your viewers.
- Maintain clarity and professionalism: Clean, colorful sections and clear labels make your data accessible and visually appealing.
By mastering timeline slide design, you can elevate your presentation’s quality and deliver your message more effectively.
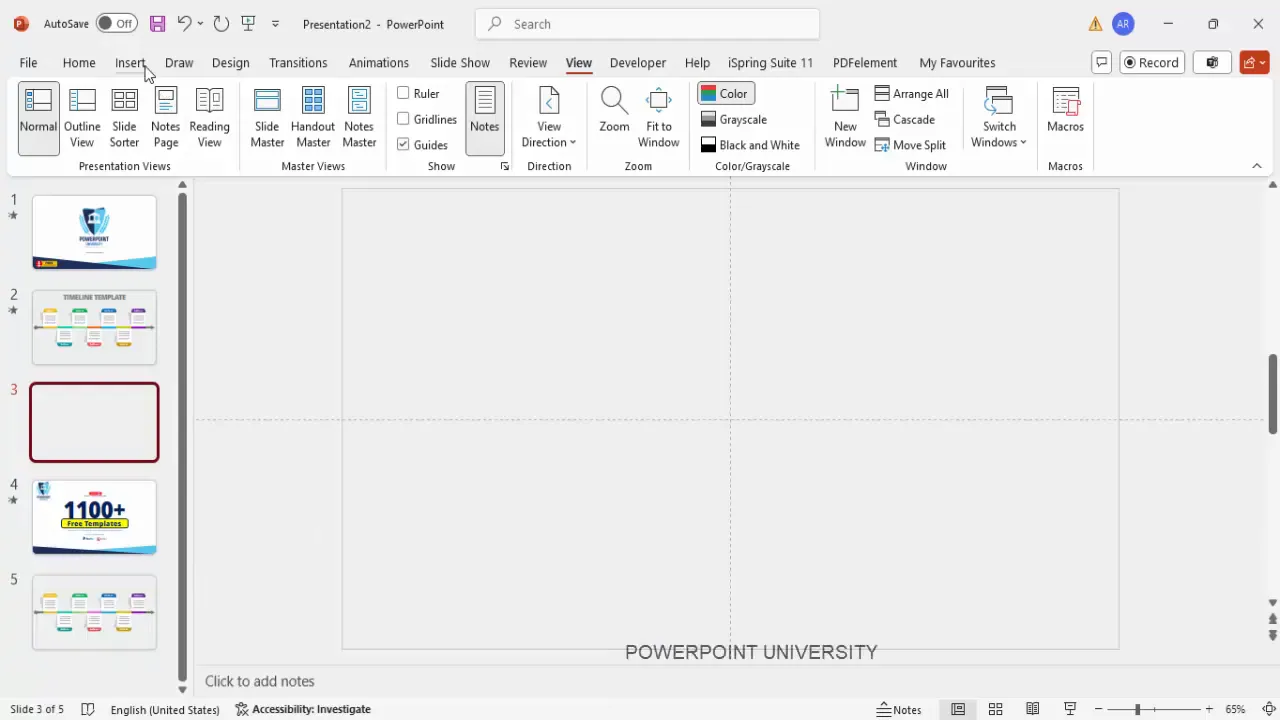
Getting Started: Setting Up Your Slide
Before diving into shapes and animations, it’s important to set up your PowerPoint slide correctly. Here’s how to begin:
- Add a new slide: Start by inserting a blank slide into your presentation to give yourself a clean canvas.
- Choose a light-colored background: A subtle, light background color helps your timeline stand out and keeps your slide looking professional.
- Enable guides: Go to the View tab and enable Guides. This will help you align shapes and text boxes precisely as you design your timeline.
Using guides is a crucial step for ensuring your timeline elements are perfectly aligned, which contributes to a polished final look.
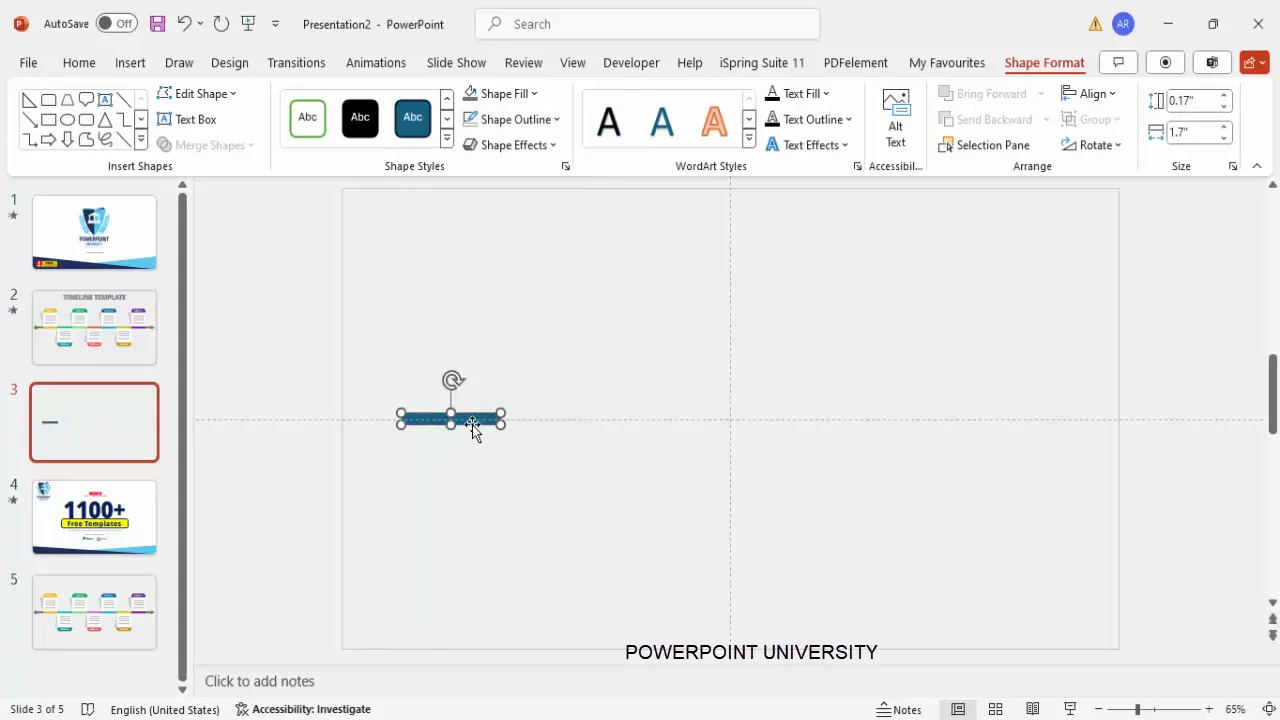
Creating the Base Structure of the Timeline
The foundation of your timeline slide is a segmented arrow that visually represents each timeline point. Here’s how to create it:
- Insert a rectangle shape: Go to Insert > Shapes and select a rectangle.
- Set dimensions: In the Shape Format tab, set the width to 1.7 inches and the height to 0.17 inches. This creates a slender horizontal bar.
- Remove outline: Change the shape outline to No Outline for a cleaner look.
- Duplicate the rectangle: Hold Ctrl + Shift and drag the rectangle to the right to create six more copies. Make sure there is no space between the rectangles to form a continuous segmented bar.
This segmented base will serve as the colored sections of your timeline arrow, with each rectangle representing a different timeline event or milestone.
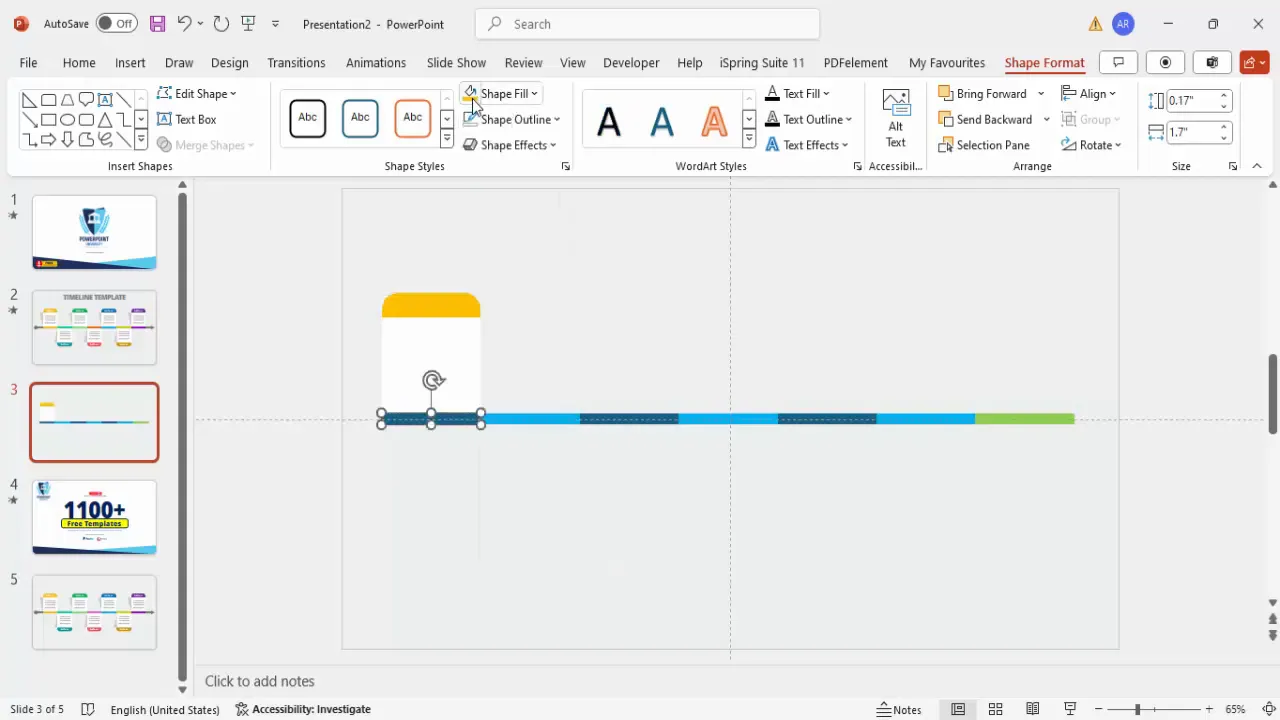
Adding Shapes and Applying Colors
Next, you’ll add rounded rectangles and split shapes to create visually appealing segments. Follow these steps:
- Insert a rounded corner rectangle: Select the rounded rectangle shape from Insert > Shapes.
- Draw the rounded rectangle: Match the width of your earlier rectangles but adjust the height as needed.
- Remove outline and fill with white: Set the outline to none and fill the shape with white color.
- Cut the shape into two parts: Insert a smaller rectangle over the top portion of the rounded rectangle. Select both shapes, then use the Merge Shapes > Fragment option to split them.
- Delete the unwanted fragment: Remove the bottom part to isolate the top section.
- Color the top fragment: Fill it with your chosen color, which will represent the timeline segment’s highlight.
Color coding each segment will help viewers quickly differentiate between events and adds vibrancy to your timeline.
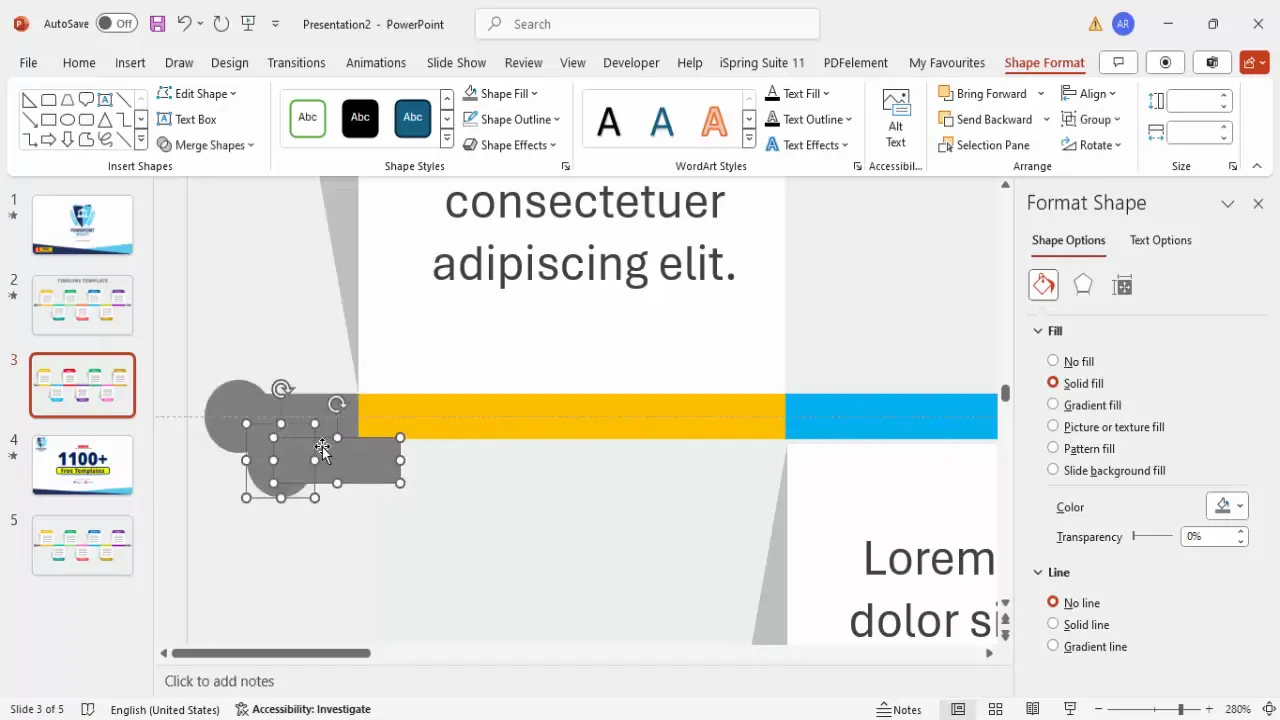
Designing Shadows and Visual Effects
To add depth and a professional finish, create shadow effects using simple shapes:
- Insert a right triangle shape: Go to Insert > Shapes and select the right triangle.
- Remove outline and fill with black: Set no outline and fill the triangle with black.
- Adjust transparency: Right-click the shape, select Format Shape, and increase transparency to about 80% for a subtle shadow effect.
- Flip the triangle: Use the rotate options to flip the triangle vertically and horizontally.
- Align the shadow shape: Position it near the colored segment to simulate a shadow.
- Duplicate for later use: Select both the colored segment and shadow, press Ctrl + D to duplicate and move the copy aside for reuse.
Adding shadows enhances the three-dimensional feel of your timeline, making it visually engaging without cluttering the slide.
Inserting Text and Grouping Elements
Now it’s time to add descriptive text to each timeline segment:
- Insert text boxes: Use Insert > Text Box to add labels such as “Data 01” or any title relevant to your timeline event.
- Format text: Make the font bold and change the font color to white for contrast against the colored background.
- Add additional details: Insert smaller text boxes below the main label to provide extra information, such as a year or description. Use a smaller font size (around 14 pt), center align, and optionally use a gray font color for subtlety.
- Group elements: Select the colored segment, shadow, and text boxes, then press Ctrl + G to group them. Grouping simplifies moving and duplicating these elements.
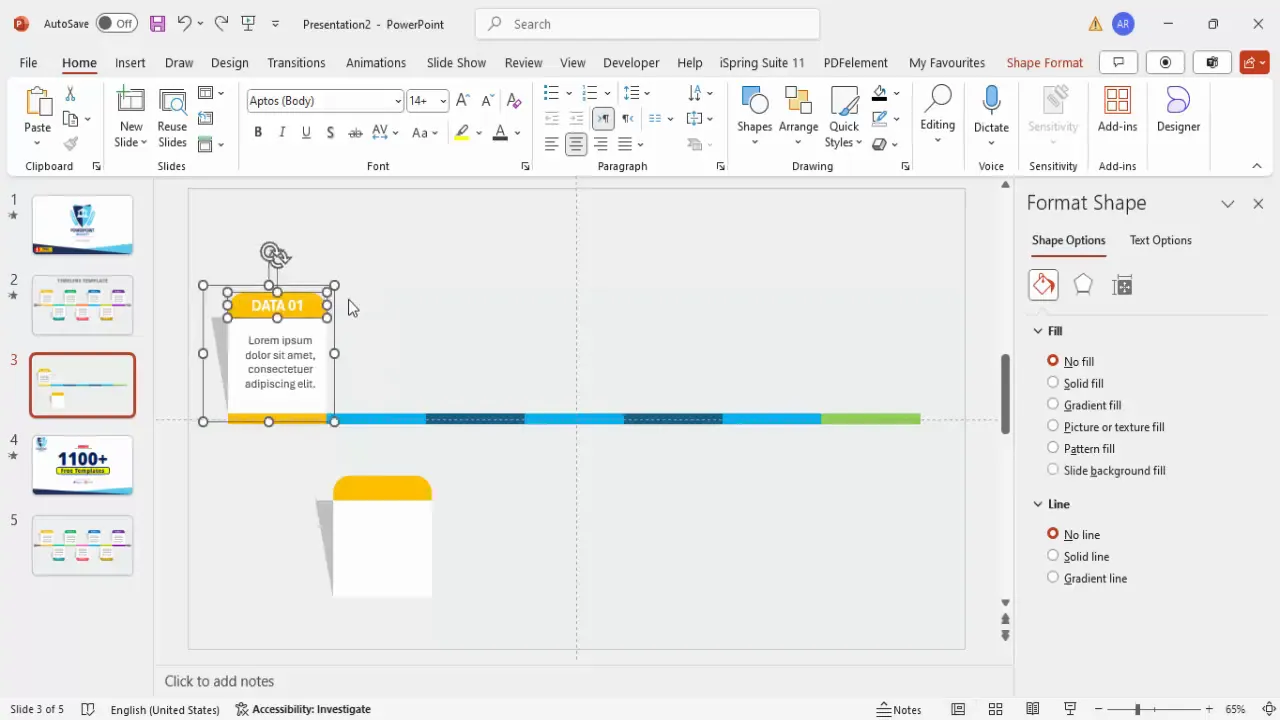
Grouping is essential for managing multiple objects as a single unit, making your workflow smoother and more efficient.
Duplicating and Arranging Timeline Segments
With one segment designed, duplicate and arrange it to form the full timeline:
- Duplicate grouped segments: Hold Ctrl + Shift and drag the grouped element to create copies.
- Position duplicates: Arrange the duplicated segments horizontally with consistent spacing.
- Flip alternate segments: For a dynamic look, rotate some grouped segments vertically (flip vertical) and position them above or below the main timeline bar.
- Update labels: Change the text labels on each segment to represent different data points, such as “Data 02,” “Data 03,” and so on.
- Group flipped segments: After adjusting the flipped segments and their labels, group them as well for easy manipulation.
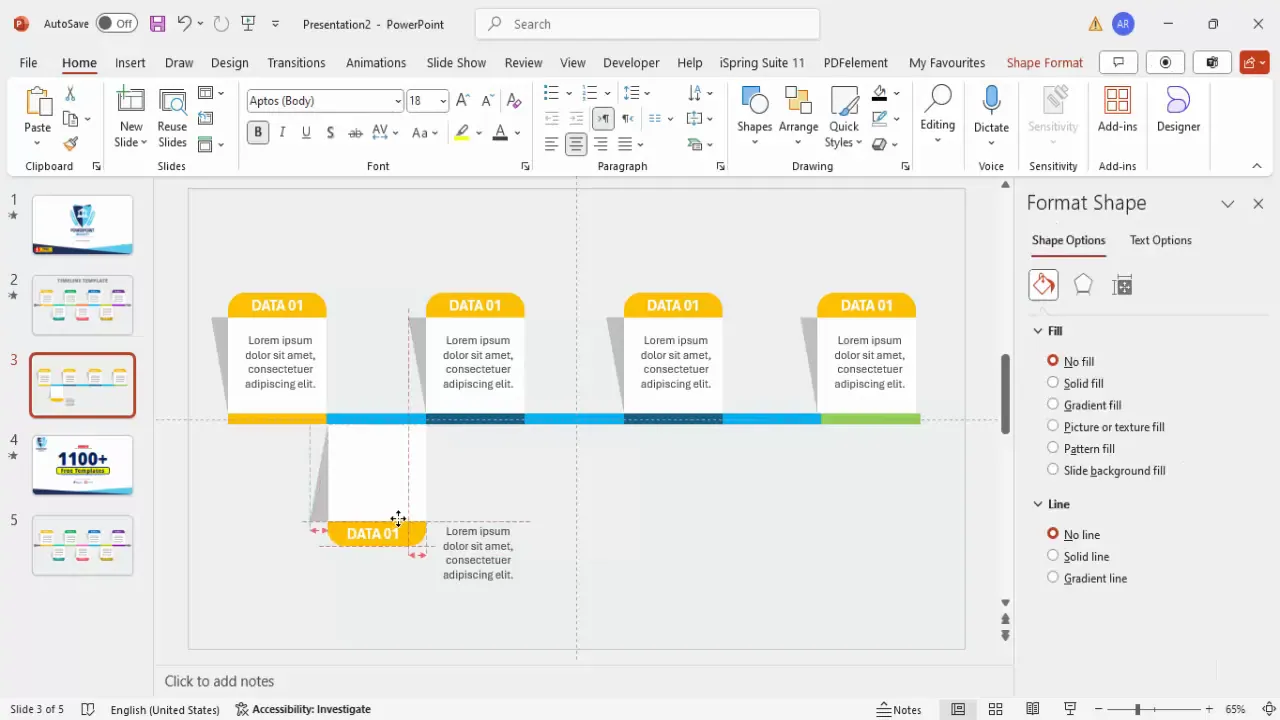
This alternating arrangement adds visual interest and helps differentiate timeline points along the arrow.
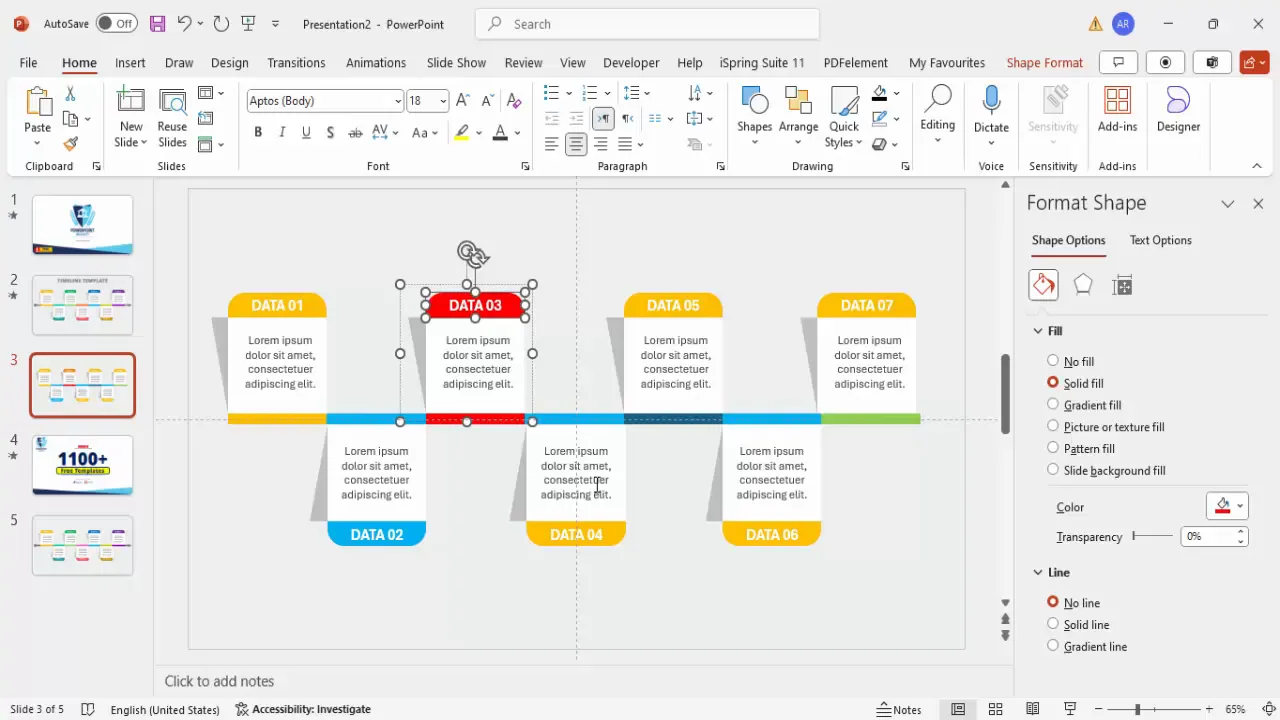
Customizing Colors for Timeline Segments
Color customization is key to making your timeline visually appealing and easy to understand. Here’s how to apply colors strategically:
| Segment | Color Choice | Usage |
|---|---|---|
| Segment 1 | Light Gray | Starting point or neutral phase |
| Segment 2 & 3 | Red | Important milestones or urgent data |
| Segment 4 & 5 | Purple | Secondary highlights or thematic grouping |
| Segment 6 | Pink | Additional emphasis |
| Segment 7 | Brown | Concluding or summary points |
Choose colors that align with your brand or presentation theme, ensuring they contrast well with your background and text.

Adding Arrows and Fine-Tuning the Design
To complete the timeline arrow and polish the design, add directional shapes and adjust details:
- Insert small oval shapes: Place an oval shape at the beginning of the timeline to mark the start.
- Remove outlines: Set shape outlines to none for a clean look.
- Create arrowheads: Use right triangles or standard arrow shapes to create the arrow tip at the end of the timeline.
- Combine shapes: Use the Merge Shapes > Union function to combine arrows and ovals into single shapes.
- Adjust sizes and positions: Zoom in and fine-tune the placement and dimensions to ensure everything aligns perfectly.
These finishing touches help guide the viewer’s eye and reinforce the timeline’s directionality.
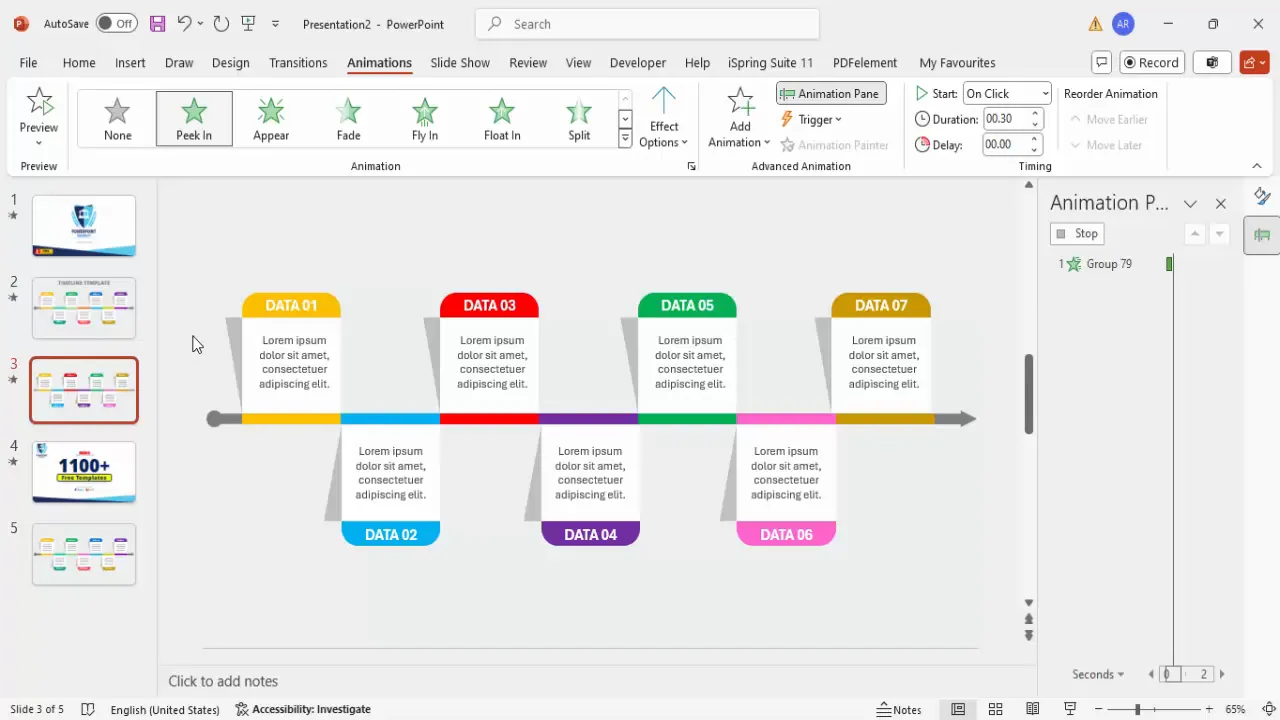
Applying Animations for Interactivity
Animations bring your timeline to life by revealing each segment one at a time, helping you control the flow of information during your presentation:
- Open the Animation Pane: Go to the Animations tab and enable the Animation Pane for better control.
- Add entrance animations: Select a timeline segment group, click Add Animation, and choose Peek In from the entrance effects.
- Adjust animation speed: Set the duration to around 0.3 seconds for a quick but noticeable effect.
- Use Animation Painter: Select the animated segment, click the Animation Painter tool, then click other segments to apply the same animation effect.
- Customize animation direction: Change the animation direction to “From Top” or “From Bottom” to match the position of each segment in your timeline.
- Sequence animations: Arrange the animation order to reveal segments one by one as you click through your presentation.
Animating your timeline segments sequentially helps maintain audience focus and highlights each data point effectively.
Final Tips for Effective PowerPoint Slide Design
To ensure your timeline slide is both visually appealing and functional, keep these best practices in mind:
- Keep it simple: Avoid overcrowding the slide with too many elements. Use white space effectively to balance your design.
- Maintain consistency: Use consistent fonts, colors, and shapes throughout your presentation for a cohesive look.
- Use high-contrast colors: Ensure text is readable against the background and colored shapes.
- Test your animations: Preview your slide show to make sure animations trigger as expected without delays or glitches.
- Use grouping strategically: Group related elements to simplify editing and moving parts of your timeline.
- Leverage PowerPoint’s guides and alignment tools: These tools help you achieve professional-level precision in your layouts.
Mastering these techniques will not only improve your timeline slides but also your overall PowerPoint slide design skills.
Frequently Asked Questions (FAQ)
What is the best way to start designing a timeline slide in PowerPoint?
Start with a blank slide and set a light background color. Use guides to help you align shapes and create a base segmented bar using rectangles. This structure forms the foundation of your timeline.
How do I make my timeline interactive?
Apply entrance animations such as “Peek In” to each timeline segment and sequence them in the animation pane. This allows you to reveal each data point as you click during your presentation.
Can I customize the colors of the timeline segments?
Yes, customize colors to fit your presentation style or brand. Use contrasting colors for visibility and group segments with similar colors to indicate related information or phases.
How do I ensure my timeline looks professional?
Utilize PowerPoint’s guides for precise alignment, use consistent fonts and colors, add subtle shadows for depth, and avoid overcrowding your slide. Keep text concise and readable.
Is it necessary to group elements in my timeline slide?
Grouping is highly recommended because it allows you to move, duplicate, and animate multiple objects as a single unit, streamlining your workflow and maintaining design consistency.
Can I reuse this timeline slide design for other projects?
Absolutely! Once you create your timeline slide, duplicate and modify it for other projects by changing colors, text, and animation sequences to suit different content.
Where can I find free PowerPoint templates to help with slide design?
Many online resources offer free PowerPoint templates, including channels like POWERPOINT UNIVERSITY, which provides over a thousand free templates for various presentation needs.
How do I add shadows and effects to shapes in PowerPoint?
Insert simple shapes like triangles for shadows, fill them with black, and adjust transparency to around 80%. Position and rotate these shapes to simulate shadows, adding depth to your design.
What font size and style should I use for timeline text?
Use bold fonts for titles with a font color contrasting the background (e.g., white on colored segments). For descriptions, use smaller font sizes around 14 pt, center-aligned, and consider gray color for subtlety.
How can I make my timeline slide more visually engaging?
Use alternating segment positions (above and below the timeline), varied colors, shadow effects, and smooth animations to keep your audience engaged and help convey your message clearly.
Check out the full video: Simple and Useful PPT Slide


