
PowerPoint slides design is a crucial skill for creating impactful business presentations. A well-crafted slide can communicate complex ideas clearly and engage your audience effectively. In this detailed guide, you will learn how to create a visually appealing 4-step arrow design slide in PowerPoint, complete with custom colors, 3D effects, text formatting, and animations. This step-by-step tutorial will empower you to design professional slides that elevate your presentations and make your business process flow visually compelling.
This tutorial is inspired by expert techniques shared by POWERPOINT UNIVERSITY, a leading source for free PowerPoint templates and advanced design tips. Whether you are a beginner or an intermediate PowerPoint user, you will find practical instructions and creative ideas to enhance your slide design skills.
Table of Contents
- Overview of the 4-Step Arrow Design Slide
- Preparing the Slide and Drawing Basic Shapes
- Applying 3D Effects and Depth to Shapes
- Customizing Colors, Outlines, and Materials
- Duplicating and Positioning Multiple Arrow Shapes
- Adding Arrowheads for Directional Flow
- Grouping and Resizing the Arrow Design
- Inserting and Formatting Step Text
- Adding Titles and Detailed Descriptions
- Applying Animations to Enhance Presentation
- Adding Shadow Effects for Depth
- Conclusion and Final Tips
- Frequently Asked Questions (FAQ)
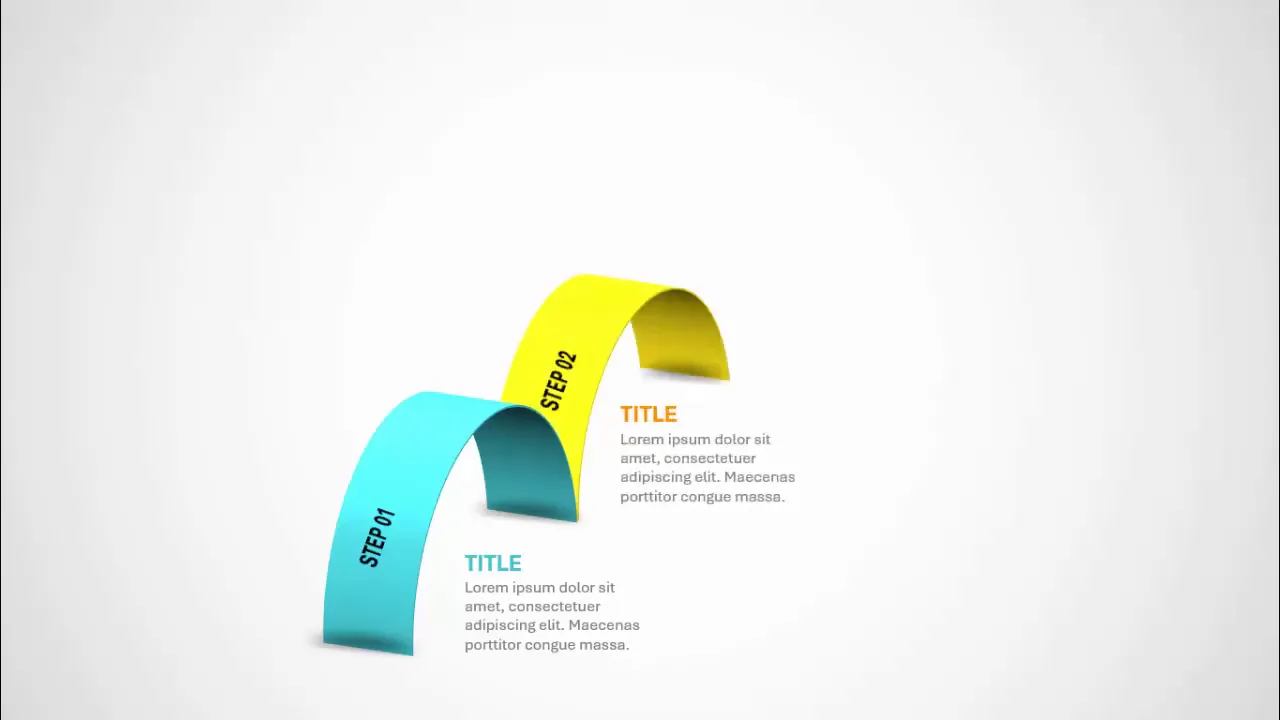
Overview of the 4-Step Arrow Design Slide
The 4-step arrow design slide is an excellent way to visualize a process or workflow in a clear, stepwise manner. The slide features four distinct steps, each highlighted by an arrow shape with a curved line effect and unique color combinations. As you click through the presentation, each step appears sequentially, guiding your audience’s attention smoothly from one stage to the next.
This arrow design can be customized to include more or fewer steps depending on your requirements. It is also flexible in terms of colors and styles, allowing you to tailor the slide to your brand or presentation theme.
Preparing the Slide and Drawing Basic Shapes
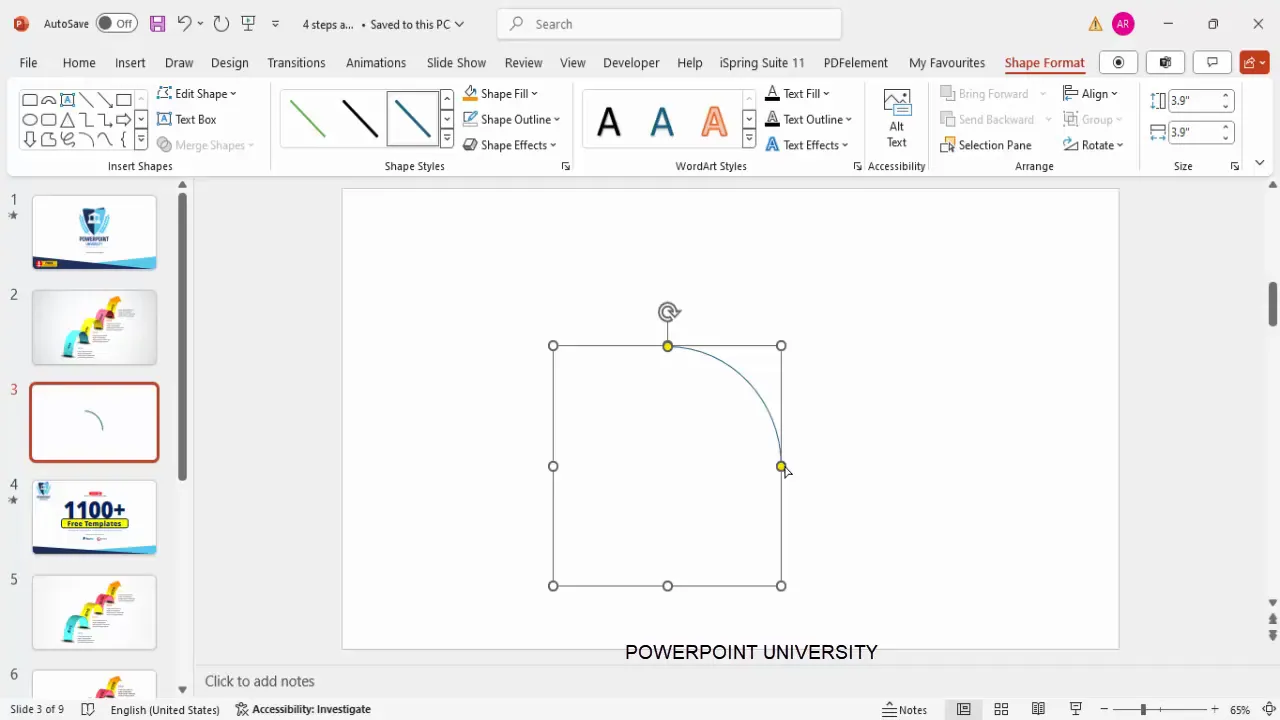
Start by adding a new blank slide to your PowerPoint presentation. To create the arrow shapes, go to the Insert tab and select Shapes. From the Basic Shapes section, choose the shape that looks like the letter “R” (a rounded shape that can be customized).
Hold the Shift key while drawing this shape to maintain proportions. Initially, this shape looks like a full circle, but you will adjust it to form a half-circle segment that will serve as the base for your arrow design.
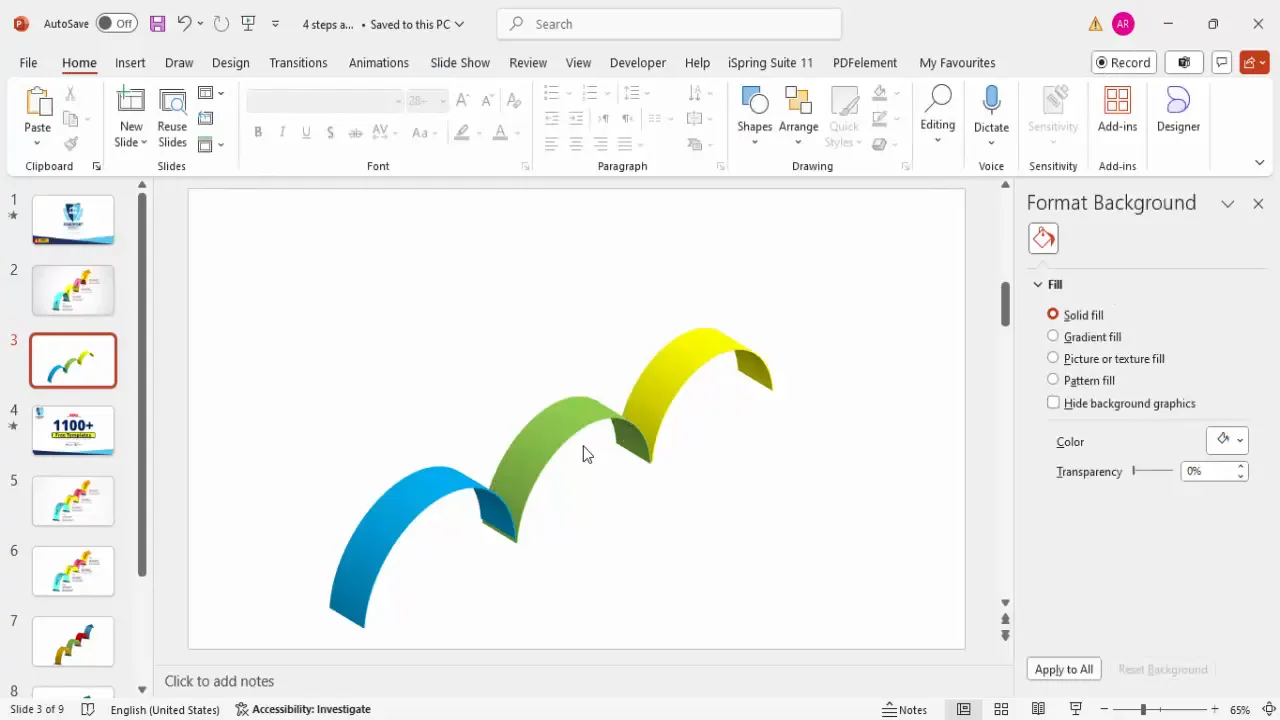
Drag the orange adjustment point on the shape to the left to make it a half-circle. This creates the curved line look that makes the arrow visually interesting and dynamic.
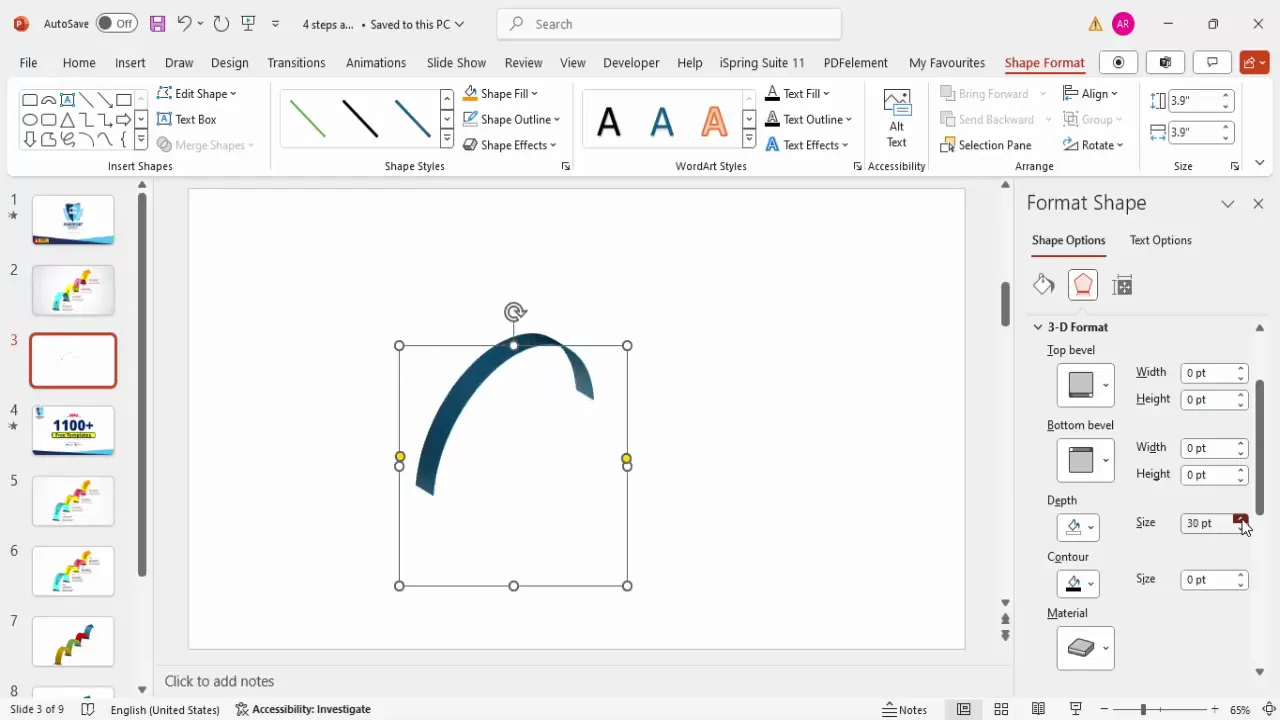
Applying 3D Effects and Depth to Shapes
Once your base shape is ready, right-click it and select Format Shape. Navigate to the Effects tab and under 3D Rotation presets, choose an isometric rotation such as Isometric Right Up to give the shape a three-dimensional perspective.
Then, switch to the 3D Format tab and increase the Depth value. This adds thickness to the shape, enhancing the 3D effect and making the arrow stand out on the slide. You can adjust the depth as needed to suit your design preferences.
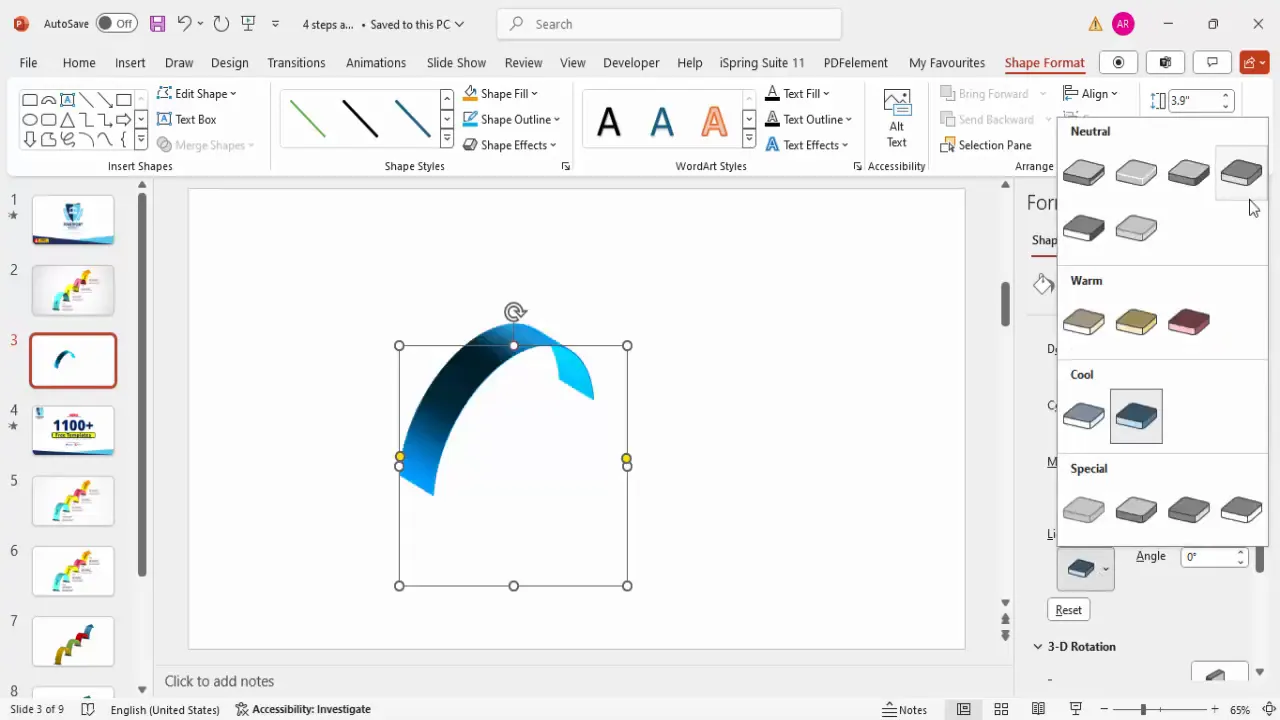
Customizing Colors, Outlines, and Materials
Next, customize the arrow’s outline color to match your presentation’s color scheme. Remember to change the Shape Outline color, not the Shape Fill, to keep the arrow’s fill transparent or consistent.
To add more visual flair, explore the Contour, Material, and Lighting options under the 3D Format settings:
- Contour: Adds an outline effect to the shape. For this design, it is usually turned off to keep the look clean.
- Material: Adjusts the surface texture and transparency of the shape. You can choose from options like Matte, Plastic, or Metal.
- Lighting: Controls the light source and shadowing on the shape, which affects how the 3D effect appears.
Experiment with different lighting presets to find the one that creates soft shadows and highlights, enhancing the arrow’s 3D feel without overpowering the slide.
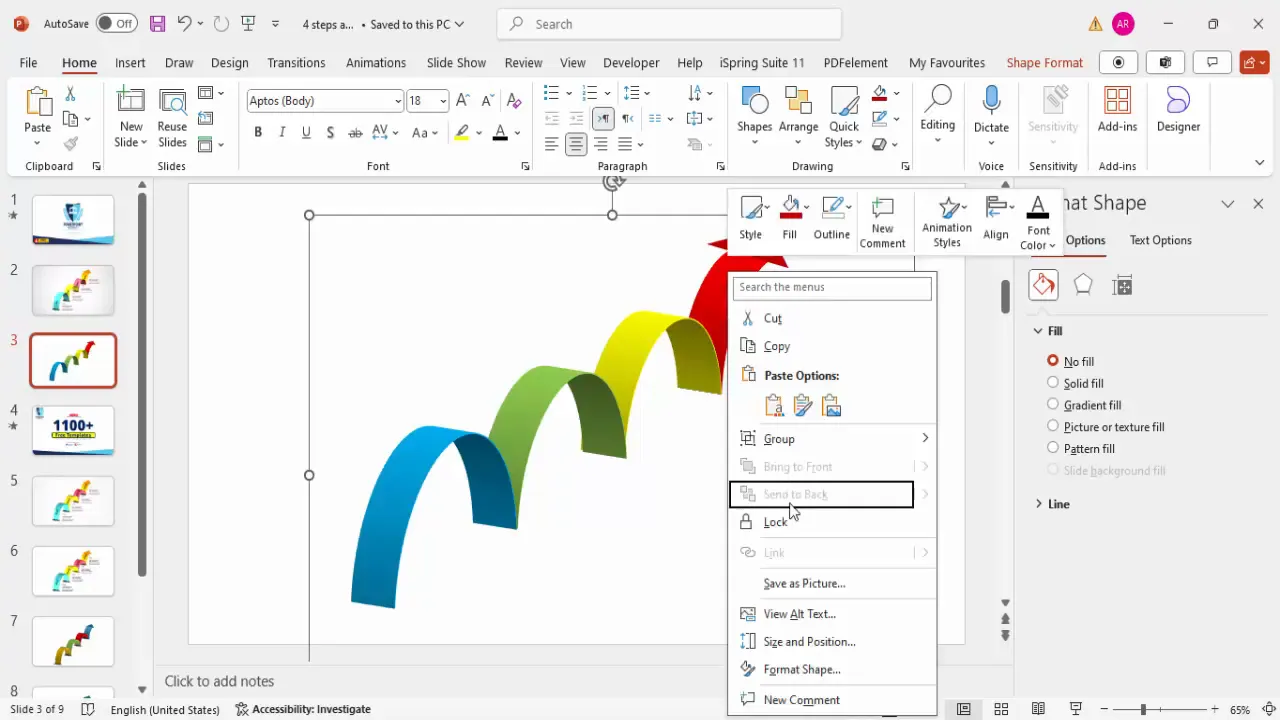
Duplicating and Positioning Multiple Arrow Shapes
Once your first arrow shape is styled perfectly, duplicate it by pressing Ctrl + D. For each duplicate:
- Change the outline color to create contrast between steps.
- Resize the duplicates slightly smaller than the previous arrow to create a layered, progressive effect.
- Position each smaller arrow behind the previous one by right-clicking and selecting Send to Back.
This layering technique visually represents the progression of steps in your process.
If you want to change the rotation of any arrow, revisit the 3D Rotation presets and select a different isometric angle to add variety or emphasize direction.
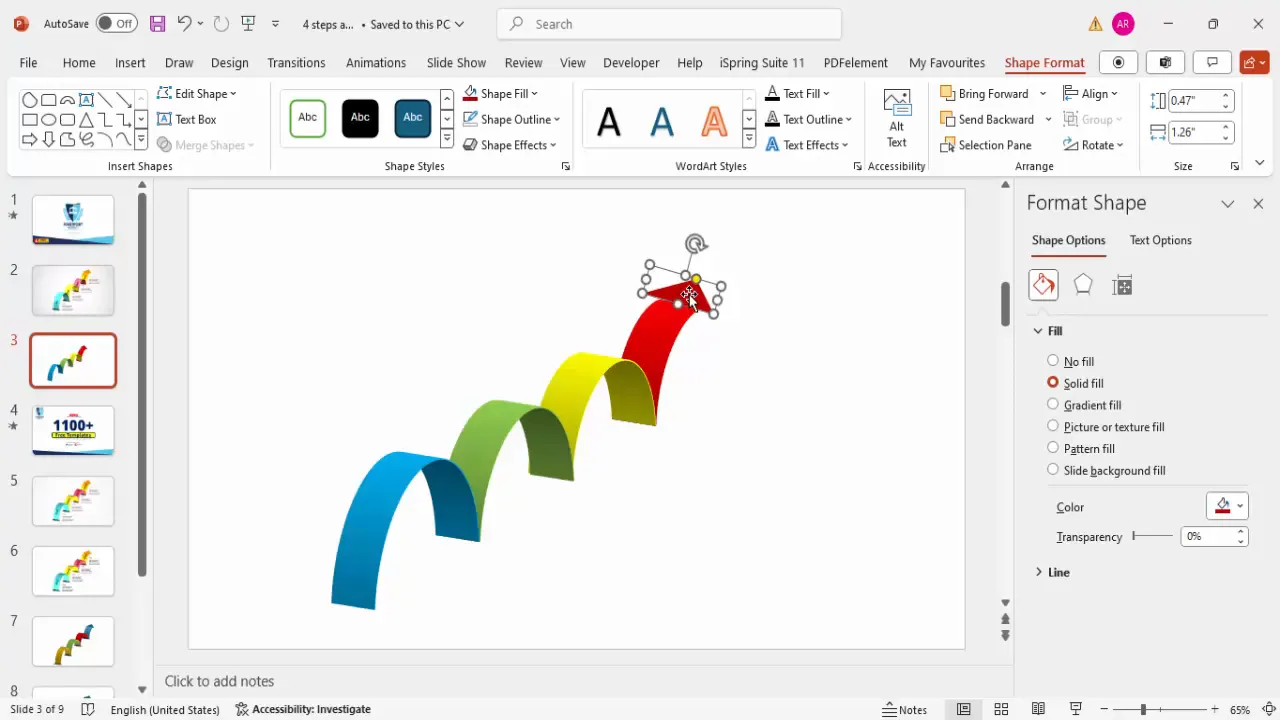
Adding Arrowheads for Directional Flow
To indicate the direction of the process flow, add an arrowhead to the last step:
- Insert a Triangle shape from the Basic Shapes menu.
- Fill the triangle with the same color as the last arrow shape to maintain consistency.
- Remove the outline by setting Shape Outline to No Outline.
- Rotate and position the triangle at the tip of the last arrow to create a smooth directional arrow.
This finishing touch makes the flow of steps intuitive and visually appealing.
Grouping and Resizing the Arrow Design
After arranging all arrow shapes and the arrowhead, select all elements by pressing Ctrl + A. Group them together with Ctrl + G to treat them as a single object. This allows you to resize the entire arrow design proportionally by holding the Shift key while dragging the corners.
You can also ungroup the elements if you want to make individual adjustments later.

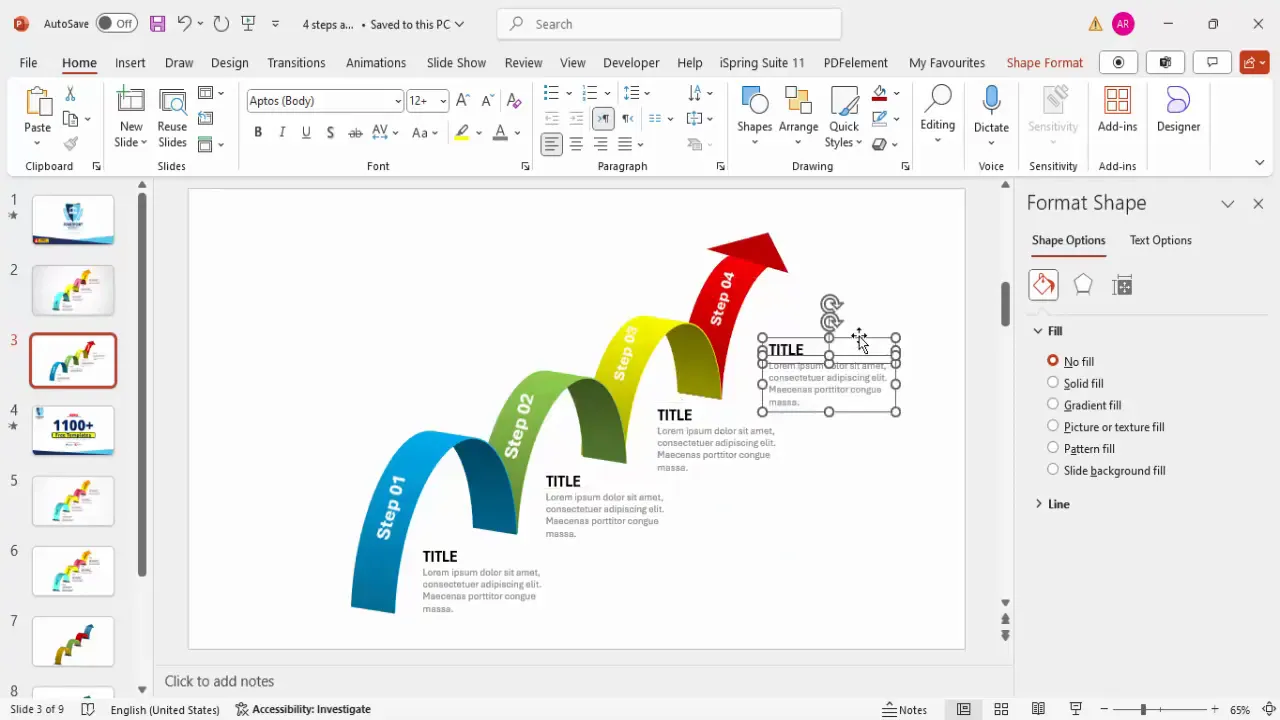
Inserting and Formatting Step Text
Now it’s time to add text labels for each step:
- Insert a Text Box and type “Step 01”.
- Format the text by making it bold, increasing the font size, and changing the font color to white for better contrast.
- Apply 3D rotation effects to the text by selecting the Text Options tab, then under Effects > 3D Rotation, choose a preset like Perspective Relaxed.
- Adjust the text direction by rotating it approximately 70 degrees for a dynamic look.
Duplicate this text box for subsequent steps and update the step numbers accordingly.
Adding Titles and Detailed Descriptions
To make the slide informative, add title and description text for each step:
- Insert a new text box for the title, make it bold, and position it near the corresponding arrow step.
- Add another text box below the title for a brief description or explanation of the step.
- Format the description text with a smaller font size and a gray color to differentiate it from the titles.
- Duplicate these text boxes for all steps and customize the titles and descriptions as needed.
Using concise and clear language here helps your audience quickly grasp the purpose of each step.
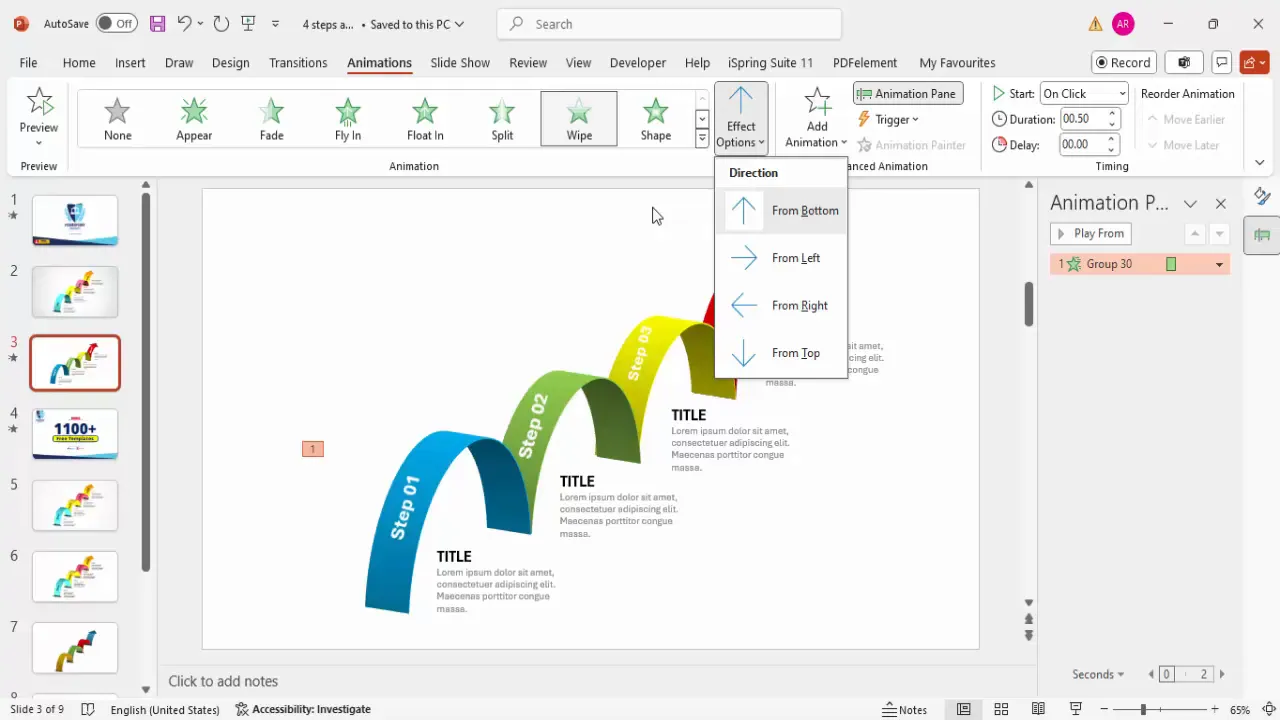
Applying Animations to Enhance Presentation
Animations can make your slide more engaging by revealing steps one at a time. Here’s how to add simple entrance animations:
- Group each arrow and its corresponding text elements together.
- Go to the Animations tab and open the Animation Pane for better control.
- Select the first group and apply the Wipe animation effect, choosing the direction (e.g., from left or bottom).
- Set the animation to start On Click or After Previous depending on your preference.
- Use the Animation Painter tool to copy this animation to the other groups for consistency.
Test your slide by playing the animations to ensure smooth transitions between steps.
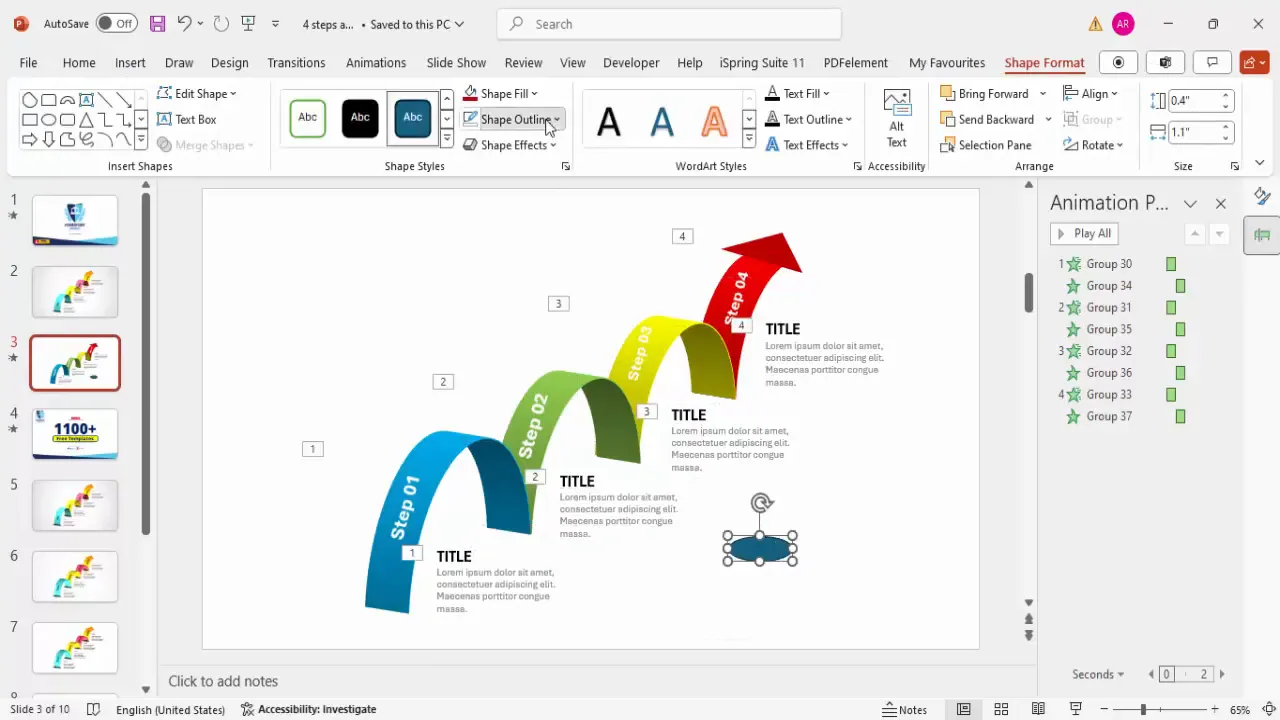
Adding Shadow Effects for Depth
To enhance the 3D effect and add depth to your design, include shadow shapes:
- Insert a small oval shape and remove its outline.
- Format the shape with a Gradient Fill, using two colors: black at the top and white with 100% transparency at the bottom.
- Select a linear gradient type and set the direction so the black color is at the top.
- Apply soft edges or blur effects under Effects to soften the shadow.
- Position the shadow underneath the arrows and adjust their size and orientation to create a natural shadow.
- Duplicate and resize shadows as needed for each step.
These subtle shadows add realism and polish to your slide design.
Conclusion and Final Tips
Creating a 4-step arrow design slide in PowerPoint is a powerful way to visualize processes, workflows, or business steps. By combining basic shapes, 3D effects, custom colors, text formatting, and animations, you can create a professional and engaging slide that captures your audience’s attention.
Here are some final tips to keep in mind:
- Keep it simple: Avoid cluttering the slide with too many elements. Four steps are ideal for clarity.
- Use consistent colors: Harmonize colors across arrows and text for a cohesive look.
- Test animations: Preview your slide to ensure animations flow smoothly and enhance rather than distract.
- Group objects: Group related elements for easier editing and animation management.
- Customize as needed: You can add more steps, change shapes, or adjust colors to fit your branding.
Mastering these techniques will elevate your PowerPoint slides design skills and help you communicate your business ideas more effectively.
Frequently Asked Questions (FAQ)
Can I create more than four steps using this arrow design?
Yes, you can easily add more steps by duplicating the arrow shapes and adjusting their size and position. Just ensure the slide doesn’t become too crowded and remains visually clear.
How do I change the color scheme to match my brand?
Simply select each arrow shape and change the Shape Outline and Shape Fill colors to your brand colors. You can also adjust the lighting and material effects to maintain consistency.
What if I want to use this design in a different presentation software?
This design relies on PowerPoint’s 3D effects and animations, which may not be fully supported in other software. However, you can export the slide as an image or PDF for use elsewhere.
How can I make the text more readable on the slide?
Use contrasting colors for text against the background and arrows. Increasing font size and applying bold formatting also helps. Applying subtle text shadows or 3D rotation effects can improve readability and visual appeal.
Is it possible to animate individual elements within each step?
Yes, you can animate individual shapes, text boxes, or groups separately. This allows for more detailed control over the presentation flow but requires careful timing to avoid complexity.
Where can I find free PowerPoint templates like this arrow design?
You can find thousands of free templates on channels like POWERPOINT UNIVERSITY, which offers over 1000 free templates. These resources provide professional designs that you can customize for your presentations.
Check out the full video: Business Steps to Success slide in PowerPoint


