
Welcome to this comprehensive guide on creating stunning folded paper design slides in PowerPoint. If you’re looking to elevate your PowerPoint Slides Design skills and make your presentations more engaging and visually appealing, you’re in the right place. This tutorial walks you through the process of crafting a four-option infographic slide with a unique folded paper effect, perfect for showcasing multiple points or options in a sleek, professional way.
This step-by-step article is inspired by the expert techniques shared by POWERPOINT UNIVERSITY, a YouTube channel dedicated to empowering users with over 1,000 free PowerPoint templates and tutorials. Let’s dive in and learn how to design these creative, fold-effect slides that will wow your audience and enhance your storytelling.
Table of Contents
- Introduction to Folded Paper Slide Design
- Preparation: Setting Up Your Slide and Shapes
- Creating the Folded Paper Effect
- Applying Gradient Colors for Realistic Folds
- Duplicating and Customizing Multiple Options
- Adding Icons, Titles, and Descriptive Text
- Grouping Objects and Adding Animations
- Customization Tips and Final Touches
- Frequently Asked Questions
- Conclusion
Introduction to Folded Paper Slide Design
PowerPoint Slides Design is all about combining creativity with functionality. Infographic slides that feature multiple options or steps are a great way to communicate complex information clearly. The folded paper design adds a visually interesting twist by mimicking the look of folded paper edges, which can help draw attention to each option individually.
In this tutorial, you will learn how to create a four-option folded paper infographic slide. Each option unfolds with a smooth animation to reveal an icon, a title, and detailed text. The design allows flexibility to increase or decrease the number of options depending on your presentation needs.
Preparation: Setting Up Your Slide and Shapes
Before diving into the folded paper effect, it’s essential to start with a clean slate and prepare the basic shapes that will form the foundation of your design.
Step 1: Add a New Slide
Begin by inserting a new blank slide in your PowerPoint presentation. This will give you ample space to create the folded paper design without distractions from other elements.
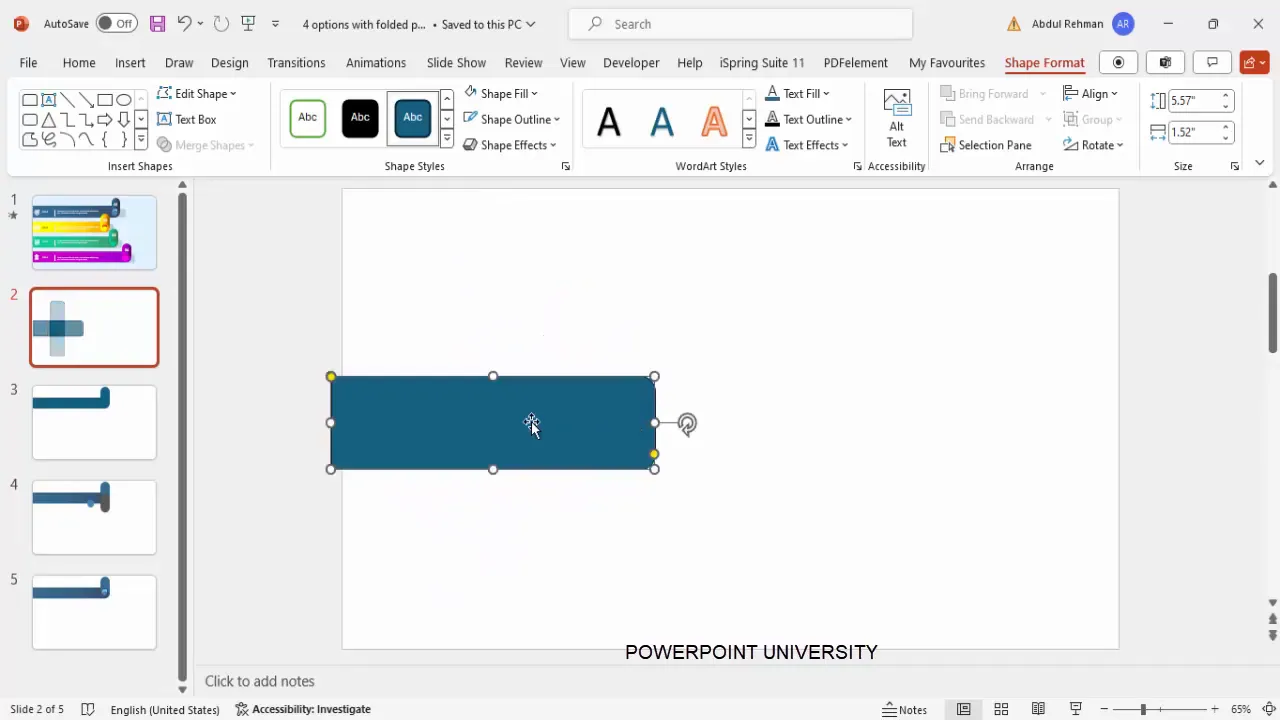
Step 2: Insert Rounded Corner Rectangles
- Go to the Insert tab and select Shapes.
- Choose the Rectangle: Rounded Corners shape from the rectangle options.
- Draw a rectangle on the slide. Then, rotate it by holding the Alt key and pressing the right arrow key, or use the rotation handle to tilt it to the desired angle.
- Adjust the width and length to create a narrow, elongated shape.
- Drag the small orange adjustment handle inside the shape to make one end fully curved, creating a sleek folded look.
- Remove the outline by selecting No Outline under the Shape Outline menu.
Step 3: Add a Second Rounded Rectangle
Repeat the process to add another rounded rectangle shape. This one should be curved on both ends to complement the first shape. Make sure to remove the outline and fill it with a different color for easy differentiation during editing.
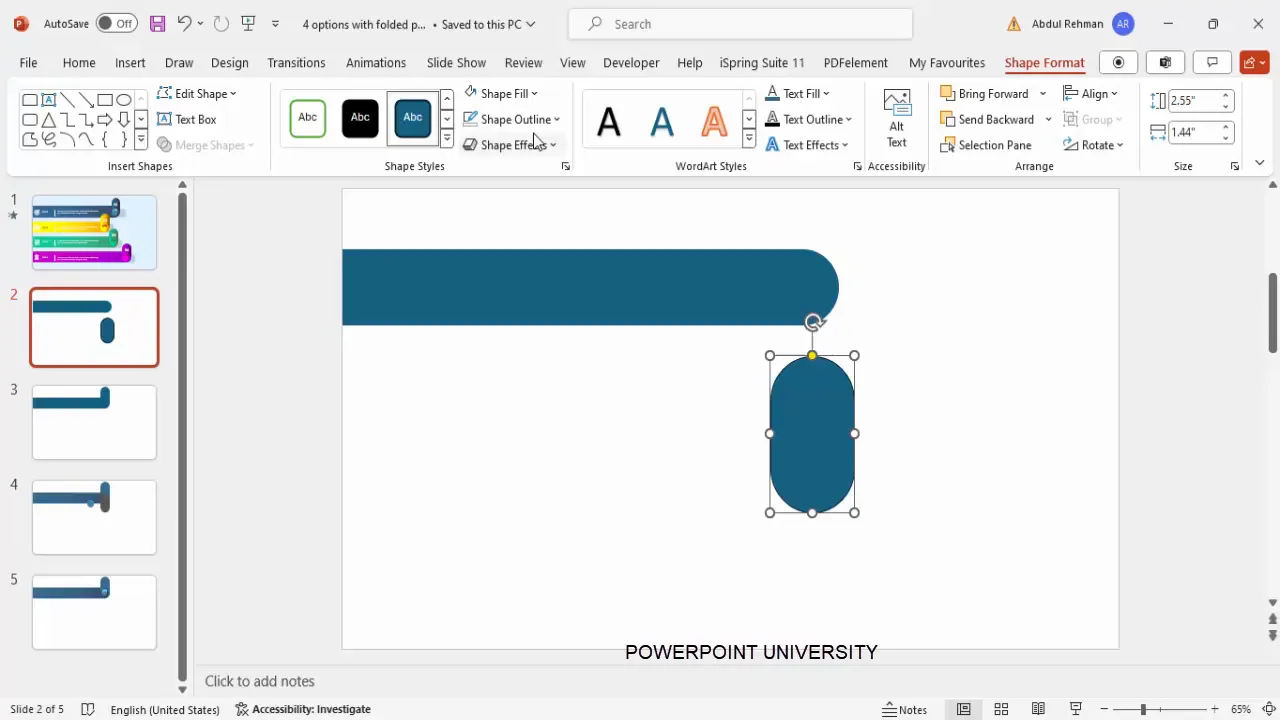
Step 4: Align the Shapes
Position the second rectangle so that it aligns perfectly with the first shape’s curved edge. Proper alignment is critical for the final folded effect to look clean and professional.
Creating the Folded Paper Effect
The folded look is achieved by cutting and layering shapes to create the illusion of paper folds. Follow these steps carefully to build the effect:
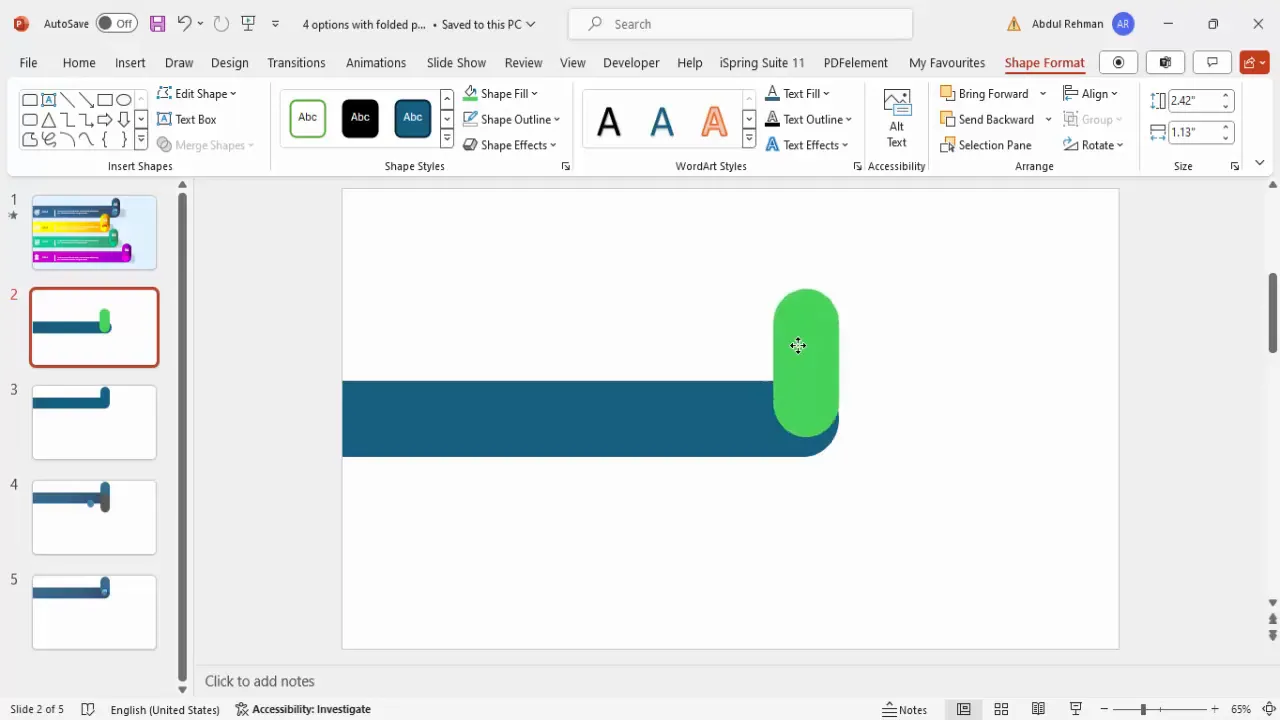
Step 1: Duplicate and Modify Shapes for Cutting
- Select the second rectangle and duplicate it by pressing Ctrl + D.
- Change the fill color of the duplicate shape to a contrasting color to keep track of edits.
- Increase the width of this duplicate shape.
- Position it so that it covers the bottom part of the original rectangle where you want to create the fold.
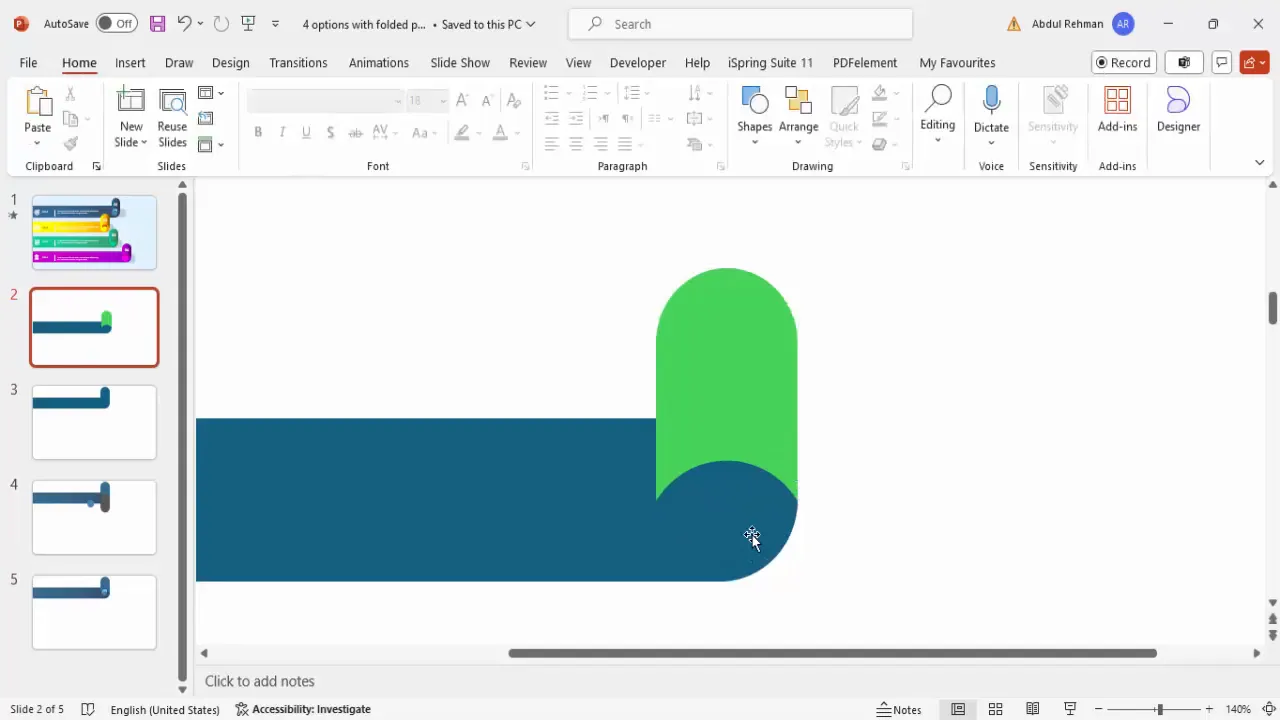
Step 2: Subtract Shapes to Create Fold Cut
- Select the larger duplicate shape, then hold the Shift key and select the smaller original rectangle.
- Go to the Shape Format tab.
- Choose Merge Shapes and then Subtract.
- This creates a cut-out that appears as a curved fold on the paper edge.
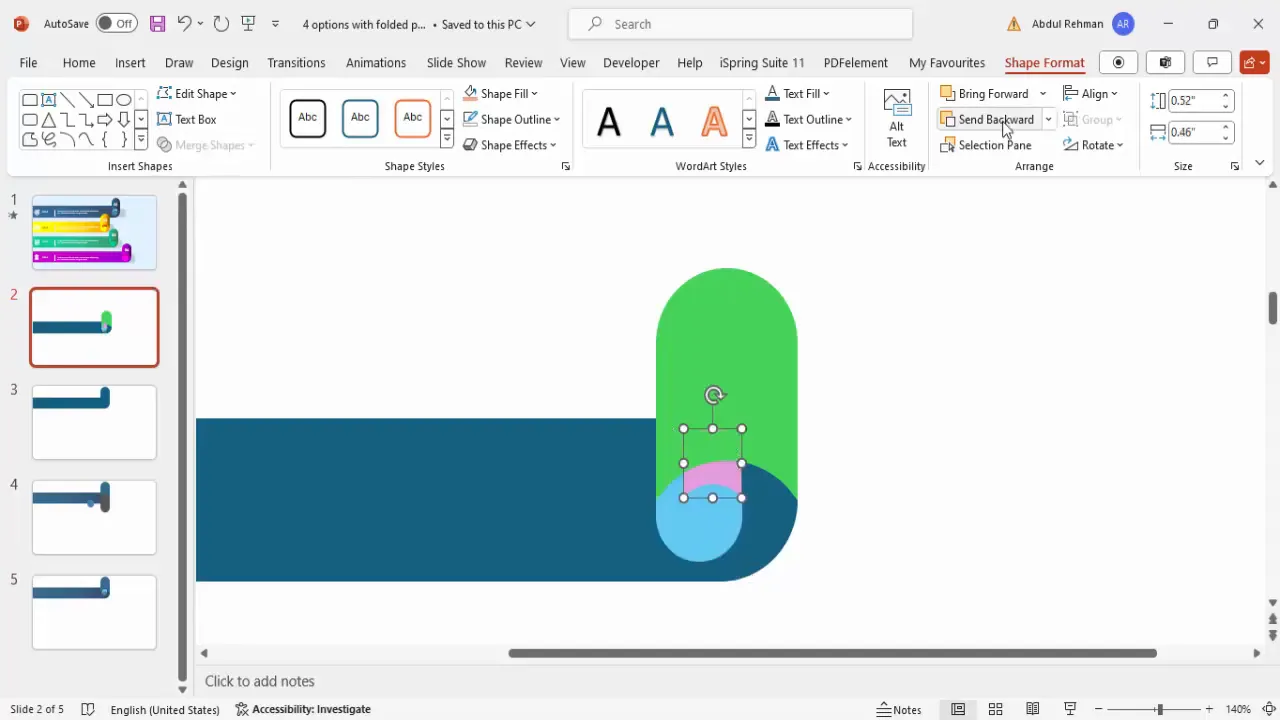
Step 3: Add Additional Folds
- Insert smaller rounded corner rectangles to represent additional folds.
- Make sure these shapes are fully curved at both ends and have no outline.
- Position these smaller shapes appropriately to layer on top of the base shapes.
- Duplicate and cut these shapes similarly to create more folds, using the Merge Shapes > Subtract function.
- Send these fold shapes backward to layer them correctly.
Applying Gradient Colors for Realistic Folds
Coloring plays a vital role in making the folds appear realistic. Using gradient fills with appropriate light and dark shades simulates shadows and highlights found in folded paper.
Step 1: Select Gradient Fill
- Right-click the main folded shape and select Format Shape.
- Choose Gradient Fill from the fill options.
- Set up two gradient stops: one for the lighter color and one for a darker shade.
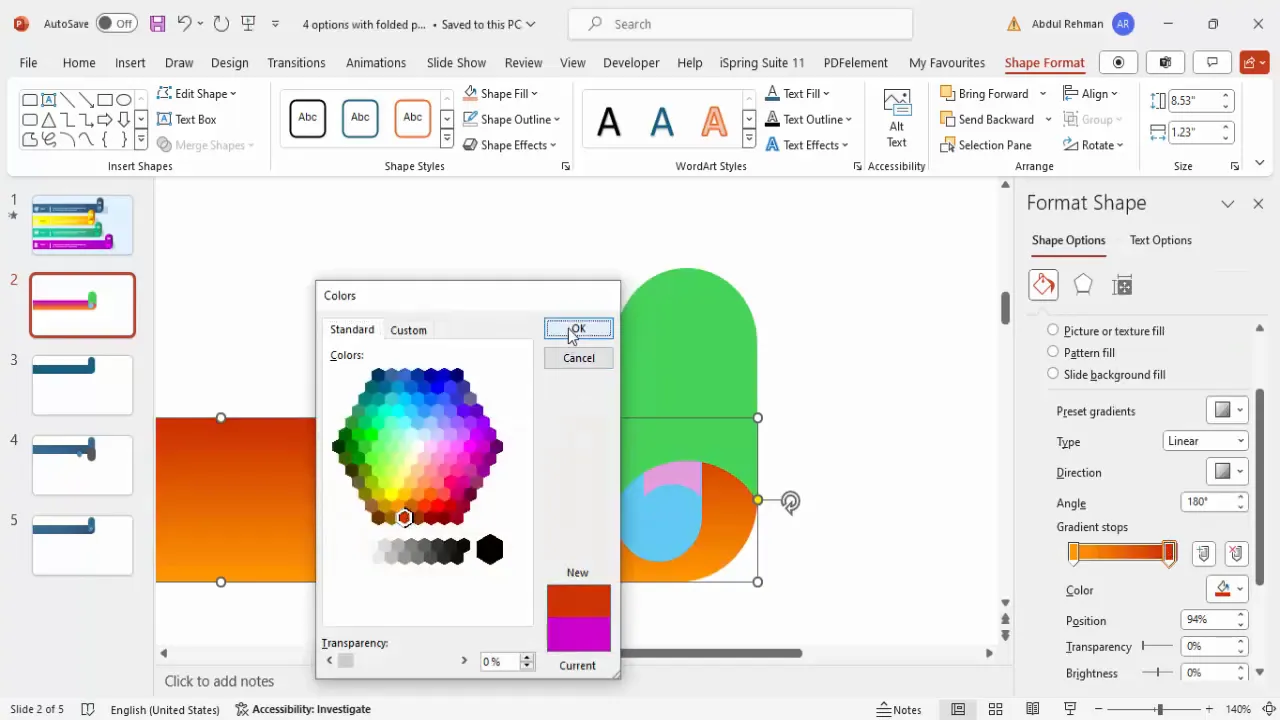
Step 2: Choose Colors
- Pick a primary color for your design, such as orange, blue, or green.
- Assign the lighter shade to the first gradient stop.
- Assign a darker shade of the same color to the second gradient stop.
- Adjust the gradient direction so the darker shade appears on the fold edge, enhancing the 3D effect.
Step 3: Apply Gradient to Fold Layers
- Use the Format Painter tool to copy the gradient fill from the main shape to the additional fold shapes.
- Adjust gradient directions and color shades on each fold to maintain the illusion of light and shadow.
- For deeper shadows, add an additional gradient stop with a darker color.
This careful gradient coloring creates a convincing folded paper look, making your infographic slide more dynamic and professional.
Duplicating and Customizing Multiple Options
Once you complete the first folded paper option, duplicating and customizing multiple options becomes straightforward.
Step 1: Duplicate and Align
- Select all shapes of the first option and press Ctrl + Shift to drag and duplicate downward.
- Align the new option slightly to the right or left to create a staggered infographic layout.
- Adjust the size of the duplicated shapes if you want to vary the scale of each option.
Step 2: Change Color Schemes
- For each duplicated option, change the gradient colors to create distinct color themes.
- Use color palettes like blues, greens, or any brand colors that fit your presentation.
- Ensure the gradient stops have matching light and dark shades for consistency.

Step 3: Adjust Positioning
Fine-tune the position of each option to avoid overlap and maintain a clean, readable layout. This flexibility allows you to increase or decrease the number of options to fit your content.
Adding Icons, Titles, and Descriptive Text
Icons and text are essential to communicate the content of each option clearly and attractively.
Step 1: Insert Relevant Icons
- Go to the Insert tab and select Icons.
- Choose icons that fit the theme or message of each option.
- Insert the icons and resize them to around 0.7 inches for consistency.
- Place each icon on the folded paper shape where it is clearly visible.
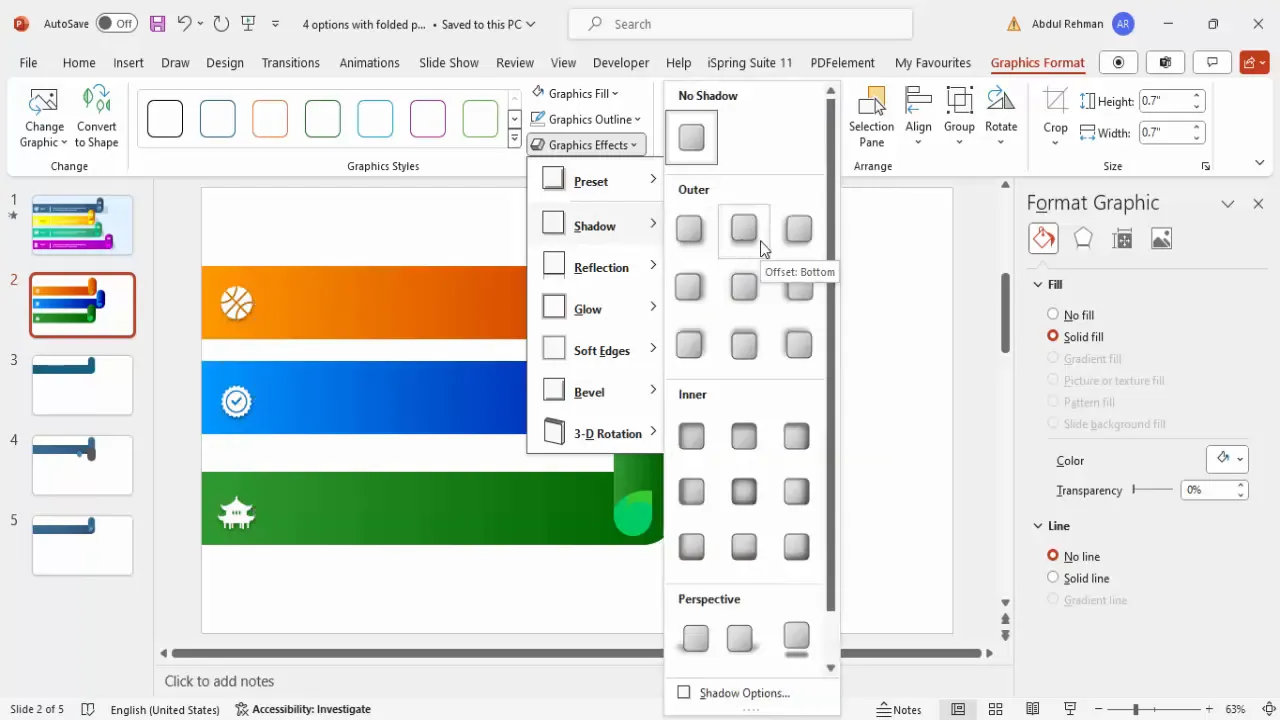
- Change the icon color to white for contrast against the colored folds.
- Add subtle shadow effects to the icons to enhance depth.
Step 2: Add Titles
- Insert a text box for the title on each option.
- Make the title bold and position it near the icon for easy association.
- Use a white font color to stand out against the colored background.
Step 3: Add Descriptive Text
- Below the title, insert a smaller text box for detailed description.
- Keep the font size between 12 and 14 points for readability.
- Use white font color and ensure the text is concise but informative.
Step 4: Add a Separator Line
- Insert a straight line below the title by holding the Shift key while drawing.
- Change the line color to white and adjust thickness to act as a subtle separator.
Grouping Objects and Adding Animations
Grouping and animating your folded paper options helps maintain organization and adds interactive flair to your presentation.

Step 1: Group Components for Each Option
- Select all shapes, icons, text, and lines that belong to one option.
- Press Ctrl + G to group them into a single object.
- This allows you to move and edit each option easily as a unit.
Step 2: Duplicate Grouped Options
- Duplicate the grouped option to create additional options.
- Adjust their position and update text, icons, and colors as needed.
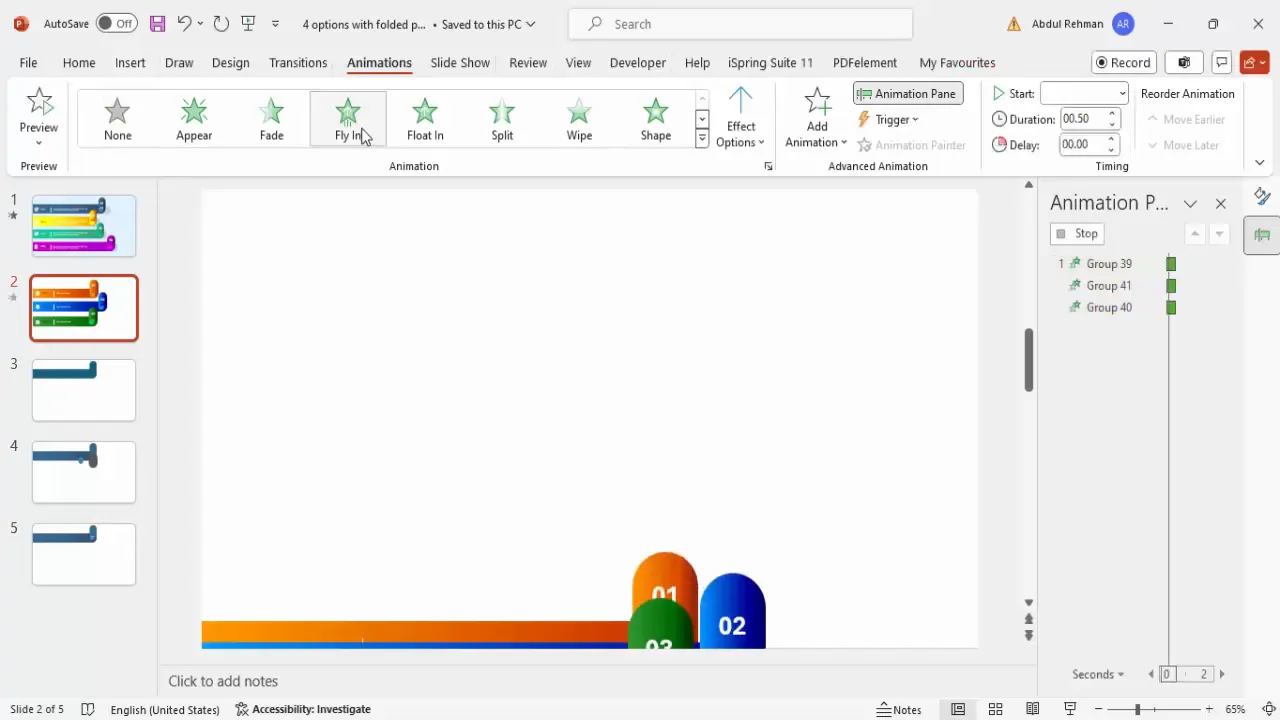
Step 3: Add Animation Effects
- Open the Animations tab and enable the Animation Pane.
- Select each grouped option and apply a Fly In animation from the left.
- Set the animation to trigger On Click for interactive reveal.
- Test your animations to ensure smooth sequential appearance of options.
Customization Tips and Final Touches
Here are some additional tips to customize your folded paper infographic slide further:
- Shadow Effects: Adding subtle shadows to icons and text can enhance depth perception and visual appeal.
- Numbering Options: Include large, bold numbers on each option to clearly indicate sequence or priority.
- Font Choices: Use clean, readable fonts that complement your presentation style.
- Color Consistency: Stick to a cohesive color palette for a professional look.
- Adjust Option Count: Increase or reduce the number of options by duplicating or deleting grouped objects.
- Alignment: Ensure all elements are properly aligned for a balanced, clean layout.
- Size Variation: Slightly vary the size of options to create a layered, dynamic effect.
By applying these customization techniques, you can tailor the folded paper design slide to suit your branding and presentation goals effectively.
Frequently Asked Questions
What is the benefit of using folded paper design in PowerPoint slides?
The folded paper design adds a unique 3D visual effect that grabs attention and helps differentiate multiple options or steps in your presentation. It makes the content more engaging and easier to follow.
Can I create more than four options using this folded paper design?
Yes, the design is flexible. You can duplicate the folded paper groups to add as many options as you need. Just ensure proper alignment and spacing to maintain clarity.
How do I ensure the folded paper effect looks realistic?
Use gradient fills with carefully chosen light and dark shades to simulate shadows and highlights on the folds. Adjust the gradient direction to match the fold edges. Adding subtle shadow effects to icons and text also helps enhance realism.
Are there any free templates available to start with?
Absolutely! POWERPOINT UNIVERSITY offers over 1,000 free PowerPoint templates, including this folded paper design. You can download them from their video description links or their official channels.
Can I customize the colors and icons in the folded paper design?
Yes, you can easily change the fill colors, gradient stops, and icons to match your brand or presentation theme. PowerPoint’s built-in icon library offers a wide variety of icons to choose from.
How do I animate the folded paper options for a smooth presentation?
Group each option’s elements and apply entrance animations like “Fly In” set to trigger on click. This allows you to reveal each option sequentially, keeping your audience focused and engaged.
Conclusion
Mastering PowerPoint Slides Design with creative techniques like the folded paper infographic slide can significantly enhance your presentation’s impact. This guide has walked you through creating a visually appealing, multi-option slide with a realistic folded paper effect, complete with gradient coloring, icons, text, and animations.
Remember, the key to effective slide design is balancing aesthetics with clear communication. Use these folded paper designs to organize your content logically, highlight key points, and keep your audience engaged throughout your presentation.
For more free PowerPoint templates and tutorials, explore resources from POWERPOINT UNIVERSITY, where you can find thousands of professional designs to boost your presentation skills.
Start designing your folded paper infographic slides today and make your next presentation truly stand out!
Check out the full video: 4 Folded paper design slides in PowerPoint


