
If you’re eager to elevate your PowerPoint slide design skills and create visually stunning presentations that captivate your audience, you’ve come to the right place. In this comprehensive guide, we’ll walk through a step-by-step tutorial on designing impressive animated slides featuring rounded hexagons—a modern, elegant design element that can transform your presentations from ordinary to extraordinary.
Crafted by One Skill PPT, this tutorial not only shows you how to build these slides from scratch but also how to add smooth animations to make your content pop. Whether you’re a beginner or an intermediate PowerPoint user, this guide will empower you to become an unstoppable PowerPoint creator with creative and professional slide design techniques.
Let’s dive in and explore how you can create these eye-catching slides, and learn some clever tricks along the way!
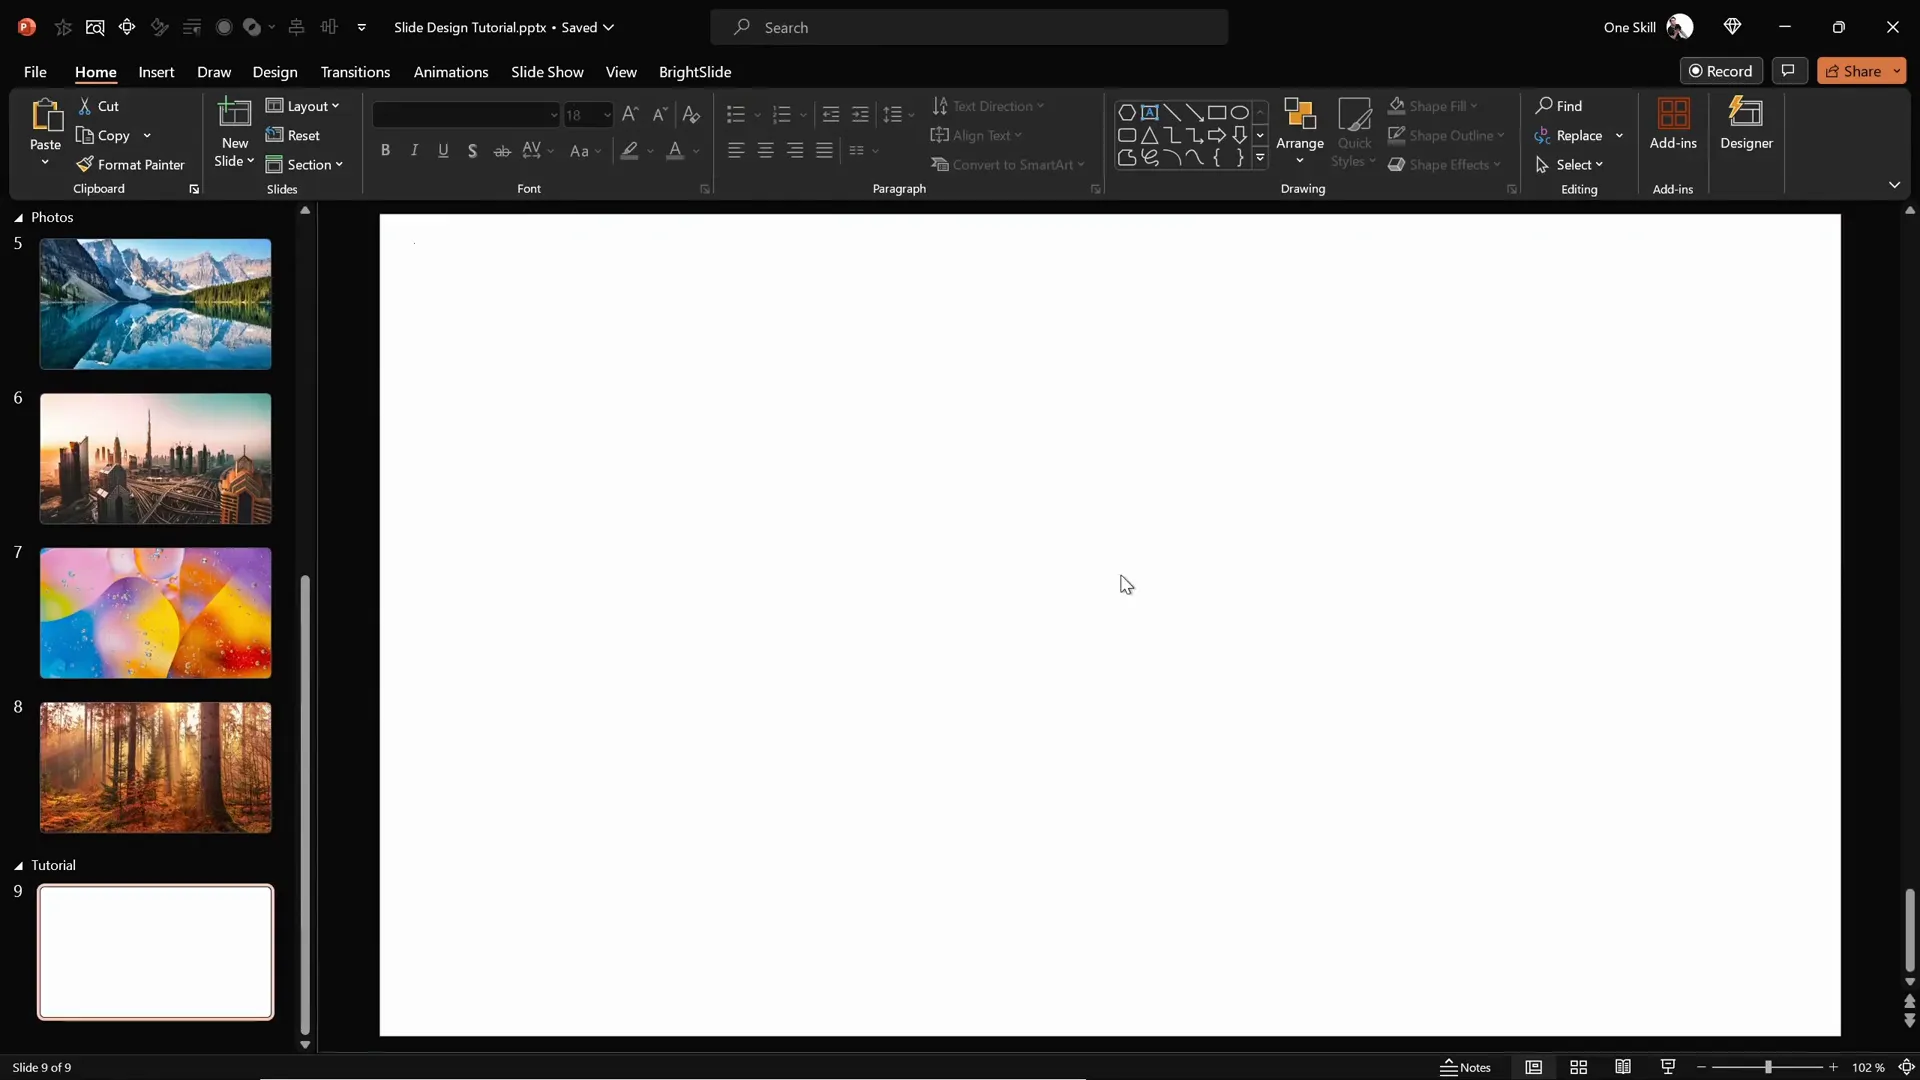
Table of Contents
- Preparing the Slide Background
- Adding a Semi-Transparent Dark Overlay
- Using the Slide Background Fill Feature
- Creating Rounded Hexagons with Figma
- Importing and Editing Rounded Hexagons in PowerPoint
- Arranging and Grouping Hexagons for Design
- Applying Animations to Hexagon Groups
- Completing the Slide Design with Text Boxes
- Customizing the Slide Background Easily
- Final Thoughts and FAQ
Preparing the Slide Background
The foundation of any great slide is a compelling background that sets the tone and mood for your content. For this design, the first step is to fill your blank slide with a beautiful, high-quality image that offers depth and visual interest.
Here’s how to prepare your slide background:
- Choose a stunning photo: Download high-resolution images from free sources like Unsplash. The tutorial uses photos with natural and urban landscapes for a striking effect.
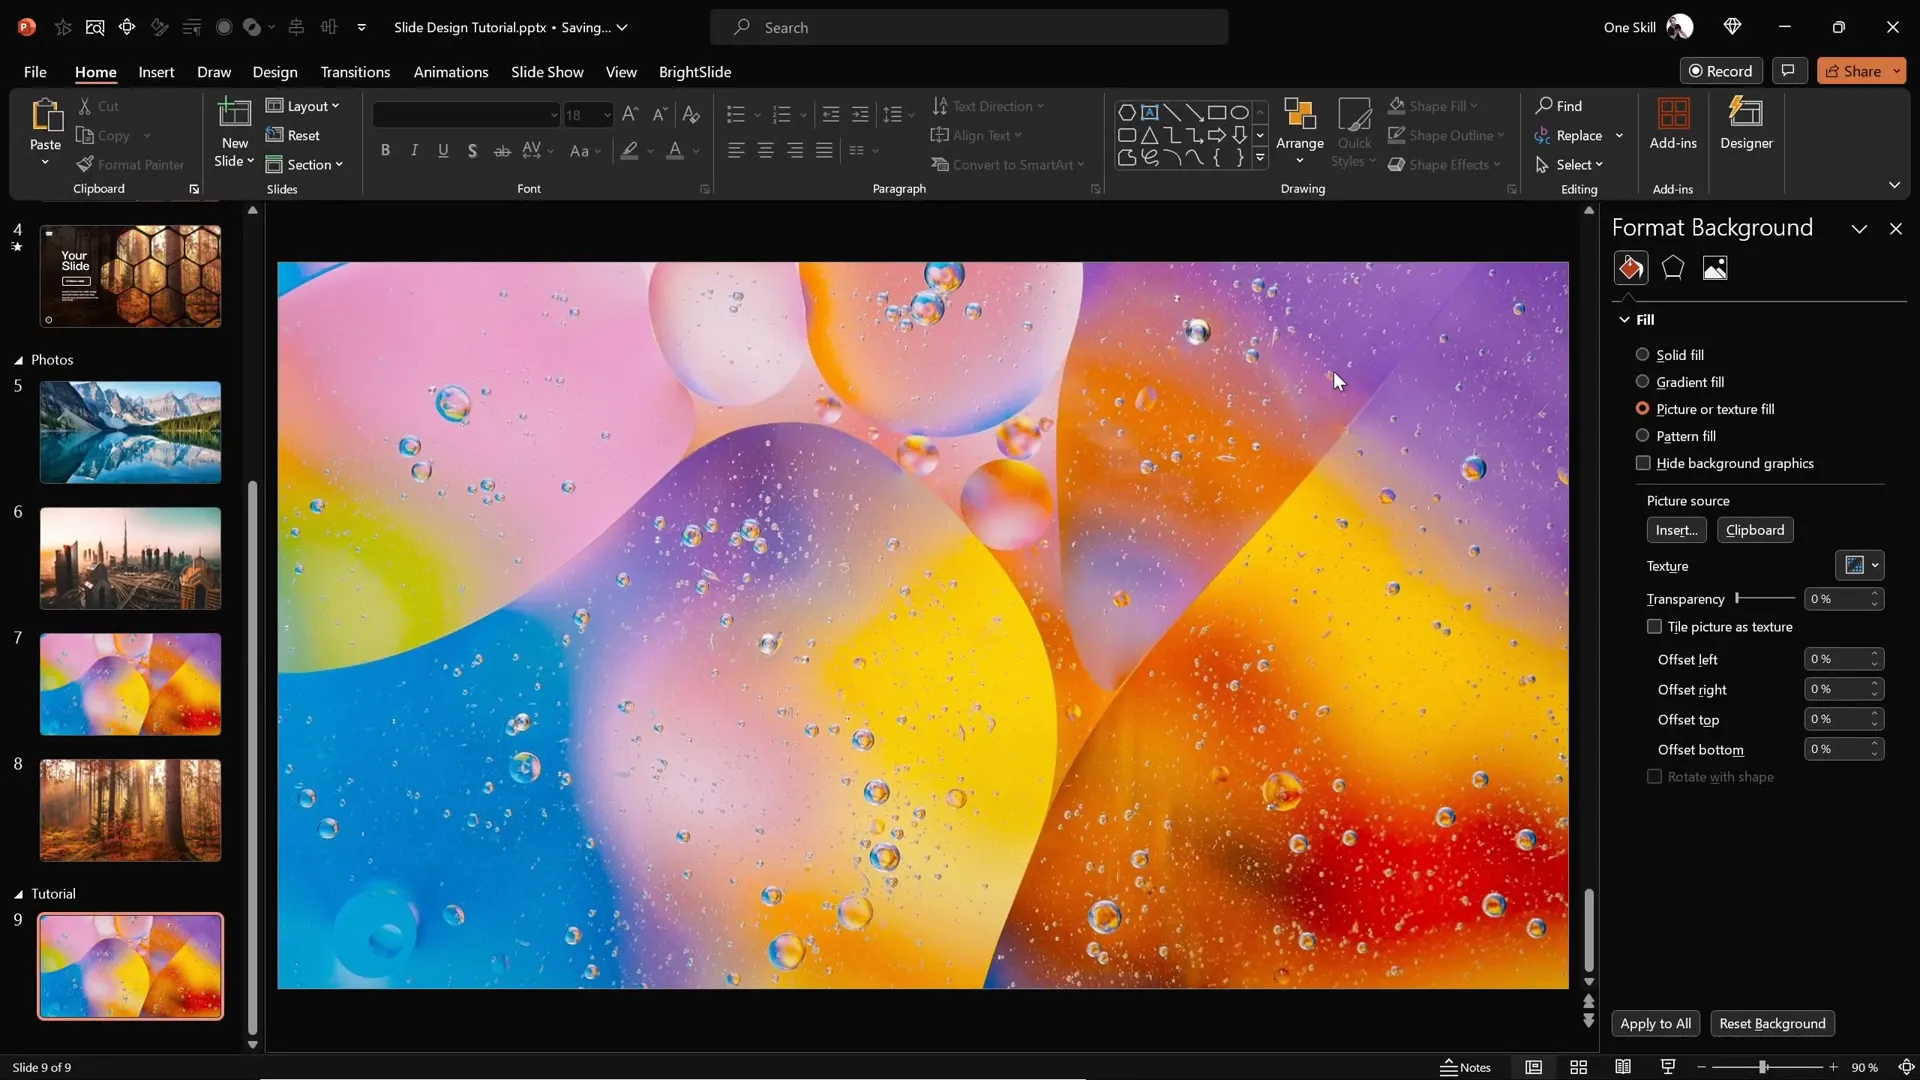
- Copy the image to your clipboard: Select the photo and press
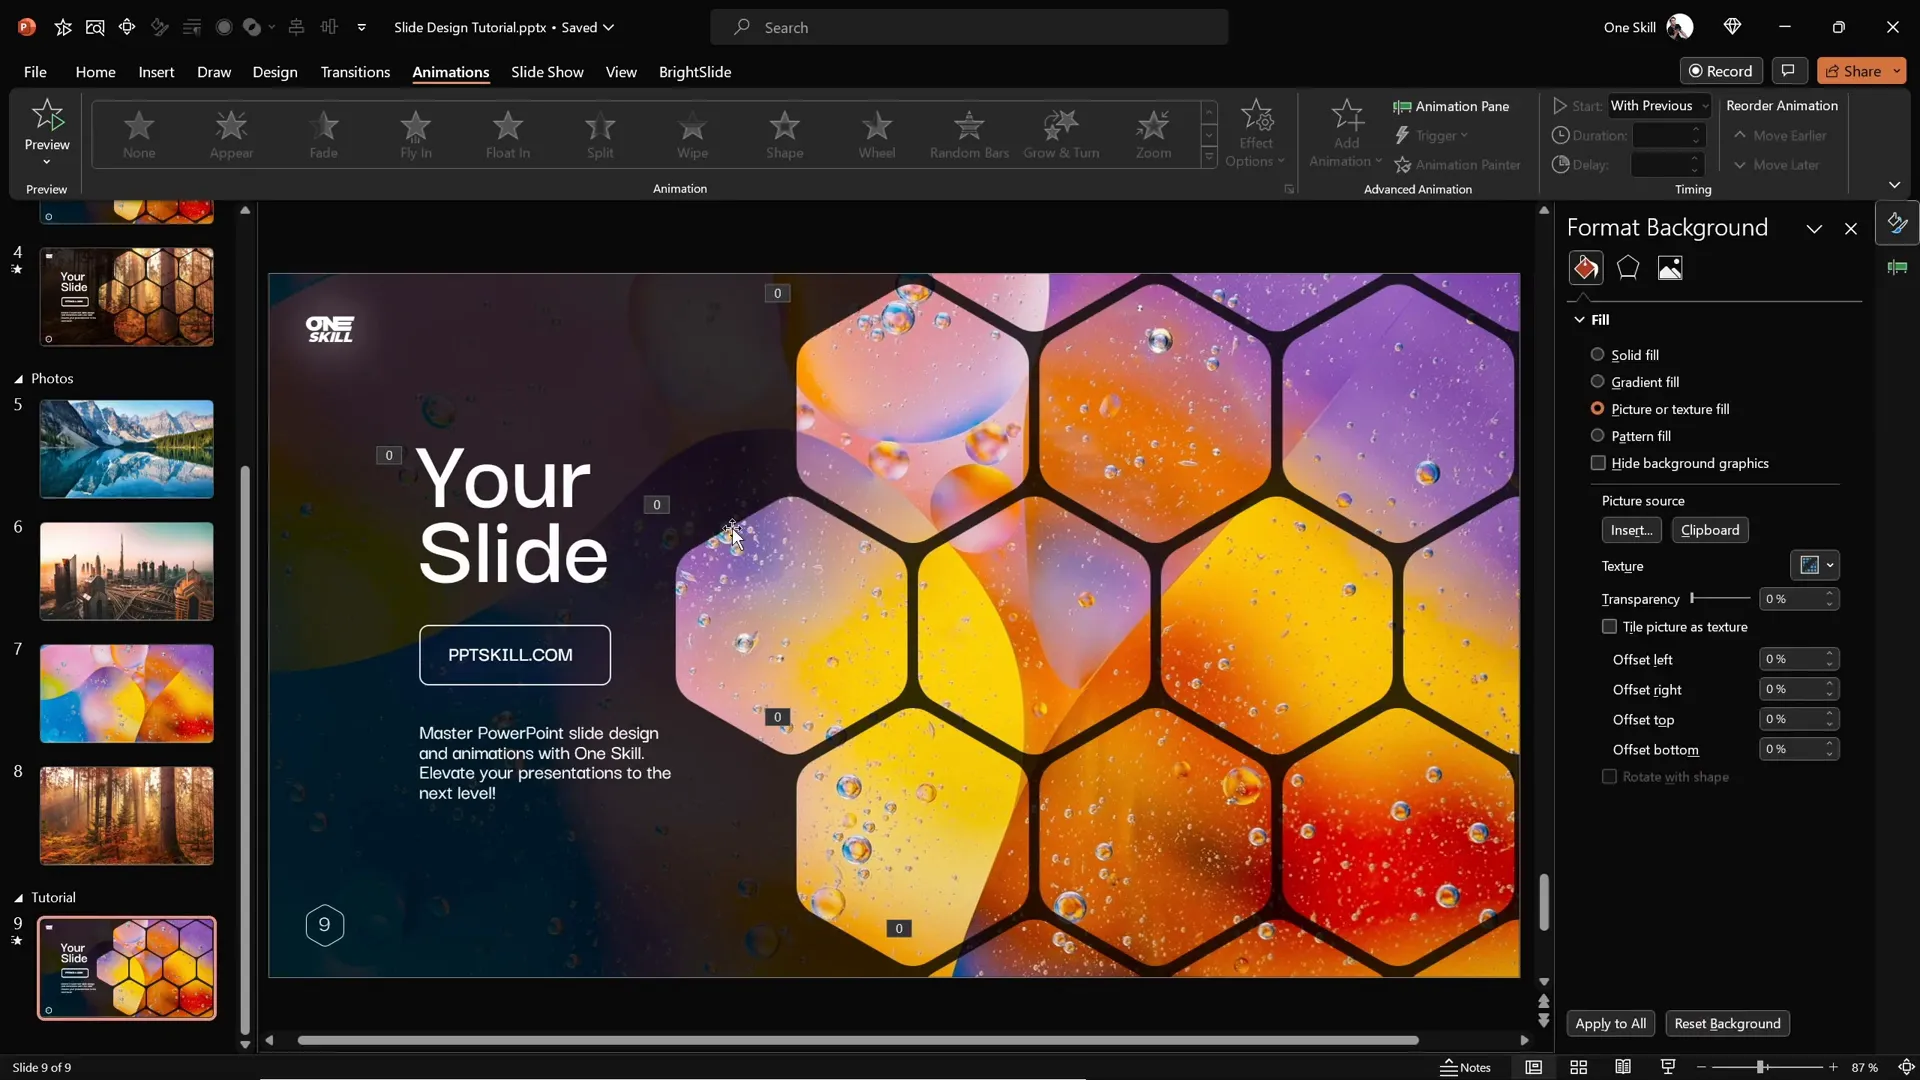
Ctrl + C(orCmd + Con Mac) to copy it. - Paste the image as the slide background: In PowerPoint, right-click on the blank slide and select Format Background. Under Fill Options, choose Picture or texture fill, then click Clipboard to paste the photo as your background.
Note that once set as a background, the image cannot be selected or moved on the slide, which helps keep your design tidy and prevents accidental edits.
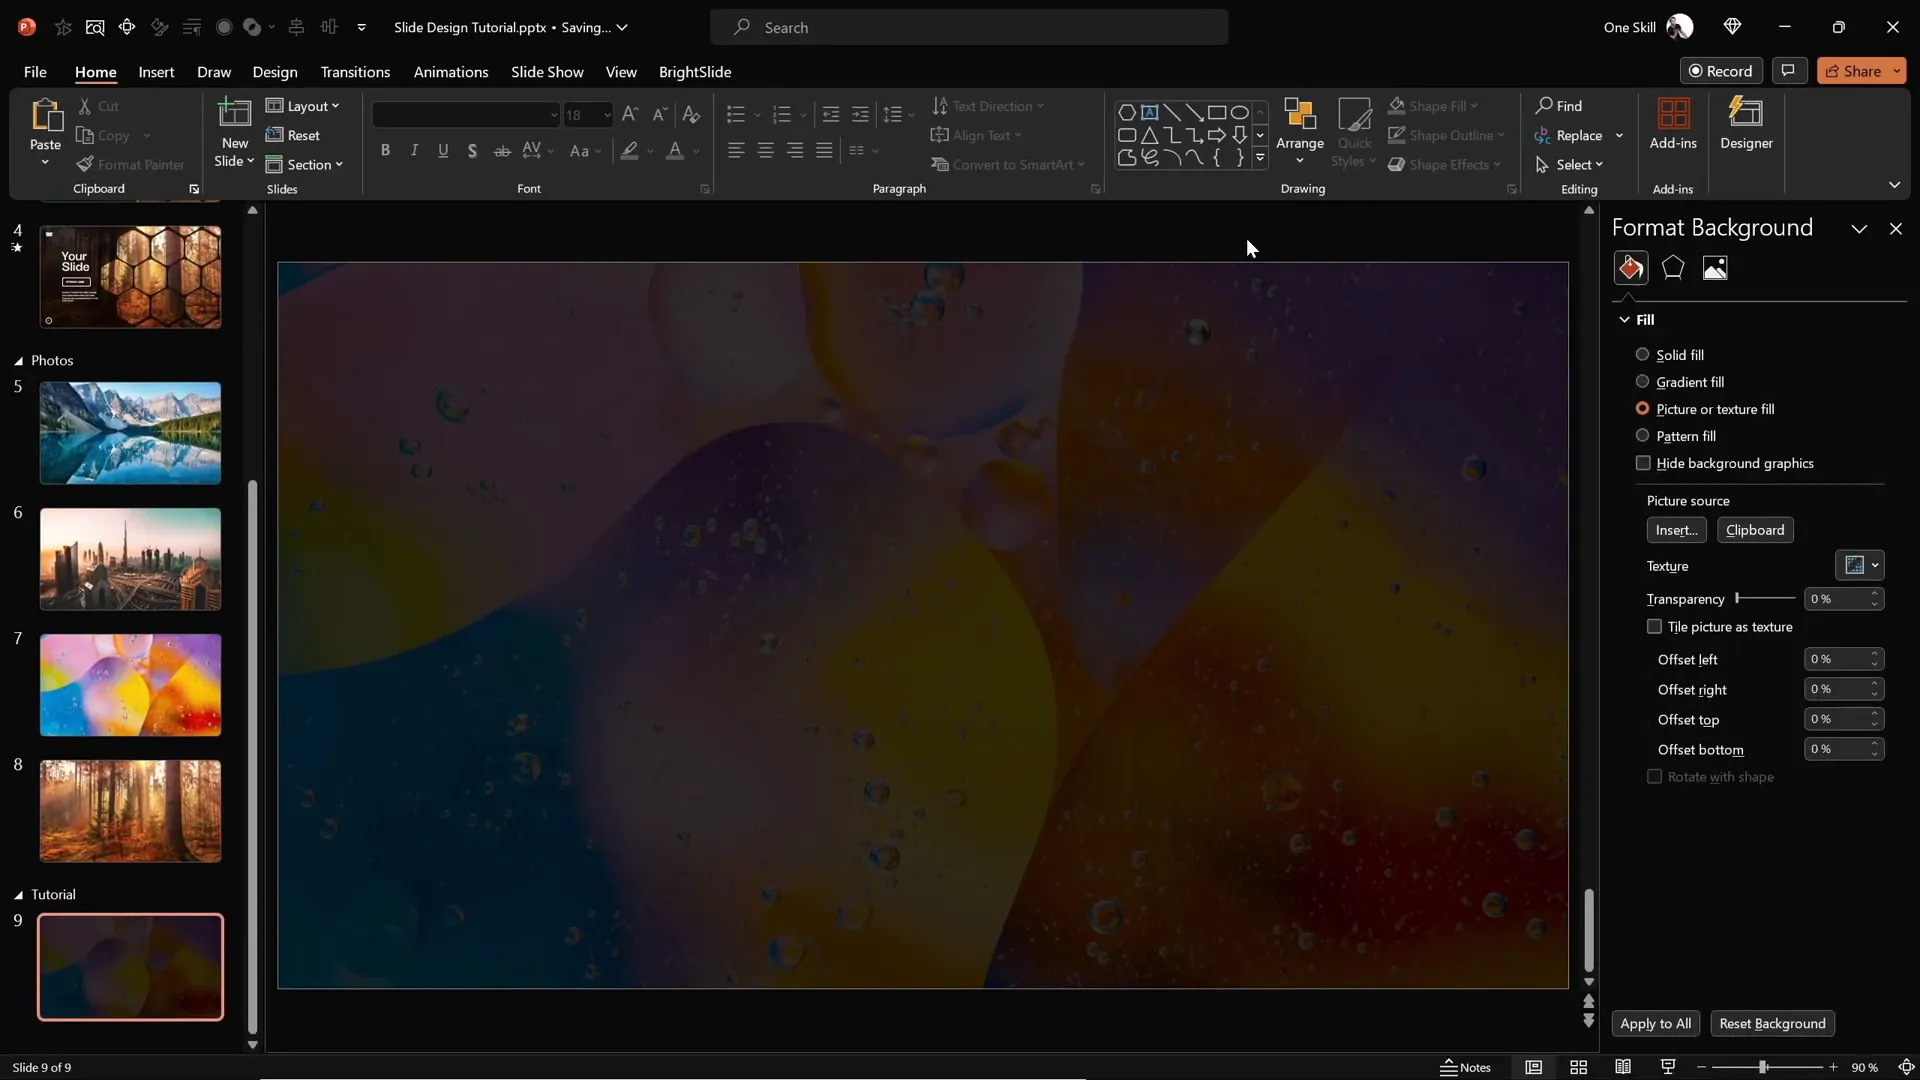
Adding a Semi-Transparent Dark Overlay
To enhance readability and add a stylish touch, overlay a semi-transparent dark rectangle on top of your background image. This technique helps text and shapes stand out while maintaining the beauty of your photo.
Follow these steps:
- Go to the Insert tab and select Shapes.
- Choose the Rectangle tool and draw a rectangle that covers the entire slide.
- Align the rectangle to the top-left corner and drag its bottom-right corner to cover the slide completely.
- Fill the rectangle with black color.
- Adjust the transparency to around 20% so the background image remains visible through the overlay.
This subtle dark overlay adds contrast and sophistication, ensuring that your slide content will be easy on the eyes.
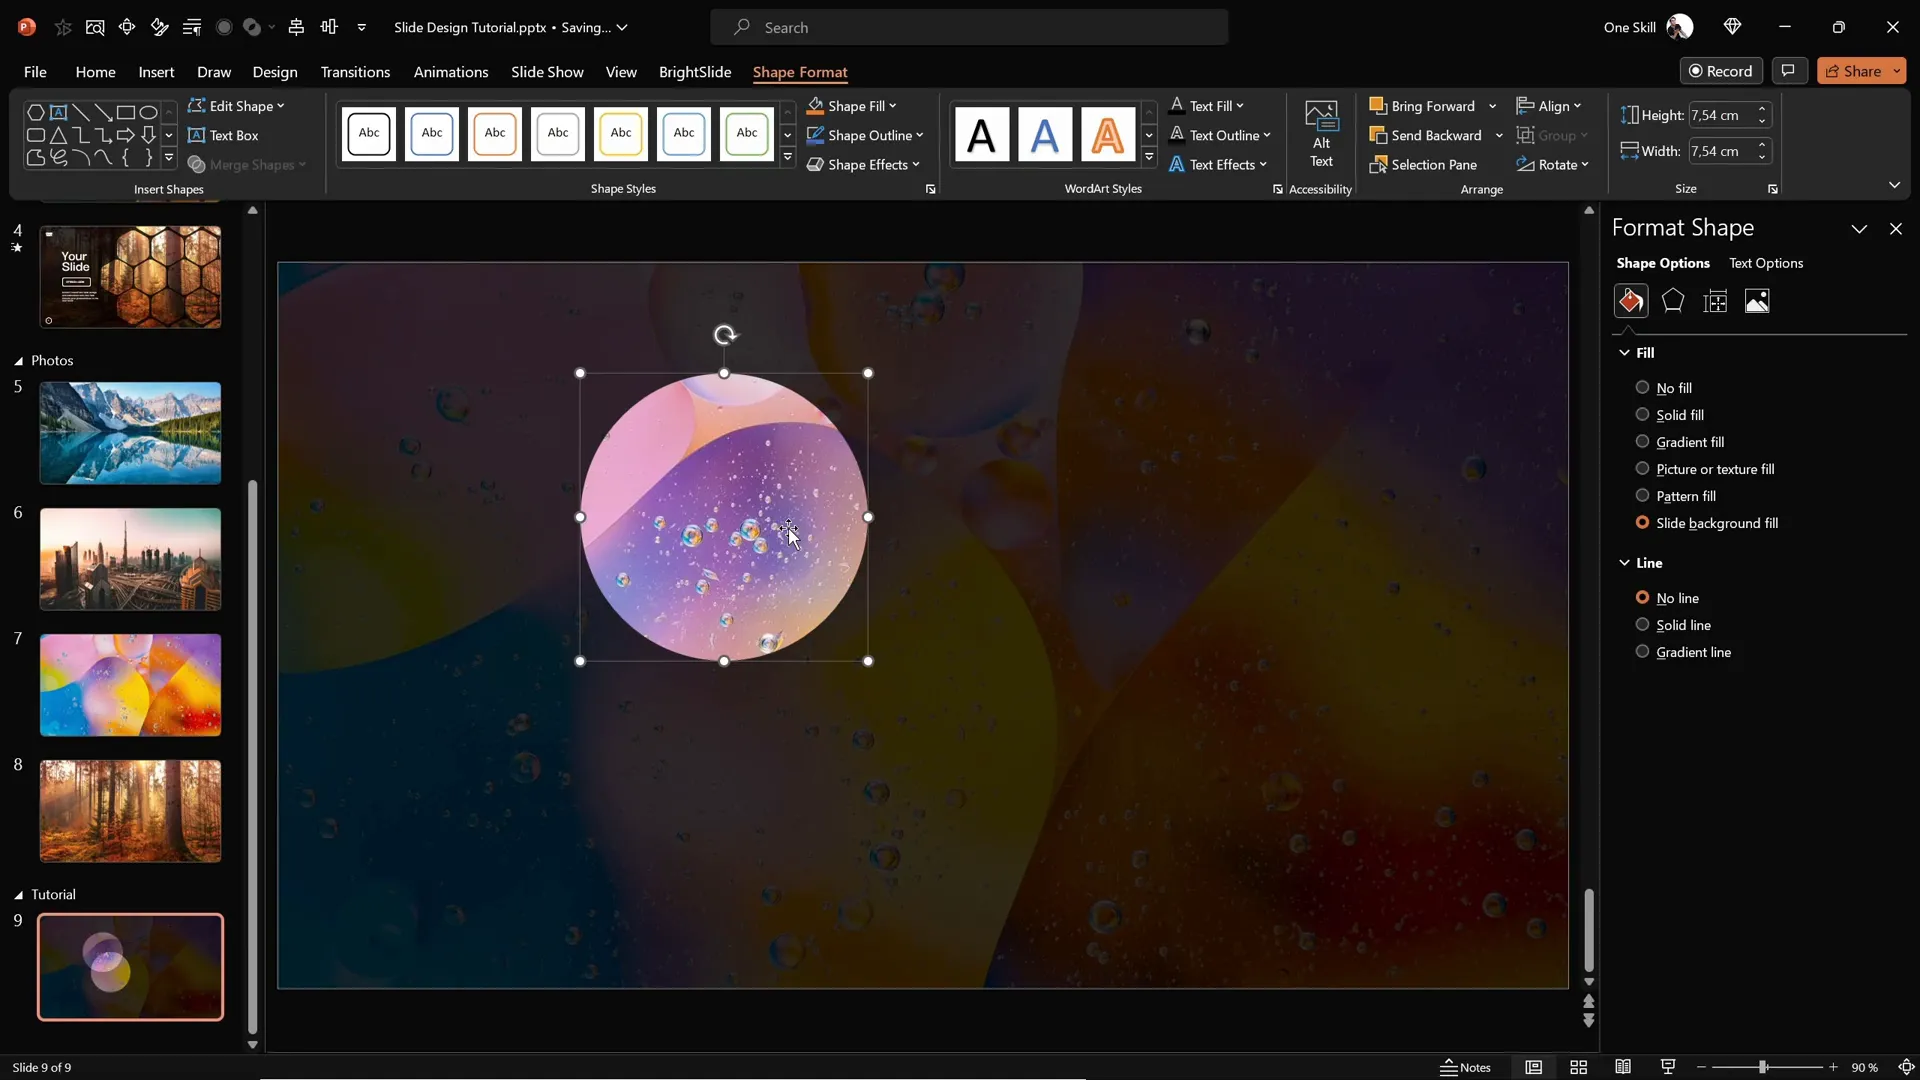
Using the Slide Background Fill Feature
Now comes a magical feature in PowerPoint that enables you to create visually stunning shapes filled with the slide background image itself. This technique gives your slide a cohesive and elegant look by making shapes act as “windows” to the background.
Here’s how you use it:
- Insert any shape, such as a circle, onto the slide.
- Select the shape and open the Fill options.
- Choose Slide Background Fill. This fills the shape with the exact portion of the slide background image that lies beneath it.
The effect is captivating: the shape appears transparent but maintains the colors and details of the background photo, creating a dynamic design element.
Creating Rounded Hexagons with Figma
Rounded hexagons are the star of this slide design, but PowerPoint does not offer a built-in rounded hexagon shape. The default hexagon shape has sharp edges, which might not align with your desired aesthetic.
To overcome this, you can create a rounded hexagon using a free online design tool called Figma. While Figma is primarily for UI/UX design, it’s perfect for crafting custom shapes like rounded hexagons for PowerPoint.
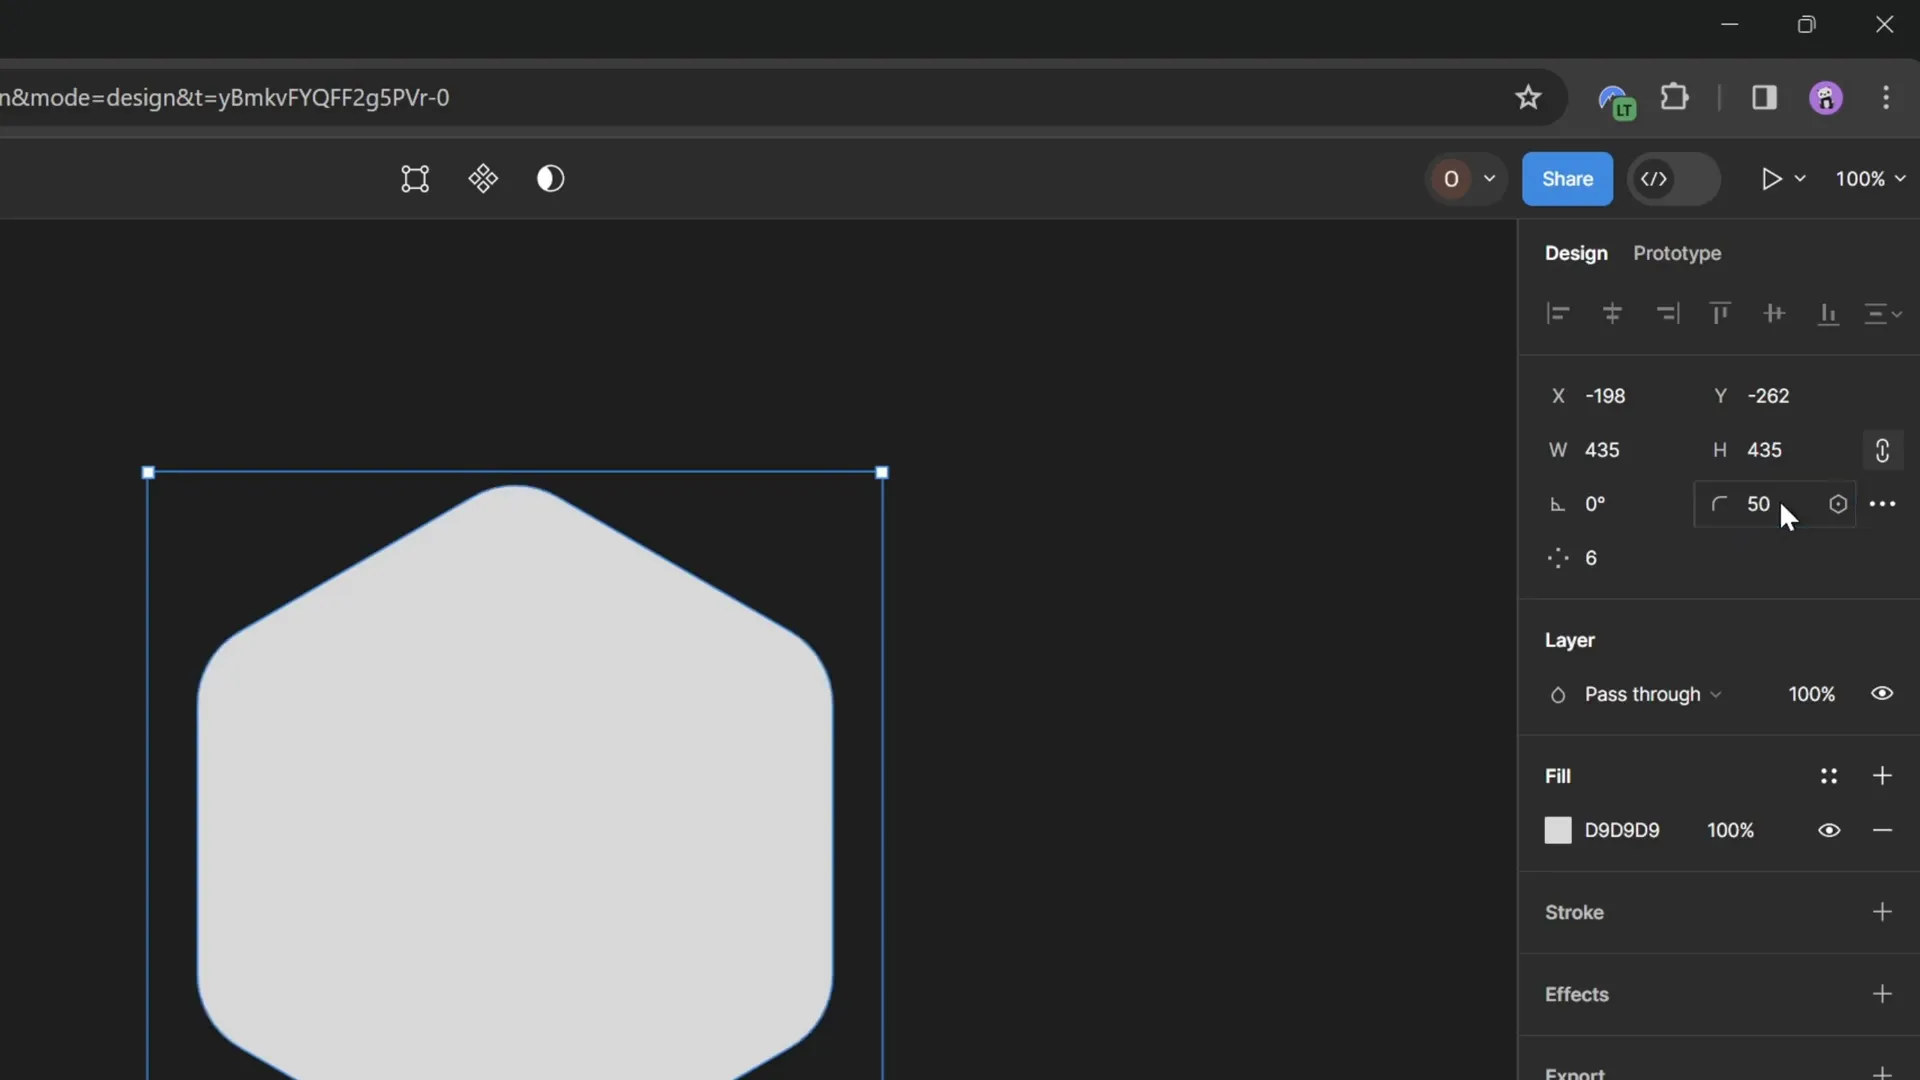
Here’s how to create a rounded hexagon in Figma:
- Visit figma.com and sign up or log in with your Gmail account.
- Click the blue Design File button to start a new project.
- In the toolbar, select the Polygon Tool from the shapes menu.
- Hold the
Shiftkey while dragging to create a perfect polygon. - Change the number of polygon sides to 6 to form a hexagon.
- Adjust the corner roundness slider to about 50% to create smooth rounded edges.
- Export the shape as an SVG file for use in PowerPoint.
This method gives you full control over the shape’s appearance and ensures your hexagons have the perfect rounded corners for a polished look.
Importing and Editing Rounded Hexagons in PowerPoint
Once you have your rounded hexagon SVG file, it’s time to bring it into PowerPoint and make it fully editable.
Follow these steps:
- In PowerPoint, go to Insert > Pictures > This Device and locate your exported SVG file.
- Insert the rounded hexagon onto your slide.
- Initially, some fill options might be grayed out because the SVG is treated as a picture.
- Select the hexagon, then click Graphics Format > Convert to Shape to make it fully editable.
- Now, you can use all fill options, including the Slide Background Fill, to make the hexagon blend seamlessly with your slide background.
Resize the hexagon by locking the aspect ratio and setting the height to about 7 cm for a balanced size on your slide.
Arranging and Grouping Hexagons for Design
With your rounded hexagon ready, the next step is to create a pattern by duplicating and arranging multiple hexagons on your slide.
Here’s how to build a stylish hexagon grid:
- Hold
Ctrl + Shiftand drag the hexagon to create a copy aligned perfectly in a row. - Adjust the spacing between hexagons to your liking; a narrow gap often looks sleek.
- Create at least four hexagons in a row, then select all and move the group so the rightmost hexagon slightly overlaps the slide edge for a creative touch.
- Group these hexagons by selecting them and pressing
Ctrl + Gto keep them together. - Duplicate the entire group horizontally and vertically to form multiple rows, maintaining consistent spacing.
- Add extra hexagons at the top and bottom edges to fill the design area.
- Ungroup if necessary to delete any hexagons that fall outside the visible slide area.
This arrangement creates a dynamic, modular design that’s visually appealing and easy to customize.


Applying Animations to Hexagon Groups
Animations bring your slide to life, making it more engaging and professional. To animate the hexagons, it’s best to group them logically for smoother control.
Here’s a step-by-step process for applying animations:
- Group hexagons into five groups based on their position: middle, top, bottom, and two intermediate rows.
- Open the Animation Pane to monitor your applied animations.
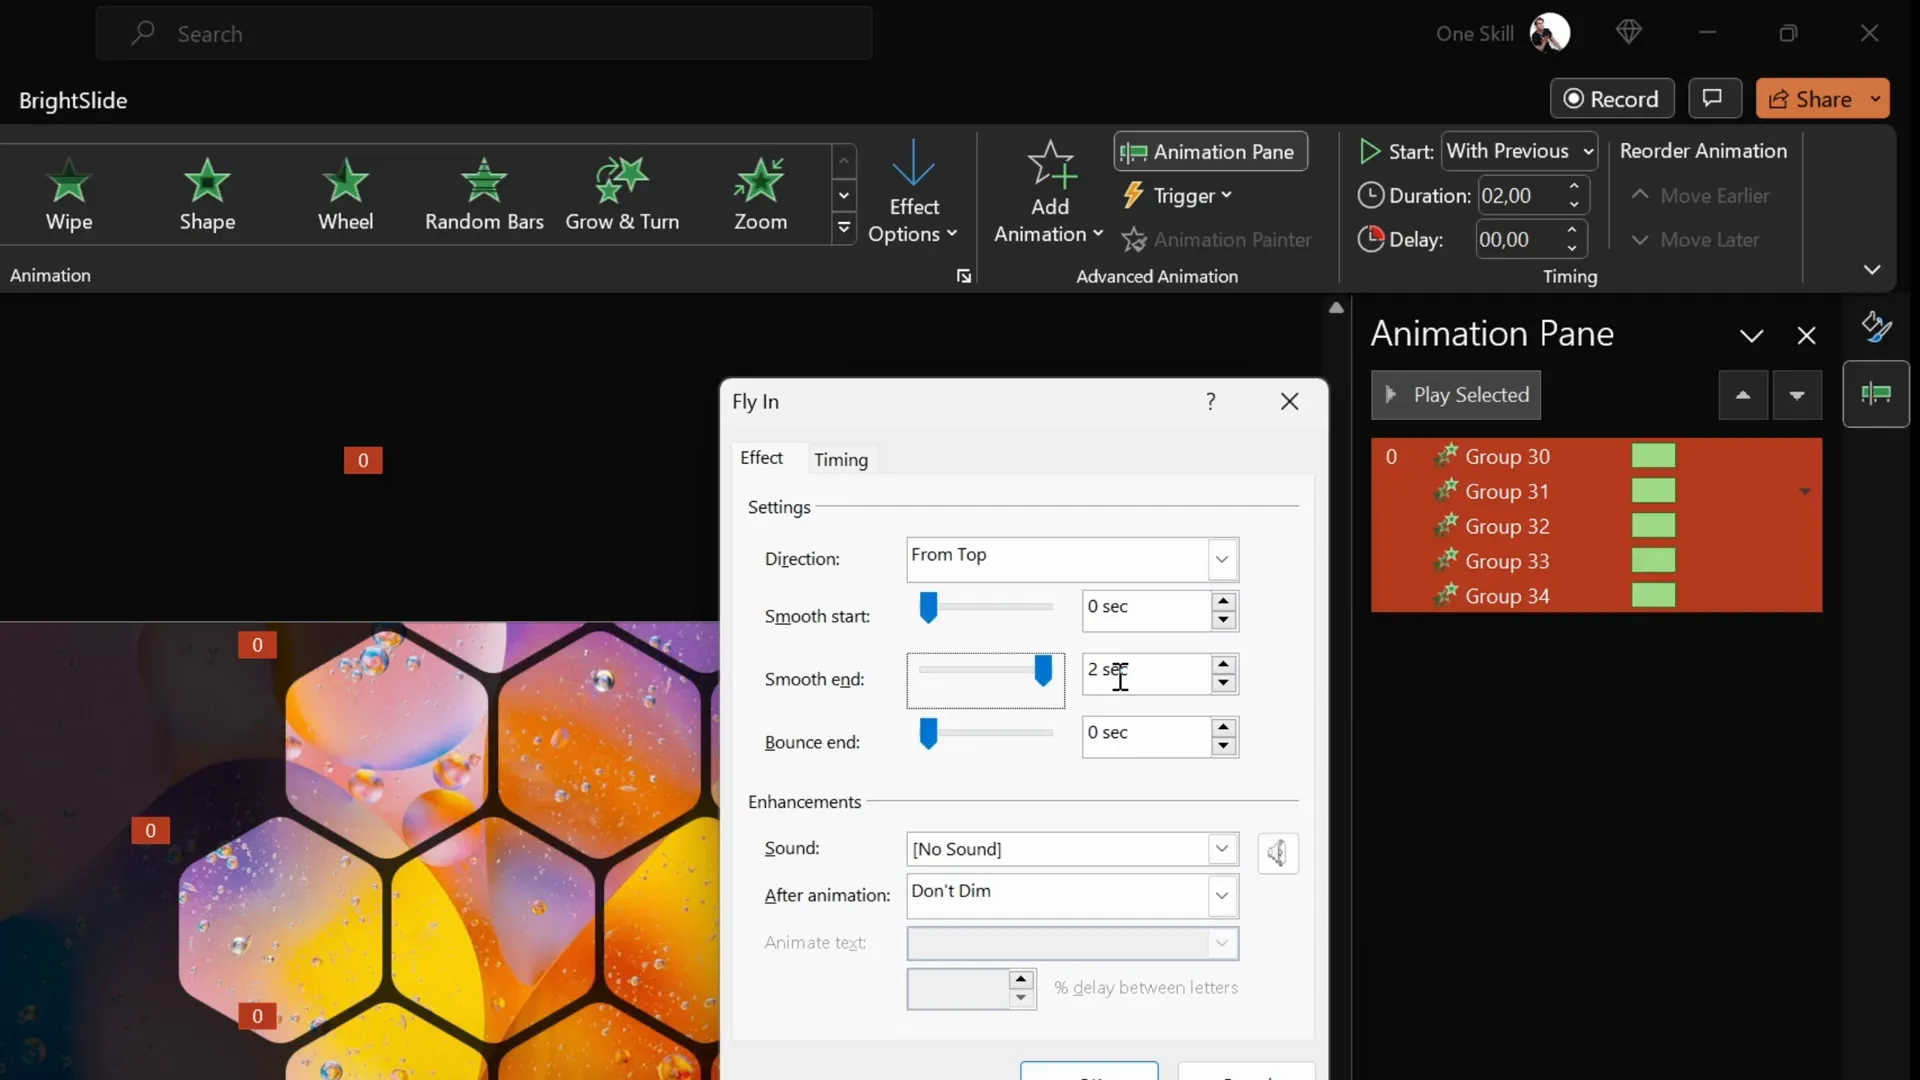
- Select all hexagon groups and apply the Fly In animation.
- Set the animation direction to From Top for the upper groups.
- Change the bottom two groups’ animation direction to From Bottom for a natural flow.
- Set all animations to start With Previous and duration to 2 seconds.
- Adjust the smoothness by selecting Maximum Smooth End for a soft landing effect.
- Manage layering by sending the top and bottom groups to the back and keeping the middle group in front to prevent awkward overlaps.
This approach results in a polished, dynamic entrance for your hexagons that captures attention without overwhelming the viewer.
Completing the Slide Design with Text Boxes
To finalize your slide, add essential textual elements like logos, titles, and slide numbers for context and branding.
Here’s how to add and animate text boxes:
- Copy text elements from a previous slide to maintain design consistency (logo, titles, slide numbers).
- Paste them onto your current slide.
- Group all text boxes into a single group for easy animation.
- Apply a Flame animation with the direction set to From Left.
- Set the animation to start With Previous and duration to 2 seconds.
- Use the Bounce effect with a duration of 1.5 seconds for added flair.
The result is a slide where hexagons softly fly in while text boxes bounce in smoothly, creating a cohesive and engaging visual experience.

Customizing the Slide Background Easily
One of the greatest strengths of this slide design is its flexibility. You can quickly change the background photo and instantly refresh the entire slide’s look without rebuilding anything.
To swap background images easily:
- Copy a new photo to your clipboard.
- Select any of your hexagons or shapes that use the Slide Background Fill.
- Open the Fill options and select Clipboard to replace the fill with the new image.
Because all hexagons and shapes use this background fill, your whole slide instantly updates to the new photo, maintaining the design structure and animations.
Final Thoughts and FAQ
Congratulations! You now have a powerful technique to create creative, animated PowerPoint slides featuring rounded hexagons that look professional and modern. This method leverages free tools like Figma and PowerPoint’s slide background fill feature to produce elegant designs that are easy to update and animate.
Remember, when time is tight, using high-quality PowerPoint templates can be a great alternative to creating slides from scratch. Templates save time while ensuring a polished look.
Frequently Asked Questions (FAQ)
1. What is the benefit of using the slide background fill feature?
The slide background fill allows shapes to inherit the underlying slide background image, creating a cohesive design where shapes appear transparent but maintain the background’s visual details. This technique enhances slide aesthetics and enables easy background updates.
2. Why use Figma to create rounded hexagons?
PowerPoint does not have a built-in rounded hexagon shape. Figma offers an easy way to create custom polygons with adjustable corner roundness. Exporting these shapes as SVG files allows full editing and use within PowerPoint.
3. Can I animate individual hexagons instead of groups?
Yes, you can animate individual hexagons, but grouping them simplifies animation management and ensures smoother, coordinated effects. Grouping is especially useful for complex slide designs.
4. How do I maintain consistent spacing between hexagons?
Use the Ctrl + Shift drag shortcut to duplicate hexagons in a straight line, then use PowerPoint’s alignment and distribution tools to ensure even gaps.
5. Are there any recommended sources for high-quality background images?
Yes, websites like Unsplash provide free, high-resolution photos suitable for professional presentations.
6. What animation settings work best for this slide design?
Fly In animations with directions from top or bottom combined with smooth easing and bounce effects on text boxes create a pleasing, dynamic reveal without overwhelming the audience.
Summary Table: Key Steps and Tools
| Step | Action | Tools/Features Used | Purpose |
|---|---|---|---|
| 1 | Set slide background image | PowerPoint Format Background, Clipboard | Establish visual foundation |
| 2 | Add semi-transparent black overlay | Insert Shapes, Transparency | Improve contrast and readability |
| 3 | Create rounded hexagon | Figma Polygon Tool, Export SVG | Custom shape creation |
| 4 | Import and convert hexagon | PowerPoint Insert Pictures, Convert to Shape | Editability and slide background fill |
| 5 | Arrange and group hexagons | PowerPoint Copy-Paste, Group | Design layout and animation management |
| 6 | Apply animations | Animation Pane, Fly In, Bounce | Dynamic slide entrance and engagement |
| 7 | Add and animate text boxes | PowerPoint Insert Text, Group, Flame Animation | Branding and information clarity |
| 8 | Change slide background easily | Slide Background Fill Clipboard Feature | Quick theme and mood adjustment |
With these steps, you’re equipped to design creative and animated PowerPoint slides that impress and engage. Experiment with different images, hexagon sizes, and animations to tailor the look to your unique presentation needs.
Happy designing!
Check out the full video: CREATIVE PowerPoint Slide Design Tutorial! 2024 ✨


