
If you’re looking to elevate your PowerPoint presentations with modern, interactive features and eye-catching animations, you’ve come to the right place. In this detailed tutorial, you will learn how to create a brand-new slide zoom template in PowerPoint featuring clickable section zooms and smooth animations. Whether you’re a beginner or an experienced presenter, this guide will walk you through the entire process from scratch, using tools like Figma for custom shapes, free icon resources, and advanced PowerPoint features like the Morph transition.
This tutorial is based on a comprehensive video by One Skill PPT, who shares expert tips on building engaging presentations that captivate audiences. The best part? You’ll be able to download the entire slide zoom template for free and customize it to your needs.
Table of Contents
- Getting Started: Setting Up PowerPoint and Background
- Creating Slide Sections and Section Zooms
- Designing Custom Rounded Hexagons in Figma
- Adding Icons and Stylish Text Boxes
- Using Morph Transition and Animations
- Creating a Glass Morphic Blurry Background
- Tweaking Animations for a Seamless Experience
- Expanding Your Slide Zoom Template
- Frequently Asked Questions
- Conclusion
Getting Started: Setting Up PowerPoint and Background
Before diving into the creative aspects, it’s important to set up your PowerPoint environment correctly. This tutorial uses Microsoft 365, and the Morph transition feature available in PowerPoint 2019, 2021, and Microsoft 365 is utilized to enhance animations. However, if you don’t have Morph, don’t worry — you can still create the entire presentation with other transitions.
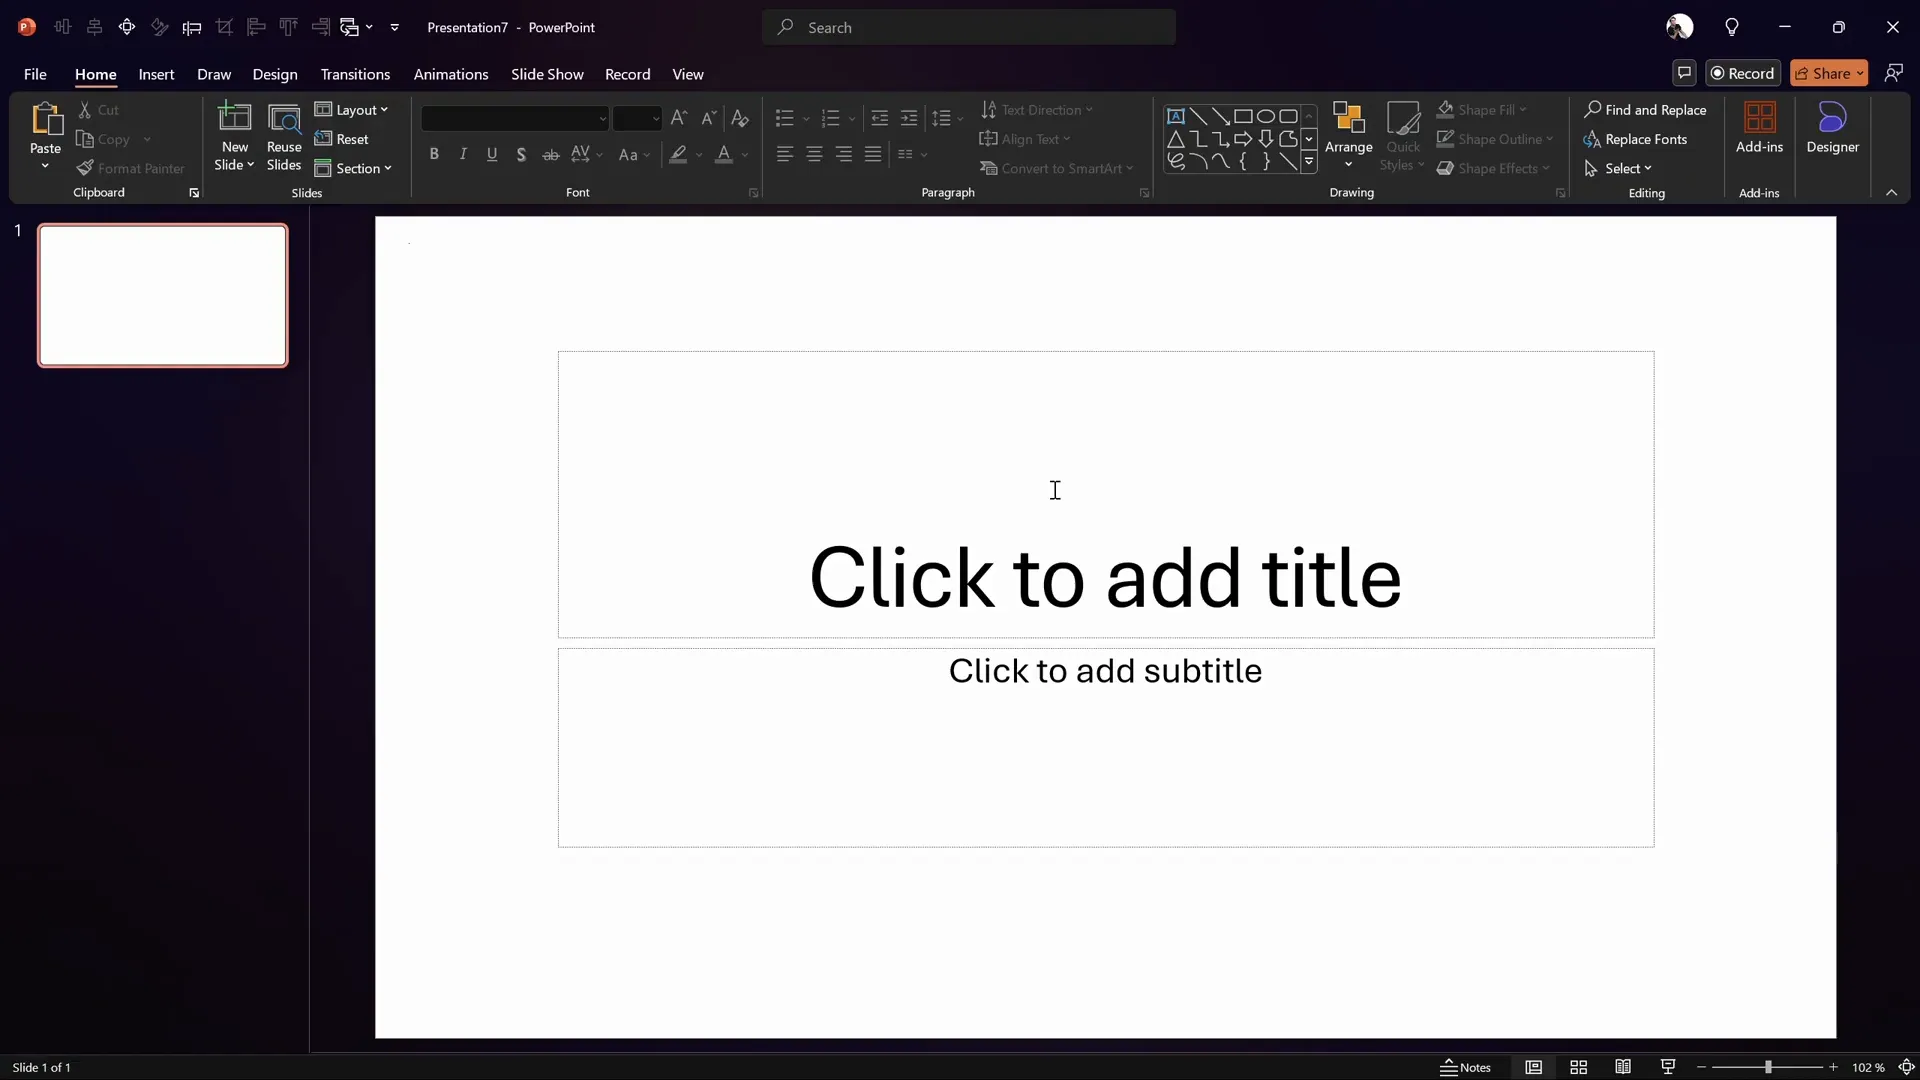
Opening a Blank Presentation and Preparing the Slide
- Open a new blank PowerPoint presentation.
- Close the notes section at the bottom to maximize workspace.
- Remove unnecessary text placeholders by selecting the slide layout and choosing Blank.
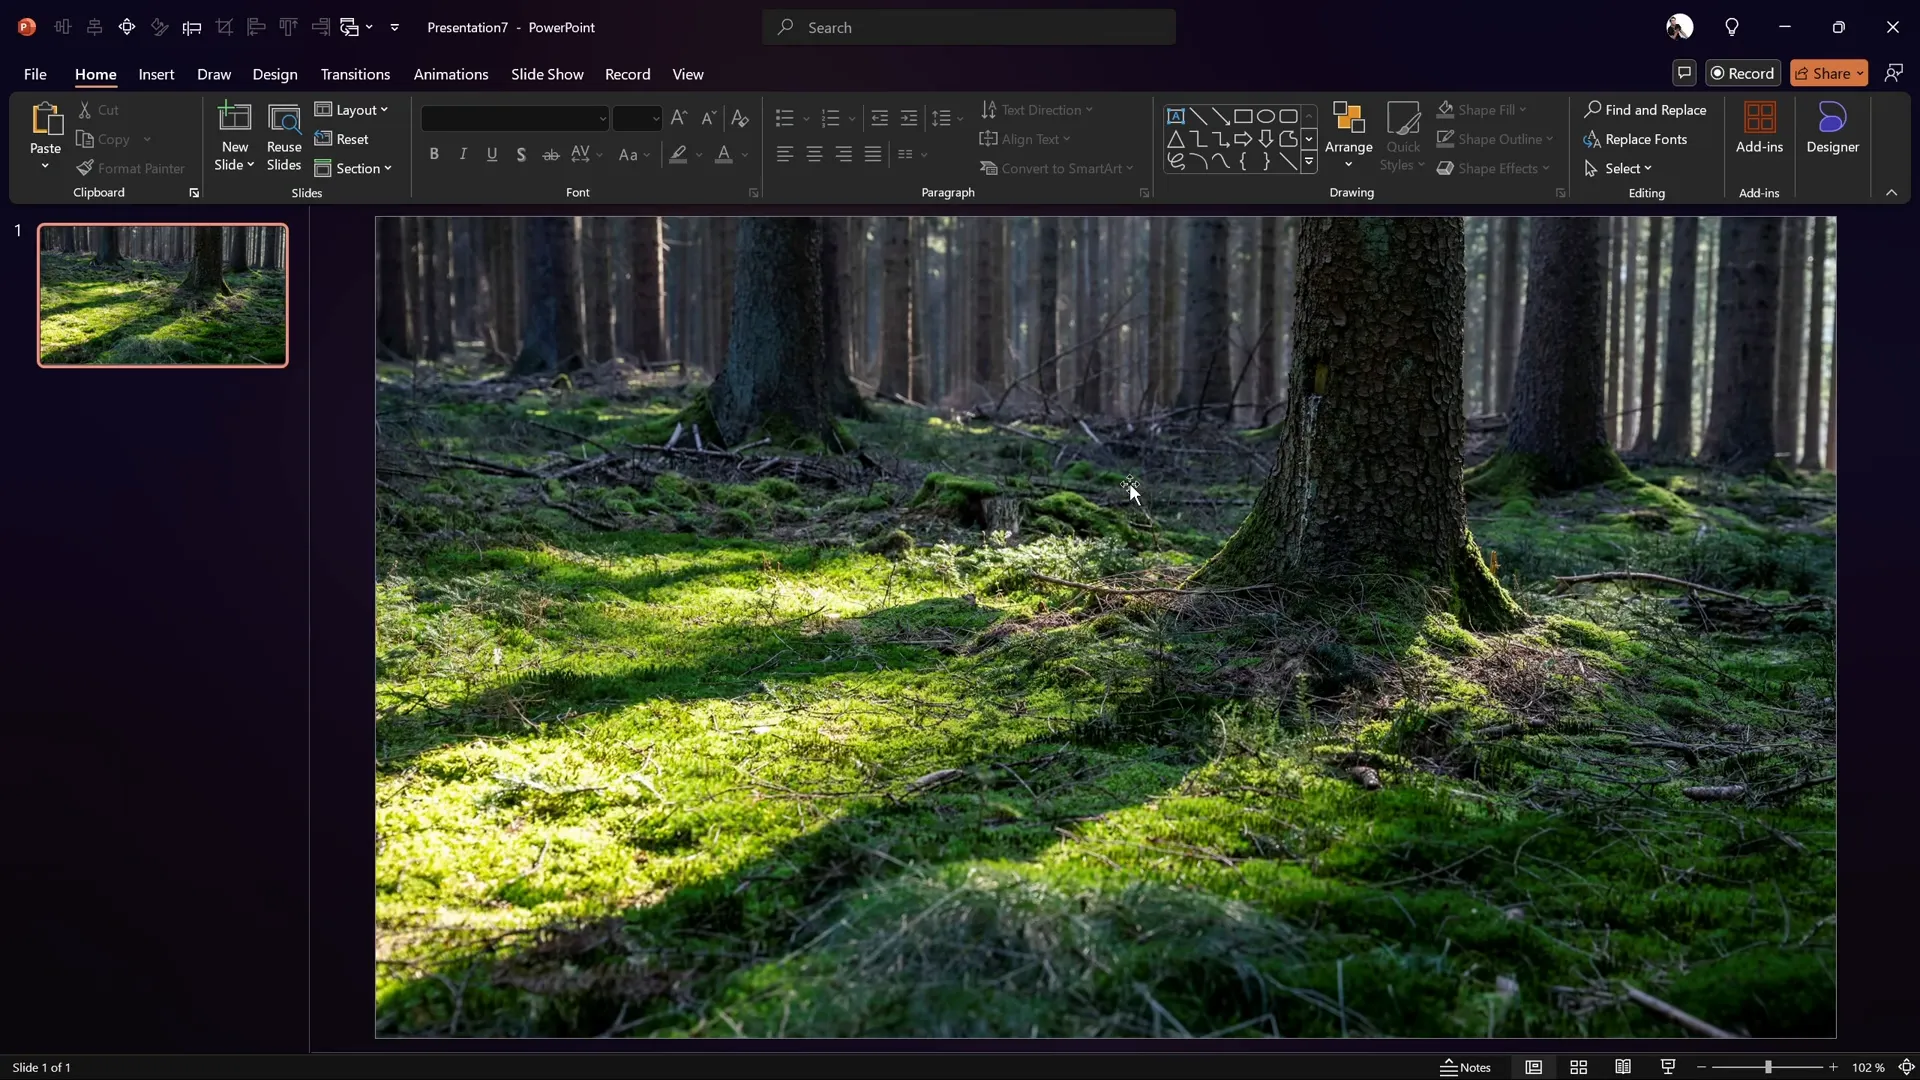
Adding a Forest Background Image
To add an atmospheric background, the tutorial uses a beautiful forest photo sourced from Unsplash. You can also find similar royalty-free images there.
- Find the desired background photo online (the tutorial uses a photo by Kat Clausen).
- Copy the image and paste it into your PowerPoint slide using Ctrl + V.
- Resize the image to cover the entire slide by dragging corners while holding the Shift key to maintain proportions.
- Crop the image to fit the slide perfectly via the Picture Format tab.
- Flip the image horizontally to create a warmer, golden-hour effect.
- Adjust brightness (+10%), contrast, and temperature (around 11,200K) to match the original warm tone.
Creating Slide Sections and Section Zooms
One of the key features of this template is the use of Section Zooms, which allow you to navigate between entire sections instead of just individual slides. This makes presentations more interactive and easier to navigate.
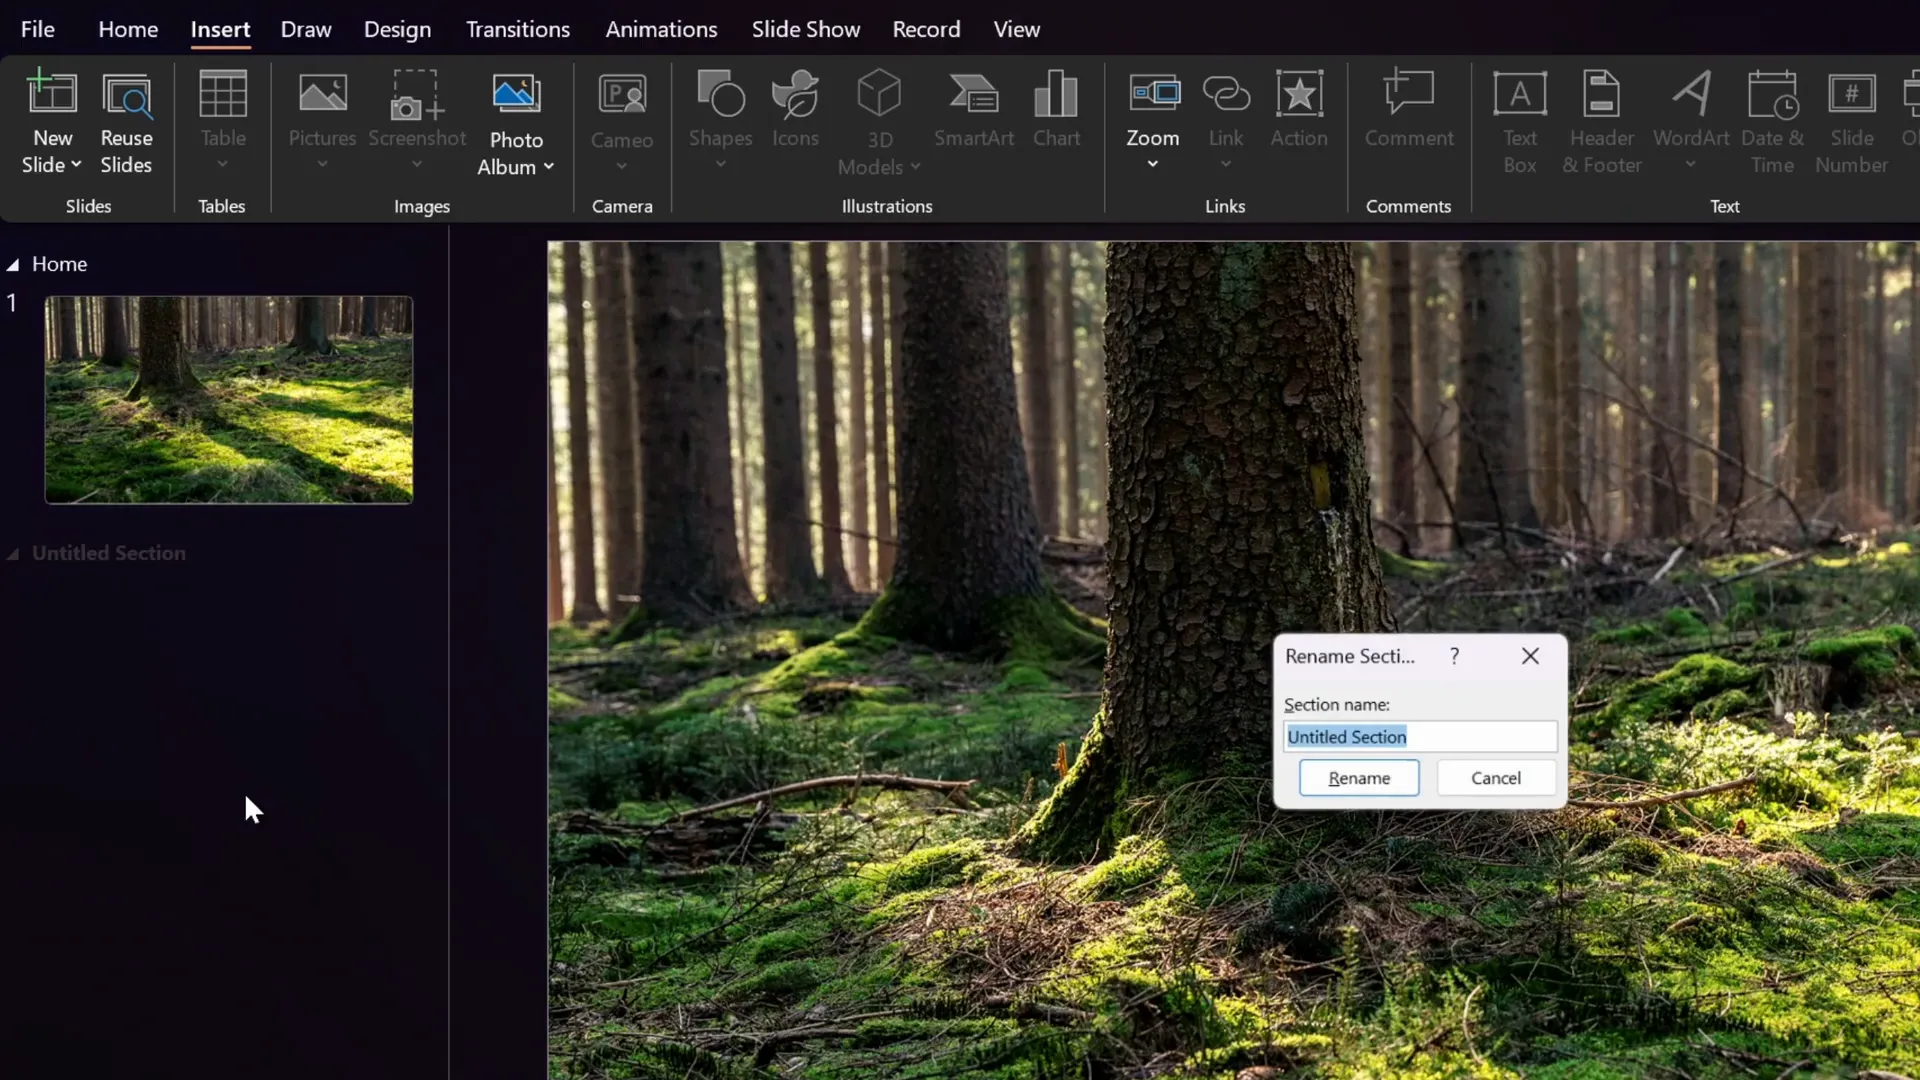
Adding Slide Sections
- Right-click above the first slide and select Add Section. Name this section Home.
- Add a second section and name it Opportunity.
- Insert two new slides inside the Opportunity section. These will be the slides you zoom into via the section zoom.
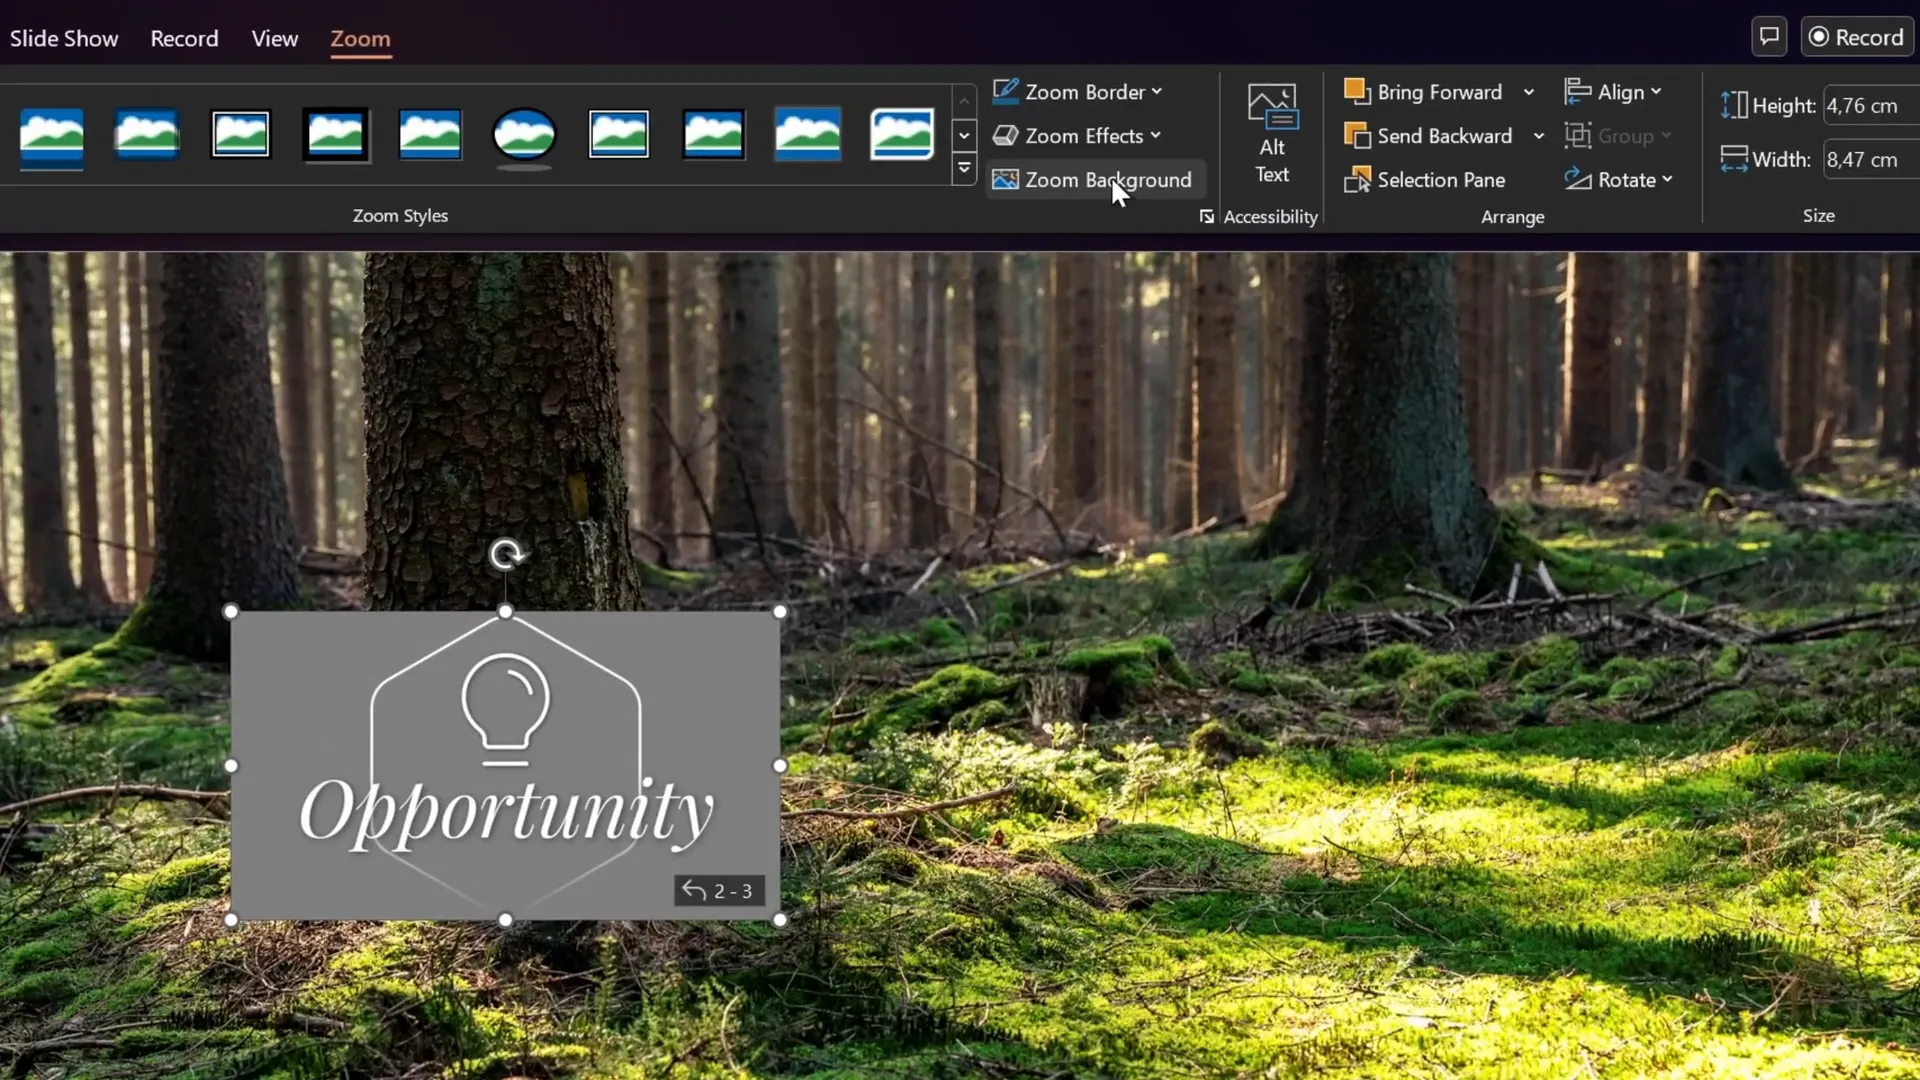
Inserting a Section Zoom
- Return to the Home slide.
- Go to the Insert tab, select Zoom, then choose Section Zoom.
- Select the Opportunity section and insert it.
- Remove the gray background of the section zoom by clicking Zoom Background under the Zoom tab to make it transparent.
- Ensure Return to Zoom is enabled so that after navigating through slides in the section, the presentation returns to the Home slide.
Designing Custom Rounded Hexagons in Figma
PowerPoint’s default shapes don’t support rounded hexagons, which are a prominent design element in this template. To achieve this, the tutorial uses Figma, a free online design tool, to create custom rounded hexagons and import them into PowerPoint as SVGs.
Steps to Create Rounded Hexagons in Figma
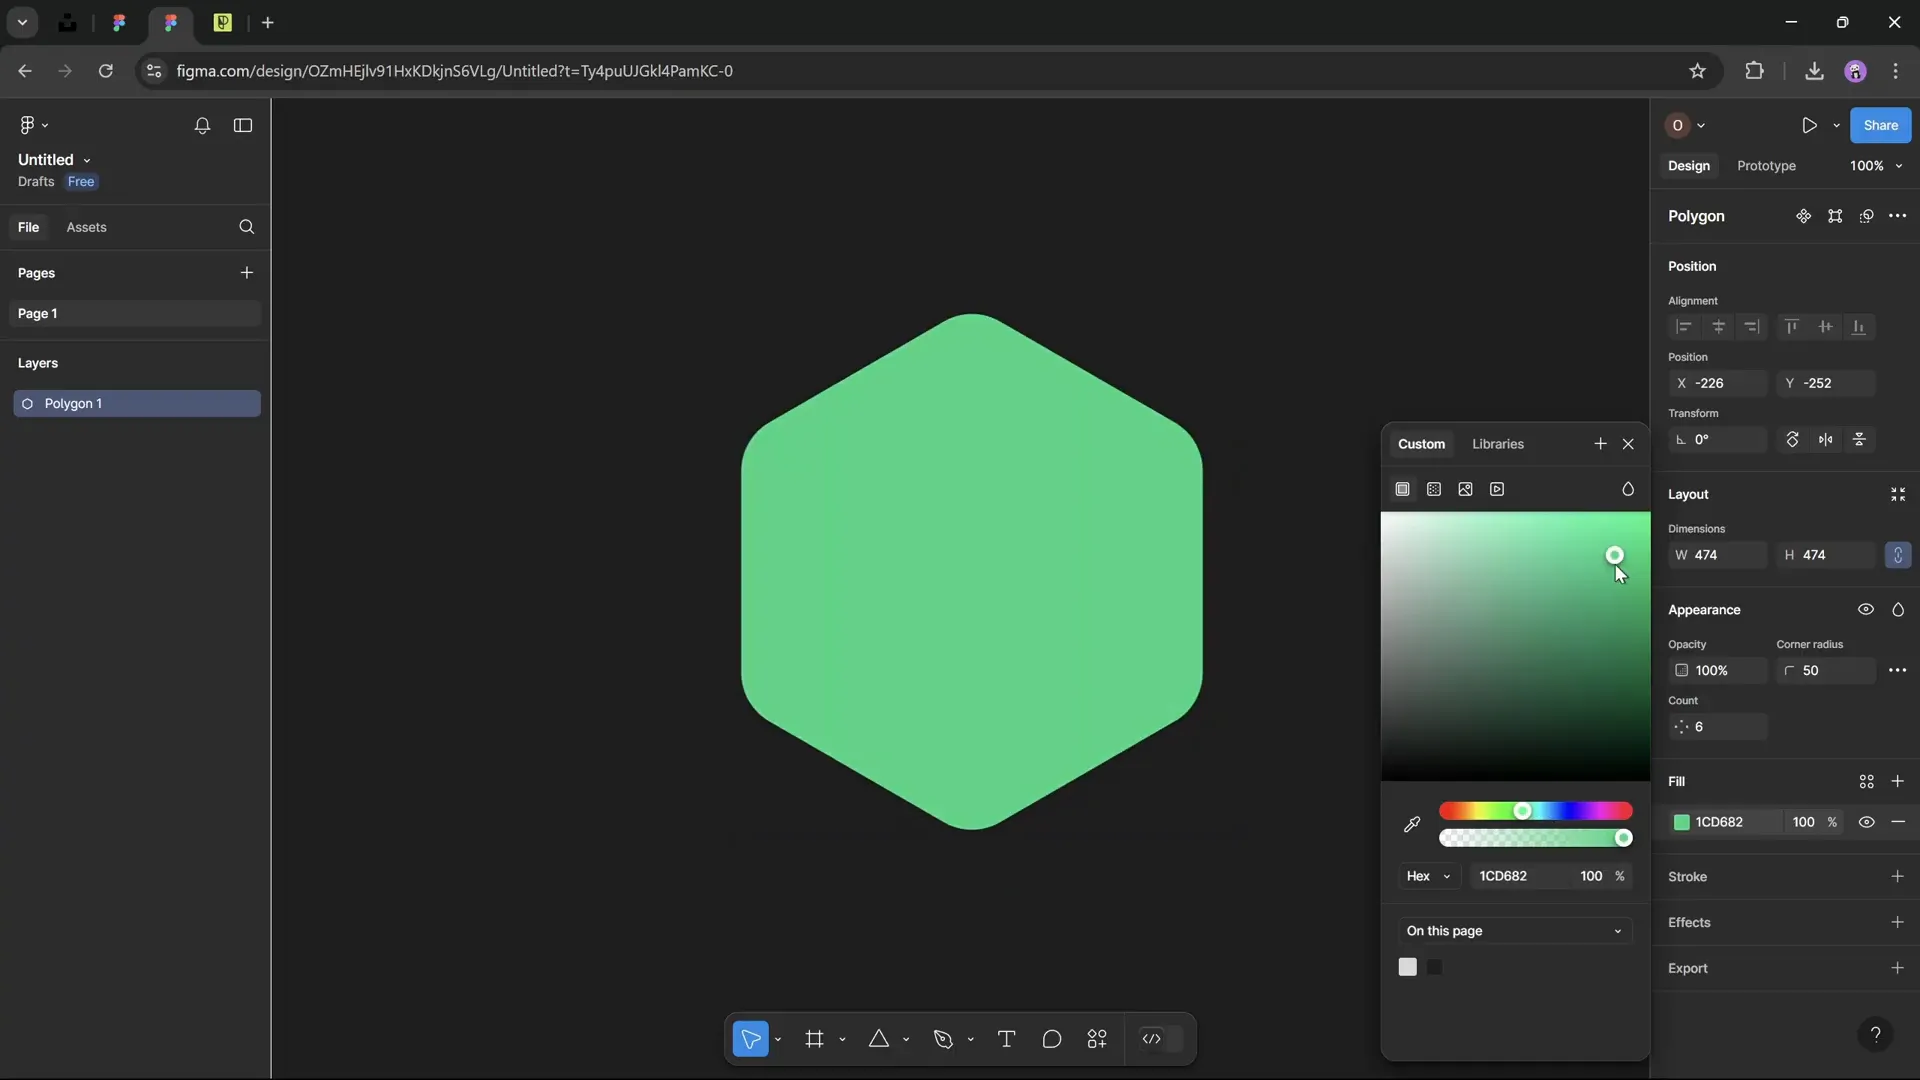
- Log in to Figma and create a new design file.
- Select the Polygon Tool from the shapes menu.
- Hold Shift and draw a triangle.
- Set the polygon count to 6 for a hexagon.
- Adjust the corner radius to around 50 to round the corners.
- Change the fill color as desired.
- Name the shape “hexagon” for easy identification.
- Export the shape as an SVG file.
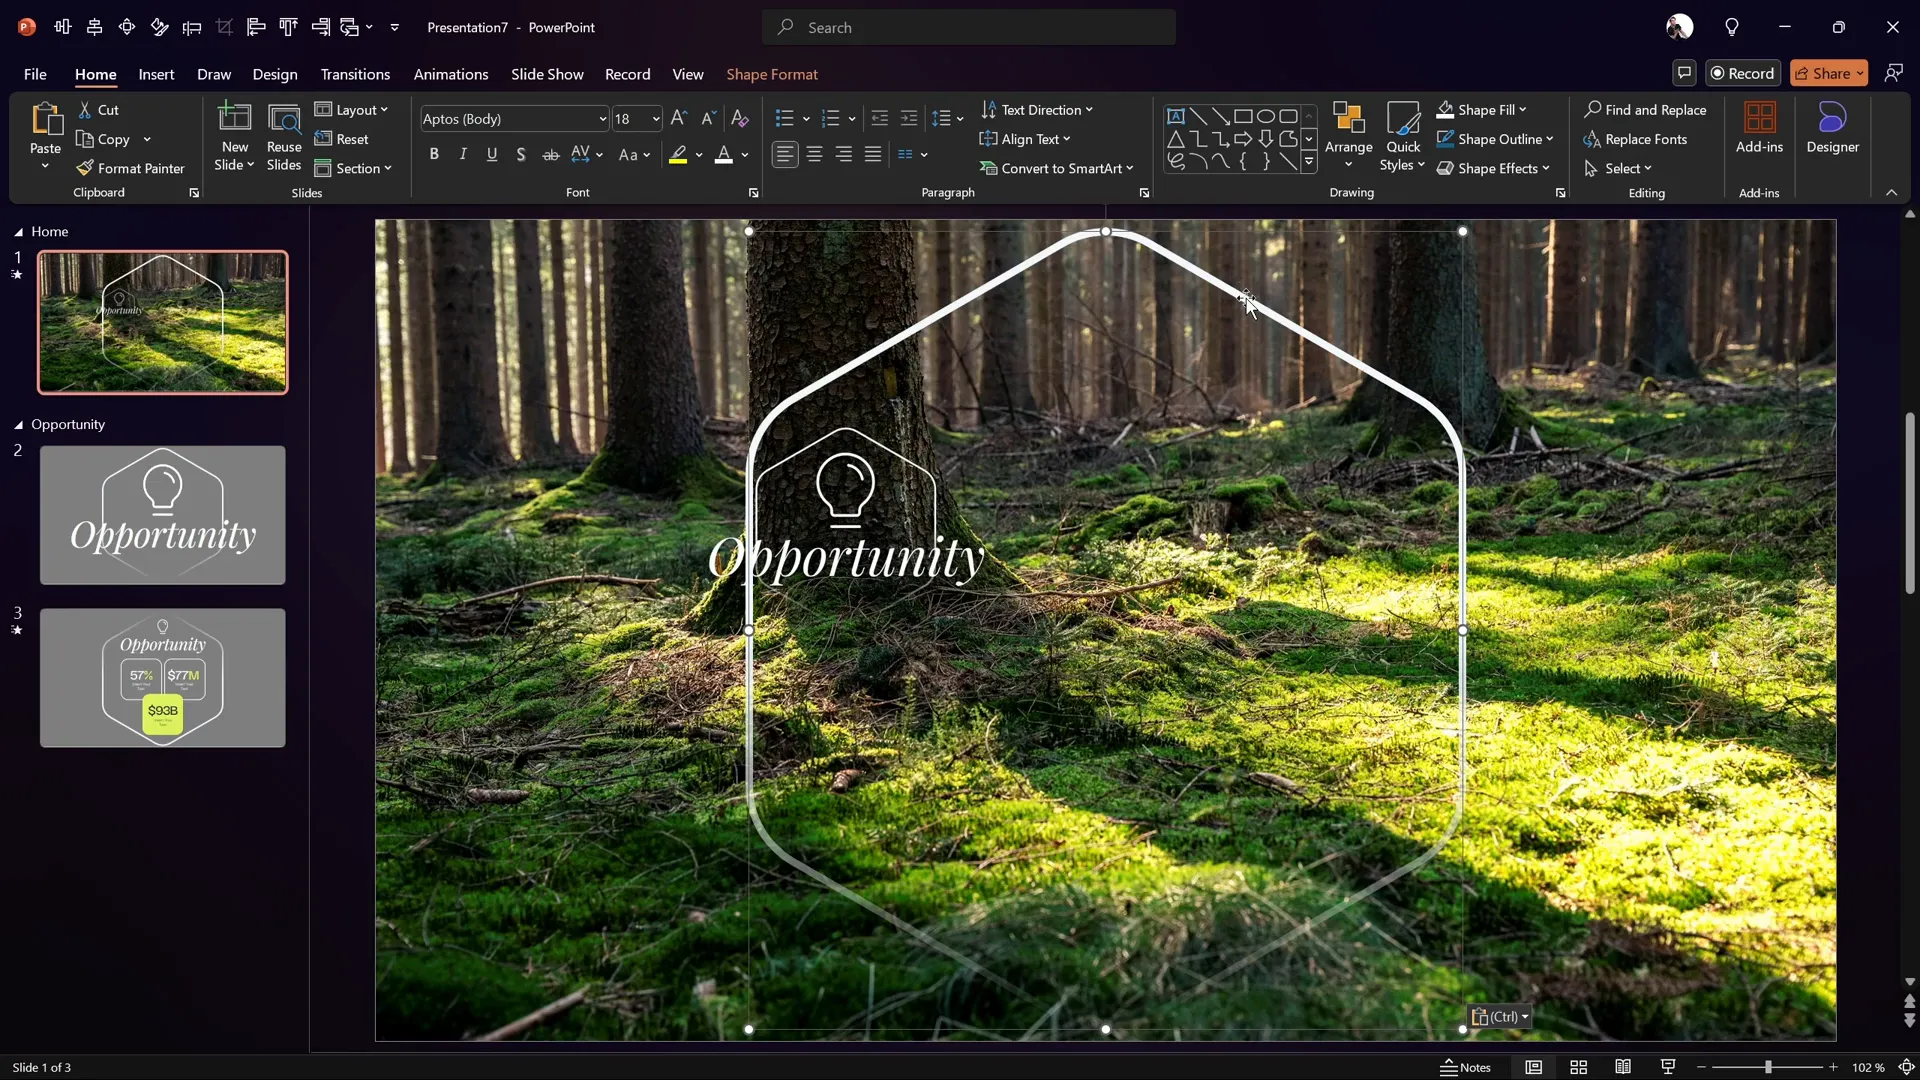
Importing and Editing the SVG in PowerPoint
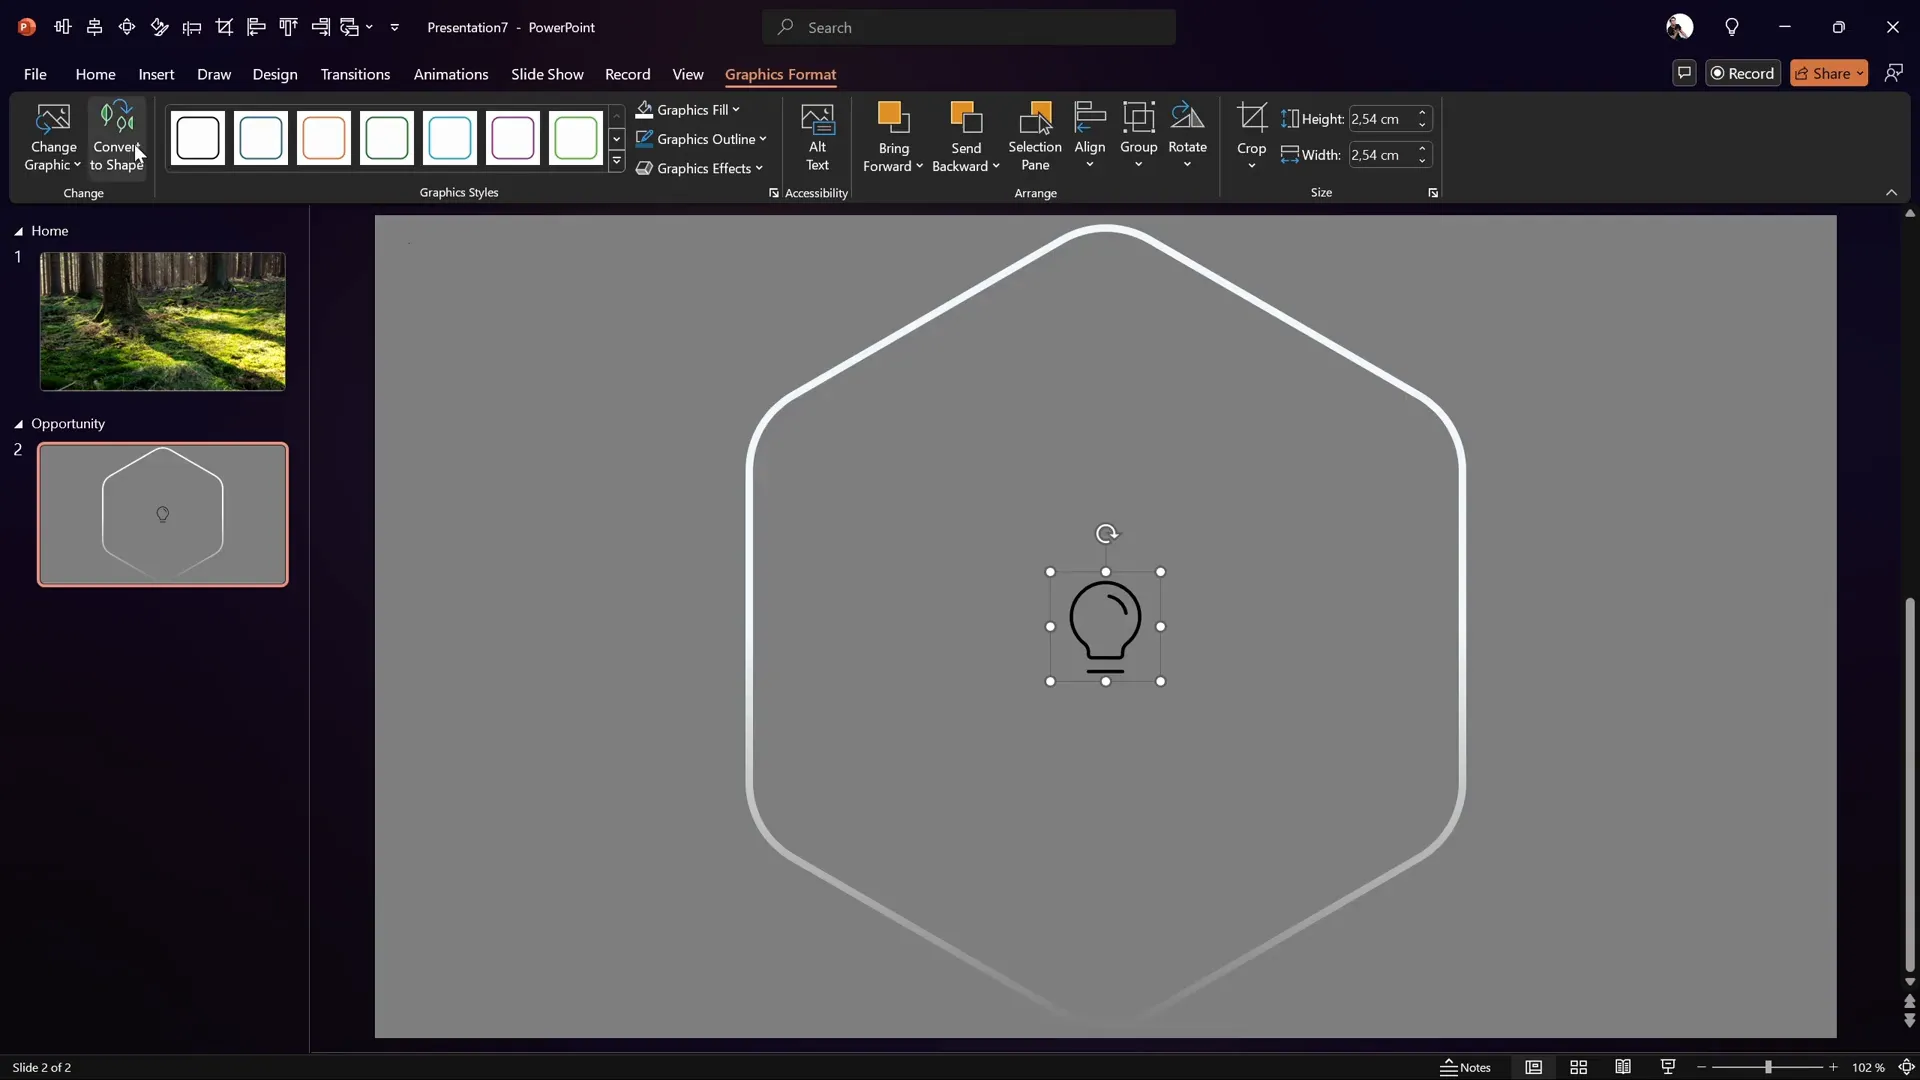
- Insert the exported SVG into PowerPoint via Insert > Pictures > This Device.
- Convert the SVG to a PowerPoint shape for easier editing by clicking Convert to Shape.
- Center-align the hexagon on the slide using alignment tools or keyboard shortcuts.
- Resize the hexagon to match the design requirements (e.g., same height as a lighting effect used in the template).
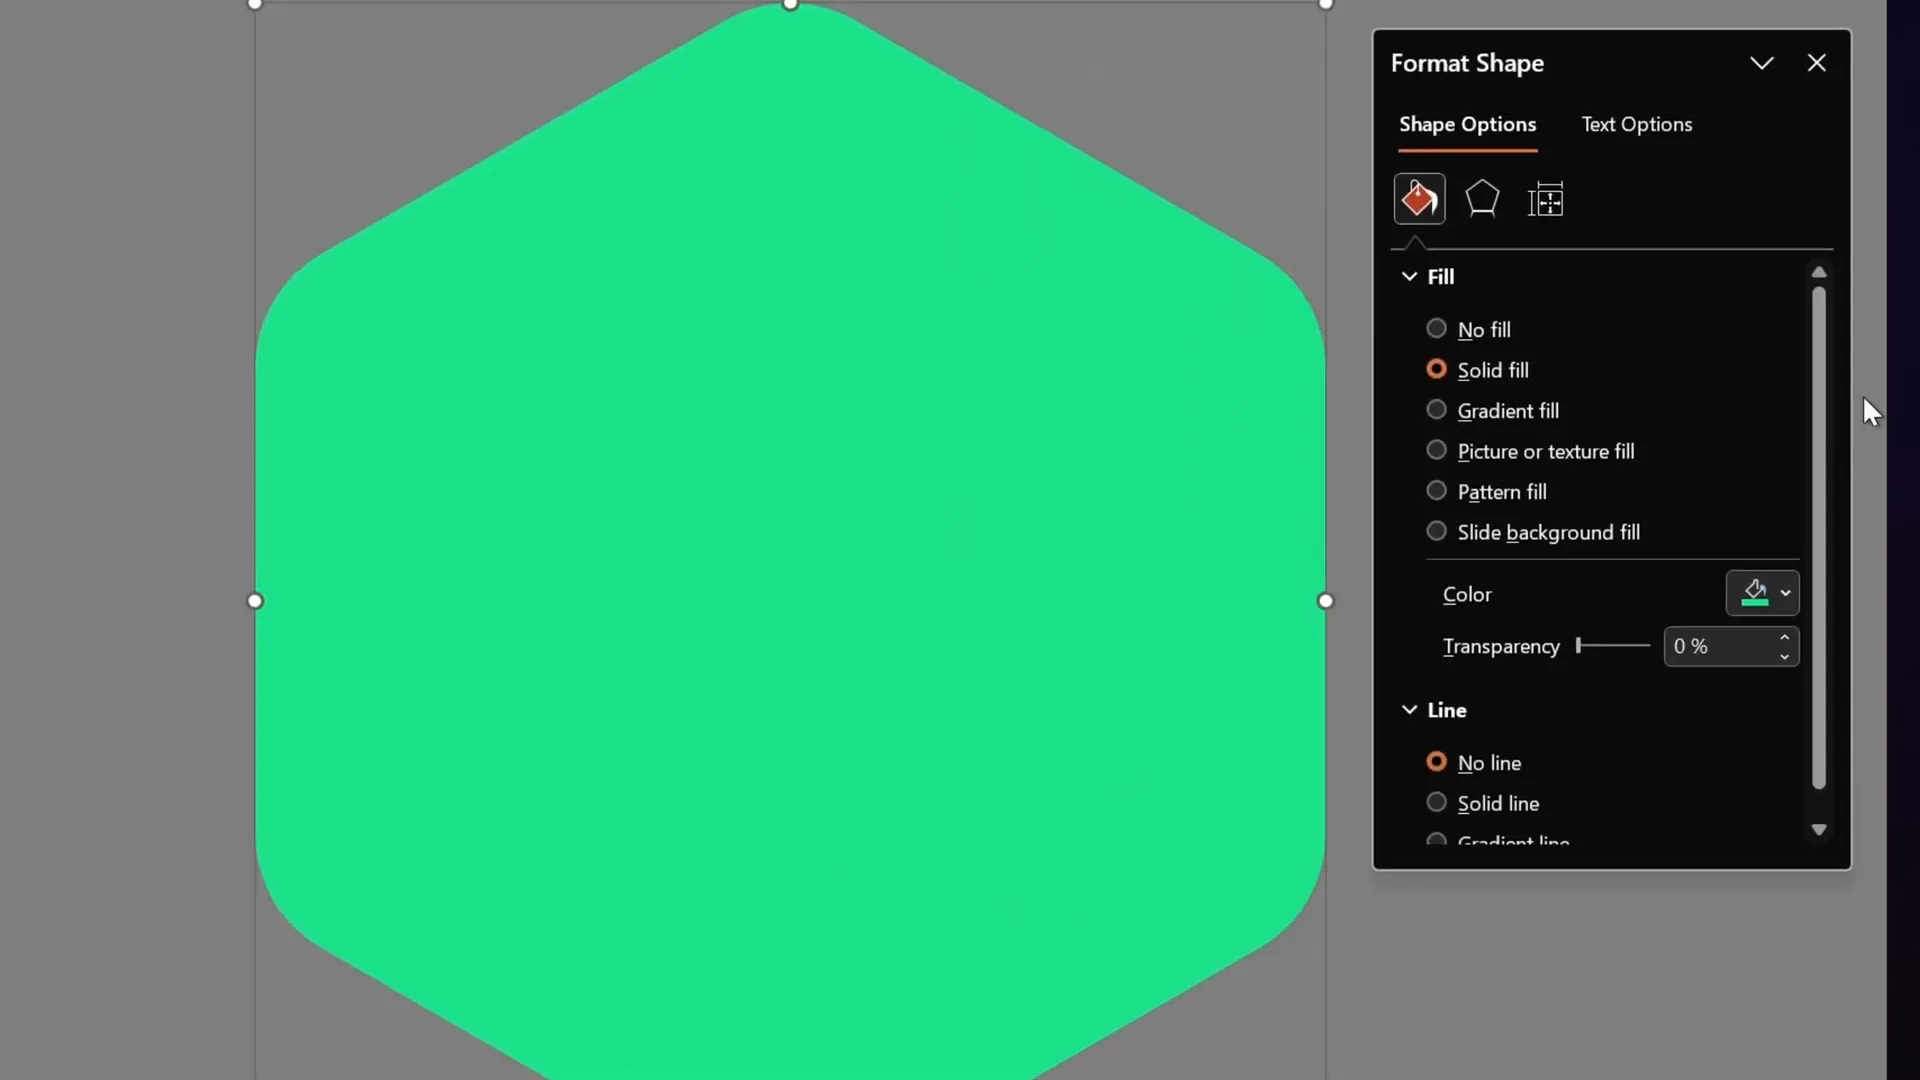
- Remove the fill color to make it transparent.
- Apply a gradient outline for a stylish faded effect:
- Open the Format Shape pane (Alt + 4 shortcut).
- Set the line width to 5 pt.
- Add a two-color gradient line: start with solid white at 50% position, fading to transparent.
Adding Icons and Stylish Text Boxes
Icons and text styling are essential to create a polished and professional look for your PowerPoint slides. This tutorial uses free resources and font choices to achieve a clean, modern style.
Using Free Icons from Phosphor Icons
Instead of relying on PowerPoint’s built-in icons, which may be limited, this tutorial recommends using Phosphor Icons, a free icon resource.
- Visit phosphoricons.com.
- Search for your desired icon, e.g., “bulb.”
- Choose the thin style for a sleek look.
- Download the icon as an SVG file.
- Import the SVG into PowerPoint and convert it to a shape.
- Resize, fill with white color, and add a subtle shadow for depth.
Creating Elegant Text Boxes with Playfair Display Font
The text below the icons uses the Playfair Display font in italic style for a classy effect. Here’s how to set it up:
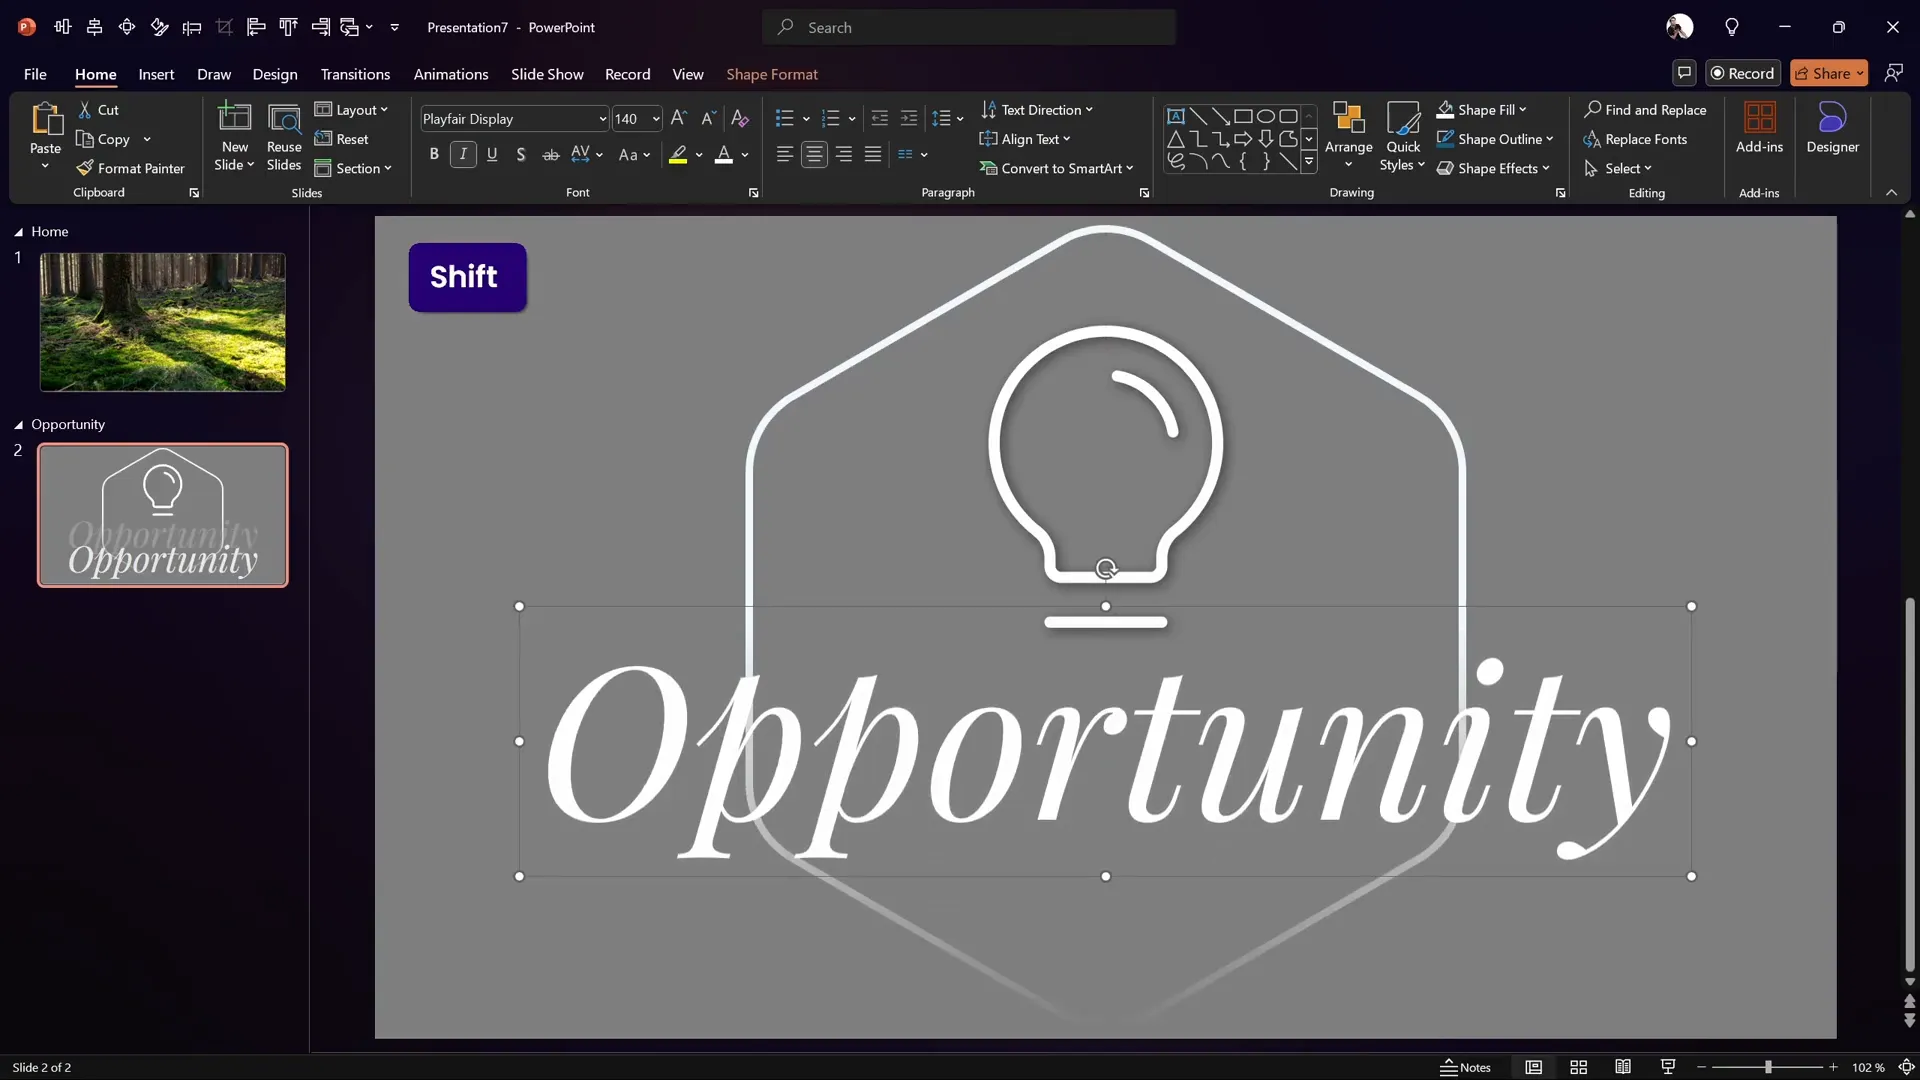
- Insert a text box below the icon.
- Type the desired text, e.g., “Opportunity.”
- Center-align the text and the text box on the slide.
- Set the font to Playfair Display, italicized.
- Set the font size to 140 pt for the main slide, and reduce to 72 pt for subsequent slides.
- Fill the text with white.
- Add a shadow effect with 50% transparency and 10 pt blur to make the text pop.
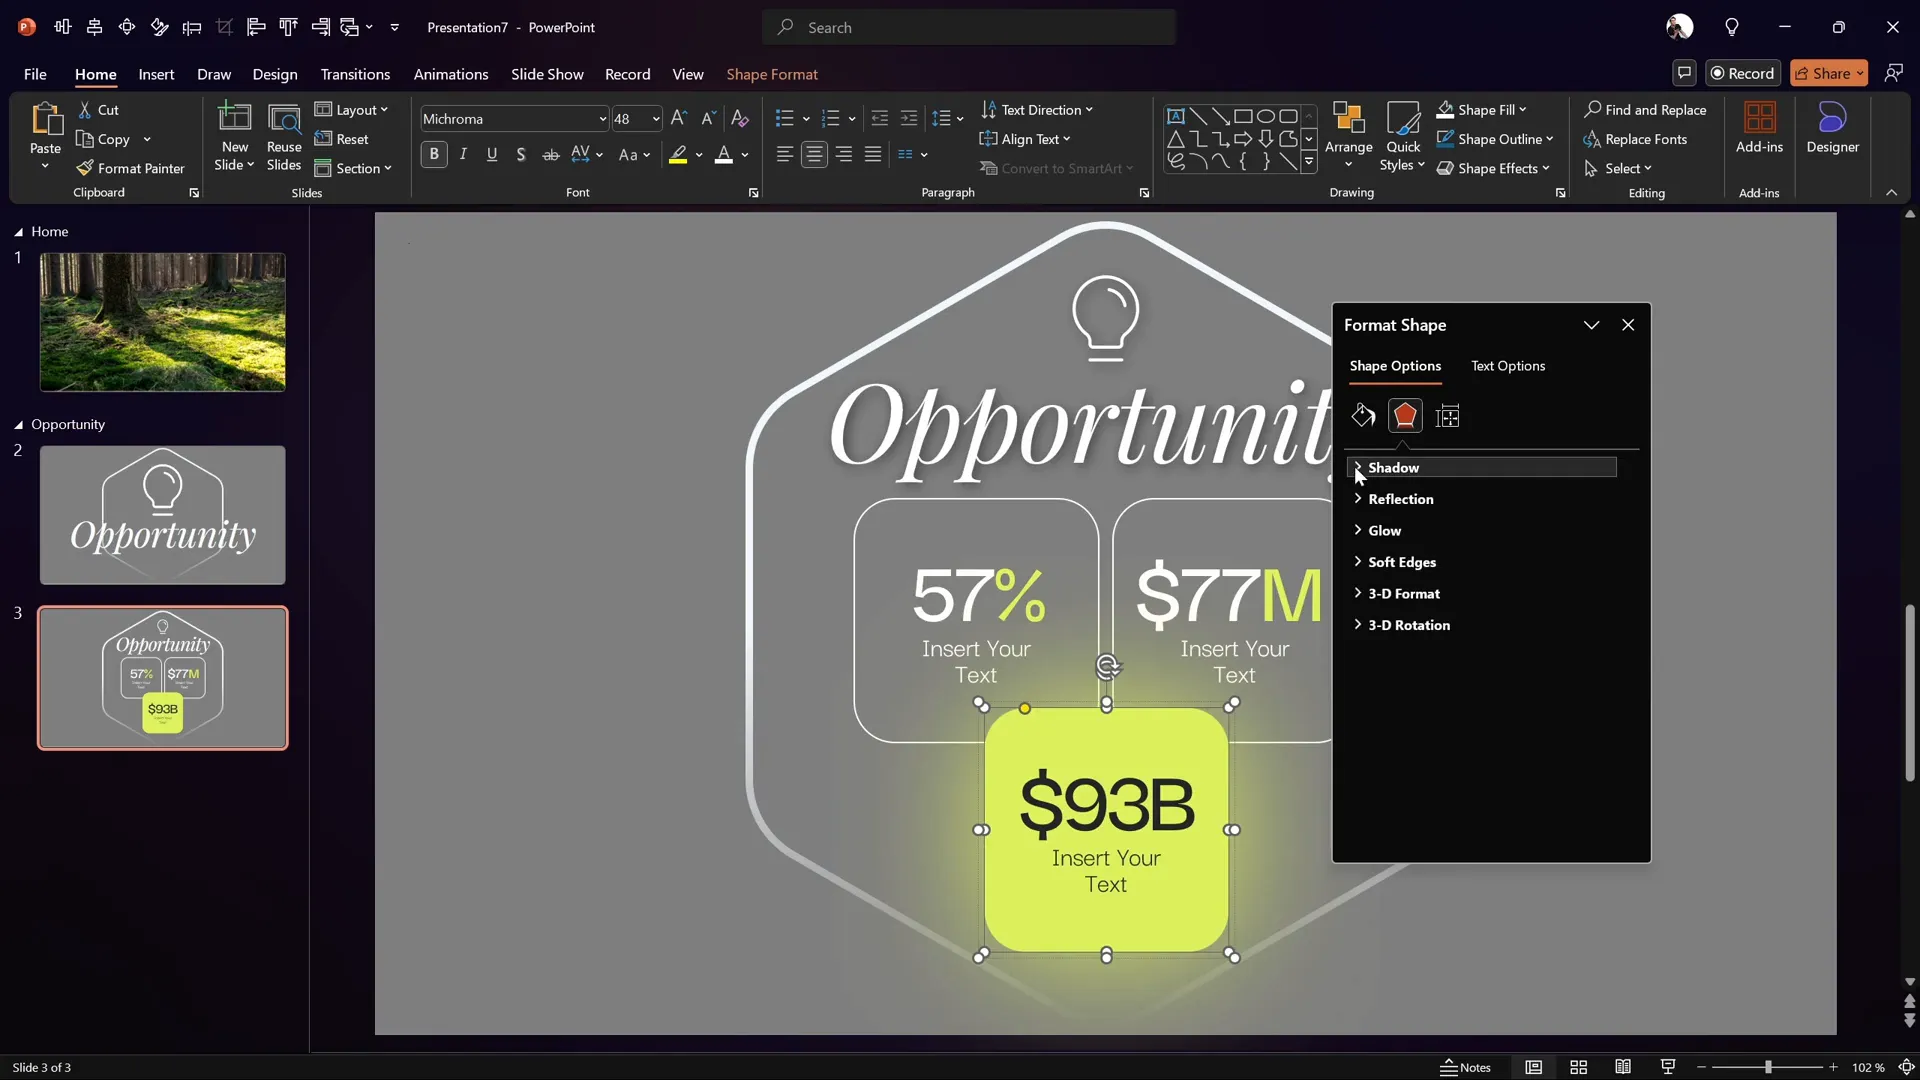
Creating Rounded Rectangle Highlights with Glow Effect
To highlight numbers or important points, the tutorial uses rounded rectangles with glowing shadows:
- Create rounded rectangles and add text inside.
- Use the Format Shape pane to add a shadow effect instead of glow for a softer look.
- Set the shadow color to match the fill color (e.g., bright green).
- Maximize blur to 100 pt for a beautiful glowing effect.
Using Morph Transition and Animations
Animations bring your PowerPoint slides to life. This tutorial leverages the Morph transition to create smooth flipping effects and size changes.
Setting Up Automatic Slide Transitions
- On the first slide of a section (e.g., Opportunity), set the transition to occur automatically after 0 seconds via the Transitions tab.
- Set the second slide to use the Morph transition with a duration of 1.5 seconds.
Creating the Flipping Hexagon Animation
- On the second slide, flip the rounded hexagon vertically using Shape Format > Rotate > Flip Vertical.
- This causes the faded gradient line on the hexagon to flip, creating a dynamic flip animation when transitioning with Morph.
- The icon and text box sizes also shrink smoothly due to Morph.

If you don’t have Morph available, you can use other transition effects, but the animation won’t be as smooth or dynamic.
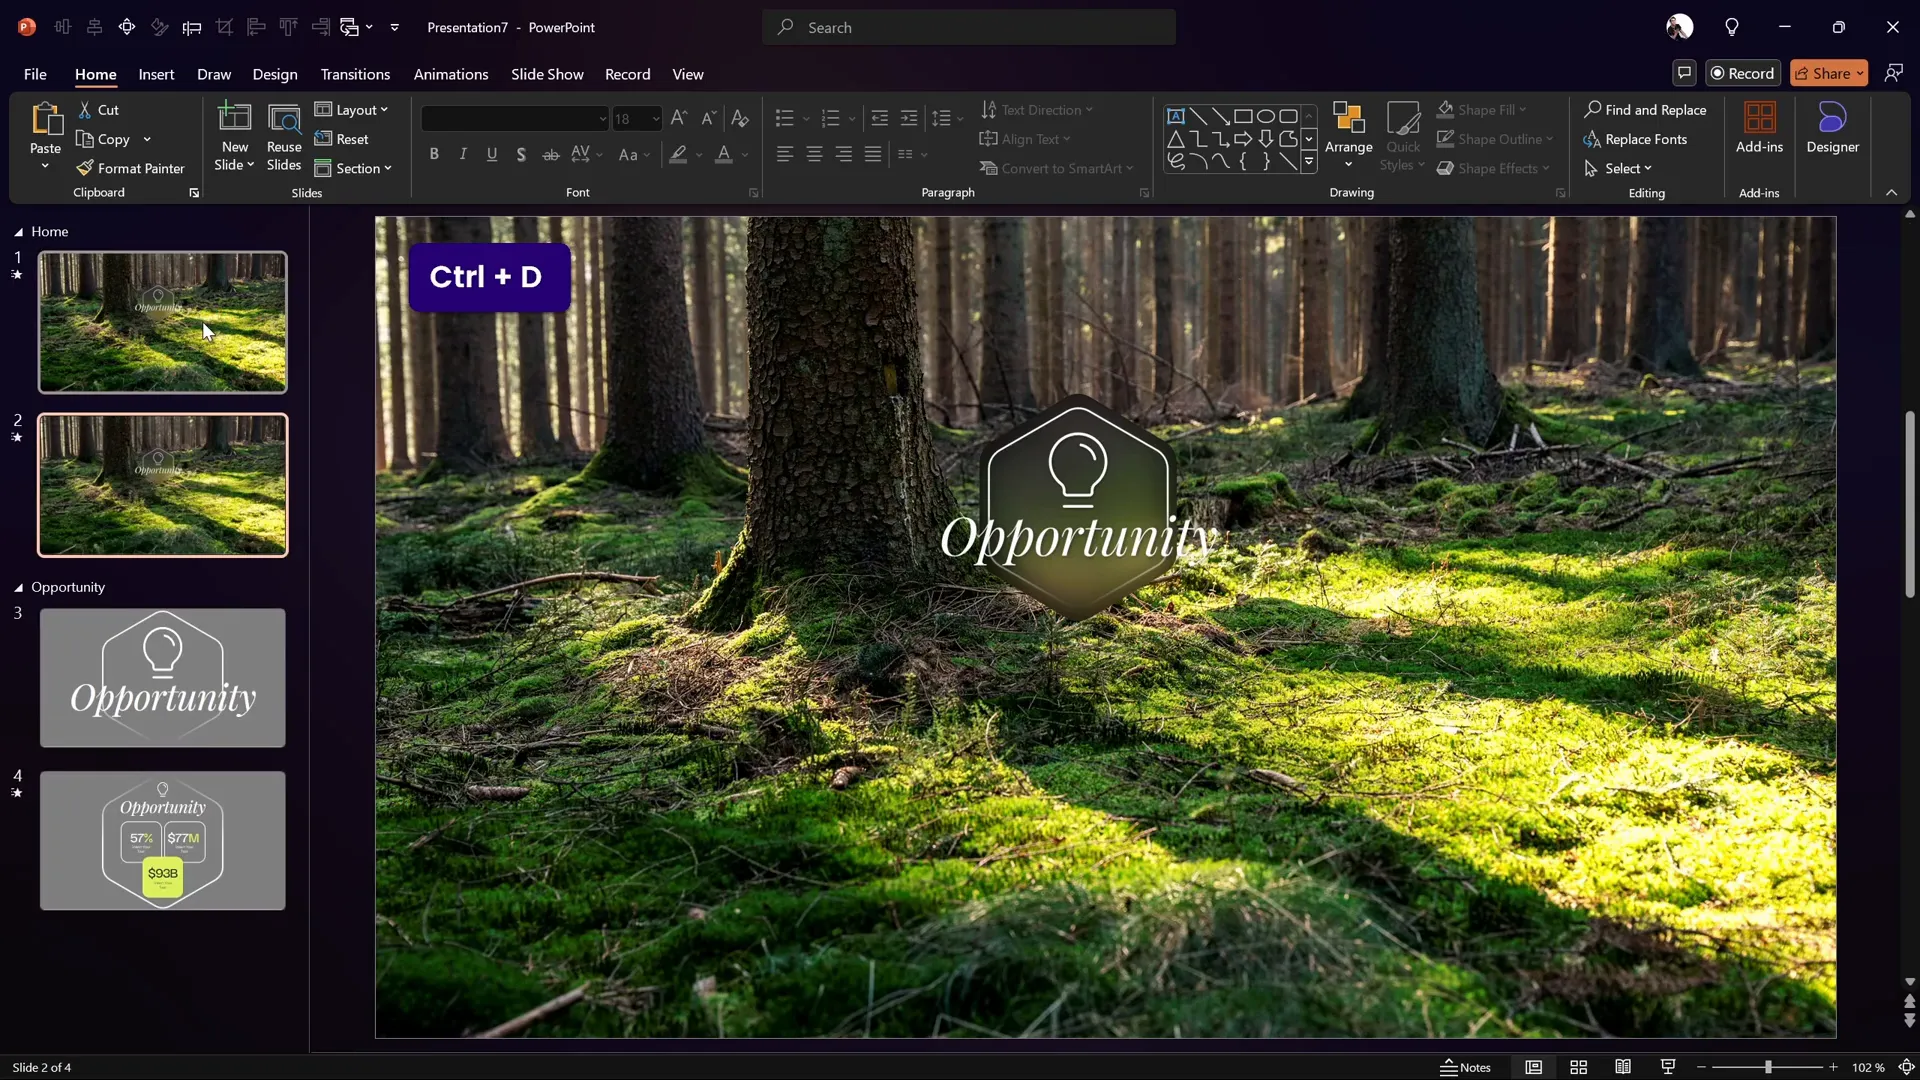
Creating a Glass Morphic Blurry Background
To add a sophisticated glass morphic effect behind the section zoom, follow these steps:
- Copy the rounded hexagon shape and paste it onto the Home slide.
- Resize and position it directly under the section zoom.
- Change its fill to a solid color temporarily (e.g., dark green) for visibility.
- Duplicate the background photo, apply a maximum blur effect via Artistic Effects > Blur in the Format Picture pane.
- Copy the blurred photo, delete the original, and set the slide background to the blurred image by pasting from clipboard in the Format Background pane.
- Set the hexagon’s fill to Slide Background Fill to reveal the blurred background through the shape.
- Add an inside shadow to the hexagon for edge definition.
Tweaking Animations for a Seamless Experience
Animations can sometimes replay every time you zoom in or out, which might be distracting. Here’s a workaround to play animations only once:
- Duplicate the Home slide.
- On the duplicate slide, delete all animations via the Animations Pane.
- Set the first Home slide to advance automatically after 0 seconds.
- This way, animations play only once on the first Home slide, then the presentation transitions to the duplicate slide without animations.
- Zooming in and out from the duplicate slide will not replay animations.
Expanding Your Slide Zoom Template
Using the same techniques, you can create multiple clickable section zooms for different parts of your presentation, such as:
- Opportunity Section
- Market Section
- Solution Model Section
- Team Section
All slides in the template are free to use and customize, making it easy to build professional presentations quickly.
Frequently Asked Questions
What version of PowerPoint do I need to create this slide zoom template?
You need PowerPoint 2019, 2021, or Microsoft 365 to use the Morph transition feature. However, if you don’t have Morph, you can still create the template using other transitions, though animations won’t be as fluid.
How do section zooms differ from slide zooms?
Section zooms allow you to zoom into a whole section of slides grouped together, while slide zooms zoom into individual slides. Section zooms are great for navigating larger presentations with multiple topics.
Can I create rounded hexagons directly in PowerPoint?
PowerPoint doesn’t support rounded hexagons by default. The tutorial shows how to create them in Figma and import as SVG shapes for easy editing and customization.
Where can I find free icons to use in my PowerPoint slides?
Phosphor Icons (phosphoricons.com) offers a great collection of free icons that can be downloaded as SVG files and imported into PowerPoint.
How can I make my PowerPoint backgrounds look more dynamic?
Using the glass morphic blurry background technique demonstrated in this tutorial adds depth and a modern aesthetic to your slides. It involves blurring the background image and using slide background fills with shapes.
How do I prevent animations from replaying every time I zoom in or out?
Duplicate the slide with animations and remove animations from the duplicate. Set the original slide to transition automatically, so animations play once, and subsequent zooms use the duplicate without animations.
Conclusion
Creating engaging and interactive PowerPoint slides is easier than ever with the right techniques and tools. This tutorial by One Skill PPT offers a comprehensive, step-by-step guide to building a modern slide zoom template with clickable section zooms, custom rounded hexagons, free icons, and smooth animations using Morph transition.
By following the outlined steps, you can produce professional-quality presentations that captivate your audience, improve navigation, and deliver your message effectively. Plus, with free resources like the slide template, icons, and fonts, you can customize your presentation to fit any style or purpose.
Whether you’re delivering a business pitch, educational lecture, or creative showcase, mastering these PowerPoint slides techniques will elevate your presentation skills to the next level.
Thank you for reading, and as One Skill PPT says, stay happy and stay healthy!


