
If you’re looking to elevate your PowerPoint presentations with visually appealing and informative infographic slides, this comprehensive guide will walk you through creating a dynamic slide featuring five cloud and ladder infographic options. Designed to help you communicate complex ideas in a simple, engaging way, this design incorporates platforms, ladders, and cloud elements to illustrate step-by-step progressions or hierarchical options.
Whether you’re a business professional, educator, or student, mastering this PowerPoint slides design technique will add a fresh, creative flair to your presentations. This tutorial breaks down the process step-by-step, making it easy to follow and customize for your unique needs.
Table of Contents
- Introduction to the Cloud and Ladder Infographic Design
- Preparing Your PowerPoint Slide
- Creating the Platform Shapes
- Designing and Merging Triangle Shapes
- Adding a 3D Effect with Rectangles
- Customizing Colors for Visual Appeal
- Adding Text and Labels for Clarity
- Incorporating Cloud Elements
- Building the Ladders
- Inserting Icons to Enhance the Design
- Final Tips and Customizations
- Frequently Asked Questions (FAQ)
- Conclusion
Introduction to the Cloud and Ladder Infographic Design
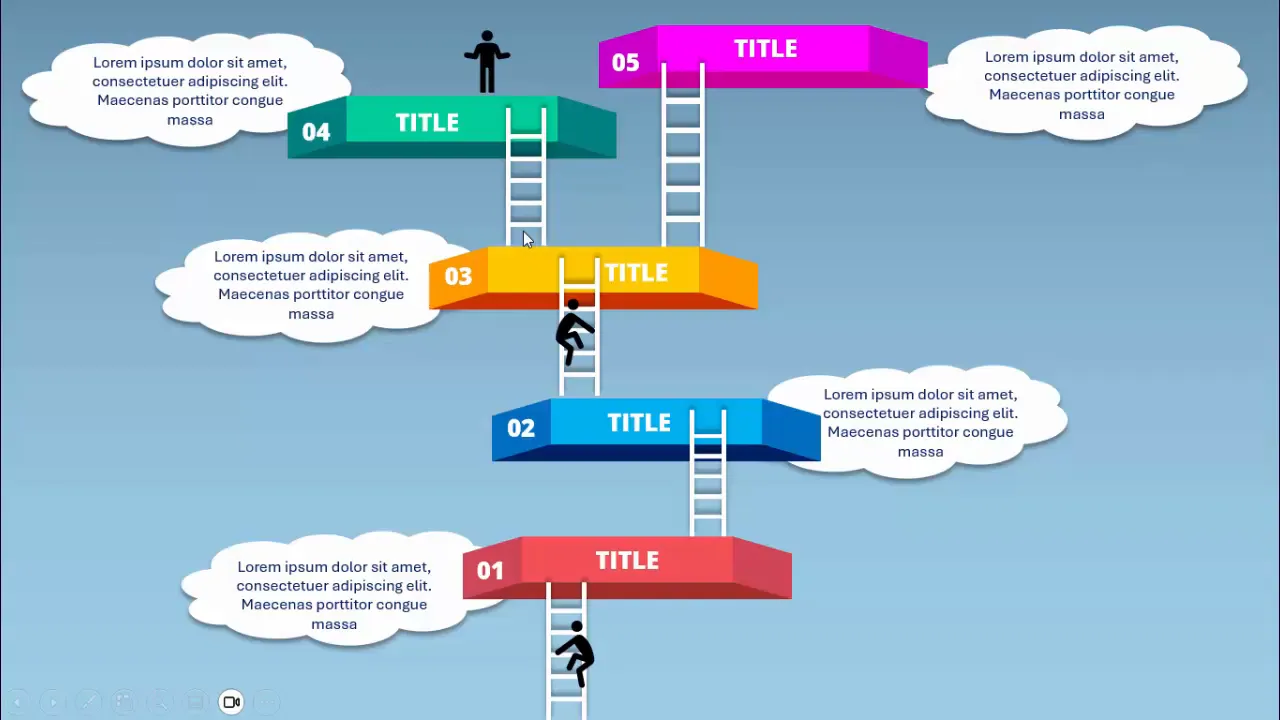
This infographic design concept is centered around illustrating five distinct options or stages using platforms, clouds, and ladders, symbolizing progress and elevation. The design is perfect for presentations that require showcasing steps in a process, hierarchical options, or progressions toward a goal.
The design features:
- Five platform options arranged horizontally
- Cloud shapes as visual accents that add depth and thematic relevance
- Ladders connecting the platforms to illustrate climbing or progression
- Icons representing a person climbing to add engagement and narrative
- Text boxes for titles and descriptions of each option
Preparing Your PowerPoint Slide
Before diving into the shapes and design elements, it’s essential to set up your PowerPoint slide properly. This preparation ensures accuracy and alignment throughout the design process.
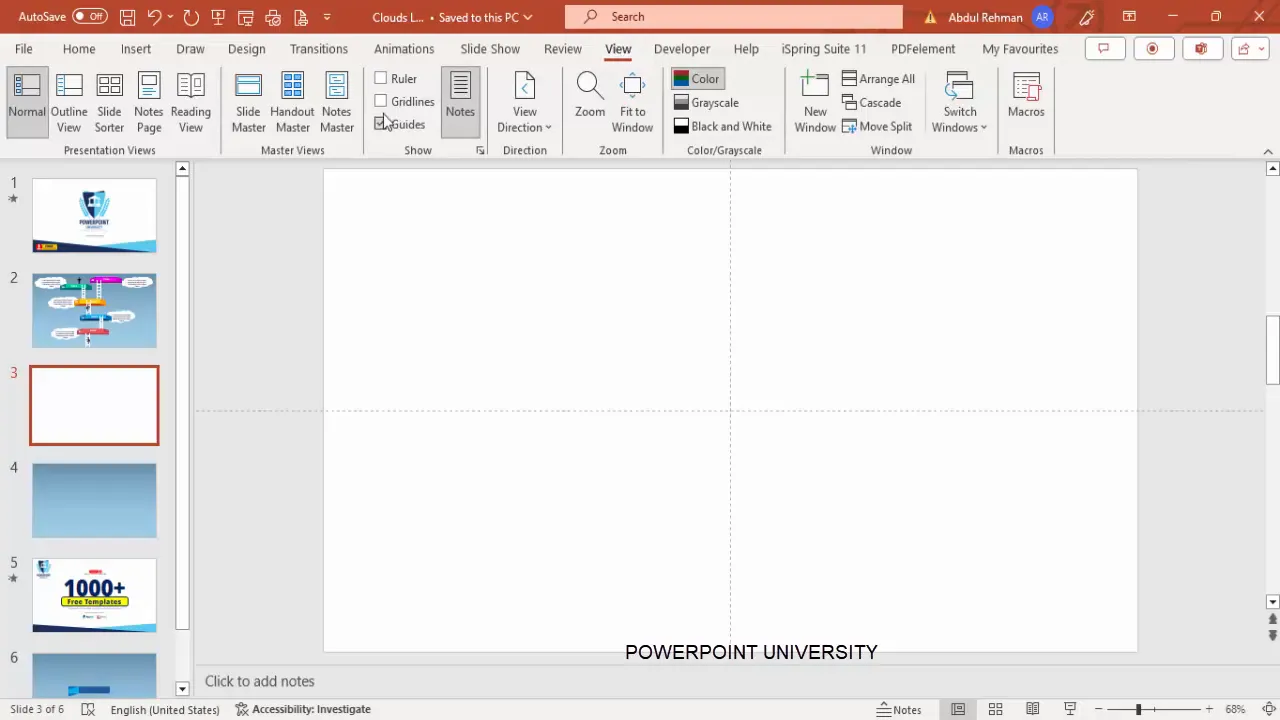
- Add a New Slide: Start with a fresh slide to keep your workspace clean and organized.
- Enable Guides: Go to the View tab and enable guides. This will help you align shapes precisely and maintain consistency.
Using guides is crucial for professional PowerPoint slides design, as it helps avoid misaligned elements that can distract your audience.
Creating the Platform Shapes
The platform forms the base of each option in your infographic. Creating a well-aligned and visually appealing platform is the first step.
- Insert a Small Rectangle: From the Insert > Shapes menu, select the rectangle shape and draw a small rectangle on the slide.
- Remove Outline: Right-click the rectangle, select Format Shape, and set the shape outline to No Outline for a cleaner look.
- Align the Shape: Use the Align tool to center the rectangle both horizontally and vertically on the slide.
- Duplicate and Resize: Press Ctrl + D to duplicate the rectangle. Resize the duplicate to be narrower and position it to the right (or left) of the original rectangle to create a layered platform effect.
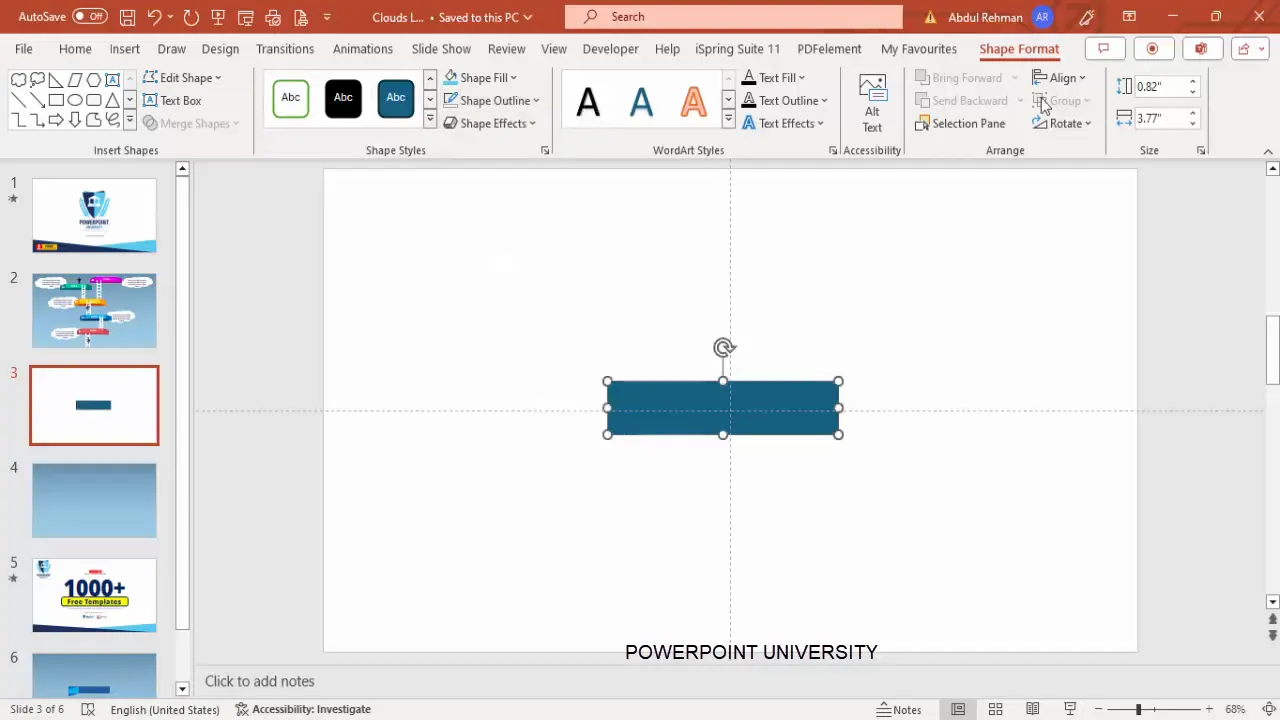
This combination of rectangles creates a base platform that will serve as the foundation for each option.
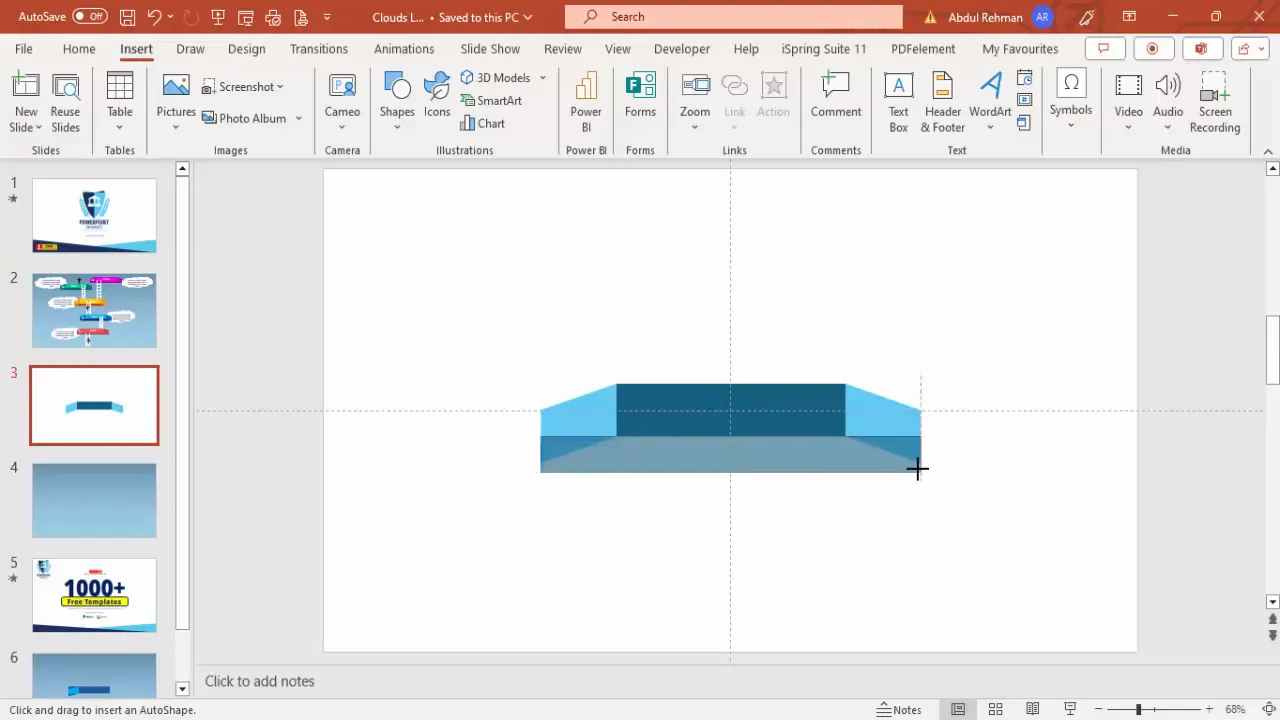
Designing and Merging Triangle Shapes
Triangles are used to add visual flair and dimension to the platform shapes by creating angular edges and a more interesting shape.
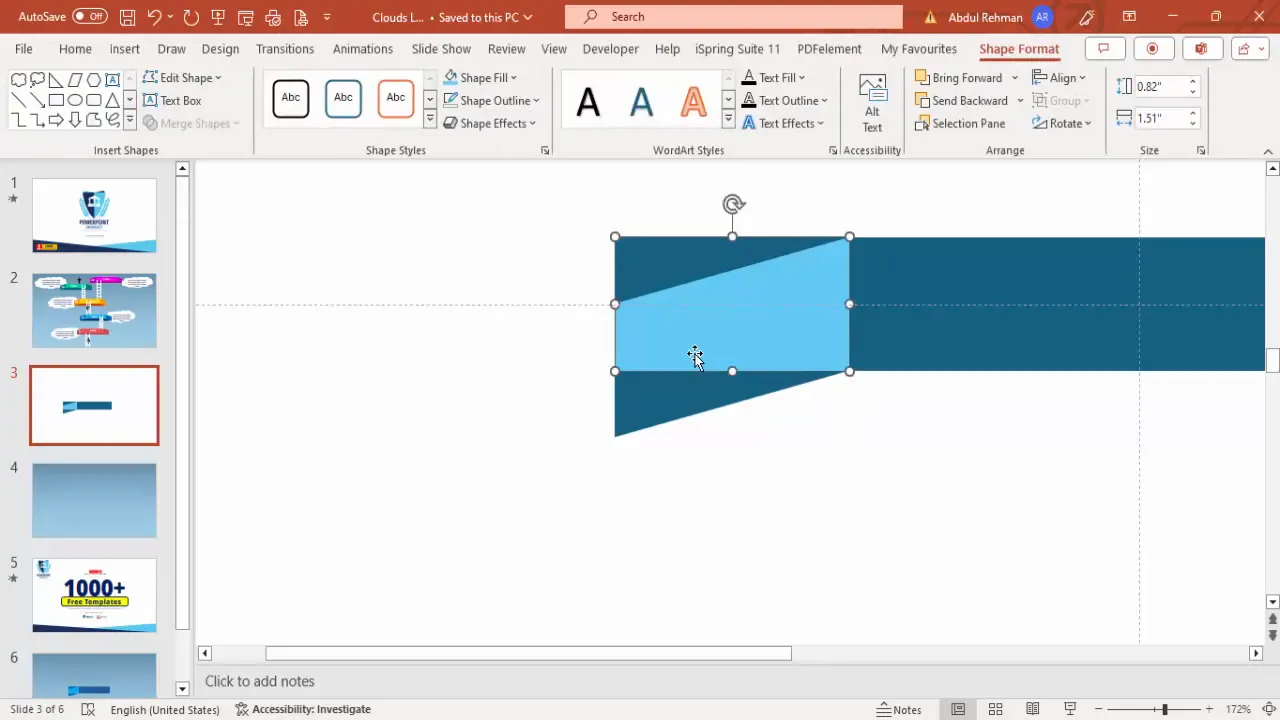
- Insert Right Triangles: Go to Insert > Shapes and select the right triangle shape.
- Draw and Format: Draw a small right triangle, remove its outline, and rotate it by flipping vertically to align with the platform edges.
- Duplicate and Position: Duplicate the triangle by holding Ctrl + Shift and dragging it upwards to create a shape resembling a trapezoid.
- Merge Shapes: Select the rectangle and bottom triangle, then use the Merge Shapes > Union command to combine them into one shape.
- Subtract the Top Triangle: Select the merged shape and the top triangle, then use Merge Shapes > Subtract to create a clean, angular platform shape.
Once complete, duplicate this shape to the right, flip it horizontally, and position it accordingly to create symmetrical platform designs.
Adding a 3D Effect with Rectangles
To add depth and a subtle 3D effect to your platforms, insert an additional rectangle and position it behind the main shapes.
- Insert a Rectangle: Draw a rectangle slightly smaller or larger than the platform shapes.
- Format: Remove the outline and apply a contrasting color.
- Send to Back: Right-click and select Send to Back to place it behind your platform shapes.
This layered approach adds a sense of dimension and professionalism to your PowerPoint slides design.
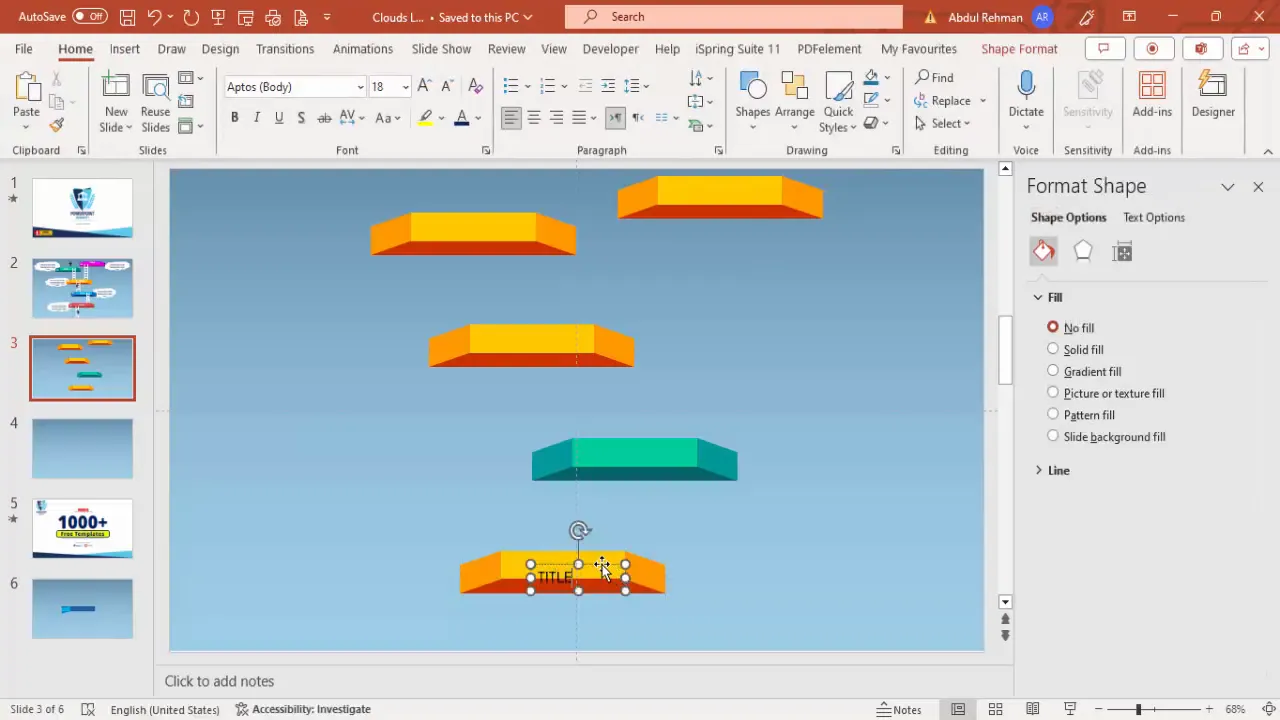
Customizing Colors for Visual Appeal
Colors play a vital role in making your infographic stand out and convey meaning. Here’s how to customize colors effectively:
- Use the Format Shape Pane: Right-click on each shape and select Format Shape to open the color options.
- Select Custom Colors: Choose More Colors to pick precise shades that fit your brand or presentation theme.
- Color Palette Suggestions: Use a combination of yellow for highlights, darker shades for shadows, and teal or turquoise for the platforms to create a vibrant yet balanced look.
- Apply Gradients: For the slide background, use a gradient fill with two stops—light blue transitioning to blue-gray—to add subtle texture.
Feel free to experiment with colors until you find a combination that enhances your message and presentation style.

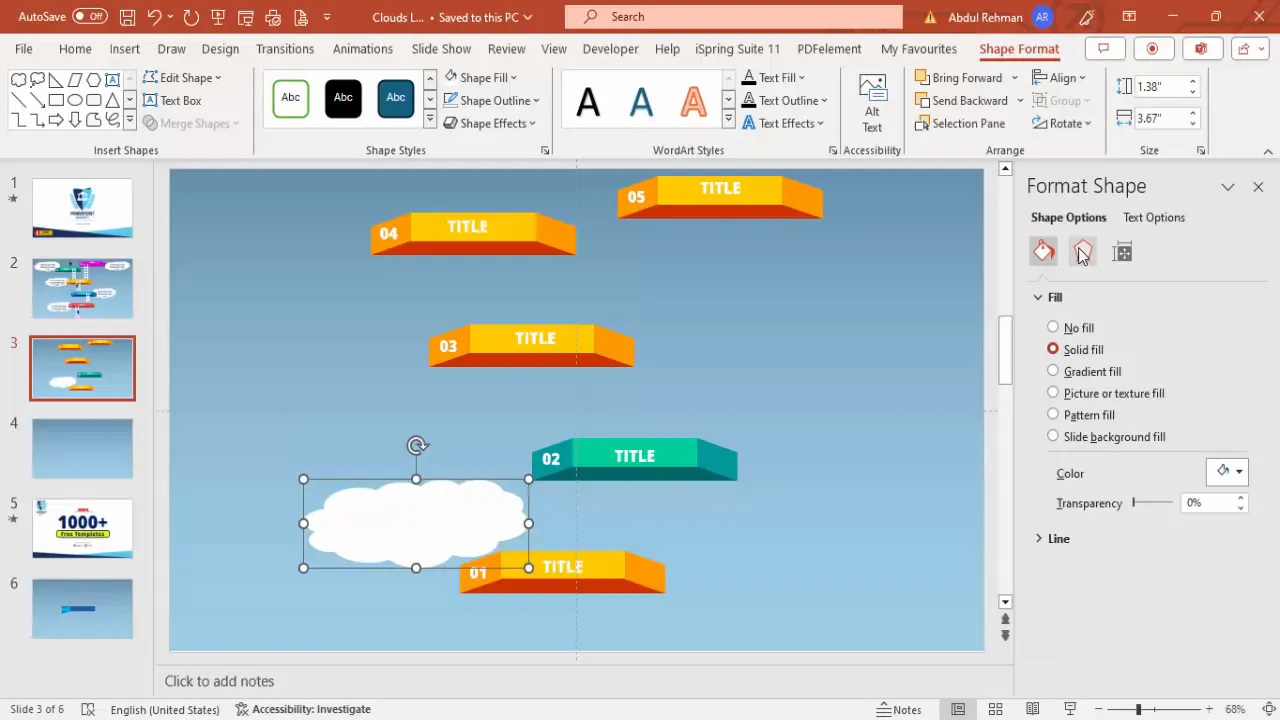
Adding Text and Labels for Clarity
Text is essential to convey the purpose of each option on your infographic. Here’s how to add clear, readable labels:
- Insert Text Boxes: Use the Insert > Text Box feature to add titles and descriptions for each platform.
- Format Text: Choose a bold font like Open Sans Extra Bold, center-align the text, and set the font color to white for contrast.
- Duplicate for Consistency: Use Ctrl + D to duplicate text boxes for all five options to maintain uniformity.
- Add Numbering: Add small text boxes with option numbers (e.g., 01, 02, 03) aligned near each platform to guide viewers through the sequence.
Remember to adjust the font sizes and positioning to ensure readability without cluttering the slide.
Incorporating Cloud Elements
Cloud shapes add a thematic and aesthetic element to the infographic, softening the geometric shapes and creating an airy feel.
- Insert Cloud Shapes: Go to Insert > Shapes and select the cloud shape from basic shapes.
- Format Clouds: Remove the outline and fill the clouds with white.
- Add Shadow Effects: Apply an offset bottom shadow effect to give the clouds subtle depth.
- Duplicate and Arrange: Use Ctrl + D to duplicate clouds and position them around the platforms to balance the design.
- Send to Back: Select all clouds and send them to the back to avoid overlapping text and platforms.
The clouds provide a visually pleasing contrast and help break the rigidity of the platform and ladder shapes.

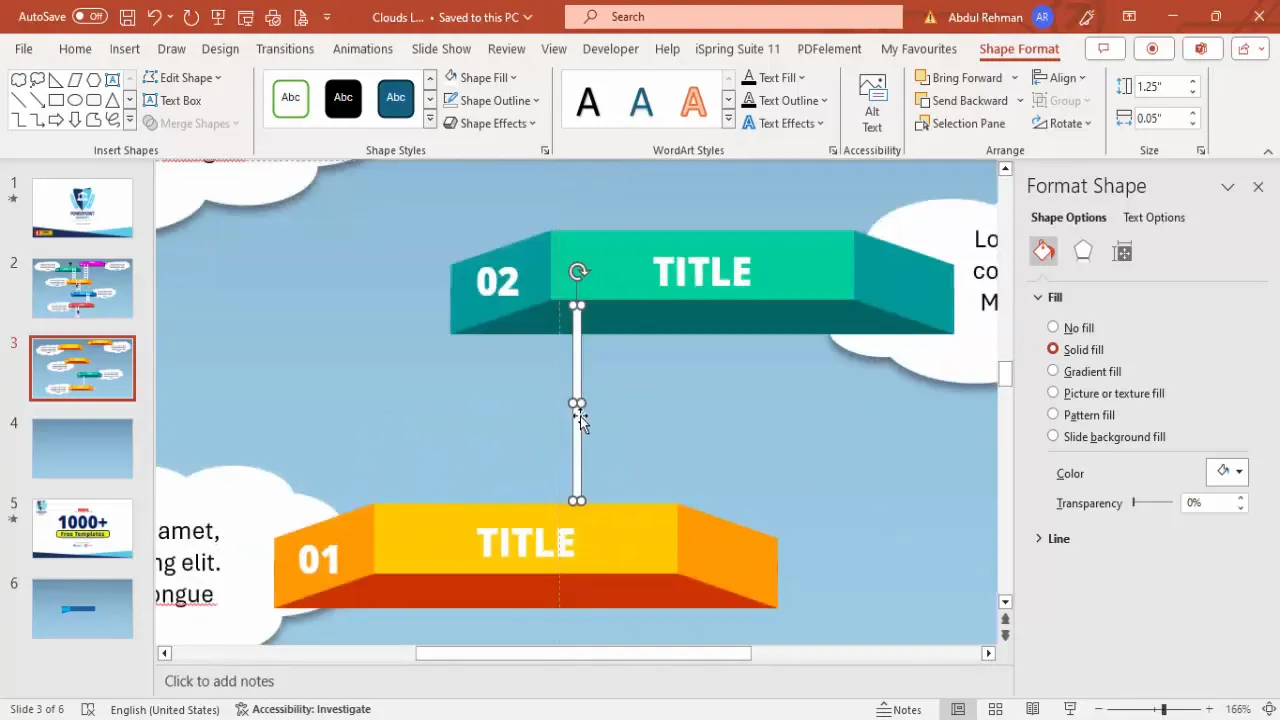
Building the Ladders
Ladders are the key visual metaphor representing progression and climbing through the options. Here’s how to construct them effectively:
- Draw Ladder Sides: Insert two small vertical rectangles to represent the ladder’s side rails. Remove their outlines and fill them with white.
- Create Ladder Steps: Insert multiple small horizontal rectangles between the side rails to form steps, again with no outlines and white fill.
- Group the Ladder: Select all ladder components and press Ctrl + G to group them for easier manipulation.
- Add Shadow Effects: Apply a shadow effect to the ladder group to add dimension.
- Duplicate and Position: Duplicate ladders as needed and position them between platforms to illustrate climbing paths.
- Adjust Size: Scale ladders up or down depending on your design needs without losing proportion.
This step-by-step ladder construction adds a dynamic and meaningful element to your infographic.
Inserting Icons to Enhance the Design
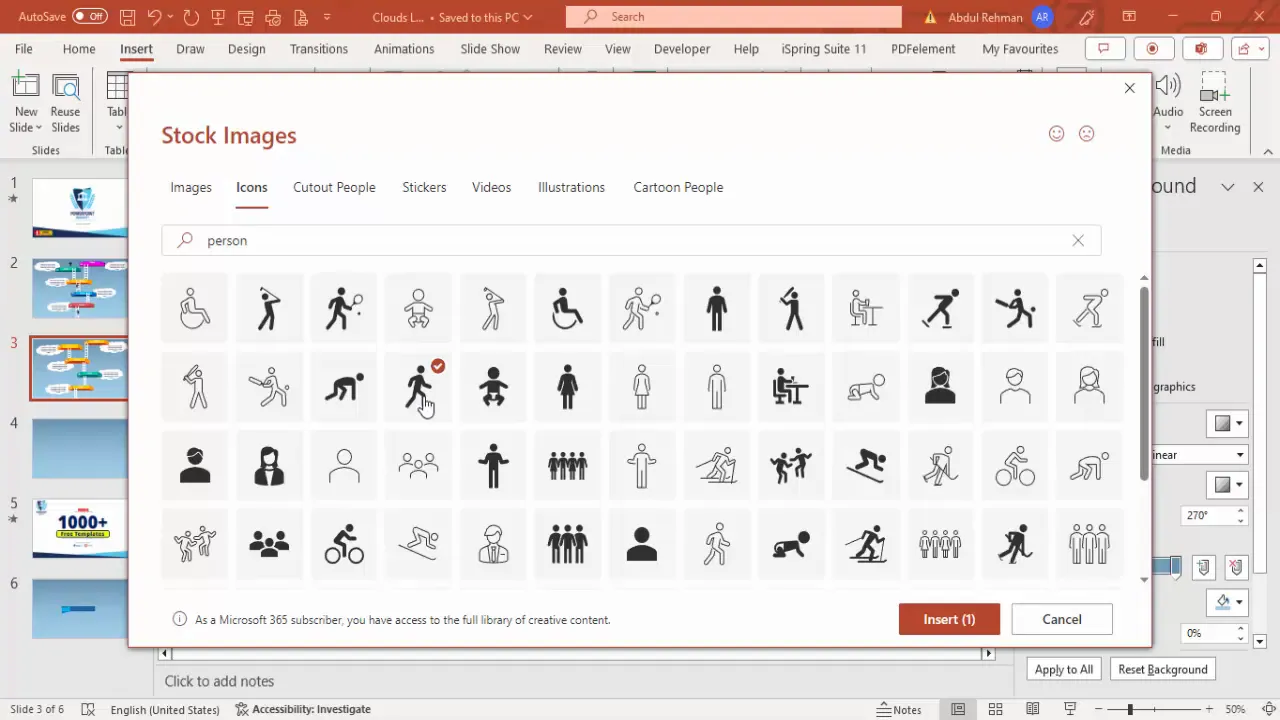
Adding icons, such as a person climbing the ladder, brings your infographic to life and helps viewers connect with the message on a human level.
- Insert Icons: Use PowerPoint’s Insert > Icons feature and search for “person” to find suitable icons.
- Select and Insert: Choose a climbing or walking person icon and insert it onto the slide.
- Resize and Position: Adjust the size of the icon and place it on the ladder to simulate climbing.
- Duplicate for Multiple Options: If desired, add more icons to different ladders to indicate progress across multiple platforms.
Icons are a subtle but powerful way to enhance storytelling within your PowerPoint slides design.
Final Tips and Customizations
Once you’ve created the basic structure of your infographic, consider the following tips to polish your slide and make it more engaging:
- Experiment with Color Combinations: Don’t hesitate to try different color palettes that align with your brand or presentation theme.
- Use Animations: Add subtle entrance animations to the ladders, clouds, or icons to create dynamic effects during your presentation.
- Adjust Text Content: Customize the placeholder text with concise, meaningful descriptions relevant to your options.
- Maintain Consistency: Keep font styles, sizes, and colors consistent across all options for a professional look.
- Use Grouping: Group related elements (platforms, ladders, text) to make moving and resizing easier.
- Check Alignment: Use PowerPoint’s alignment tools regularly to maintain a neat and balanced slide.
These final touches will ensure your PowerPoint slides design is not only visually striking but also easy to understand and follow.
Frequently Asked Questions (FAQ)
What software version do I need to create this infographic?
You can create this infographic in most recent versions of Microsoft PowerPoint that support shape merging and icon insertion features, typically PowerPoint 2016 and later.
Can I customize the colors and fonts?
Absolutely! PowerPoint allows full customization of shapes, colors, fonts, and effects. Feel free to adjust these elements to suit your brand or presentation style.
How do I ensure the infographic is accessible to all viewers?
Use high-contrast colors for text and backgrounds, keep font sizes readable (24pt or larger), and avoid overcrowding the slide with too much text or too many elements.
Is it possible to animate the infographic?
Yes, you can apply basic animation effects such as fades, wipes, or motion paths to the platforms, ladders, clouds, and icons to enhance engagement.
Can I use this design for presentations outside of business contexts?
Definitely! This design is versatile and can be adapted for educational, nonprofit, or personal presentations where a stepwise or hierarchical visual is needed.
Where can I find free templates similar to this design?
There are many online resources offering free PowerPoint templates. You can also explore channels dedicated to PowerPoint tutorials and free templates for inspiration and downloads.
Conclusion
Creating a visually captivating and informative PowerPoint slides design with five cloud and ladder infographic options is easier than it seems when broken down into manageable steps. By combining simple shapes such as rectangles and triangles, leveraging PowerPoint’s merge shape features, and adding thoughtful color schemes, shadows, and icons, you can craft a professional and engaging infographic slide.
This design not only enhances the visual appeal of your presentation but also effectively communicates progression, options, or steps in a clear and memorable way. Remember to customize the slide to fit your unique content, maintain consistency, and use animations sparingly to keep your audience engaged.
With these techniques, your PowerPoint slides design will stand out and help you deliver your message with confidence and style.
Check out the full video: Create PowerPoint slide with 5 cloud and ladder infographic options


