
Creating engaging and visually captivating PowerPoint slides is an essential skill for professionals, educators, and anyone who wants to communicate ideas effectively. In this comprehensive guide, I’ll walk you through how to design a beautiful and impactful “3 Steps to Success” slide in PowerPoint — complete with custom shapes, icons, and a stunning background image. This article is inspired by the techniques I use regularly to craft professional slides that stand out.
Whether you’re preparing a business presentation, a training module, or a motivational talk, this guide will help you design a slide that clearly communicates your message while looking polished and modern. Throughout the article, I’ll provide step-by-step instructions, tips on customizing shapes and icons, and advice on adding visual flair with images and colors. Plus, I’ll include screenshots to guide you visually through the process.
Let’s dive into how to create this eye-catching and effective PowerPoint slide that highlights the journey from vision to goal to success.
Table of Contents
- Preparation: Setting Up Your Slide
- Creating Custom Shapes for the Slide
- Adding a Starry Sky Background
- Inserting and Customizing the Rocket Icon
- Adding Text, Step Numbering, and Icons
- Final Touches and Animation Suggestions
- Frequently Asked Questions
- Conclusion
Preparation: Setting Up Your Slide
Before you start designing your “3 Steps to Success” slide, it’s important to prepare your workspace in PowerPoint to ensure precision and alignment. Follow these initial steps to get everything ready:
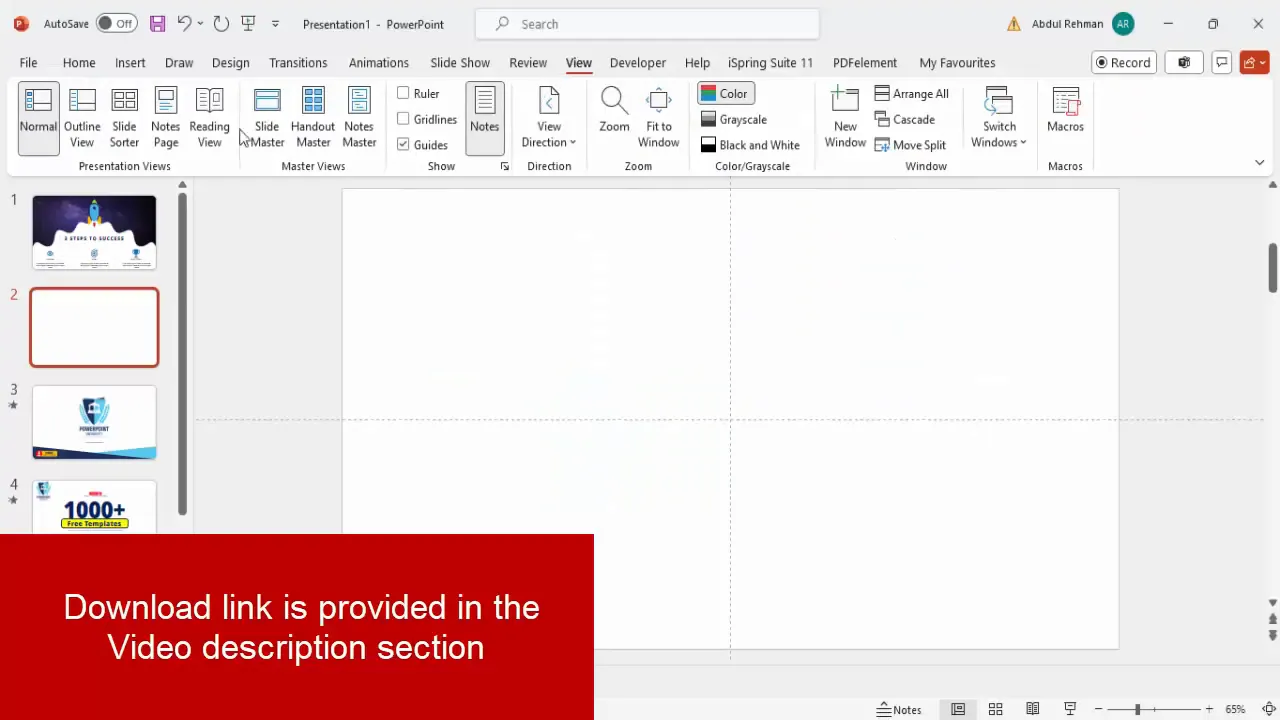
- Add a New Slide: Start by inserting a new blank slide in your presentation. This gives you a fresh canvas to work on.
- Enable Guides: Go to the View tab and enable the Guides. These vertical and horizontal lines will help you align your shapes and text perfectly.
- Understand the Layout: Use the guides to mark boundaries on the slide where your shapes and content will be placed. This helps maintain consistency and balance in your design.
By setting up guides and a clean slide, you ensure that all elements you create will be aligned and visually appealing.
Creating Custom Shapes for the Slide
A key feature of this slide is the unique shape that forms the base of the design. Instead of using default rectangles or circles, you will create a custom shape that looks modern and dynamic. Here’s how:
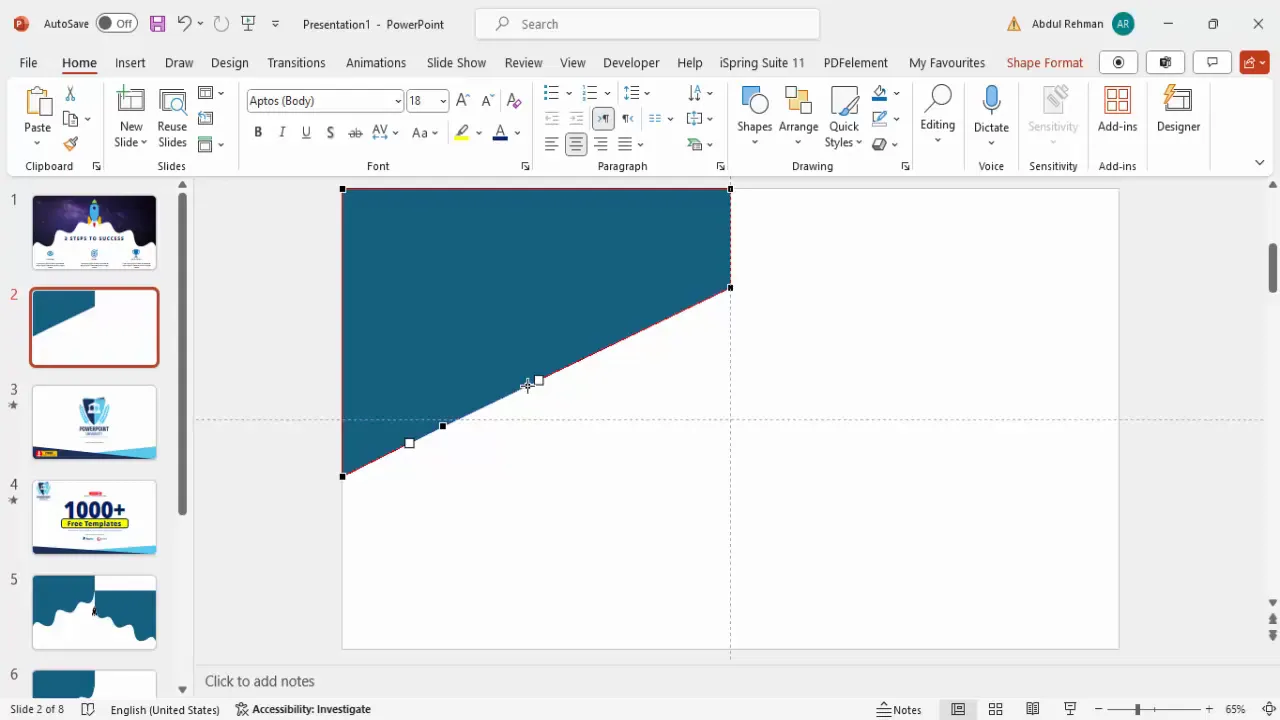
- Insert a Rectangle Shape: Go to Insert > Shapes > Rectangle and draw a rectangle on the slide. Make sure it doesn’t exceed the vertical guide lines you’ve set earlier.
- Remove the Outline: Select the rectangle, go to Shape Outline, and choose No Outline to keep the shape clean.
- Edit the Shape Points: Right-click the rectangle and select Edit Points. You’ll see four points representing the corners of the rectangle.
- Modify Points for a Custom Shape: Drag the bottom-left point up to create a slant on one side. Ensure it stays aligned to the vertical guide for neatness.
- Add Additional Points: Right-click along the edges where you want to add more detail, and choose Add Point. Add three points on the right edge to create smooth curves.
- Smooth the Corners: Right-click on each new point and select Smooth Point to round the edges and create a flowing shape.
- Adjust the Shape: Drag the points up or down to get the desired curve and shape that fits your slide design.
This process transforms a simple rectangle into a stylish shape that adds personality to your slide.
Once the first shape is ready, duplicate it (Ctrl + D), flip it horizontally using the Rotate option, and position it next to the first shape so that both shapes join seamlessly. Select both shapes, then merge them using Shape Format > Merge Shapes > Union to combine them into one unified shape.

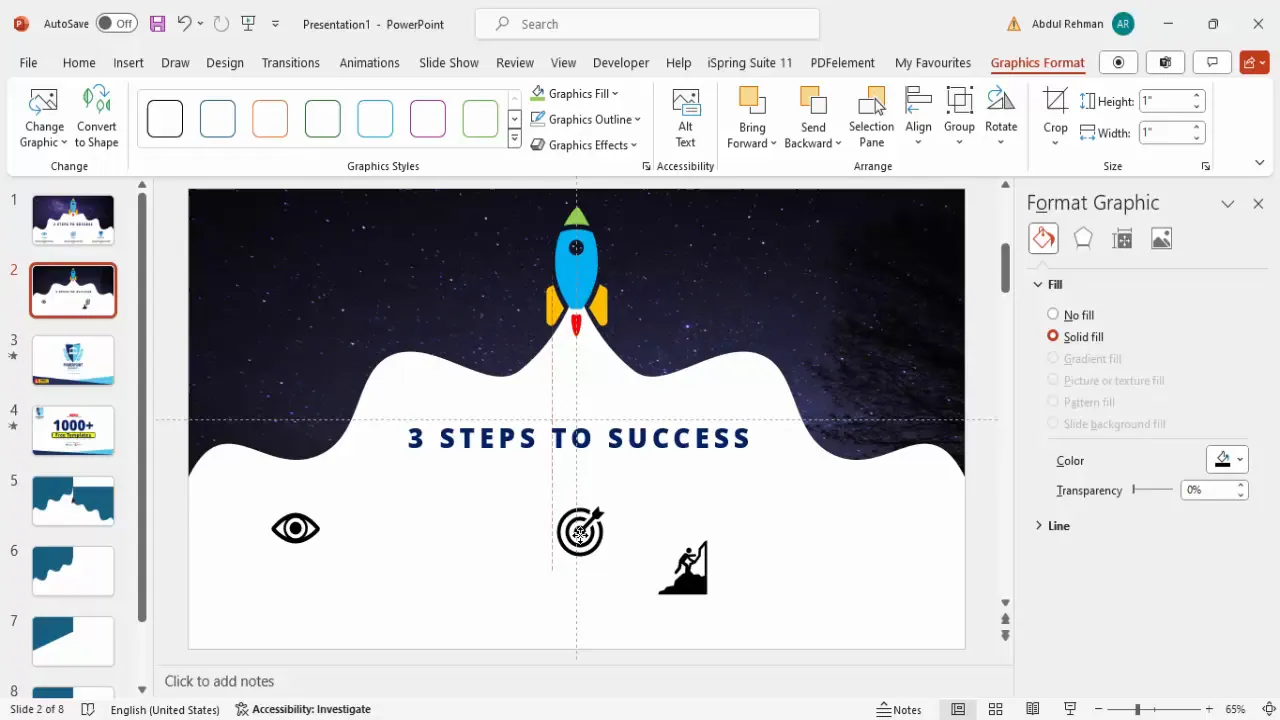
Adding a Starry Sky Background
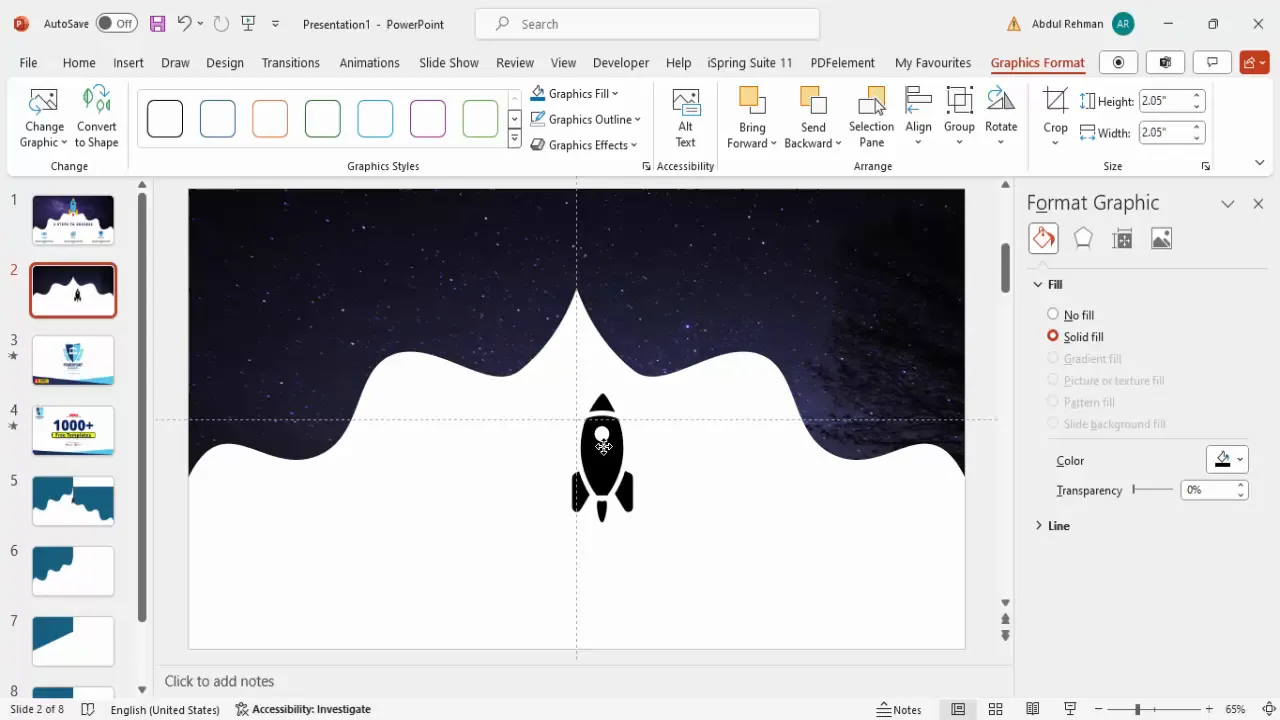
To make the slide visually striking, add a background image inside the custom shape. A night sky with stars creates a metaphor for ambition, dreams, and success. Here’s how to fill your shape with this image:
- Select the Custom Shape: Click on the shape you created.
- Open Format Shape Options: Right-click and choose Format Shape.
- Choose Picture or Texture Fill: Under the Fill options, select Picture or Texture Fill.
- Insert Picture: Click on Insert and choose Online Pictures to search for “sky with stars.” Alternatively, upload an image from your computer.
- Select Your Image: Pick a high-quality image that fits the theme and insert it.
- Adjust Fill: Ensure the image fits well within the shape. You can adjust the offset and transparency if needed.
This adds a captivating backdrop that conveys inspiration and forward momentum.
Inserting and Customizing the Rocket Icon
A rocket icon symbolizes launching ideas and reaching new heights—perfect for a slide about success. Instead of drawing complex shapes, use PowerPoint’s built-in icon library for a professional look. Here’s how:
- Insert the Rocket Icon: Go to Insert > Icons, type “rocket” in the search bar, and press Enter.
- Select and Insert: Choose the rocket icon and click Insert.
- Rotate and Resize: Use the rotation handle or keyboard shortcuts (Alt + Left Arrow) to straighten the rocket. Resize it by dragging the corner while holding Shift to maintain proportions.
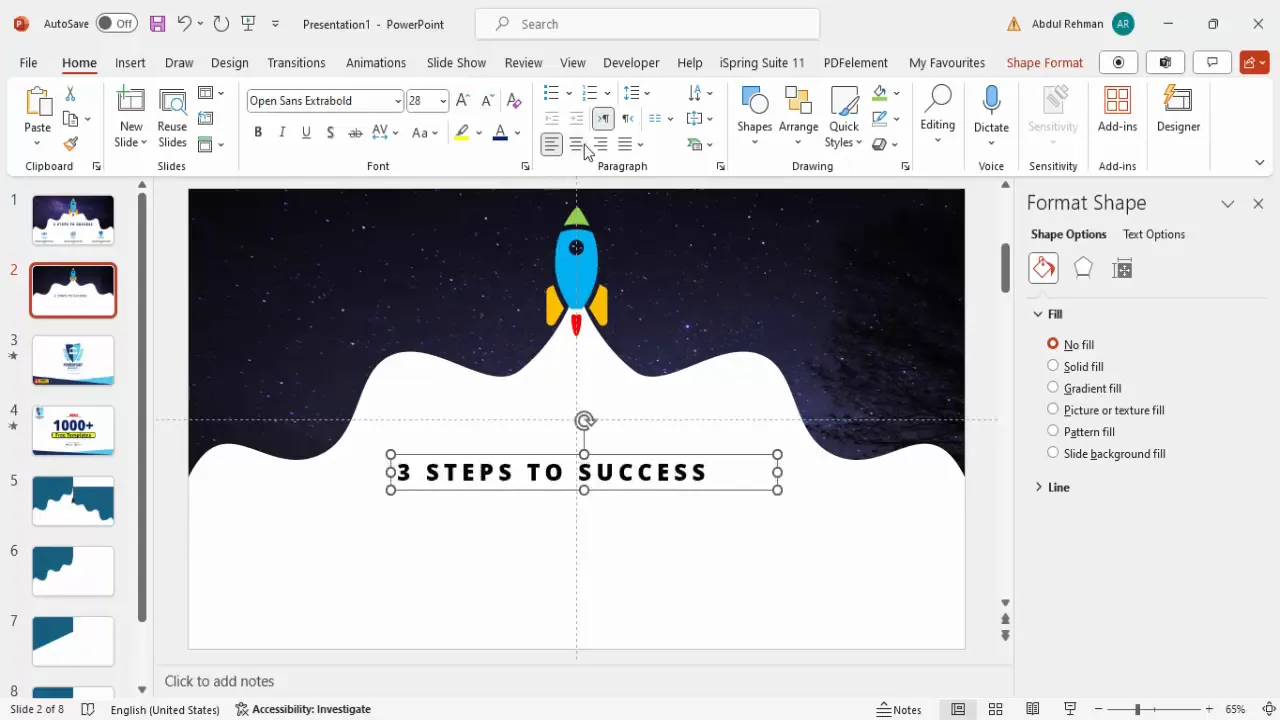
- Convert to Shape: To customize colors of individual parts of the icon, right-click and select Convert to Shape. This separates the icon into editable shapes.
- Apply Colors: Select different parts of the rocket and apply colors like blue for the body, orange and red for accents, and green for the top.
- Group the Rocket: Select all parts of the rocket and press Ctrl + G to group them for easy movement and resizing.
- Position the Rocket: Place the rocket near the left side of the slide, on top of the starry background shape.
The rocket’s vibrant colors and positioning create a focal point that draws viewers’ eyes and energizes the slide.
Adding Text, Step Numbering, and Icons
Now that the visual elements are in place, it’s time to add the textual content and icons that communicate the “3 Steps to Success.” This section covers adding headings, step indicators, and relevant icons.
Adding the Main Title
- Insert a Text Box: Go to Insert > Text Box and click on the slide to add it.
- Type the Title: Enter “Three Steps to Success.”
- Format the Text: Use a bold, modern font like Open Sans Extra Bold. Increase the font size for prominence and center-align the text.
- Choose a Color: Select a color that complements your slide, such as a strong blue, to keep the design cohesive.
This title sets the tone and clearly states the slide’s purpose.
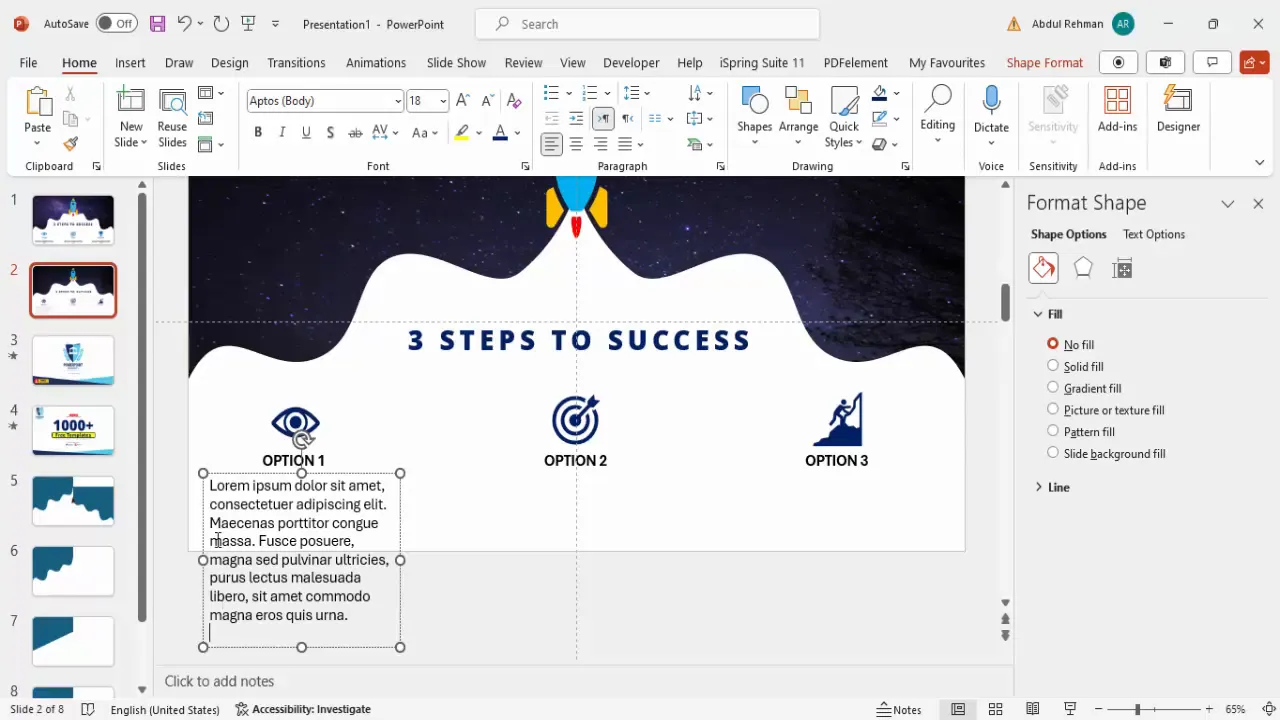
Inserting Step Icons
Visual icons help reinforce each step’s concept and make the slide easier to understand. Follow these steps to add and customize them:

- Open Icons Library: Go to Insert > Icons.
- Search and Insert Icons: Select icons that represent the steps, such as an eye for “Vision,” a target for “Goal,” and a trophy or checkmark for “Success.”
- Position the Icons: Arrange the icons horizontally across the slide, spaced evenly.
- Customize Colors: Use colors consistent with your slide’s palette to highlight each icon.
Icons add visual interest and help quickly convey the meaning behind each step.
Adding Step Numbers and Descriptions
- Add Numbered Labels: Insert small text boxes below each icon and type “Step 1,” “Step 2,” and “Step 3” or “Option 1,” “Option 2,” etc.
- Format Numbers: Make the numbers bold and align them centrally beneath each icon.
- Include Descriptive Text: Below the step numbers, add smaller text boxes with descriptions or explanations for each step. Use placeholder text like “Lorem ipsum” if you want to add content later.
- Adjust Font Size and Alignment: Use a smaller font size (around 12 pt) and center-align the text for consistency.
- Align Elements: Use guides and PowerPoint’s alignment tools to make sure all text and icons are perfectly aligned horizontally and vertically.
These labels and descriptions help clarify each step for your audience and provide structure to your slide.
Final Touches and Animation Suggestions
With the core elements in place, you can enhance your slide by adding subtle animations and fine-tuning the layout for maximum impact.
Animation Ideas
- Entrance Animation: Apply simple entrance animations like Fade or Appear to the rocket and each step icon sequentially.
- Emphasize Steps: Use emphasis animations such as Pulse or Grow/Shrink to highlight each step as you discuss it.
- Timing: Set animations to trigger on click to control the flow of your presentation.
Layout and Design Tips
- Spacing: Maintain consistent spacing between icons, text, and shapes to avoid clutter.
- Color Harmony: Stick to a limited color palette for a professional look.
- Font Choices: Use legible fonts and avoid mixing too many font types.
- Contrast: Ensure text contrasts well with backgrounds for readability.
- Group Elements: Group related elements together to keep your slide organized and make moving or resizing easier.
These finishing touches make your slide more engaging and help keep your audience’s attention.
Frequently Asked Questions
Can I customize the number of steps in the slide?
Absolutely! The slide design is flexible. You can add more or fewer steps by duplicating the shapes and icons or removing them as needed. Just make sure to keep the layout balanced.
How can I find suitable icons for my presentation?
PowerPoint offers a wide range of built-in icons accessible via Insert > Icons. You can search by keywords like “goal,” “success,” or “vision.” Alternatively, you can download free icon packs online or use SVG files for more customization.
Is it possible to use my own images as backgrounds?
Yes! You can insert any image as a fill for your shapes by selecting Format Shape > Picture or Texture Fill > Insert from File. Choose high-quality images that fit your slide’s theme and maintain clarity when resized.
How do I ensure my slide looks good on different screen sizes?
Before finalizing your slide, check it on different devices or screen resolutions. Use the Slide Size option under the Design tab to adjust dimensions, and avoid overcrowding elements. Testing helps avoid layout issues during the presentation.
What fonts work best for professional PowerPoint slides?
Sans-serif fonts like Open Sans, Calibri, or Arial are popular for their readability and clean look. Avoid overly decorative fonts and keep font sizes large enough (minimum 24 pt) for easy reading.
Conclusion
Designing a “3 Steps to Success” slide in PowerPoint is a fantastic way to present a clear, motivational message with visual impact. By combining custom shapes, meaningful icons, a compelling background, and well-structured text, you create a slide that not only looks professional but also communicates your ideas effectively.
Remember, the key to great PowerPoint slides is simplicity combined with creativity. Use the tools PowerPoint provides—like shape editing, icon insertion, and image fills—to build slides that engage your audience and reinforce your message.
Practice these techniques regularly, and you’ll find that creating stunning PowerPoint slides becomes faster and more intuitive. Whether you’re a beginner or an experienced presenter, these design strategies can elevate your presentations to the next level.
Happy presenting!
Check out the full video: Create 3 Steps to Success Slide in PowerPoint


