Creating a compelling timeline in PowerPoint is a powerful way to visualize your project’s progress, milestones, and key dates. Whether for business presentations, academic projects, or personal planning, a well-designed timeline helps your audience grasp the sequence and scope of your work quickly and clearly. In this comprehensive guide, you will learn a step-by-step method to build a dynamic and visually appealing timeline slide using PowerPoint, inspired by a detailed tutorial from POWERPOINT UNIVERSITY.
This article will walk you through the entire process—from setting up your slide with shapes and images to adding text and animations for maximum impact. Along the way, you’ll discover design tips, layout tricks, and animation techniques that transform a simple timeline into an engaging storytelling tool.
Table of Contents
- Preparing Your Slide and Background
- Creating Timeline Blocks with Shapes
- Adding and Adjusting Image Backgrounds
- Designing Timeline Indicators and Markers
- Inserting Year Labels and Text
- Applying Gradient Overlays for Visual Appeal
- Adding Titles and Detail Text
- Animating Your Timeline
- Frequently Asked Questions
- Conclusion
Preparing Your Slide and Background
The first step in creating a timeline in PowerPoint is setting up your slide with a visually appealing background. This sets the tone and context for the timeline you will build on top.
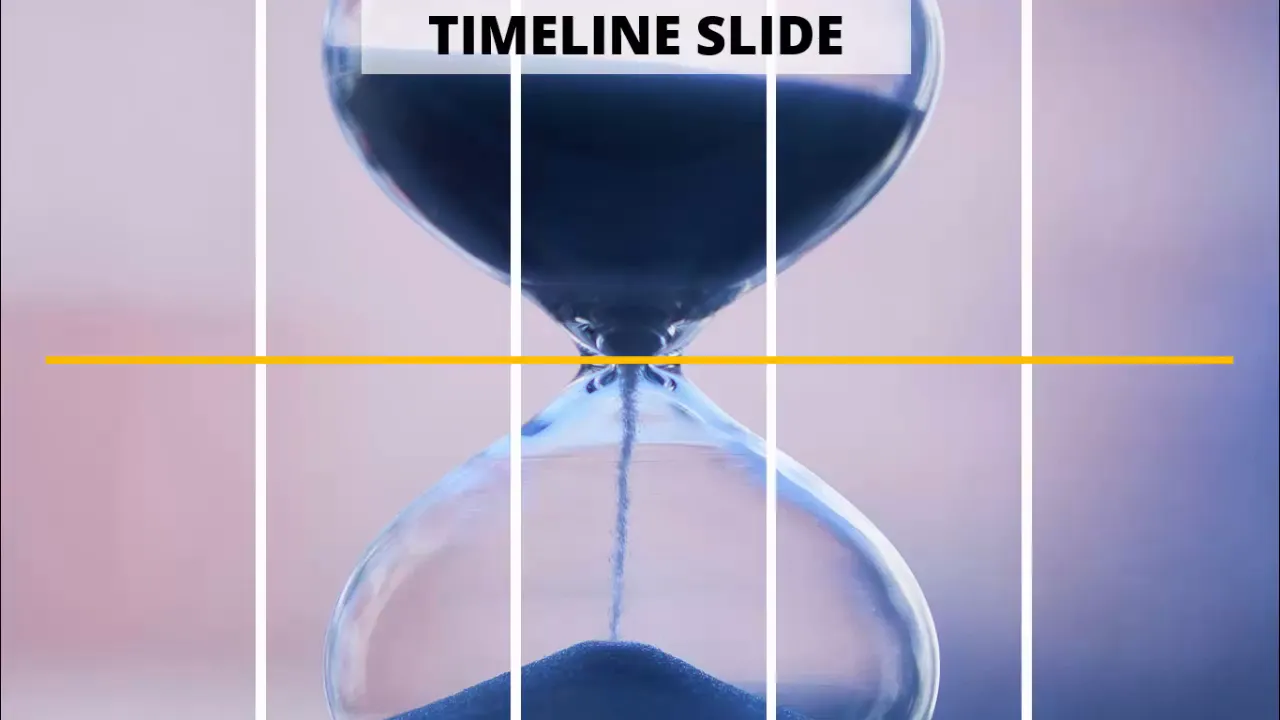
For this guide, I used an image of an hourglass sourced from Unsplash.com. The hourglass symbolizes the passage of time, making it a perfect thematic background for a timeline. However, you can choose any image that fits your presentation’s theme or your personal preference.
To start, add a new slide in your PowerPoint presentation. This blank canvas will host all the timeline elements you will create.
Tips for Choosing Background Images
- Choose images with subtle textures or themes that don’t overwhelm the content.
- Ensure the image has enough contrast with your text and shapes for readability.
- Use high-resolution images to maintain clarity on large screens.
Creating Timeline Blocks with Shapes
Next, create the core structure of your timeline using rectangles to represent different time periods or milestones. Here’s how to do it:
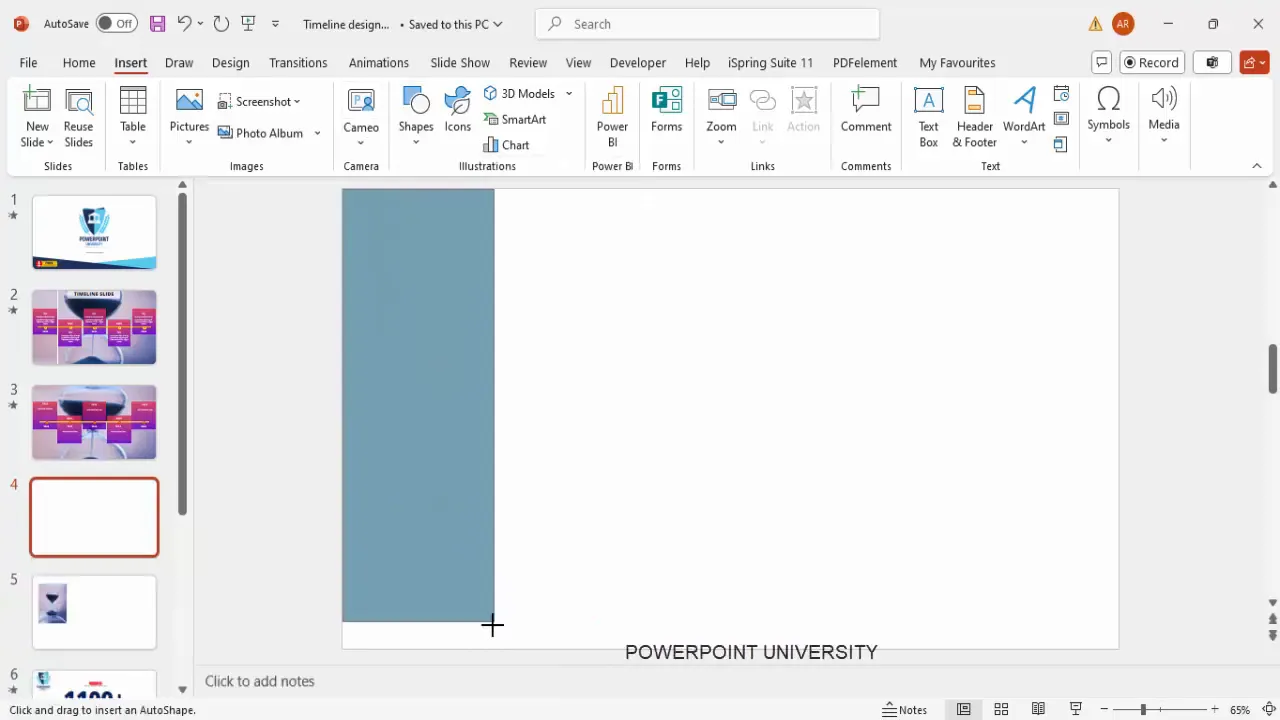
- Go to Insert > Shapes and select the Rectangle shape.
- Draw a vertical rectangle on the left side of the slide. This will serve as the first block of your timeline.
- Remove the shape outline by selecting No Outline to keep the design clean.
- Duplicate this rectangle five more times to create equal-sized blocks that cover the width of your slide.
- Use Ctrl + Shift to evenly space the rectangles horizontally across the slide.
- Select all rectangles and press Ctrl + G to group them, making it easier to resize and move them as a single unit.
- Adjust the group size to fit neatly within the slide boundaries.
This method creates a clean, modular base for your timeline, allowing you to add details and effects to each block individually or collectively.
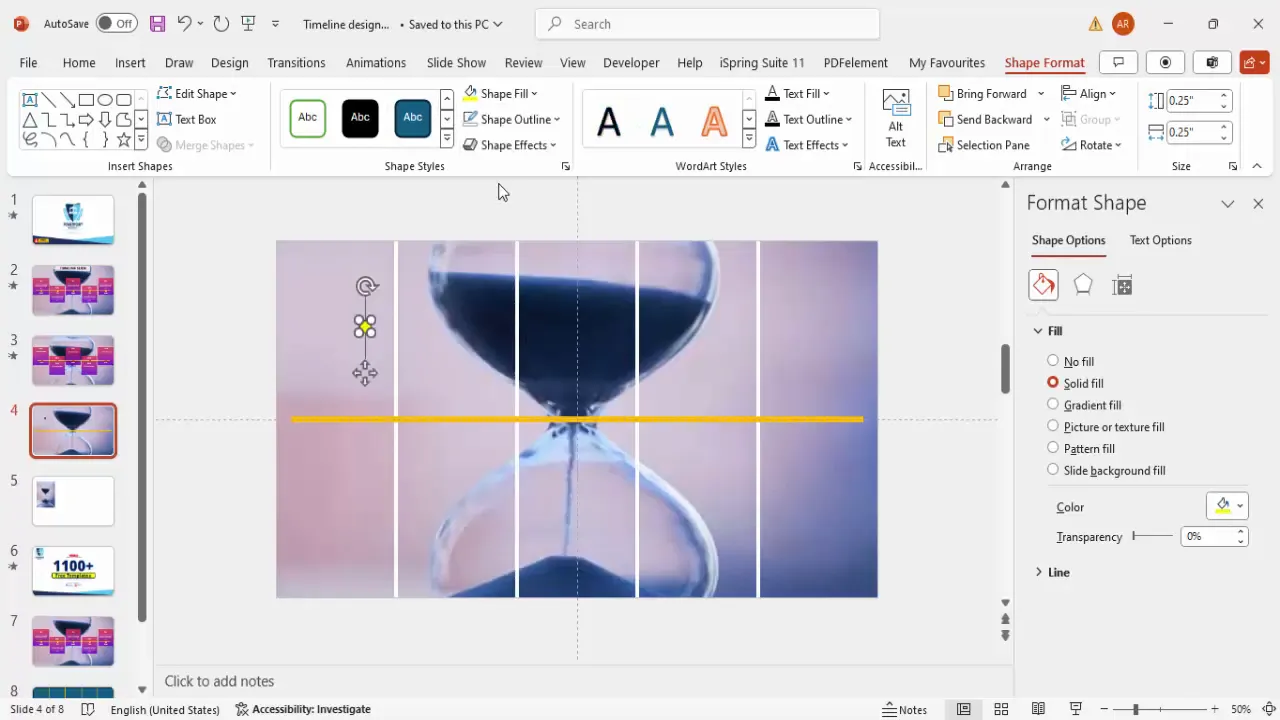
Adding and Adjusting Image Backgrounds
To enhance your timeline visually, you can fill the grouped rectangles with an image texture. Here’s how to do it step-by-step:
- Right-click the grouped rectangles and select Format Shape.
- Go to the Fill options and choose Picture or Texture Fill.
- Copy your chosen background image (such as the hourglass photo) to the clipboard (Ctrl + C).
- Click on the Clipboard button under Insert Picture from in the Format Shape pane to paste the image inside the rectangles.
- Adjust the image offsets (top and bottom) to properly position the image within the grouped shapes. This prevents the image from appearing squeezed or distorted.
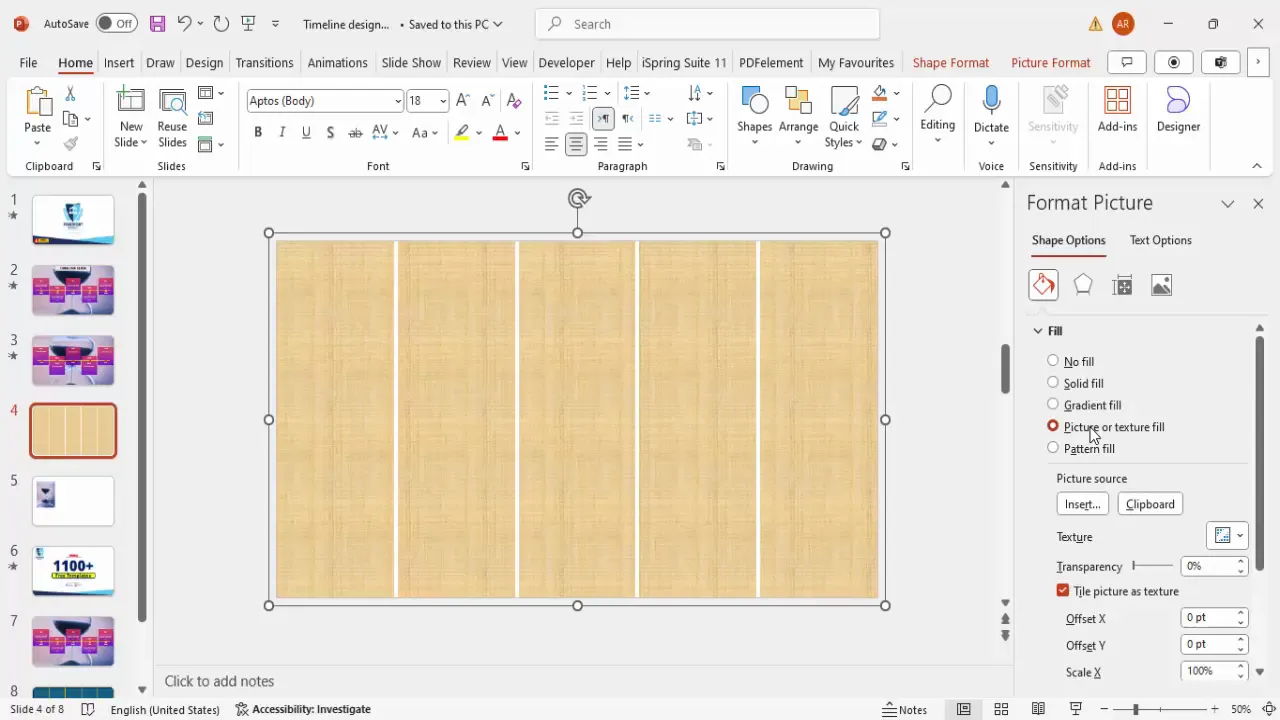
Adjusting the image offsets on the Y-axis ensures the image aligns perfectly within the timeline blocks, creating a seamless and professional look.
Designing Timeline Indicators and Markers
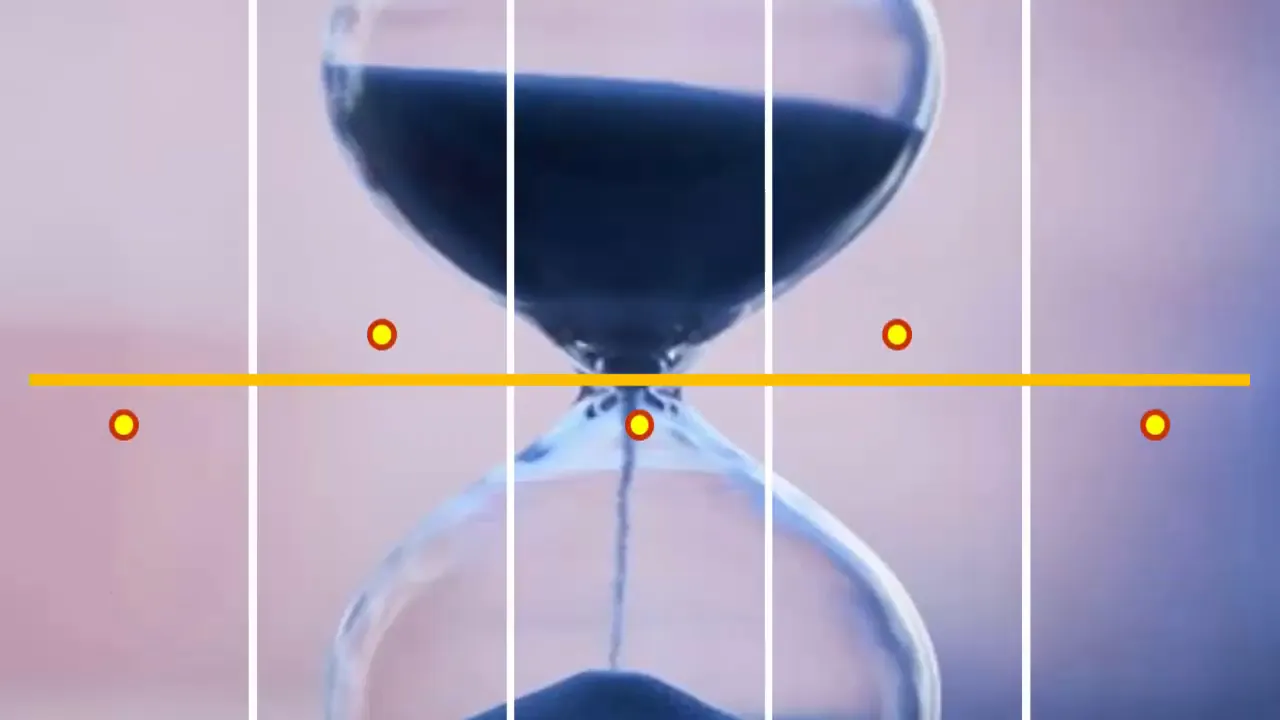
Timeline indicators help highlight specific points or milestones on your timeline. In this tutorial, I used oval shapes to serve as markers placed centrally on each rectangle block.
Follow these steps to create and position your timeline indicators:
- Go to Insert > Shapes and select the Oval shape.
- Draw a small circle and set its height and width to 0.25 inches for consistency.
- Fill the oval with a bright yellow color and apply an orange outline to make it stand out.
- Increase the outline weight to give the marker a bold border.
- Copy the oval and place one exactly in the center of each rectangle block by holding Ctrl + Shift while dragging.
- For alternate markers, adjust their layering by bringing some to the front and sending others to the back, creating a dynamic visual rhythm.
These markers act as focal points, helping viewers quickly identify important dates or phases along the timeline.
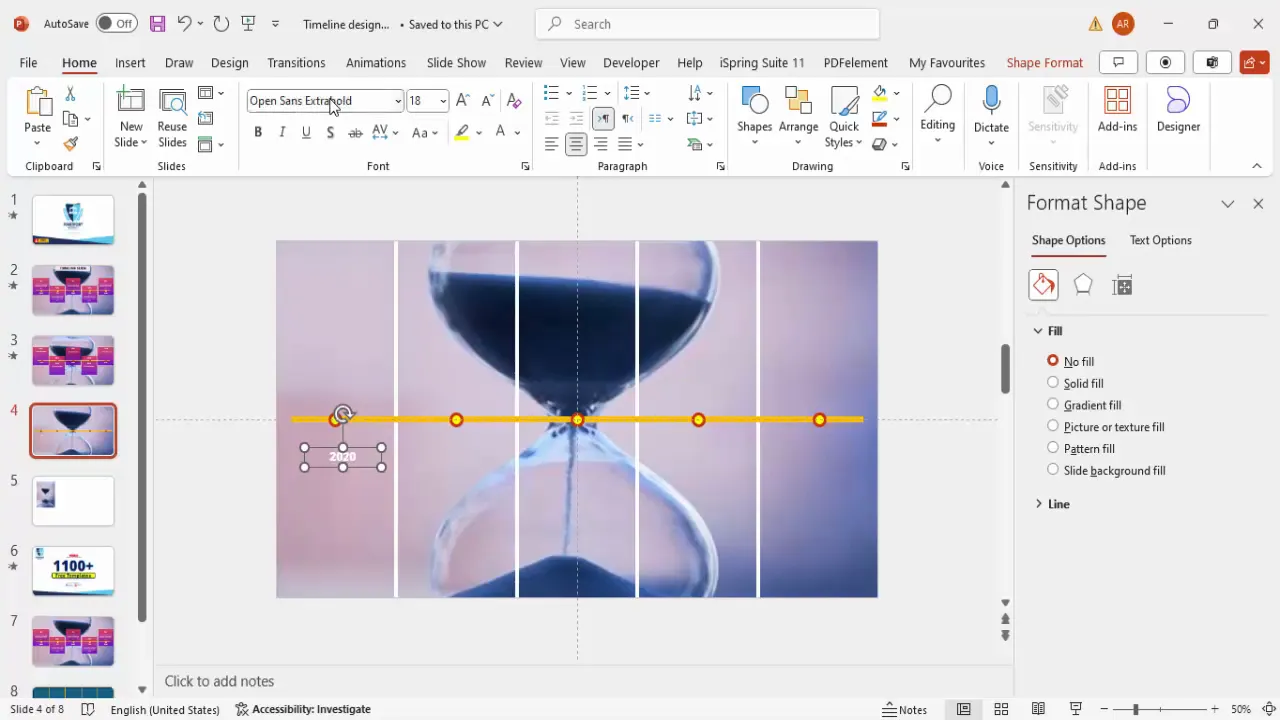
Inserting Year Labels and Text
To give context to your timeline blocks, add year labels directly below or above each marker. Here’s the process:
- Insert a text box beneath each oval marker.
- Type the year starting with “2020” for the first block, then increment by one year for each subsequent block (2021, 2022, etc.).
- Center-align the text and set the font color to white for high contrast.
- Use the font Open Sans Extra Bold for a clean, modern look.
- Adjust the font size to around 20 points to maintain readability without overpowering the slide.
- Duplicate the text box for each year label and position accordingly.
- As with the markers, alternate the layering of the year labels to add visual interest.
These year labels anchor your timeline chronologically and provide clear reference points for your audience.
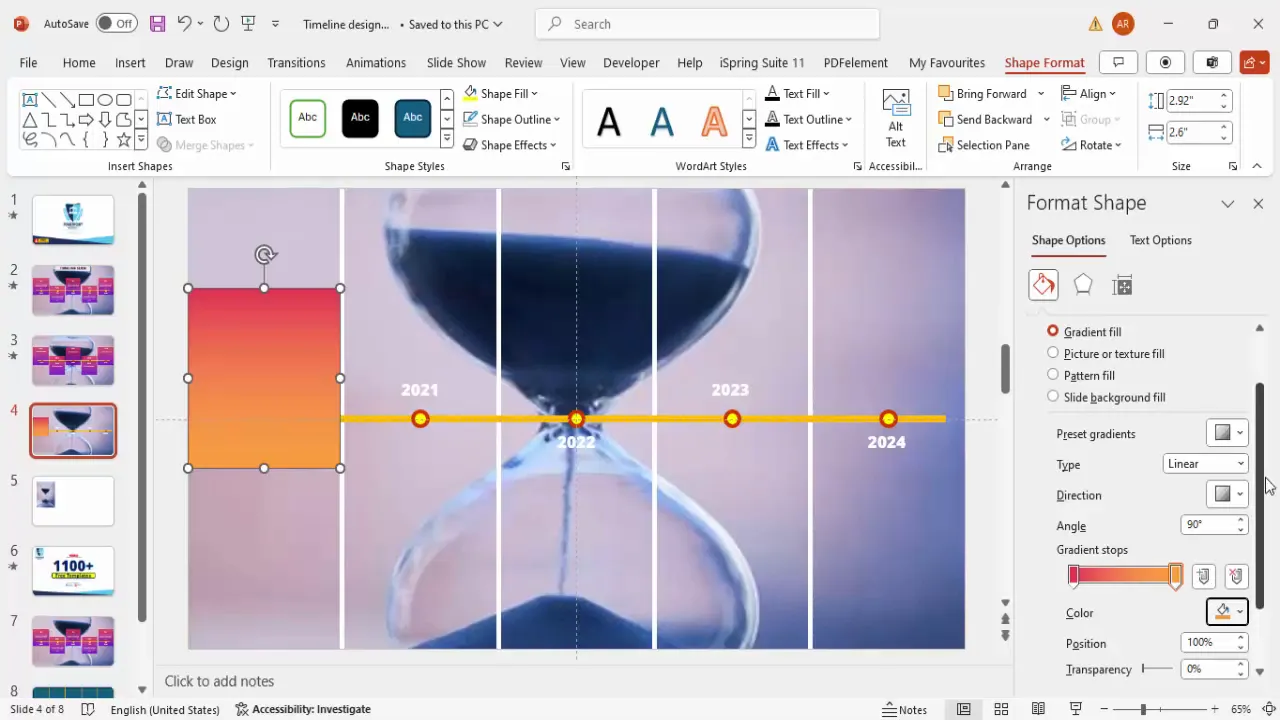
Applying Gradient Overlays for Visual Appeal
To enhance the aesthetic of your timeline, apply semi-transparent gradient overlays on top of the timeline blocks. This adds color depth and helps separate content areas visually.
Follow these steps to add gradient fills:
- Insert a new rectangle shape over each timeline block.
- Remove the outline by selecting No Outline.
- Go to the Format Shape pane and select Gradient Fill.
- Use only two color stops for simplicity. For example, choose a pink color on one side and an orange color on the other.
- Set the transparency level of each color stop to 15% to keep the background visible but add subtle color.
- Duplicate and position these gradient rectangles on all timeline blocks.
- Send the gradient rectangles behind the year labels and markers to maintain clarity.
Gradient overlays create a polished, professional look that draws the eye and visually segments the timeline without overwhelming the content.

Adding Titles and Detail Text
Beyond years and markers, your timeline should include descriptive titles and details to explain each milestone or phase.
Here’s how to insert and format this text:
- Insert a text box above or within each gradient rectangle.
- Type the title or main point for that timeline block (e.g., “Project Kickoff,” “Phase 1 Completion”).
- Center-align the text and set the font to white for contrast.
- Use Open Sans Extra Bold to keep titles consistent with year labels.
- Insert a second text box for detailed descriptions or notes below the title.
- Keep detail text concise and readable, using a smaller font size if needed.
- Group the title and detail text together for easier positioning and animation.
- Duplicate the grouped text boxes for each timeline block and customize the content accordingly.

Clear titles and descriptions enrich your timeline, providing context and storytelling elements that engage your audience.
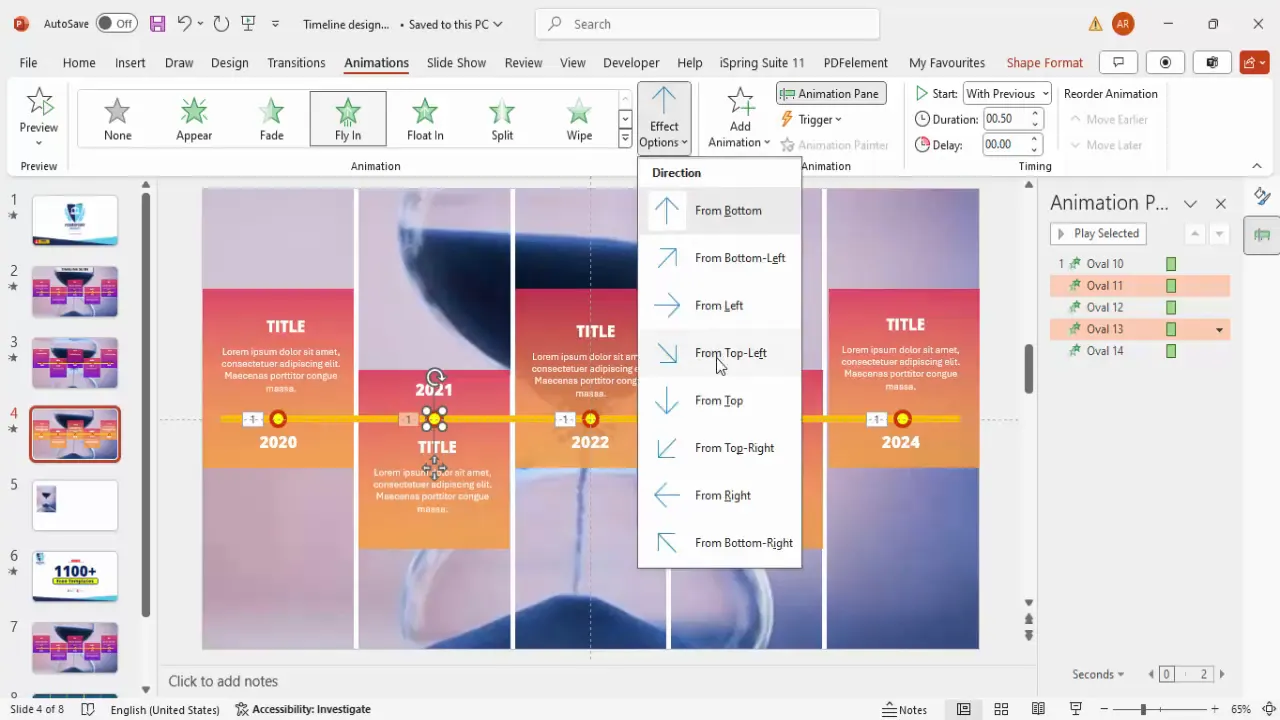
Animating Your Timeline
Adding animation to your timeline slide brings it to life and helps guide your audience’s attention sequentially through the timeline.
Here’s a methodical way to apply animations:
- Group each timeline block’s components (rectangle, oval marker, year label, title, and detail text) to maintain organization.
- In the Animations tab, open the Animation Pane for detailed control.
- Select the oval markers and apply the Fly In animation.
- Set the direction of the fly-in effect: for years 2020, 2022, and 2024, have the animation come from the bottom; for 2021 and 2023, have it come from the top. This alternating effect creates visual variety.
- Apply the same fly-in animation to the timeline blocks (rectangles and gradient overlays), matching the directions and sequence of the markers.
- Set animations to trigger After Previous to create a smooth, automatic flow without needing multiple clicks.
- Preview the animation in Slide Show mode to ensure timing and sequencing look natural and engaging.
Animations not only enhance the visual appeal but also help maintain audience focus and improve comprehension by controlling the information flow.
Frequently Asked Questions
Can I use any image as a background for my timeline in PowerPoint?
Yes, you can use any image that fits your presentation’s theme. However, ensure the image does not overpower your content. Subtle, high-contrast images work best for readability.
How do I keep my timeline elements aligned perfectly?
Use PowerPoint’s built-in guides and alignment tools under the View tab. Enable Guides and Gridlines to align shapes and text boxes precisely.
What fonts are best for timeline slides?
Fonts like Open Sans Extra Bold are ideal for timeline titles and labels because they are clean, modern, and highly readable. Avoid overly decorative fonts that can reduce clarity.
How do I animate timeline elements in sequence?
Use the Animation Pane to set the order and timing of animations. Apply entrance effects like Fly In and set them to start After Previous for smooth transitions.
Can I customize the colors of the timeline blocks and overlays?
Absolutely. PowerPoint allows you to use any color combination. Choose colors that complement your brand or presentation theme. Using gradients with transparency adds depth without distracting from content.
Conclusion
Designing a timeline in PowerPoint is a highly effective way to communicate your project’s schedule, milestones, and key events visually. By following this step-by-step guide, you can create a professional, engaging timeline slide that enhances your presentations and keeps your audience focused.
Starting with a meaningful background image, building modular timeline blocks, adding clear markers and year labels, applying tasteful gradients, and finishing with well-placed titles and animations will elevate your timeline from a simple list to a compelling story.
Remember, the key to a great timeline in PowerPoint lies in balance: combining aesthetics with clarity and pacing the information flow to guide your audience effortlessly through your project’s journey.
For those looking to expand their PowerPoint skills further, consider exploring additional tutorials and free templates available online to inspire your next presentation.
Check out the full video: PowerPoint Timelines: Step-by-Step Guide to Visualizing Your Project


