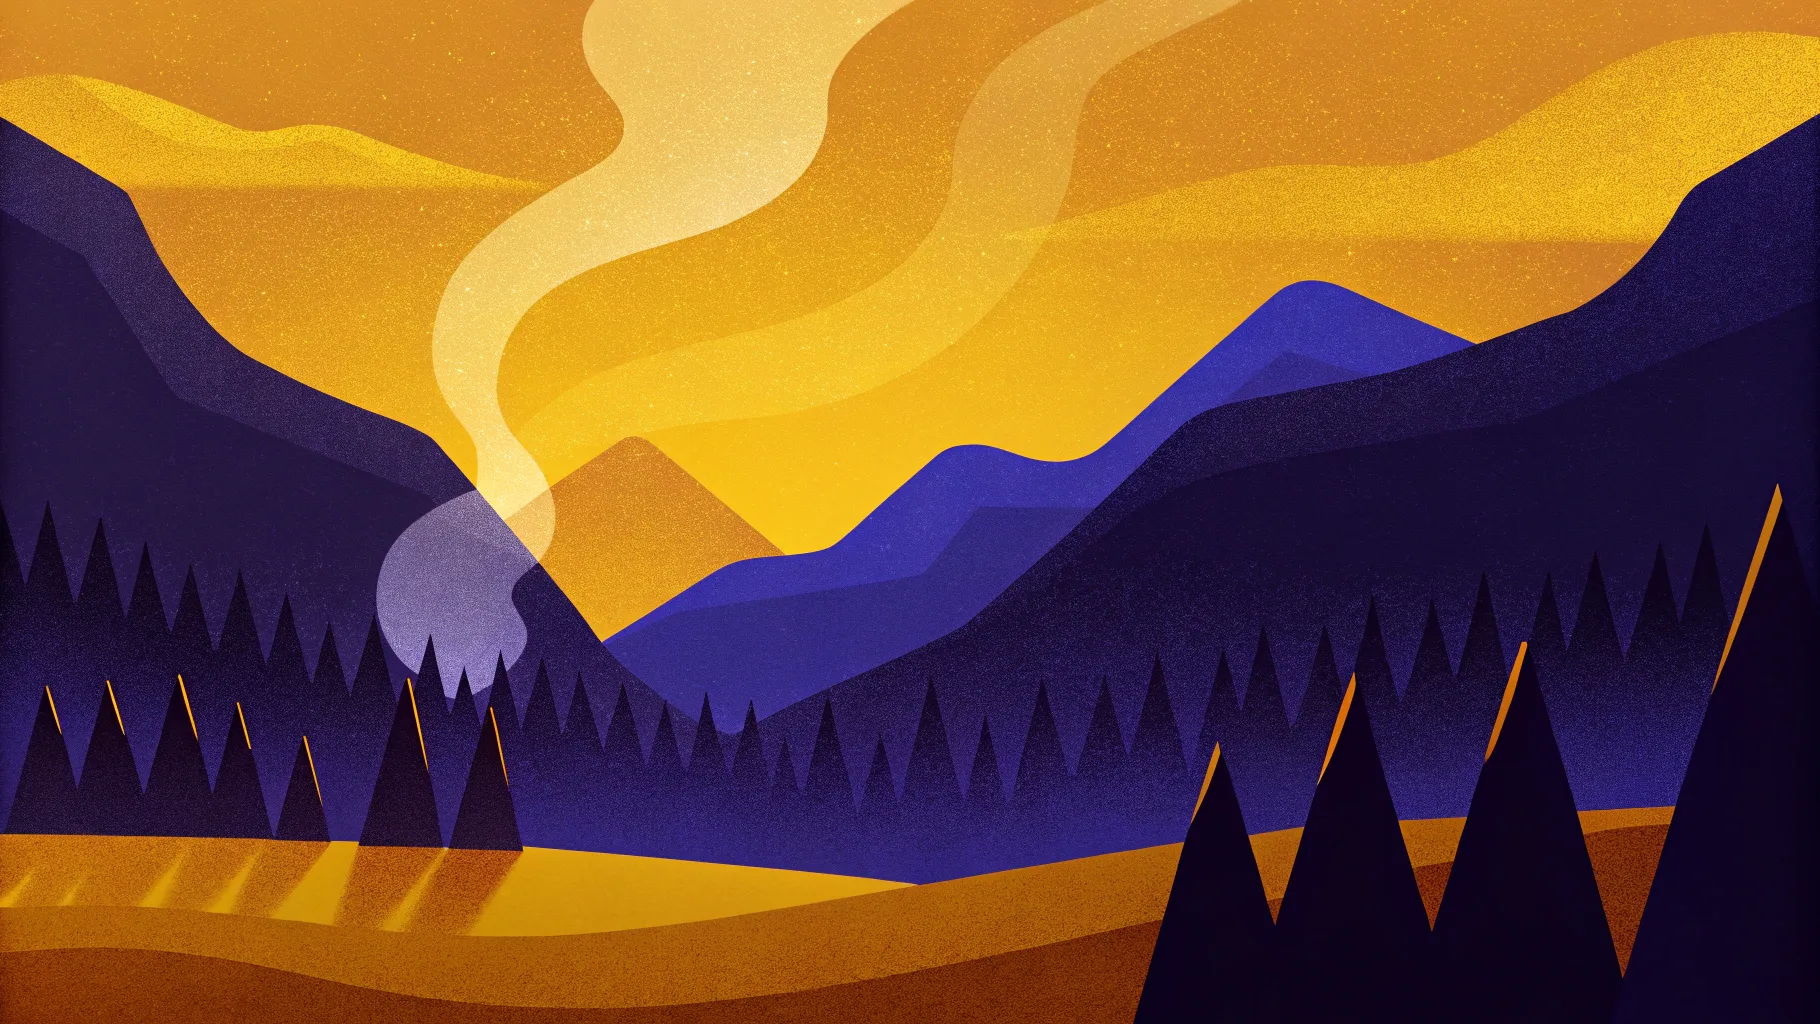
PowerPoint continues to evolve as an incredibly powerful tool—not just for static presentations but also for dynamic, eye-catching video effects that can captivate your audience. Imagine text rising elegantly from behind a mountain range in a video clip, then disappearing back behind those mountains, creating a magical visual storytelling moment.
In this comprehensive guide, you will learn how to create this epic video effect in Microsoft PowerPoint using just two identical video clips and some clever masking techniques. This effect is perfect for presentations that want to combine the impact of video with engaging text animations, all within PowerPoint’s familiar environment.
Whether you are a seasoned PowerPoint user or just starting, this detailed tutorial will equip you with the skills to produce professional-level animations that can make your slides stand out. Let’s dive into the world of PowerPoint video effects and transform your presentations into cinematic experiences.
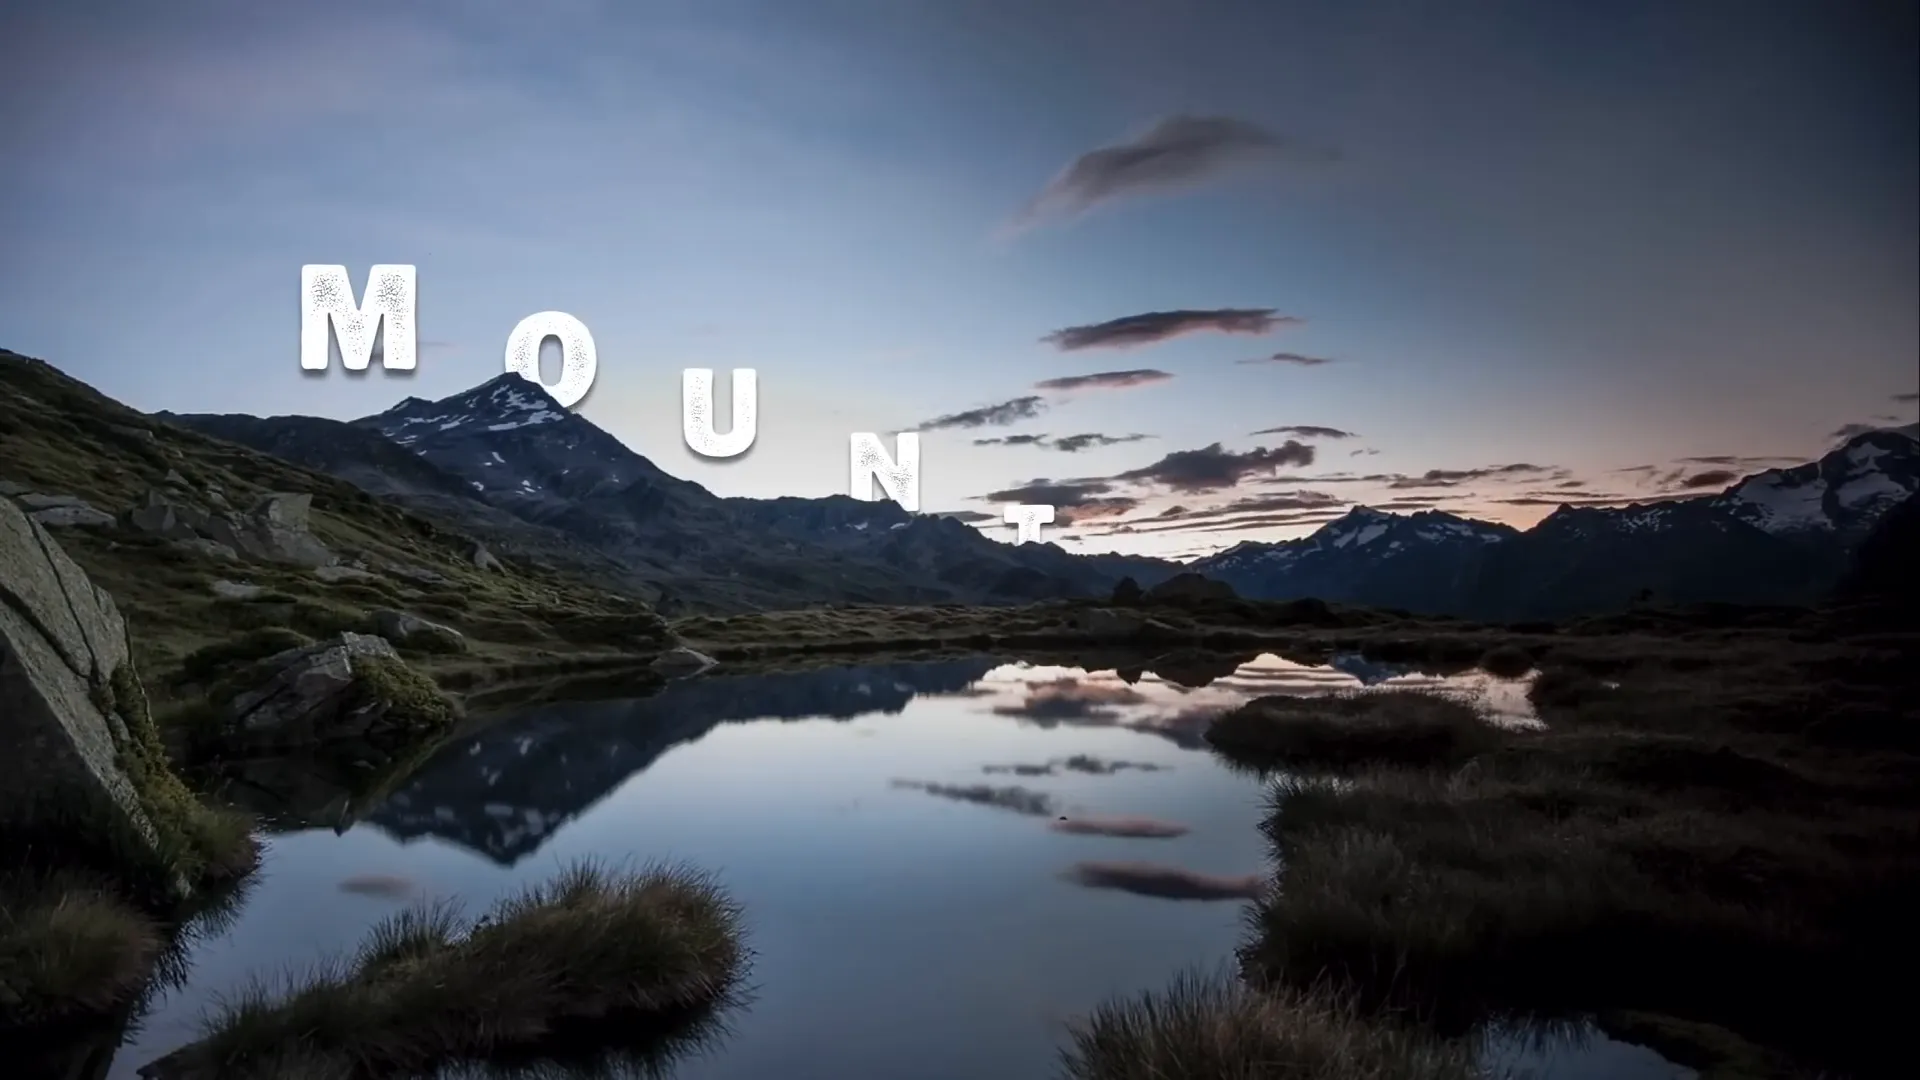
Table of Contents
- Preparing Your Slide and Choosing the Right Video
- Setting Up the Video Background
- Creating the Video Mask Effect with Two Video Layers
- Precise Masking Techniques: Freeform Shapes vs. Vector Shapes
- Animating Text to Rise Behind the Mountains
- Final Touches and Advanced Animation Tips
- Frequently Asked Questions (FAQs)
Preparing Your Slide and Choosing the Right Video
Every great effect starts with the right materials. For this technique, the video you select plays a crucial role. You want a video that features a static foreground—such as mountains—and a dynamic background like a changing sky. This contrast allows you to mask the video effectively and layer your text animations.
Step 1: Start with a Blank Slide
Begin by opening PowerPoint (Office 365 recommended for best compatibility) and creating a new blank slide. This clean canvas will allow you to build the effect from scratch without any distractions.
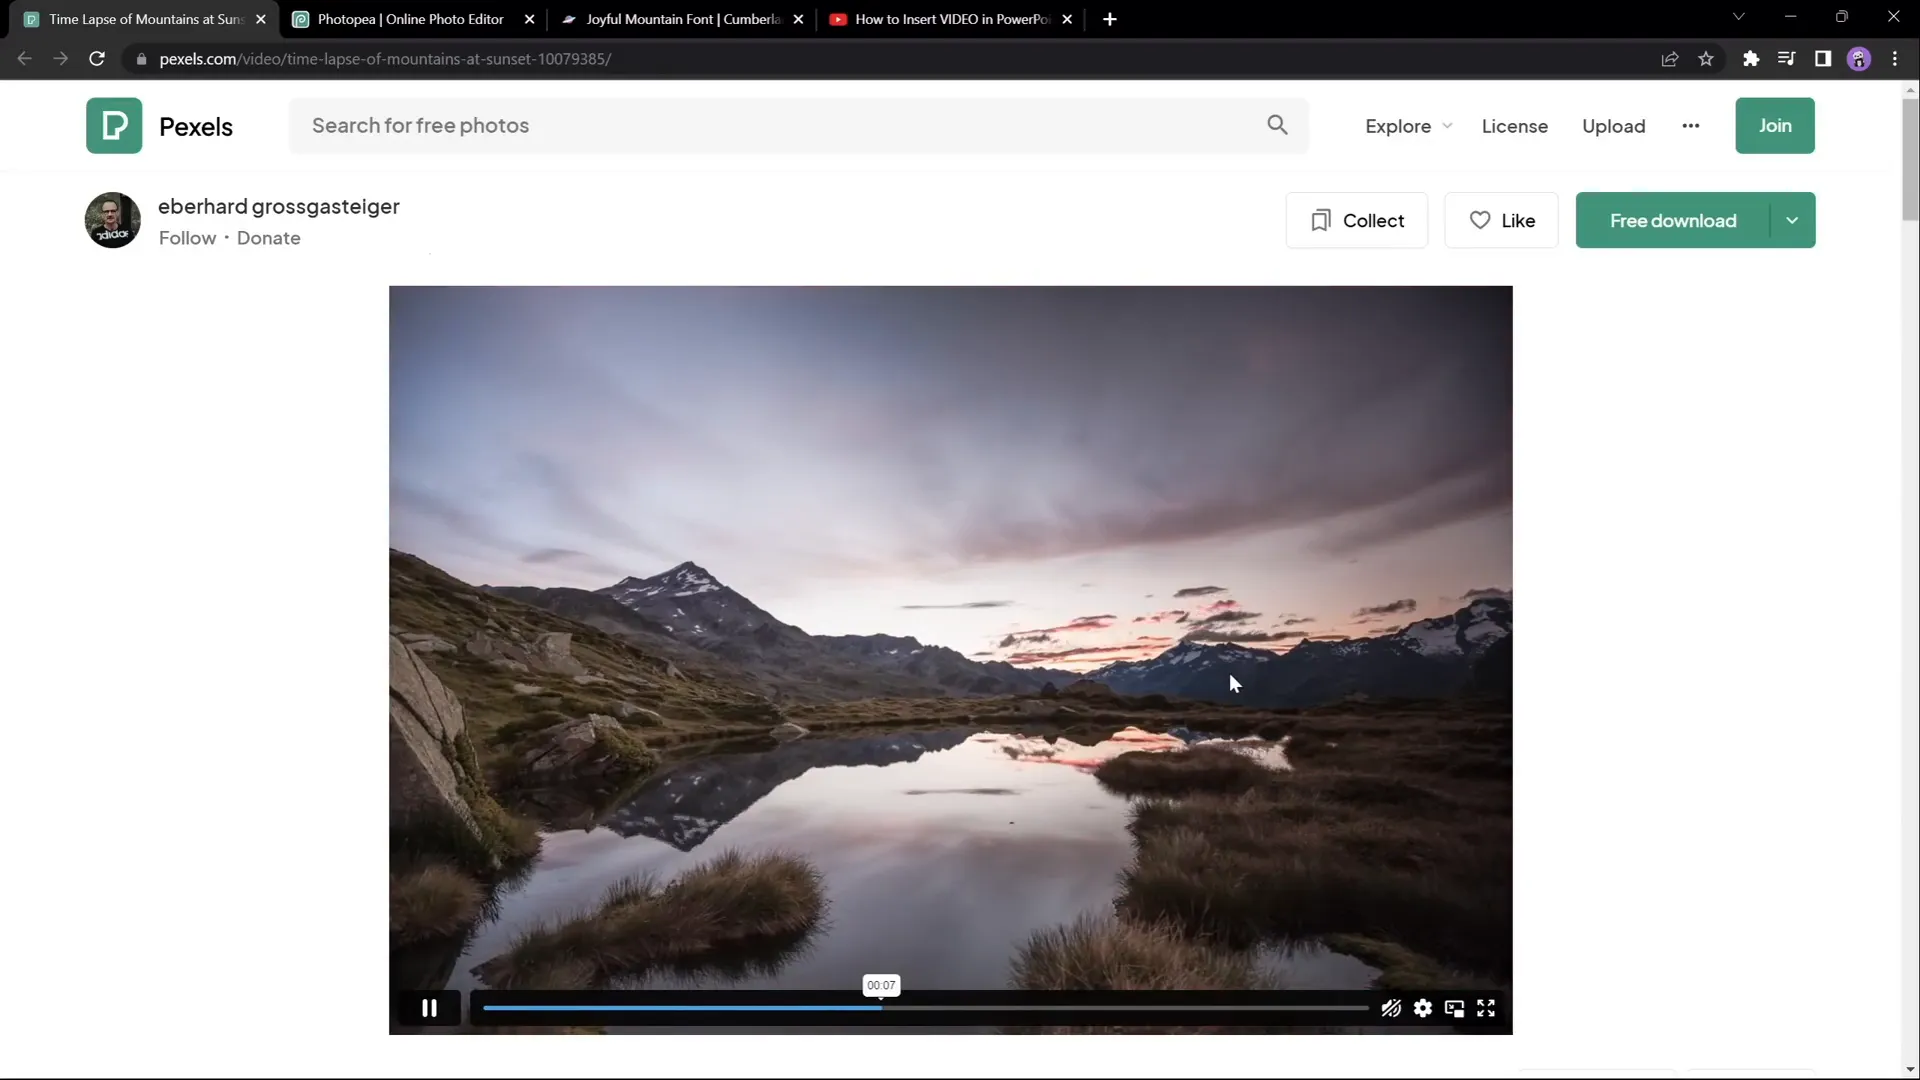
Step 2: Find a Suitable Video
For this tutorial, I used a breathtaking landscape time-lapse video of mountains and changing skies, sourced from Pexels.com. The key features of this video are:
- The mountains remain static throughout the clip, providing a consistent foreground
- The sky changes dynamically, giving a sense of time and movement
- Duration is approximately 17 seconds, which is ideal for looping and animation timing
- Available in Full HD resolution for crisp visuals
You can choose any video with similar characteristics, but ensure the foreground is clearly defined and distinct from the background sky or area you want to mask.
Setting Up the Video Background
Once you have your video ready, it’s time to import and set it up in PowerPoint.
Step 3: Insert and Resize the Video
- Drag and drop your selected video onto the blank slide.
- Center the video both vertically and horizontally on the slide.
- Resize the video to cover the entire slide. Hold down Ctrl + Shift while dragging a corner handle to resize proportionally from the center.
- Crop the video’s top and bottom edges if needed to match the slide’s aspect ratio exactly.
This ensures the video fills the slide perfectly without stretching or leaving empty spaces.
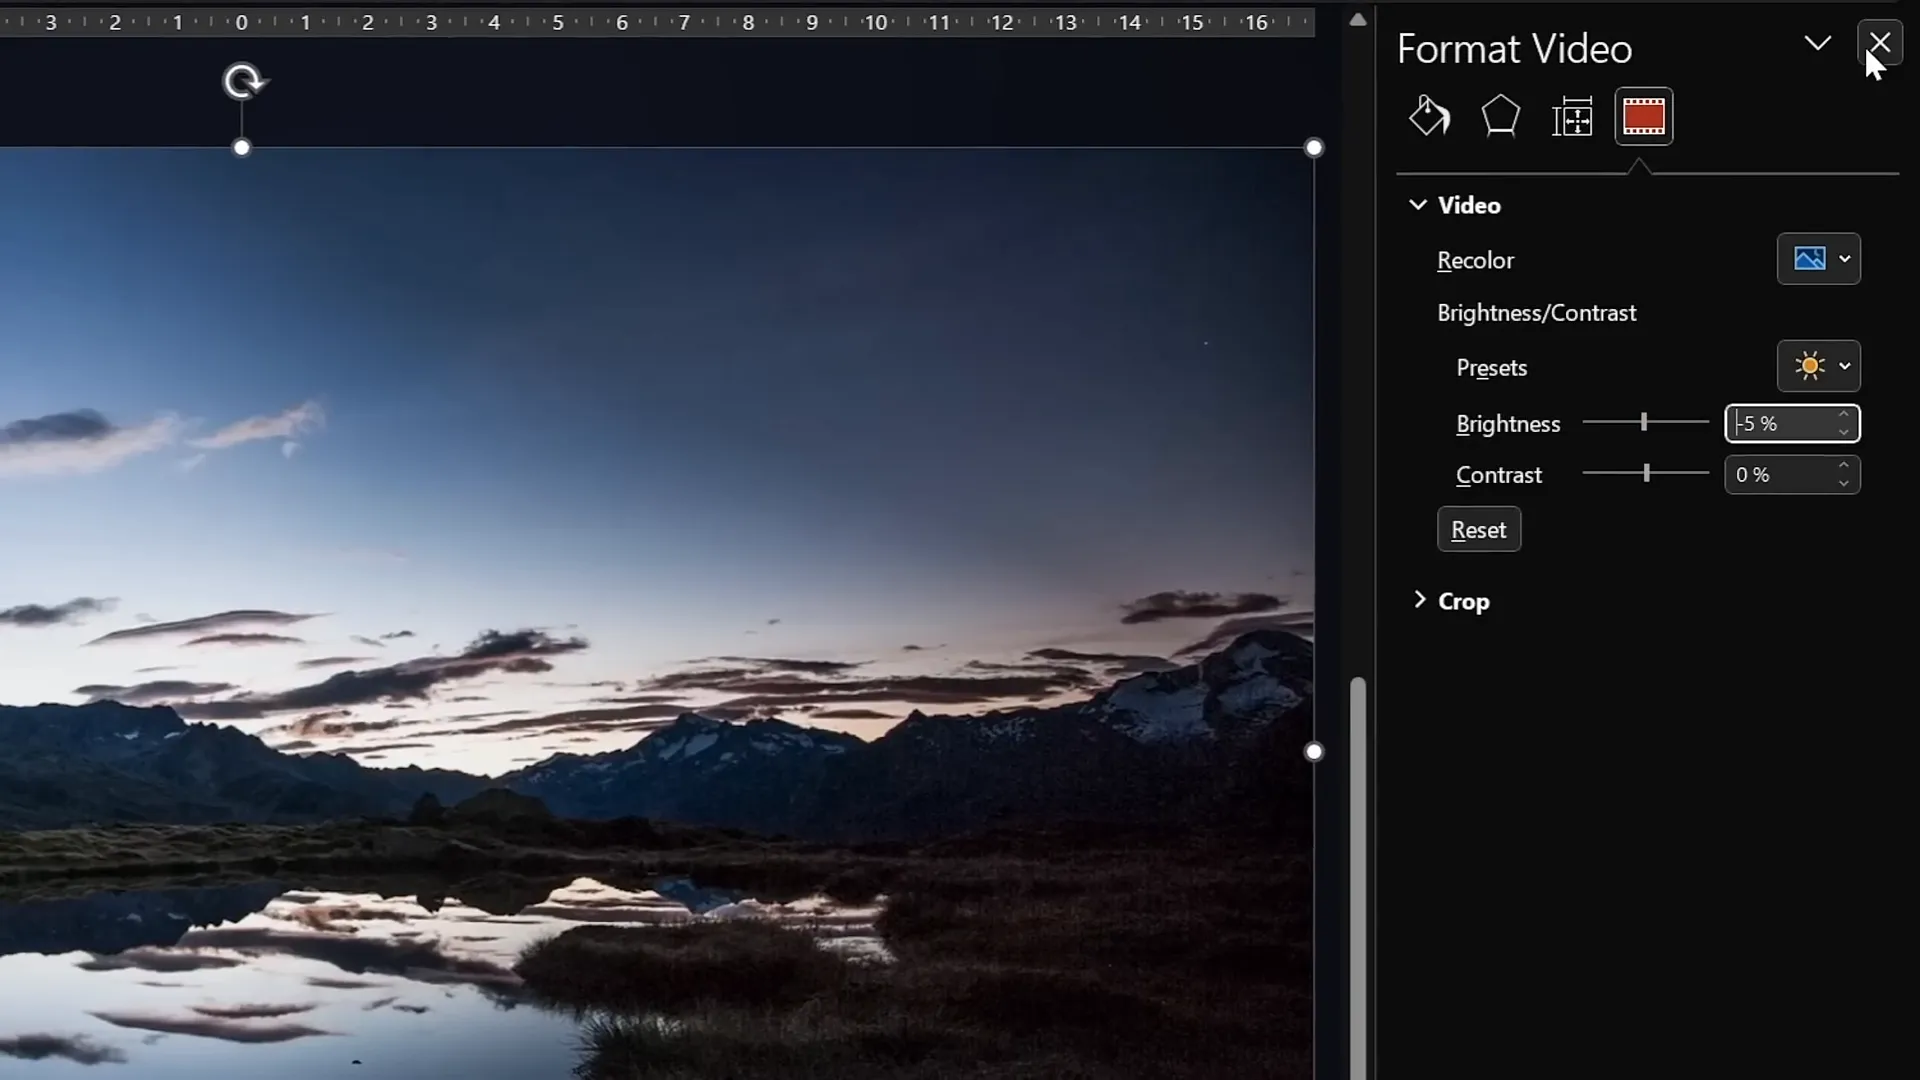
Step 4: Adjust Video Brightness for Text Contrast
To make the white text stand out against the video, reduce the video brightness slightly:
- Go to the Format Video panel.
- Set brightness to -5% to add subtle darkness.
This small adjustment improves text visibility without compromising the video’s aesthetic.
Step 5: Configure Playback Settings
- Set the video to Start Automatically under playback options.
- Enable Loop until Stopped to keep the video running continuously during your presentation.
These settings ensure the video plays seamlessly without manual intervention.
Creating the Video Mask Effect with Two Video Layers
The secret sauce behind this effect is using two identical video clips layered on top of each other. This creates a “video sandwich” that allows text or other elements to appear as if they are rising from behind the mountains.
Step 6: Duplicate the Video
- Rename the original video as Video Background.
- Duplicate this video clip and place the copy exactly on top of the original.
- Rename the duplicate as Video Front.
Both videos should be perfectly aligned to maintain the illusion of a single continuous video.
Step 7: Crop the Front Video to Remove the Sky
Initially, crop the top portion of the front video to hide the sky, revealing the background video underneath. This allows you to place objects between the two video layers that appear behind the mountains.
However, a simple straight crop line is not visually appealing since mountain edges are irregular. To enhance realism, you will need to follow the jagged mountain line precisely.
Precise Masking Techniques: Freeform Shapes vs. Vector Shapes
There are two main ways to crop the front video to follow the mountain edges perfectly:
Method 1: Using Freeform Shapes in PowerPoint
- Insert a shape using the Freeform tool.
- Click multiple points to trace the mountain line carefully, closing the shape.
- Select the front video and the freeform shape together (hold Shift to select both).
- Use the Merge Shapes > Subtract function to cut out the sky precisely.
Note: If the Merge Shapes button is not visible, you can add it to your Quick Access Toolbar. Detailed instructions can be found in specialized tutorials online.
This method works but requires patience and steady hands to trace the mountain line accurately.
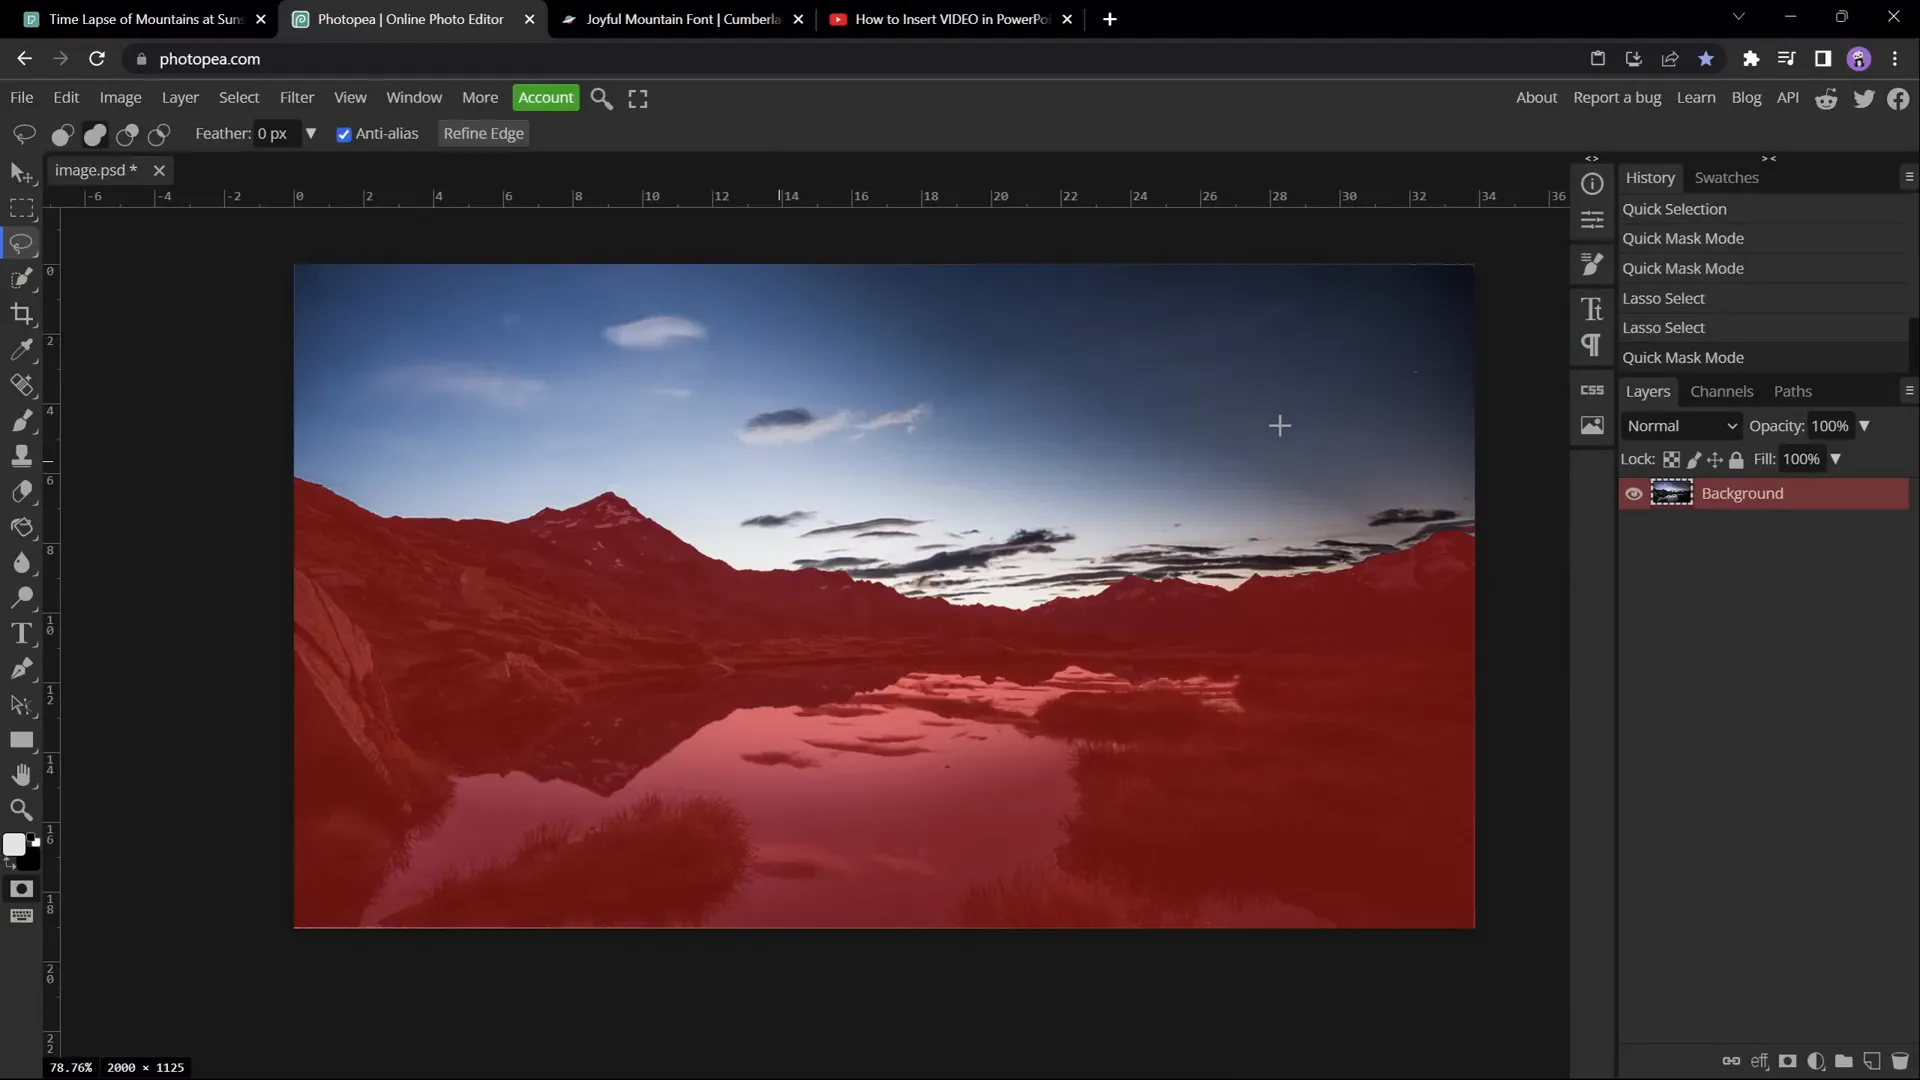
Method 2: Using Photopea for Vector Masking
For a more precise and professional result, use a free online photo editor called Photopea to create an SVG mask shape.

- Copy a screenshot of the video frame (Ctrl + C).
- Paste it into Photopea (Ctrl + V).
- Use the Quick Selection Brush to select the sky area.
- Refine the selection using the Lasso Tool in subtract mode to exclude any parts of the mountain mistakenly selected.
- Create a new layer and fill the selection with a solid color (e.g., yellow) using the Bucket Tool.
- Hide the original photo layer to isolate the colored sky shape.
- Go to Image > Vectorize Bitmap, select Photo Mode and enable Polygon for vectorization.
- Export the vector shape as an SVG file.
- Import the SVG into PowerPoint and convert it to a shape to reveal the vector points.
- Select the front video and the imported shape, then use Merge Shapes > Subtract to crop the sky perfectly.
This process delivers a highly accurate mask that follows the mountain edges flawlessly and gives a professional finish.
Animating Text to Rise Behind the Mountains
With your two-layer video setup complete, the magic begins when you add text between the layers so it appears to rise from behind the mountains.
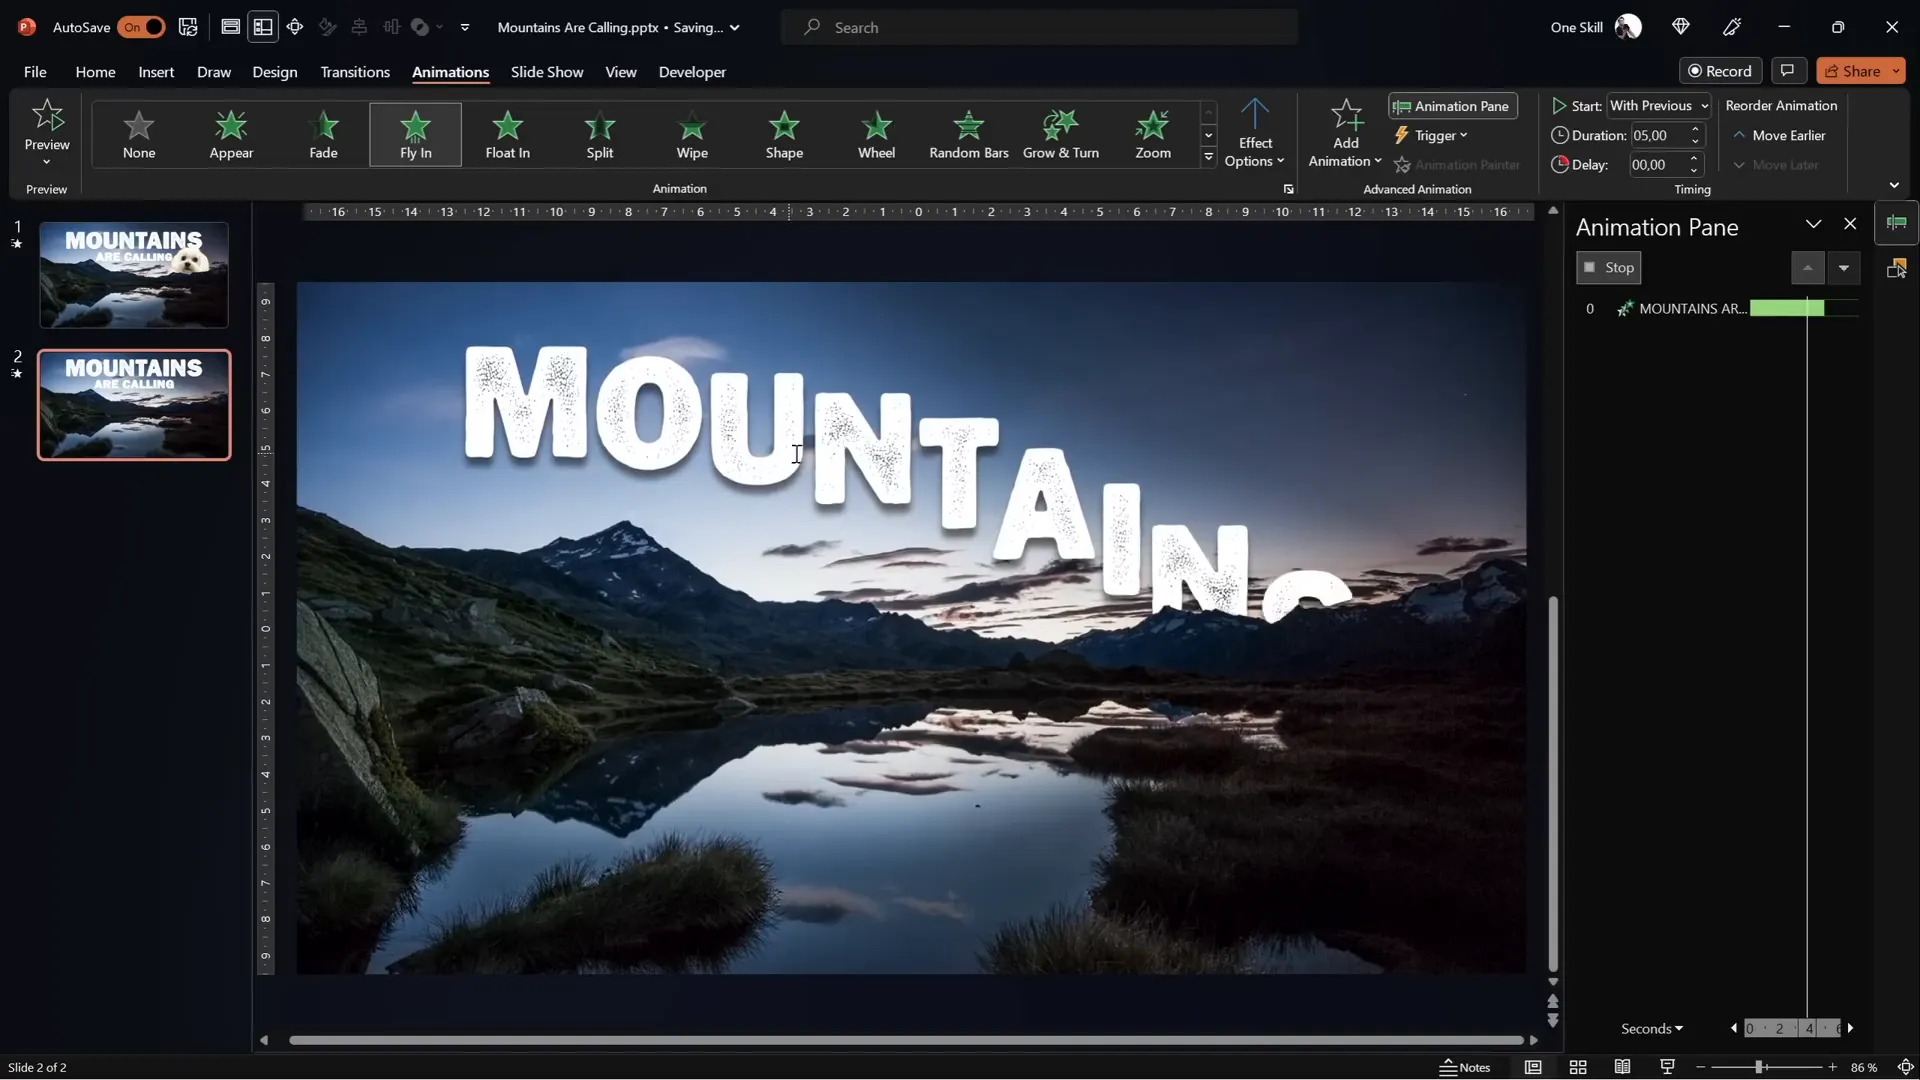
Step 8: Insert and Style Your Text
- Insert a text box between the two video layers (below the front video but above the background video).
- Choose a font that complements the mountainous theme; I recommend Joyful Mountain for an authentic feel.
- Format your text with white color for maximum contrast against the darkened video background.
- Use Ctrl + Shift + C to copy text formatting and Ctrl + Shift + V to paste it onto new text boxes to save time.
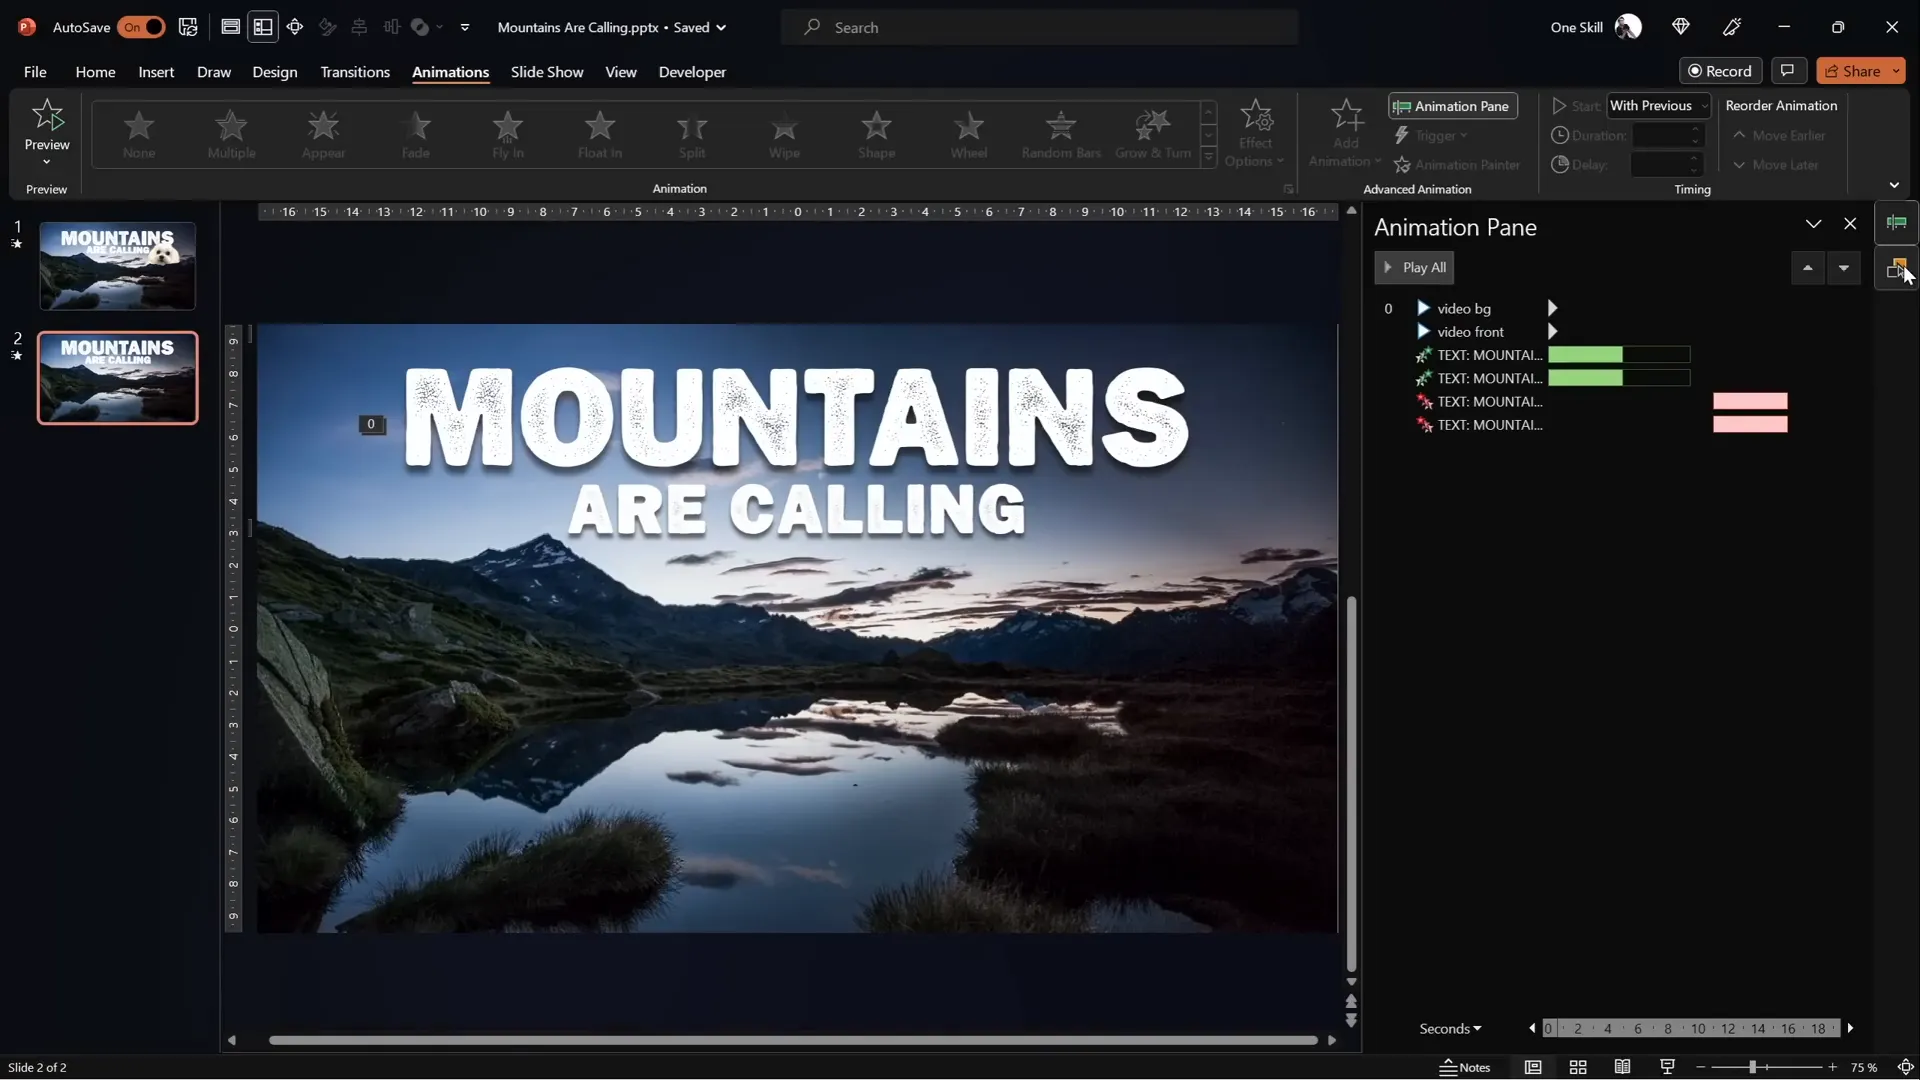
Step 9: Layer Organization
Use the Selection Pane to rename and organize your layers for easier management, ensuring the text is placed just below the front video layer. This placement is critical for the text to be partially obscured by the mountains.
Step 10: Add Entrance Animations
- Select your text box and apply a Fly In animation.
- Set the animation to start With Previous for seamless playback.
- Set the duration to around 5 seconds and use the Maximum Smooth End effect option.
- Animate text by letter with a 5% delay between letters for a dynamic reveal.
- Add a secondary entrance animation: Basic Zoom, also starting with previous and lasting 5 seconds, with 5% letter delay.
Step 11: Add Exit Animations
- Add a Fly Out exit animation with a 5-second duration and Maximum Smooth Start effect.
- Add a Basic Zoom Out exit animation with the same timing.
- Set both exit animations to start with previous and add a delay of around 11 seconds to allow the text to linger before exiting.
Final Touches and Advanced Animation Tips
Step 12: Synchronize Video Playback
Ensure both the background and front videos start simultaneously by adding a play animation to the front video as well. Set both to start With Previous and remove any unwanted delays for perfect sync.
Step 13: Add Additional Elements
Between your two video layers, you can add more than just text. For example, I added my dog Mars as a fun surprise element. You can insert images, shapes, or even other animations to create layered storytelling.
Step 14: Fine-Tune Animation Timing
Use the animation pane to reorder and adjust timings of all animations for smooth transitions. Drag animations to desired positions on the timeline to synchronize with your video perfectly.
Step 15: Preview and Iterate
Always preview your slide in full-screen mode to ensure the video loops correctly, animations flow smoothly, and the overall effect is cohesive.
Summary Table: Steps to Create the Epic Mountain Text Video Effect in PowerPoint
| Step | Task | Details |
|---|---|---|
| 1 | Insert Blank Slide | Create a new blank slide to start fresh. |
| 2 | Select Video | Choose a video with static foreground and dynamic sky. |
| 3 | Insert and Resize Video | Center and resize video to fill the slide. |
| 4 | Adjust Video Brightness | Reduce brightness by 5% for better text contrast. |
| 5 | Set Playback Options | Start automatically and loop the video. |
| 6 | Duplicate Video | Create two identical video layers: background and front. |
| 7 | Crop Front Video | Remove the sky portion from the front video. |
| 8 | Create Precise Mask | Use Freeform shapes or Photopea vector mask for accuracy. |
| 9 | Insert Text | Add and style text between the two video layers. |
| 10 | Add Entrance Animations | Use Fly In and Zoom animations with letter delays. |
| 11 | Add Exit Animations | Use Fly Out and Zoom Out with suitable delays. |
| 12 | Synchronize Videos | Ensure both videos start playing simultaneously. |
| 13 | Add Extra Elements | Place images or shapes behind mountains for effect. |
| 14 | Fine-Tune Timing | Adjust animation sequence and delays in the pane. |
| 15 | Preview | Run full-screen slideshow to check the effect. |
Frequently Asked Questions (FAQs)
Can I use any video for this effect?
You can use any video with a clear, static foreground (like mountains or buildings) and a dynamic background (like the sky). The key is that the foreground remains consistent so you can mask the video effectively.
Do I need PowerPoint Office 365 to create this effect?
While this tutorial uses Office 365 for its advanced features like Merge Shapes, you might be able to replicate some parts in older versions. However, Office 365 offers the smoothest workflow.
What if I don’t have the Merge Shapes button?
You can add the Merge Shapes button to your Quick Access Toolbar by customizing it in PowerPoint. There are many tutorials online that walk you through this simple process.
Is the Photopea method necessary?
No, but it provides a much more precise and professional mask compared to manually drawing freeform shapes. Photopea is free and easy to use, making it a great tool for this purpose.
How do I make the text animation smoother?
Use the letter-by-letter animation with small delays (around 5%) and choose smoothing options like “Maximum Smooth End” to make the text fly in and out elegantly.
Can I add other elements besides text?
Absolutely! You can insert images, shapes, or even other animations between the two video layers to create complex and engaging visual stories.
Conclusion
Creating stunning PowerPoint video effects that combine dynamic video with layered text animations is easier than you might think. By leveraging two identical video layers and precise masking techniques, you can make text appear as if it’s rising from behind mountains and disappearing back into the scene.
This technique not only adds a professional polish to your presentations but also engages your audience in a visually compelling way. Whether you choose to manually mask the video using PowerPoint’s freeform shapes or opt for the precision of vector masks via Photopea, the results will be impressive.
Remember to experiment with animation timings and layering to tailor the effect to your specific needs. And don’t forget to explore adding other creative elements between your video layers to further enhance your storytelling.
With these skills, your PowerPoint presentations will stand out with cinematic flair and creative polish, all achievable within the familiar environment of PowerPoint.
Happy presenting!
Check out the full video: EPIC PowerPoint Video Effect Tutorial


