If you’ve ever wanted to create stunning presentations that captivate your audience with cinematic flair, mastering PowerPoint video effects is your gateway. Imagine text emerging gracefully from behind majestic mountains in a video backdrop, then disappearing as if it’s truly part of the scene. This tutorial breaks down how to achieve this epic video effect entirely within PowerPoint, no external video editing software required.
In this comprehensive guide, you’ll learn how to layer videos, mask parts of clips to create seamless visual illusions, and animate text to interact with your video background dynamically. Whether you’re a PowerPoint beginner or an intermediate user looking to elevate your presentation skills, this step-by-step article will equip you with the knowledge and tools to create jaw-dropping slideshows.
This tutorial draws inspiration from One Skill PPT’s expert walkthrough and expands on the techniques, offering clear instructions, tips, and troubleshooting advice. Ready to transform your presentations? Let’s dive in.
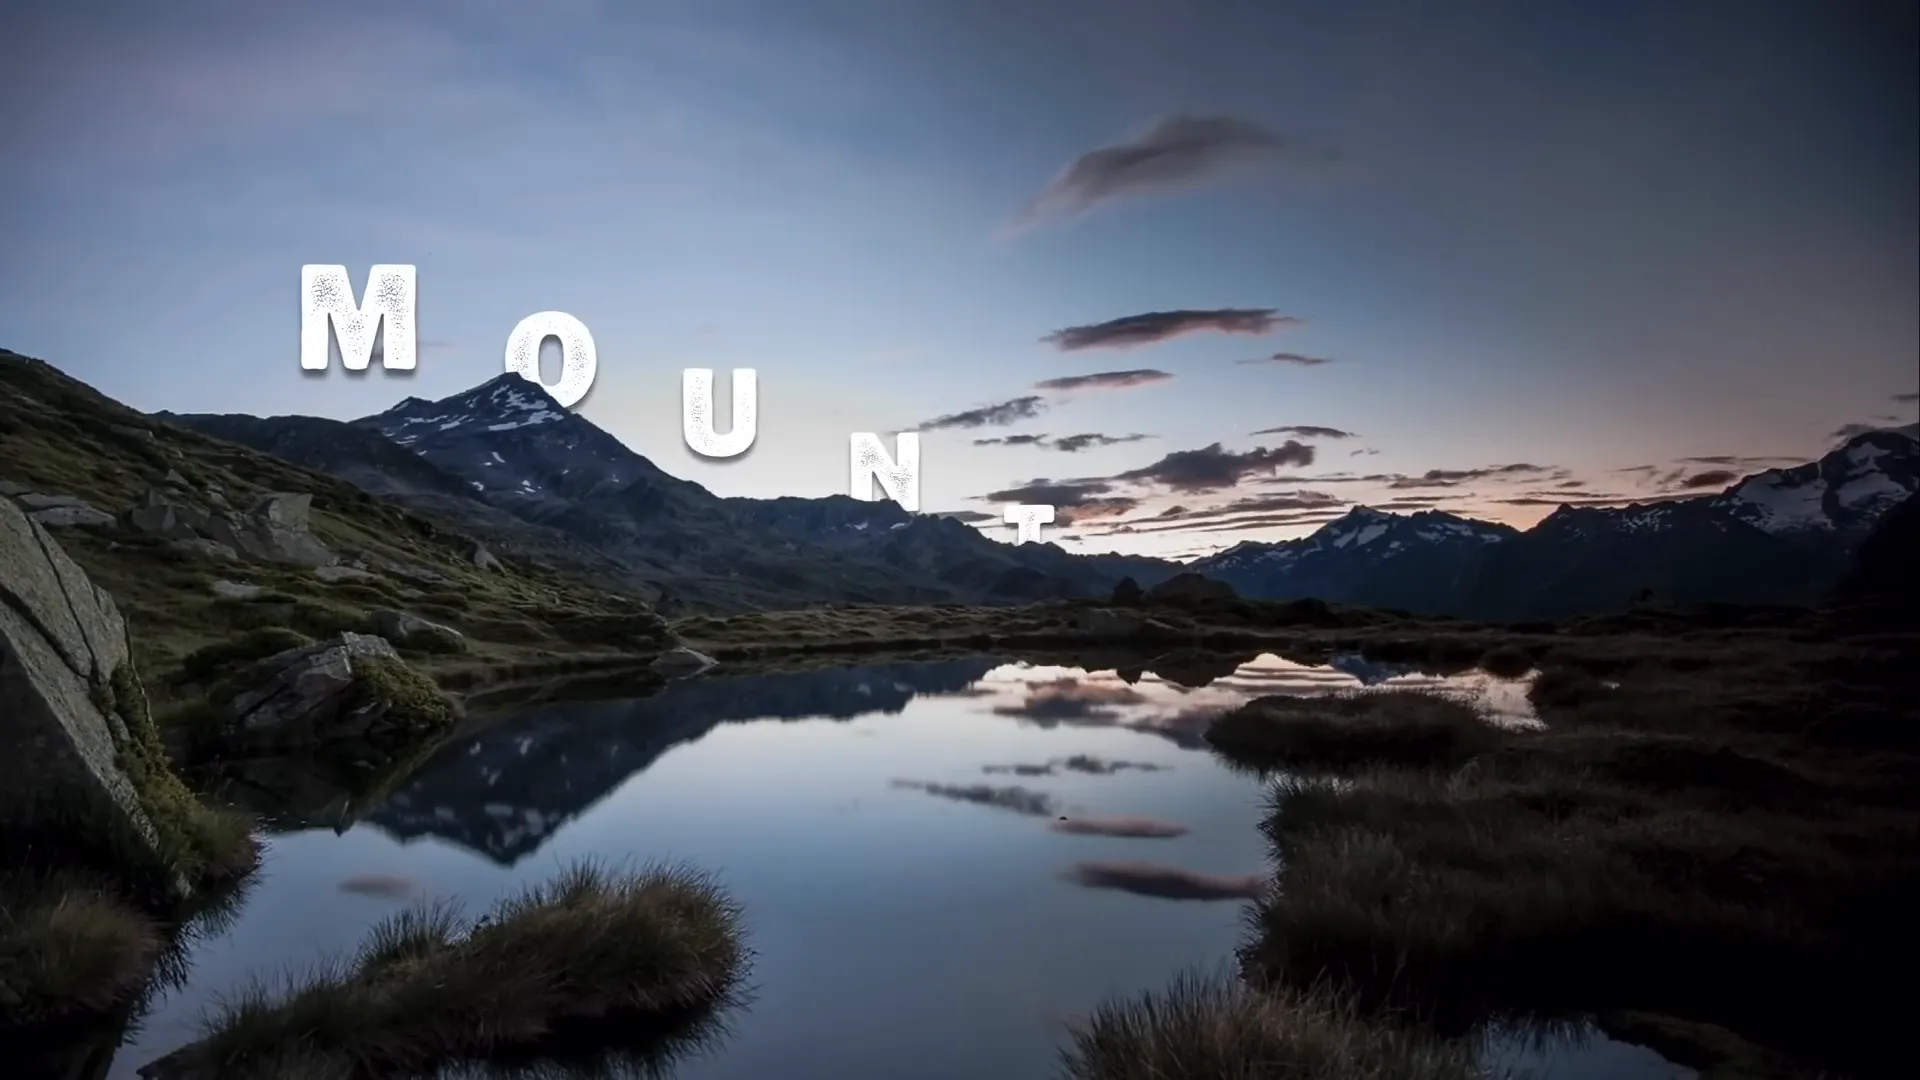
Table of Contents
- Preparing Your Slide and Selecting the Perfect Video
- Importing and Positioning Your Video in PowerPoint
- Adjusting Video Playback and Visual Settings
- Creating Two Video Layers for the Masking Effect
- Masking the Front Video to Follow Mountain Contours
- Advanced Masking Using Photopea and SVG Shapes
- Animating Text to Rise and Disappear Behind Mountains
- Adding Extra Elements Between Video Layers
- Final Tips, Resources, and Further Learning
- Frequently Asked Questions
Preparing Your Slide and Selecting the Perfect Video
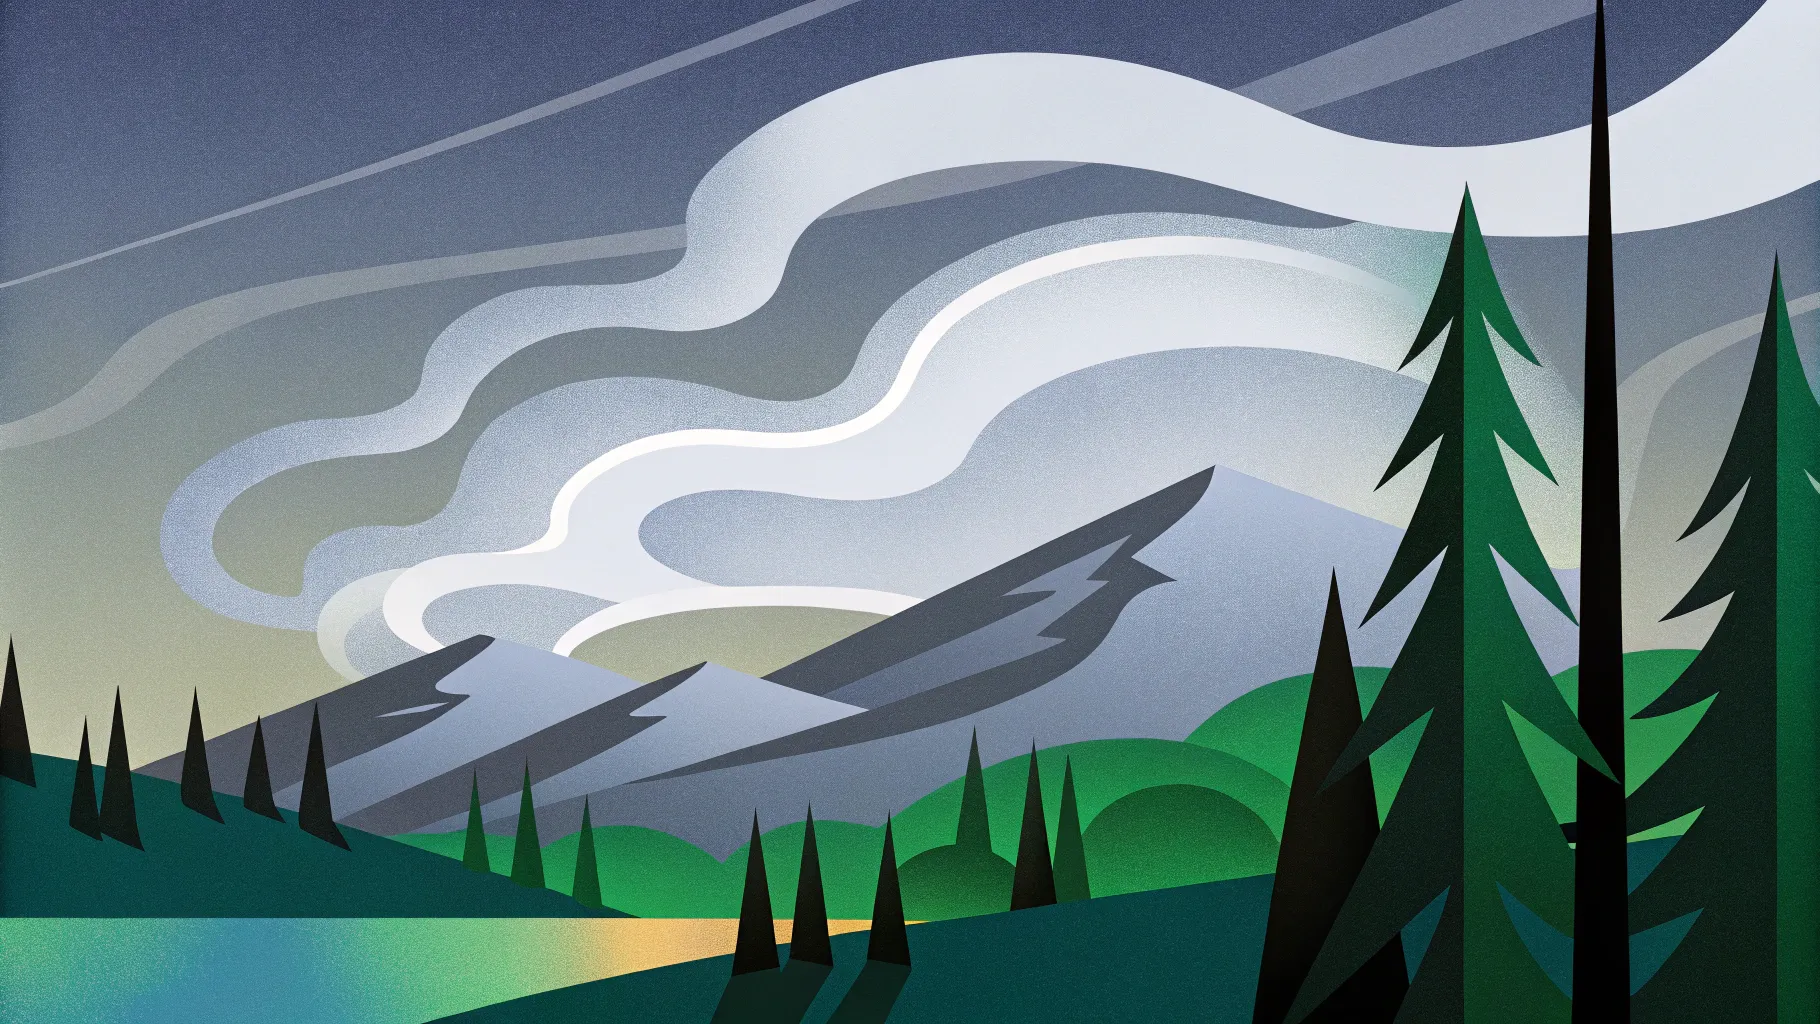
Every great effect starts with the right assets. For this tutorial, the key asset is a beautiful landscape video featuring mountains with a changing sky. The mountains remain static while the sky transitions, which is critical for the masking technique we’ll use.
Here’s how to get started:
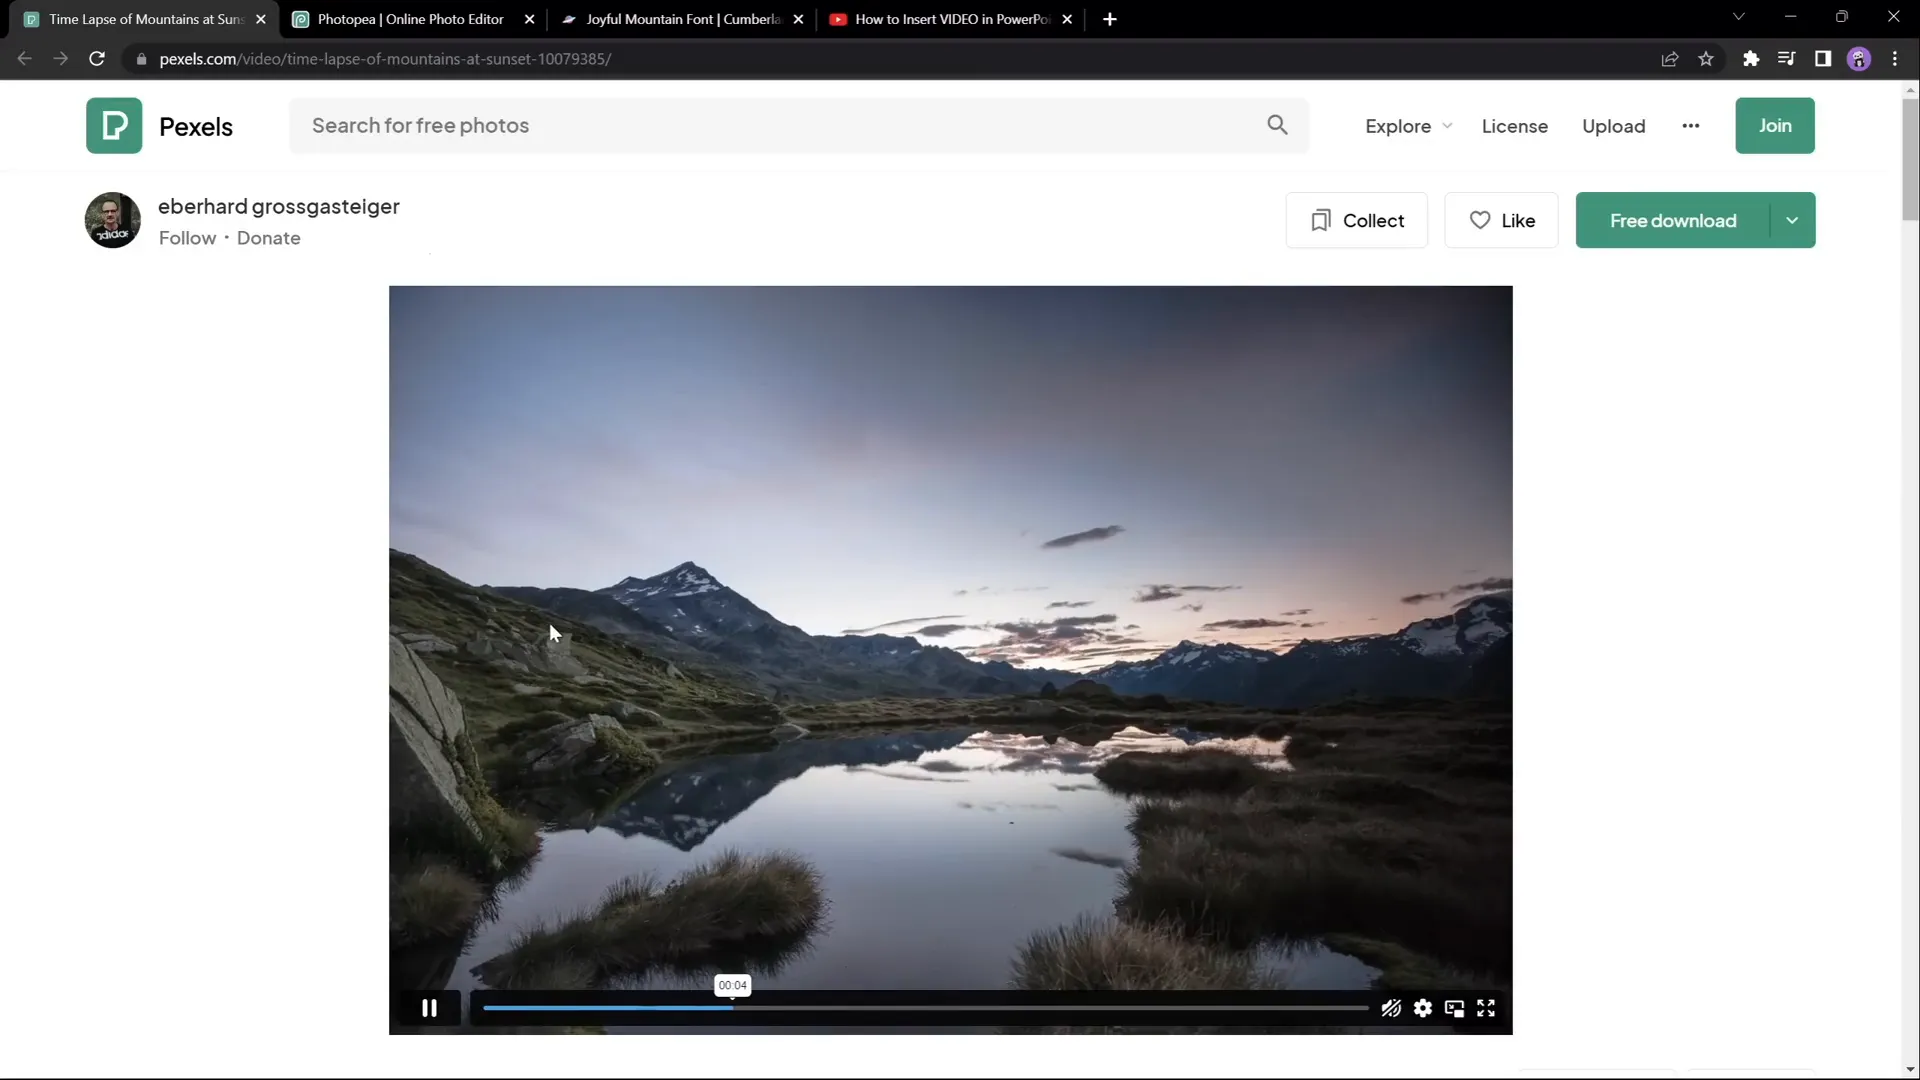
- Choose a Landscape Video: Visit Pexels.com and download a free full HD time-lapse video of mountains at sunset. The video should be long enough to sustain your animation — 17 seconds works well.
- Prepare a Blank PowerPoint Slide: Open PowerPoint (Office 365 recommended for best features) and insert a new blank slide for a clean workspace.
This video will serve as the backbone of your presentation, providing a dynamic yet stable background for your text animation.
Importing and Positioning Your Video in PowerPoint
With your video downloaded, it’s time to import it into PowerPoint and position it perfectly on your slide:
- Insert the Video: Drag and drop the video file directly onto your blank slide.
- Center and Resize: Select the video, then hold down
Ctrl + Shiftand drag from a corner to resize the video proportionally from the center until it covers the entire slide. - Crop to Match Slide Aspect Ratio: Use the crop tool to trim the top and bottom of the video so its aspect ratio matches your slide’s dimensions exactly. This ensures no black bars or misalignment.
- Finalize Crop: Click outside the video or press Escape to finalize cropping.
After these steps, your slide will have a full-screen video background ready for further editing.
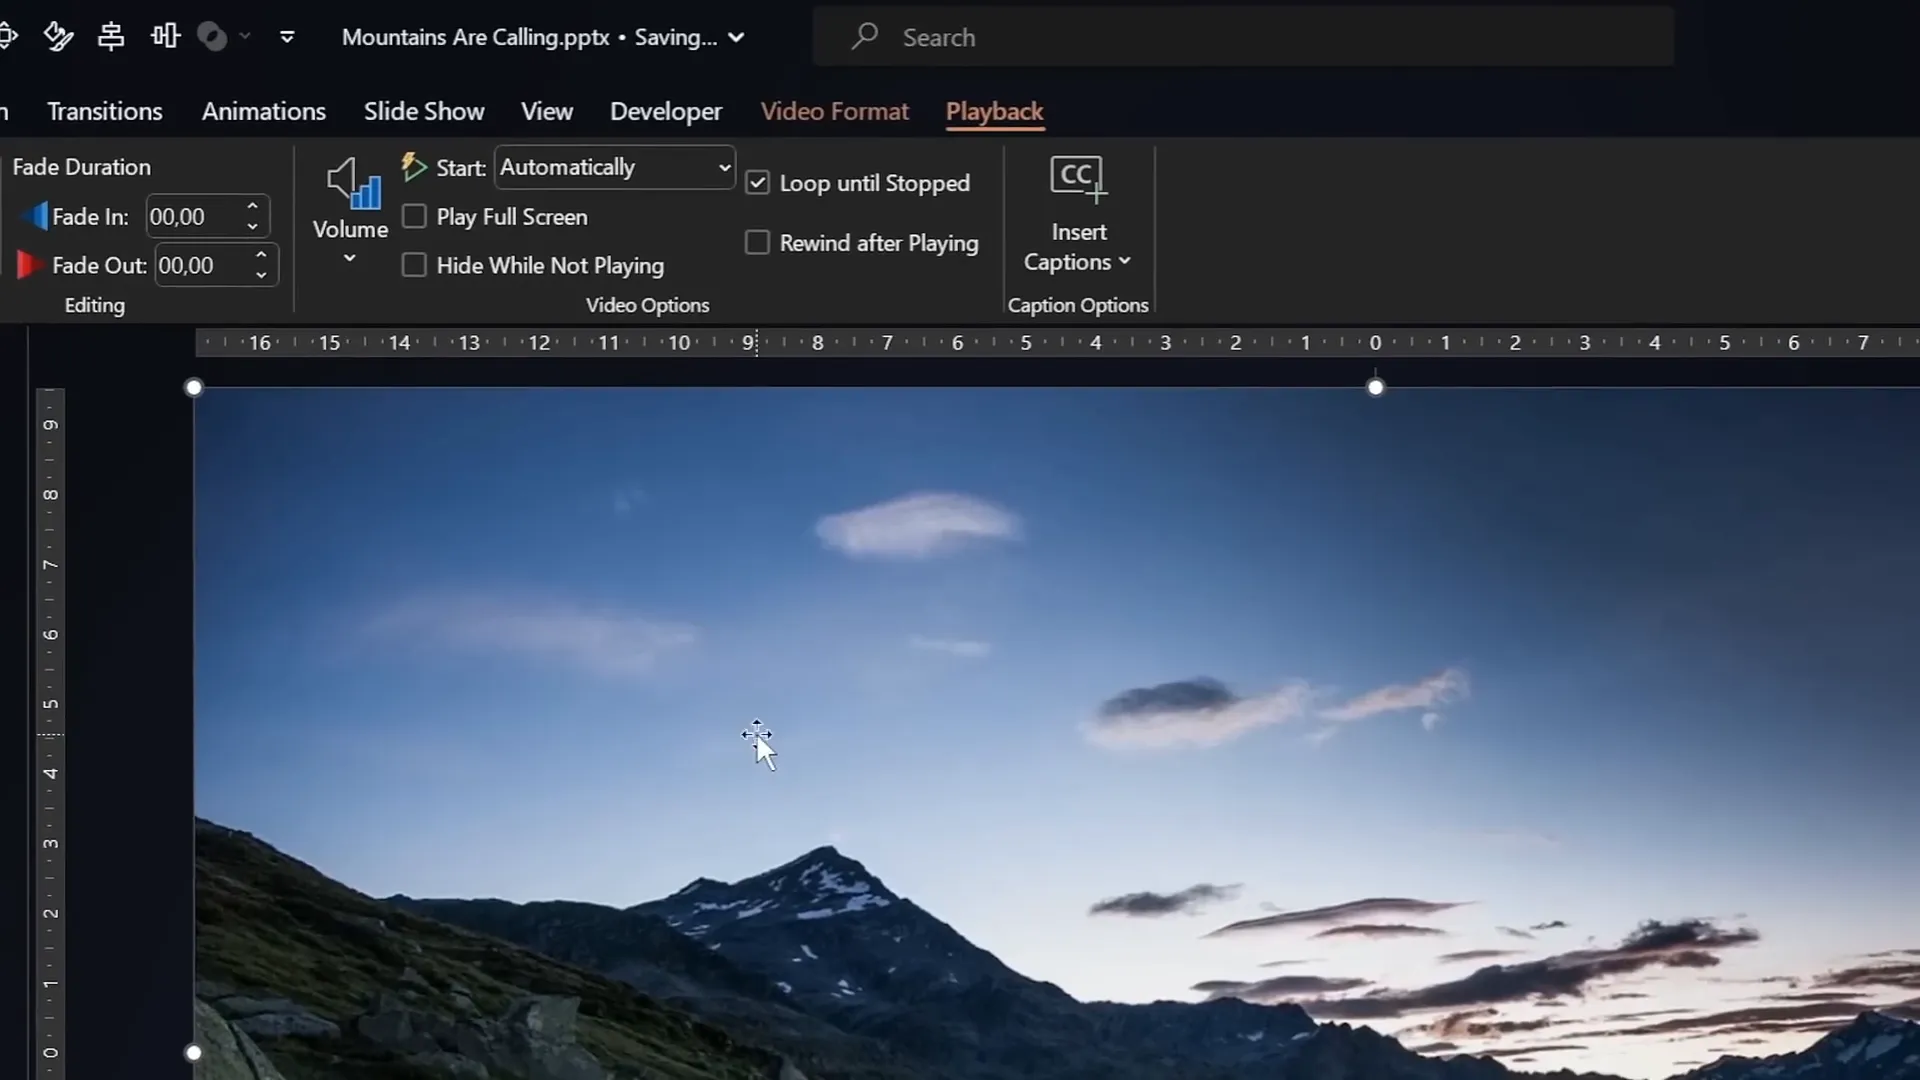
Adjusting Video Playback and Visual Settings
To make your text stand out against the video backdrop, you’ll want to slightly darken the video and control playback options:
- Adjust Brightness: Open the Format Video panel and reduce brightness by 5% (i.e., set brightness to -5%). This subtle darkening helps white text pop.
- Set Playback to Auto-Start and Loop: In the Video Playback options, set the video to start automatically and loop until stopped. This means the video plays continuously as you present.
- Manage Animations: PowerPoint automatically adds a play animation and trigger with imported videos. Remove the trigger, and set the play animation to start With Previous so the video begins immediately without clicking.
This setup ensures your video runs smoothly and your text remains legible throughout the presentation.
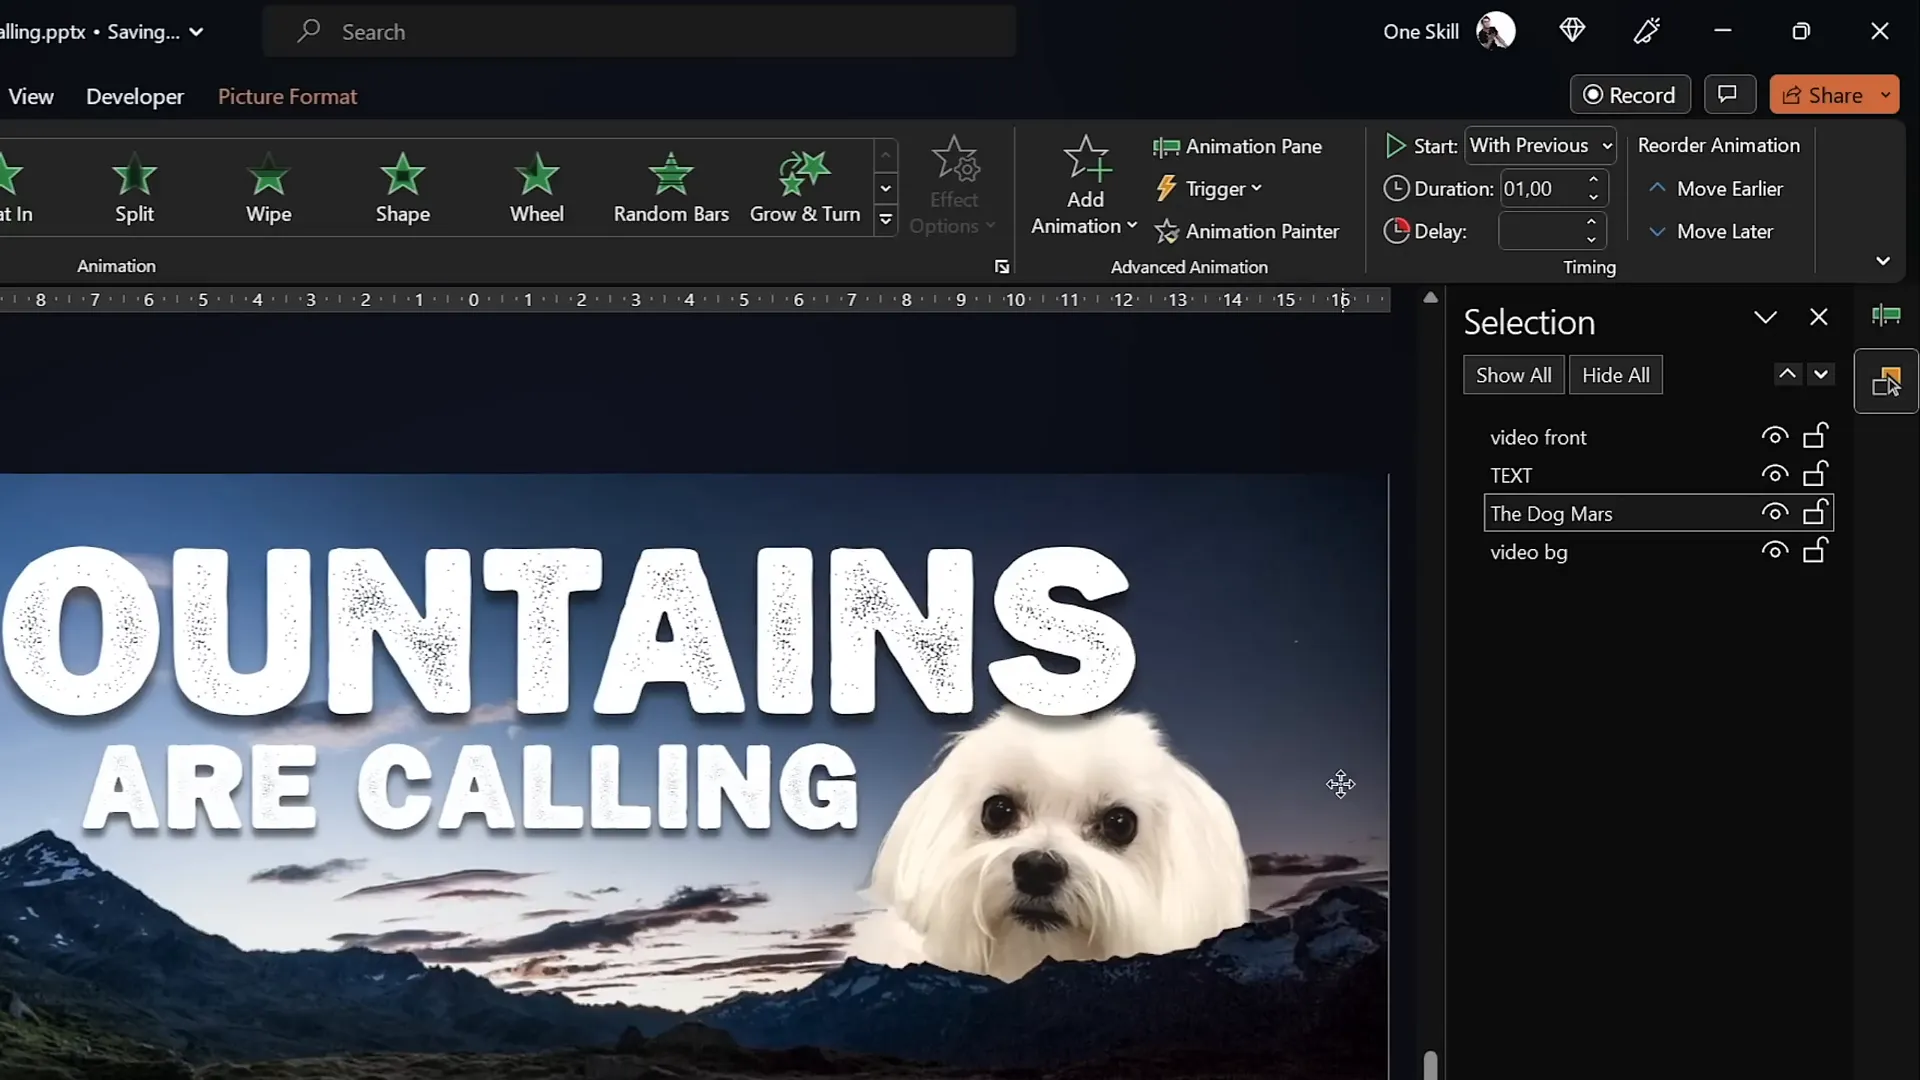
Creating Two Video Layers for the Masking Effect
The magic behind the text rising from behind the mountains lies in layering two identical videos and masking the front video so the text can appear between the layers.
Here’s the step-by-step process:
- Duplicate Your Video: Select the video and press
Ctrl + Dto duplicate it. - Rename Videos: Rename the original video as Video Background and the duplicate as Video Front for clarity.
- Align the Front Video: Ensure the front video is perfectly centered over the background video.
- Crop the Front Video’s Sky: Use the crop tool to trim the top portion of the front video to roughly remove the sky area, revealing the background video’s sky behind it.
At this point, you have a simple “video sandwich” effect where anything you place between these two video layers will appear to be behind the mountains but in front of the sky.
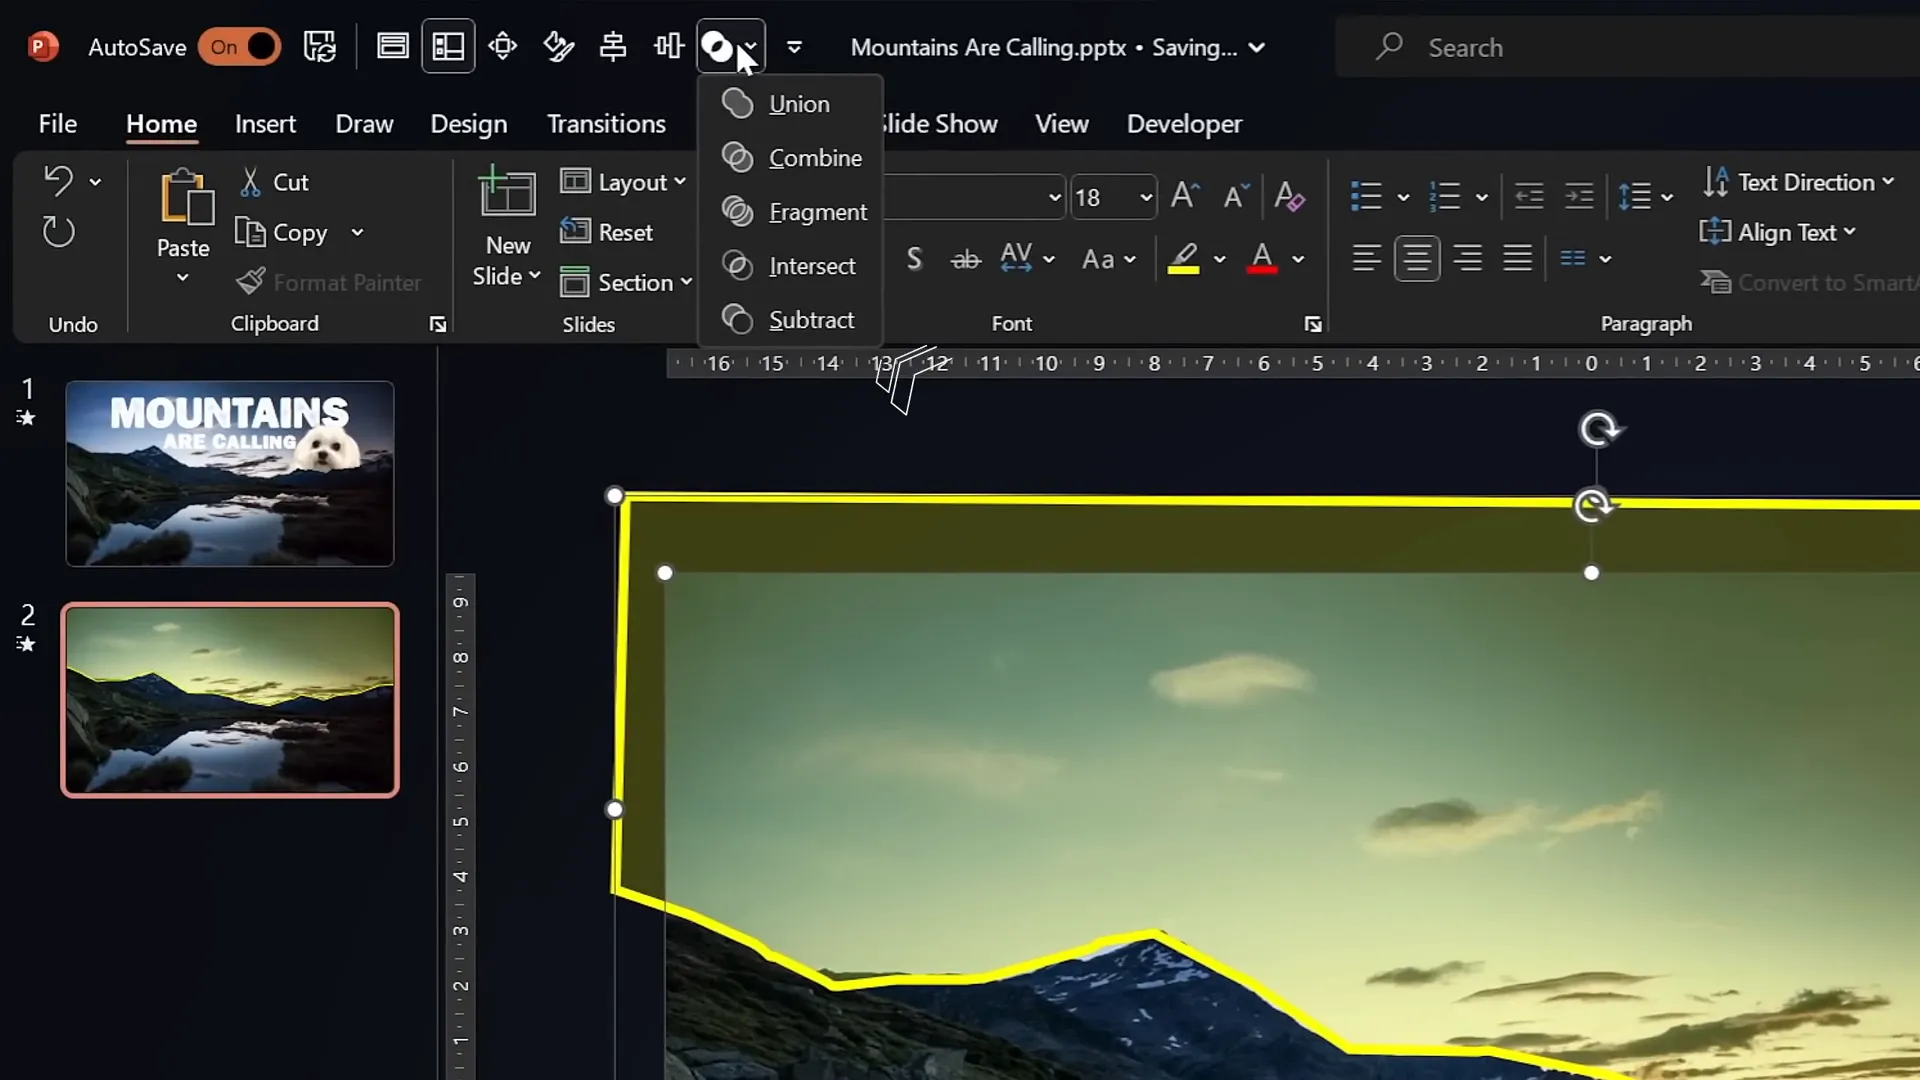
Masking the Front Video to Follow Mountain Contours
Simply cropping the front video in a straight line doesn’t look natural because mountains have irregular edges. The next step is to precisely mask the front video to follow the mountain line, creating a realistic effect.
There are two main methods to achieve this within PowerPoint:
Method 1: Using PowerPoint’s Freeform Shape Tool
- Create a Custom Shape: Go to Insert > Shapes > Freeform. Click multiple points along the mountain peaks to trace their outline as accurately as possible.
- Close the Shape: Connect the last point back to the starting point to complete the shape.
- Select Both Front Video and Shape: Click the front video, hold
Shift, then select the custom shape. - Merge Shapes: Under the Shape Format tab, click Merge Shapes > Subtract. This subtracts the shape from the front video, effectively removing the sky area.
This method is fully PowerPoint-native but requires patience and precision when tracing the mountain outlines.
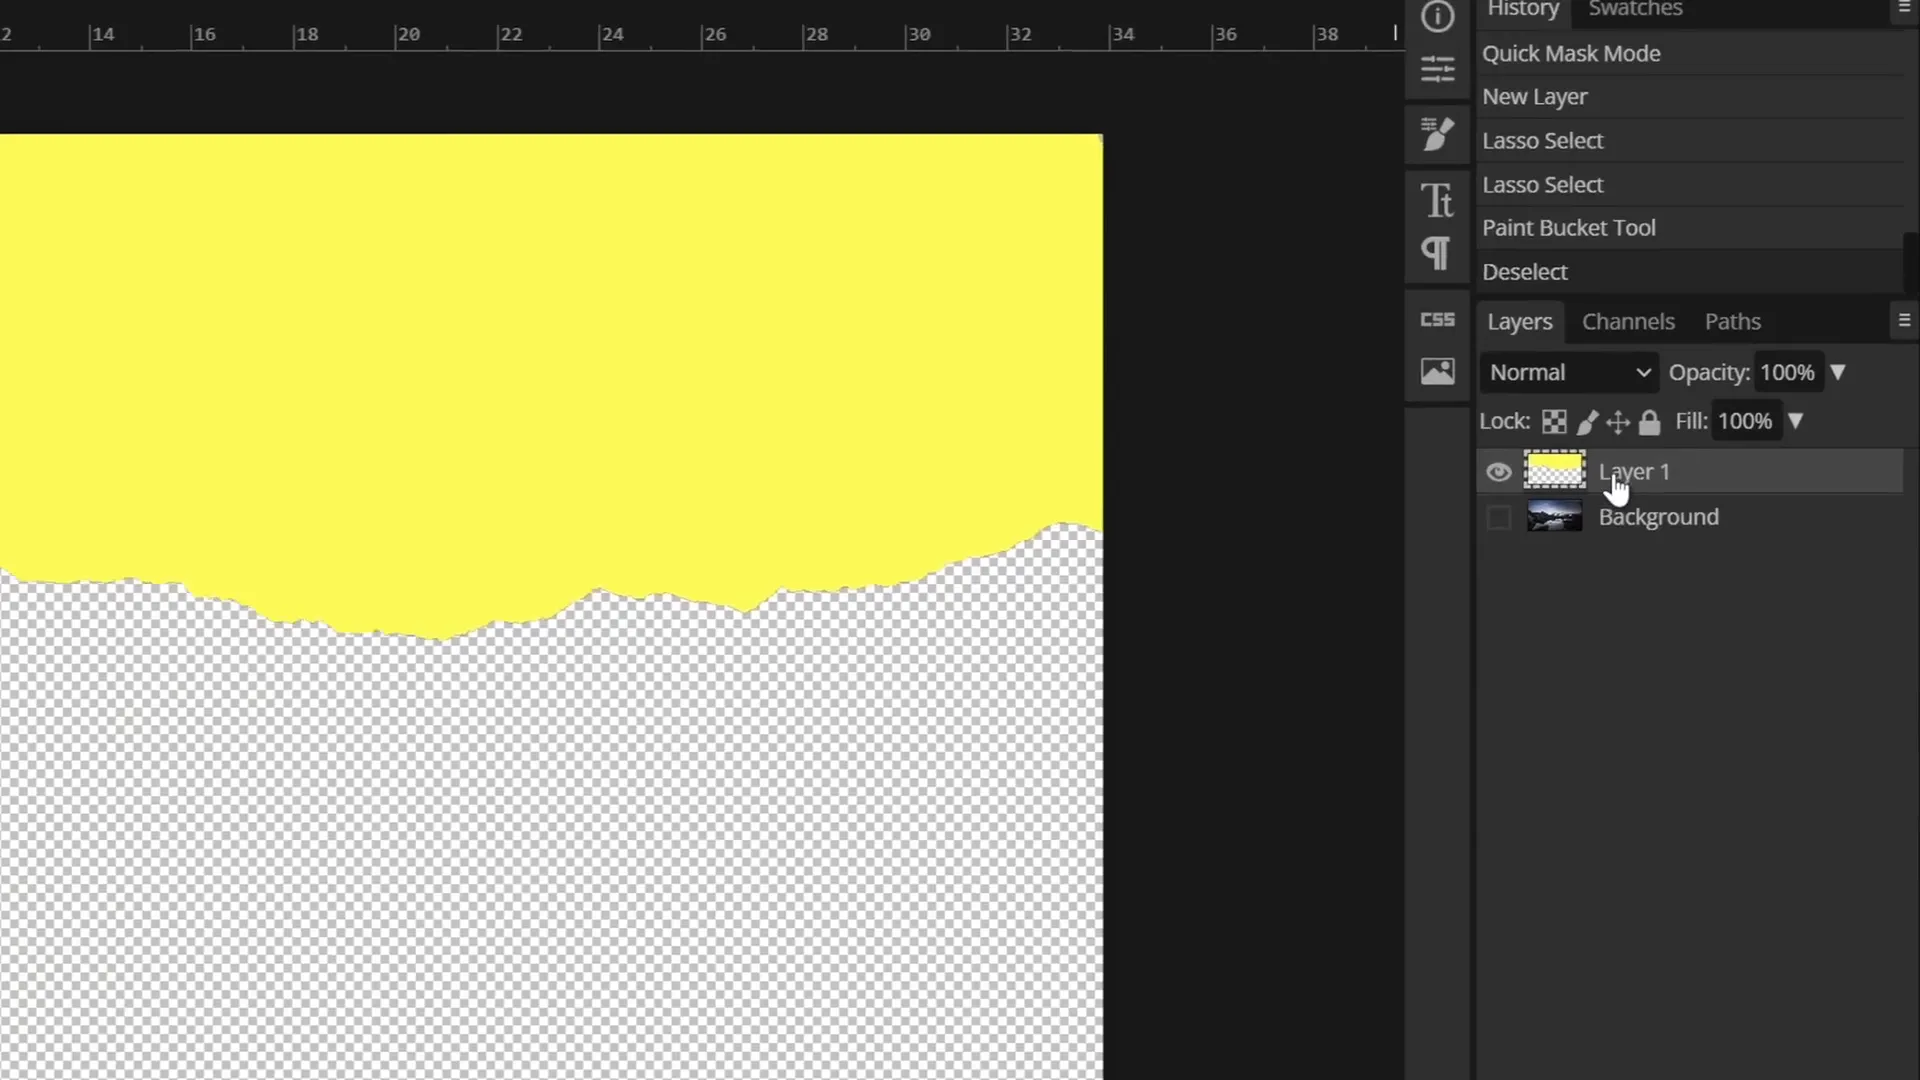
Method 2: Using Photopea for Precise Masking (Recommended)
For pixel-perfect masking, use Photopea, a free online photo editor that supports vector shape export:
- Copy a Screenshot of the Video Frame: Select the front video in PowerPoint, press
Ctrl + Cto copy a frame (screenshot). - Paste in Photopea: Go to Photopea and press
Ctrl + Vto paste the image. - Select the Sky: Use the quick selection brush to select the sky area above the mountains. Adjust brush size with square brackets, and refine selection using the lasso tool in subtract mode.
- Create a New Layer and Fill: Insert a new blank layer, pick any solid color (e.g., yellow), and fill the selected sky area with the bucket tool.
- Vectorize the Sky Shape: Hide other layers except the filled sky layer. Then go to Image > Vectorize Bitmap. Choose photo mode and polygon options, click OK to convert the sky fill into a vector shape.
- Export as SVG: Export this vector shape as an SVG file.
- Import SVG into PowerPoint: Drag and drop the SVG into your slide. Convert it to a shape to reveal vector points.
- Subtract SVG from Front Video: Select the front video and the imported SVG, then use Merge Shapes > Subtract to precisely remove the sky area.
This approach yields a highly accurate mask that follows the mountain contours perfectly, making your video layers blend seamlessly.
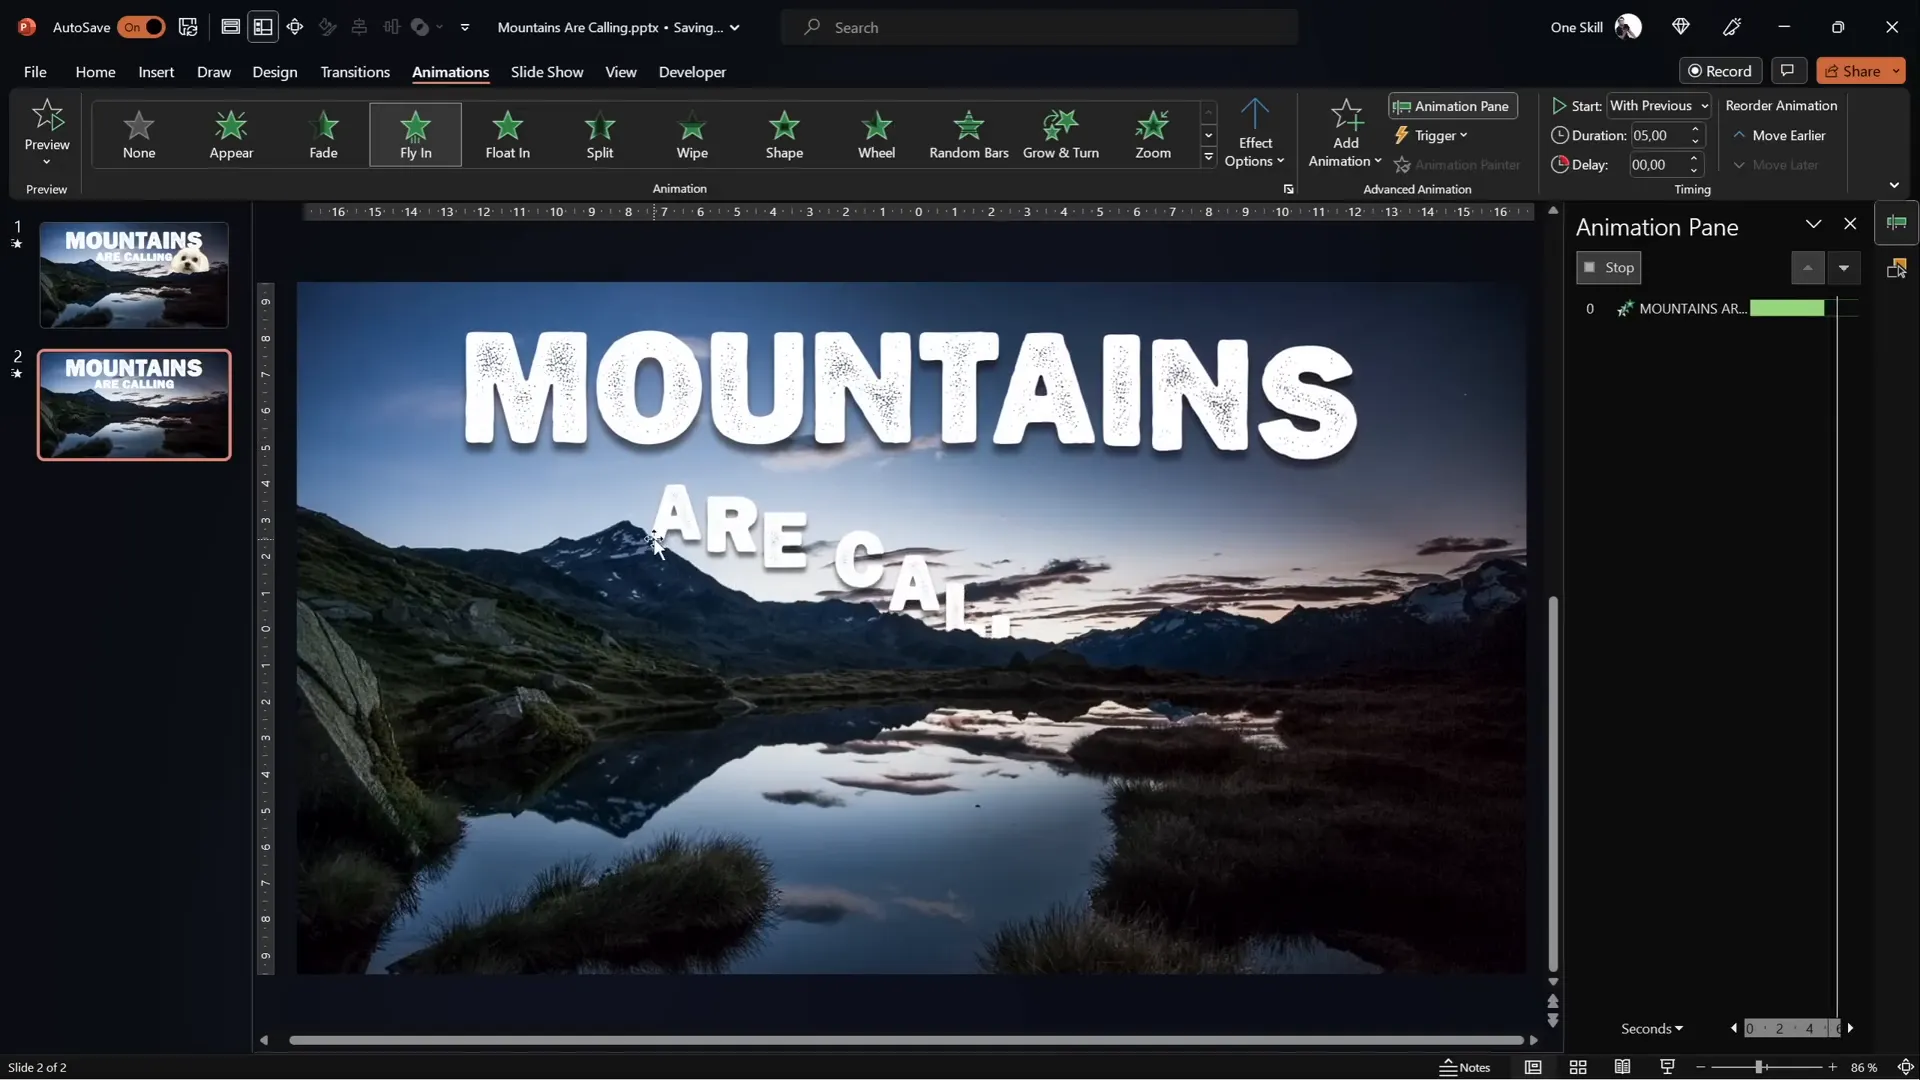
Animating Text to Rise and Disappear Behind Mountains
Now that your video layers are set, it’s time for the star of the show — animating text that rises from behind the mountains and disappears again, creating a magical effect.
Adding and Styling Text
- Insert Text Box: Add a text box and type your desired message.
- Choose the Font: Use the Joyful Mountain font, available for free at FontSpace.com. This font complements the mountain theme beautifully.
- Apply Formatting: Use
Ctrl + Shift + Cto copy formatting from a styled text box, andCtrl + Shift + Vto paste it onto your new text. Adjust font size (e.g., 54 pt for subheadings) for visibility. - Layer Positioning: In the selection pane, move the text box below the front video layer. This ensures the text will be hidden behind the mountain mask as it animates.
Animating the Text
PowerPoint’s animation features allow you to create smooth, dynamic text movements that appear natural and engaging:
- Entrance Animation – Fly In: Select the text box, go to Animations, and choose the Fly In effect. Set it to start With Previous and duration to 5 seconds. Under effect options, select Maximum Smooth End.
- Animate by Letter: In the animation pane, open the Effect Options and set the animation to happen By Letter with a 5% delay between letters. This makes the text appear letter by letter, rising elegantly.
- Additional Entrance Animation – Zoom: Add another entrance animation: Basic Zoom. Set it to start With Previous, duration 5 seconds, and bilateral animation delay of 5%. This gives the text a subtle zoom effect as it flies in.
- Exit Animation – Fly Out: Add a Fly Out exit animation starting With Previous with a 5-second duration and Maximum Smooth Start effect.
- Exit Animation – Zoom Out: Add a Basic Zoom exit animation to scale the text down as it flies away. Set delay to 11 seconds to synchronize with the text’s stay on screen.
When played, the text will rise smoothly behind the mountains, appear fully, then zoom and fly out, creating a dynamic and immersive storytelling effect.
Adding Extra Elements Between Video Layers
The two-layer video sandwich technique allows you to insert any element between the videos, making it appear nestled behind the mountains but in front of the sky. This opens up creative possibilities:

- Images or Logos: Add your brand logos or thematic images that interact with the landscape.
- Shapes or Icons: Insert shapes to highlight points or create visual interest.
- Animated GIFs or Objects: Place animated objects that appear to move through the scene.
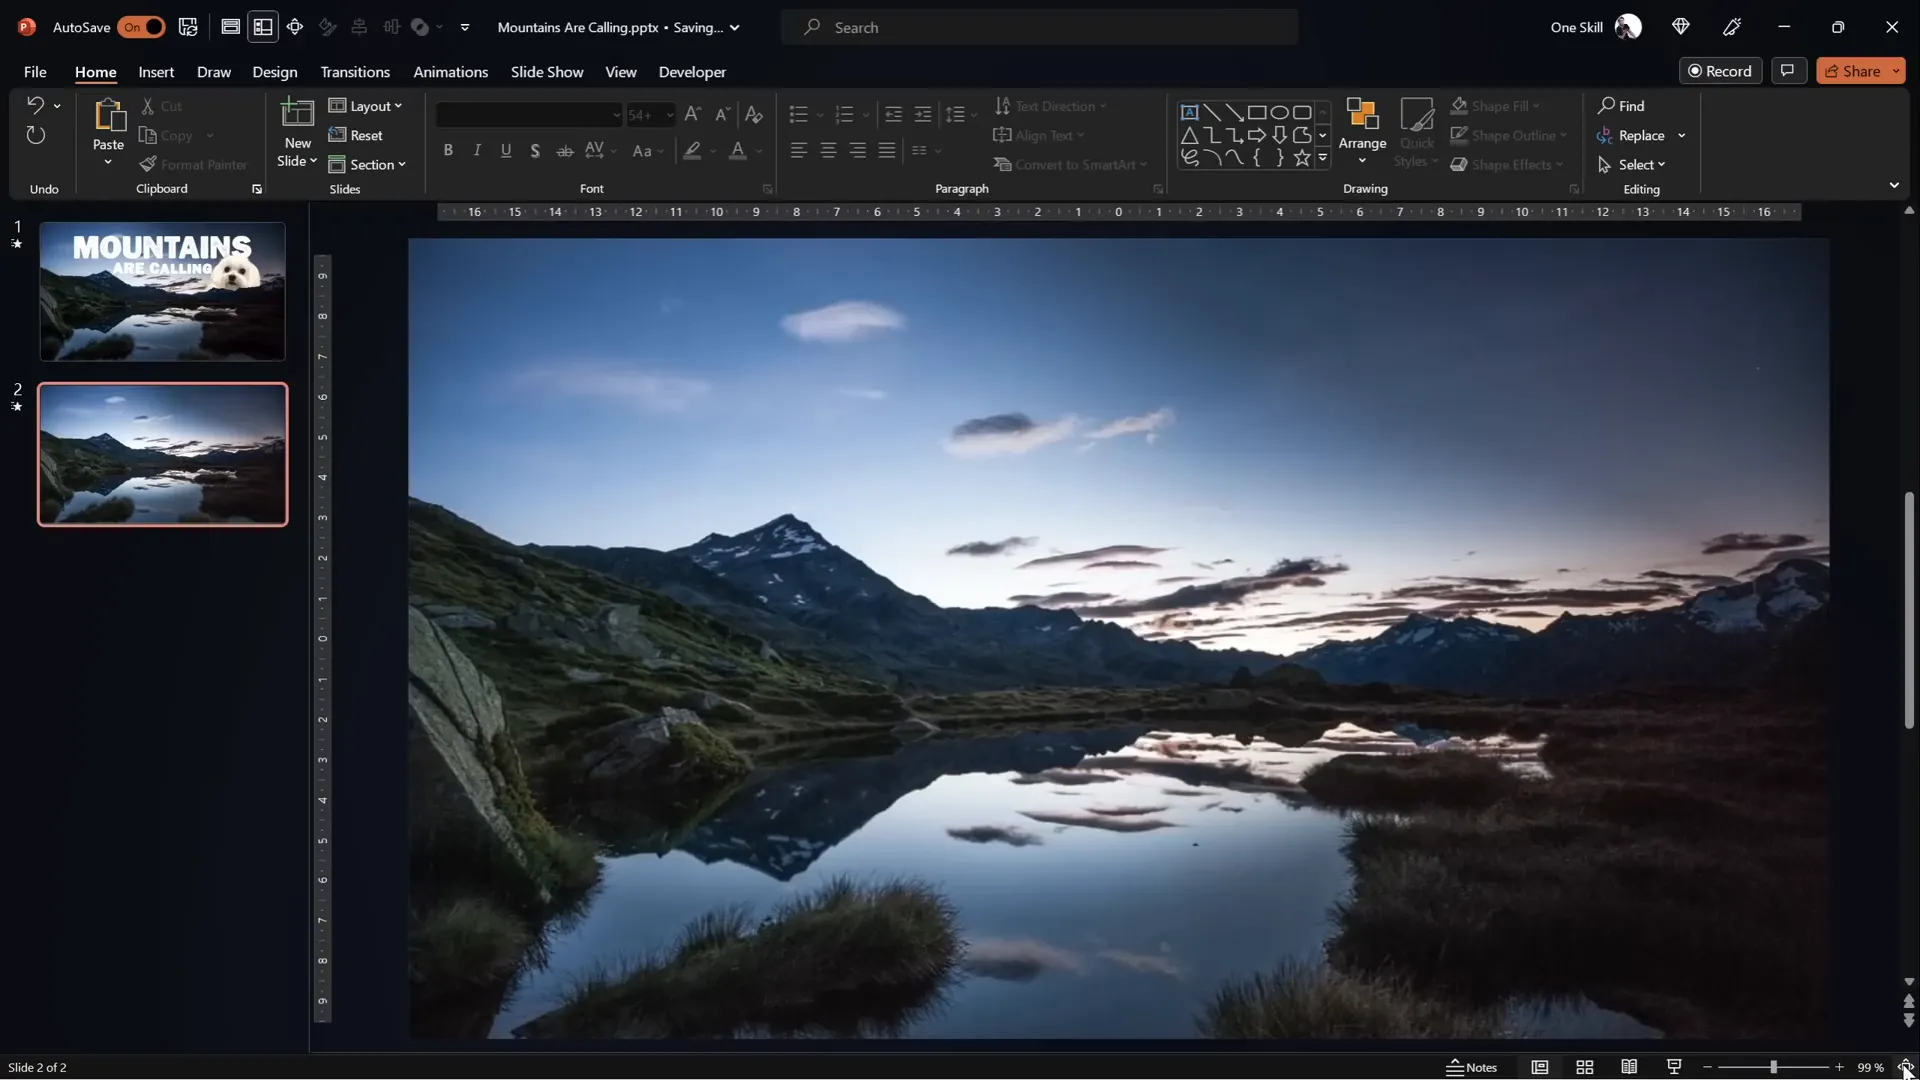
- Personal Touch: For example, insert a photo of a pet or mascot to create a warm, personalized presentation — as done here with Mars, the dog.
Remember to position these elements below the front video layer but above the background to maintain the illusion.
Final Tips, Resources, and Further Learning
Congratulations! You now know how to create an epic PowerPoint video effect that brings your slides to life with cinematic text animations and layered video masking.
To help you continue mastering PowerPoint video effects and animations, here are some additional tips and resources:
| Tip | Description |
|---|---|
| Use High-Quality Videos | Always select HD videos with stable elements for best masking results. |
| Leverage Merge Shapes | Add the Merge Shapes button to your Quick Access Toolbar for easy masking. |
| Experiment with Animation Timing | Adjust delays and durations to sync animations perfectly with video playback. |
| Utilize Free Fonts | Fonts like Joyful Mountain enhance thematic consistency. |
| Explore Advanced Tools | Photopea offers powerful free vector editing for precise shape creation. |
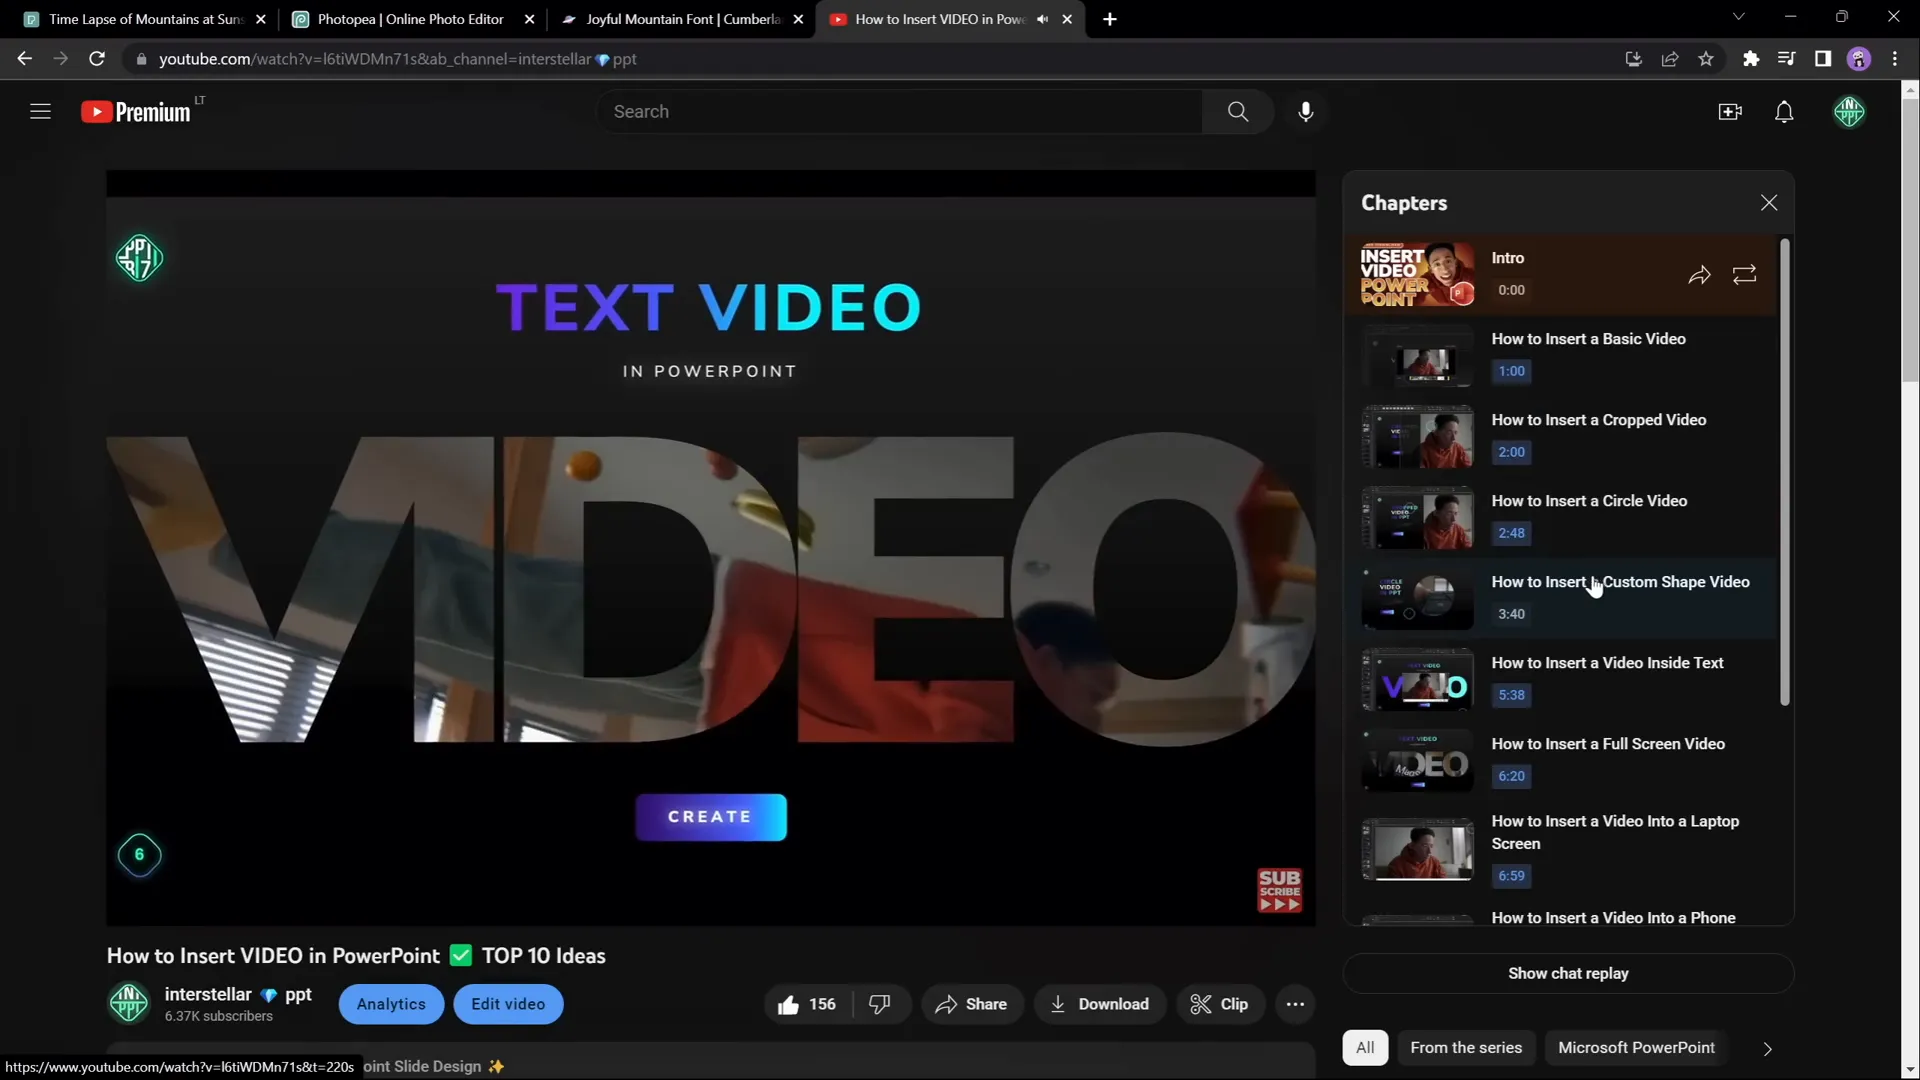
For even more creative video effects in PowerPoint, consider exploring additional tutorials, including One Skill PPT’s Interstellar PowerPoint channel, which offers 10 creative ideas for video use in presentations.
Support your learning journey by downloading tutorial slides and templates available on platforms like Patreon to practice hands-on.
Frequently Asked Questions
Can I use any video for this effect?
Yes, but it works best with videos where the foreground (like mountains) is static and the background (like sky) changes. This contrast allows clean masking and layering.
Do I need advanced video editing software?
No. This tutorial shows how to create complex video effects entirely within PowerPoint, supplemented by free online tools like Photopea for vector shape editing.
What versions of PowerPoint support these features?
PowerPoint Office 365 or newer versions are recommended, as they support advanced video playback, animation, and Merge Shapes functionality.
How precise does the masking need to be?
The more precise, the better the effect looks. Using Photopea to create vector masks results in the most seamless blending, but PowerPoint’s freeform tool works well with patience.
Can I animate other objects besides text between the video layers?
Absolutely! You can insert images, logos, shapes, or even animated GIFs between the video layers to create engaging effects.
Where can I find the Joyful Mountain font?
You can download it for free at FontSpace.com.
Is it possible to loop the video continuously during the presentation?
Yes, set the video playback options to start automatically and loop until stopped to ensure continuous play.
What if I don’t see the Merge Shapes option in PowerPoint?
It might not be in your Quick Access Toolbar by default. You can add it manually by customizing the toolbar or refer to detailed tutorials available online.
Can I use this technique for other shapes besides mountains?
Yes. The technique works with any scene where you want to mask parts of a video to create layered effects.
How can I make text animation smoother?
Use the By Letter animation option with small delays between letters and adjust the smoothing options for entrance and exit animations.
Where can I find more creative PowerPoint video effect ideas?
Check out channels like One Skill PPT’s Interstellar PowerPoint for tutorials featuring multiple creative video effect ideas.
Conclusion
PowerPoint is an incredibly versatile tool, far beyond simple slide creation. By harnessing video layers, precise masking, and dynamic animations, you can craft presentations that feel alive and immersive.
This epic video effect, where text rises from behind mountains and disappears seamlessly, is just one example of the creative possibilities at your fingertips. With practice and experimentation, you can adapt these techniques to suit your unique presentation style and content.
Happy creating, and may your presentations always be epic!
Check out the full video: EPIC PowerPoint Video Effect Tutorial


