

If you’re looking to elevate your PowerPoint skills and impress your audience with modern, dynamic infographics, this tutorial is for you. In this comprehensive guide, we’ll walk through the step-by-step process of creating a stunning animated isometric roadmap infographic using PowerPoint. This design features a moving square traveling along a custom isometric road, complemented by floating 3D numbers that add depth and interest to your presentation.
By the end of this article, you’ll know how to build this engaging visual from scratch, apply smooth animations, and even learn about extending the design with interactive slide zooms. Whether you’re a PowerPoint beginner or looking to refine your design skills, this tutorial will guide you through the process with clear instructions and helpful tips.
Table of Contents
- Getting Started: Setting Up Your Slide
- Creating the Isometric Roadmap
- Designing Colorful 3D Cubes
- Building 3D Floating Numbers
- Animating the Infographic Elements
- Adding the Moving Square Along the Road
- Extending the Design with Clickable Slide Zooms
- Frequently Asked Questions
- Conclusion
Getting Started: Setting Up Your Slide
Before diving into the actual design, it’s important to set up your PowerPoint slide correctly. Starting with a fresh canvas will help you build the infographic without distractions and ensure alignment and consistency throughout.
Step 1: Open a New Slide
Open PowerPoint and create a new blank slide with a white background. This clean slate will make it easier to work with shapes and colors.
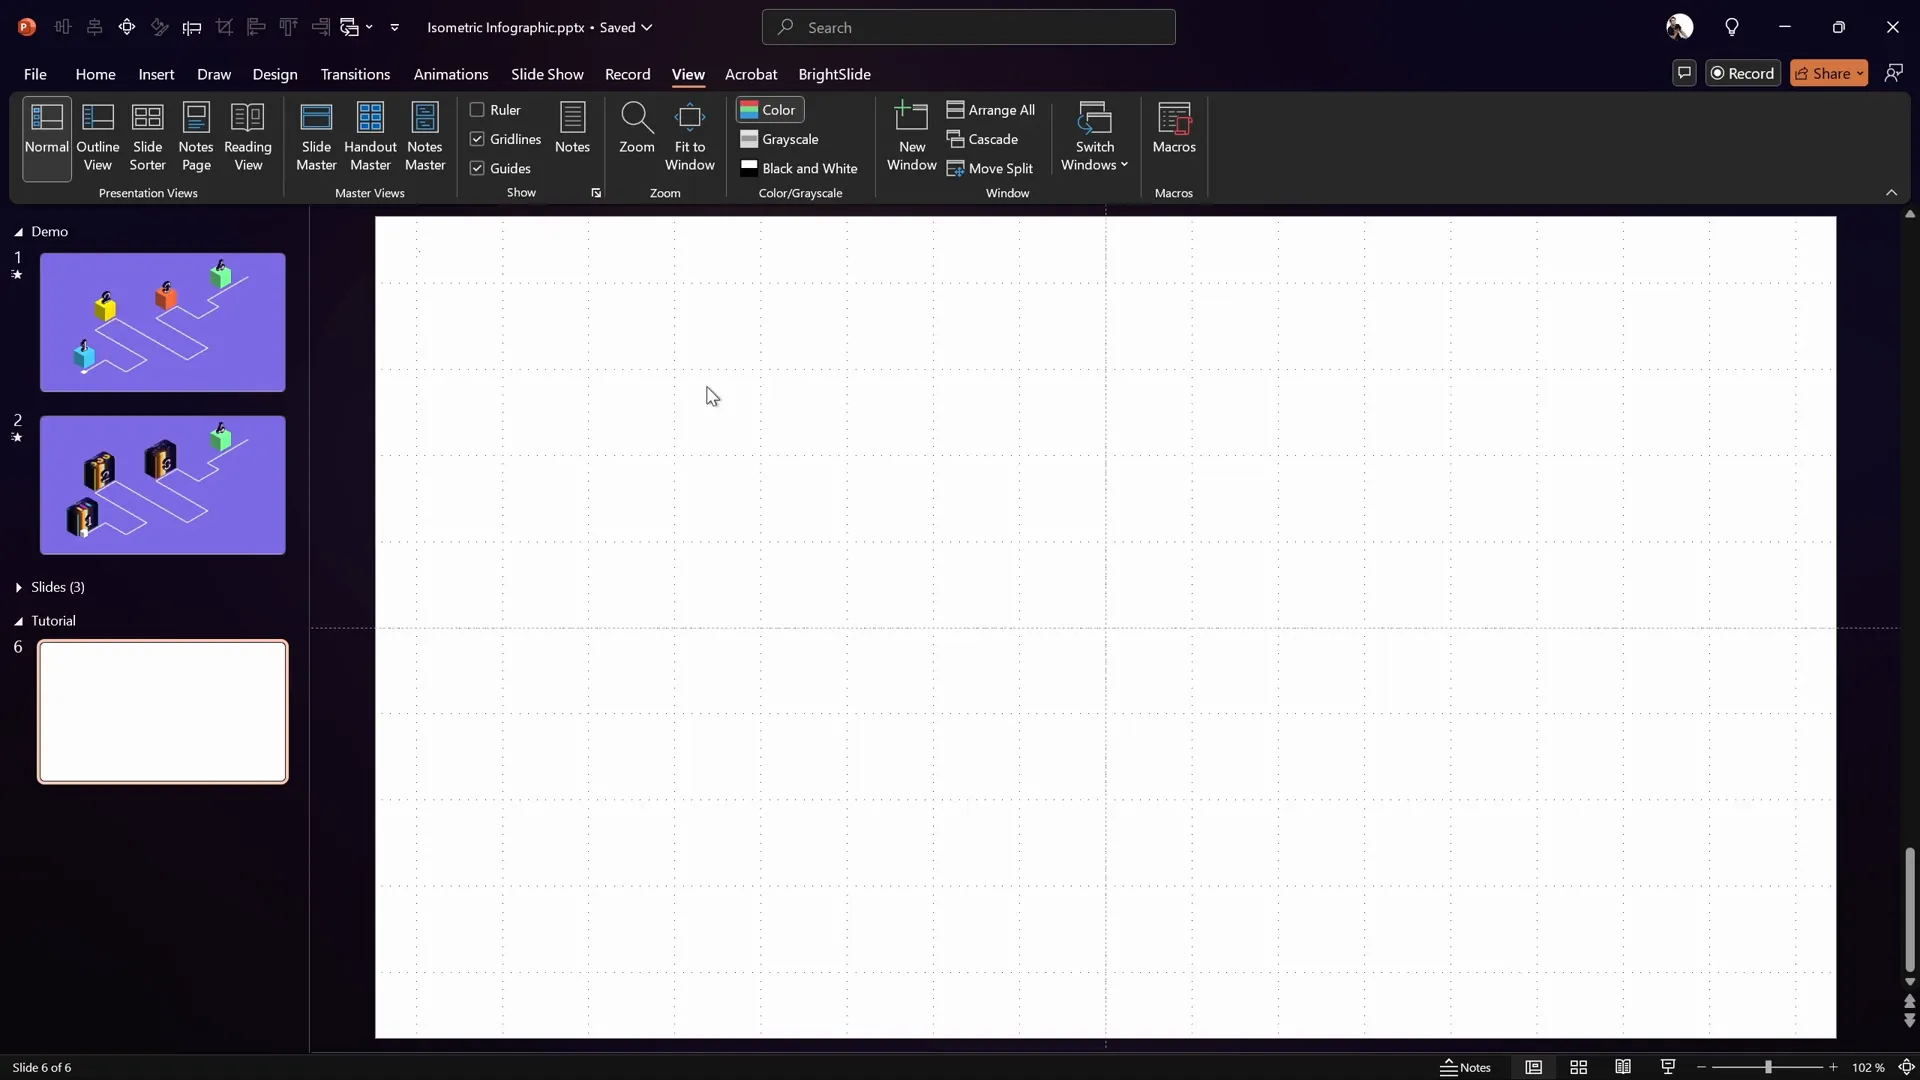
Step 2: Enable Guides and Gridlines
To maintain precision in your design, turn on both the guides and gridlines:
- Guides: These help you find the center and align objects symmetrically.
- Gridlines: These provide a visual grid to snap objects and draw shapes with accuracy.
Having these tools visible will help you create straight lines and evenly spaced elements, especially when working with isometric shapes.
Creating the Isometric Roadmap
The roadmap is the backbone of this infographic, designed with an isometric perspective to give it a modern and professional look. Here’s how you can create a custom isometric roadmap in PowerPoint:
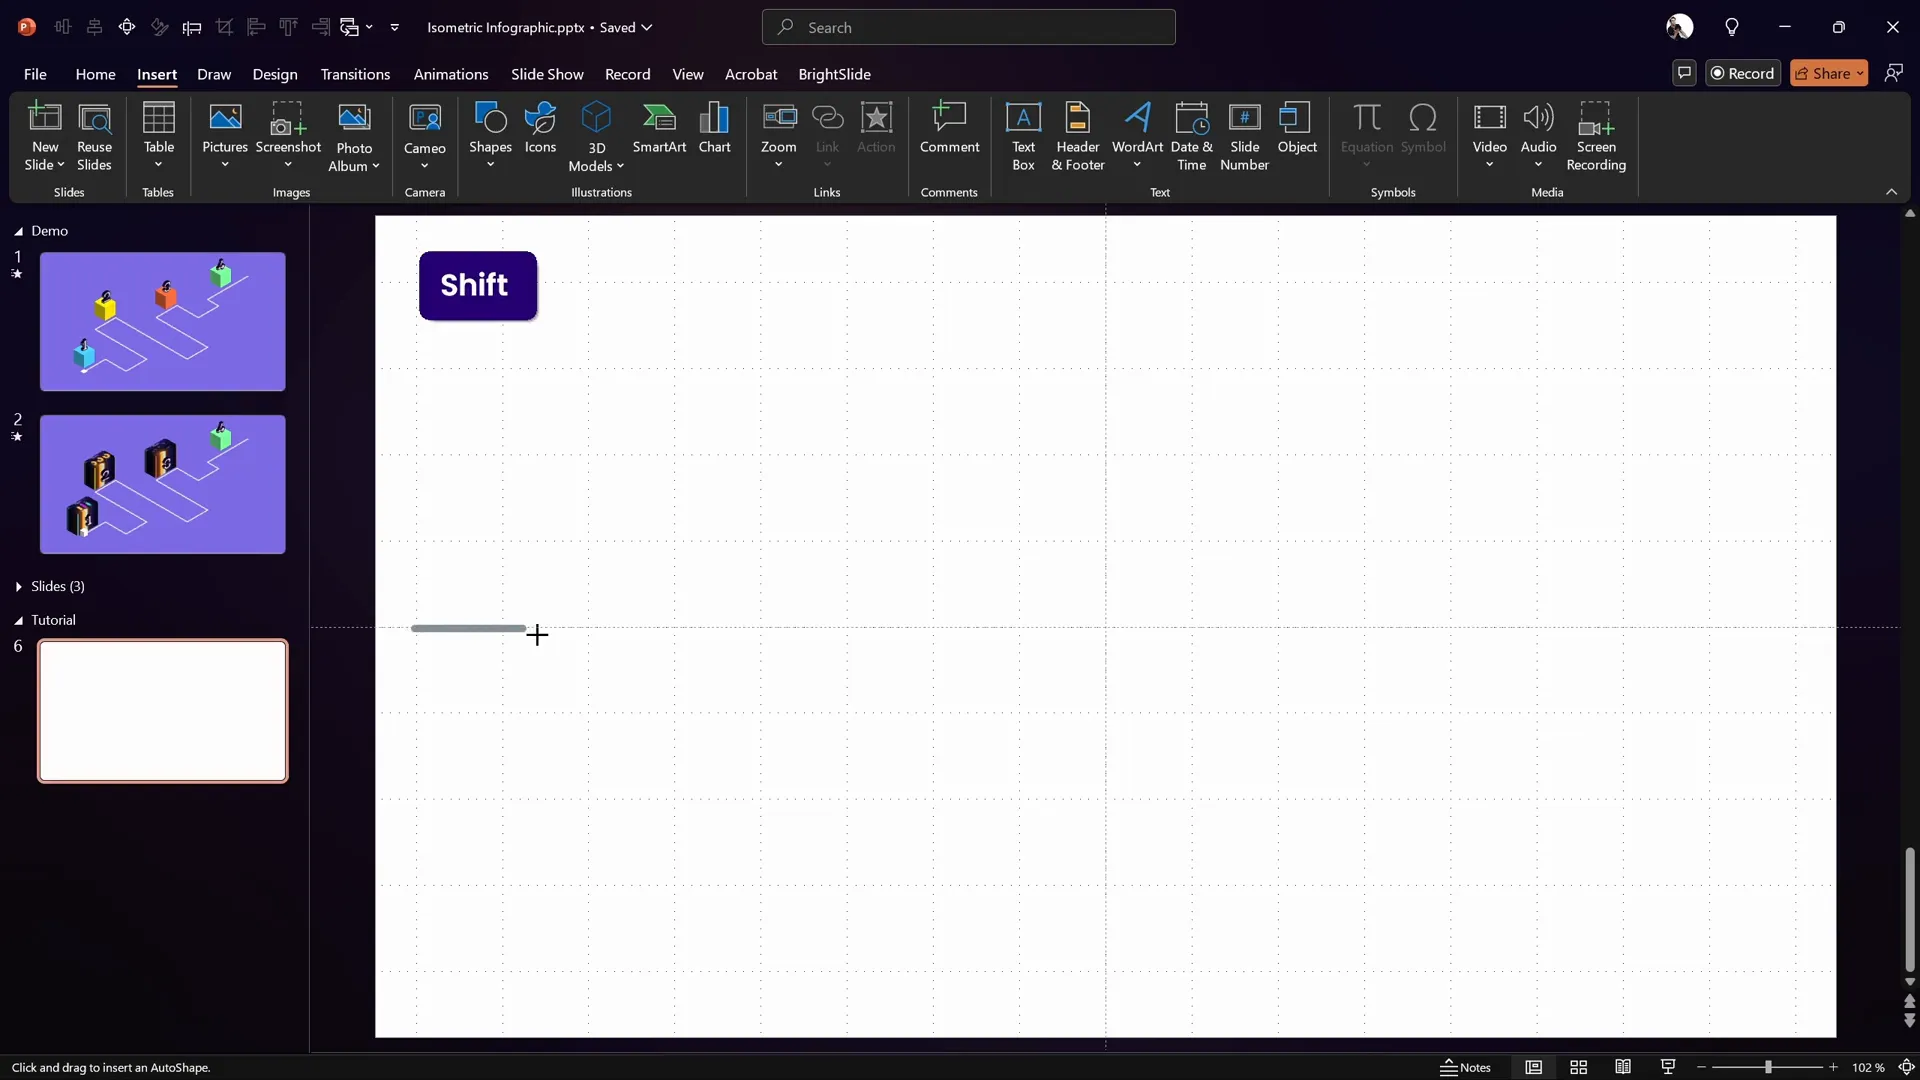
Step 1: Use the Freeform Shape Tool to Draw the Roadmap Path
- Go to the Insert tab and select the Shapes dropdown.
- Choose the Freeform Shape tool.
- Click once on the left side of your slide to start your roadmap.
- Hold down the Shift key to constrain your lines to horizontal or vertical directions, and create your roadmap path by clicking to add points.
- Follow a pattern like two squares right, two squares down, two squares right, and then five squares up to create interesting turns and segments.
- Double-click to finalize the shape.
Holding the Shift key is crucial because it ensures your lines stay perfectly straight, which is essential for the clean isometric look.
Step 2: Format the Roadmap
- Set the line width of your roadmap shape to 5 points for visibility.
- Change the line color to white to contrast beautifully against a darker background.
- Set the line joins and caps to round to soften the corners.
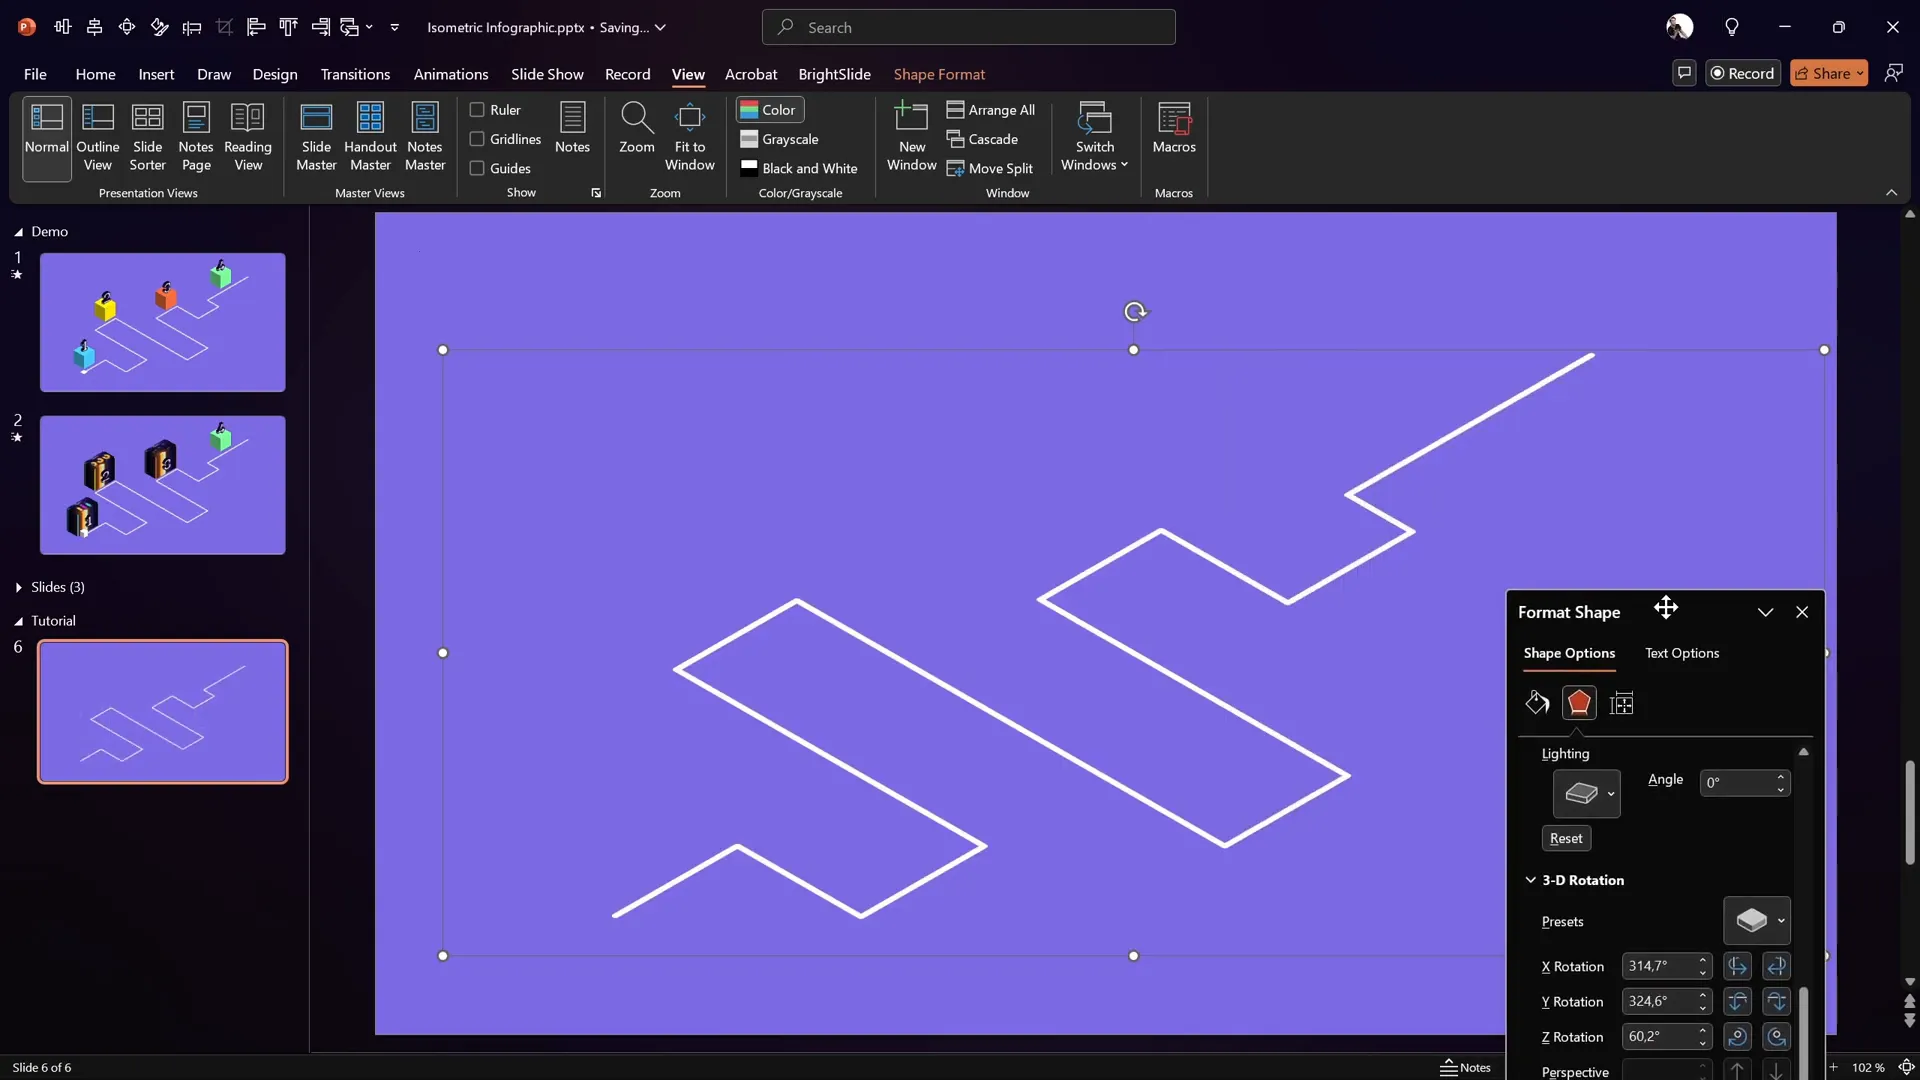
Step 3: Apply Isometric 3D Rotation
- Open the Format Shape pane.
- Navigate to the 3D Rotation options.
- Apply the preset called Isometric Top Up.
This instantly transforms your flat roadmap into an isometric perspective, giving it a professional 3D look.
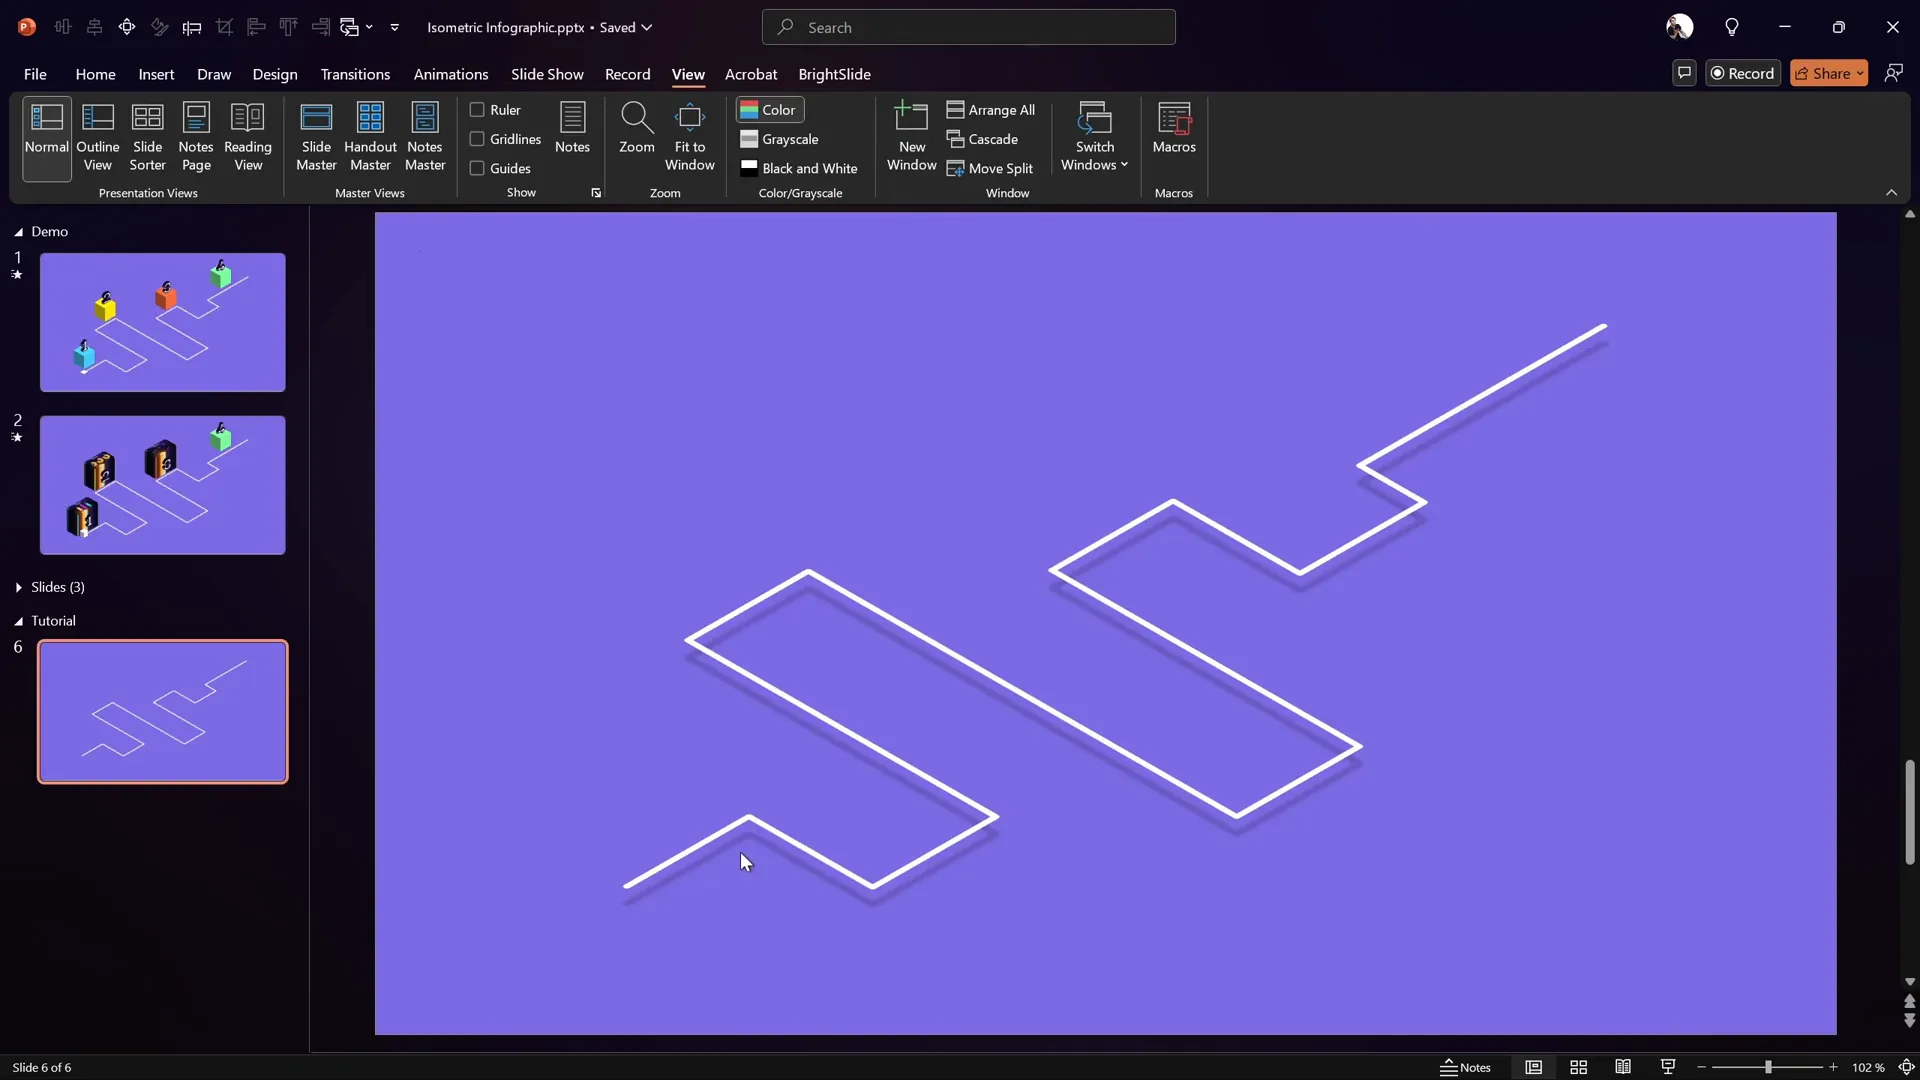
Step 4: Position and Style the Roadmap
- Move the roadmap to your desired position on the slide.
- Change the slide background color to a rich purple using the hex code #5A3E99 (or your preferred shade) to make the white roadmap pop.
- Add a subtle shadow below the roadmap for depth using these settings:
- Color: Black
- Transparency: 80%
- Blur: 5 points
- Angle: 135 degrees
- Distance: 20 points
Designing Colorful 3D Cubes
Adding colorful 3D cubes along the roadmap enhances visual interest and creates a playful yet professional infographic. Here’s how to create them:
Step 1: Insert a Perfect Square
- Insert a rectangle shape while holding down the Shift key to make a perfect square.
- Set the dimensions to 2 cm by 2 cm for consistency.
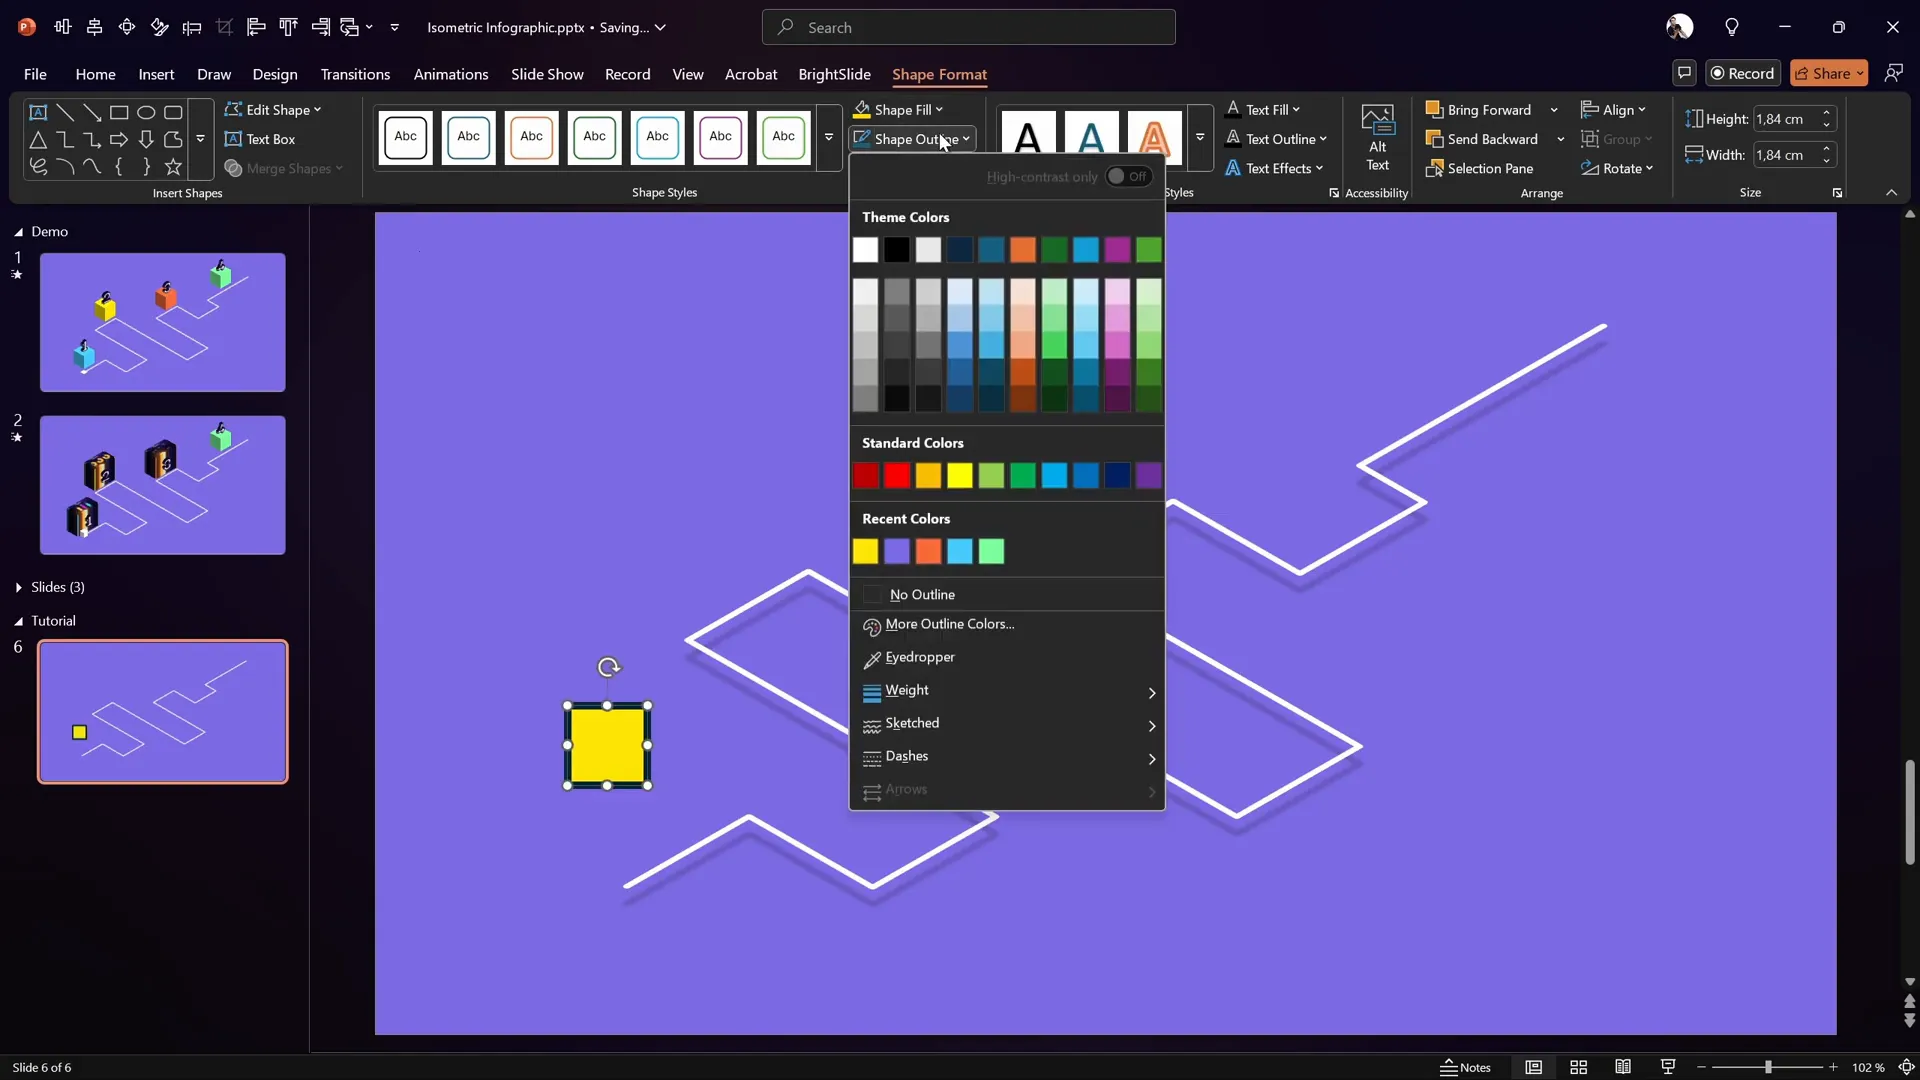
- Fill the square with a solid color (e.g., yellow) and remove the outline.
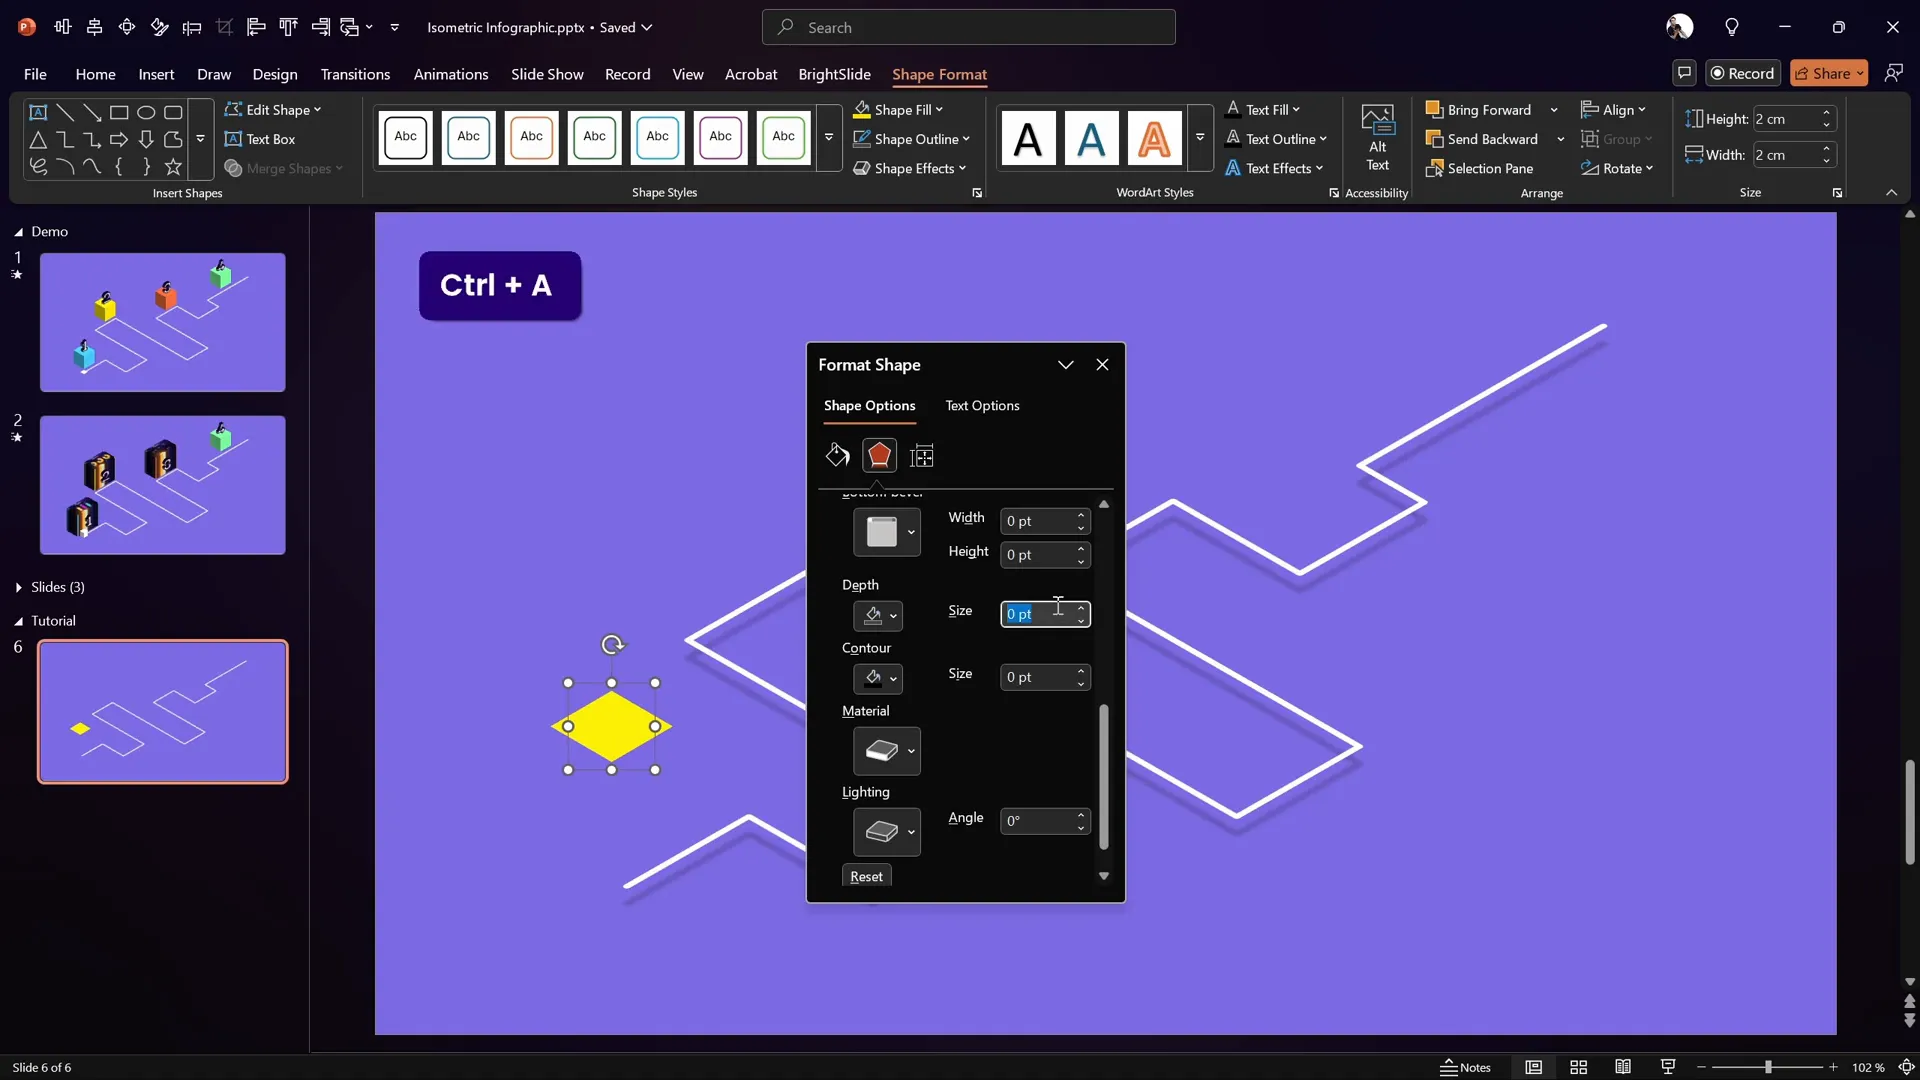
Step 2: Apply Isometric 3D Rotation and Depth
- Apply the Isometric Top Up 3D rotation preset to the square.
- Under 3D formatting, add depth by setting it to 60 points.
This converts your flat square into a 3D cube.
Step 3: Duplicate and Color the Cubes
- Hold down the Ctrl key and drag to duplicate the cube multiple times.
- Change the fill colors of each cube to create a vibrant palette. For example:
- Light blue
- Orange
- Bright green
Step 4: Add Shadows and Arrange Layers
- Select all cubes and add a shadow consistent with the roadmap’s shadow:
- Black color
- 80% transparency
- 5 points blur
- 135 degrees angle
- 20 points distance
- Send the cubes to the back so the roadmap line remains visible on top.
Building 3D Floating Numbers
Floating numbers add dynamic information points to your infographic. They appear to hover in the air above the cubes, enhancing the 3D effect.
Step 1: Insert and Format the Number
- Insert a text box and type the number 1.
- Use a clean, modern font such as Darker Grotesque at a large size (e.g., 80 pt).
- Open the Format Shape pane and add a thin black outline to the text (0.75 pt width).
Step 2: Apply Isometric Rotation and Depth
- Apply the Isometric Right Up 3D rotation preset to the text box.
- Add a depth of 10 points to give the text a subtle 3D look.

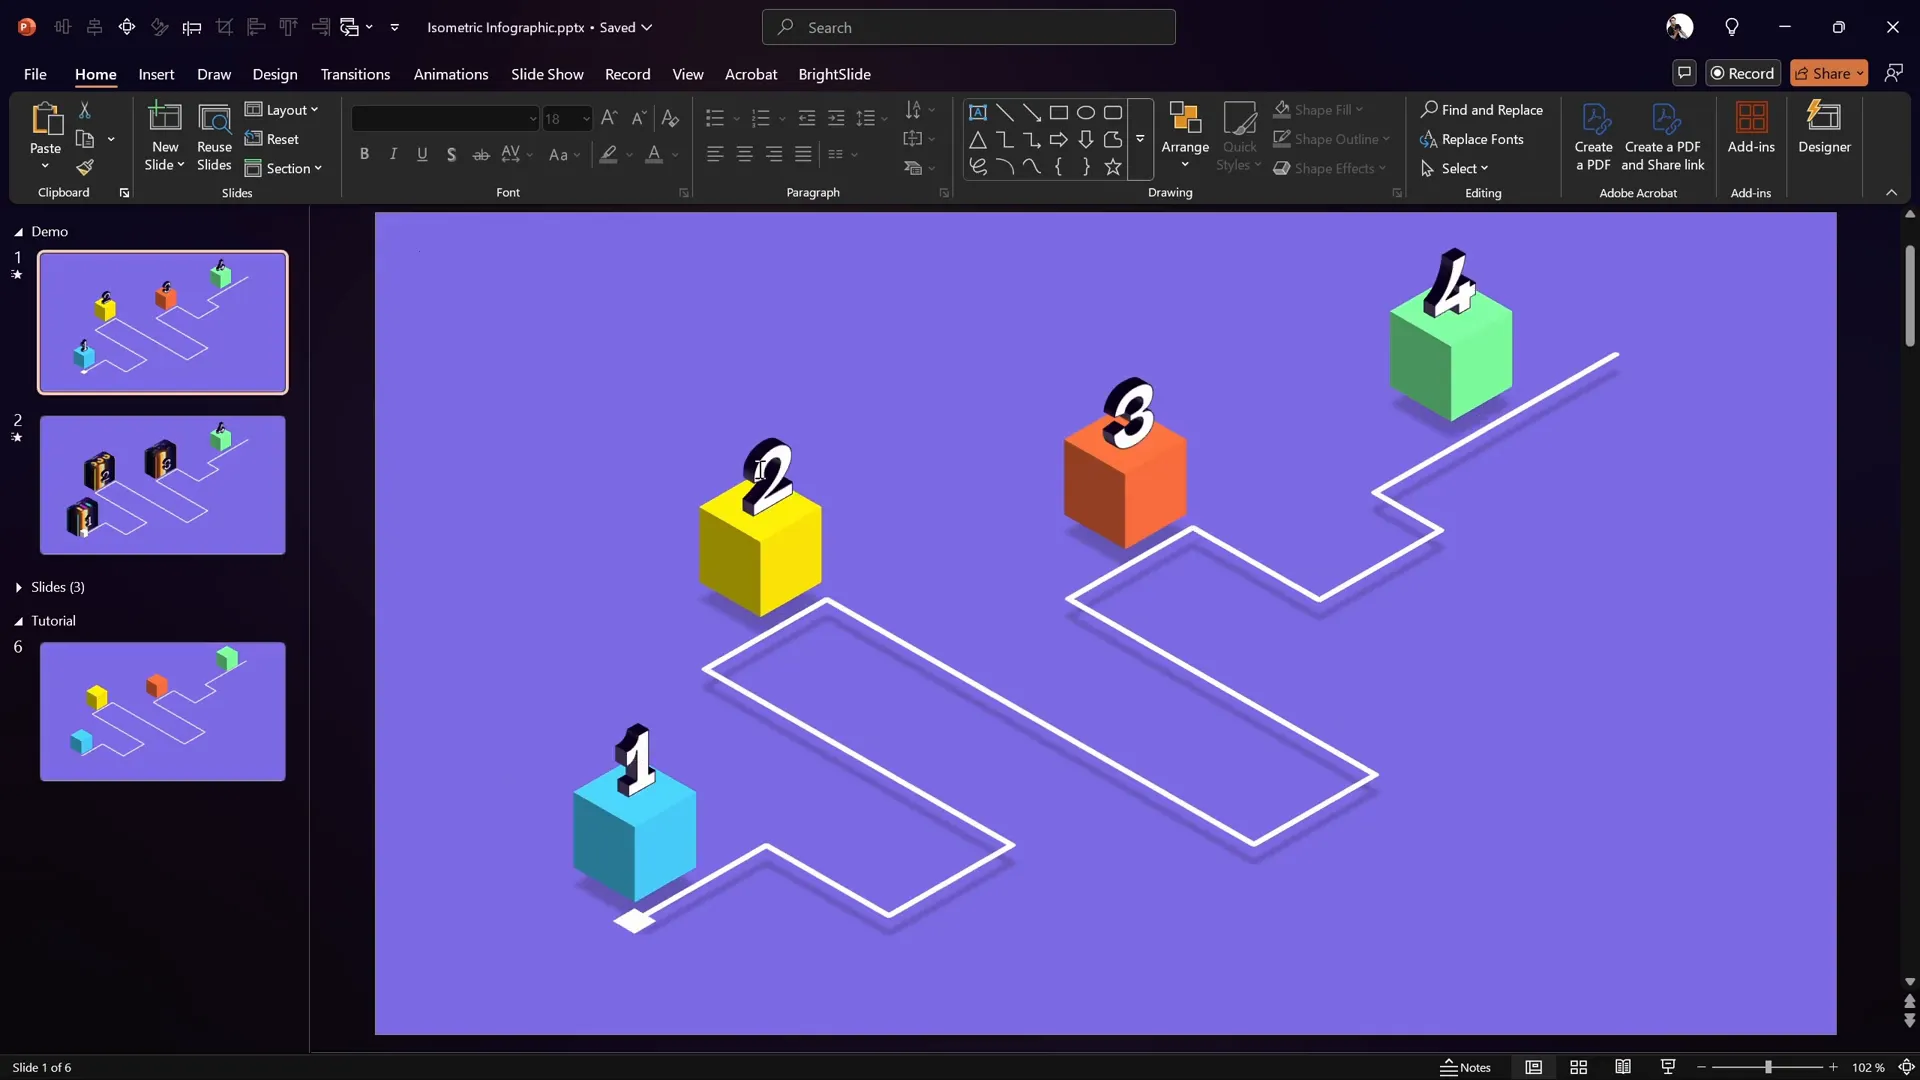
Step 3: Position and Duplicate the Numbers
- Place the number on top of the first cube.
- Duplicate the text box to create additional numbers, then update their values accordingly (e.g., 2, 3, 4).
Animating the Infographic Elements
Animations bring the infographic to life by making the numbers float and the square move along the roadmap. Here’s how to add smooth animations:
Animating the Floating Numbers
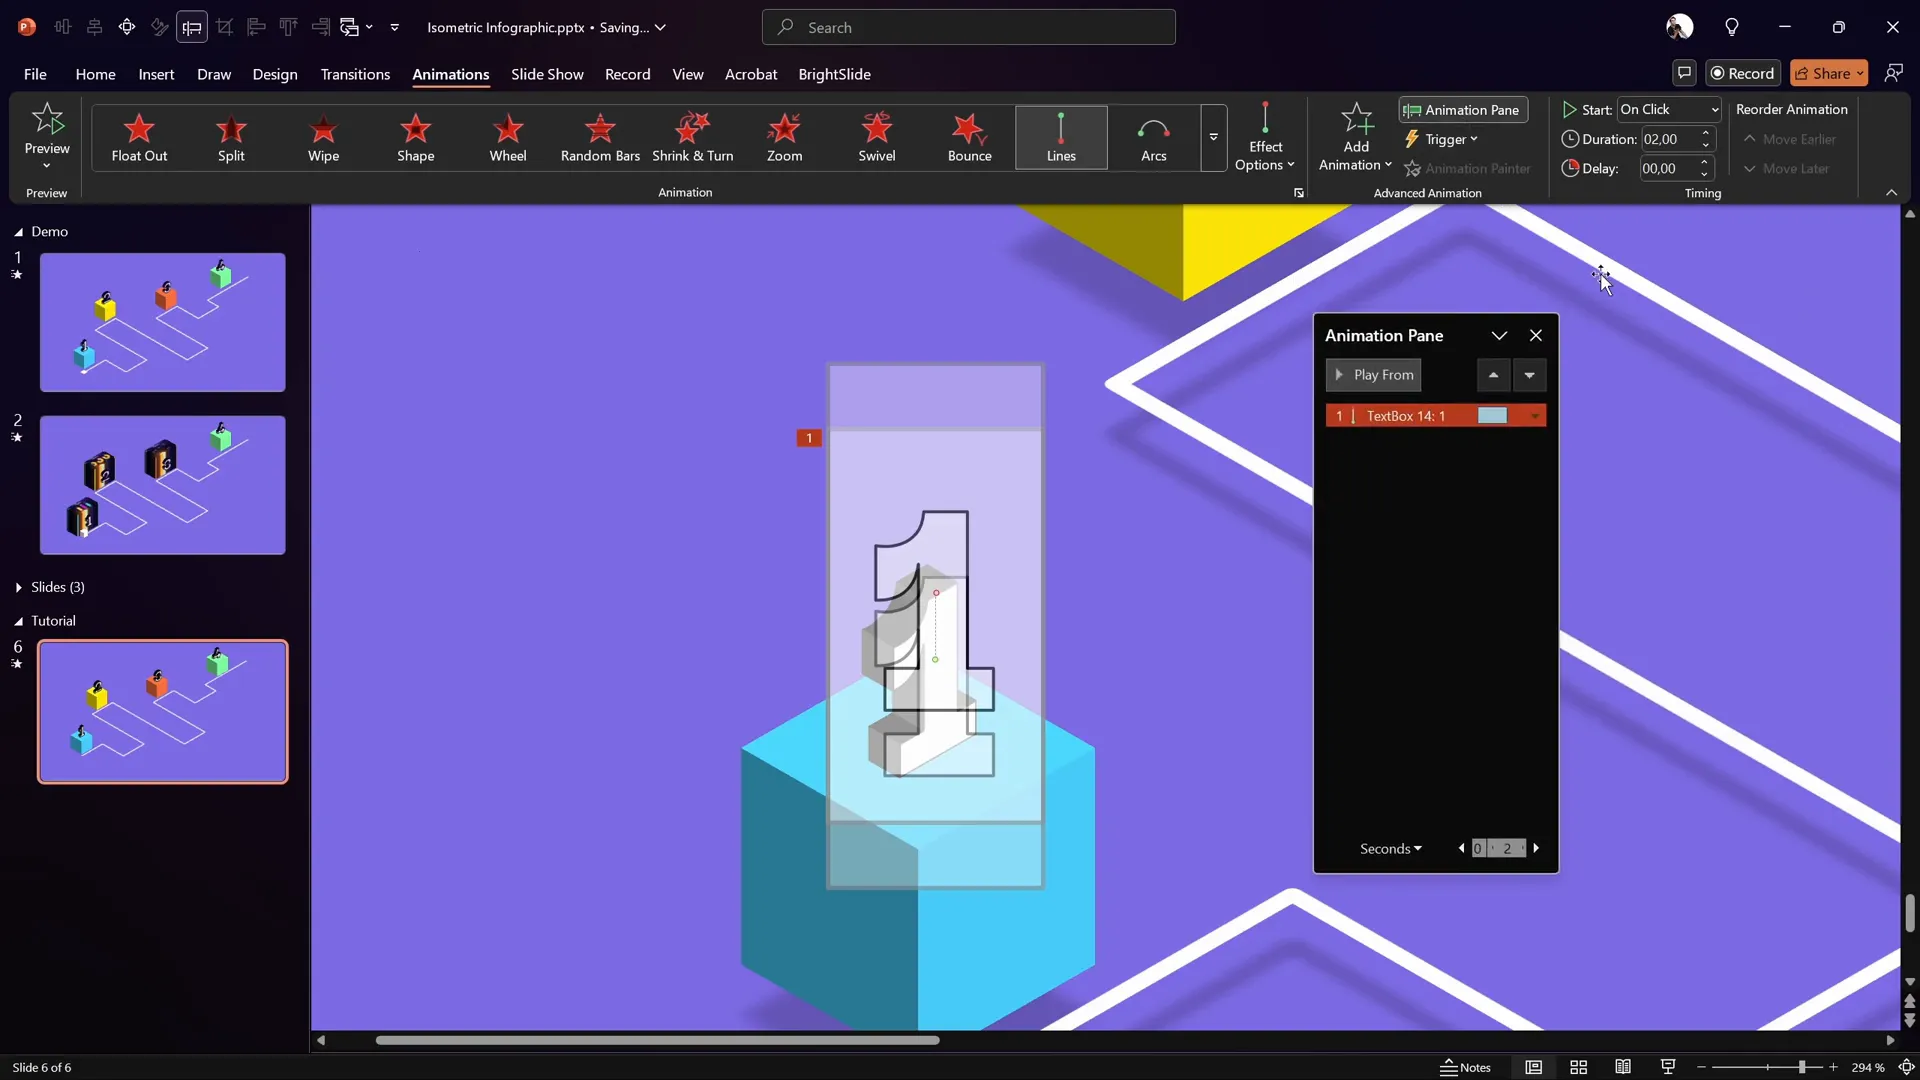
- Select the first number text box.
- Go to the Animations tab and choose the Motion Path – Line animation.
- Set the direction to Up.
- Adjust the motion path length by dragging the red endpoint to reduce the vertical travel distance for a subtle floating effect.
- Open the Animation Pane and set the duration to 1 second.
- Set the animation to Start With Previous.
- In the animation options, enable Smooth Start, Smooth End, and Auto Reverse.
- Set the animation to Repeat Until End of Slide.
- Use the Animation Painter to copy this animation to all other number text boxes.
Adding a Fade Transition to the Slide
To keep the presentation smooth, add a Fade transition to the slide. This helps the animations blend naturally during slide changes.
Adding the Moving Square Along the Road
This little square moves along the roadmap path, visually guiding the viewer through the infographic’s flow.
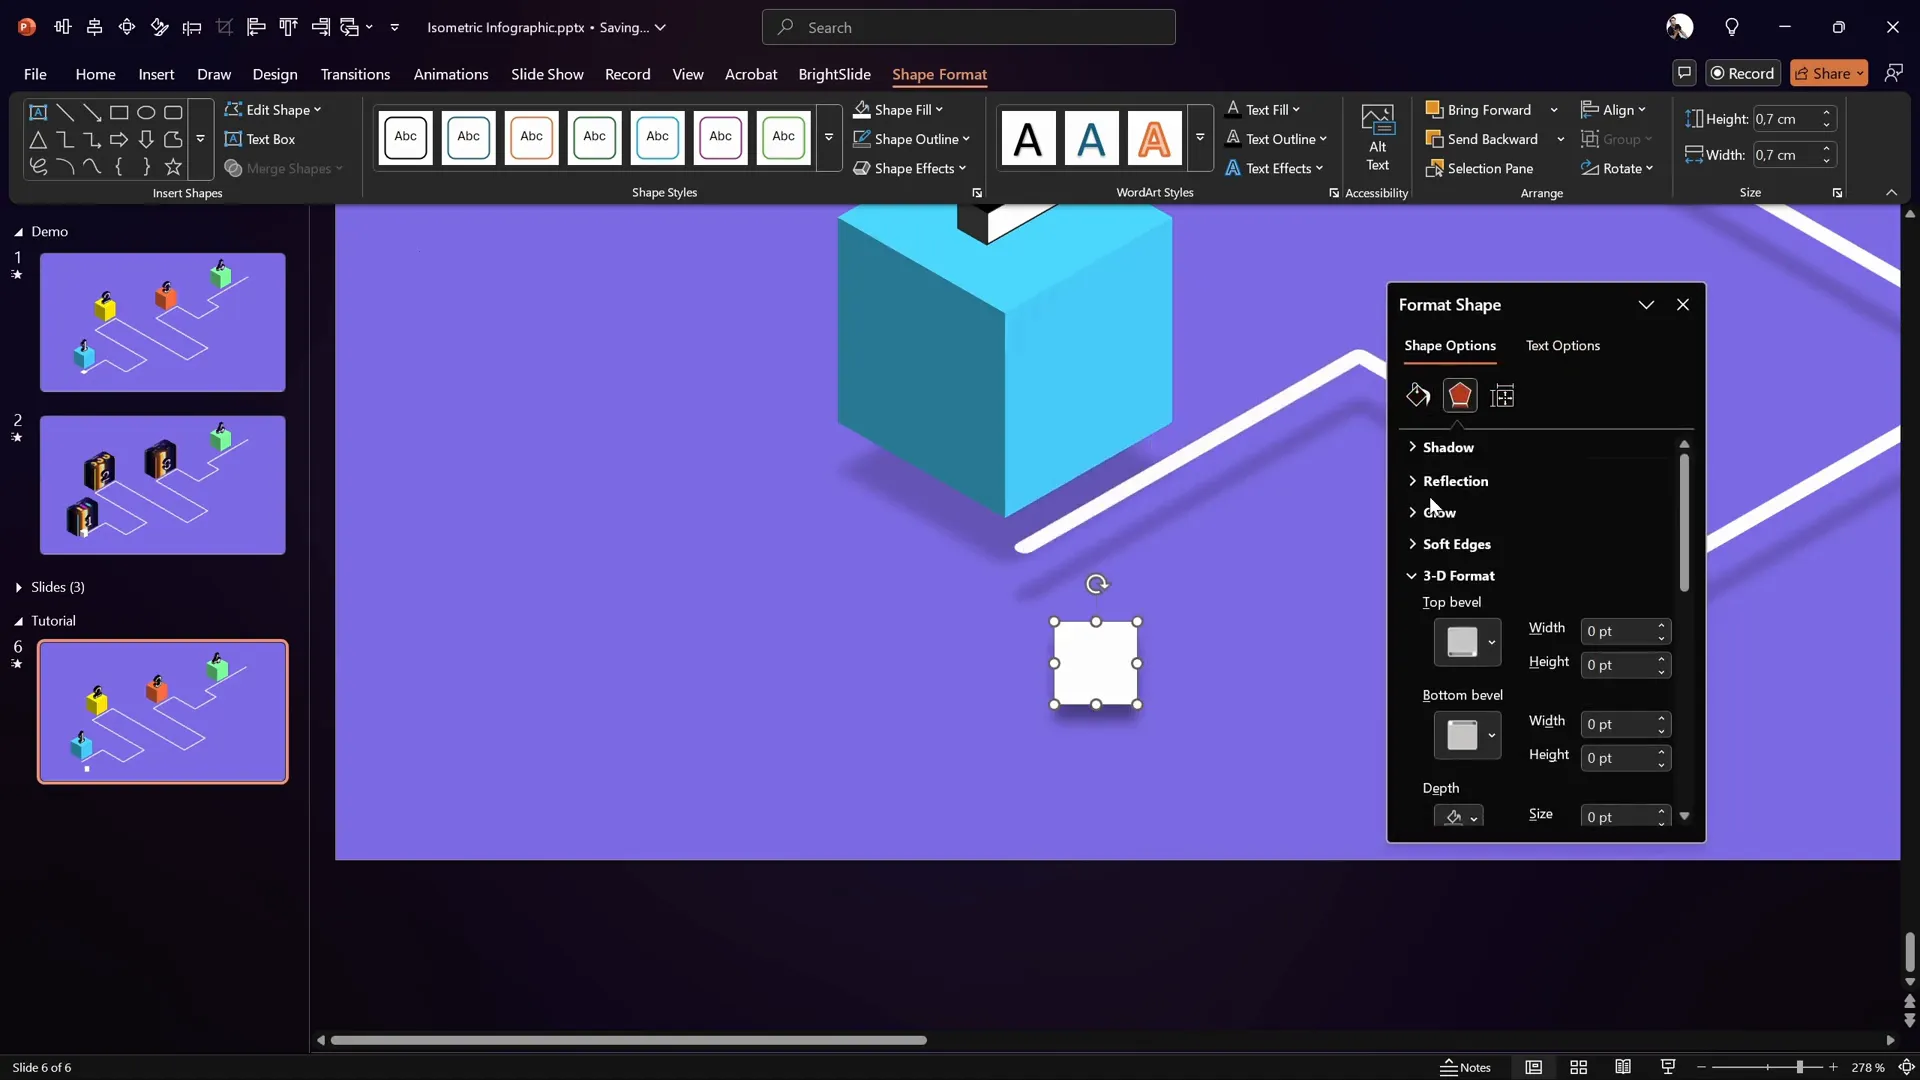
Step 1: Create the Moving Square
- Insert a small square by holding the Shift key while drawing to maintain perfect proportions.
- Set the size to 0.7 cm by 0.7 cm.
- Fill the square with white and remove the outline.
- Apply the Isometric Top Up 3D rotation preset.
- Remove any shadow effects from the square for a clean look.
- Position the square at the start of the roadmap.
- Bring the square to the front so it stays visible above other elements.
Step 2: Draw a Custom Motion Path
- Select the moving square.
- Go to the Animations tab and choose Add Animation > Custom Path.
- Click the center of the square to start the path.
- Click each corner along the roadmap path to trace it exactly.
- Double-click at the end of the roadmap to finalize the motion path.
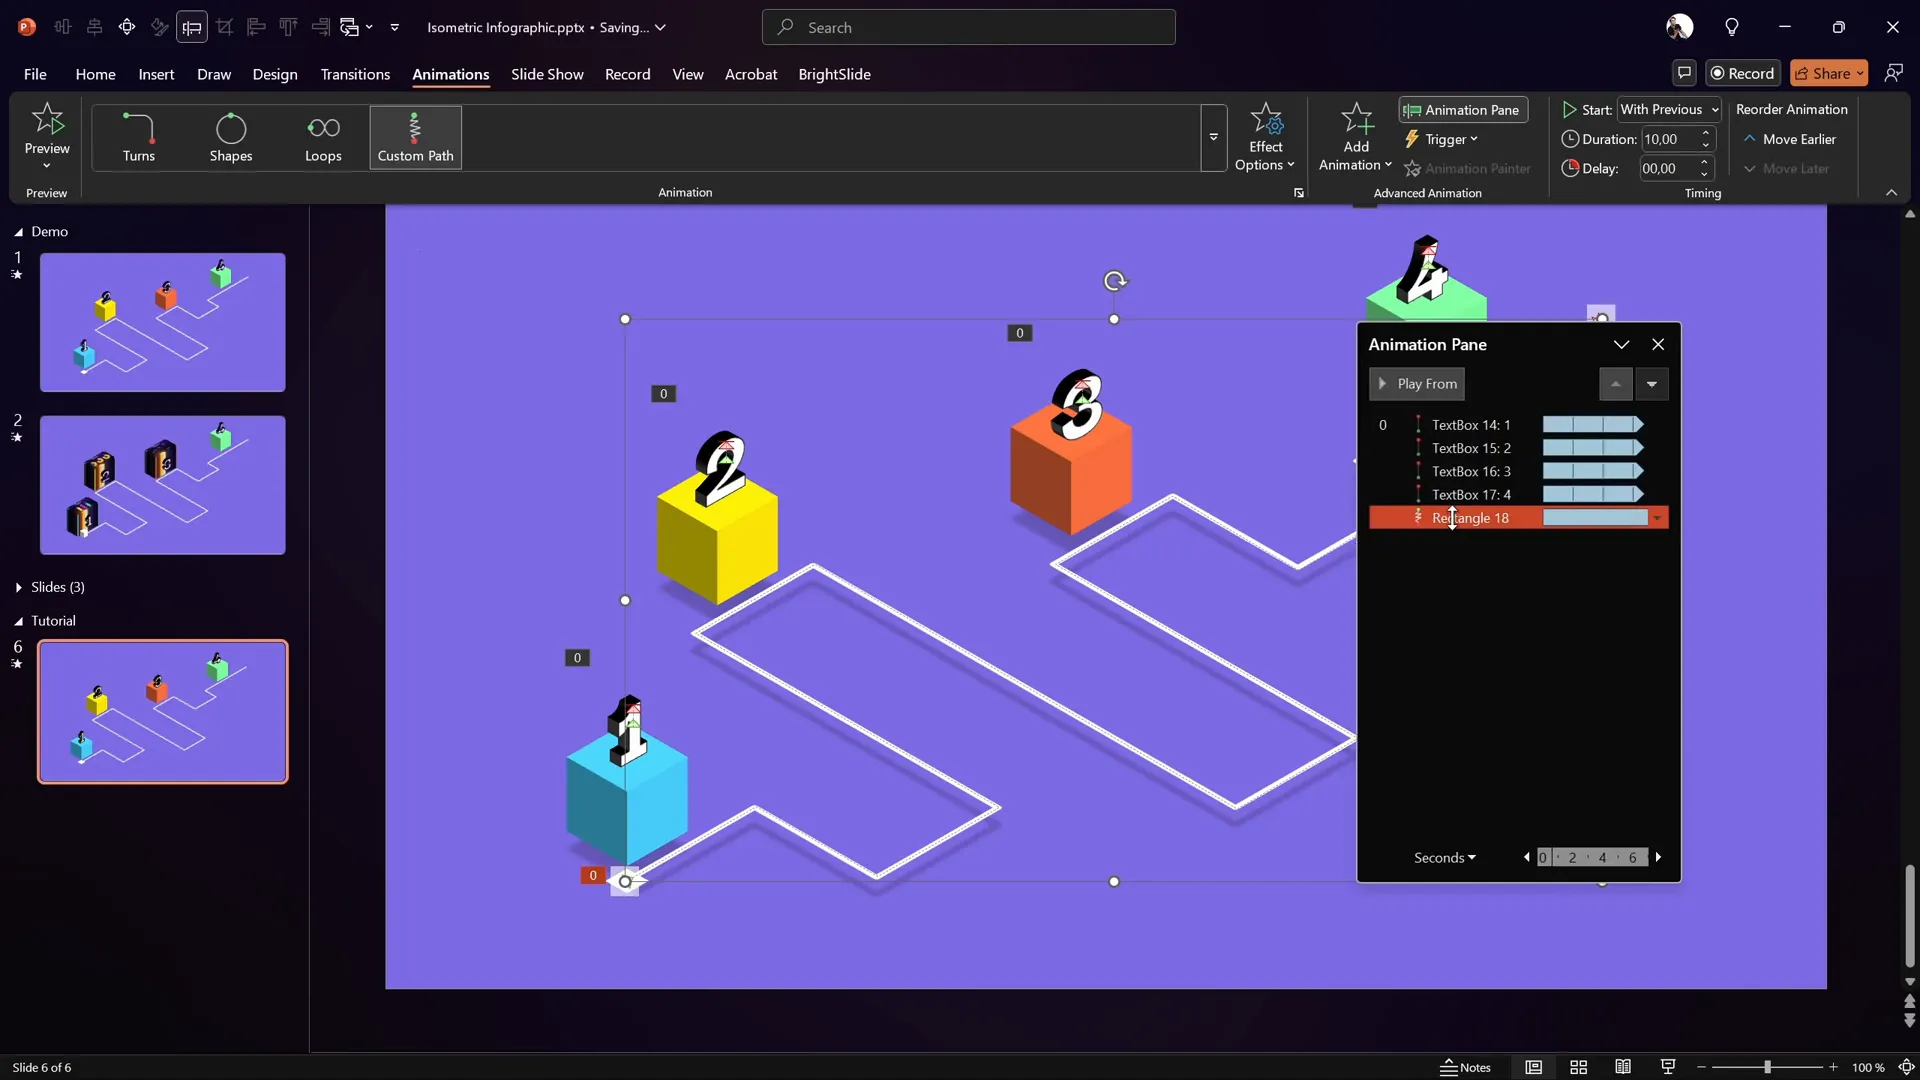
Step 3: Configure the Motion Animation
- In the Animation Pane, set the animation to Start With Previous.
- Set the duration to 10 seconds for a smooth, slow movement.
- Open the animation options and disable Smooth Start, Smooth End, and Auto Reverse.
- Set the animation to Repeat Until End of Slide for continuous looping.
Now, the square will travel along the roadmap continuously, reinforcing the flow and progression of your infographic.
Extending the Design with Clickable Slide Zooms
While this tutorial covers creating and animating a beautiful isometric roadmap infographic, you can take it even further by adding clickable slide zooms. These interactive areas allow viewers to dive deeper into specific parts of your presentation, making your infographic not only visually appealing but also highly functional.
This next-level feature is part of the extended lessons available at pptskill.com in the PowerPoint Animation Mastery course. There, you can learn how to implement clickable slide zooms on your isometric roadmap to create an engaging, interactive presentation experience.
Adding slide zooms is perfect for:
- Interactive business roadmaps
- Step-by-step process explanations
- Educational presentations with drill-down content
- Project timelines with clickable milestones
To explore this advanced technique, consider joining the course and accessing the downloadable tutorial slides.
Frequently Asked Questions
What is an isometric roadmap infographic?
An isometric roadmap infographic is a visual representation of a path or timeline created with an isometric perspective, giving it a three-dimensional appearance. It’s often used to illustrate processes, journeys, or plans in a clear and engaging way.
Can I create this infographic in older versions of PowerPoint?
While most features used in this tutorial, such as 3D rotation and custom motion paths, are available in recent versions of PowerPoint (2016 and later), some older versions may lack these tools. It’s recommended to use a modern version of PowerPoint to achieve the best results.
How can I customize the colors and fonts?
You can customize colors and fonts to match your brand or presentation theme by selecting shapes and text boxes and using the Format tab. Choose colors from the color picker or enter hex codes for precise shades. For fonts, select from the font dropdown and adjust sizes to fit your design.
Is it possible to add clickable links to this infographic?
Yes! You can add clickable links or slide zooms to different parts of the infographic to make it interactive. This allows you to link to other slides or external resources, enhancing navigation and viewer engagement.
Can I download the slides used in this tutorial?
Yes, the tutorial slides are available for download at pptskill.com, along with extended lessons on how to add more advanced features like clickable slide zooms.
Conclusion
Creating a modern, animated isometric roadmap infographic in PowerPoint is a fantastic way to boost the visual impact of your presentations. By following this step-by-step tutorial, you can design a clean, colorful roadmap with 3D cubes and floating numbers, then bring it all to life with smooth animations.
This design not only looks professional but also helps communicate complex information in an engaging and easy-to-follow format. Plus, with the possibility of adding interactive slide zooms, you can turn your infographic into a powerful navigation tool within your presentation.
Remember, the key to success is attention to detail — from aligning shapes with guides and gridlines to applying consistent shadows and rotations — all contribute to a polished final product.
Ready to take your PowerPoint skills to the next level? Check out the extended lessons and downloadable slides at pptskill.com and start creating stunning presentations that captivate your audience.
Happy designing!


