
If you want to impress your audience with a visually stunning and realistic page flip animation, you’re in the right place. Creating a cool slide animation like this in PowerPoint might sound complicated, but with the right techniques, you can achieve it quickly and efficiently. In this detailed tutorial, we’ll walk through every step to design a beautiful, realistic page flip animation using PowerPoint’s Morph transition and 3D rotation features.
This guide will be especially useful for PowerPoint enthusiasts, educators, marketers, and presenters who want to add a professional touch to their slides. Plus, we’ll share tips on how to integrate text and images on the flipping pages, making your presentations even more engaging.
Table of Contents
- Getting Started: Setting up Your Presentation
- Choosing and Preparing the Background
- Preparing the Book Image for Animation
- Cutting Out Pages for the Flip Effect
- Grouping and Naming Your Objects
- Applying 3D Rotation and Morph Transition
- Final Assembly of the Animation
- Adding Text and Images to Flipping Pages
- Frequently Asked Questions
- Conclusion
Getting Started: Setting up Your Presentation
To create a cool slide animation of a realistic page flip, we begin with a fresh PowerPoint presentation.
- Open PowerPoint and start a new blank presentation.
- Switch to a blank slide layout without any text placeholders to give yourself a clean canvas.

This blank setup ensures that your animation will be the focus without any distractions from default placeholders or text boxes.
Choosing and Preparing the Background
A beautiful and fitting background sets the stage for your page flip effect. In this tutorial, a wooden texture background is used for a warm, natural look.
- Download a high-quality wooden texture image from a free resource like Freepik (link here).
- Copy the image directly from the website.
- Return to PowerPoint and paste the image using Ctrl + V.
- Resize the image to cover the entire slide by dragging its corners while holding Ctrl + Shift to resize from the center.
- Crop the image to a 16:9 aspect ratio for perfect slide coverage by selecting Crop → Aspect Ratio → 16:9.
- Adjust the brightness and contrast to make the background slightly darker and richer:
- Brightness: -10%
- Contrast: +10%
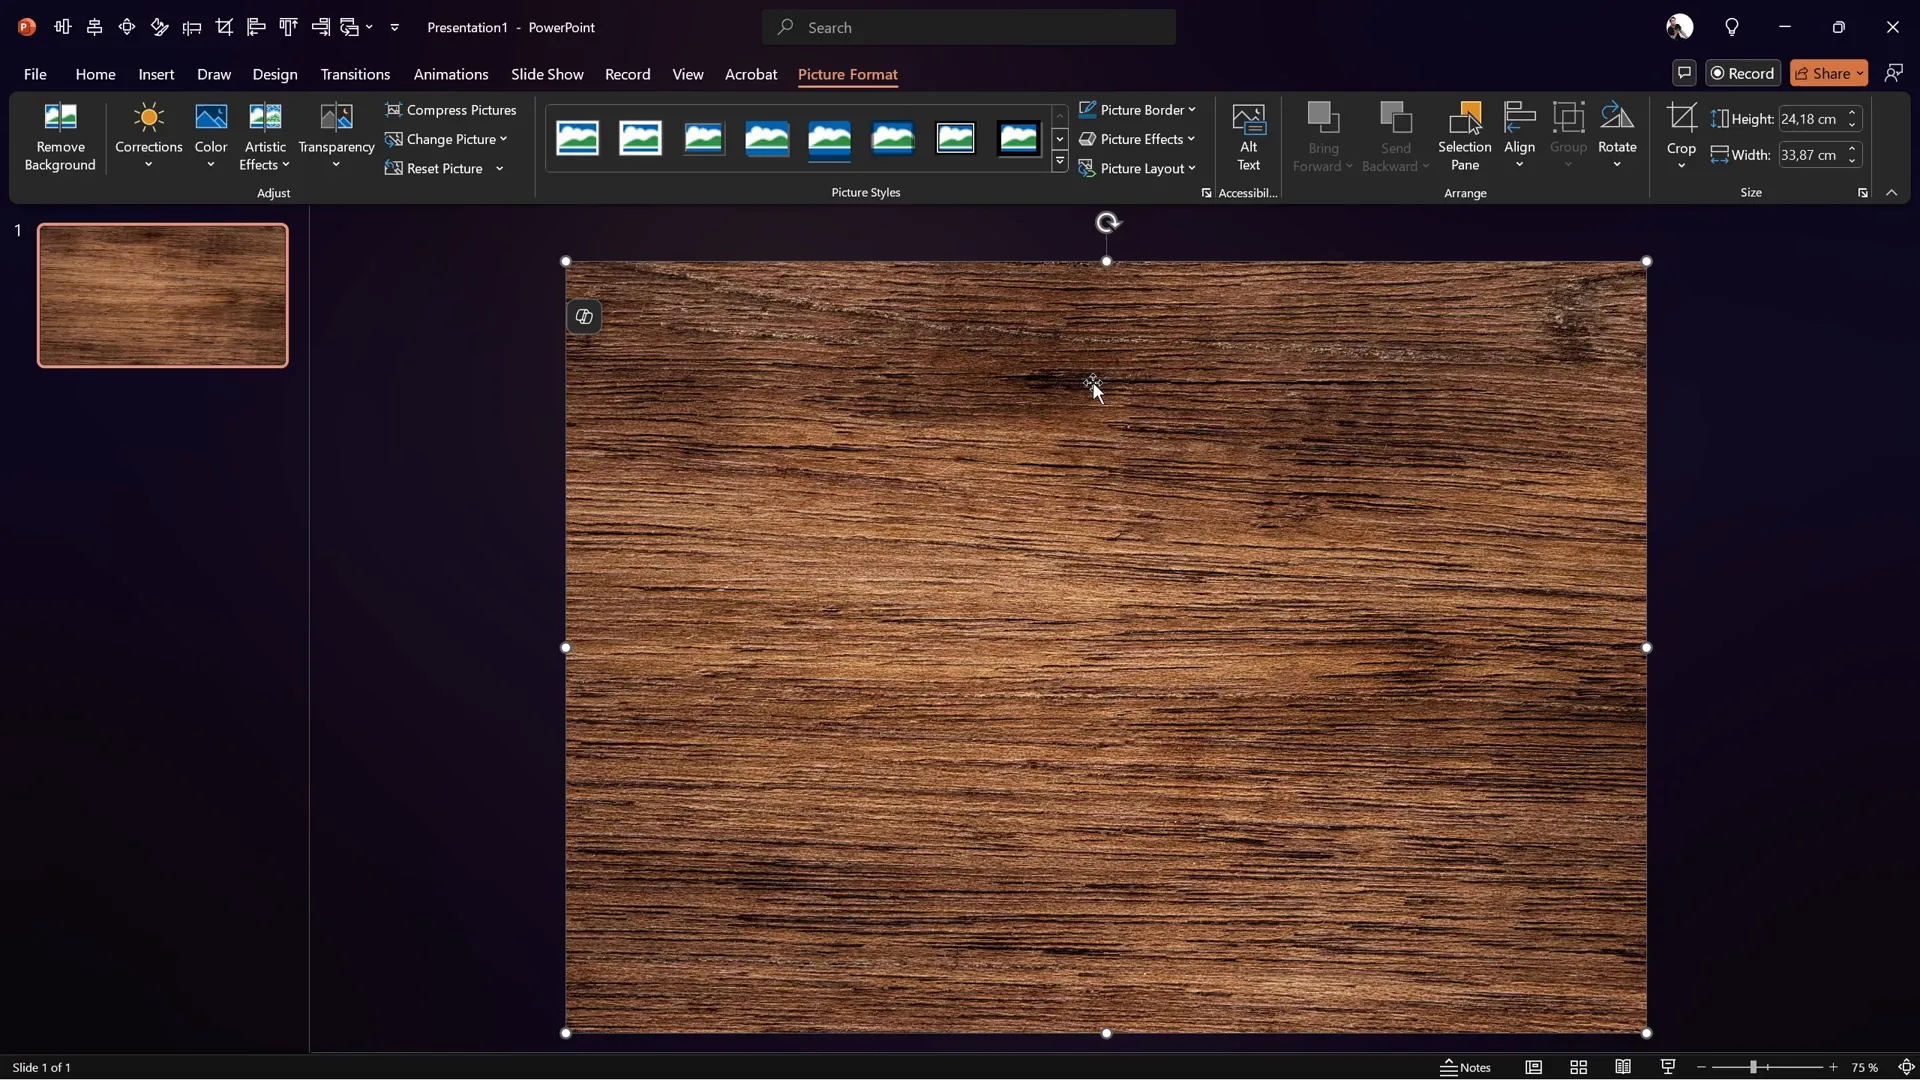
These adjustments create a subtle, elegant backdrop that makes the book image and animation stand out.
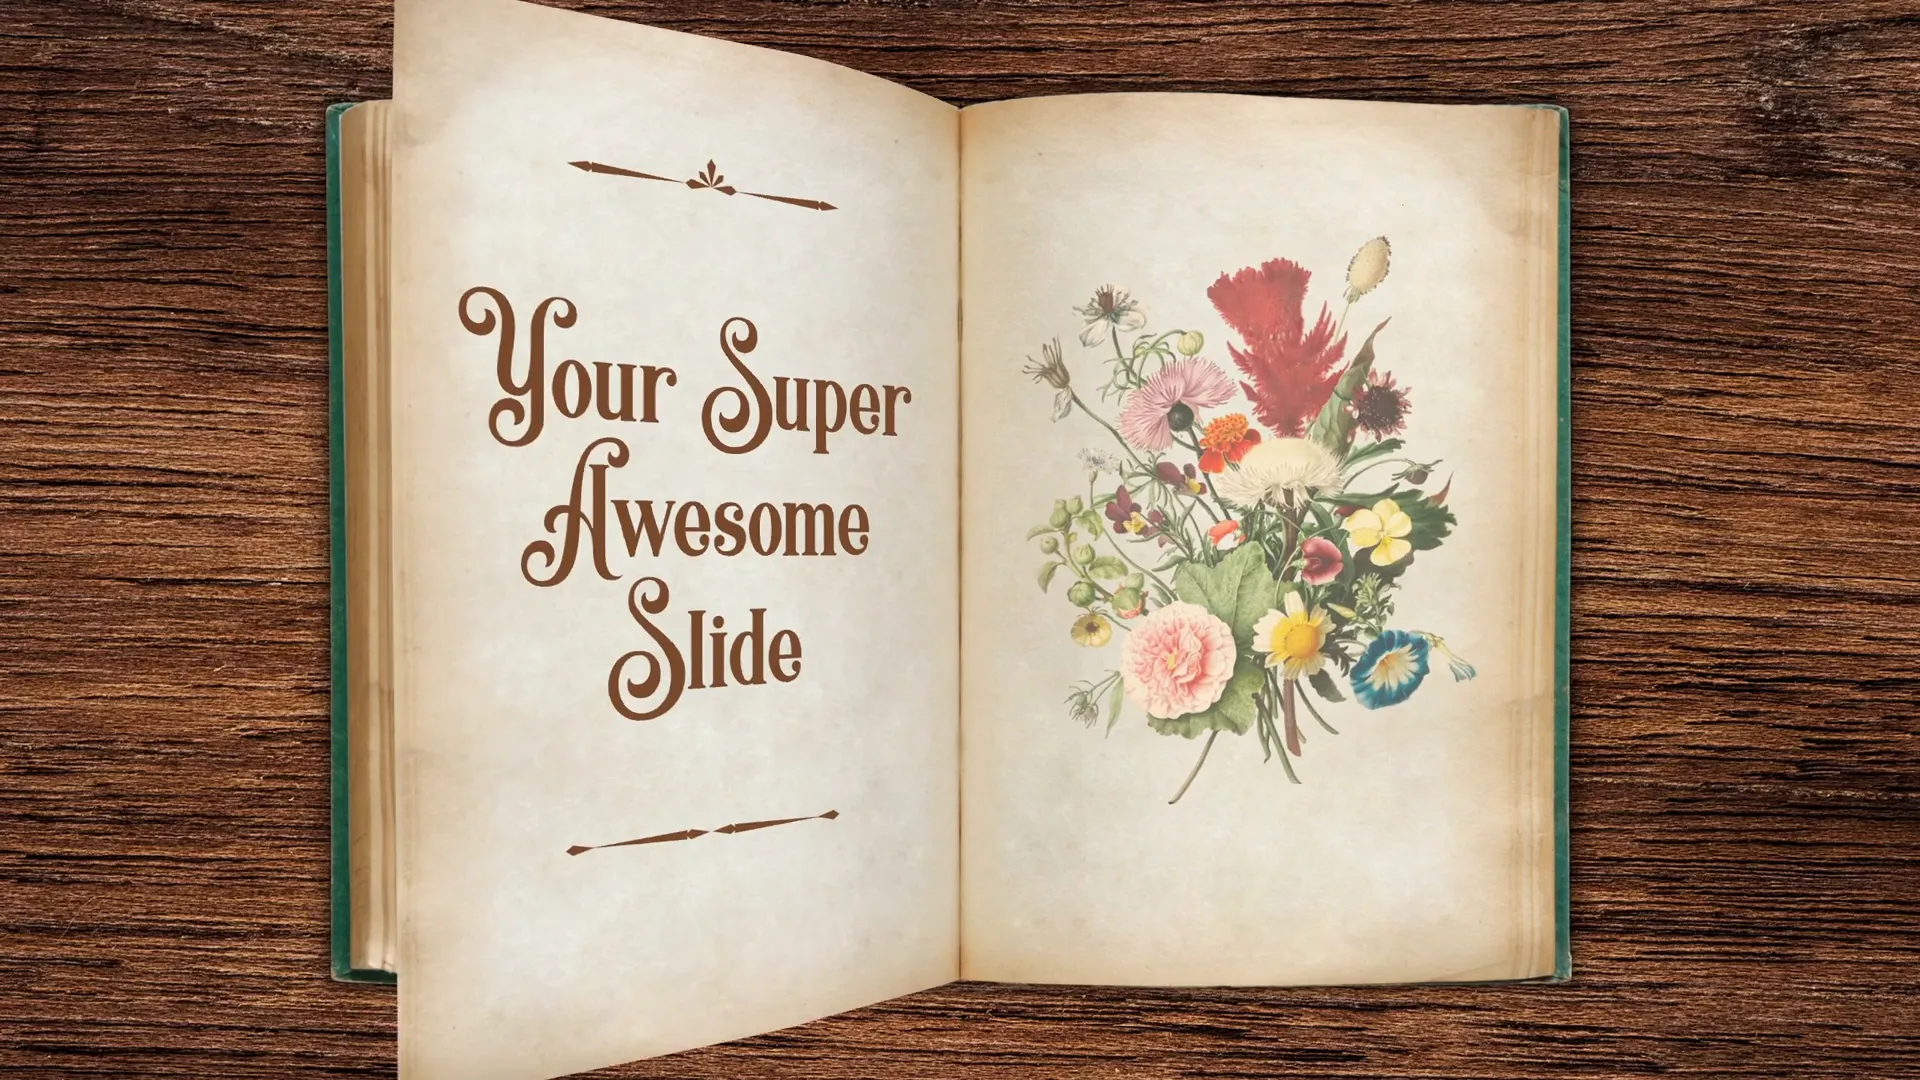
Preparing the Book Image for Animation
The core of the animation is a realistic book image. You’ll want to use a photo with a visible page division to simulate the flipping effect.
- Find a high-quality book photo with an open page view on Freepik (link here).
- Copy the image from the website.
- Use a free online photo editor like Photopea to remove the background:
- Paste the copied image directly into Photopea with Ctrl + V.
- Use rulers (Ctrl + R) and guides to align the image.
- Straighten the page division so it is perfectly vertical in the center by distorting the image horizontally while holding Ctrl + Shift.
- Remove the background using the Remove Background tool.
- Trim the image to cut off transparent edges.
- Export the image as a PNG file with a transparent background.
- Insert the edited book image back into PowerPoint.
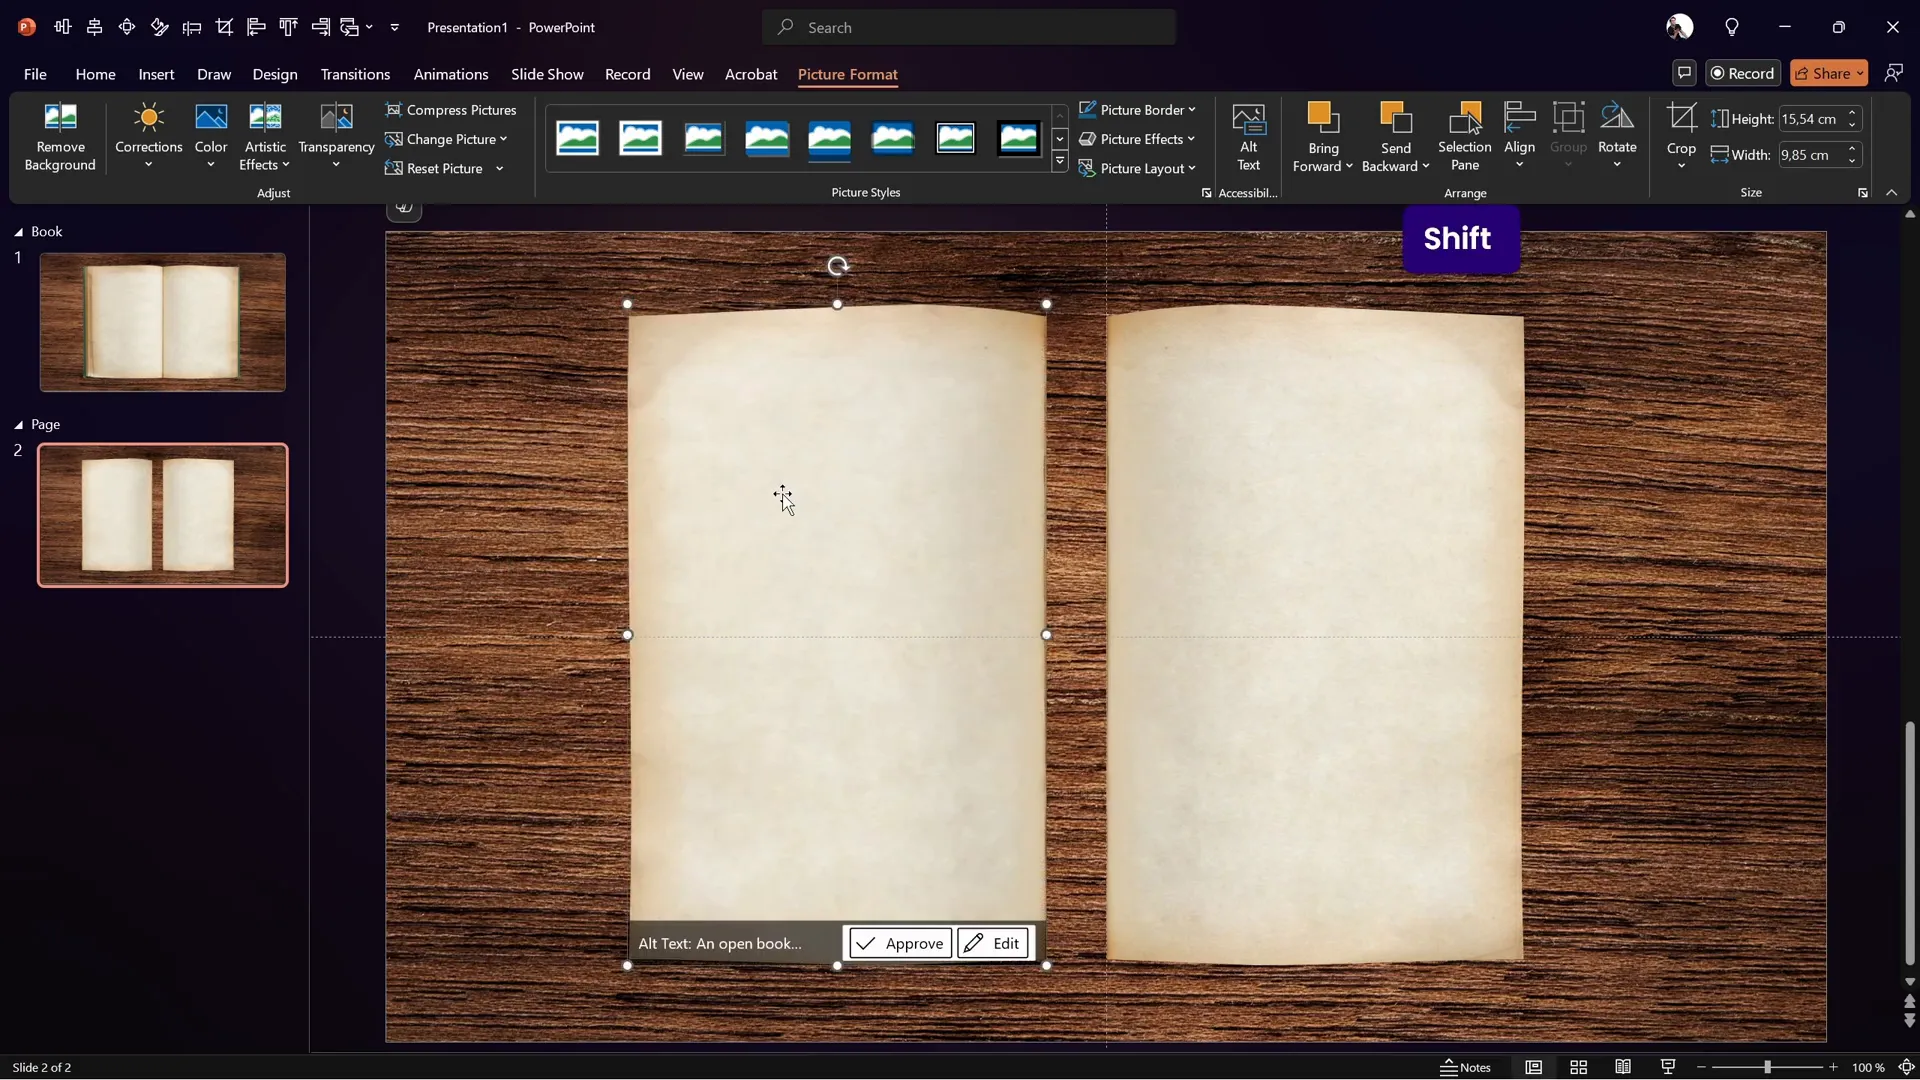
- Resize and position the book so the center page division aligns exactly with the slide center guide.

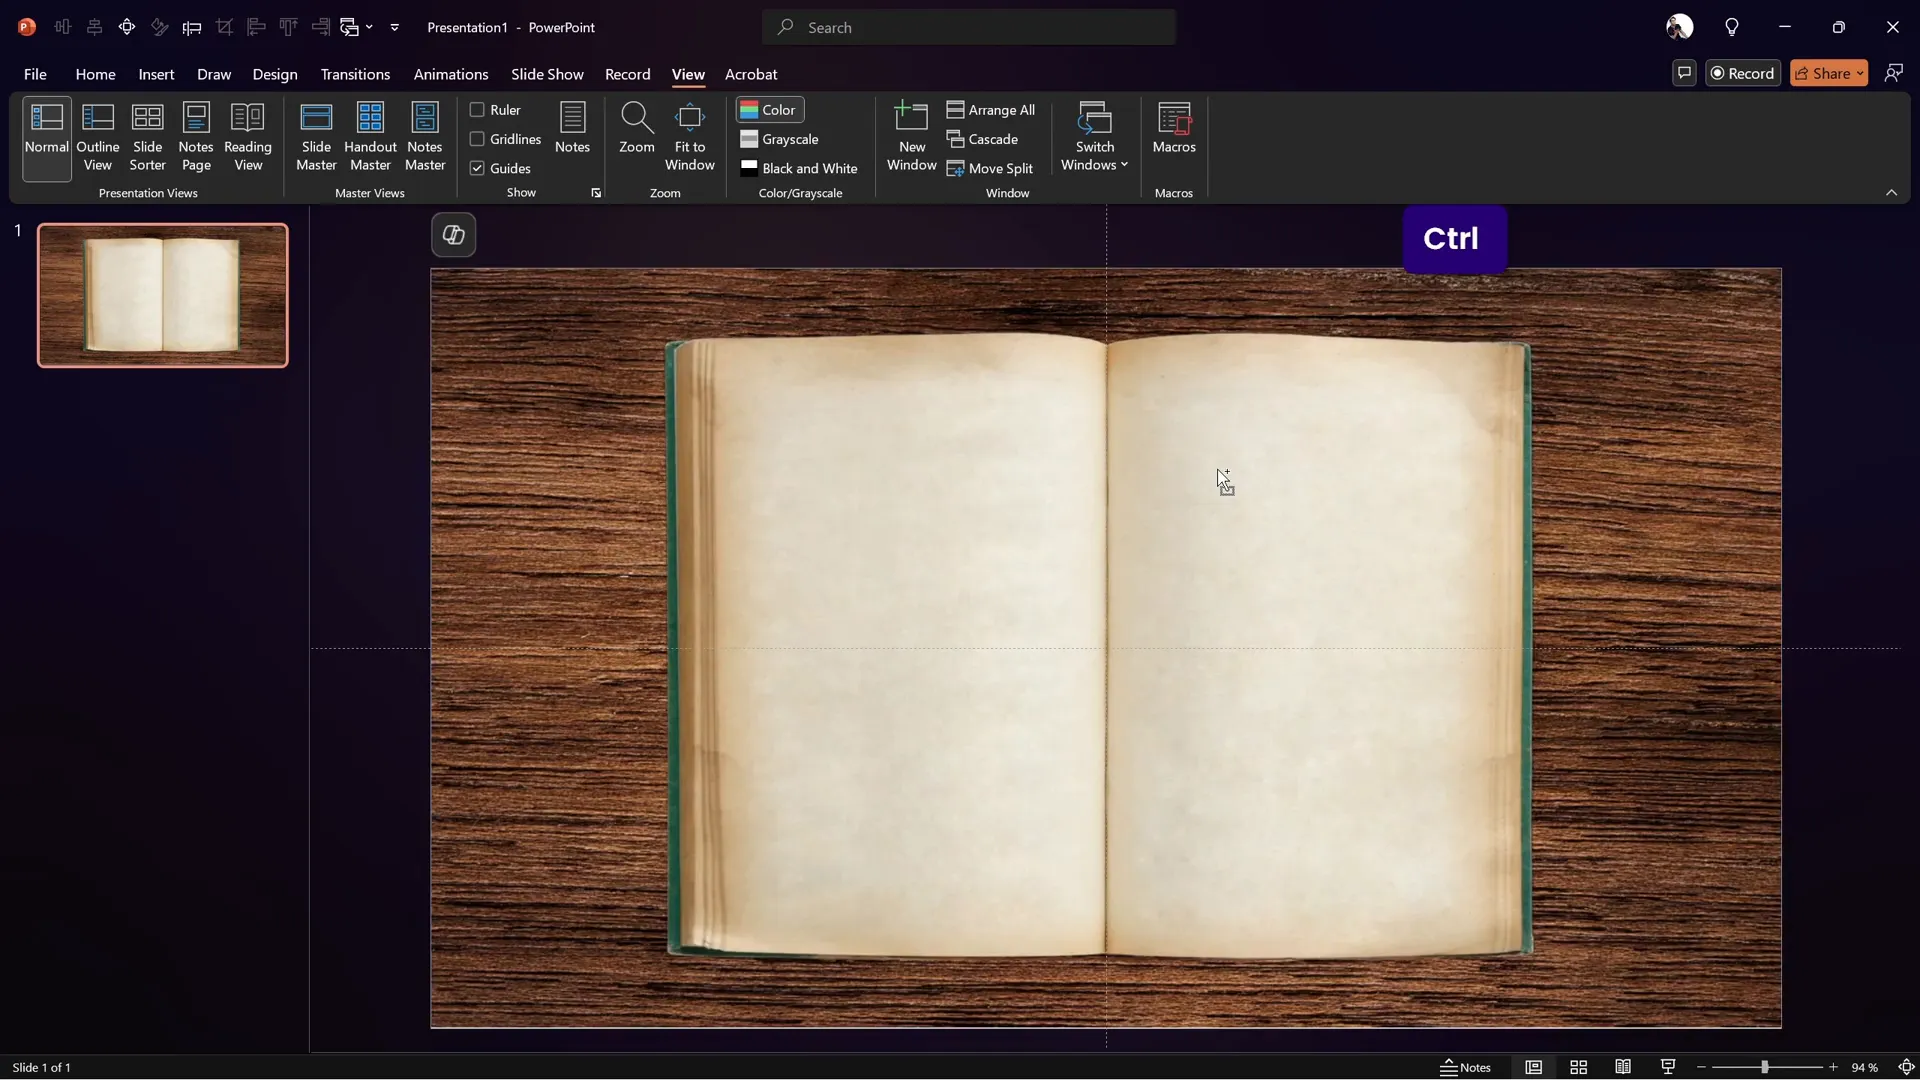
Having the page division aligned centrally is crucial for the flip animation to look natural and realistic.
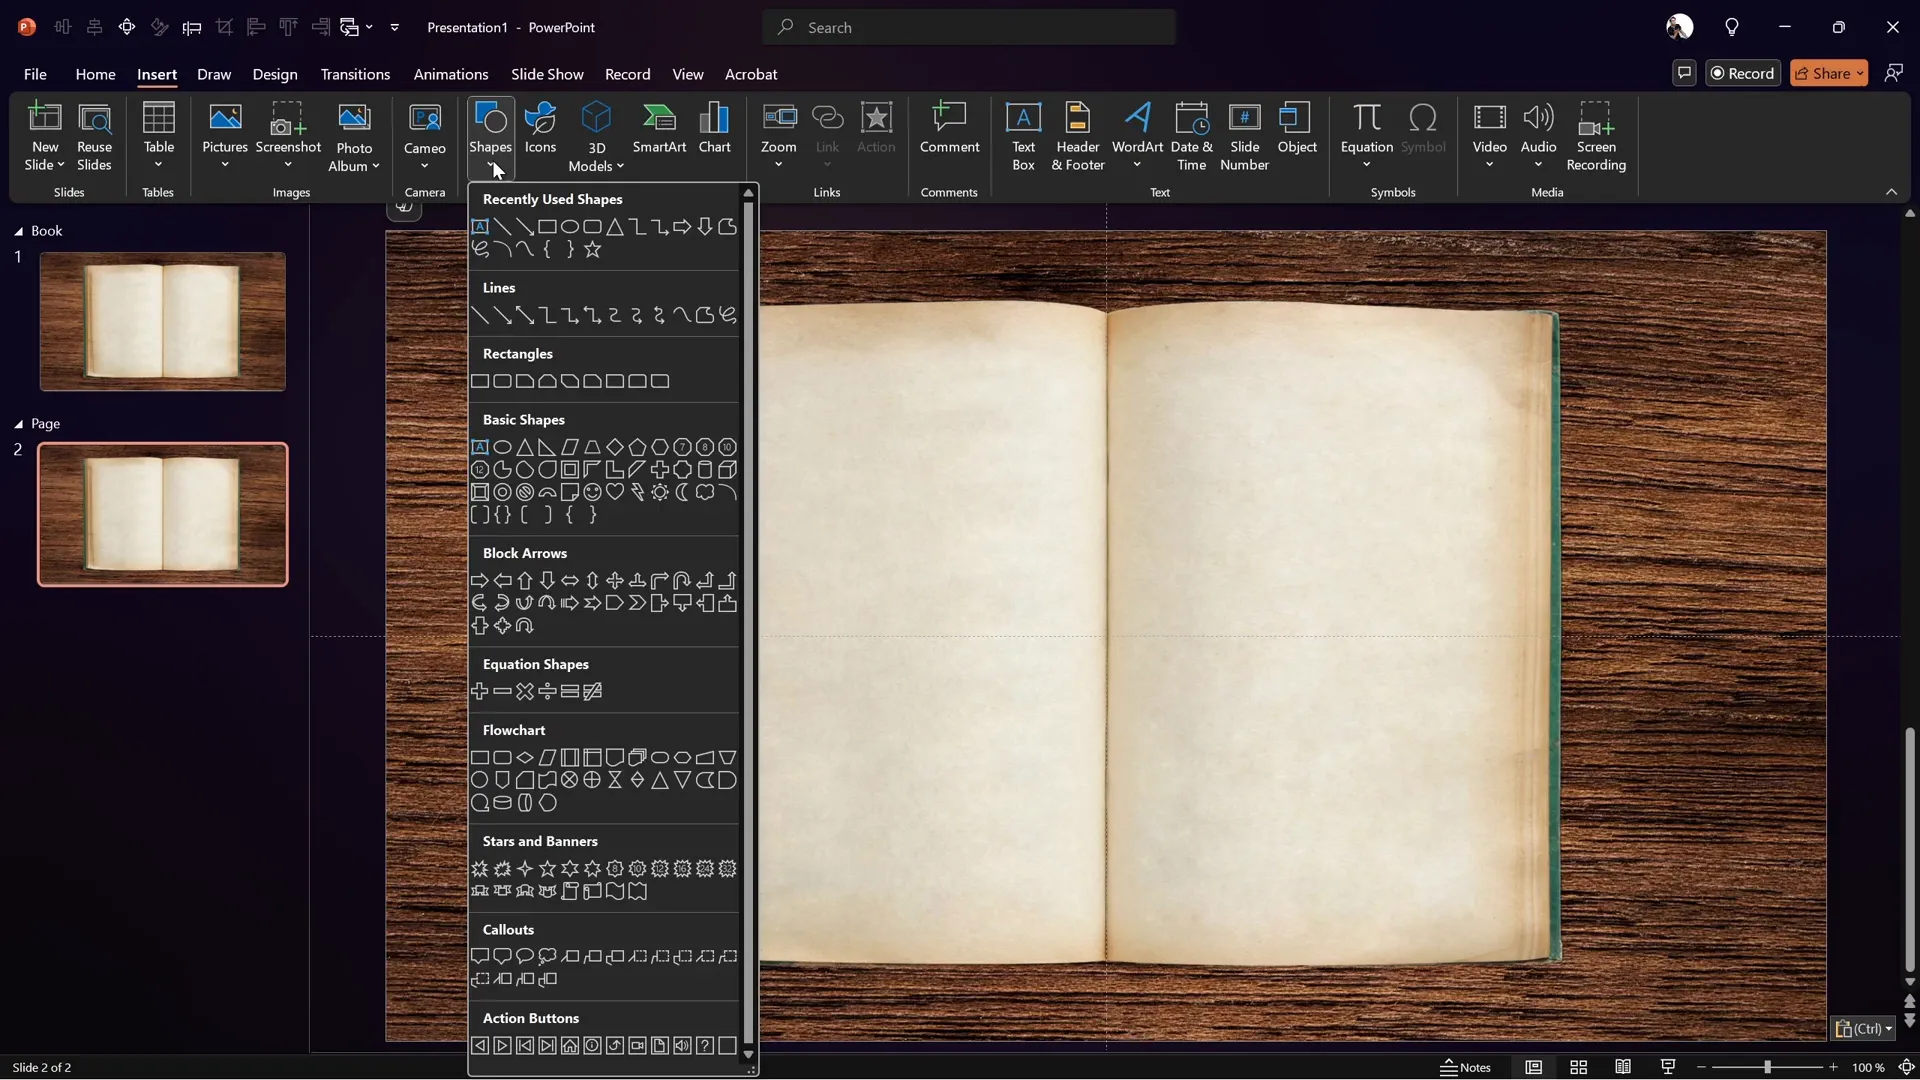
Cutting Out Pages for the Flip Effect
To simulate the page flip, we need to separate the right page from the book image so it can be animated independently.
- Create a rectangle shape over the right page area starting from the center guide:
- The left edge of the rectangle should align with the center guide.
- The top and bottom edges should align with the points where the page curves begin.
- The right edge should cover the visible part of the right page, including the curved edges.
- Edit the rectangle’s points to curve the top and bottom edges, mimicking the page’s natural curvature:
- Right-click the rectangle and choose Edit Points.
- Add points where necessary and drag handles to create smooth curves.
- Select both the book image and the rectangle, then use Shape Format → Merge Shapes → Intersect to cut out the right page.
- Make a copy of the right page shape, flip it horizontally, and position it on the left side to represent the left page.
This process effectively separates the pages, allowing for individual animation of the flipping page.
Grouping and Naming Your Objects
Organization is key to managing complex animations. Group related objects and give them clear names:
- Name the background image as BG.
- Name the right page as Right and the left page as Left.
- Select both pages and group them as Page.
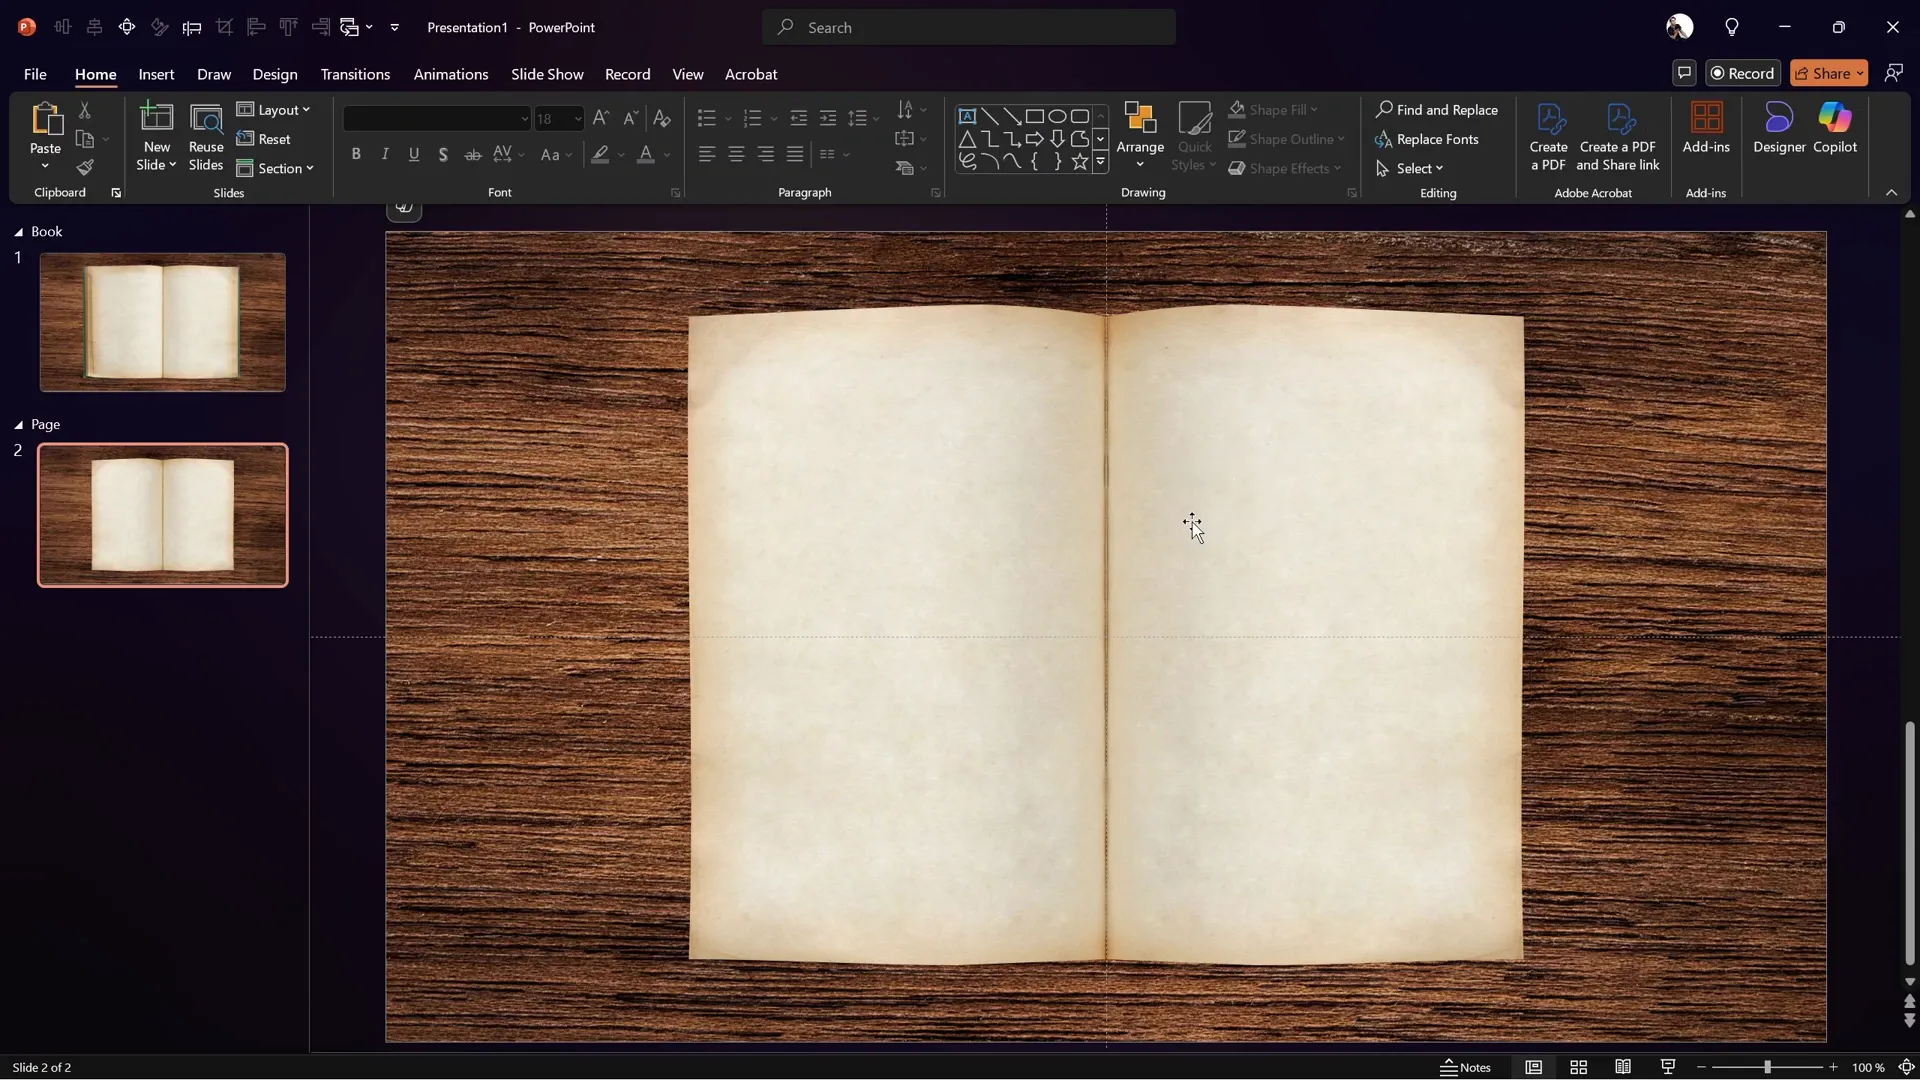
Grouping simplifies applying transformations and animations to the pages collectively.
Applying 3D Rotation and Morph Transition
This is where the magic happens. We’ll use PowerPoint’s 3D rotation options combined with the Morph transition for a smooth page flip effect.
- Select the Page group.
- Open the 3D rotation format panel (shortcut: Alt + 4 if you have it set in your quick access toolbar).
- Choose a perspective preset, such as Perspective Front, to give depth to the page.
- Adjust lighting to Contrasting to keep the page colors natural.
- Set the X-axis rotation to 0° on the first slide (no rotation).
- Duplicate the slide and set the Morph transition on the duplicate.
- On the second slide, set the X-axis rotation of the page group to 180° to simulate the page flip.
- Hide the left page on both slides to show only the right page flipping.
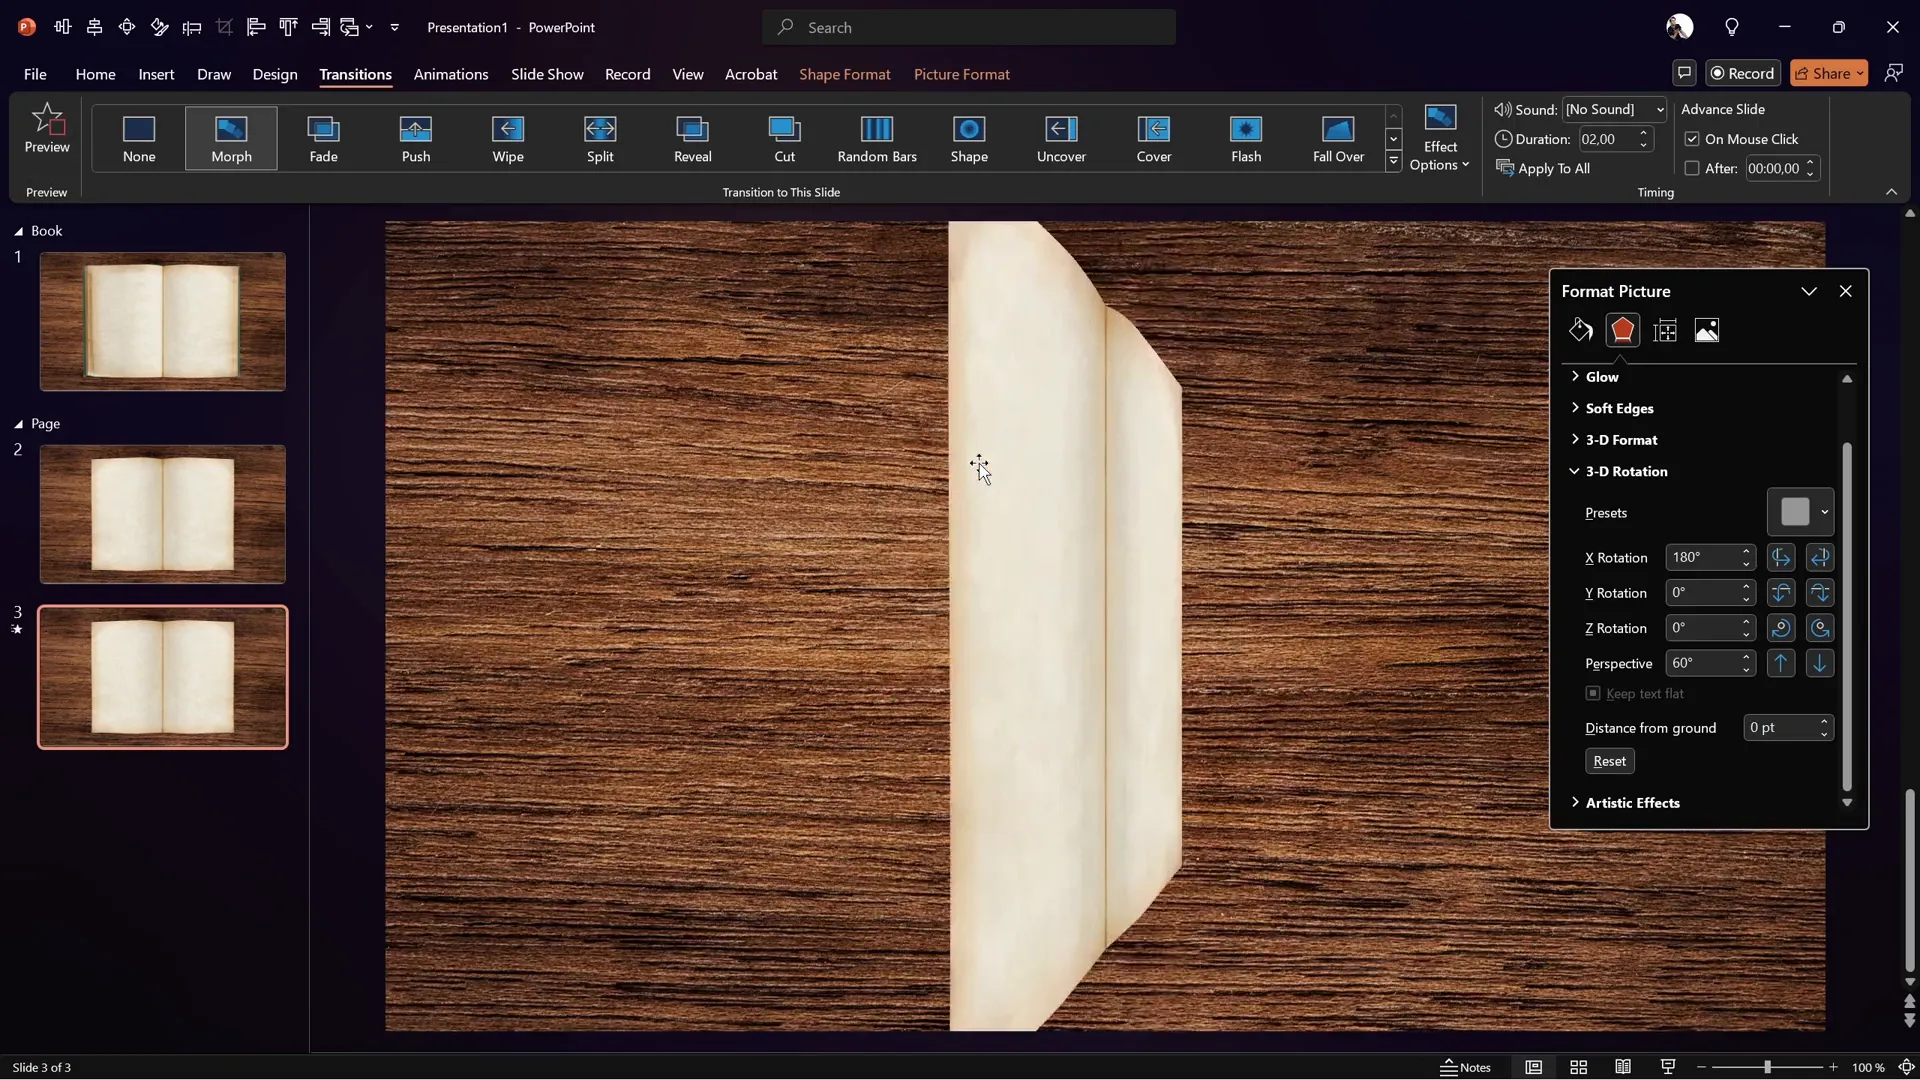
Previewing the transition between these two slides will reveal a smooth, realistic page flip animation.
Final Assembly of the Animation
To complete the effect, combine all elements on your main slide:
- Copy the page group with the left page hidden into the first slide where the book image and background are.
- Rename the book image as Book and keep the background named BG.
- Duplicate this slide.
- Apply a Fade transition on the first slide and a Morph transition on the second.
- On the second slide, rotate the page group 180° on the X-axis to flip the page to the left.
Now, when you run the slide show and transition between these two slides, the right page flips left with a realistic 3D effect.
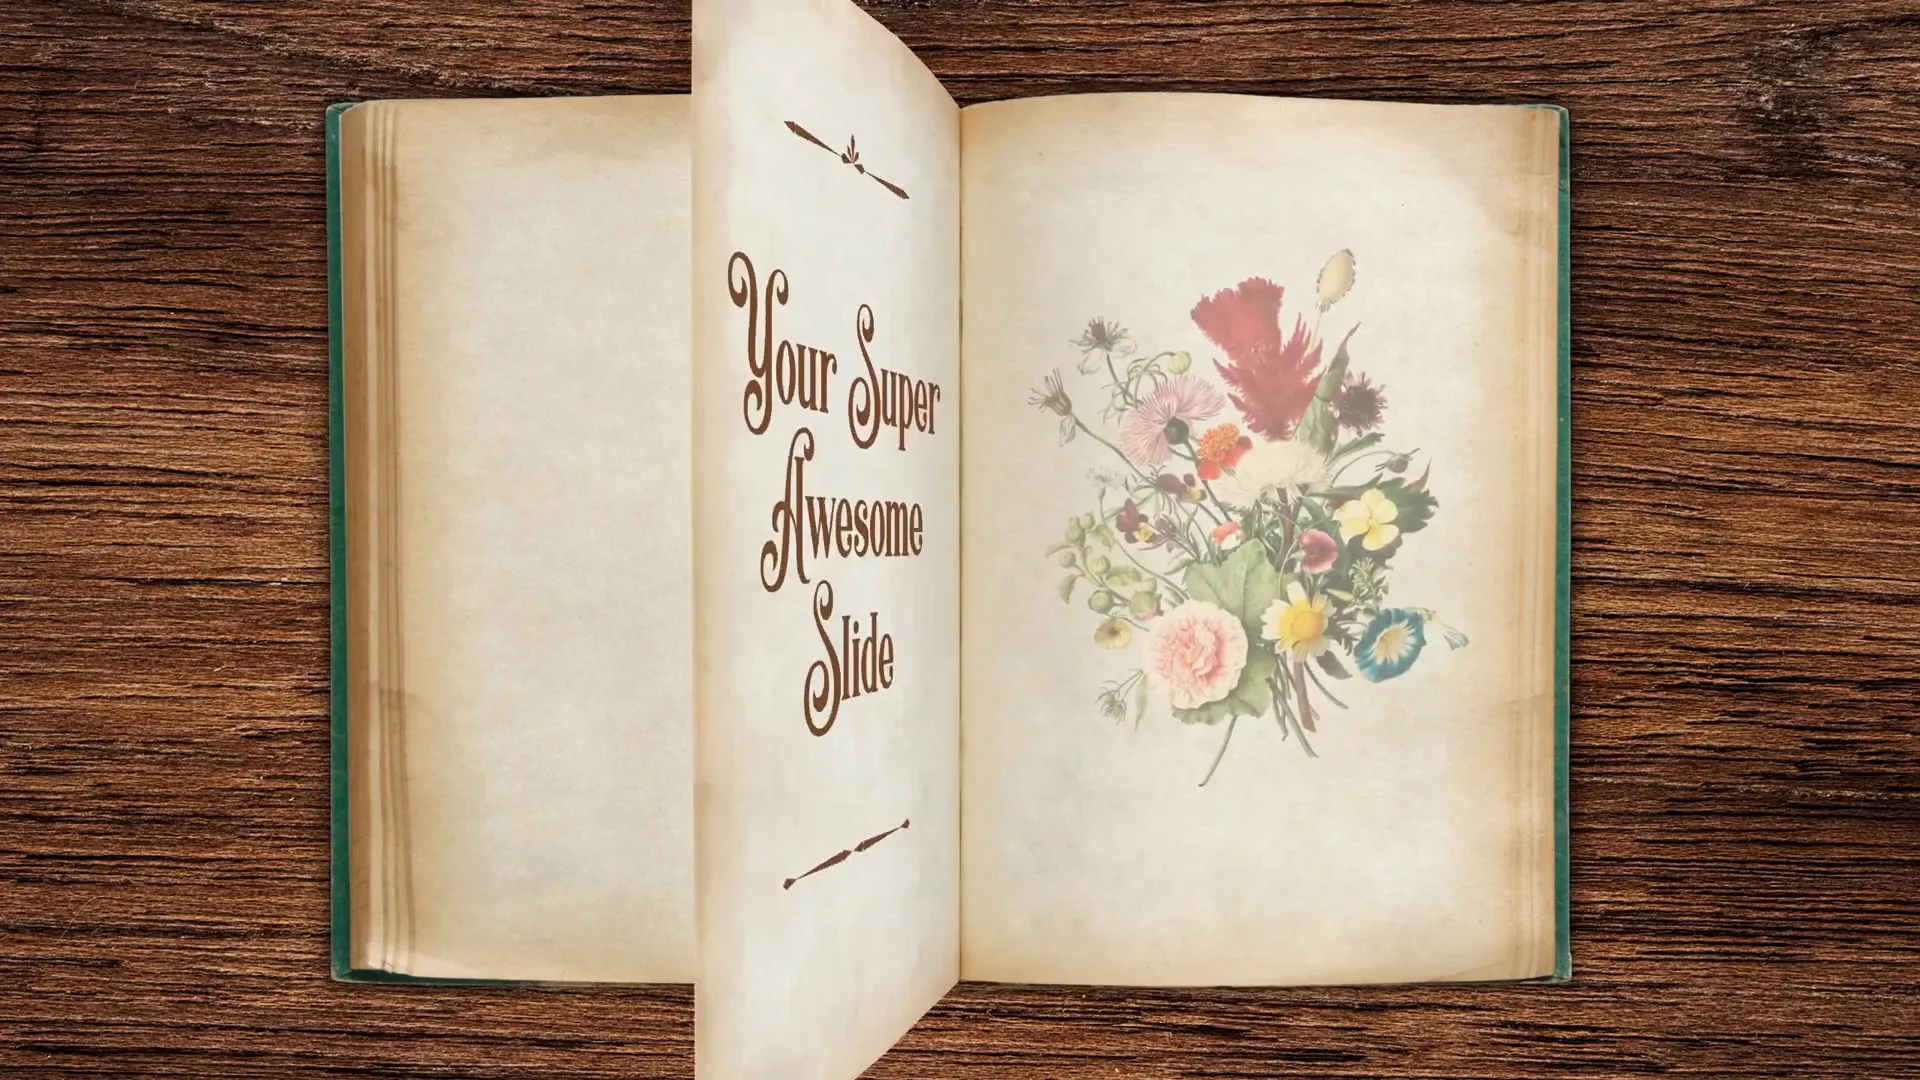
Adding Text and Images to Flipping Pages
For PowerPoint animation mastery students, the tutorial continues by showing how to add dynamic content to the flipping pages. This includes:
- Inserting images that zoom in as the page flips.
- Adding text boxes on the left page for titles, descriptions, or other information.
This step greatly enhances the interactivity and usefulness of the animation, turning it into a powerful storytelling tool.
To learn this advanced content addition, you can join the PowerPoint Animation Mastery course at pptskill.com. The course currently offers a Black Friday 50% discount, making it an excellent opportunity to level up your PowerPoint skills.
Frequently Asked Questions
What PowerPoint version do I need to create this page flip animation?
You will need PowerPoint 2016 or later versions that support the Morph transition and 3D rotation features. These tools are essential to achieve the smooth and realistic page flip effect.
Can I use any book image for this animation?
It’s best to use a high-quality book image with a clear visible division between pages. Also, the image should ideally have a simple background or be easy to remove the background from for best results.
Is the Morph transition necessary?
Yes, the Morph transition is the secret behind the smooth animation between slide states. Without Morph, the page flip will not look natural or fluid.
Can I customize the content on the flipping pages?
Absolutely! You can add text, images, or other PowerPoint objects to the pages to create interactive and engaging content that flips along with the page.
How do I control the speed of the page flip?
You can adjust the duration of the Morph transition in the Transitions tab to speed up or slow down the page flip animation according to your preference.
Can I flip multiple pages?
Yes, by duplicating slides and adjusting the content and rotation angles, you can create multi-page flip animations for longer presentations.
Conclusion
Creating a cool slide animation like a realistic page flip in PowerPoint is achievable with a bit of creativity and understanding of PowerPoint’s advanced features. By carefully preparing your images, using 3D rotation, and leveraging the Morph transition, you can wow your audience with a professional and engaging effect.
This tutorial covered everything from setting up your slide, choosing the right backgrounds and images, cutting out page elements, grouping and naming objects, to applying the 3D rotation and Morph transition for the flip effect.
For those looking to take their PowerPoint skills even further, especially adding dynamic content like text and zooming images on flipping pages, consider joining the PowerPoint Animation Mastery course at pptskill.com. The course offers in-depth lessons and is currently available at a 50% Black Friday discount.
With these skills, your presentations will stand out with impressive animations that keep your audience engaged and entertained.
Happy animating!


