

In this tutorial I’ll walk you through how to create a clean, professional 6 Option Slide design in PowerPoint that uses hexagon shapes, icons, and simple animations. I created this walkthrough to help you build a reusable infographic slide you can adapt for product features, process steps, service offerings, or any six-part breakdown. The approach is practical, focused on PowerPoint tools you already have, and designed so you can customize colors, shadows, and animations with minimal effort.
This article expands the step-by-step instructions, explains choices and shortcuts, offers alternative styling ideas, and includes troubleshooting tips so you can confidently recreate the 6 Option Slide design in PowerPoint and make it your own.
Quick note: the downloadable template referenced in the tutorial is available with the original resource.
Table of contents
- Overview: What you’ll build
- Why use a 6 Option Slide design in PowerPoint?
- Before you start: files, fonts, and layout
- Step-by-step build (detailed)
- Layering, merge shapes, and trimming tips
- Styling: colors, gradients, shadows, typography
- Adding icons and text: alignment and accessibility
- Grouping and animation: creating the click reveal
- Design variations and advanced ideas
- Exporting, sharing, and presentation tips
- Troubleshooting common issues
- Download and reuse checklist
- FAQ
Overview: What you’ll build
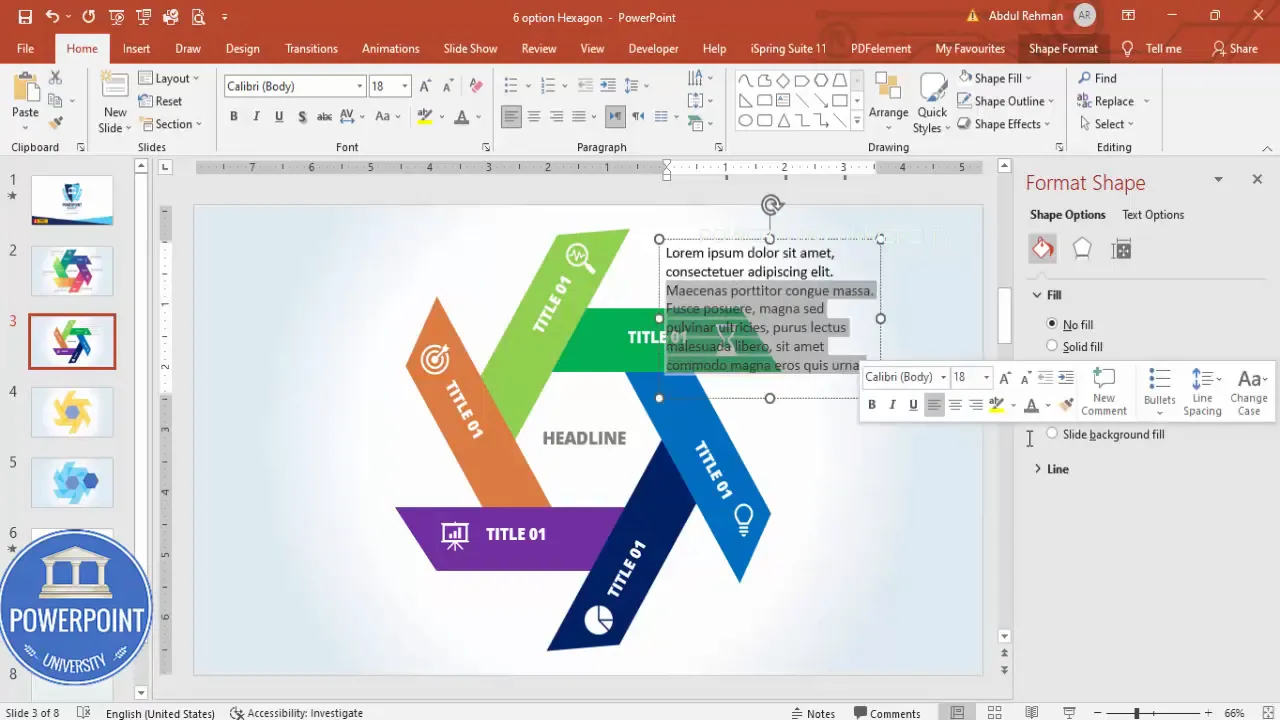
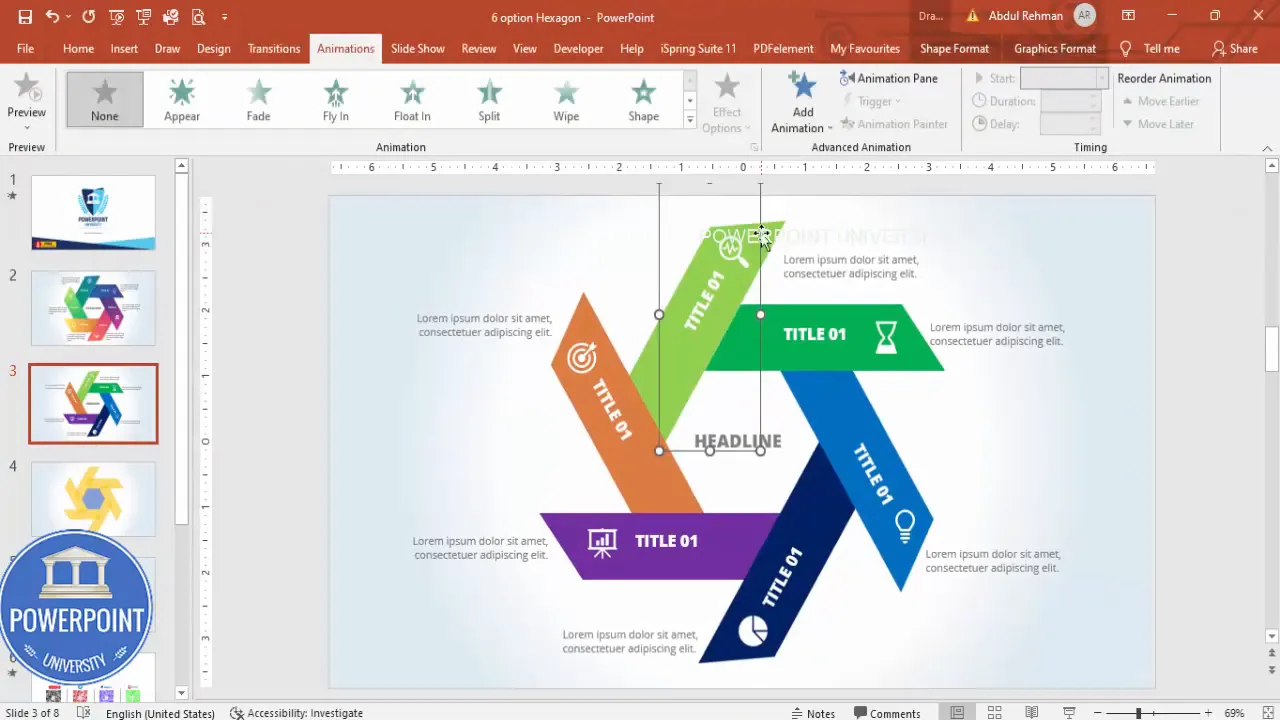
The finished result is a single slide containing a central headline and six hexagon-based options arranged around the center. Each option contains a small rectangular tab (used for title and icon), an icon, an option title (e.g., Option 01), and an optional text block outside the hexagon for details. The slide is animated so that on click the headline appears first, then each of the six options shows up in sequence — either from the left or right depending on their position.
Why use a 6 Option Slide design in PowerPoint?
- Clear structure: Six items fit neatly around a hexagon motif and are perfect for processes, categories, or feature lists.
- Balanced layout: Hexagon geometry creates visual balance and draws attention to the center headline.
- Reusable module: The design can be duplicated across slides for multiple groups of six items.
- Engaging reveal: Simple entrance animations improve audience focus without overloading viewers.
- Brandable: Colors, icons, and fonts are easy to swap for a company look and feel.
Before you start: files, fonts, and layout
Collect the following before you begin building the 6 Option Slide design in PowerPoint:
- PowerPoint (desktop version recommended for Merge Shapes and advanced animation tools).
- Open Sans (or another clean sans-serif) — the tutorial uses Open Sans Extra Bold for option labels.
- A small icon set (PowerPoint’s built-in icons or an SVG pack). The tutorial uses six icons inserted via Insert → Icons.
- A template slide with an appropriate gradient background, or select a background color you plan to use across the deck.
- Optional: the downloadable template which contains the pre-built slide (if you want to skip manual build).
Step-by-step build (detailed)
Follow these steps to recreate the 6 Option Slide design in PowerPoint. I’ll include keyboard shortcuts and reasons for each action so you understand not just how, but why.
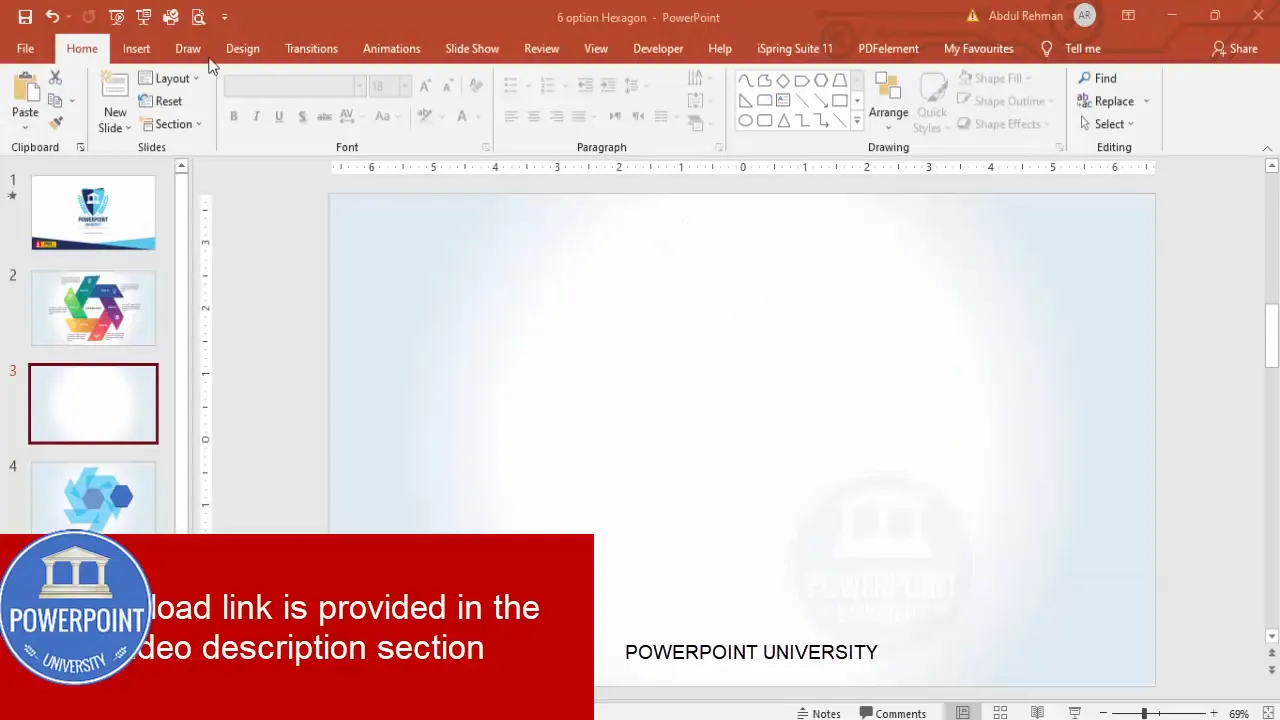
1. Add a new slide and set the background
- Insert a new blank slide in your presentation.
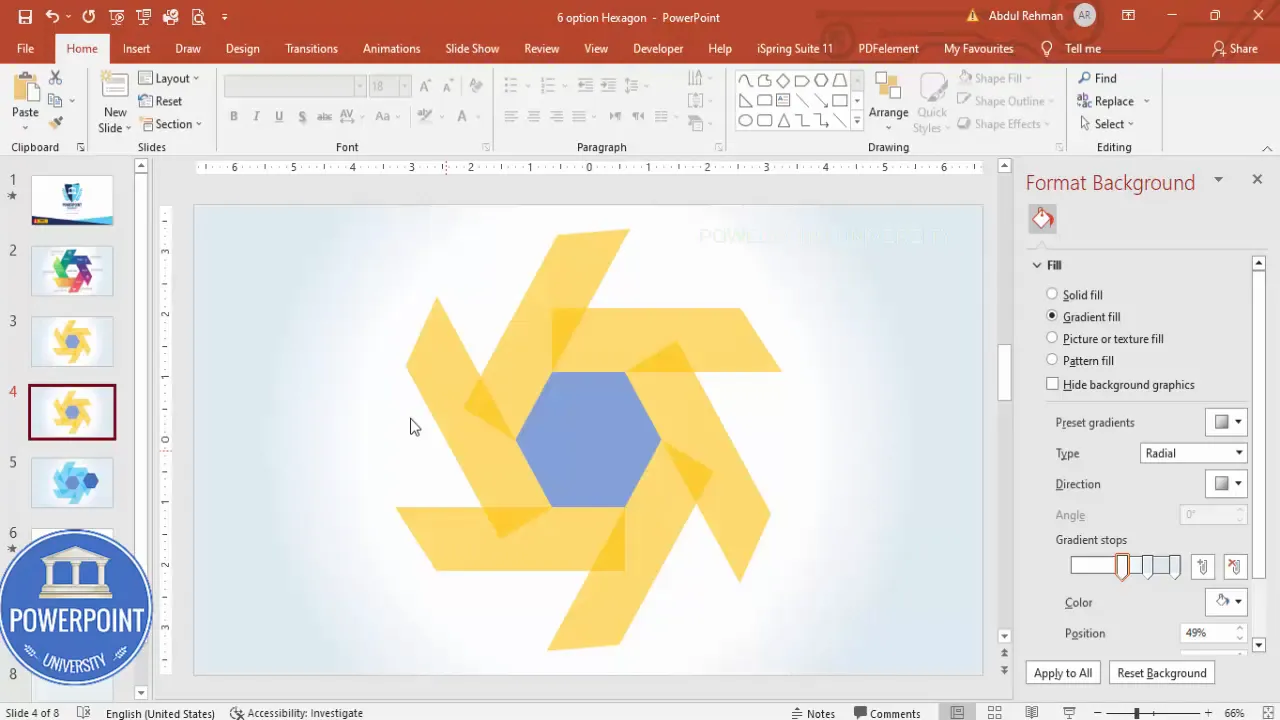
- Right-click the slide background → Format Background. Choose a gradient fill that complements your brand, or pick a subtle solid color if you prefer minimalism.
- Apply to the single slide or the whole presentation depending on your needs.

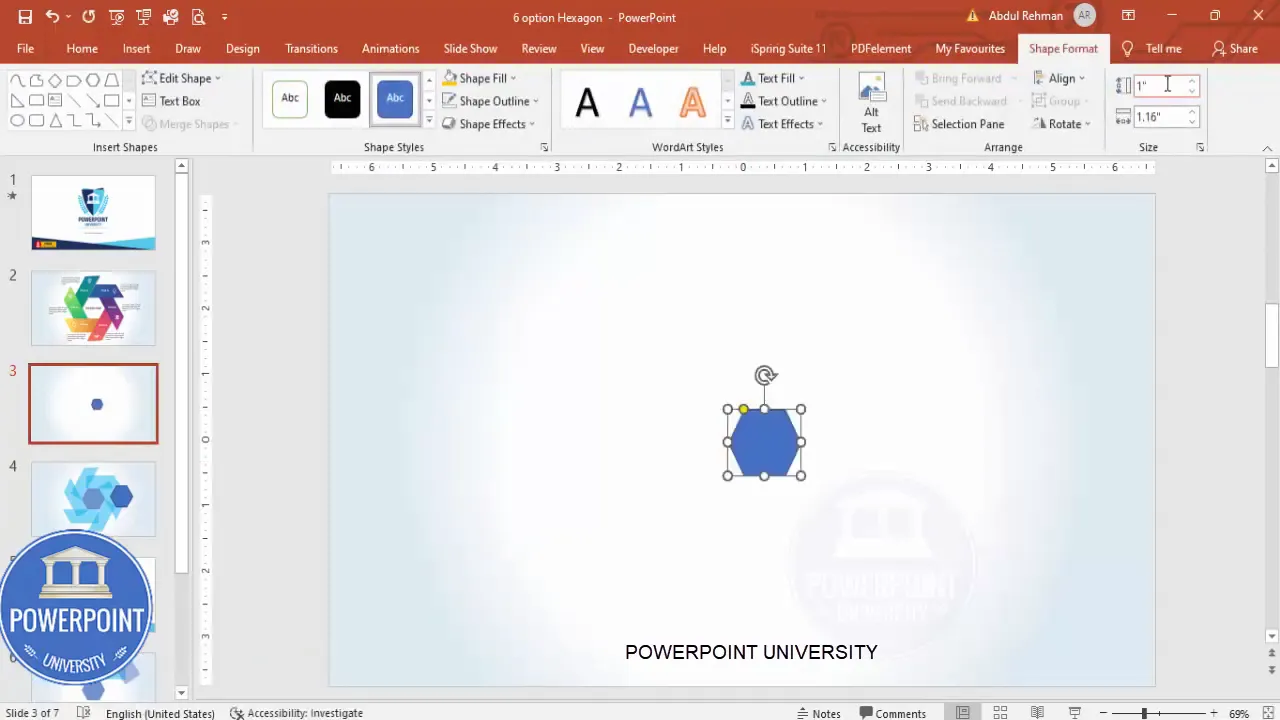
2. Insert the hexagon base shape
- Go to Insert → Shapes → Hexagon (under Basic Shapes).
- Click to place the shape, then set exact dimensions in the Format Shape pane — the tutorial uses Height: 2.16 inches and Width: 2.49 inches. Exact sizing isn’t critical; consistency across duplicates is.
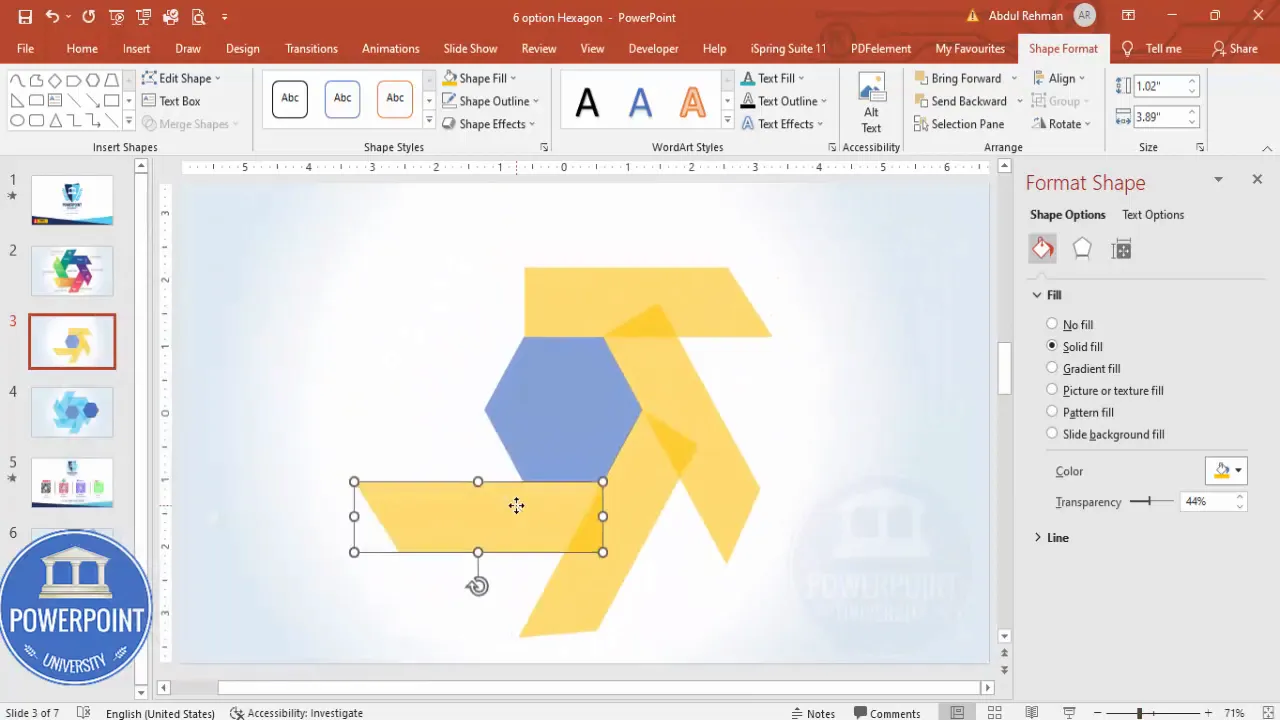
- Remove the shape outline (Shape Outline → No Outline).
- Open Format Shape → Fill → set transparency to a moderate level so it reads as a background element rather than a solid block. In the tutorial the small orange control point (on the gradient slider) is dragged slightly to the inside for a subtle gradient look.
- Use Home → Arrange → Align → Align Center and Align Middle to place the hexagon perfectly in the slide center.
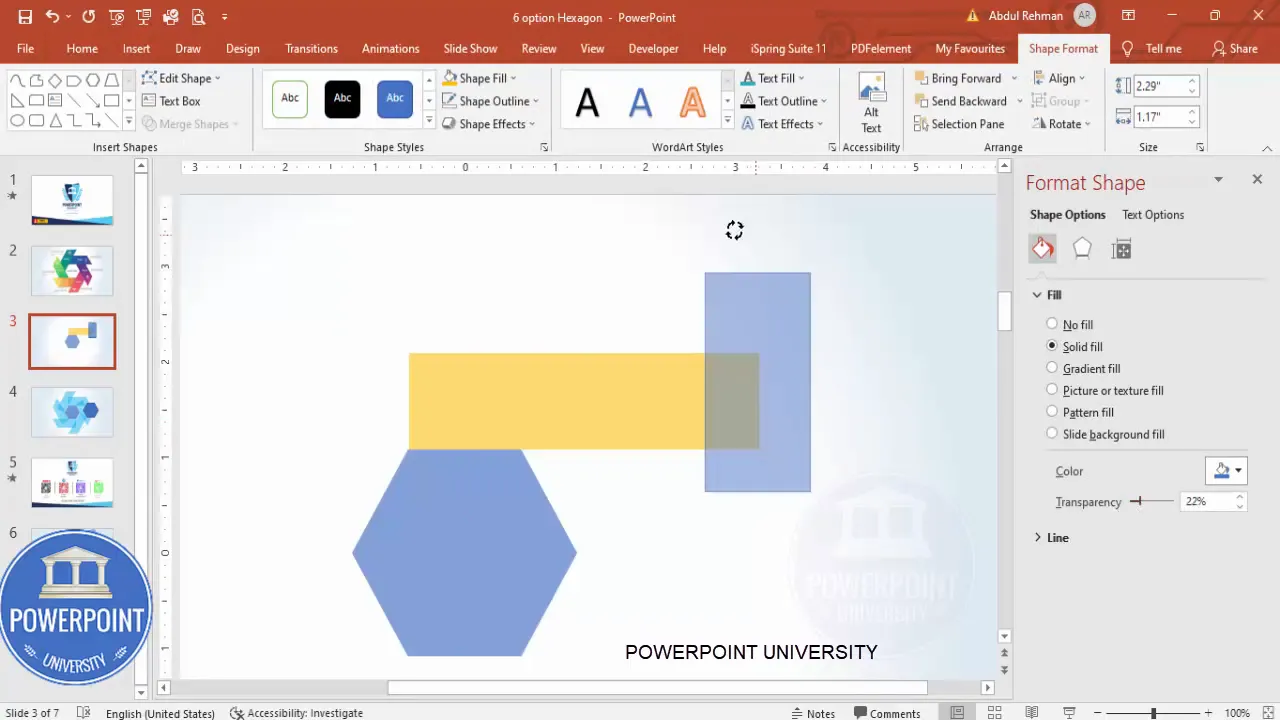
3. Create the rectangular tab that sits on the hexagon edge
- Insert a rectangle (Insert → Shapes → Rectangle) and size it so that it overlaps the edge or corner of the hexagon — this will become the visual tab where the icon and label sit.
- Remove the outline and adjust the transparency to visually integrate the rectangle with the hexagon base. Use a contrasting color so the tab is readable when you add white icons and text.
- Place this rectangle exactly on top of the hexagon edge. Zoom in and align carefully so it looks crisp.
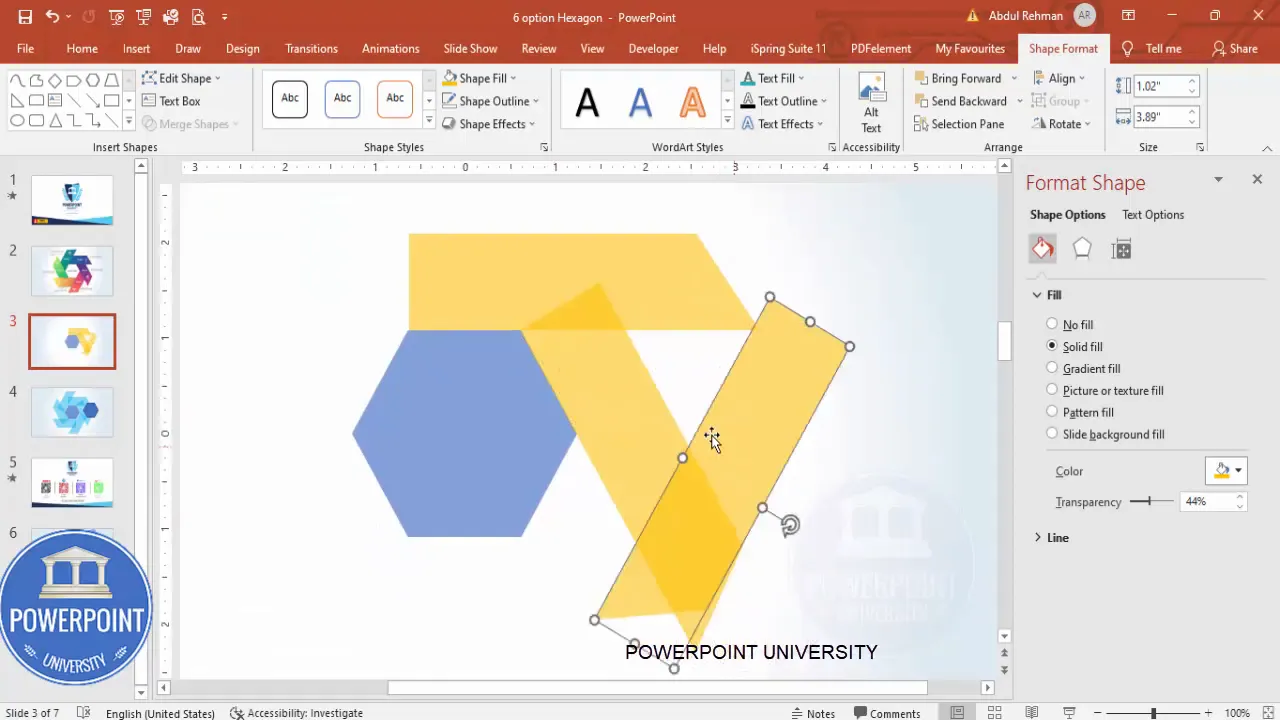
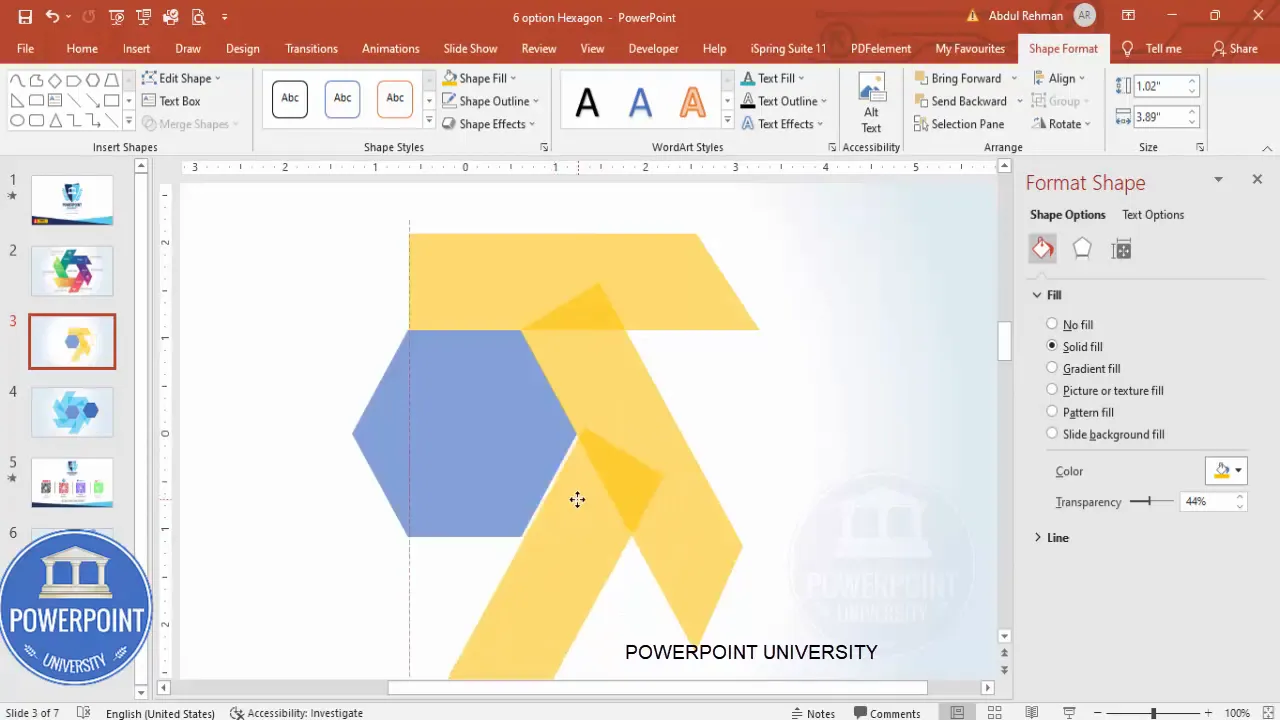
4. Cut a corner to create the angled tab
This technique creates a tab that looks like it’s clipped at an angle for visual interest.
- Insert another rectangle that covers the corner of the tab you want to cut.
- Rotate the new rectangle slightly so it overlaps the tab at an angle.
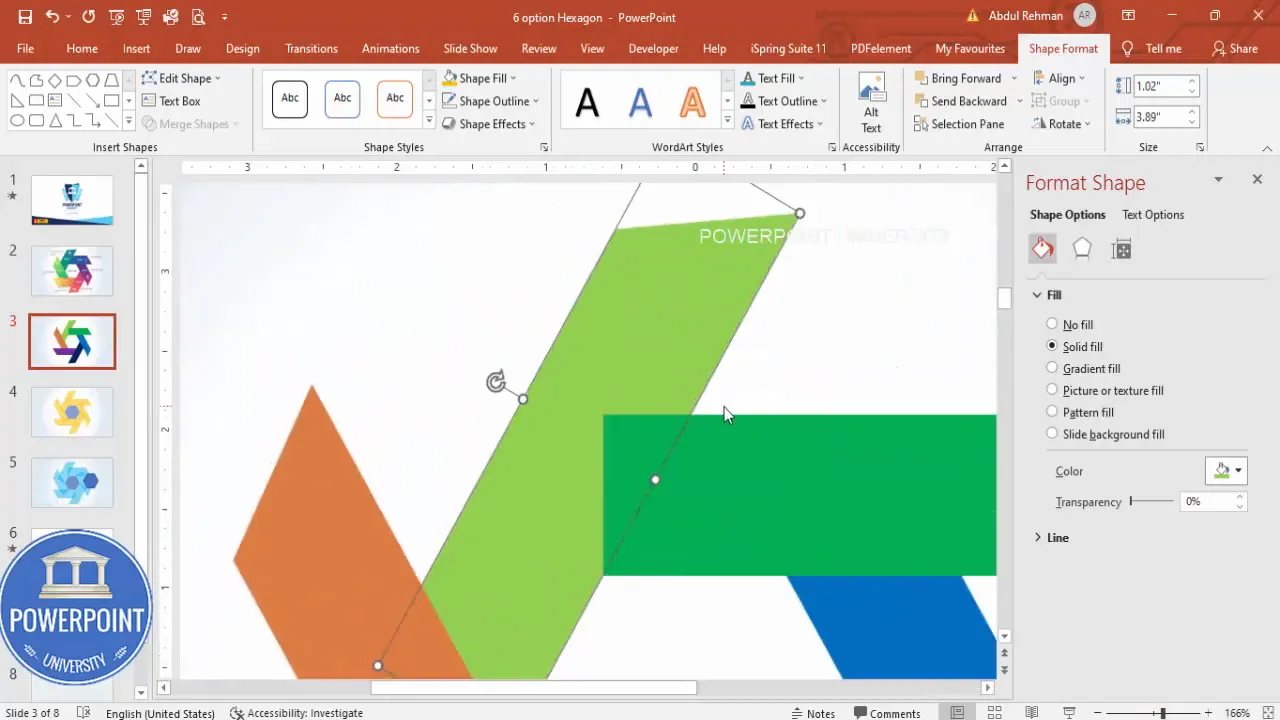
- Select the angled rectangle first, then select the tab rectangle (hold Shift). Go to Shape Format → Merge Shapes → Subtract. This removes the overlapped portion and yields a clipped tab shape.
5. Duplicate and position tabs for all six points
- With the tab shape selected, press Ctrl + D to duplicate.
- Use Alt + Right Arrow (press multiple times) to nudge the duplicate horizontally. The tutorial nudges four times (Alt + Right Arrow ×4) to move it into position — do this for each tab around the hexagon.
- Rotate individual tabs as needed so they sit flush against each hexagon edge. Repeat duplication and nudging for all six positions.
6. Create a backup slide
Before you start making shapes opaque and cutting elements, duplicate the slide (right-click slide thumbnail → Duplicate Slide) so you have a backup copy if you need to revert.
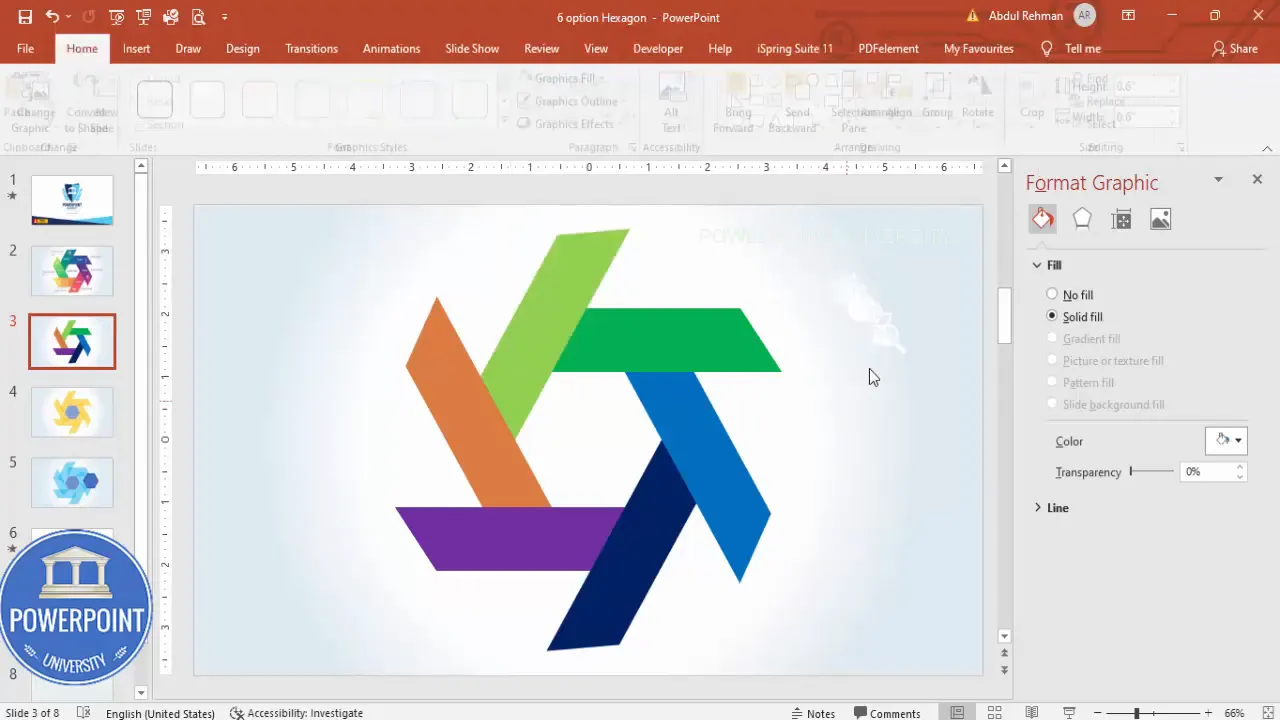
7. Make the tab shapes opaque and finalize colors
- Select all the tab shapes and remove transparency so the tabs become fully solid.
- Choose colors for each tab. You can use a single hue with lighter/darker variants or a full palette with six complementary colors. The tutorial recommends gradient fills for a more modern look, but solid colors work well for minimal designs.
- Send certain elements to the back as necessary: right-click each shape → Send to Back. This helps you order layers so the tab appears properly attached to the hexagon edge.
8. Trim shapes for clean overlaps
When you send shapes to the back, some elements might appear above where they should be. To fix this cleanly:
- Duplicate the hexagon base (Ctrl + D) and make the duplicate transparent.
- Place the duplicate directly over the existing hexagon.
- Select the overlapping tab and the hexagon duplicate together, then Merge Shapes → Subtract to trim the tab so it fits perfectly against the hexagon edge.
9. Insert and format icons
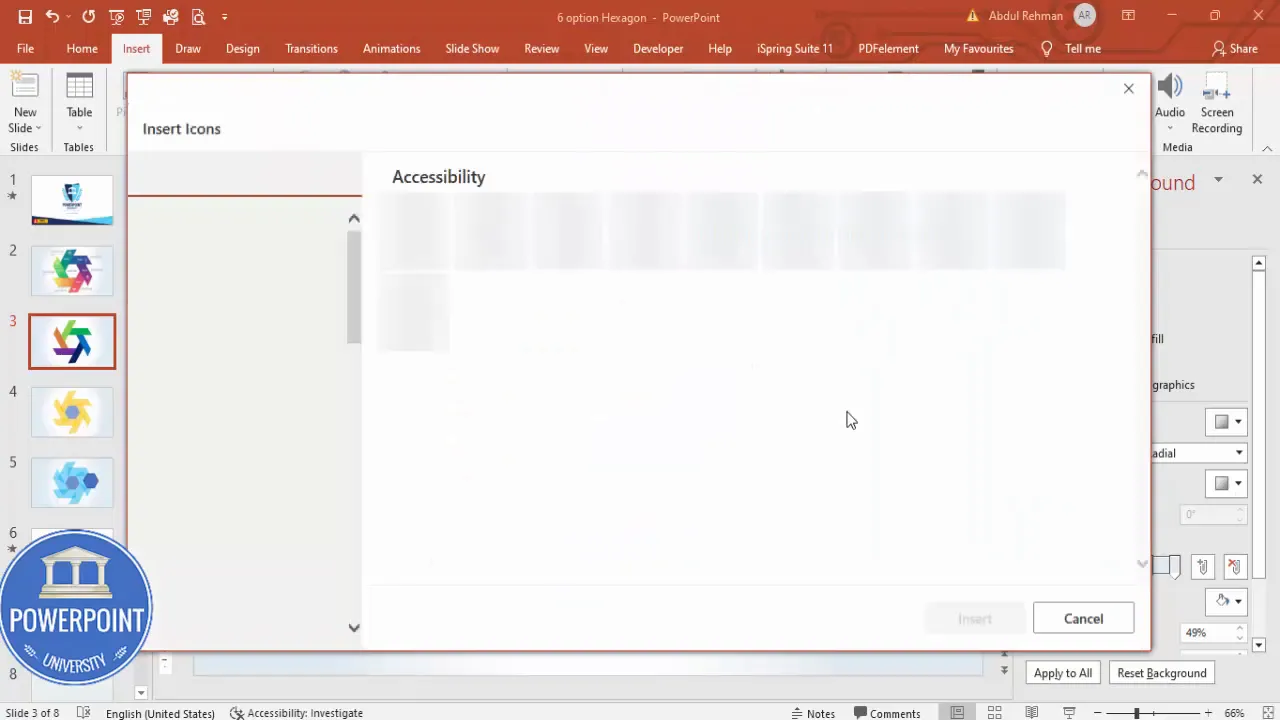
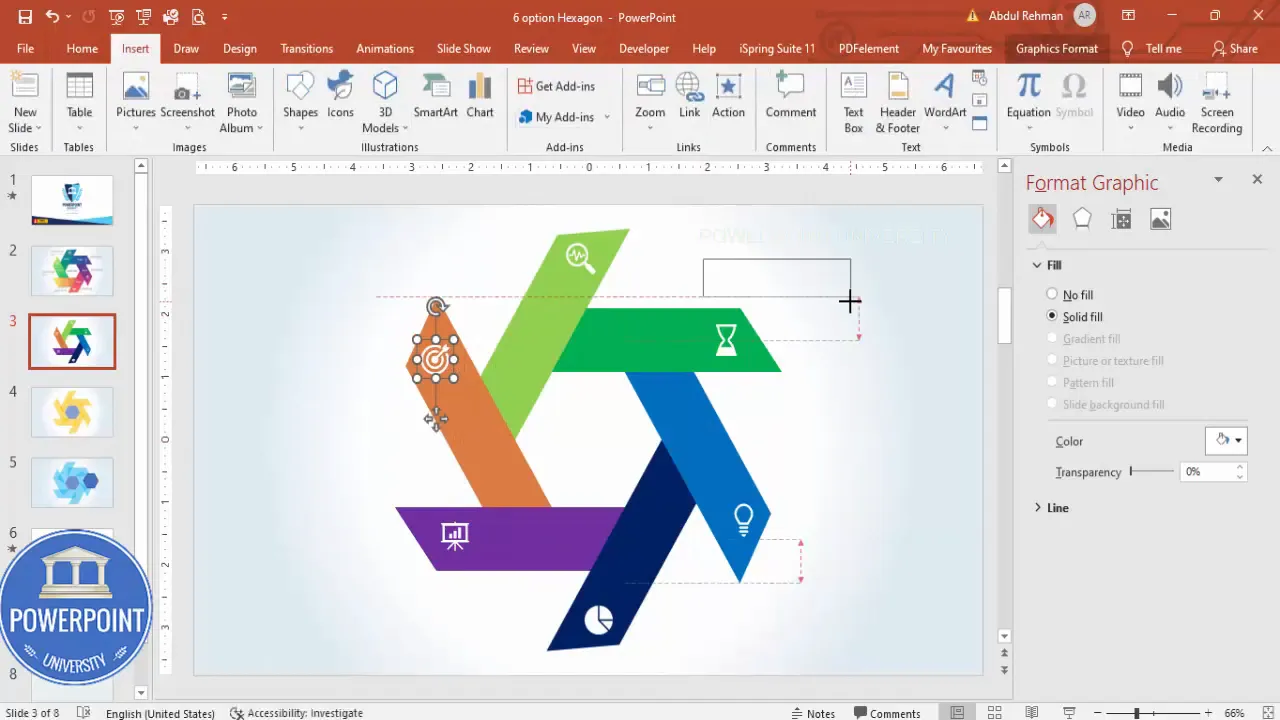
- Insert → Icons. Choose six icons that match your message (abstract symbols, tech, users, globe, etc.).
- Click Insert, then size each icon to about 0.6 x 0.6 inches for a compact, consistent look.
- Set the icon fill color to white (or a color that contrasts with the tab background).
- Place each icon centered on its tab rectangle.
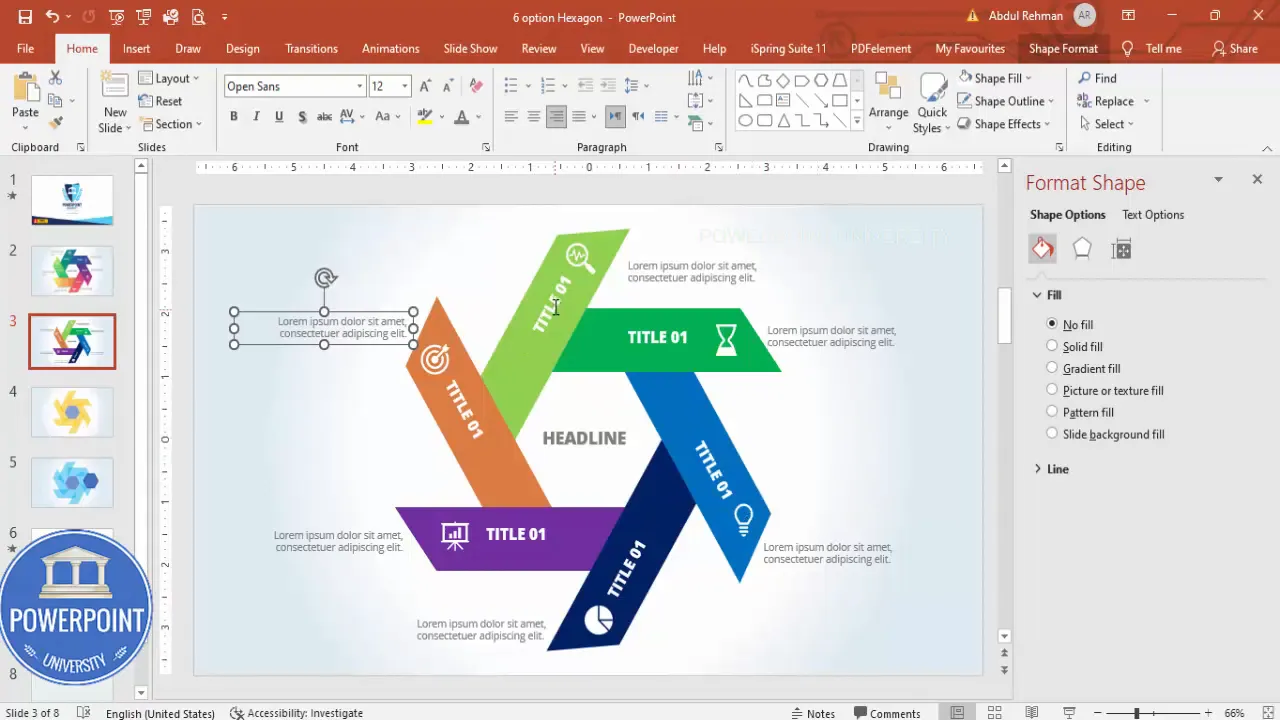
10. Add option titles and central headline
- Insert a Text Box on each tab for the small label (e.g., 01, 02, etc.). Use Open Sans Extra Bold or another condensed bold font for clarity. Make the text white for readability.
- Right-align or rotate the text as needed so it follows the tab’s orientation.
- In the center of the slide add a headline (e.g., “Headline”). Set its color to a subtle gray and center-align it. This is the first item that will animate in the sequence.
11. Add description text blocks
If you want a little more detail for each option, add small description text blocks outside each hexagon. Use a neutral font color, smaller font size, and keep the copy concise (15–25 words preferred).
- Use the Lorem trick =lorem(1) (PowerPoint built-in) for placeholder text if needed, then edit down to the essential phrase.
- Align the descriptions around the hexagon so they don’t collide with neighboring labels.
Layering, merge shapes, and trimming tips
Understanding how PowerPoint layers and Merge Shapes work is essential for a crisp 6 Option Slide design in PowerPoint. Here are best practices I use frequently:
- Duplicate before destructive edits: Use Duplicate Slide or duplicate individual shapes to preserve a copy in case a Merge Shapes operation goes wrong.
- Order matters: If a shape should visually sit on top, don’t send it to back unless you plan to cut it using Merge Shapes. Sending to back may re-order elements unexpectedly.
- Subtraction for precision: Subtract is your friend when you need a tab that looks like it was cut into the hexagon. Use a duplicate of the base shape for clean subtraction.
- Align and nudge: Use Align Center / Align Middle for perfect placement and Alt + arrow keys to nudge shapes by single-screen pixels for fine control.
Styling: colors, gradients, shadows, typography
Small styling choices make a big difference in how professional the 6 Option Slide design in PowerPoint looks. Below are thoughtful suggestions and sample palettes.
Color choices
- Pick a single base color and create six shades for a monochrome scheme (subtle and brand-friendly).
- Use six complementary colors for distinct categories — ensure contrast with white icons.
- Prefer gradient fills if you want a modern, soft look; use subtle variations (e.g., two stops) to avoid heavy color transitions.
Sample color palettes (conceptual)
- Monochrome blue: Navy → Royal → Sky → Teal → Aqua → Pastel
- Warm contrast: Coral → Orange → Amber → Gold → Light Brown → Sand
- Cool tech: Indigo → Violet → Purple → Magenta → Cyan → Steel
Typography
- Headlines: Open Sans Extra Bold or similar clean sans-serif.
- Option numbers: Condensed bold variant for compact fit on each tab.
- Body/description: Open Sans Regular, 12–14 pt for slide readability at typical presentation distances.
Shadows and depth
Use subtle shadowing sparingly to provide depth. If you apply shadows to the hexagon, keep the angle and distance consistent across all elements so the slide reads as one unit.
Adding icons and text: alignment and accessibility
Icons add visual meaning and help viewers scan the slide quickly. Here’s how to ensure icons and text are functional and accessible:
- Use simple, easily recognizable icons. Avoid overly detailed icons that disappear at small sizes.
- Maintain consistent icon sizing (the tutorial uses 0.6 in square) and center them within the tab area.
- Provide sufficient contrast between icon/text and background (WCAG color contrast guidance is a good reference).
- Keep option titles short and unambiguous: “Feature 01,” “Step 02,” or “Service 03.”
- Consider adding spoken descriptions into presenter notes for accessibility if you will present live.
Grouping and animation: creating the click reveal
The tutorial builds a click-activated reveal: first the headline, then each option in sequence. Grouping and animation setup are straightforward once the objects are finalized.
Group objects per option
- Select the hexagon, its tab, the icon, and the option label for one option (hold Shift to multi-select).
- Press Ctrl + G to group them into a single object. Repeat for all six options.
- If a grouped object appears to fall apart visually, ungroup (Ctrl + Shift + G), fix alignment, then group again.
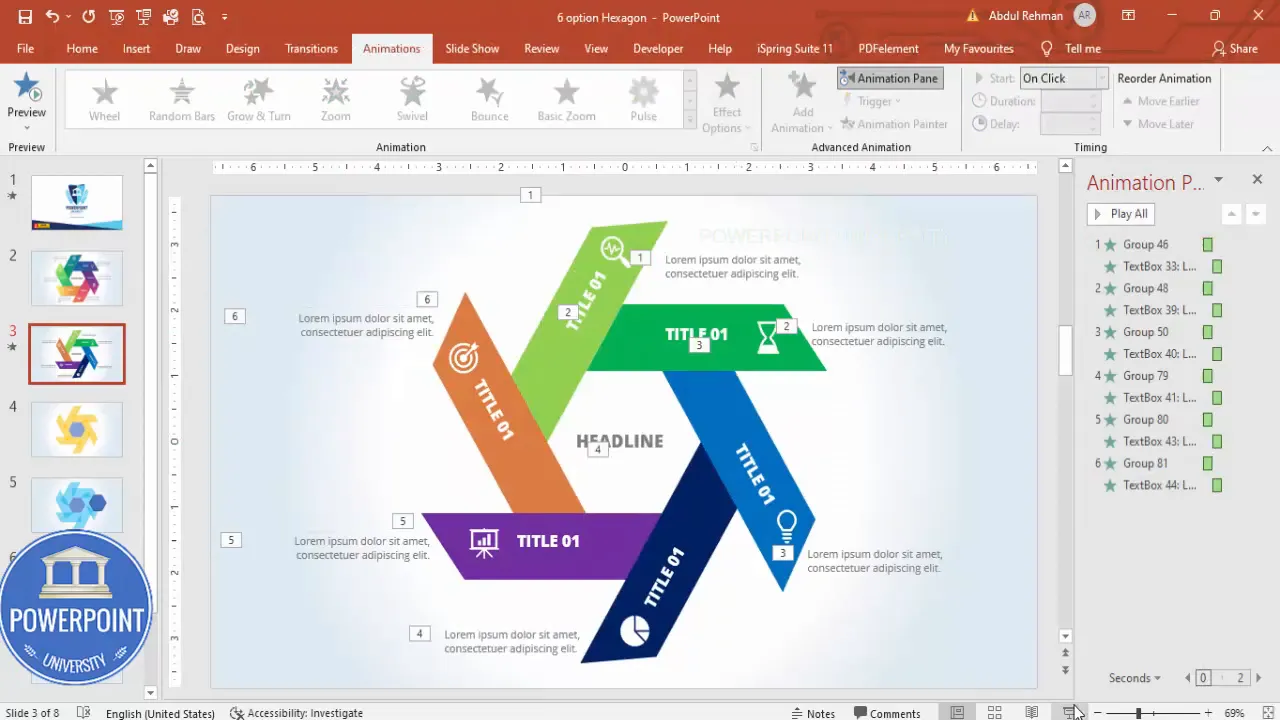
Animation sequence
- Open Animations → Animation Pane so you can tune timings precisely.
- Set the headline to appear first — for example, use a subtle Zoom entrance. Set it to trigger On Click (default).
- For the option groups, choose a sequence that feels natural. The tutorial uses alternating entrances: some options animate from the left, some from the right, creating dynamic movement around the center.
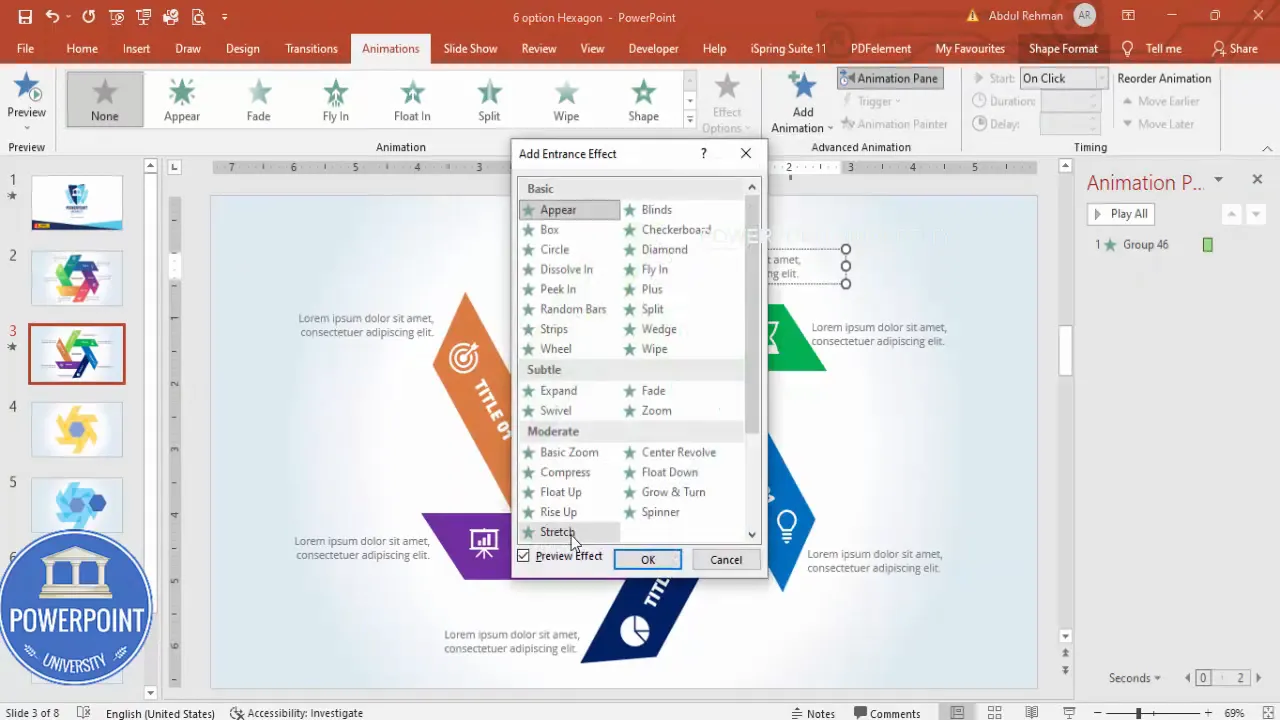
- Use simple animations — Zoom, Fade, or Fly In are clean. For option labels (detailed text), use Stretch (from left or right) set to After Previous so the label follows the option’s entrance.
- Adjust timing: small delays (0.2–0.4s) between each item make the reveal flow without feeling slow. Use “After Previous” for sequential reveals if you want the entire sequence to complete after a single click.
Pro tip: Use Animation Painter to copy animation properties from one grouped object to the others (select the object with the desired animation → Animation Painter → click target object).
Create Slides in Seconds with ExpertSlides AI |
|
Generate AI Presentations today: |
| TRY NOW! |
Design variations and advanced ideas
The base 6 Option Slide design in PowerPoint is flexible. Here are several ways to customize for different purposes:
Variation ideas
- Flat vs. gradient: Use flat colors for corporate decks and subtle gradients for marketing materials.
- Icon-only tabs: Remove the numeric labels and rely on icons if the audience is familiar with the items.
- Hover effects: For interactive presentations (Exported to PowerPoint with macros or viewed in some viewers), simulate hover by creating duplicate slides with highlighted tabs to present when needed.
- Shadowed ring: Add a circular shadow ring beneath the hexagon cluster to create a floating centerpiece.
- Two-tone tabs: Split each tab into color gradients to denote subcategories.
Advanced animation concepts
- Staggered timing: Slightly offset each animation (0.1–0.2s) for a cascading effect.
- Motion path: Use Motion Path animations sparingly to move options from off-slide to their positions — good for step reveals but can feel busy if overused.
- Trigger animations: Assign additional animations to be triggered by clicking specific objects (e.g., click an icon to reveal more details about that option).
Exporting, sharing, and presentation tips
- Test in Slide Show mode: Always preview animation sequences in Slide Show mode to ensure timings work as expected.
- Embed fonts: If you use non-standard fonts, save a copy of the presentation with embedded fonts (File → Options → Save → Embed fonts in the file) to avoid font substitution on other computers.
- Export to PDF: If you want a static handout, export the slide to PDF. Animations do not carry over to PDF; include multiple static slides if you want to show each reveal state.
- Export to images: Save slides as PNG/JPEG for handouts or reports; ensure you use high resolution if you intend to print.
- Share the editable file: For team collaboration, share the .pptx file — avoid sharing proprietary fonts without license.
Troubleshooting common issues
Below are issues you may encounter when building the 6 Option Slide design in PowerPoint and how to fix them.
Shapes not aligning perfectly
- Use Align → Align Center / Align Middle for central placement.
- Zoom in to align shapes and use Alt + arrow keys to nudge single pixels for micro-adjustments.
Merge Shapes option is grayed out
- Ensure you have selected two or more shapes (Merge Shapes only works on shapes, not on grouped objects). Ungroup as needed, then select shapes and Merge Shapes becomes available.
- Merge Shapes is available in PowerPoint desktop (Windows) and may be limited in other versions — use a desktop build for full functionality.
Animation order is wrong
- Open Animation Pane and drag animations into the desired order. Adjust Start settings (On Click, With Previous, After Previous) to control timing.
- Use Animation Painter to consistently apply a complex animation to multiple objects quickly.
Icons appear pixelated or odd color
- Use vector icons (PowerPoint Insert → Icons is vector-based) and set Fill color in Format → Graphic Fill. Avoid copy-pasting raster images that may blur when resized.
Download and reuse checklist
Before you finalize your 6 Option Slide design in PowerPoint, run through this checklist:
- All six option groups are consistently sized and aligned (use Format → Size and Position).
- Icons are uniform size and color.
- Text is legible from a distance (headlines 24–36 pt, body 12–16 pt depending on slide size).
- Animations are tested in Slide Show and timings are smooth.
- Slide background complements tab colors and ensures contrast.
- Duplicate slide backup exists in case you need to revert edits.
- If sharing externally, embed fonts or convert to PDF for a static handout.
FAQ — Frequently asked questions
Can I make the 6 Option Slide design in PowerPoint on Mac or PowerPoint Online?
Yes, but with caveats. Most steps work across platforms: basic shapes, alignment, and icons. However, Merge Shapes and some animation features are best supported in PowerPoint for Windows (desktop). PowerPoint for Mac supports many shape operations, but the UI and keyboard shortcuts may differ. PowerPoint Online supports basic editing but might lack advanced Merge Shapes functionality — use a desktop version for the full experience.
How can I make the slide responsive for different slide sizes?
Set your slide size before adding shapes (Design → Slide Size). If you need to change size after building, choose Don’t Scale to avoid automatic resizing that might distort object proportions, then manually adjust placement.
What if I want more or fewer than six options?
The hexagon layout is optimized for six items, but the same approach works for other counts. For four items use a square or diamond layout; for eight items use an octagonal or circular layout with smaller tabs. The same principles (duplicate shapes, align, and group) apply.
How do I export the animated slide as a video?
File → Export → Create a Video. Set slide timings or use recorded timings, choose the desired resolution, and export. The animations will be burned into the video timeline.
Can I use images instead of icons?
Yes. Use cropped images sized consistently and add a slight mask or circle/rectangle behind them to ensure consistent visual weight. If you use photos, ensure they are high-resolution and have a consistent treatment (e.g., grayscale or color overlay) to keep the slide cohesive.
Is there a way to make the reveal be triggered by each icon click to reveal detailed content?
Yes, use Trigger animations: add the detailed content on a separate layer or slide and assign animations to be triggered by clicking the icon (Animations → Trigger → On Click Of → select the icon). This is ideal for interactive demos where you want the viewer to choose which detail to reveal.
Final notes — making the 6 Option Slide design in PowerPoint yours
The 6 Option Slide design in PowerPoint is both a visual tool and a storytelling device. Whether you’re presenting product features, steps in a process, team roles, or service packages, the hexagon-based layout is a versatile way to convey six related items with balance and clarity. The step-by-step approach in this article focuses on reproducible techniques — precise sizing, Merge Shapes for clean edges, consistent iconography, and straightforward animations that enhance focus without distracting.
Work iteratively: create a backup slide, test animations in Slide Show mode, and use small nudges and alignment tools to refine the layout. Don’t hesitate to swap colors and fonts to match your brand; the structure will hold up across styles.
Support and next steps
If you want a shortcut, use the downloadable template that contains the completed 6 Option Slide design in PowerPoint and reverse-engineer any parts you’d like to customize. Open the .pptx, inspect grouped objects, animation pane settings, and merge shapes to see how everything is constructed.
Once you’ve built your version of the 6 Option Slide design in PowerPoint, try these exercises to extend your skills:
- Create a two-slide sequence where the first slide shows only the headline and each subsequent slide reveals one additional option (good for printouts or handouts).
- Convert the slide into an infographic poster by increasing slide size and scaling elements proportionally.
- Use the same layout for a multi-product comparison by replacing icons with product thumbnails and adjusting the color scheme to reflect product families.
Enjoy building! With the techniques above you can build, modify, and scale the 6 Option Slide design in PowerPoint to fit virtually any presentation need.
Check out the full video: 6 Option Slide design in PowerPoint | PowerPoint Tutorial No.: 1007 | Free Download


