

PowerPoint presentations continue to be a powerful tool for communication, education, and business. Every year, new design trends emerge that capture attention and enhance engagement. In this comprehensive guide, I’ll walk you through how to create four trending PowerPoint slide designs that are currently making waves on social media platforms like Instagram and TikTok. These designs are not only visually appealing but also practical for a variety of uses, whether you’re a professional, educator, or content creator.
Using Microsoft PowerPoint from Microsoft 365, I will break down each slide design step-by-step, sharing tips and tricks to elevate your skills and help you master these popular styles. Additionally, I’ll introduce you to some fantastic tools that can supercharge your course creation and presentation-building process. Whether you’re new to PowerPoint or looking to sharpen your design skills, this tutorial will provide you with valuable insights and techniques.
Table of Contents
- Introduction to Trending PowerPoint Slide Designs
- Slide 1: Bold Text with Picture or Texture Fill
- Slide 2: Image Background with Gradient Text Overlay and Animation
- Enhance Your Presentations with iSpring Suite
- Slide 3: Text Filled with Animated GIF
- Slide 4: Modern Agenda Slide with Rounded Shapes and Morph Transition
- Tips for Customizing Your PowerPoint Slides
- Frequently Asked Questions (FAQ)
- Conclusion
Introduction to Trending PowerPoint Slide Designs
PowerPoint has evolved far beyond its original function as a simple slideshow creator. Today, it’s a versatile design and communication platform capable of producing eye-catching visuals, animations, and interactive content. The four slide designs featured here are trending because they combine bold typography, creative use of shapes, images, and animations to deliver impactful messages with style.
Throughout this article, I’ll guide you through:
- How to create each of the four slide designs step-by-step
- Advanced formatting techniques like merging shapes and gradient fills
- Incorporating animations for dynamic presentations
- Using external tools like iSpring Suite to enhance course creation
- Tips to customize fonts, colors, and layout for maximum effect
Let’s dive right into the first slide design and start crafting your own trending PowerPoint slides.
Slide 1: Bold Text with Picture or Texture Fill
The first slide design focuses on creating bold, impactful text filled with a picture or texture, paired with a clean layout that divides the slide into two distinct areas. Here’s how you can create this look:
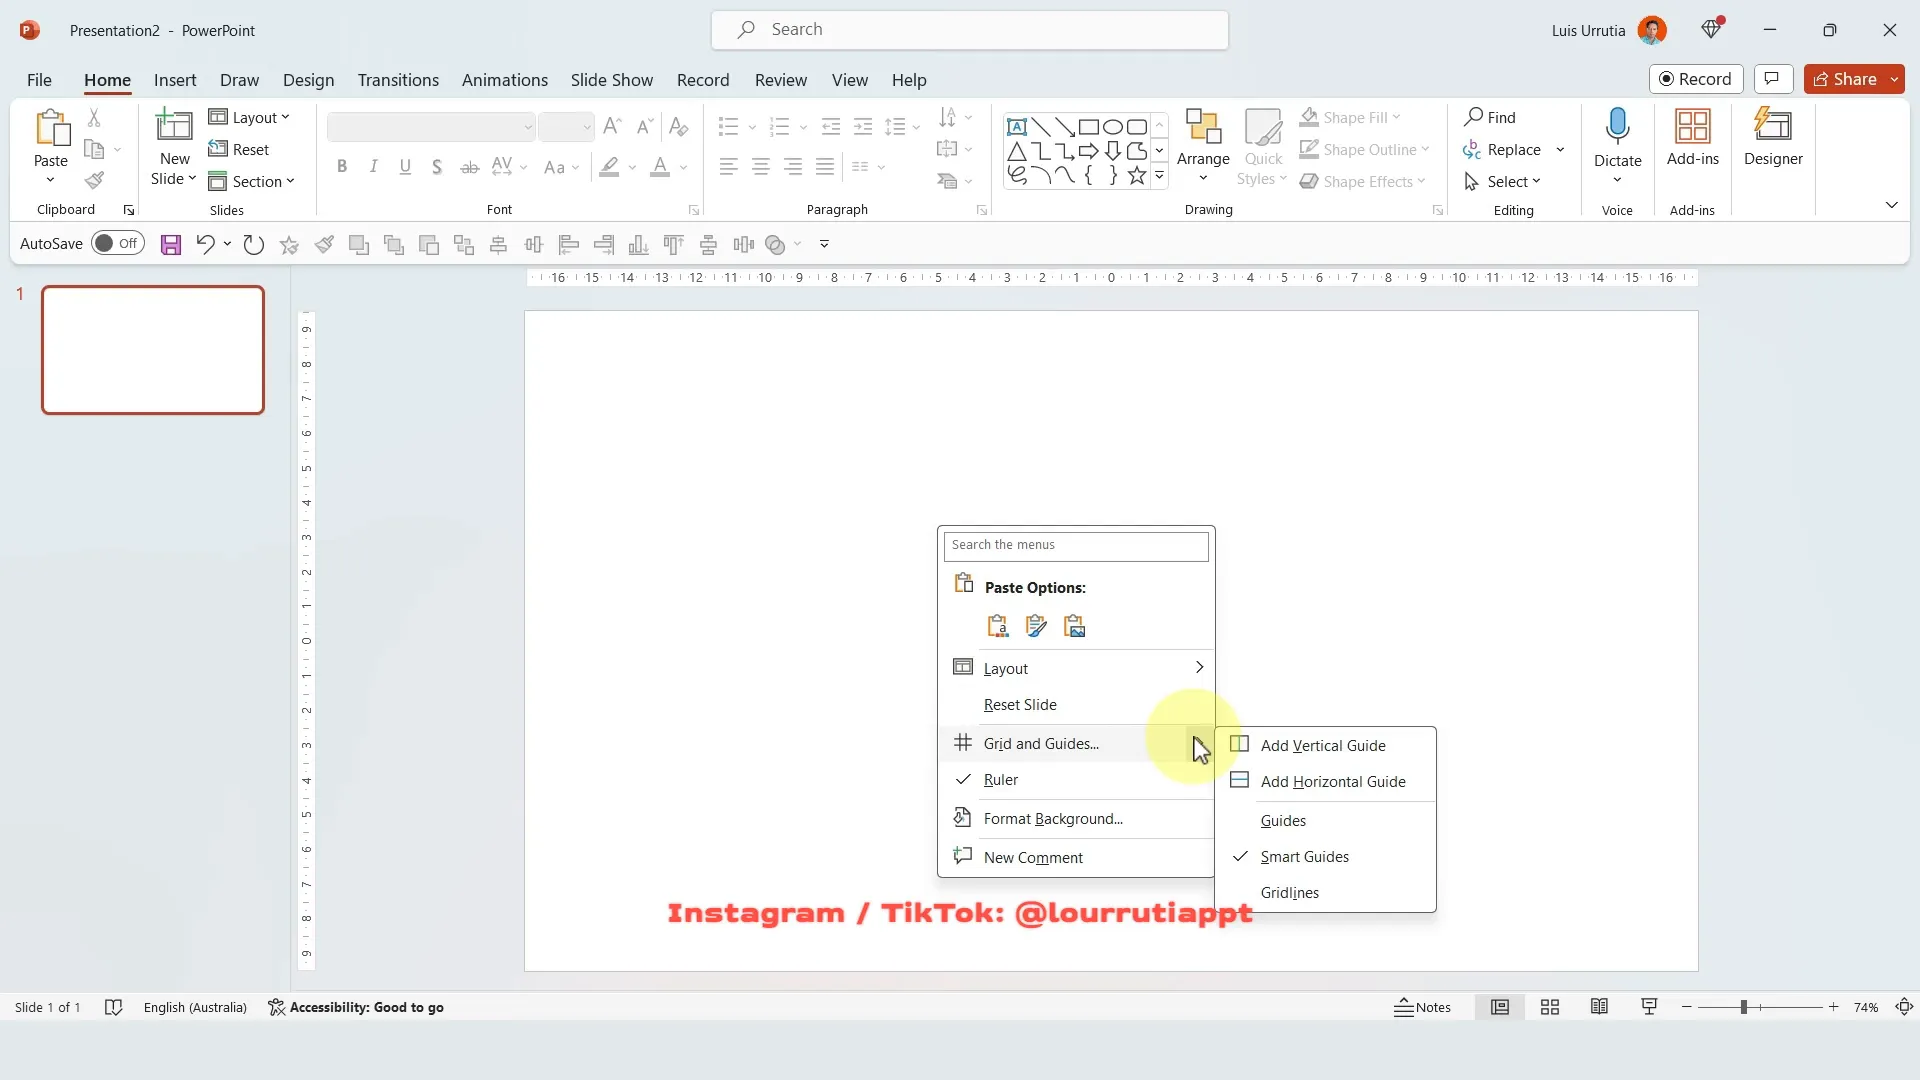
Step 1: Setting Up Guides
Right-click on your slide and navigate to Grid and Guides. Add a vertical guide to place it exactly in the middle of the slide. This will help you divide the slide into two halves for balanced composition.
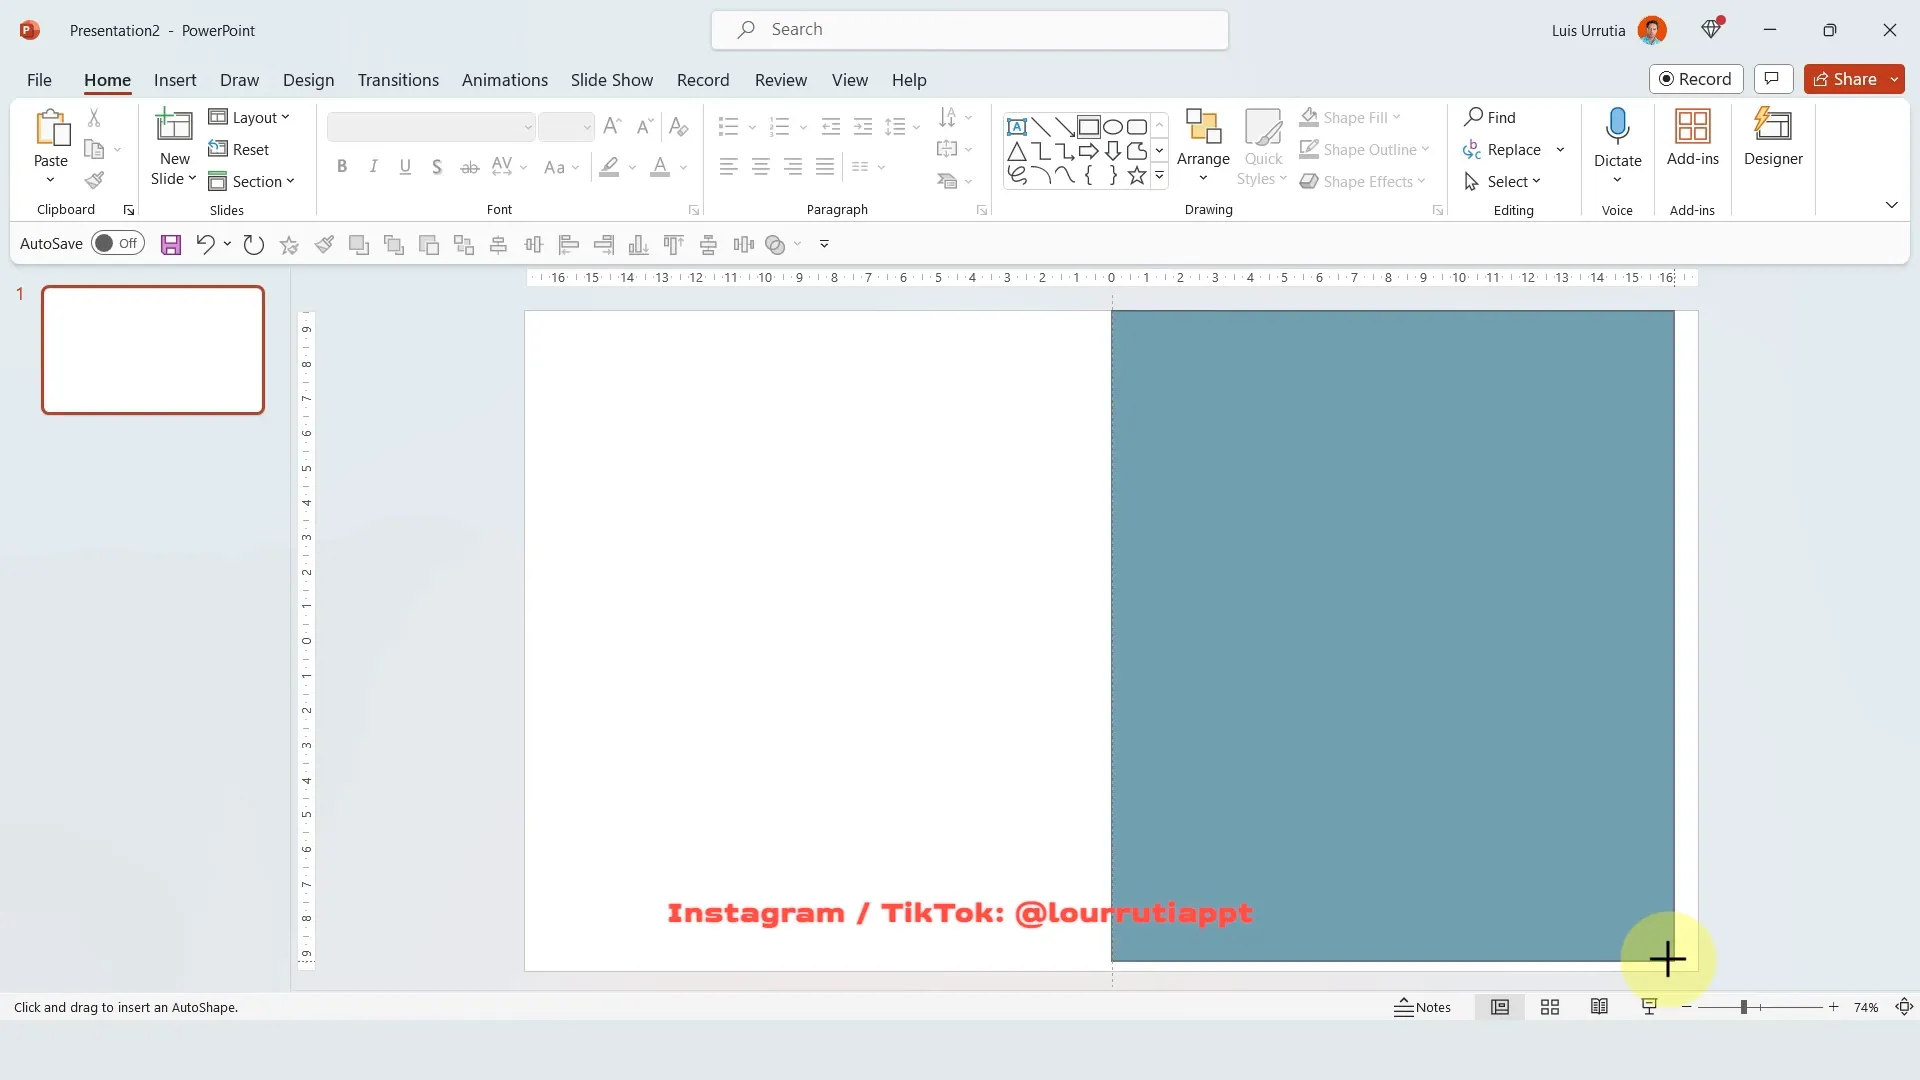
Step 2: Adding a Rectangle Shape
Go to the Shapes menu and select the rectangle shape. Draw it to cover the entire right half of the slide, aligning it perfectly with the vertical guide.
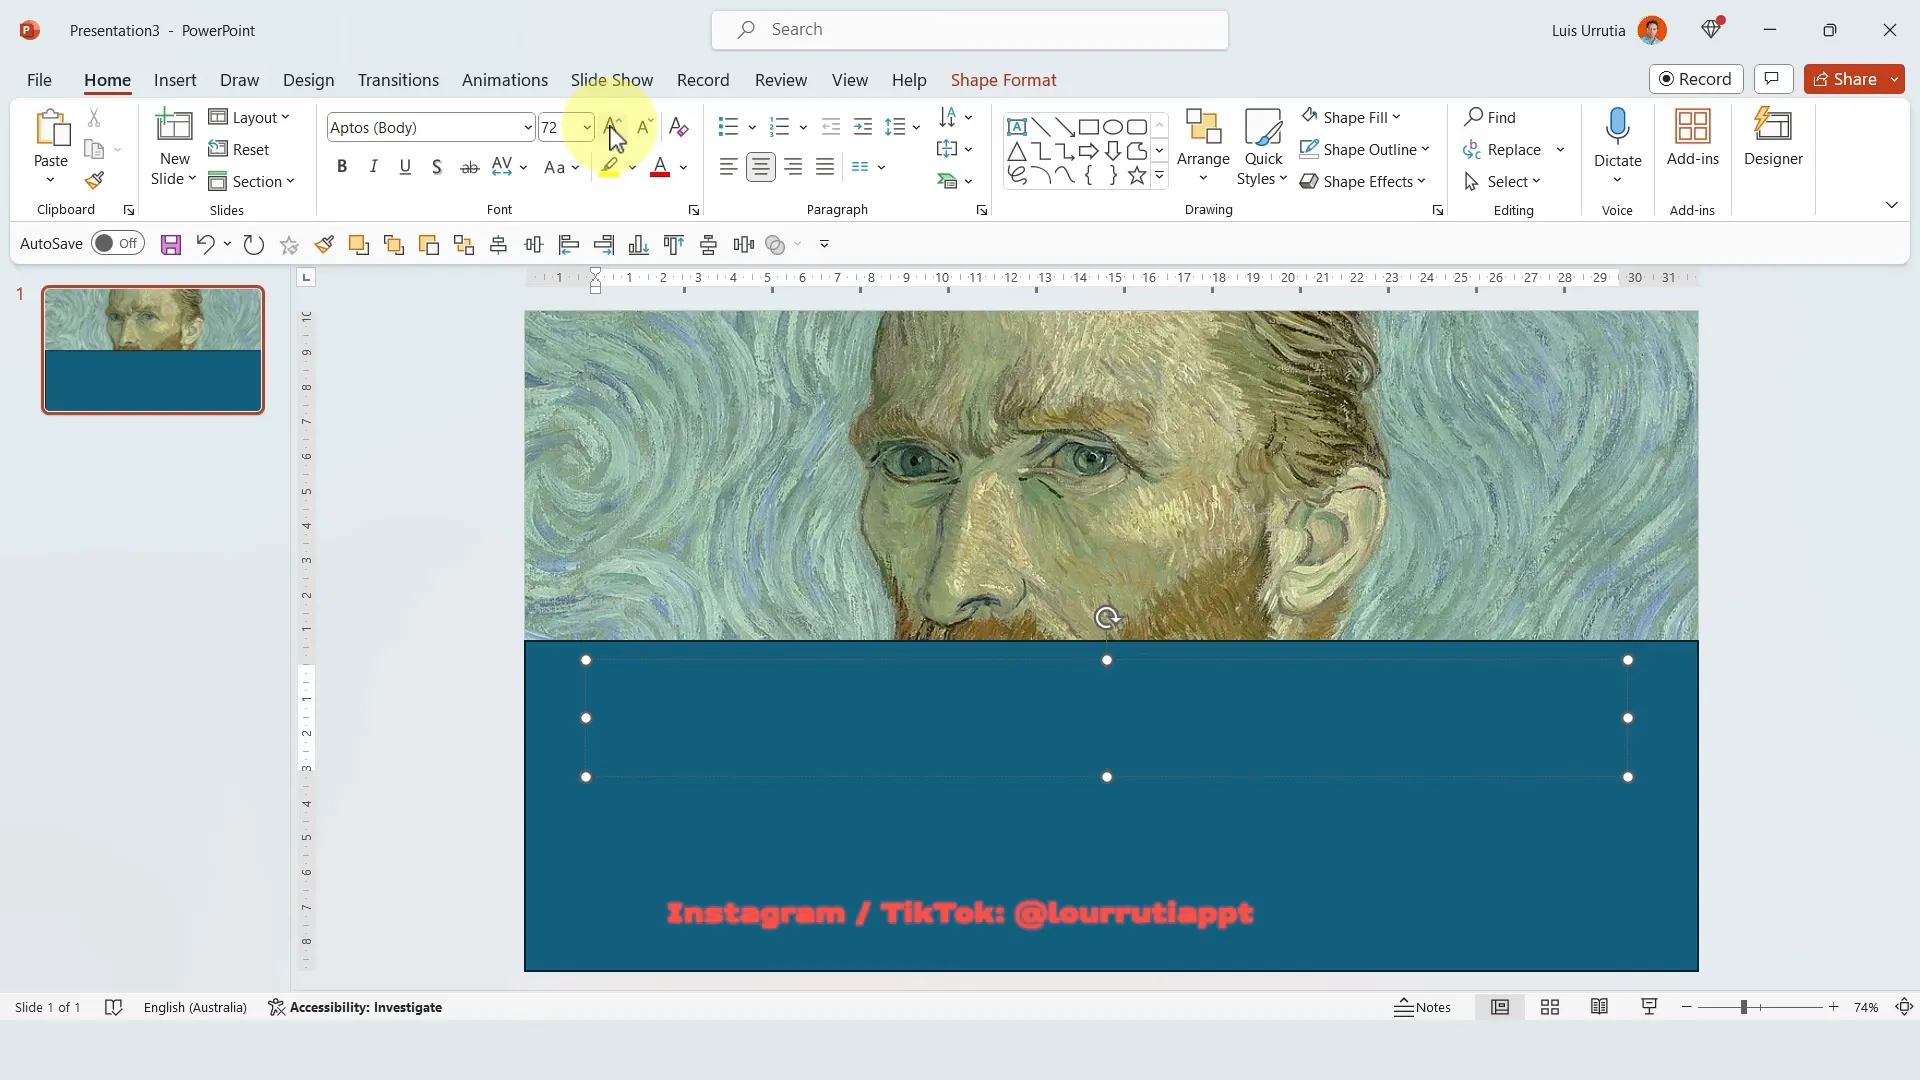
Step 3: Inserting and Formatting Text
Insert a text box on the right side, over the rectangle. Center-align your text horizontally and vertically using the alignment options to ensure it sits perfectly within the text box.
Increase the font size beyond the default limit of 96 points by typing in your desired size manually. Use a bold font like Arial Black to make the text stand out. Make sure the text fits in one line for maximum impact.
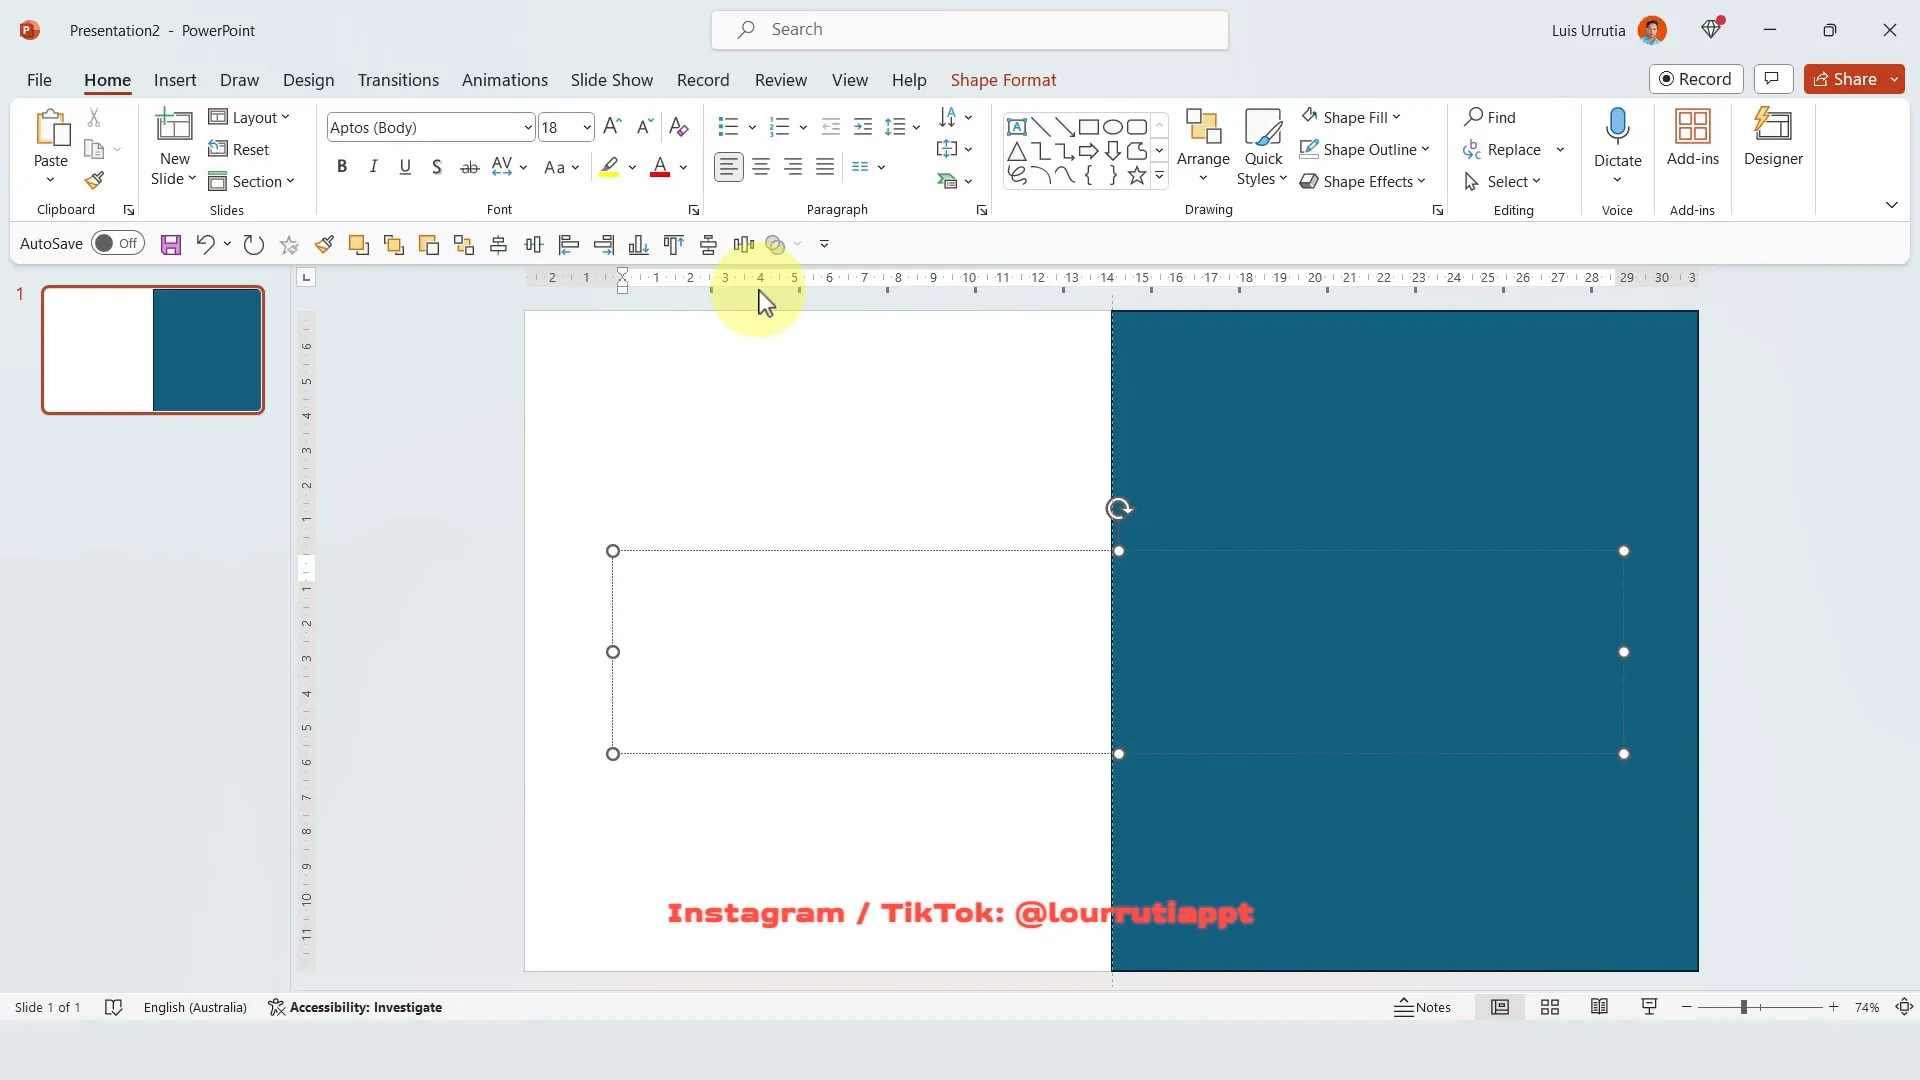
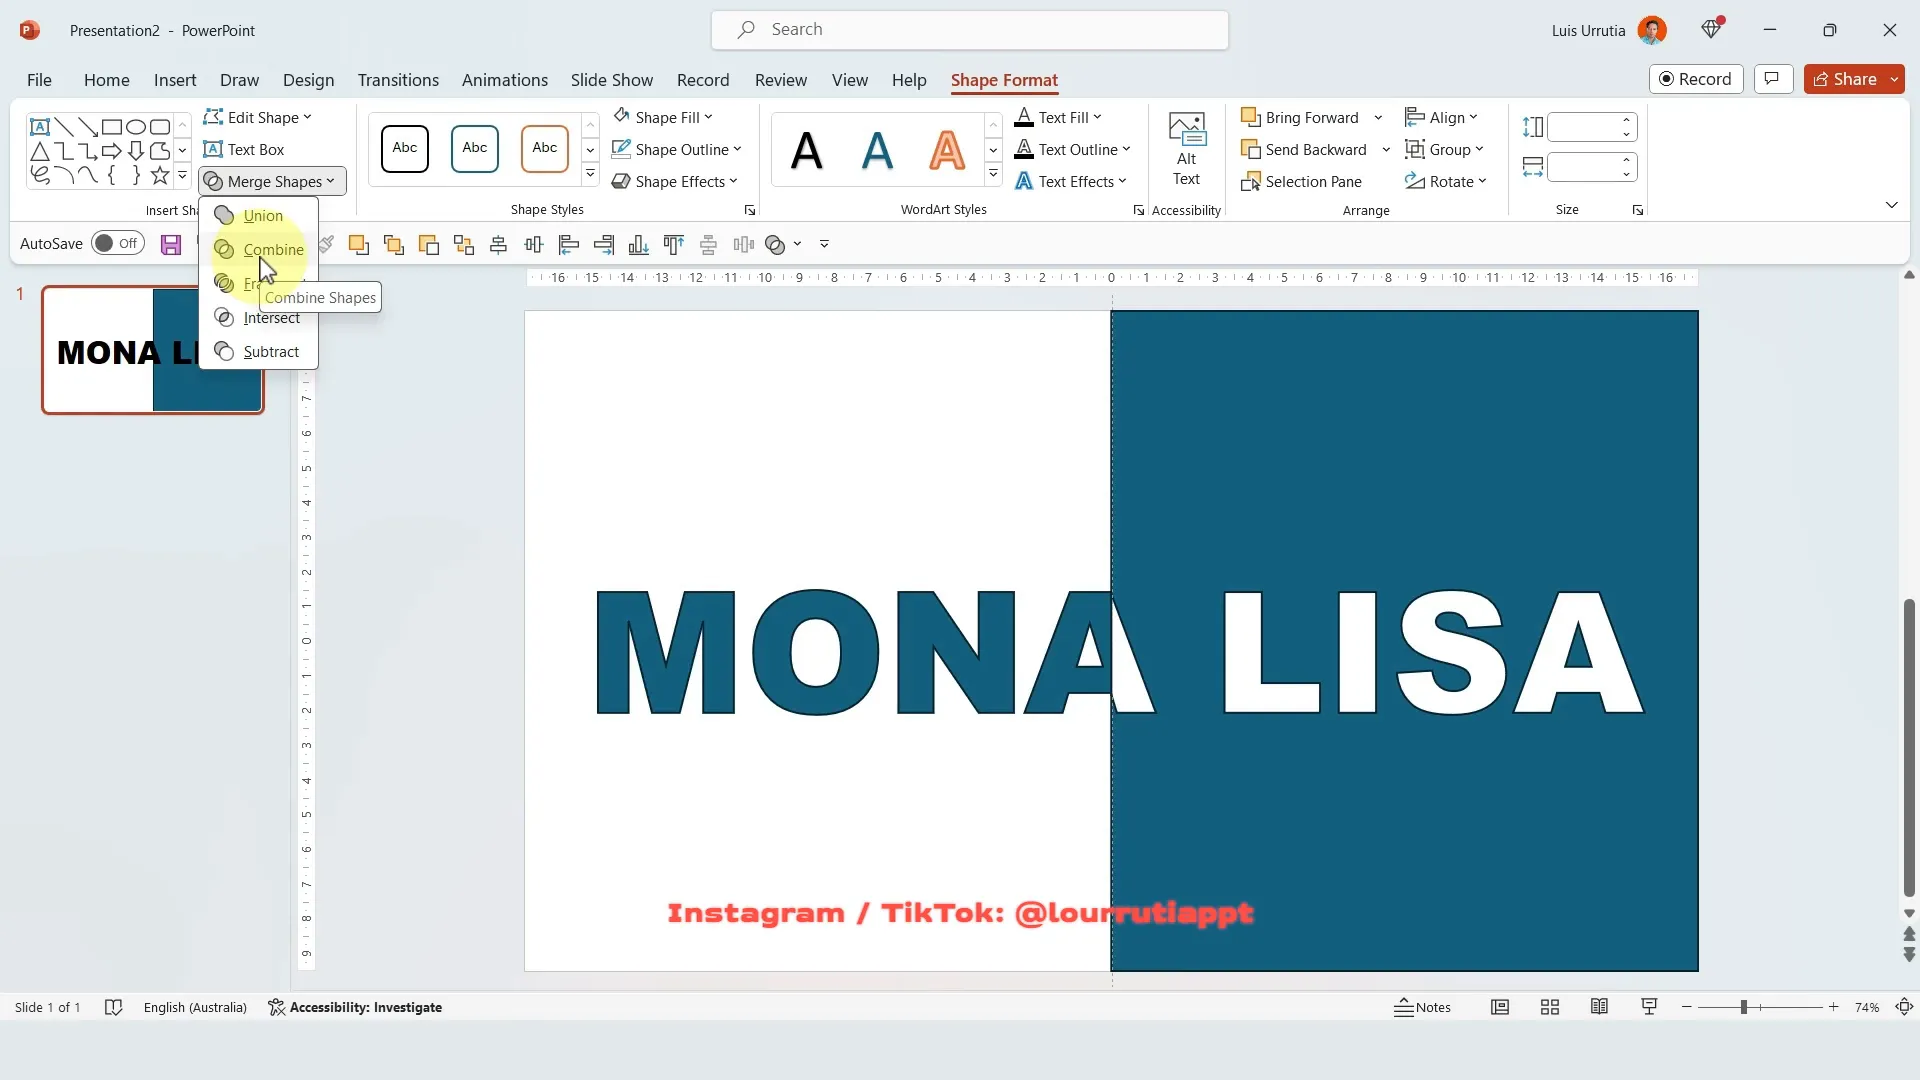
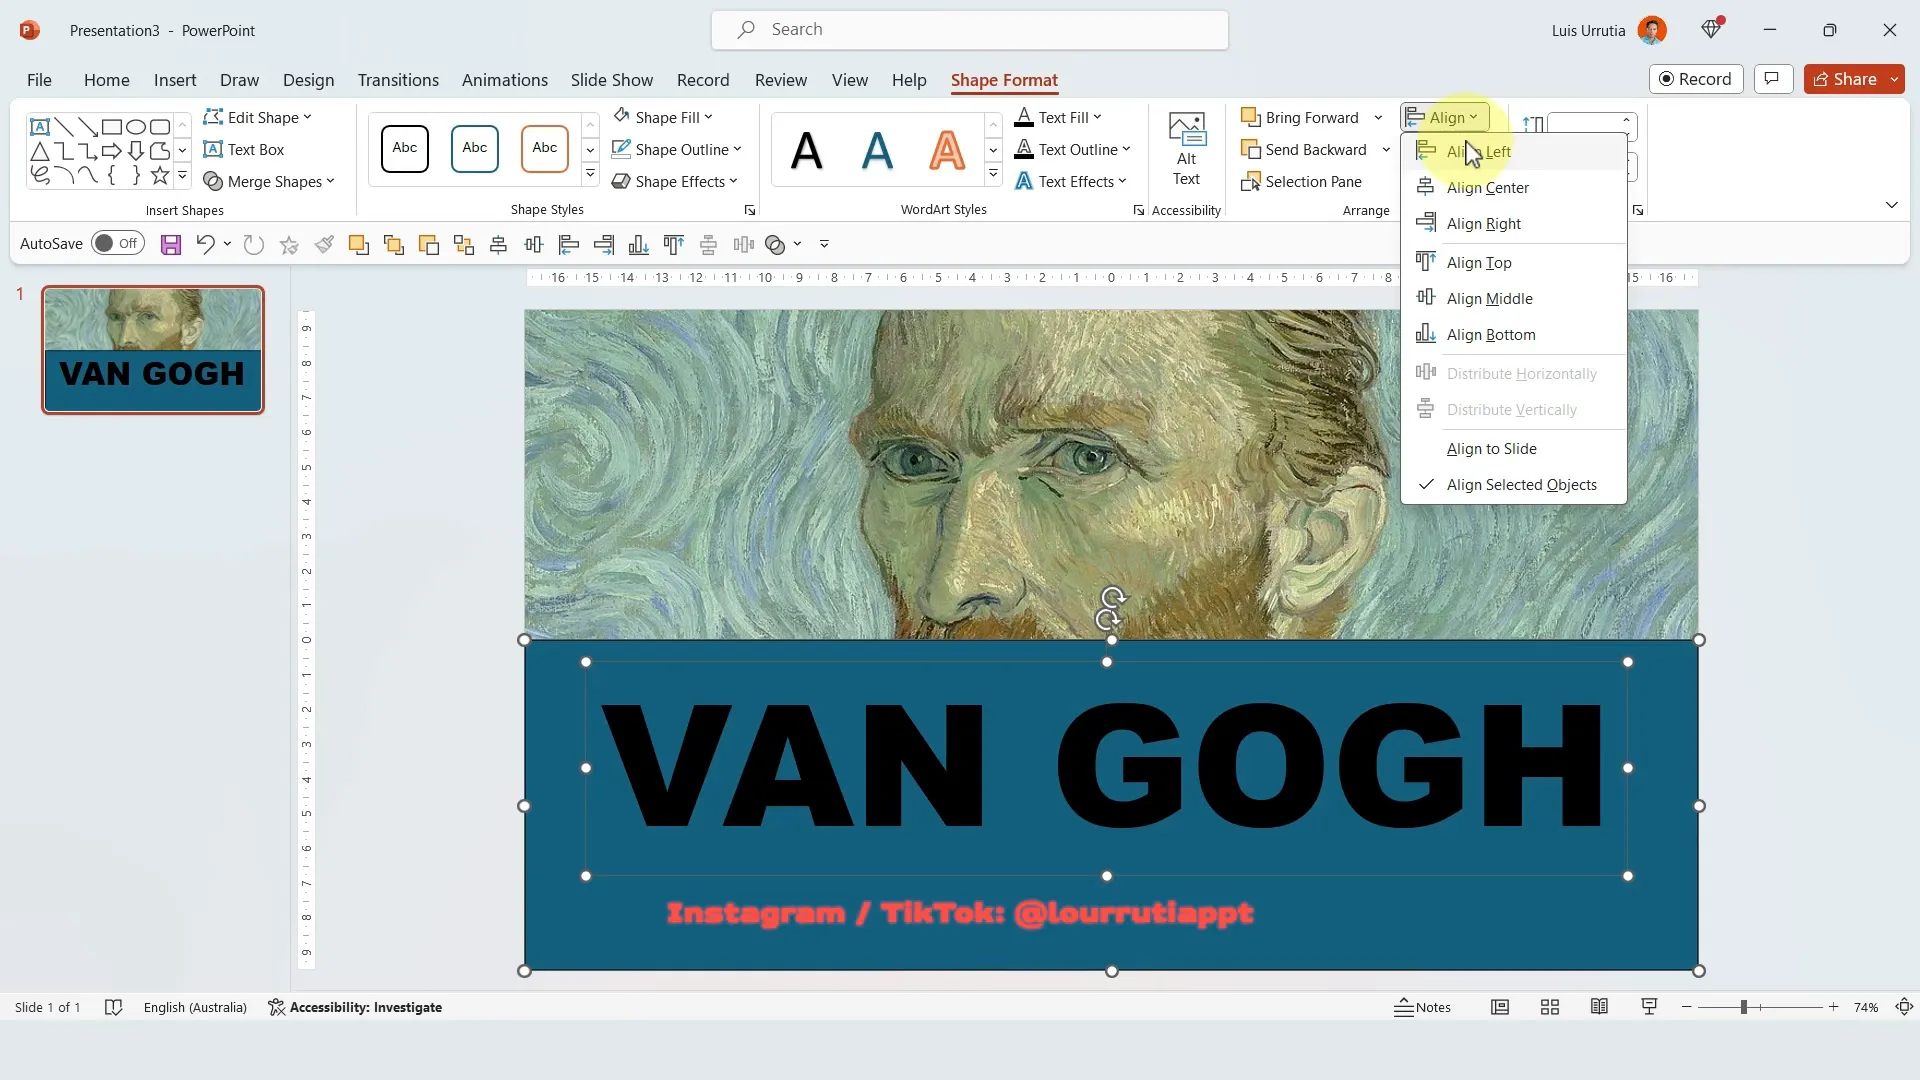
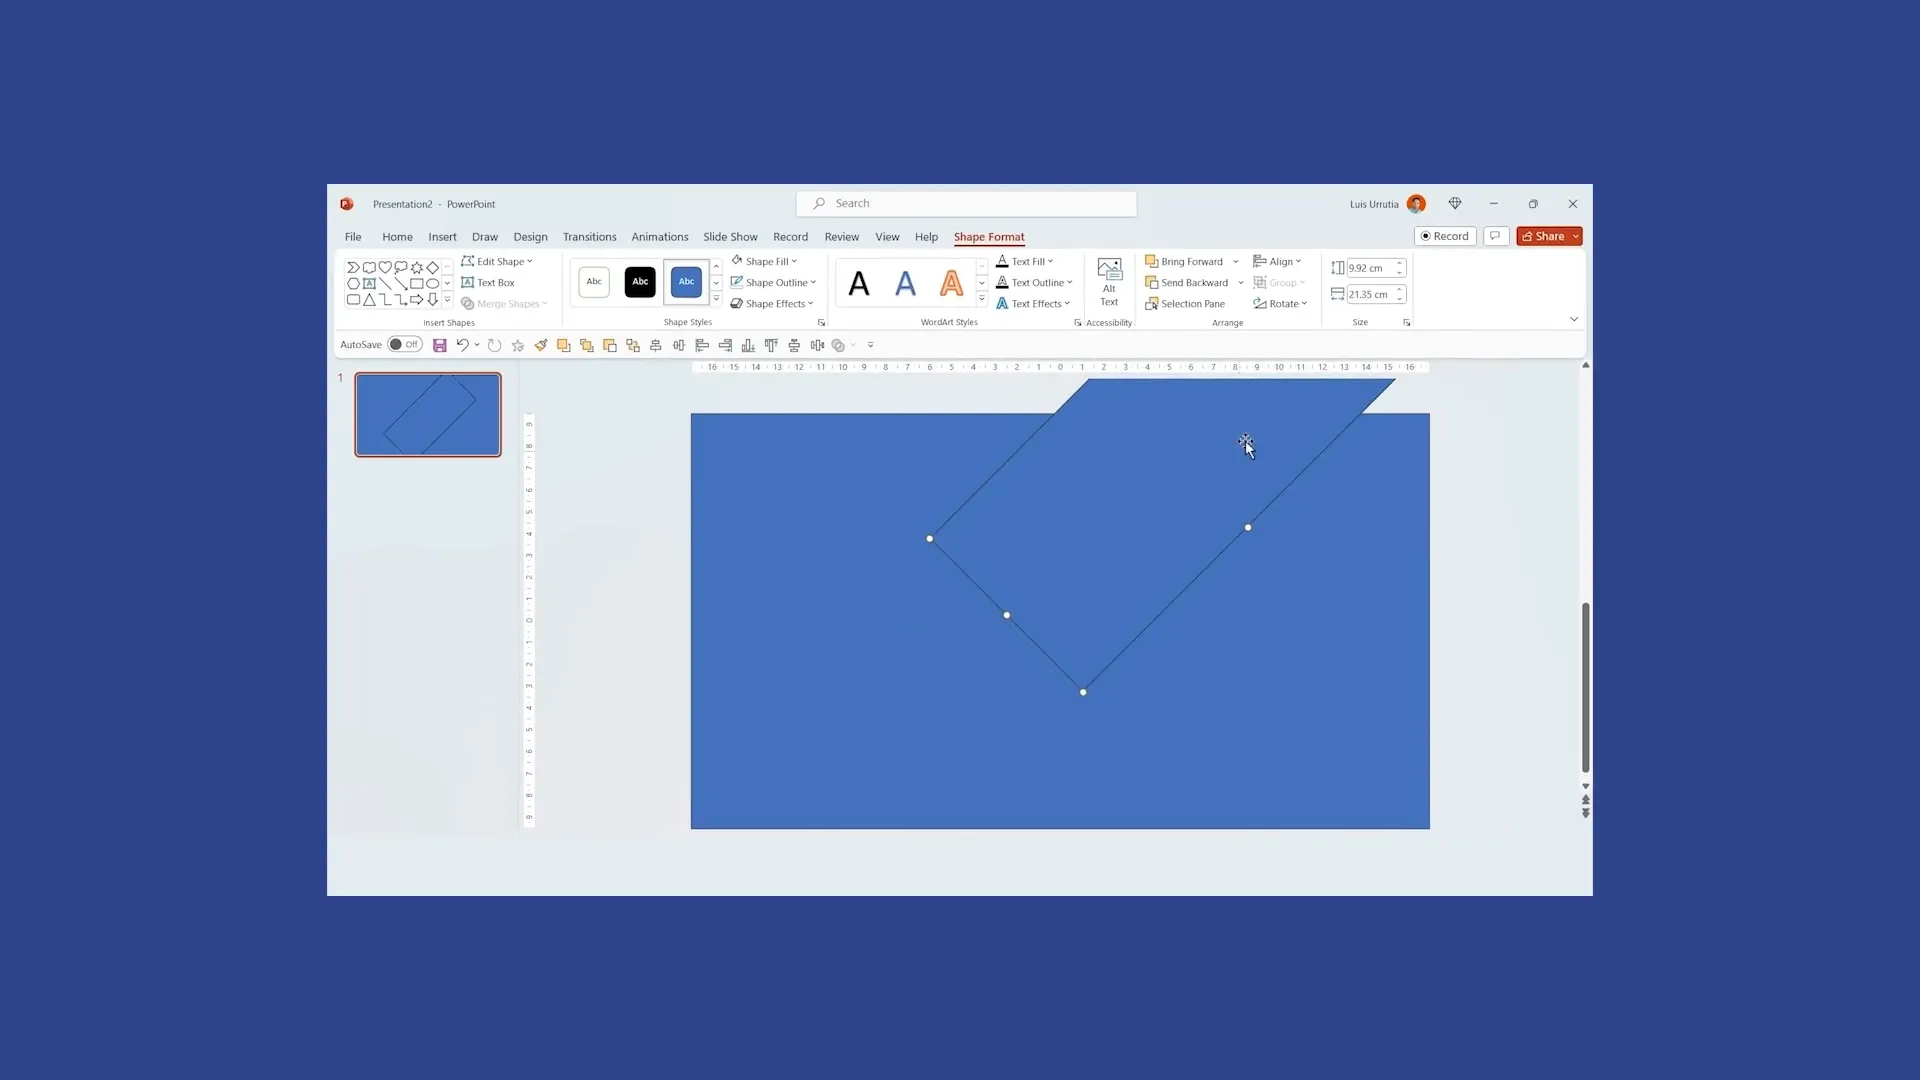
Step 4: Merging Text and Shape
Hold Shift and select the rectangle first, then the text box. Navigate to the Shape Format tab, click on Merge Shapes, and select Combine. This merges the text and shape into a single object, allowing you to apply effects uniformly.
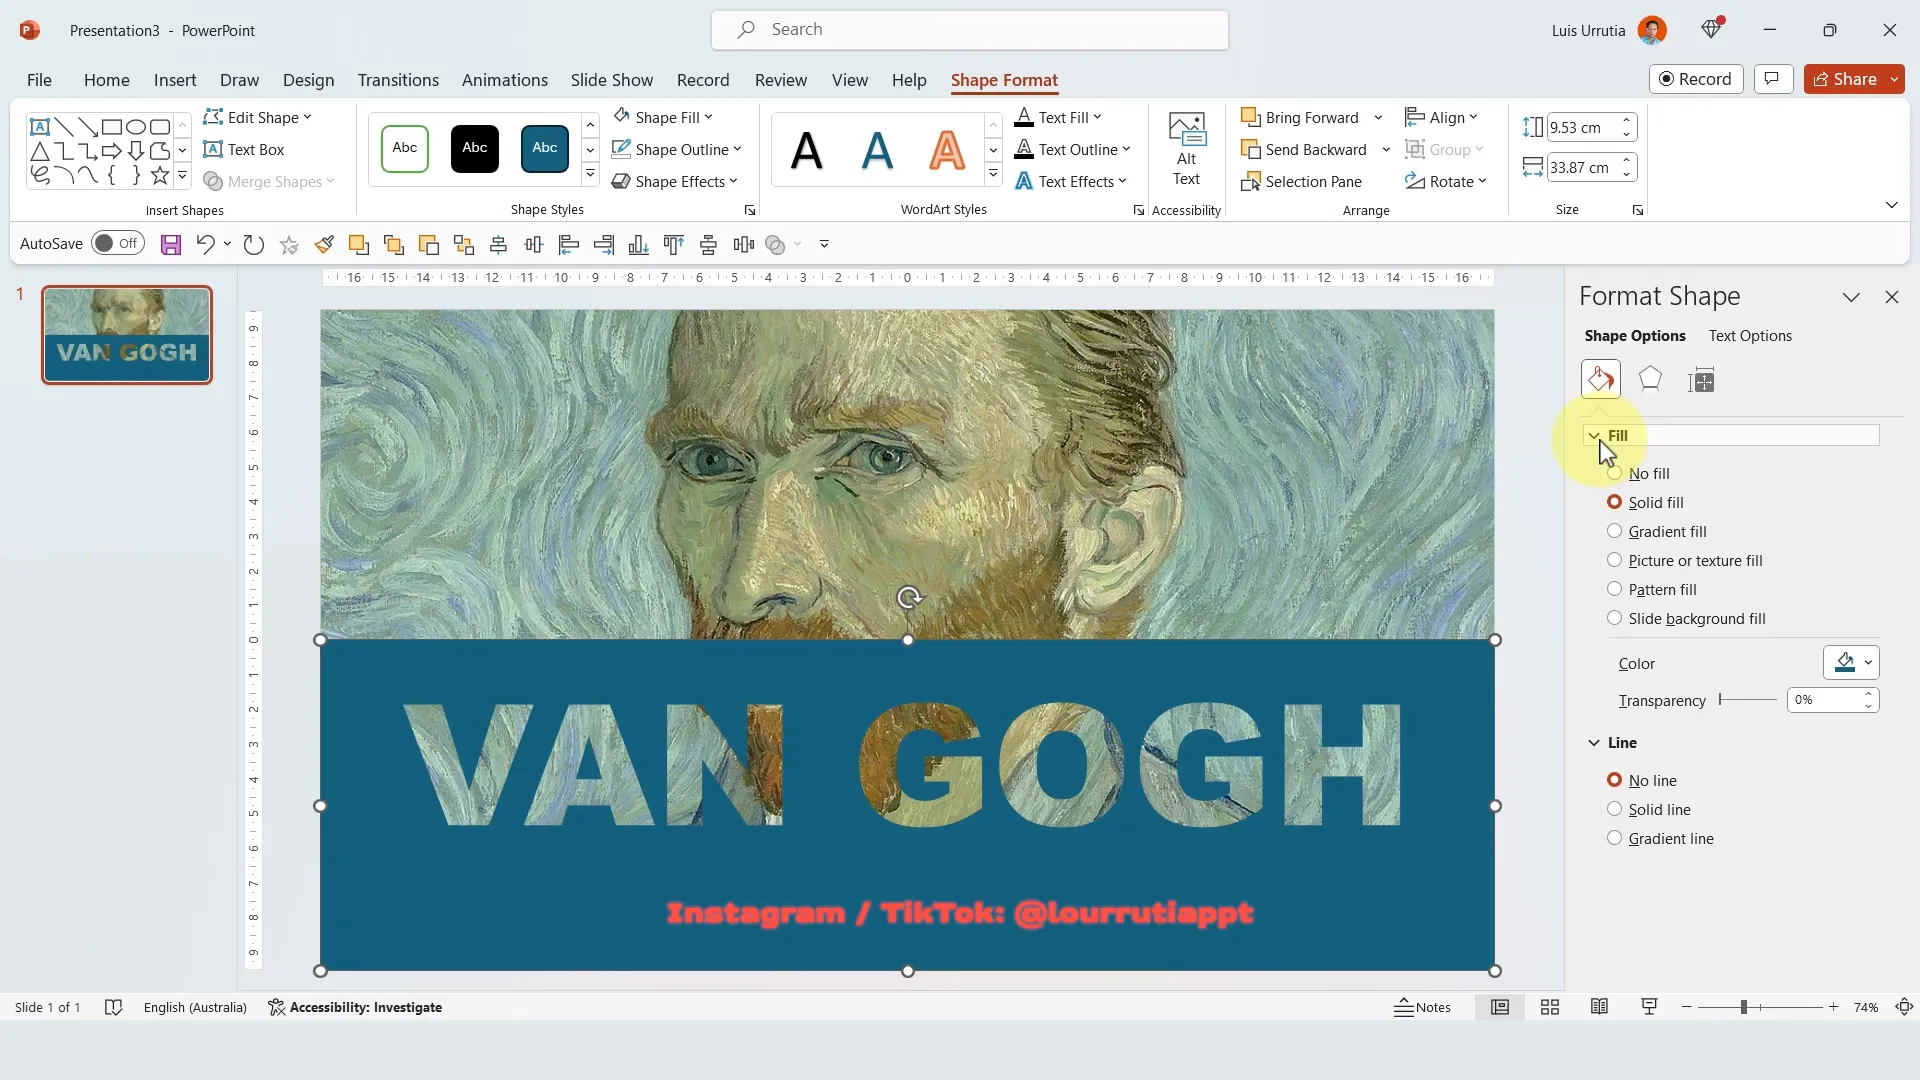
Step 5: Removing Outline and Adding Texture Fill
Remove the outline by selecting Shape Outline and clicking No Outline. Then, right-click the shape and choose Format Shape. In the panel that appears, under Fill, select Picture or Texture Fill. Click on Texture and choose a texture from the gallery, such as the stationary texture for a subtle effect.
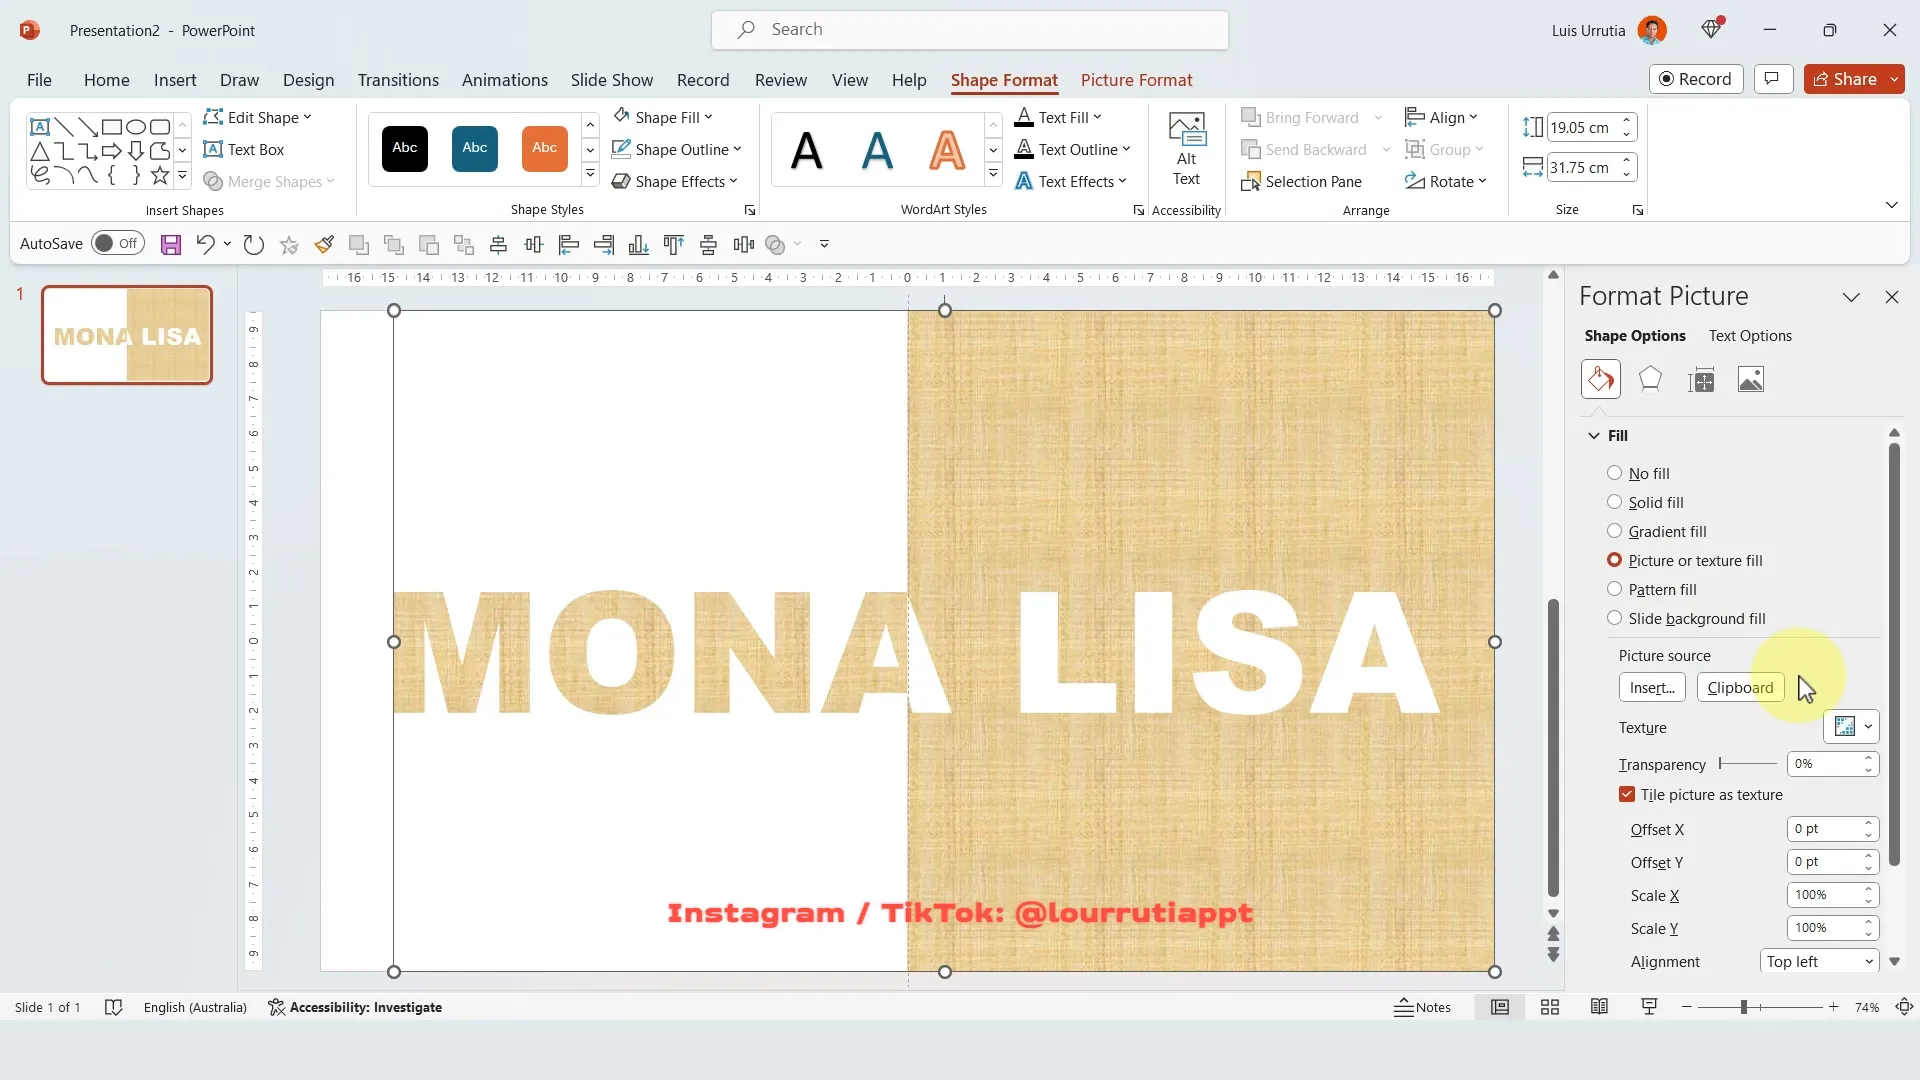
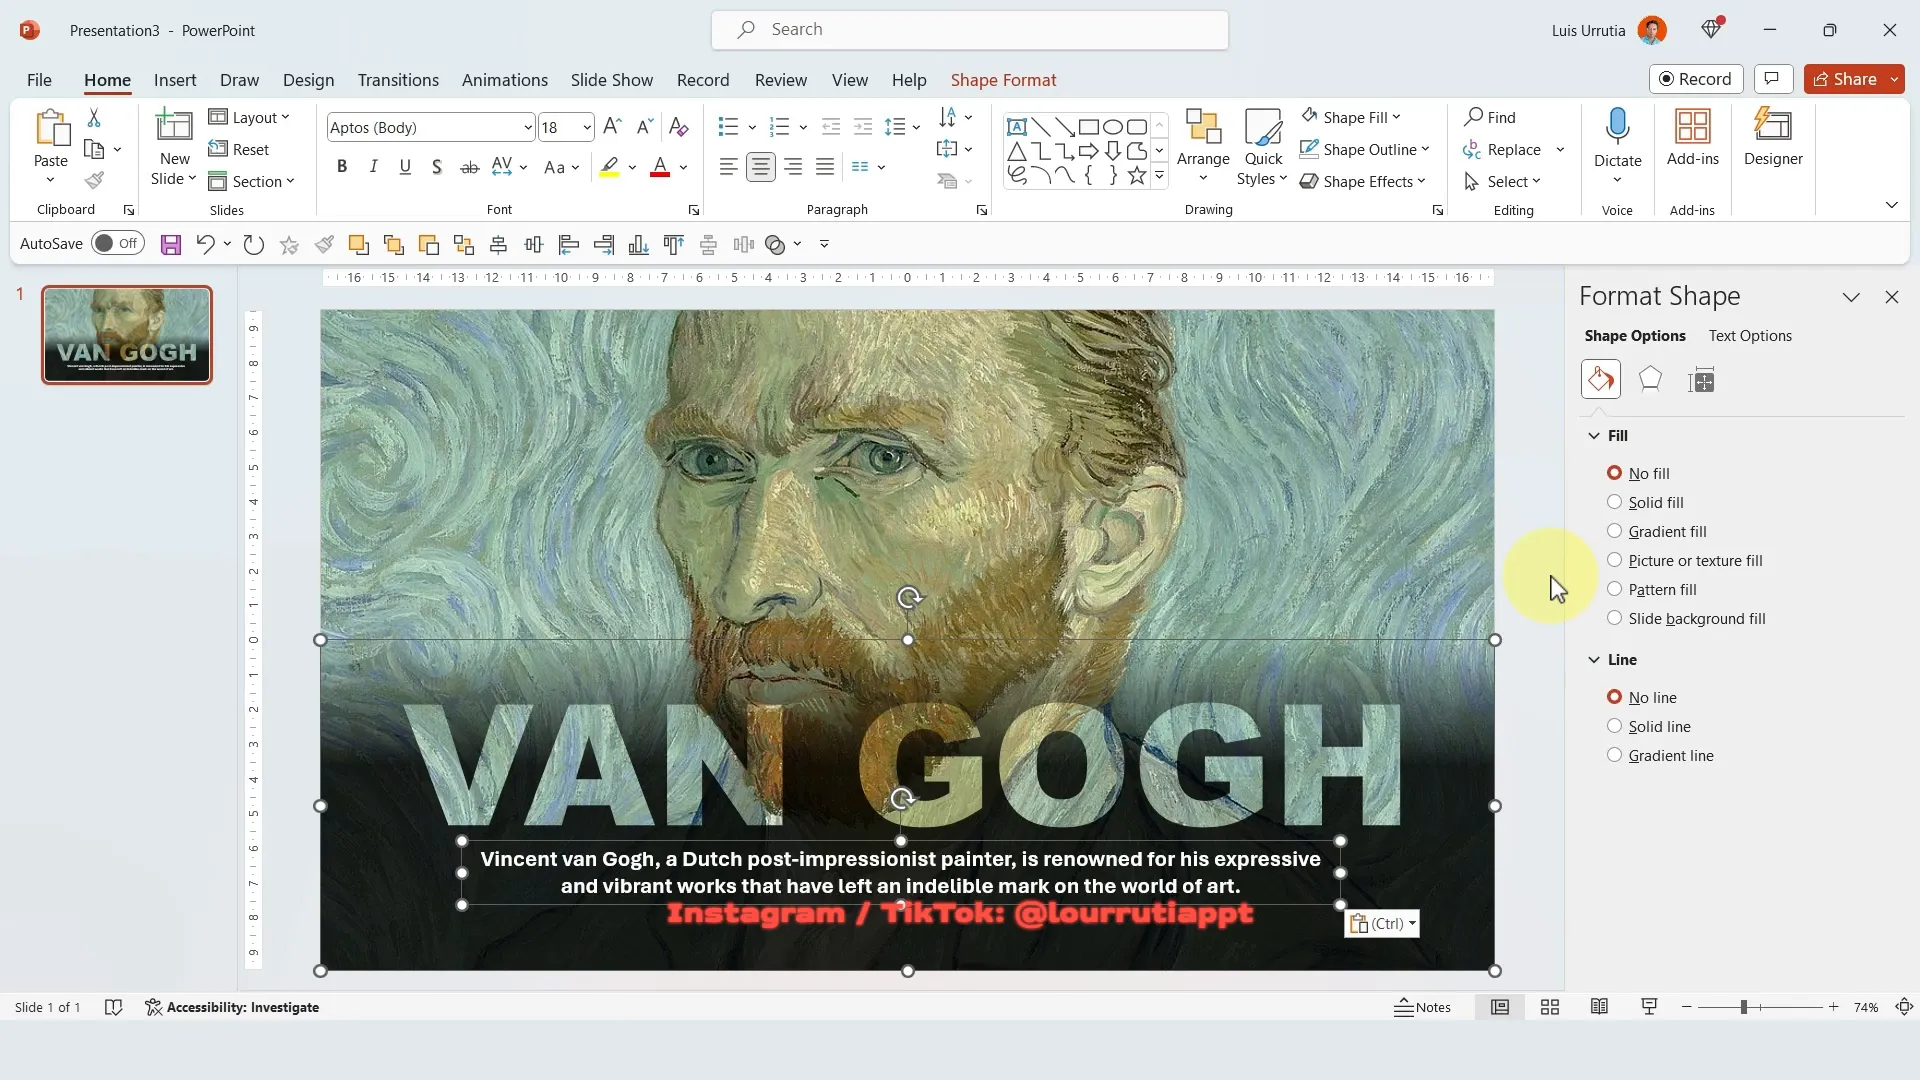
Step 6: Adding and Aligning an Image
Copy and paste an image, such as the Mona Lisa, onto the slide. Zoom out to get a better view, then right-click the image and select Send to Back so it sits behind the text shape. Use the crop tool to align the image within the slide boundaries. This step keeps your slide tidy and ensures the image fits perfectly within the design.
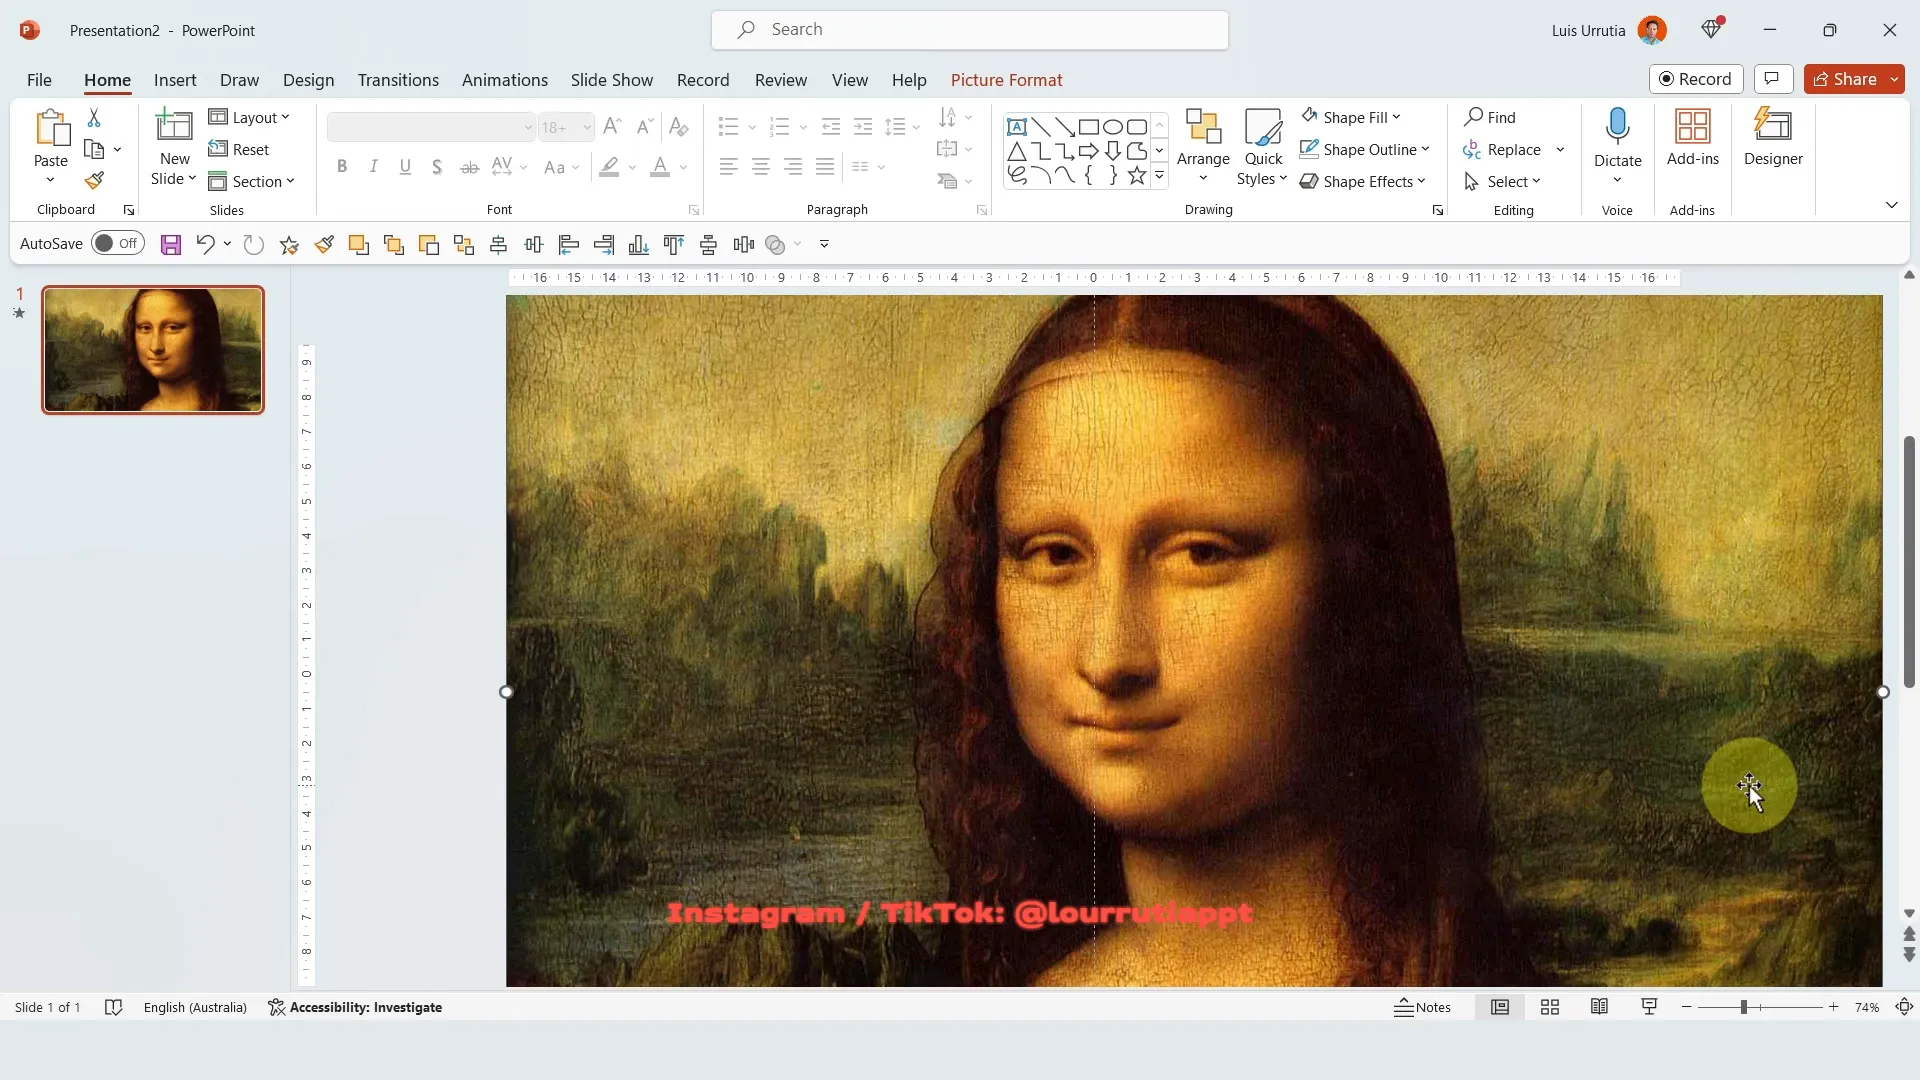
This technique creates a visually engaging slide where the text is filled with an image or texture, perfect for social media posts, presentations, or promotional materials.
Slide 2: Image Background with Gradient Text Overlay and Animation
The second slide design is all about layering an image background with a bold, gradient-filled text overlay that features smooth animation. This style is especially effective for storytelling and emphasizing key messages.
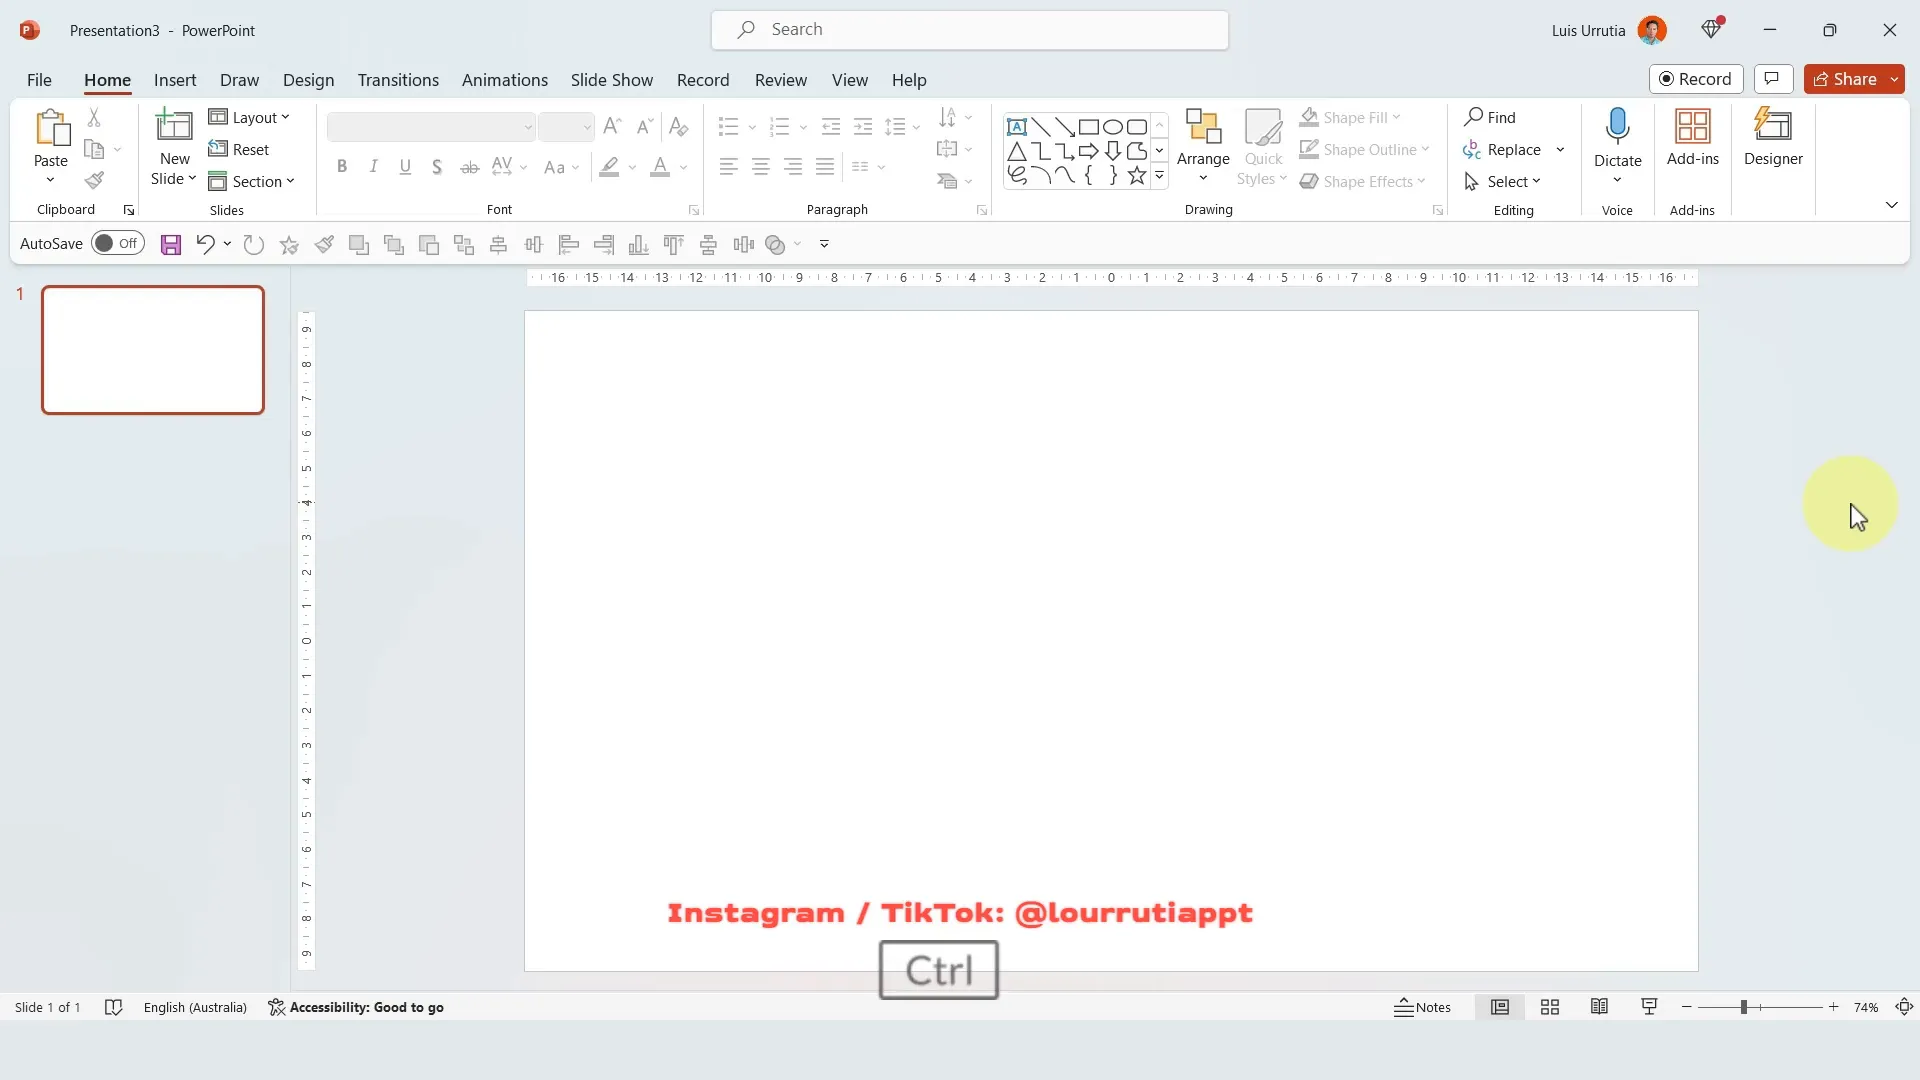
Step 1: Insert a Full-Slide Image
Copy and paste your desired image so that it covers the entire slide area. This image will serve as the background and set the tone for your slide.
Step 2: Add a Rectangle on the Bottom Half
Insert a rectangle shape covering the bottom half of the slide. This shape will function as the base for the text overlay, providing contrast against the background image.
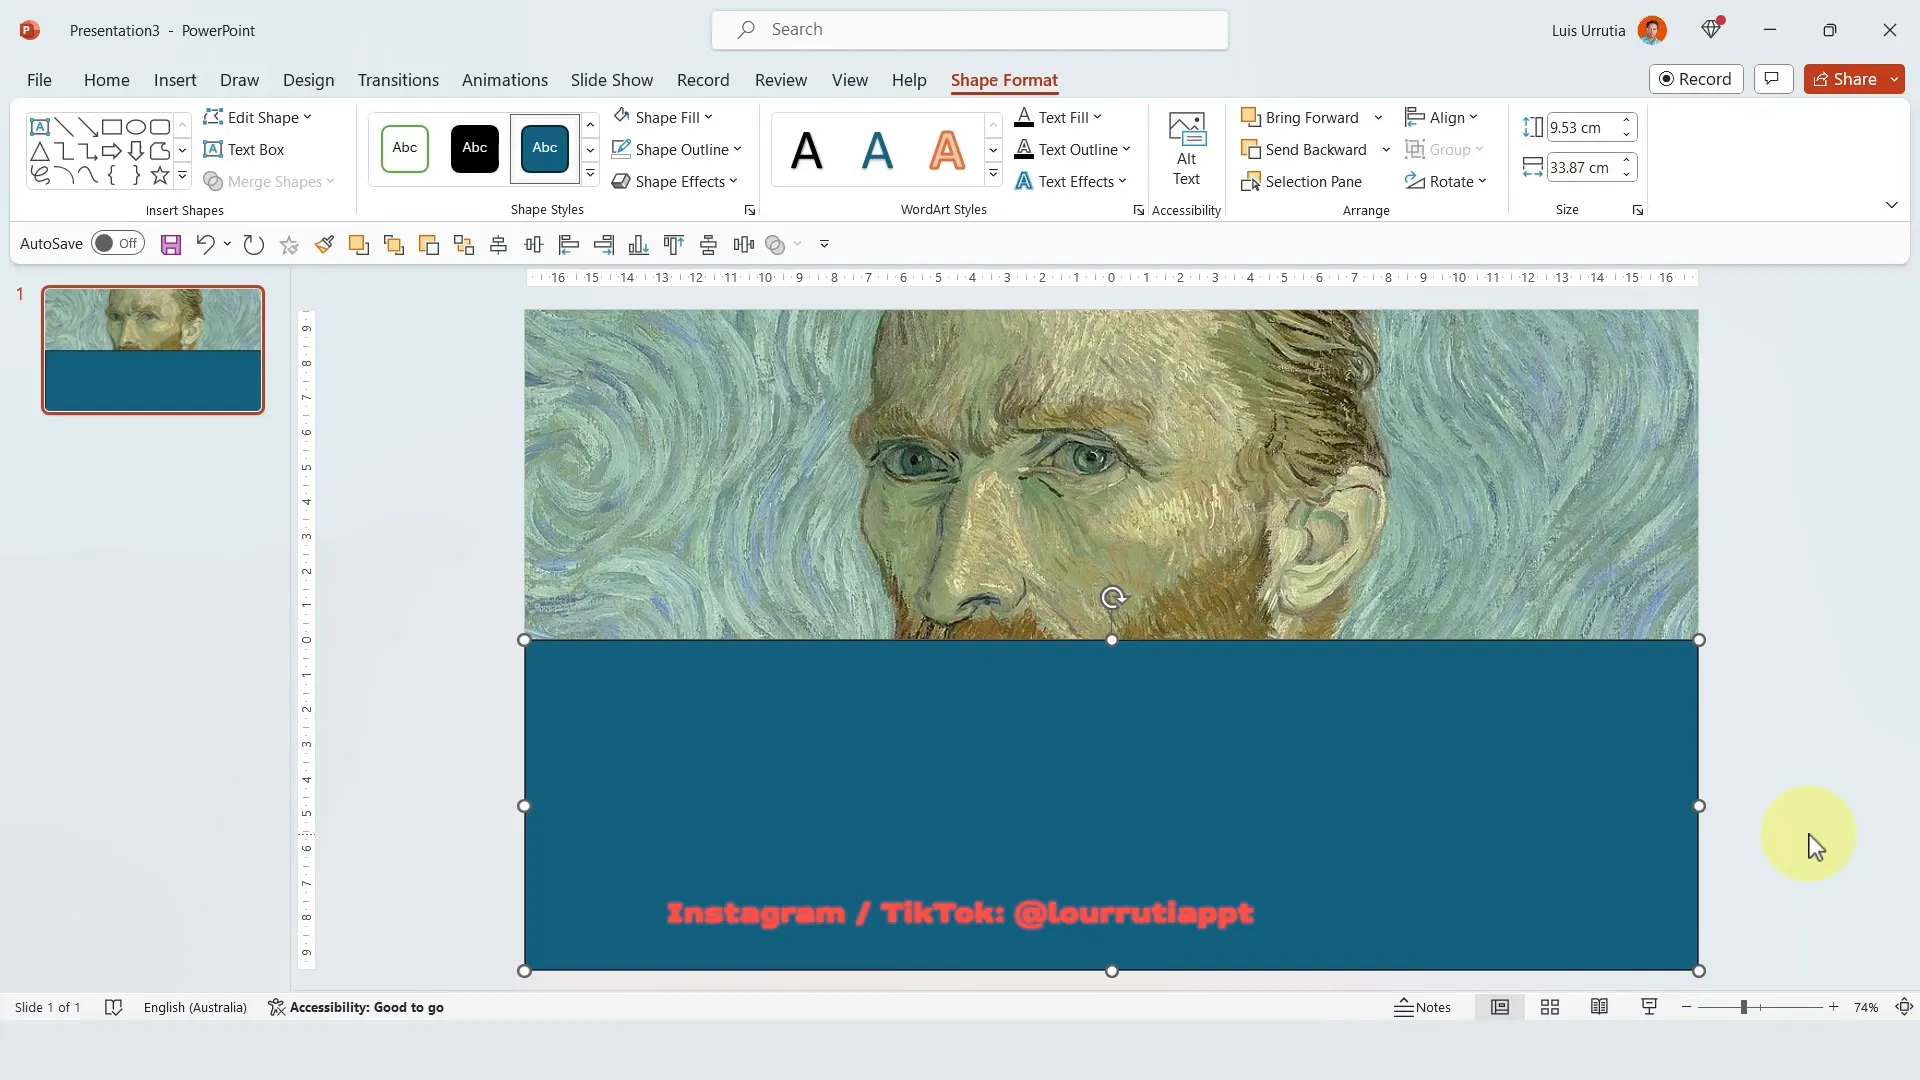
Step 3: Insert and Format Text Box
Add a text box on top of the rectangle, center-align the text both horizontally and vertically. Use a bold font like Arial Black, and increase the font size for emphasis.
Remember, this effect works best with bold fonts because they hold the gradient and shape merging effects more clearly.
Step 4: Align and Merge Shapes
Hold Shift and select the rectangle first, then the text box. Use the Align to Center option in the Shape Format tab to perfectly center the text over the rectangle. Then, merge the two shapes by clicking Merge Shapes and selecting Combine.
Step 5: Remove Outline and Apply Gradient Fill
Remove the outline by selecting No Line in the Line section of the format shape panel. Next, select Gradient Fill for the fill.
Use only two gradient stops: set one to black with about 14% transparency and the other to black with 100% transparency. Adjust the gradient direction and stops to create a smooth fade effect from solid to transparent.
Step 6: Add Animation to Text Overlay
Select the merged shape and group it using Ctrl + G. Then, go to the Animations tab and apply the Fly In animation. Set the animation to start With Previous and adjust the duration to about one second.
Open the animation pane, right-click the animation item, and select Effect Options. Choose Smooth End for a polished finish. This animation adds a dynamic entrance to your text overlay, making your slide more engaging.
Enhance Your Presentations with iSpring Suite
Before moving on to the next slide design, I want to introduce a fantastic tool that I’ve been using to create interactive courses and presentations: iSpring Suite. This is an add-in for PowerPoint that transforms your slides into engaging eLearning content with quizzes, interactive pages, and instructional videos.
If you’re a teacher, trainer, or professional looking to create full courses quickly and easily, iSpring Suite is a game-changer. Here’s why:
- Slide Templates: Access a vast library of layouts including covers, timelines, charts, and summary slides to jumpstart your course design.
- Quizzes: Create graded quizzes or surveys with various question types such as multiple choice, true/false, sequences, and more.
- Characters and Illustrations: Insert diverse characters with different professions, ethnicities, and ages to guide learners. Customize their appearance to match your brand.
- Backgrounds and Icons: Choose from numerous backgrounds like offices, stores, and public spaces, plus a rich icon library to visually support your content.
- Role Play Feature: Build interactive branching scenarios that mimic natural conversations, enhancing learner engagement.
- AI Voice Over: Add AI-generated narration or record your own voice directly within the tool.
You can find iSpring Suite at ispring solutions dot com. It integrates seamlessly with PowerPoint and is packed with tutorials and support to help you create professional courses effortlessly.
Slide 3: Text Filled with Animated GIF
The third slide design introduces a fun and dynamic approach by filling bold text with an animated GIF. This technique gives your presentation a lively and modern feel, perfect for grabbing attention.
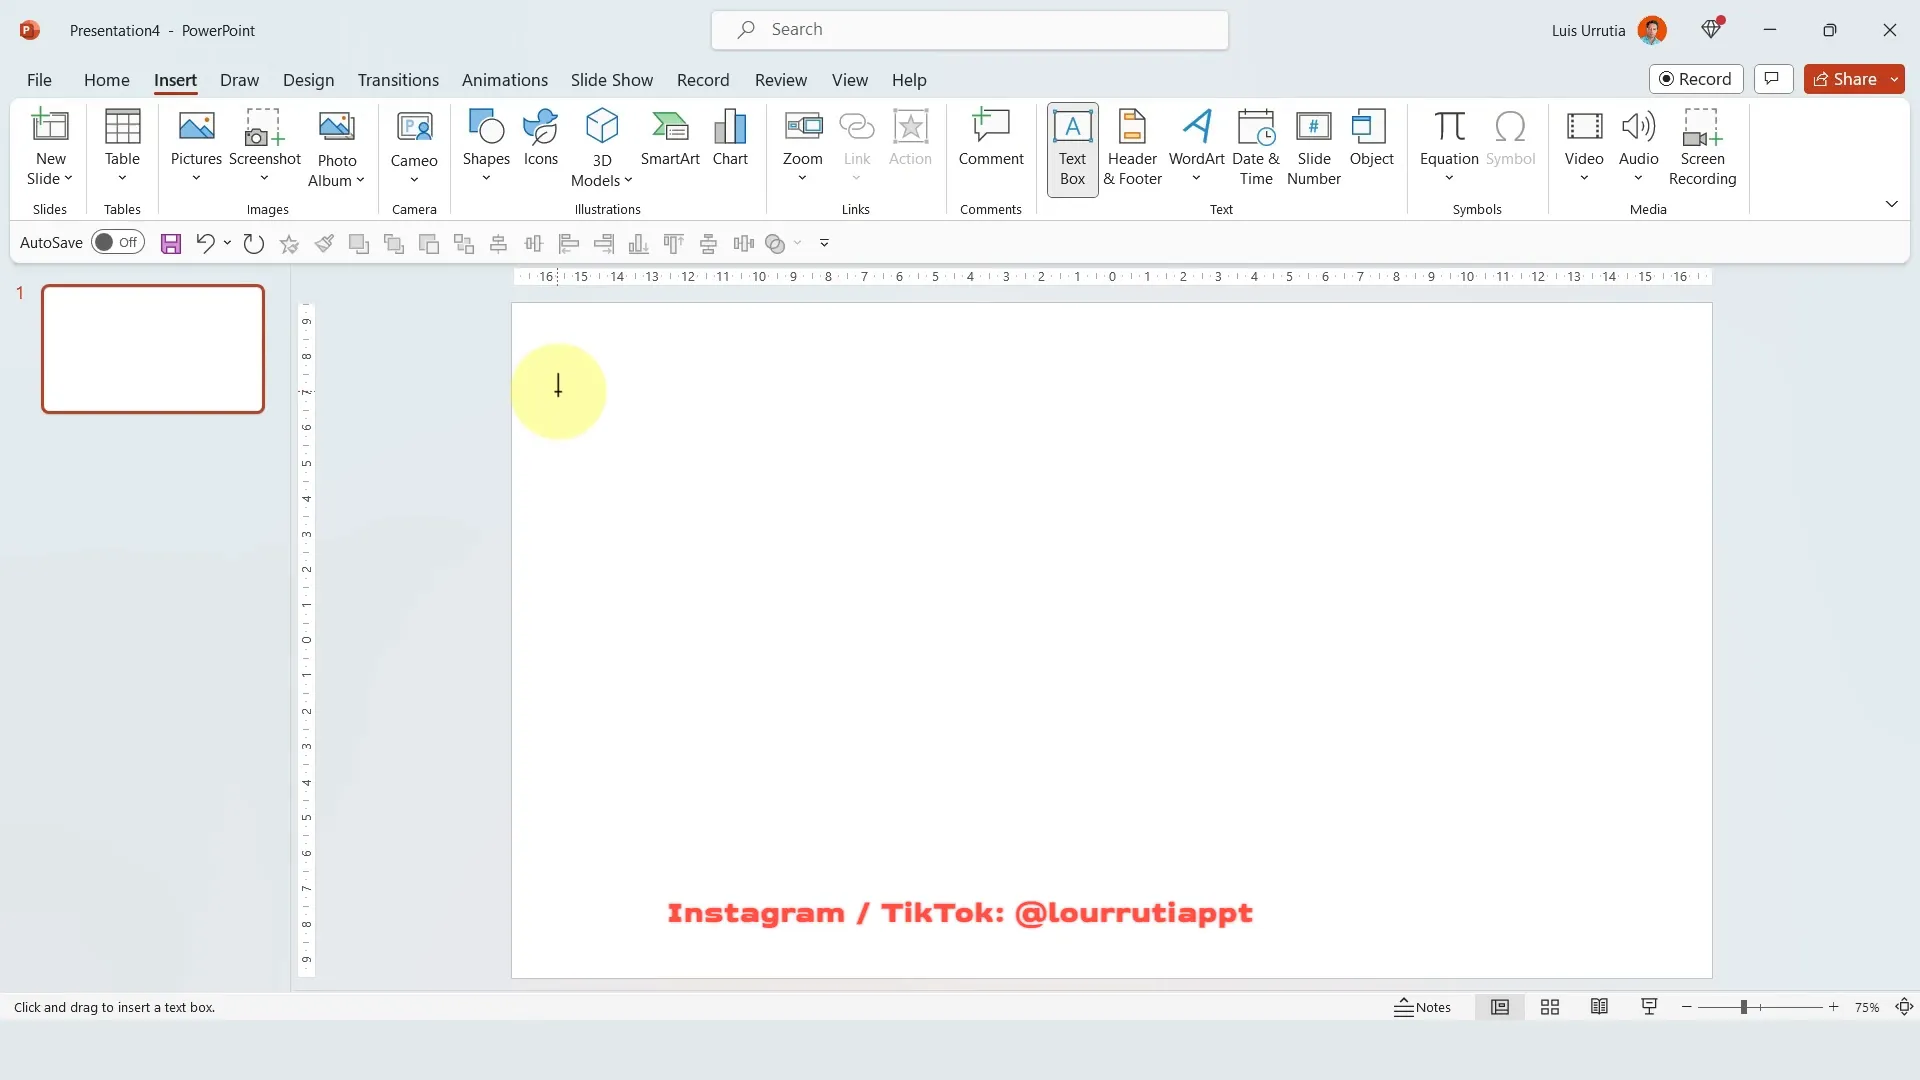
Step 1: Add and Format Text Box
Start by inserting a text box and typing your desired word. Use a large font size and a variable font like Active Grotesque Black for a strong visual impact.

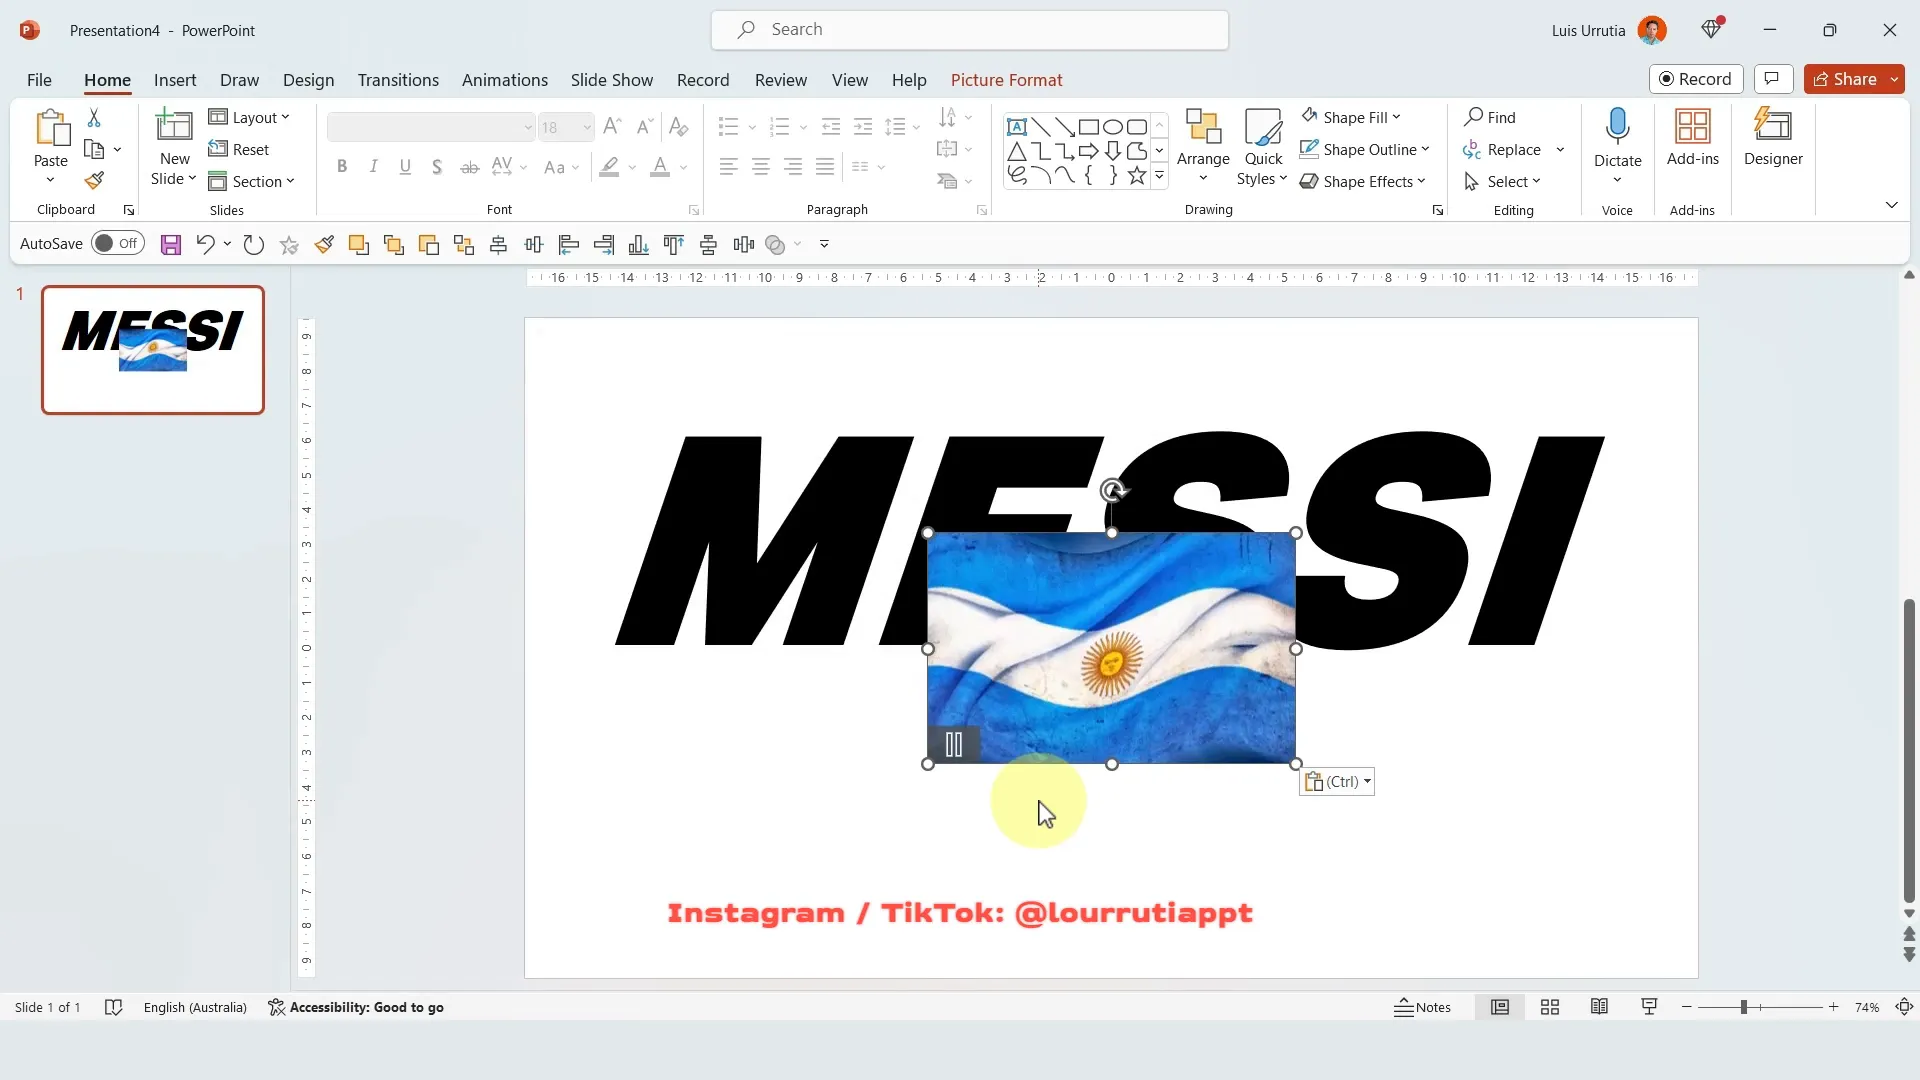
Step 2: Find and Insert an Animated GIF
Visit Giphy.com or another GIF repository and search for an animated GIF that relates to your text. For example, searching “Argentina” can yield a flag-themed GIF.
Copy and paste the GIF directly into your slide, resizing it so it covers the entire text area. Note that you might need to stretch the GIF to fit the text shape, which can slightly distort the image but achieves the desired effect of filling the text with animation.
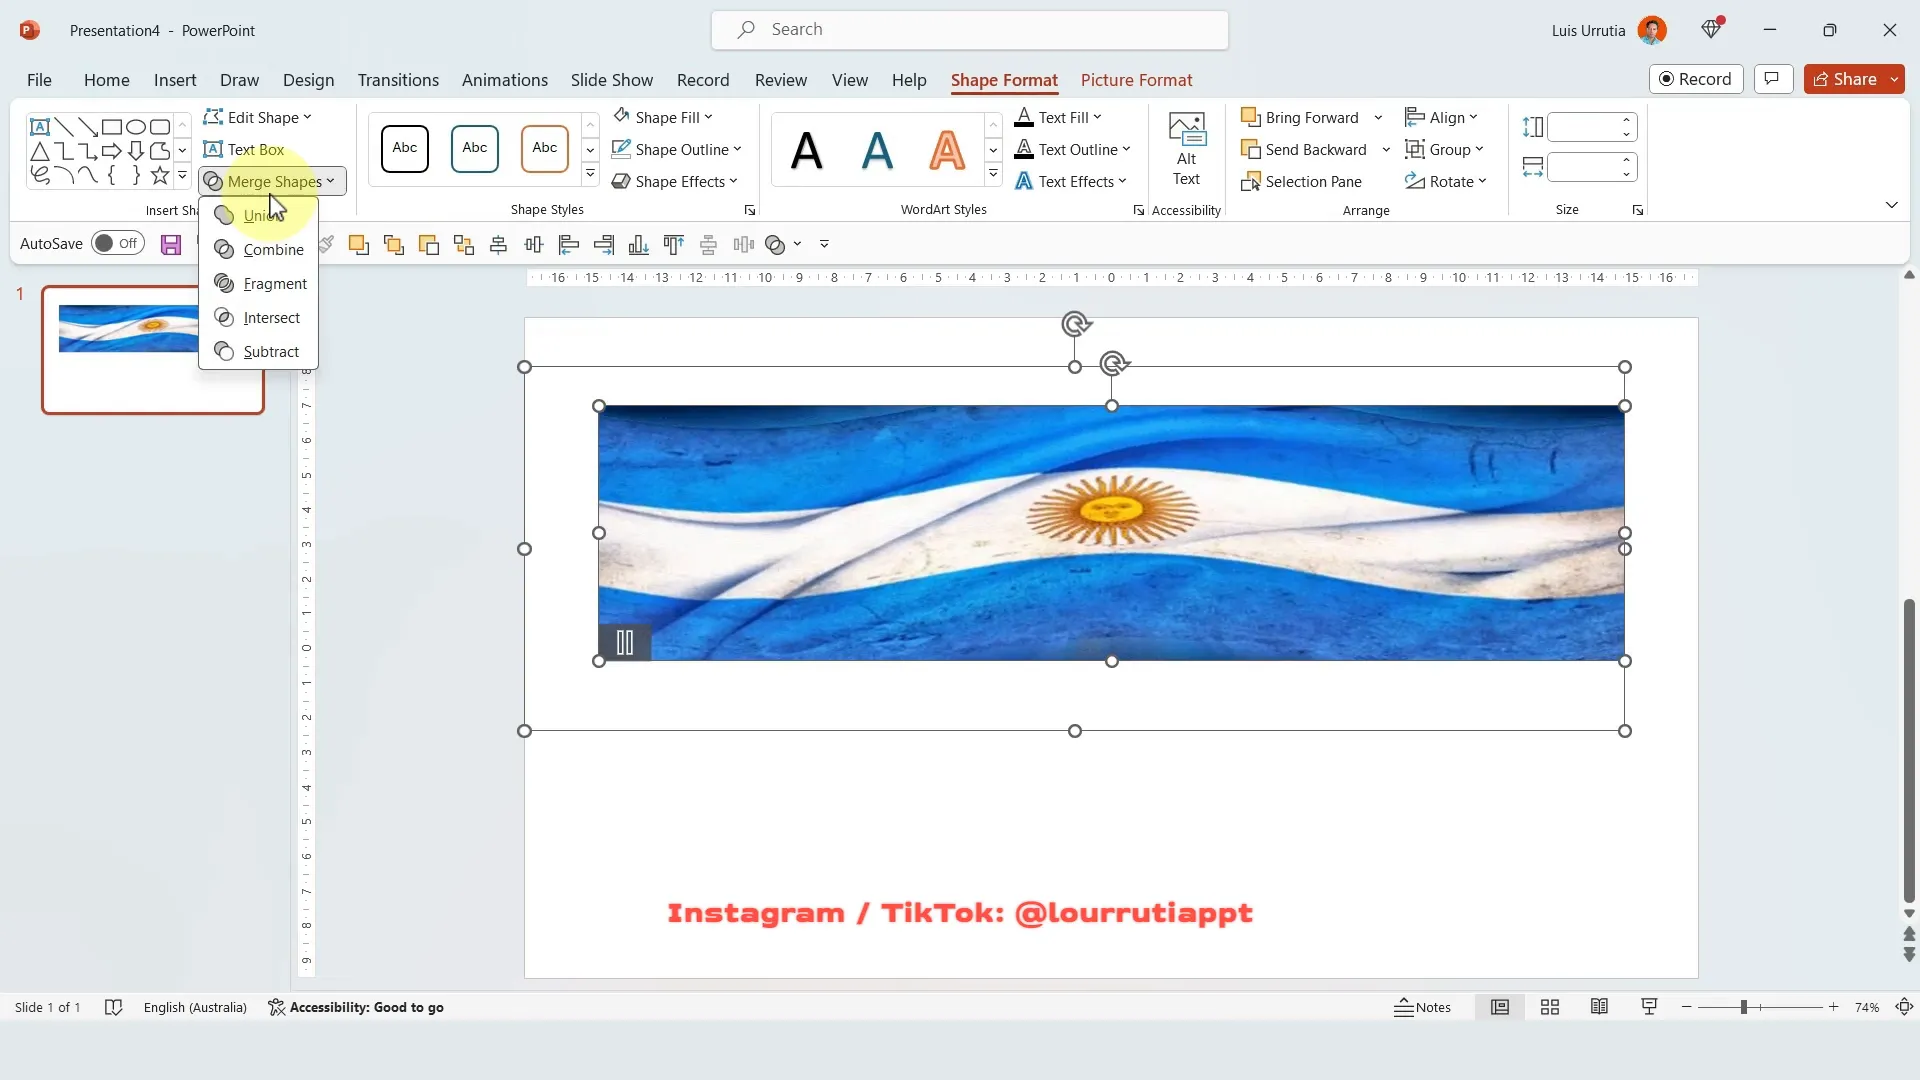
Step 3: Merge Text and GIF Using Intersect
Select both the text box and the GIF, then go to Shape Format > Merge Shapes and choose Intersect. This clips the GIF to the shape of the text, creating a vibrant, animated text fill.
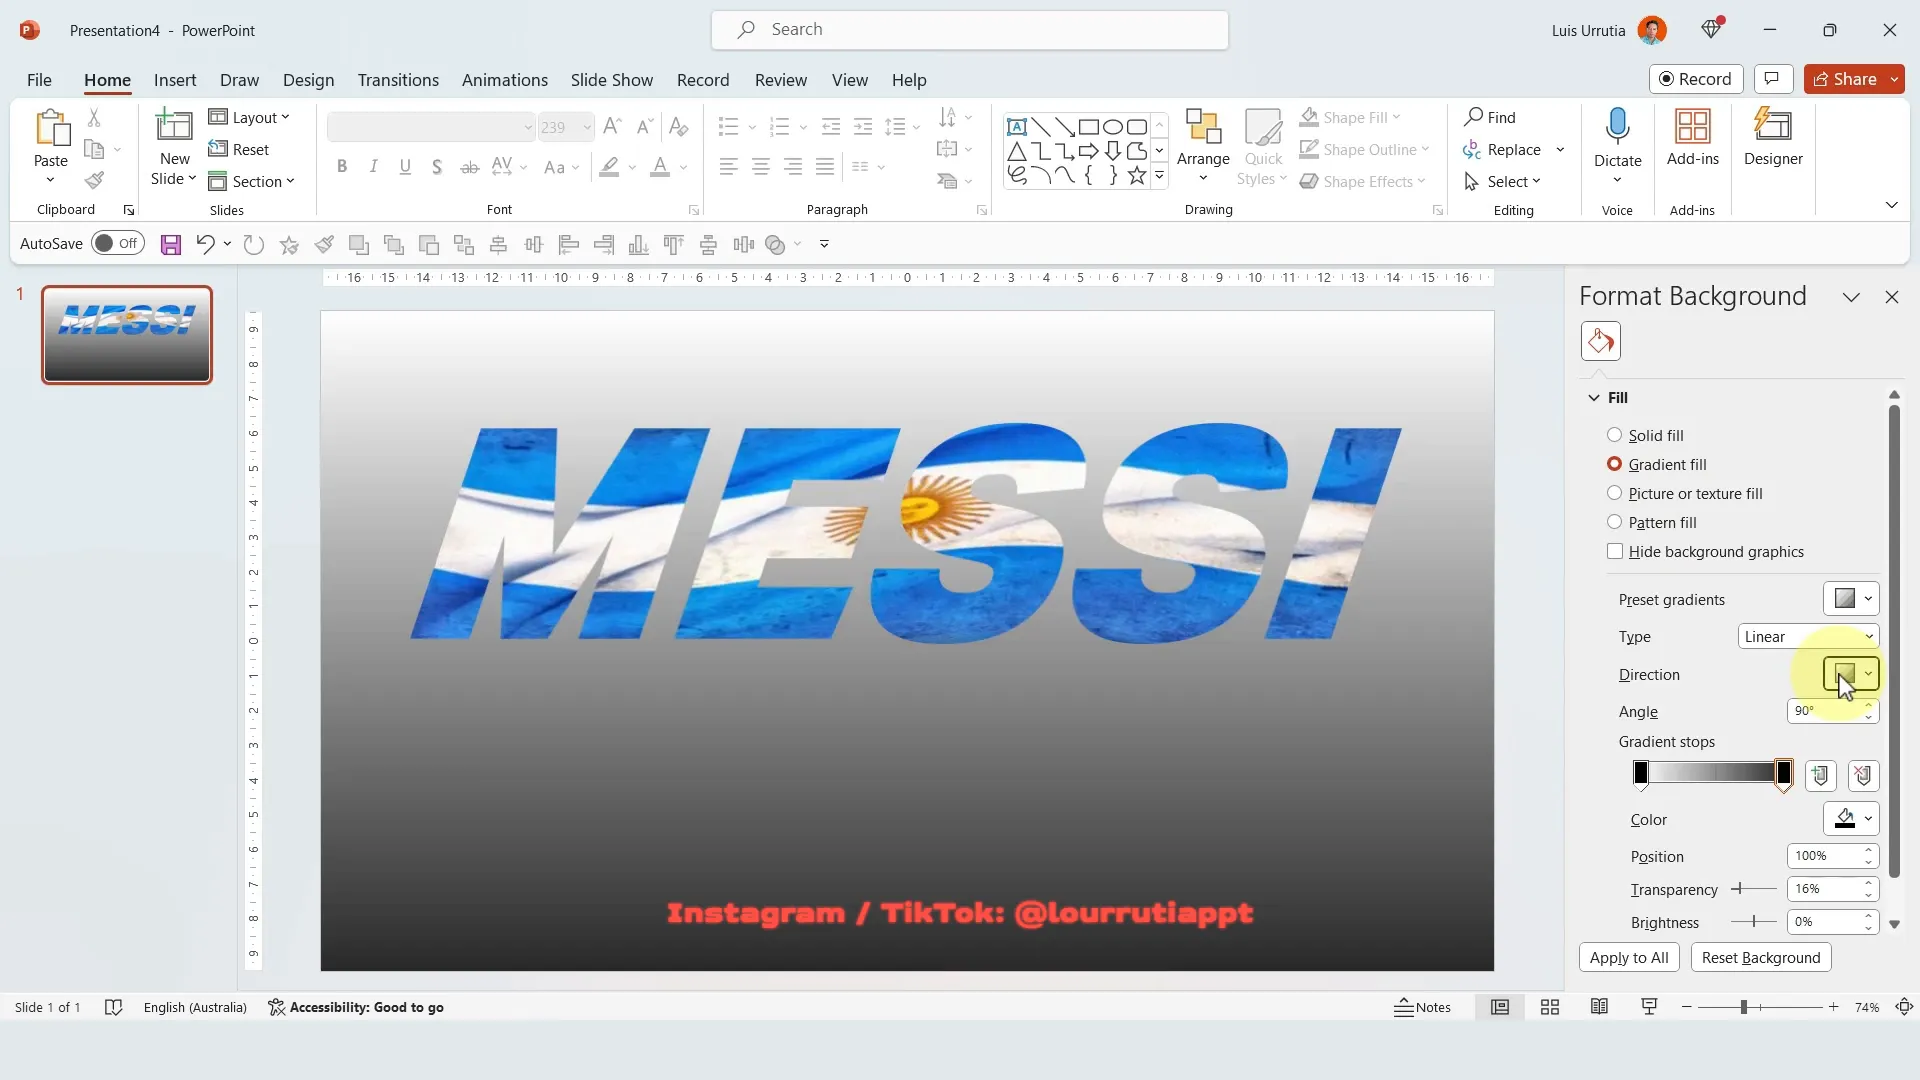
Step 4: Format Background with Gradient Fill
Right-click on the slide background and select Format Background. Choose Gradient Fill and set the gradient direction to diagonal.
Use two gradient stops: one royal blue on the right and black on the left. Adjust their positions so the colors blend smoothly, enhancing the overall aesthetic and focusing attention on the animated text.
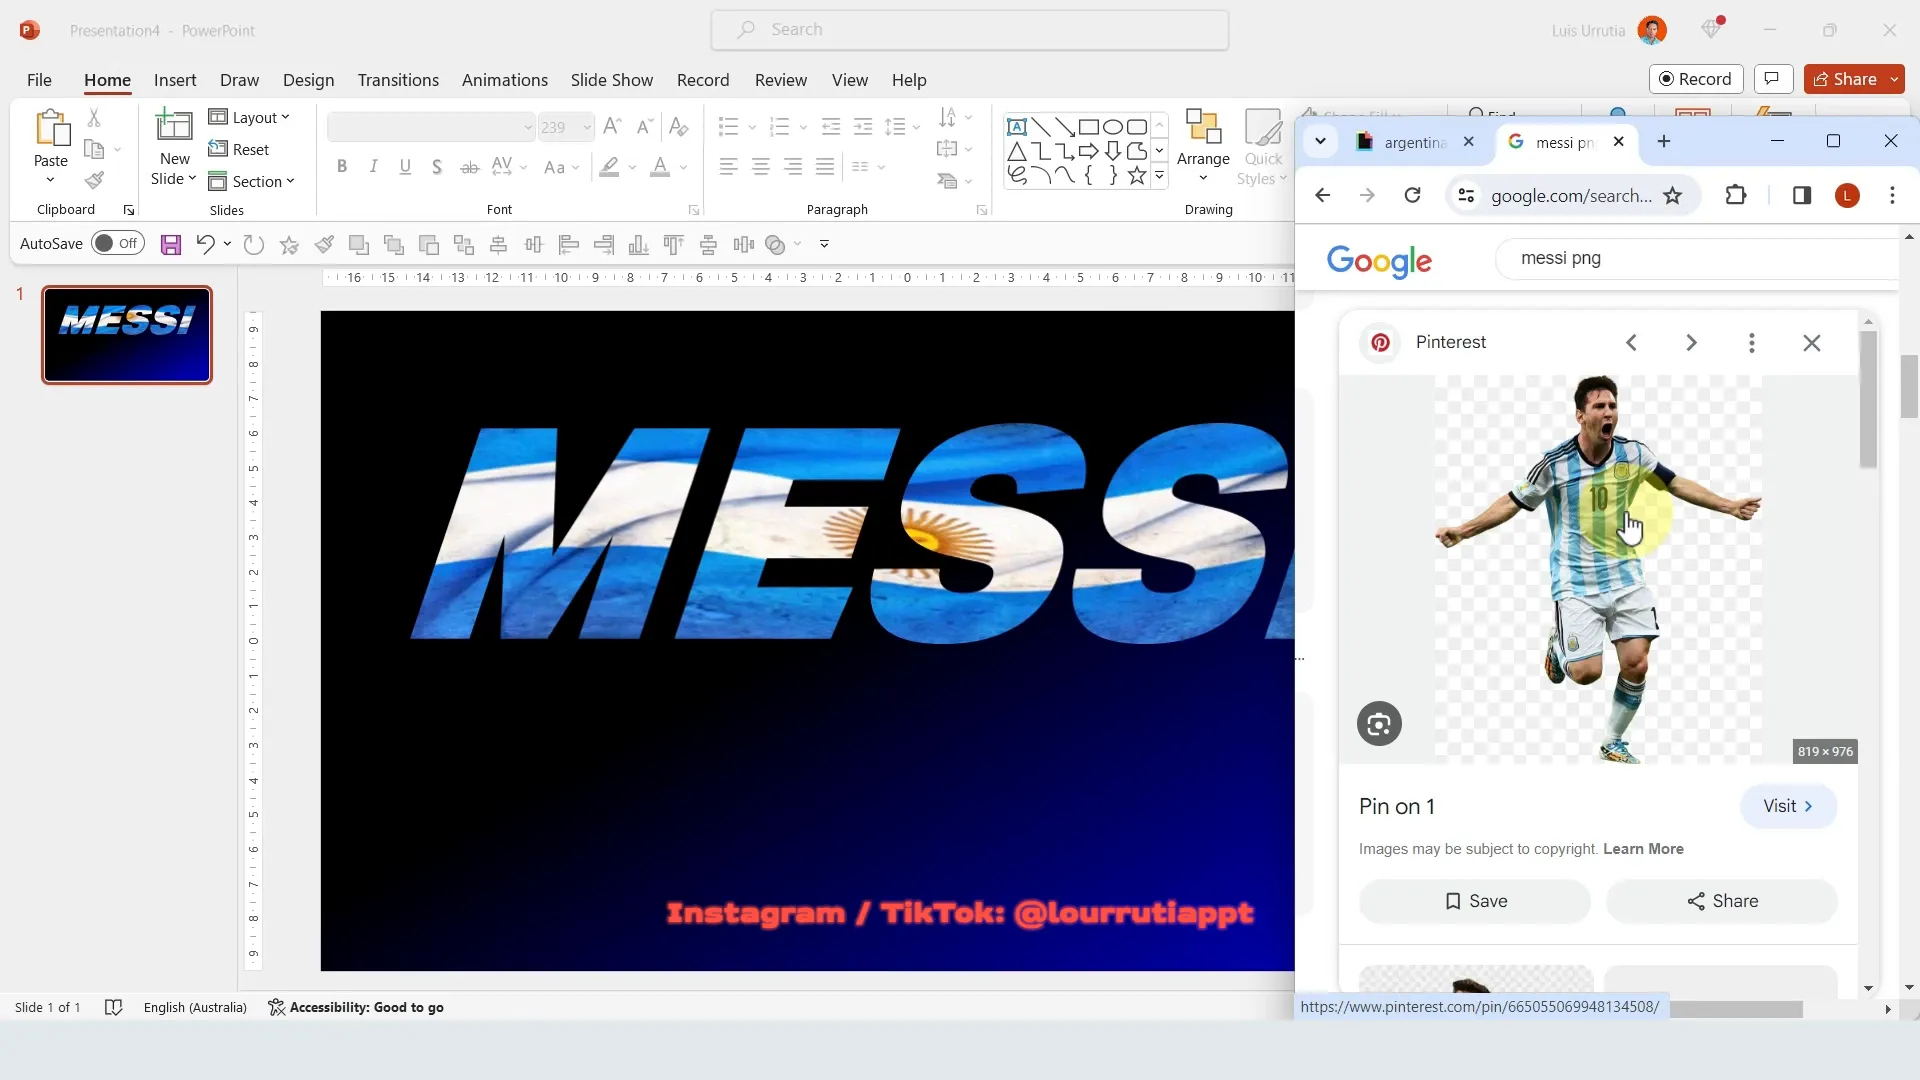
Step 5: Add Complementary Image and Final Text
Find a transparent PNG image that complements your design (for example, a relevant icon or logo). Insert it and position it strategically on the slide to add visual interest without overpowering the main text.
Finally, add any additional text you want on the slide to complete your message.
Slide 4: Modern Agenda Slide with Rounded Shapes and Morph Transition
The last slide design is a sleek, professional agenda slide featuring rounded rectangles and circles, color-coded numbers, and smooth morph transitions for a polished look. This slide is perfect for corporate presentations, workshops, or educational sessions.
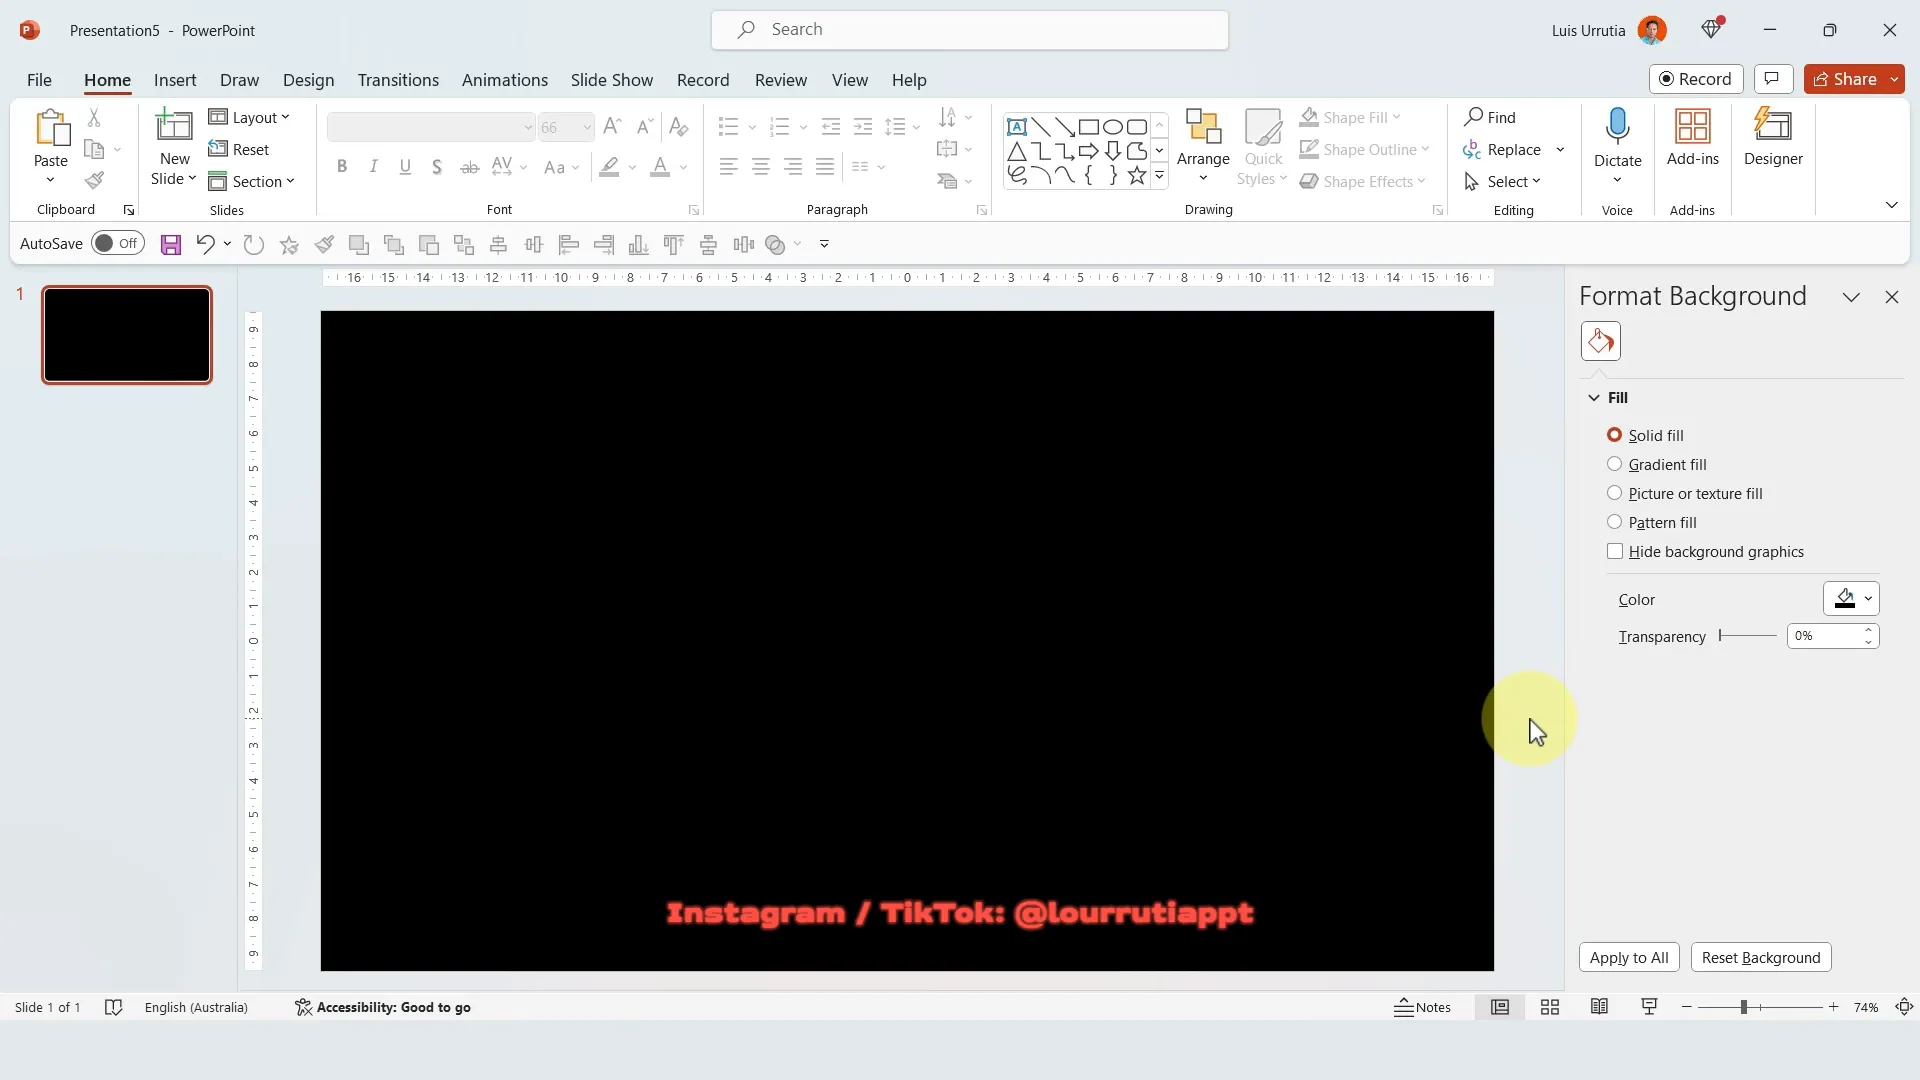
Step 1: Set Background Color
Right-click on the slide, select Format Background, and set the background color to black for a dramatic foundation.
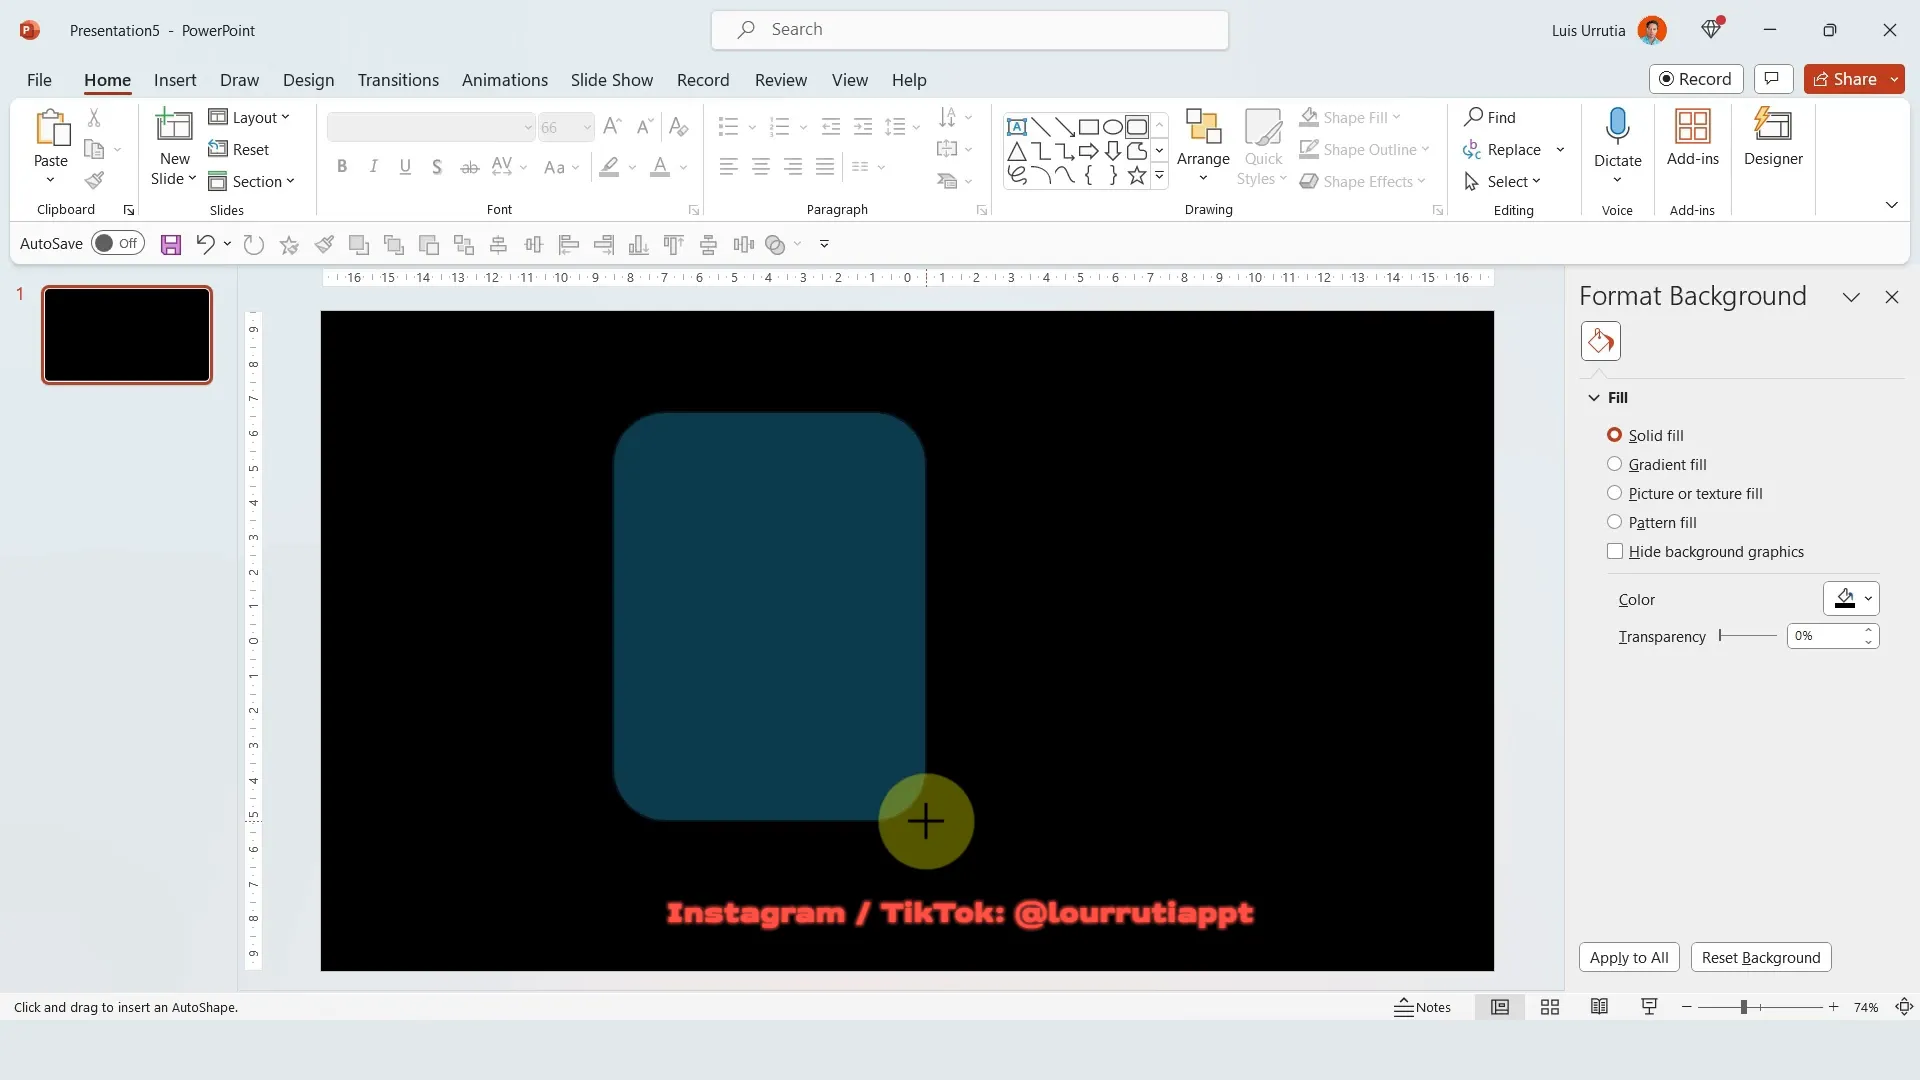
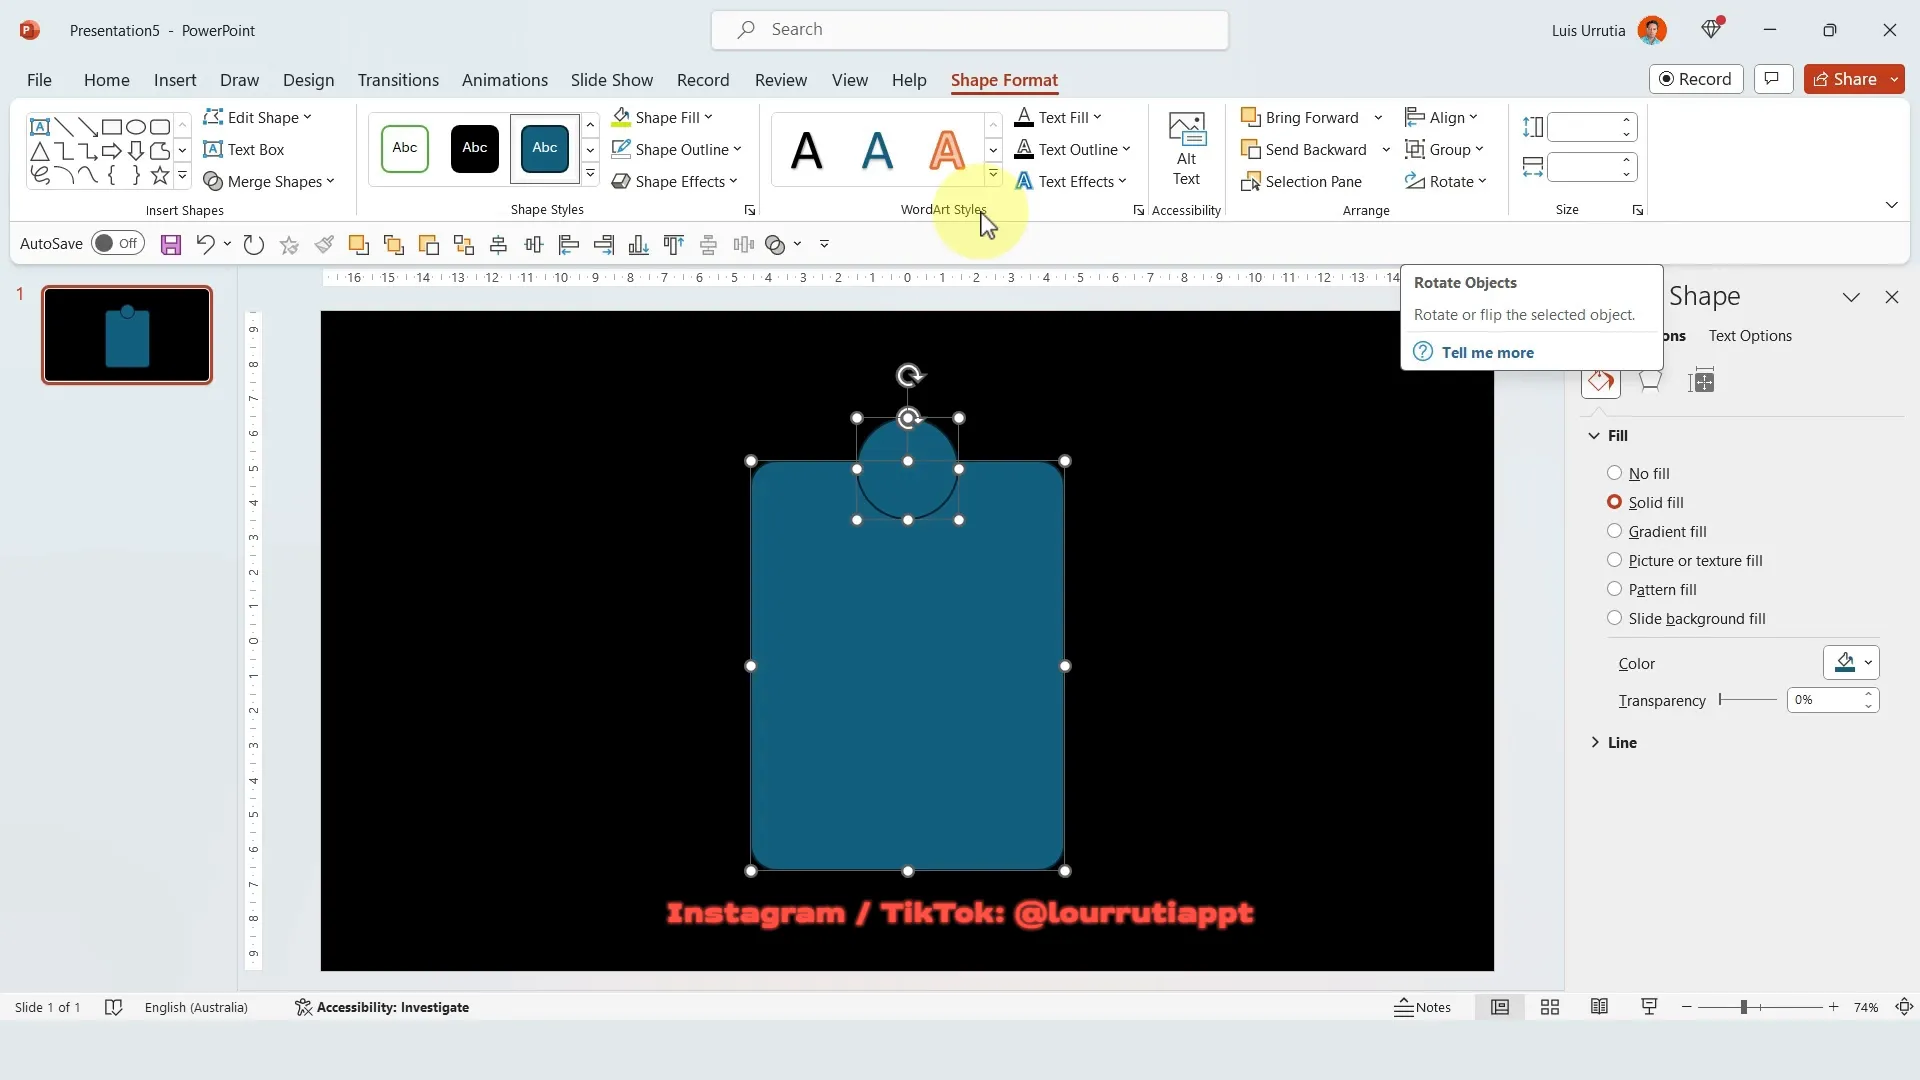
Step 2: Insert Rounded Rectangle
Insert a rounded rectangle in the center of the slide. Use the yellow adjustment handle to control the roundness of the corners to your liking.
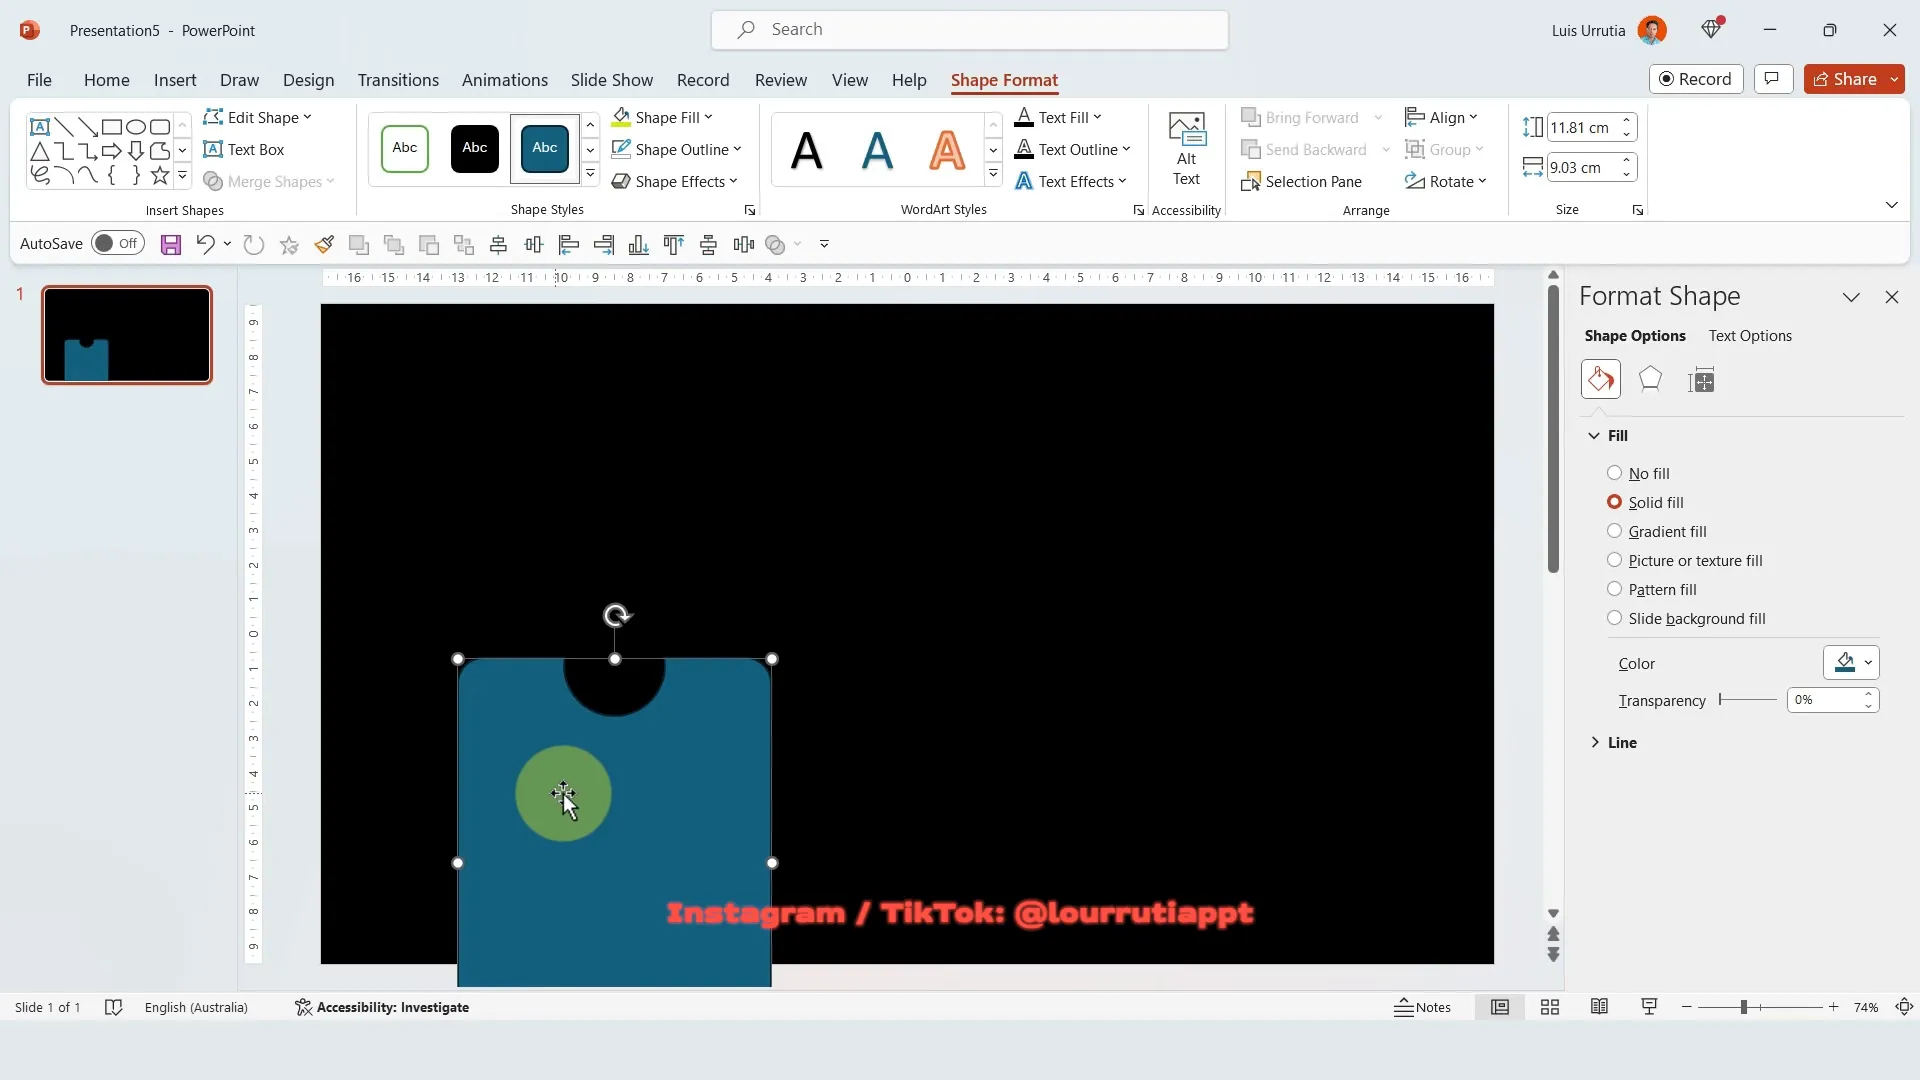
Step 3: Create Numbered Circles with Subtract Shape
Insert a perfect circle by holding Shift while drawing. Select both the rounded rectangle and the circle, align them center, and then subtract the circle from the rectangle using Merge Shapes > Subtract. This creates a unique cutout shape.
Step 4: Duplicate and Color-Code Numbered Shapes
Remove the outline and change the fill color to a bright red. Double-click the shape to add the number “01” using a bold font like Gotham Black, then increase the font size and change the text color to black for contrast.
Duplicate the shape twice by holding Ctrl and dragging it horizontally. Select all three shapes, align them horizontally with equal spacing, group them, center the group on the slide, and then ungroup to edit individual colors and numbers (“02” and “03”).
Step 5: Add “Agenda” Title and Adjust Layout
Insert a text box at the top of the slide with the word “Agenda.” Adjust spacing by moving the numbered shapes downward and increasing the bottom margin of the text boxes to move numbers up for a balanced layout.
Step 6: Add Additional Rounded Rectangles and Prepare for Animation
Add more rounded rectangles below the numbers, align them to the center, and fill them with white without outlines. Add text inside these shapes and duplicate as needed.
Send these shapes to the back and adjust their vertical position to hide the text initially.
Step 7: Create Multiple Slides with Morph Transition
Duplicate the slide multiple times using Ctrl + D. On each duplicate, alternate moving the text boxes up or down to reveal different agenda items sequentially.
Select all slides, go to the Transitions tab, and choose the Morph transition for a smooth, flowing effect when presenting the agenda.
Tips for Customizing Your PowerPoint Slides
- Font Choices: Use bold, variable fonts like Arial Black or Gotham Black for maximum impact and to ensure effects like shape merging work well.
- Image Selection: Choose high-quality images and GIFs that complement your message and fit well within your shapes and text.
- Alignment: Use guides and alignment tools to keep your slide elements balanced and professional.
- Color Harmony: Pick color schemes that enhance readability and create visual interest without overwhelming the viewer.
- Animations: Use subtle animations like Fly In or Morph to add dynamics without distracting from your content.
- Experiment: Don’t hesitate to experiment with textures, gradients, and interactive elements to find your unique style.
Frequently Asked Questions (FAQ)
Can I create these slide designs in older versions of PowerPoint?
While most of the techniques work in PowerPoint 2016 and later, some features like advanced shape merging and Morph transitions require PowerPoint 2019 or Microsoft 365. If you’re using an older version, consider upgrading or using alternative methods such as manual animations.
How can I find suitable fonts for these designs?
Look for bold, variable fonts such as Arial Black, Gotham Black, or Active Grotesque Black. Many fonts are available for free or purchase online. Make sure the fonts support the effects you want to apply and are legible on screen.
Where can I get high-quality images and GIFs for my slides?
Use reputable sources like Unsplash, Pexels, or Pixabay for images, and Giphy for animated GIFs. Always ensure you have the rights to use the media in your presentations, especially for commercial use.
Is iSpring Suite suitable for beginners?
Yes! iSpring Suite is designed to be user-friendly, especially for educators and professionals who already use PowerPoint. It offers a wide range of templates, tutorials, and support to help you create interactive content quickly.
Can I use these slide designs for social media posts?
Absolutely! These slides are trending on social media because they are visually striking and easy to customize. Export your slides as images or videos to share on platforms like Instagram, TikTok, or LinkedIn.
Conclusion
Creating stunning, trending PowerPoint slides in 2024 is easier than you might think. By combining the right shapes, fonts, images, and effects, you can craft presentations that captivate your audience and stand out on social media and in professional settings alike.
Remember to leverage tools like iSpring Suite if you want to take your presentations to the next level with interactive courses and quizzes. Whether you’re a teacher, business professional, or content creator, these techniques will help you build engaging, high-quality slides quickly.
Practice these four slide designs, experiment with your own ideas, and keep exploring new PowerPoint features to stay ahead of presentation trends. Your next presentation can be your best yet!
Check out the full video: 4 TRENDING PowerPoint SLIDES in 2024. 🔥 📈 Step-by-Step Tutorial 🤯


